Leading up to her 7th birthday, I cannot count how many nights before bed Selah would suddenly burst into uncontrollable tears while I was snuggling her. When I could finally calm her down enough to tell me what was wrong, she would sob, “I just want to stay little forever so I can snuggle you forever!! I don’t want to turn 7!!” #heartgush
We had finally decided to make a little agreement that we would celebrate her birthday but she didn’t ACTUALLY have to turn 7 :). It would sure be fine with me!!
But lo and behold, when October 8th rolled around, she confessed in a small voice that maybe she did, indeed, want to turn 7. So I permitted it. 🙂 That night, while going to bed, she confessed, “Mommy, I just wish I could still celebrate a birthday every year but only grow older every OTHER year. So I’d be 3 and 1/2 right now. That sounds nice.” I don’t know if I will ever grasp the incredible complexities in this little girl’s mind, but somehow my heart expands for her each day and I love her so much more with every sunrise. What a special little girl God made her.
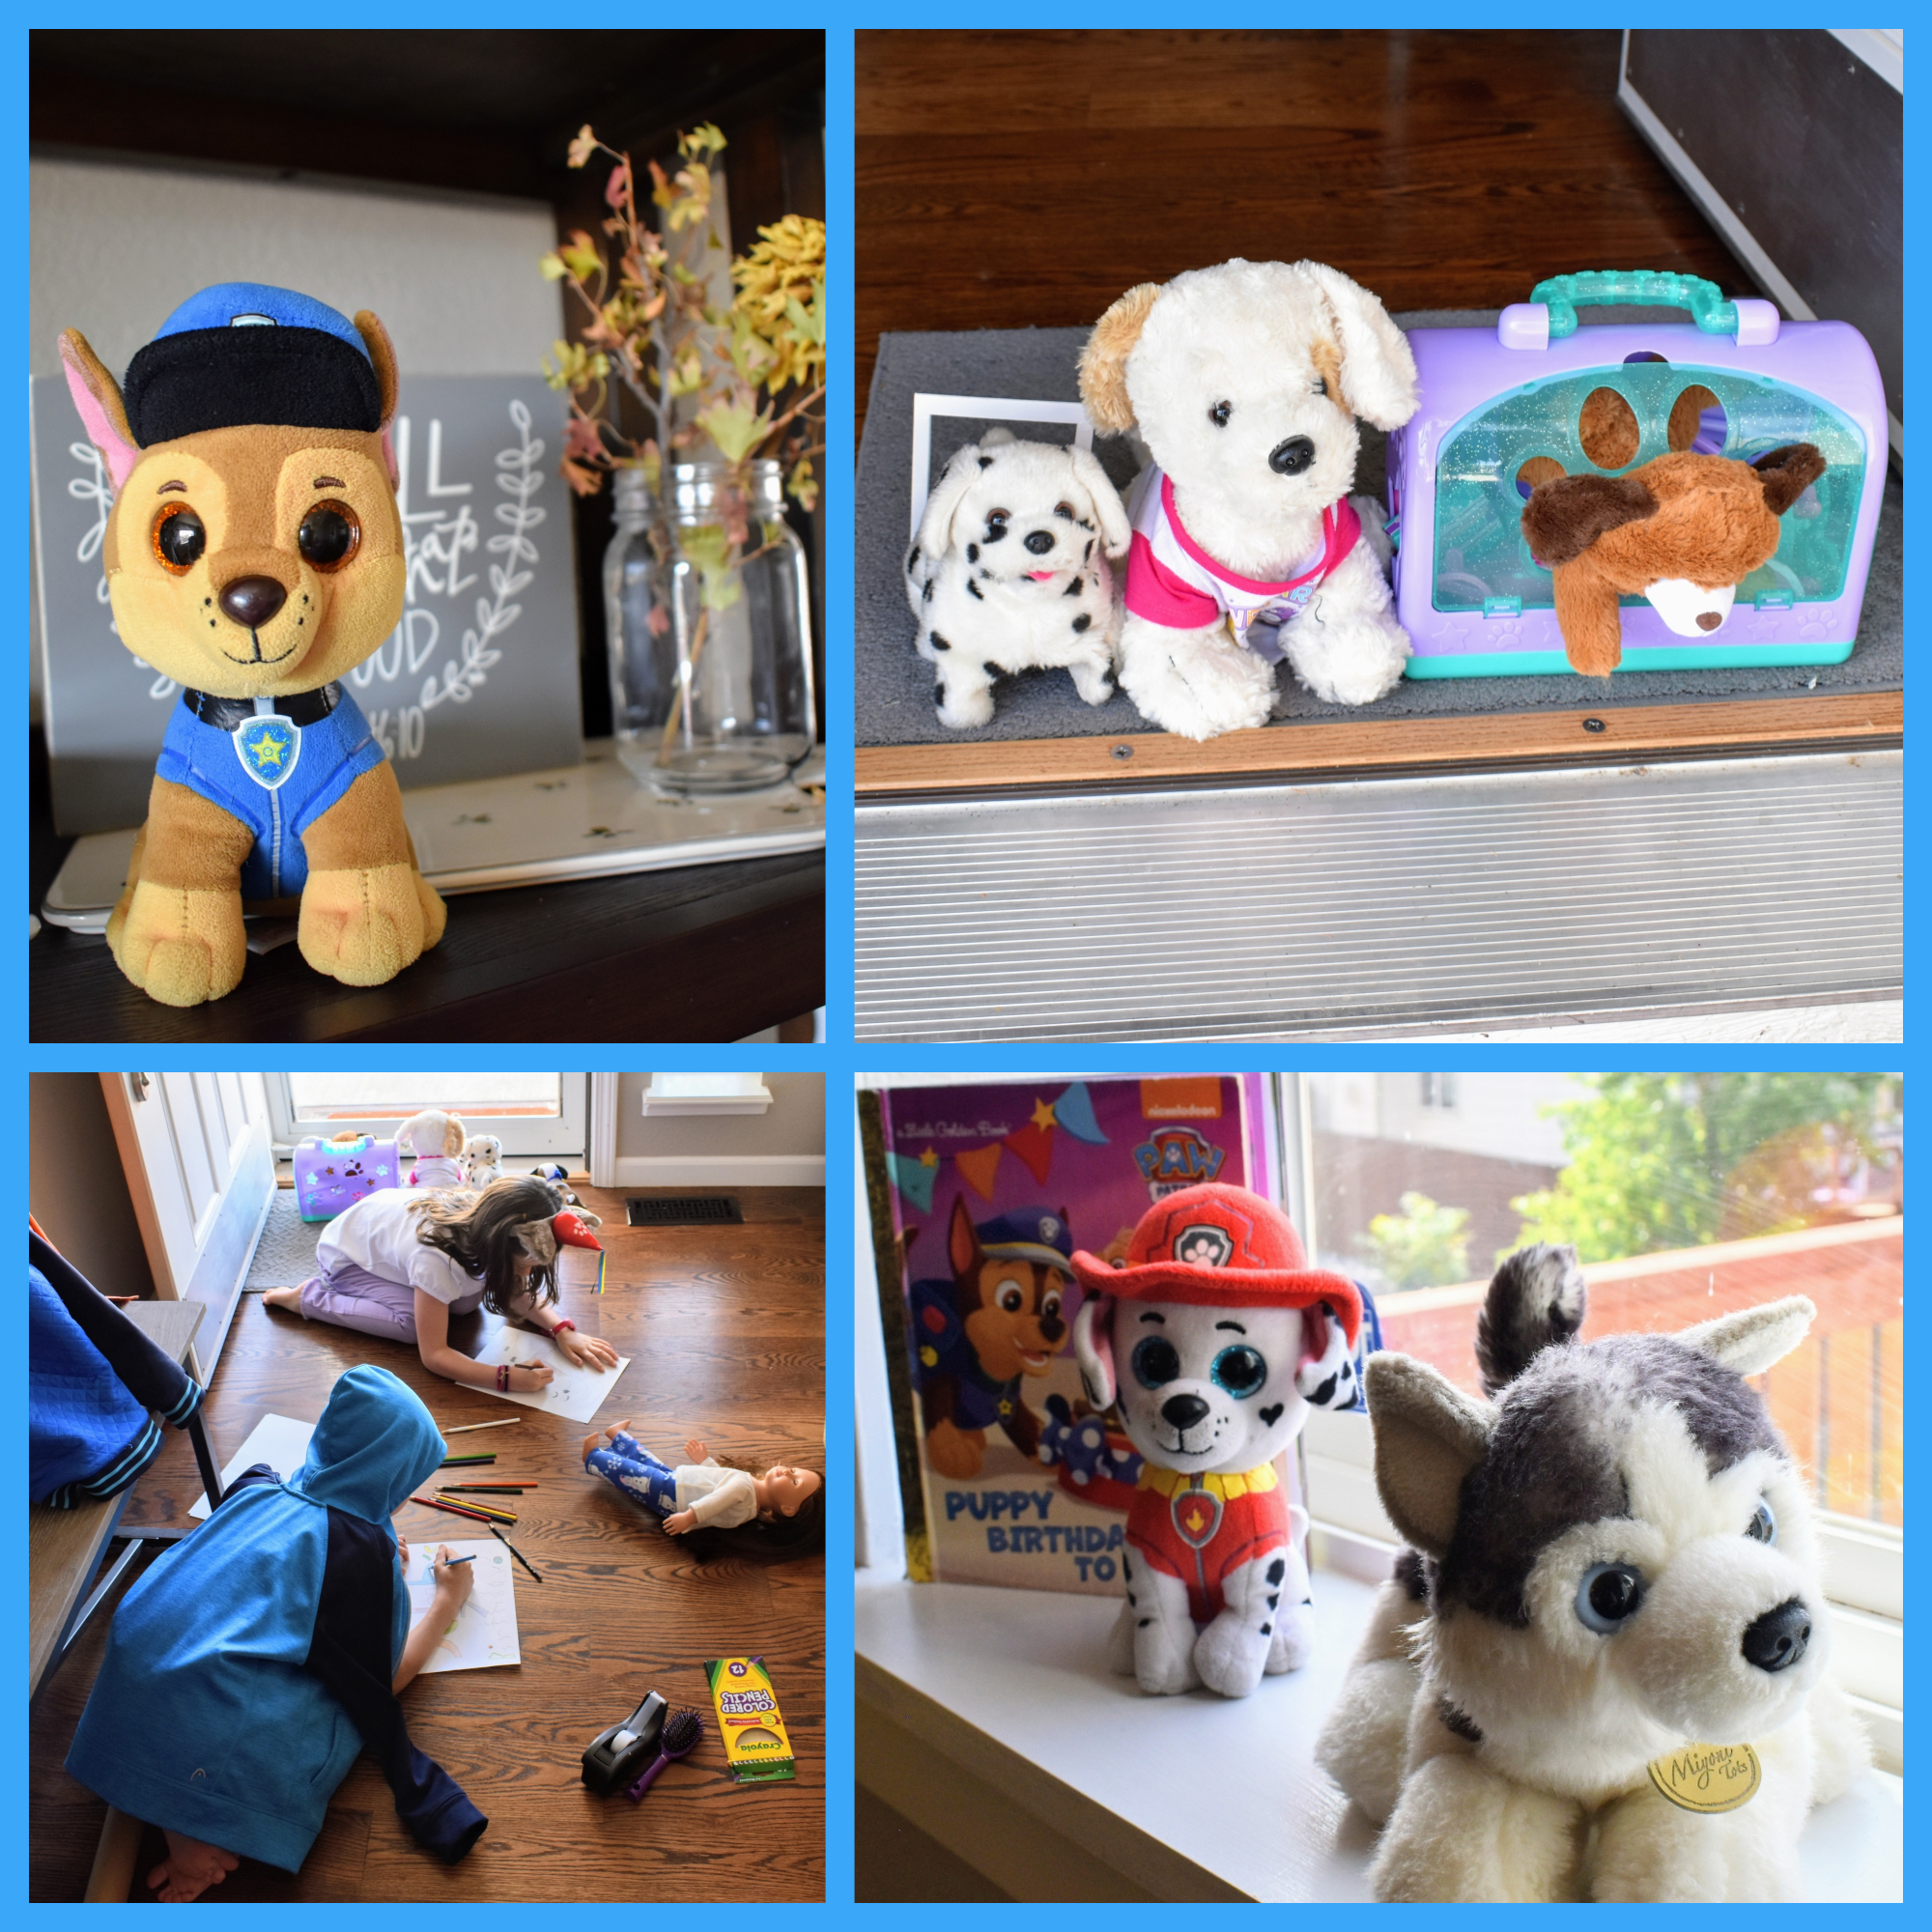
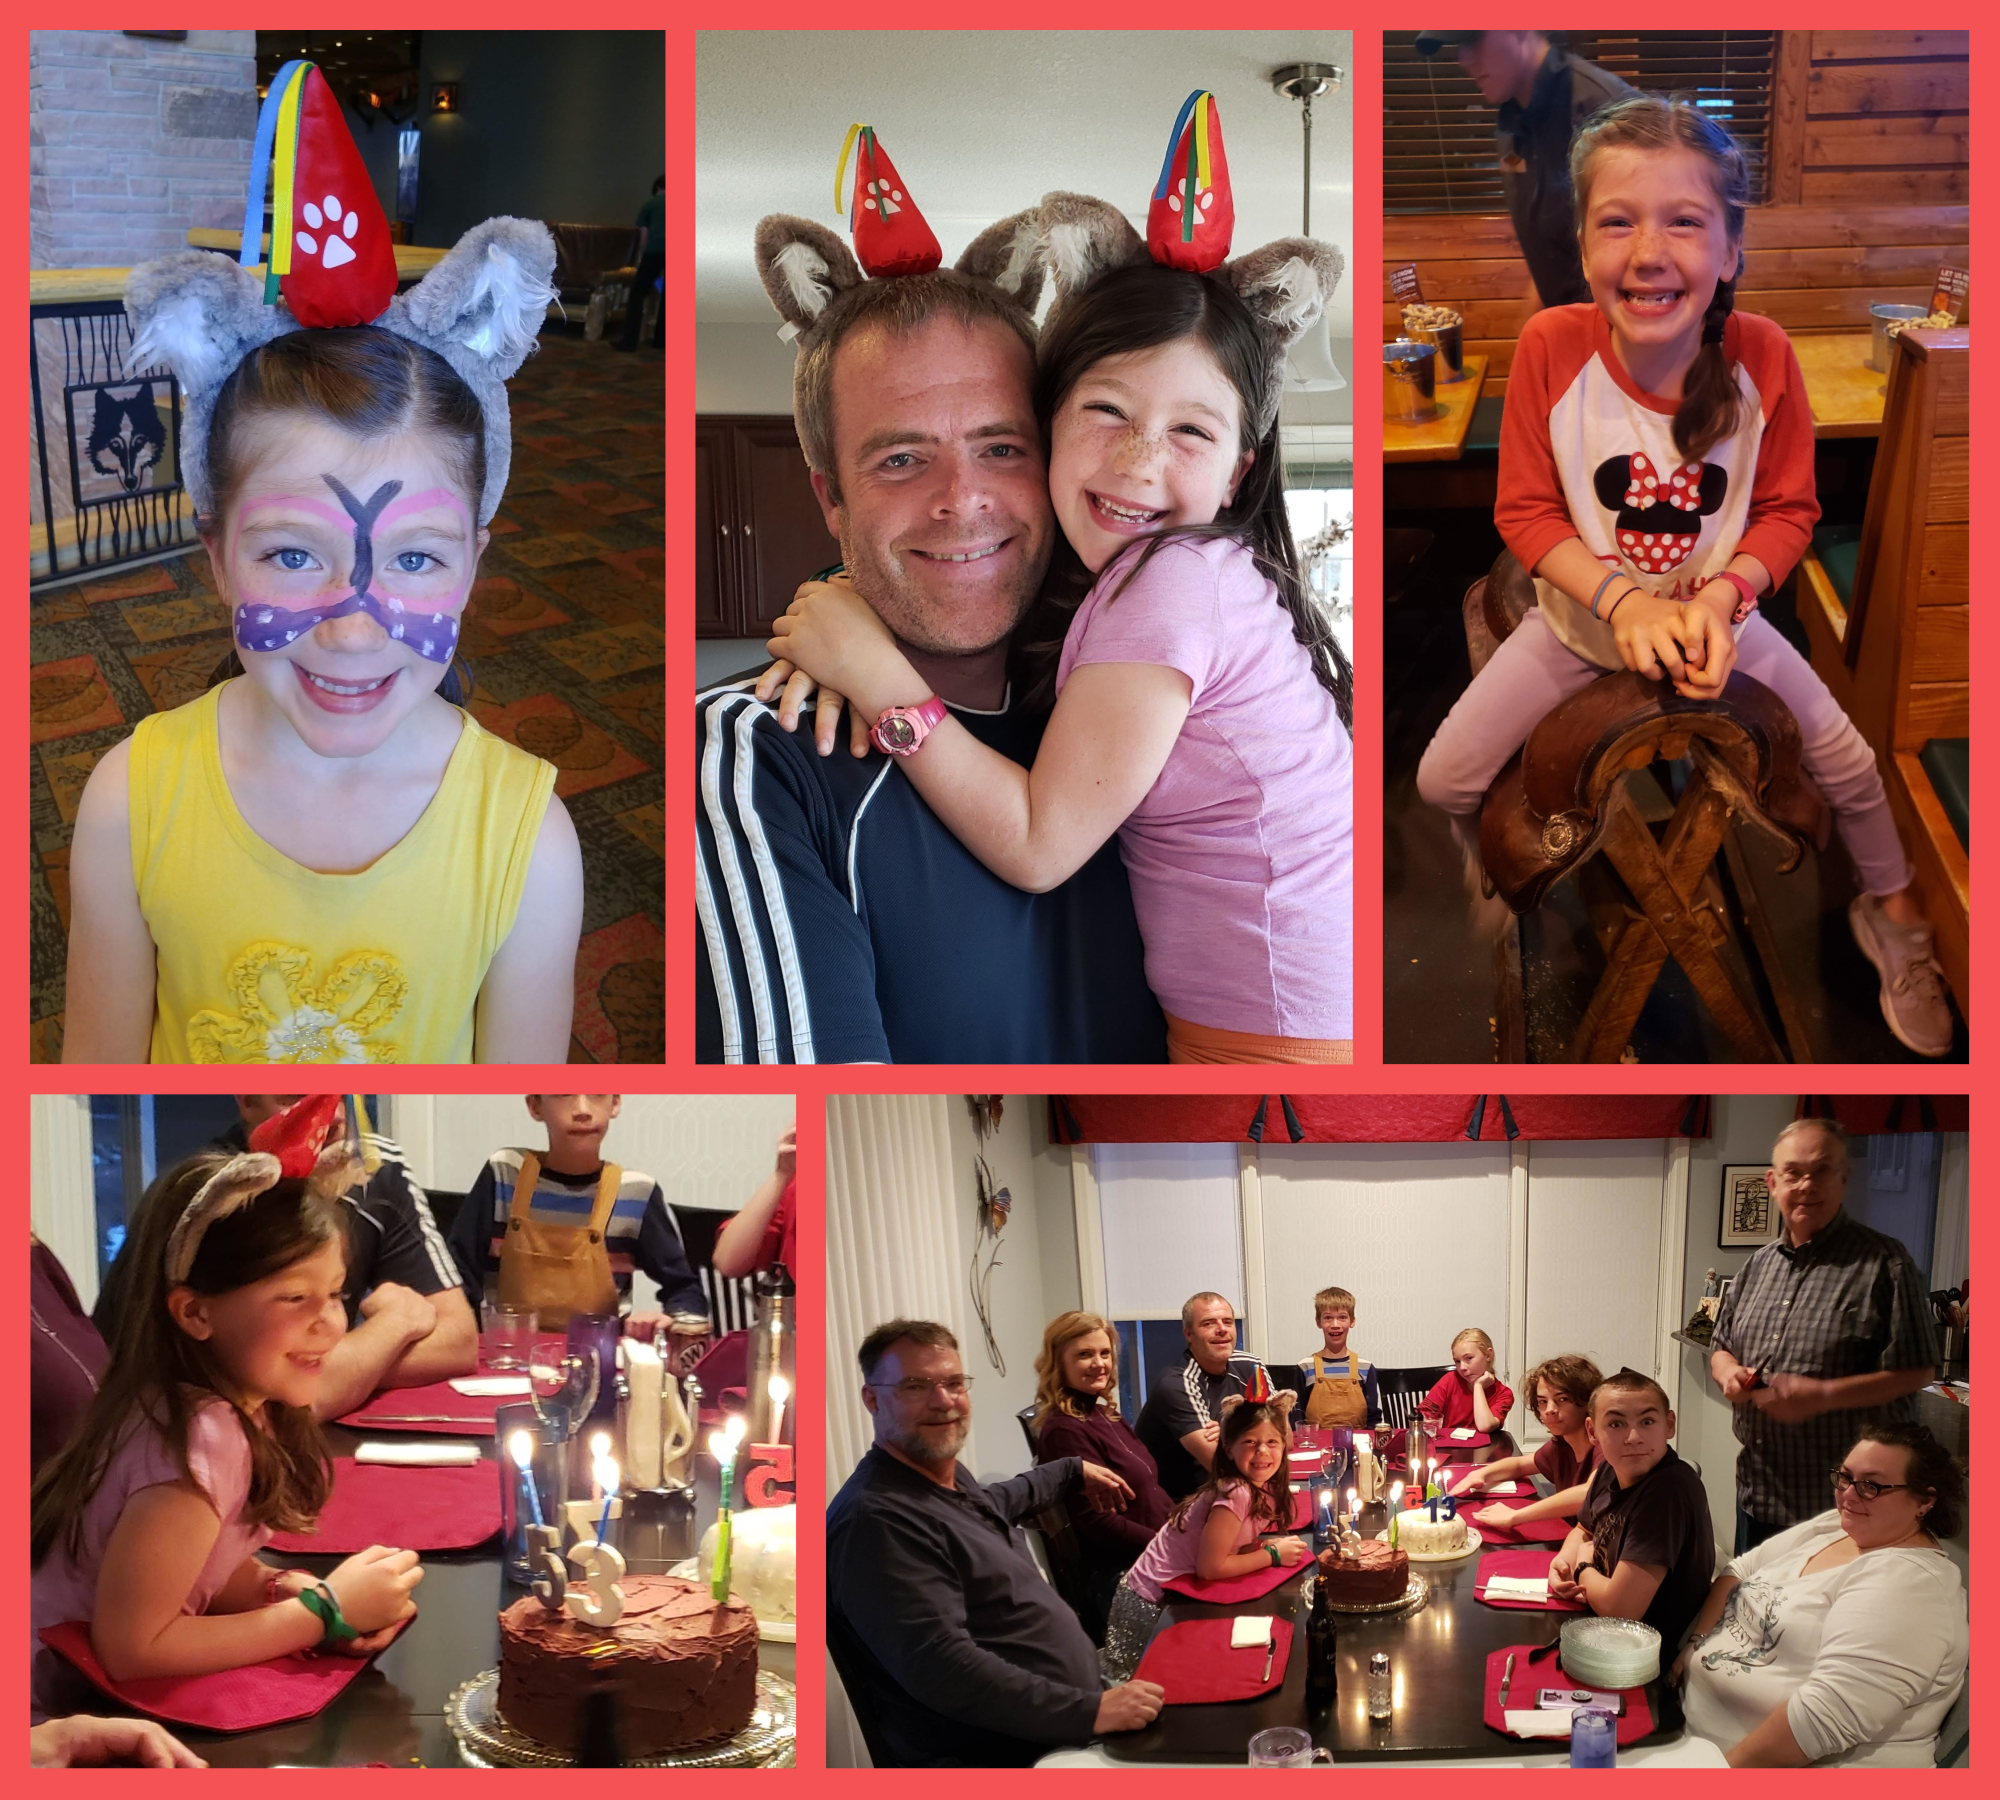
In this same vein of not wanting to grow older, for years Selah would “suddenly” turn into a baby. Literally, for years, we would be eating dinner, playing a game, or at the store and Selah would suddenly exclaim, “Mom, I’m a baby today, k?” And she would drop to all fours and start crawling around speaking gibberish. This year, that little habit transformed a bit. Now, at various times throughout the day, I hear: “Mom, I’m a puppy. A BABY puppy, k?” And, in like manner, she drops to all fours and begins to bark and beg. She asks (ahem, barks and motions) to have her food and water delivered in a bowl on the floor. I can’t tell you how many times I’ve found her lapping up water from a bowl on the floor. She is a surprisingly convincing puppy for not having spent much time around one and I am getting used to stepping over my sweet little puppy while going about daily life.
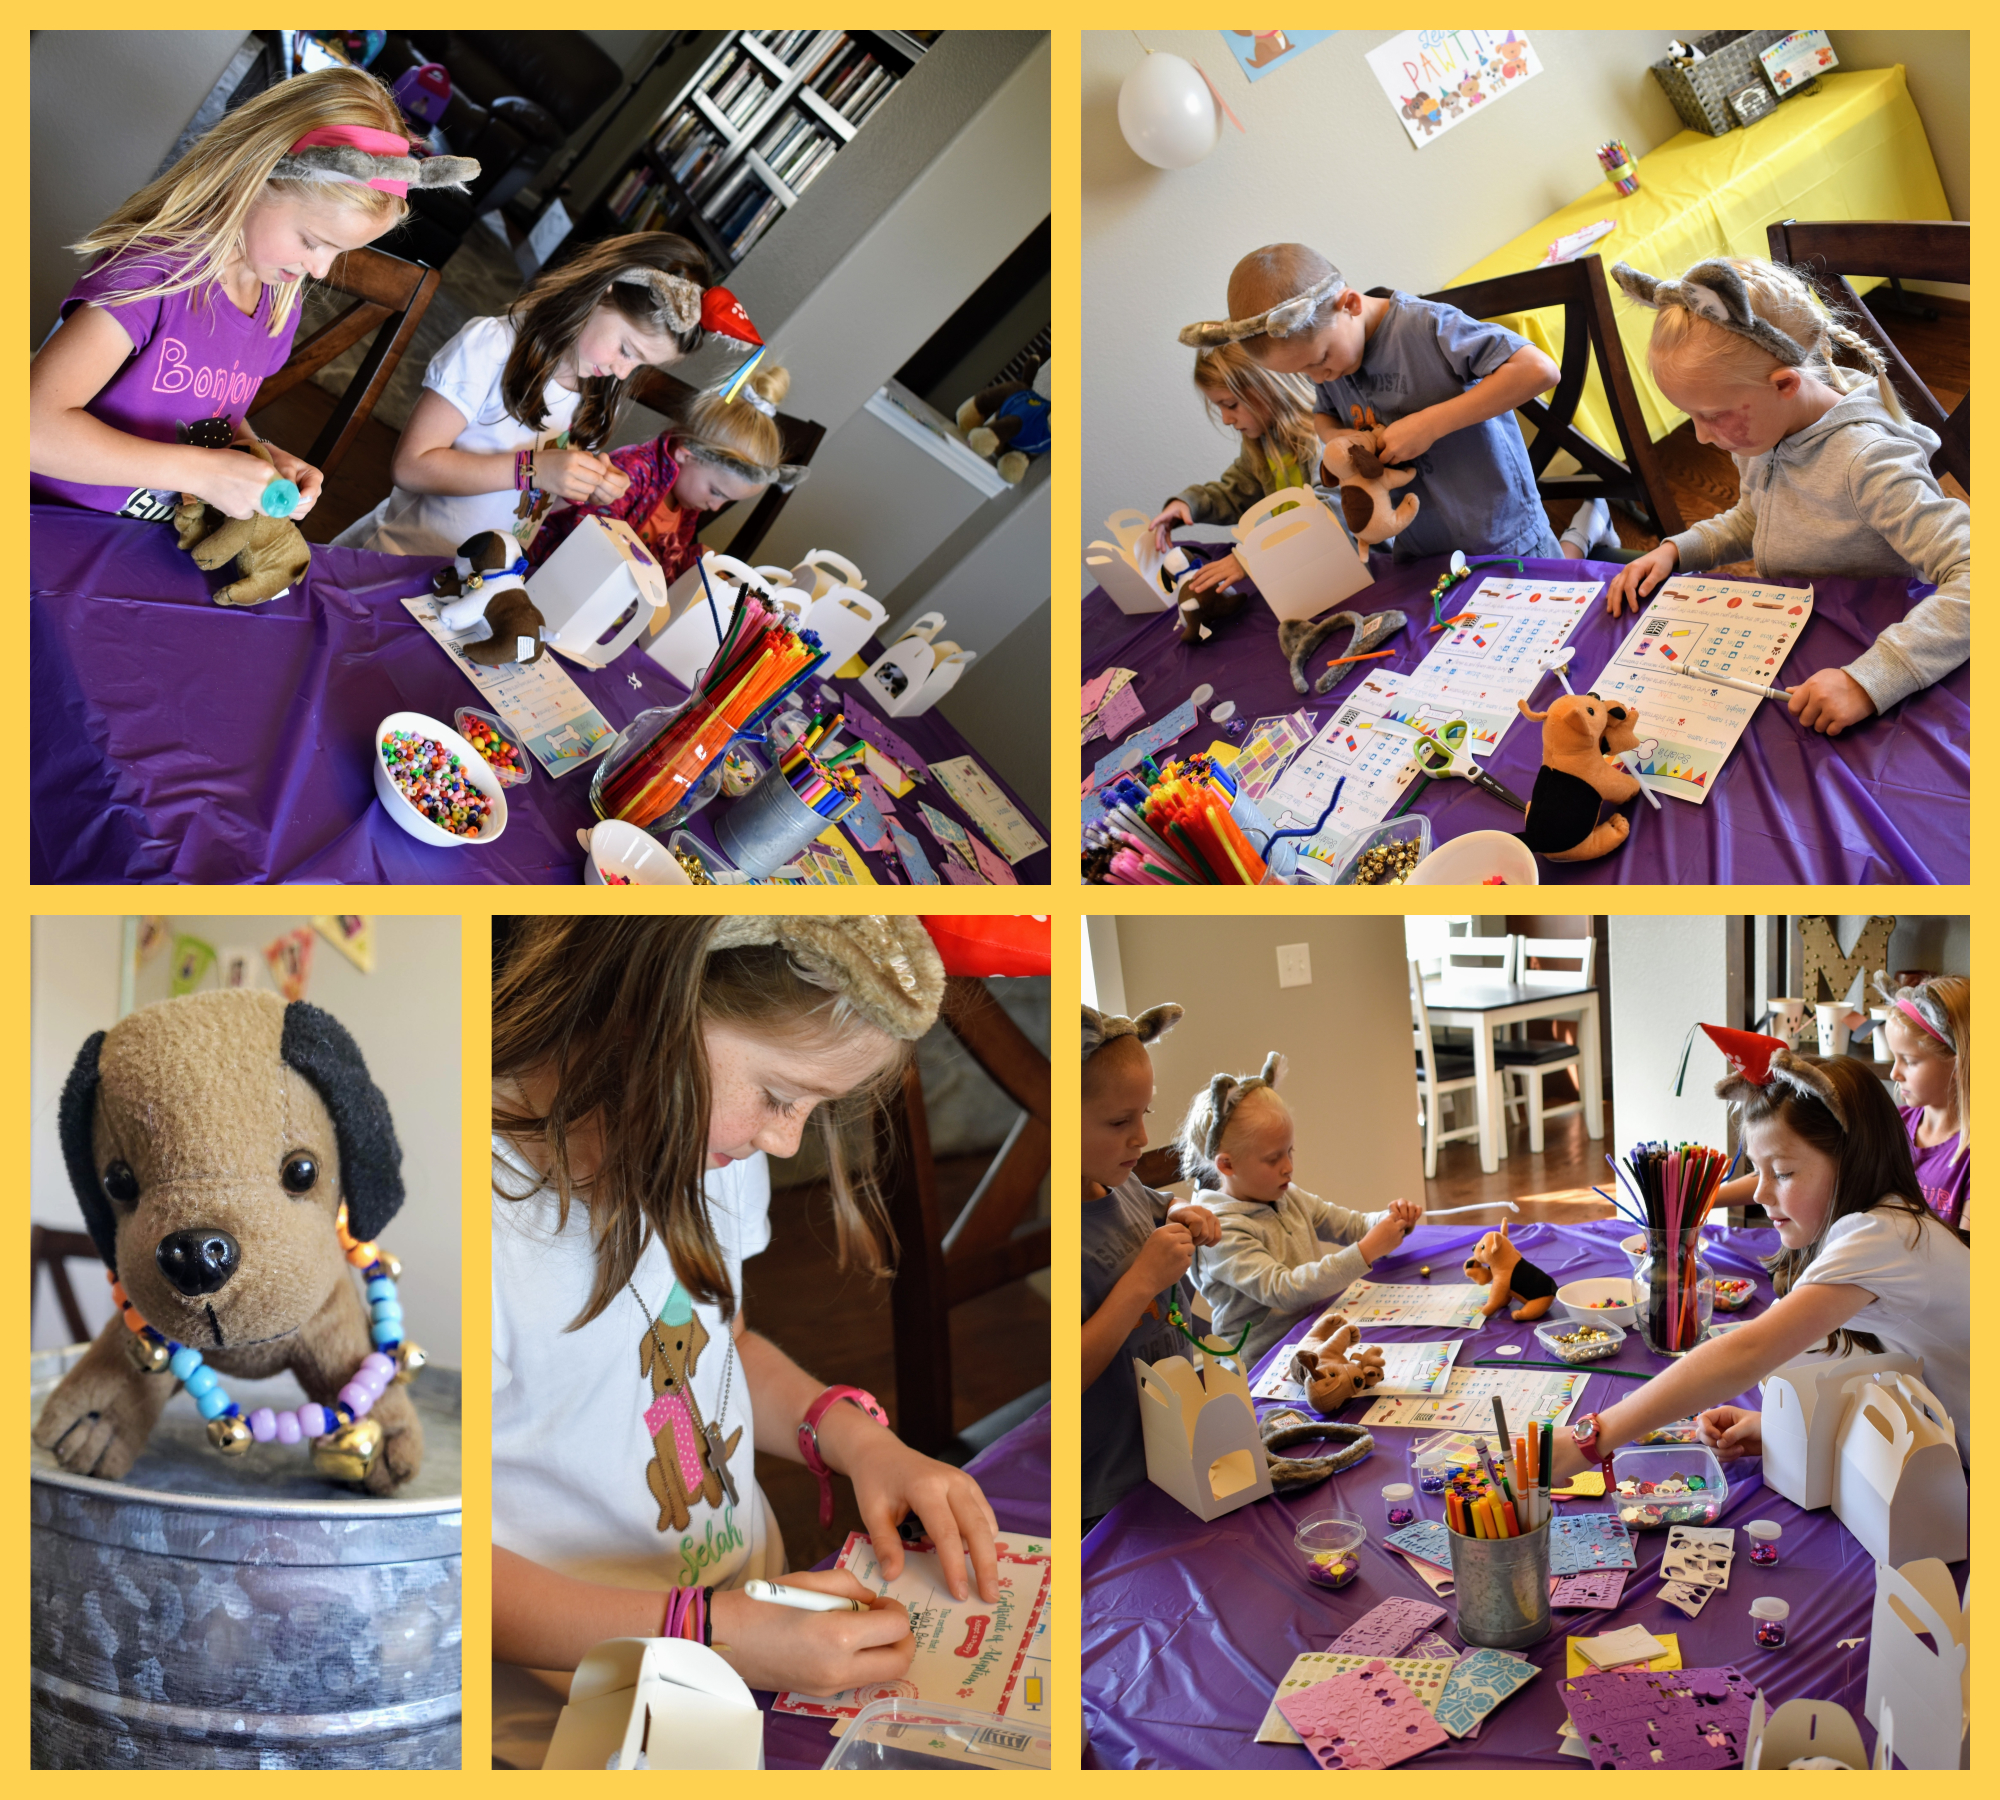
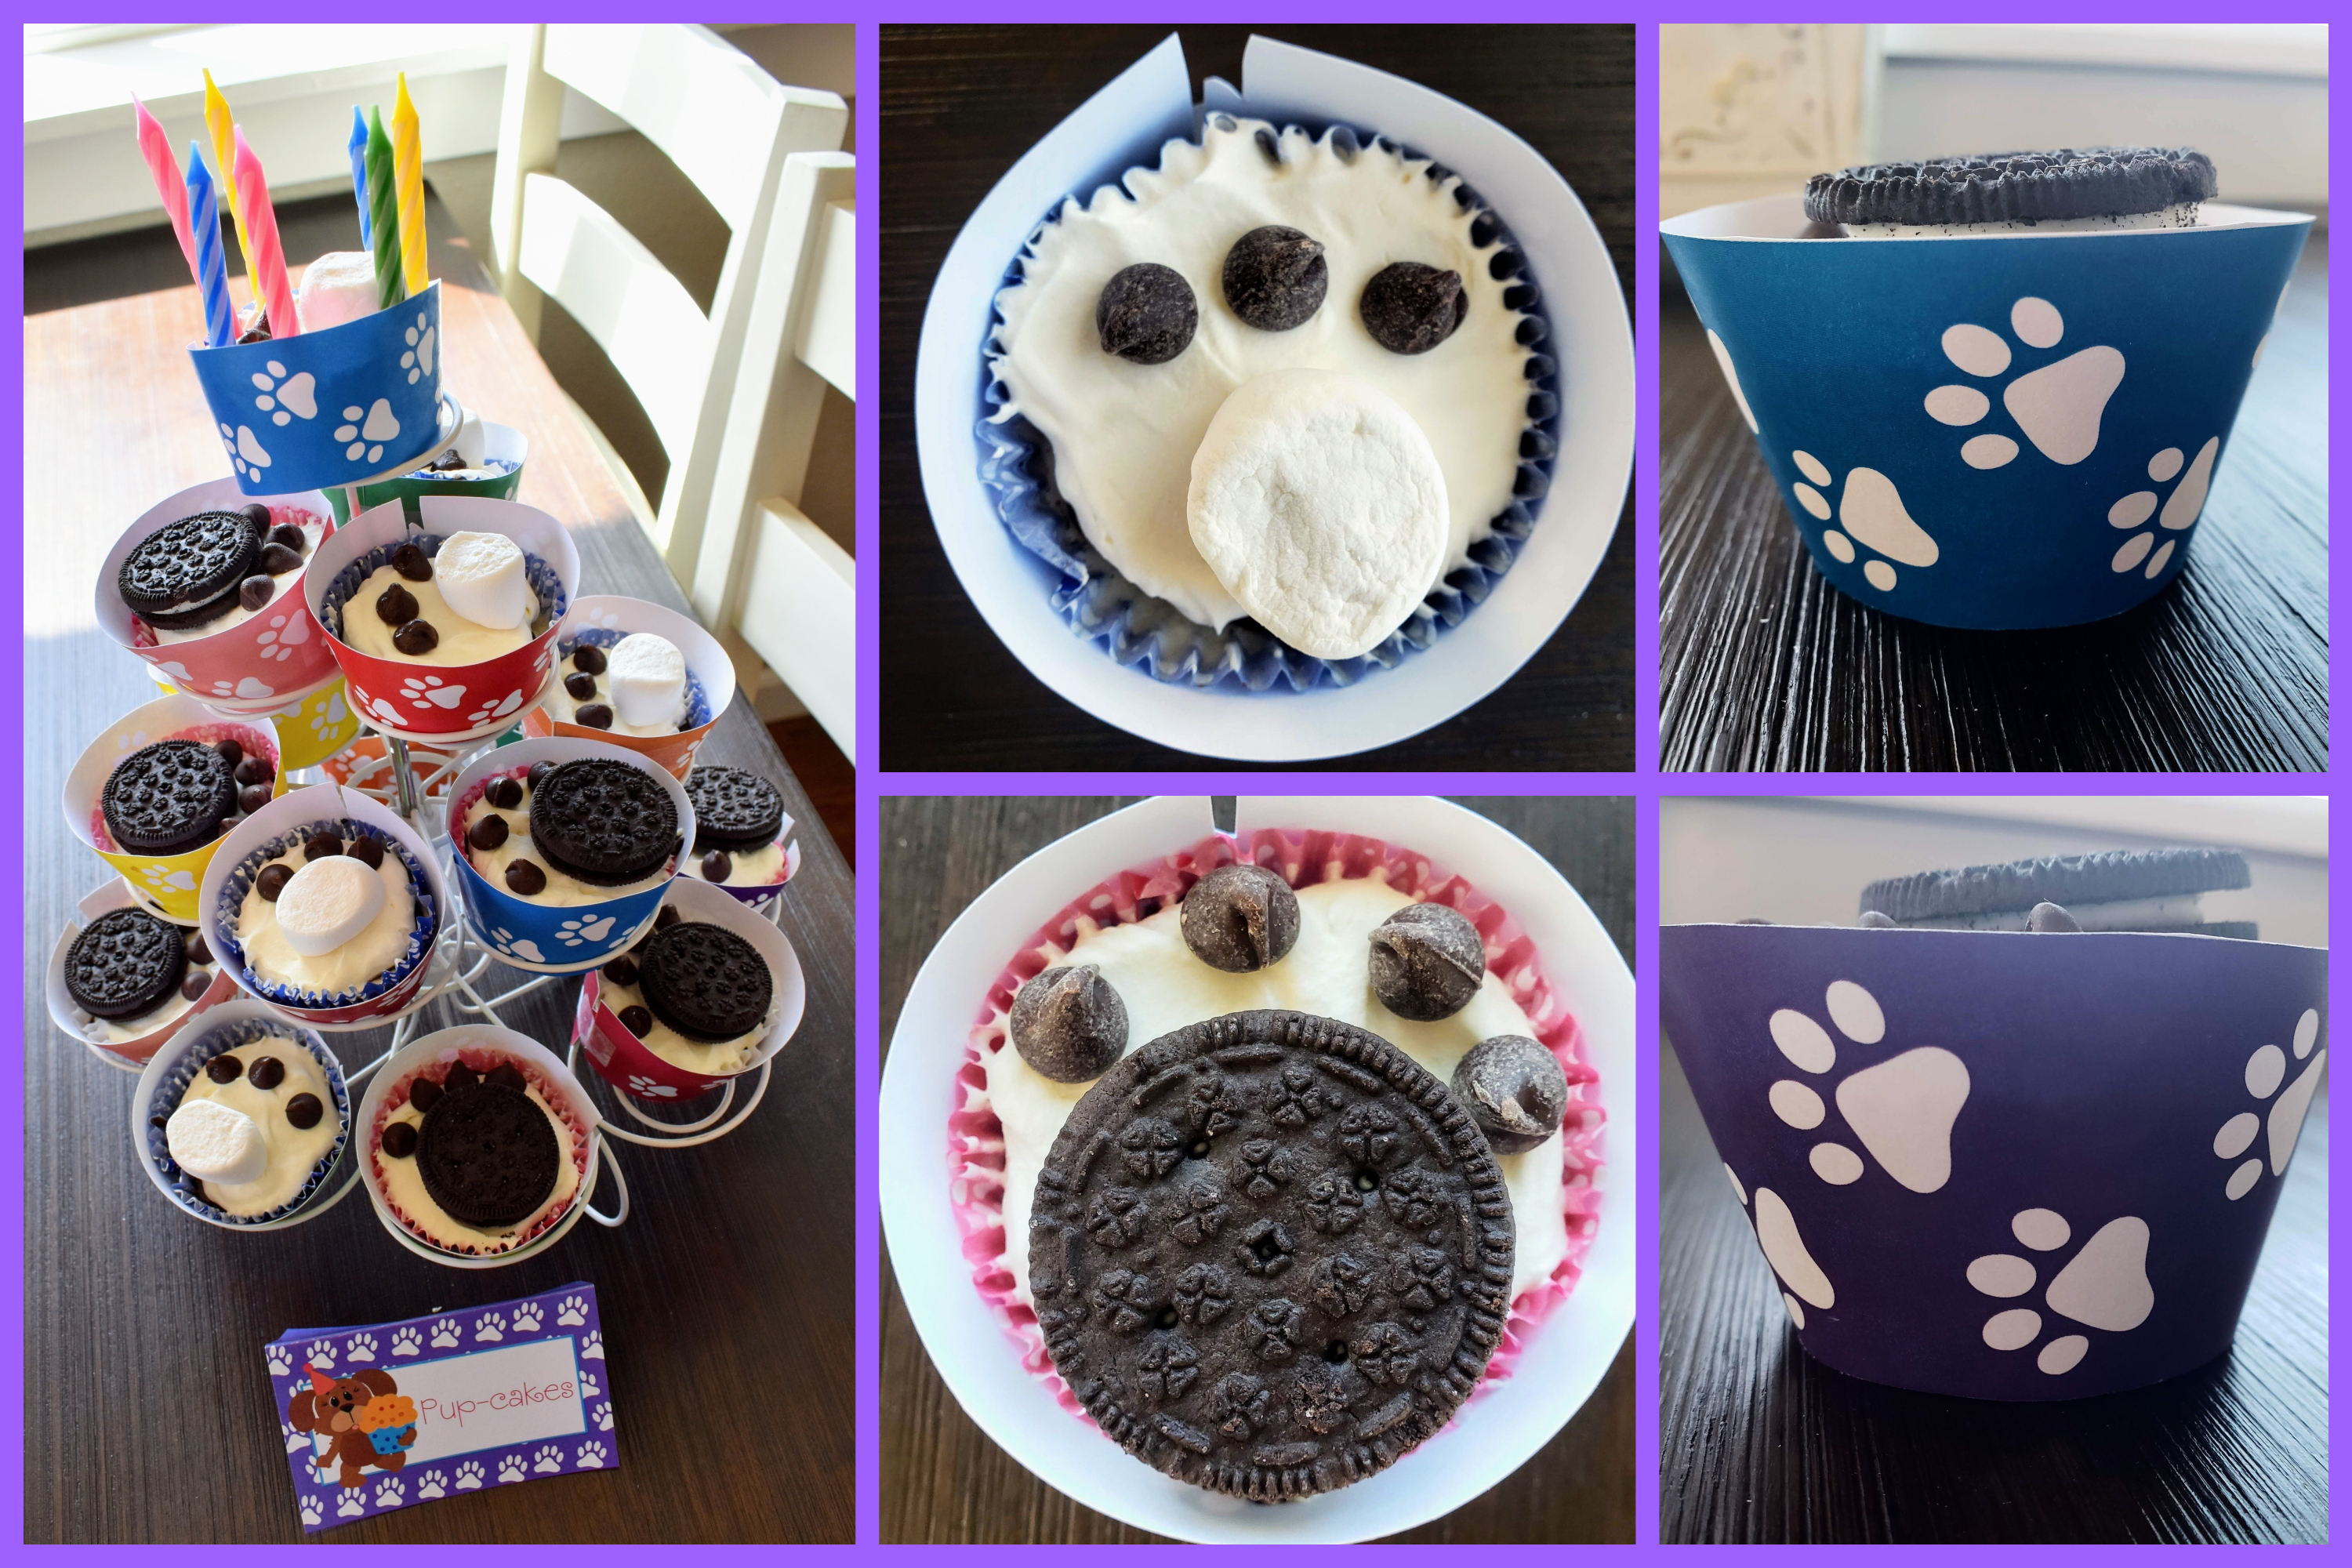
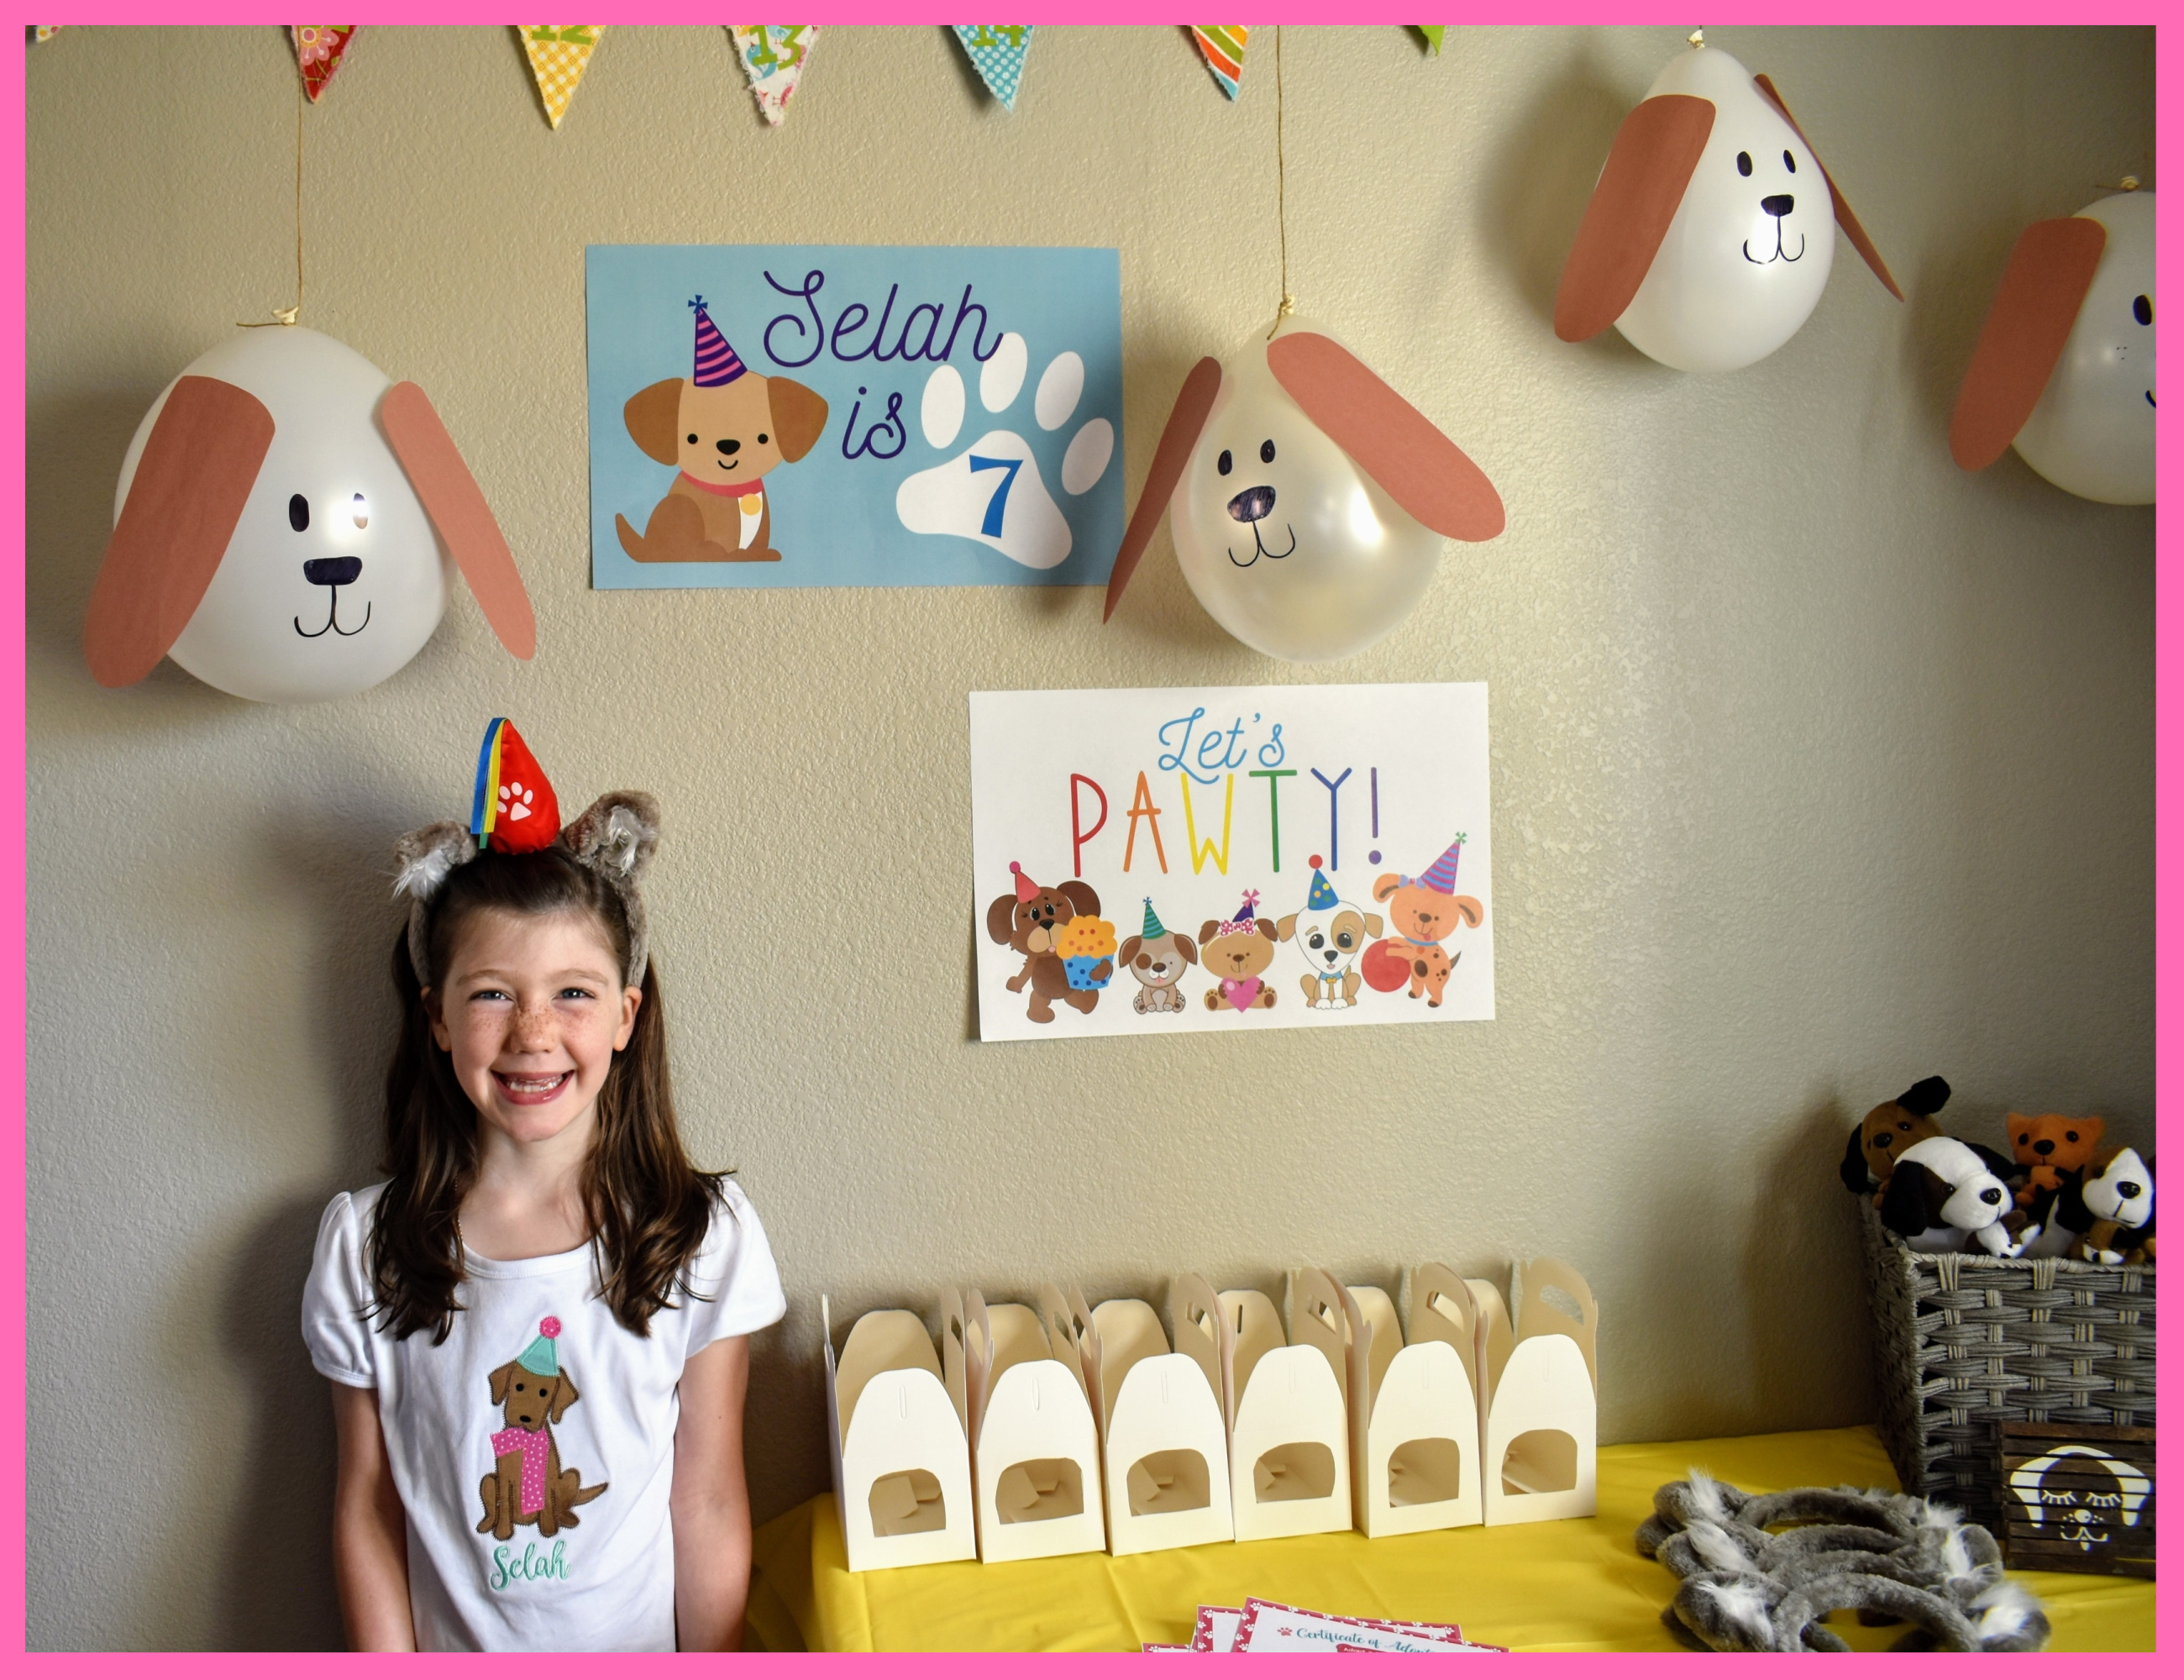
She asked to have a puppy party this year and, of course, the ideas just started flooding in. We settled on a puppy adoption party and invited some sweet friends to come join in on the fun. The kids pulled out all of their doggy “stuffies” (as they are called by these children) and placed them in various places around the house as decoration. Selah wanted 3 waiting right in the doorway as people walked in. A few minutes before party guests were due to arrive the kids began making a banner that said, “Selah’s 7th birthday,” so that is what they are doing in that bottom picture!
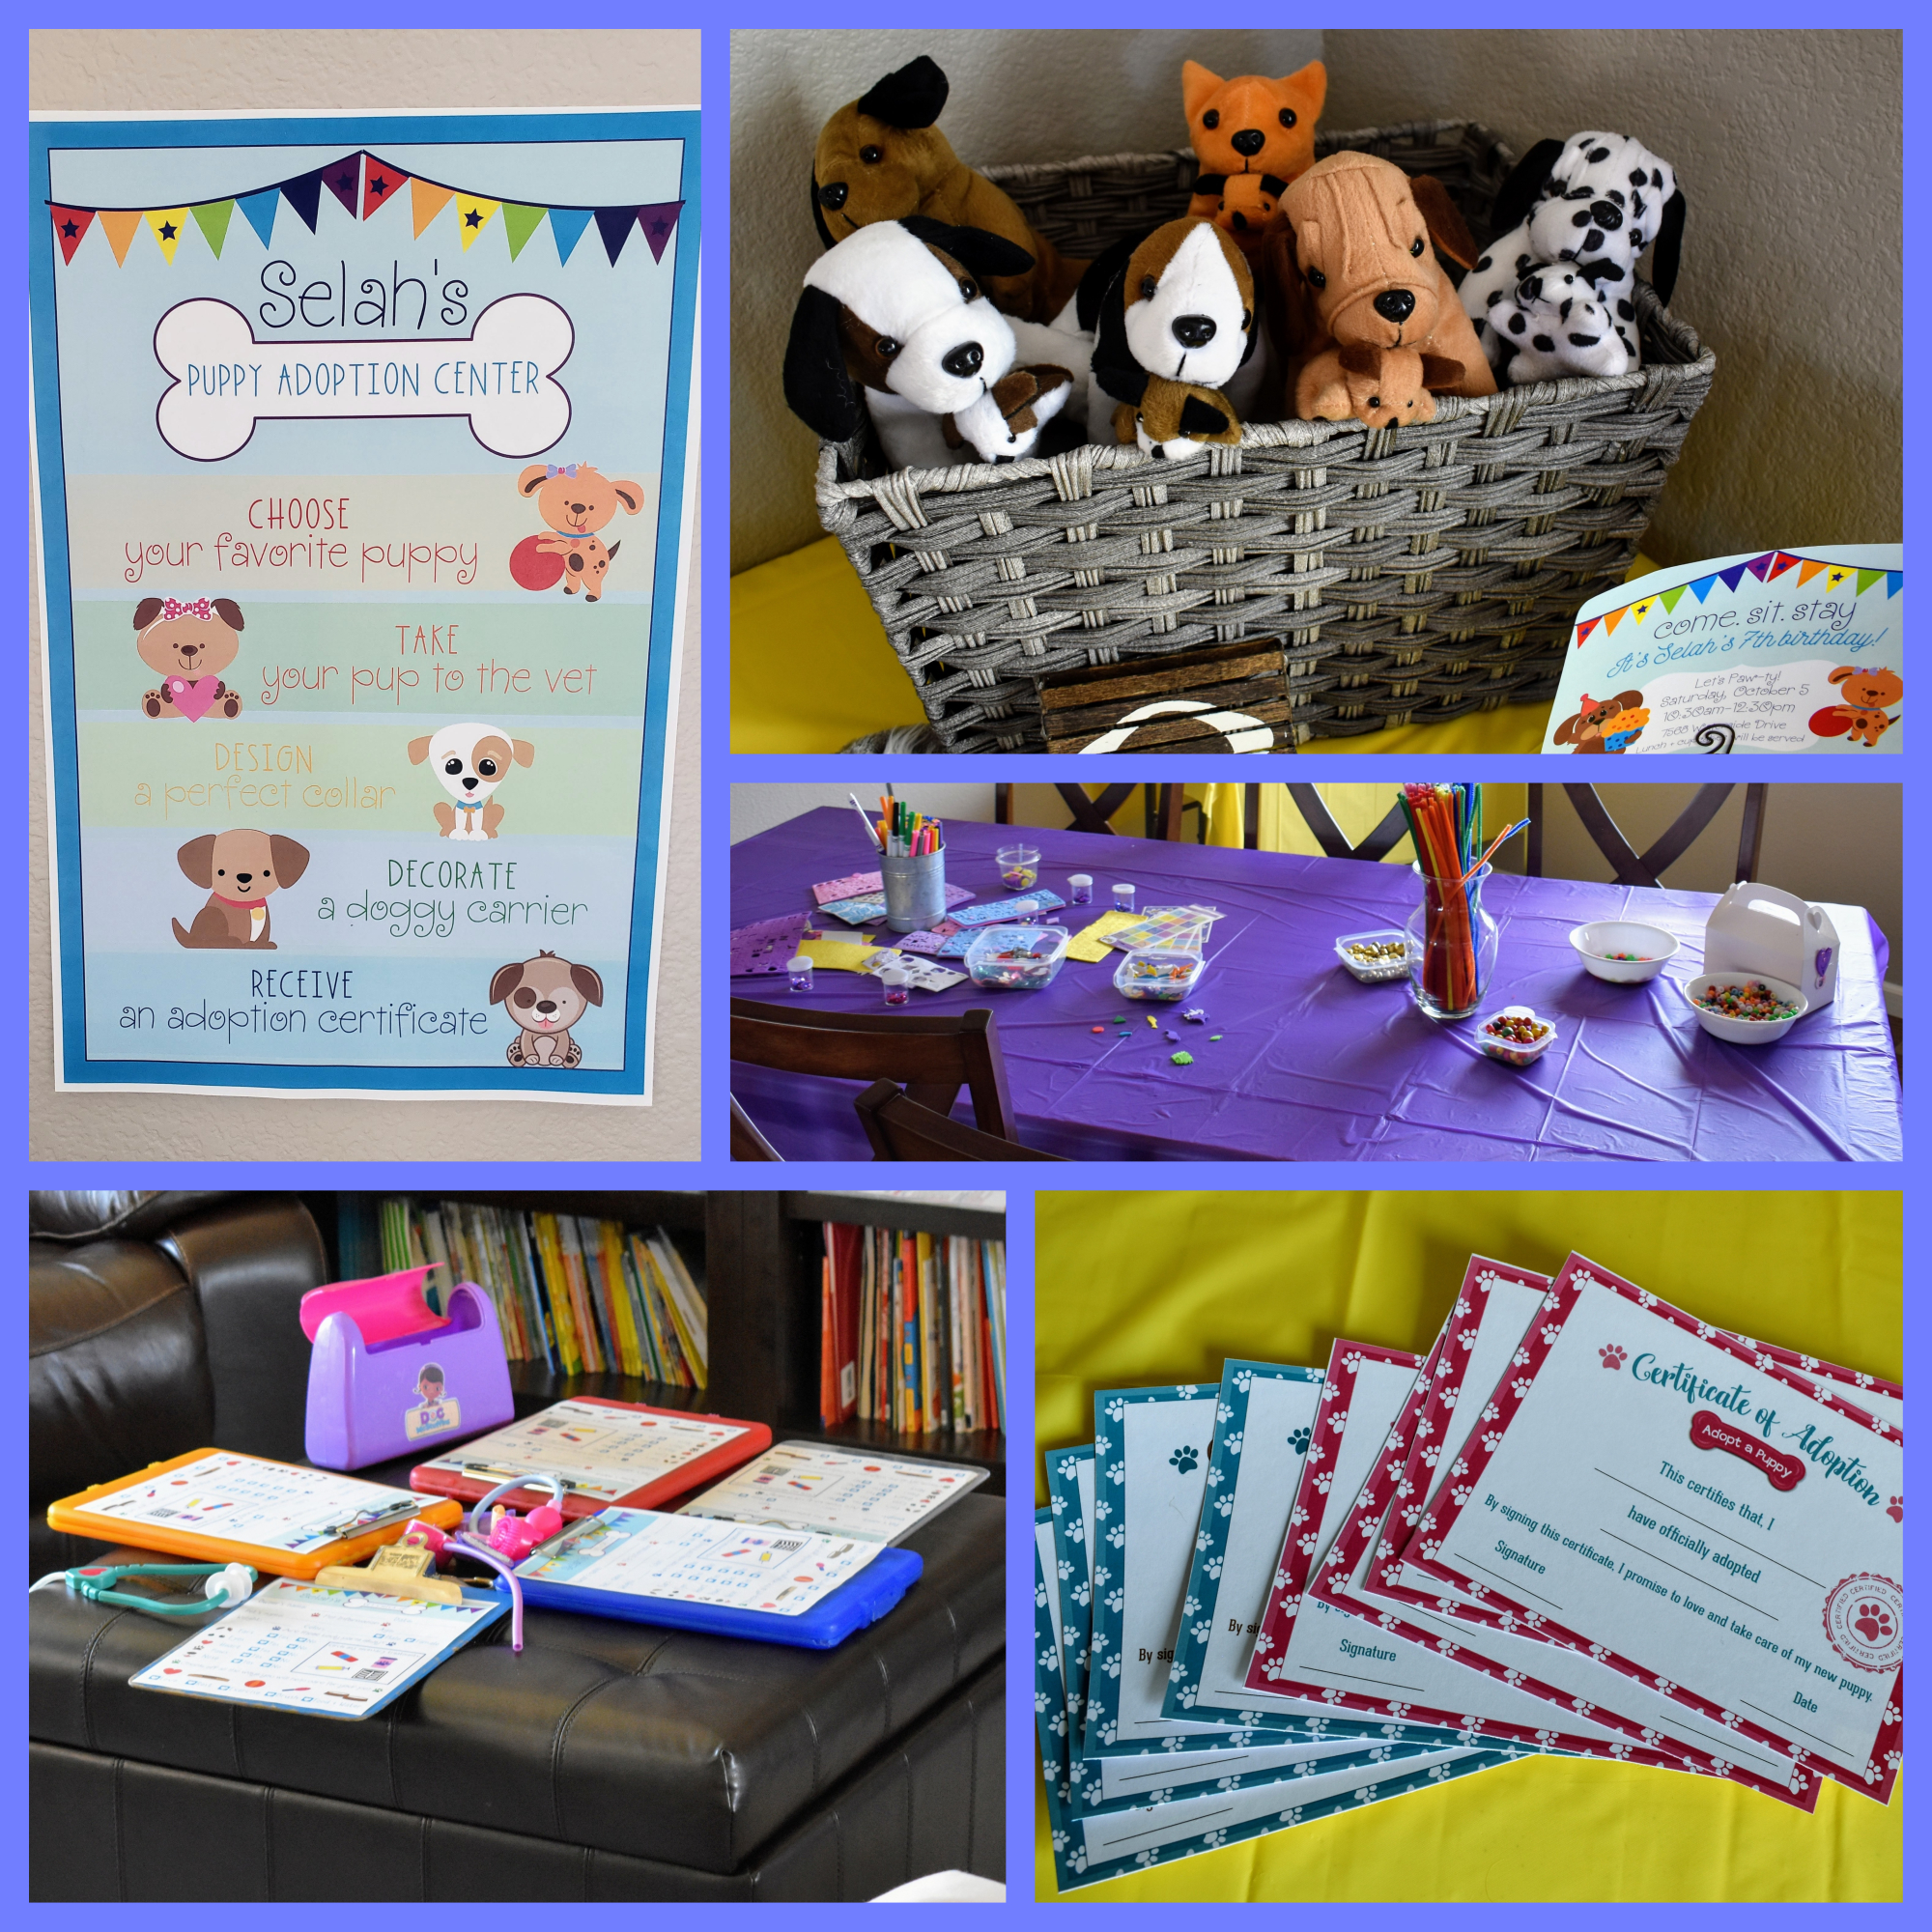
We set up our dining room as the party room and adoption headquarters. Fun fact: I learned that we can print 11×17 papers so I made posters for the first time ever! You can see the basket full of puppies “that we found abandoned on the side of the road,” the carrying cases the kids got to decorate, adoption certificates and a bunch of leftover Great Wolf Lodge ears for the kiddos.
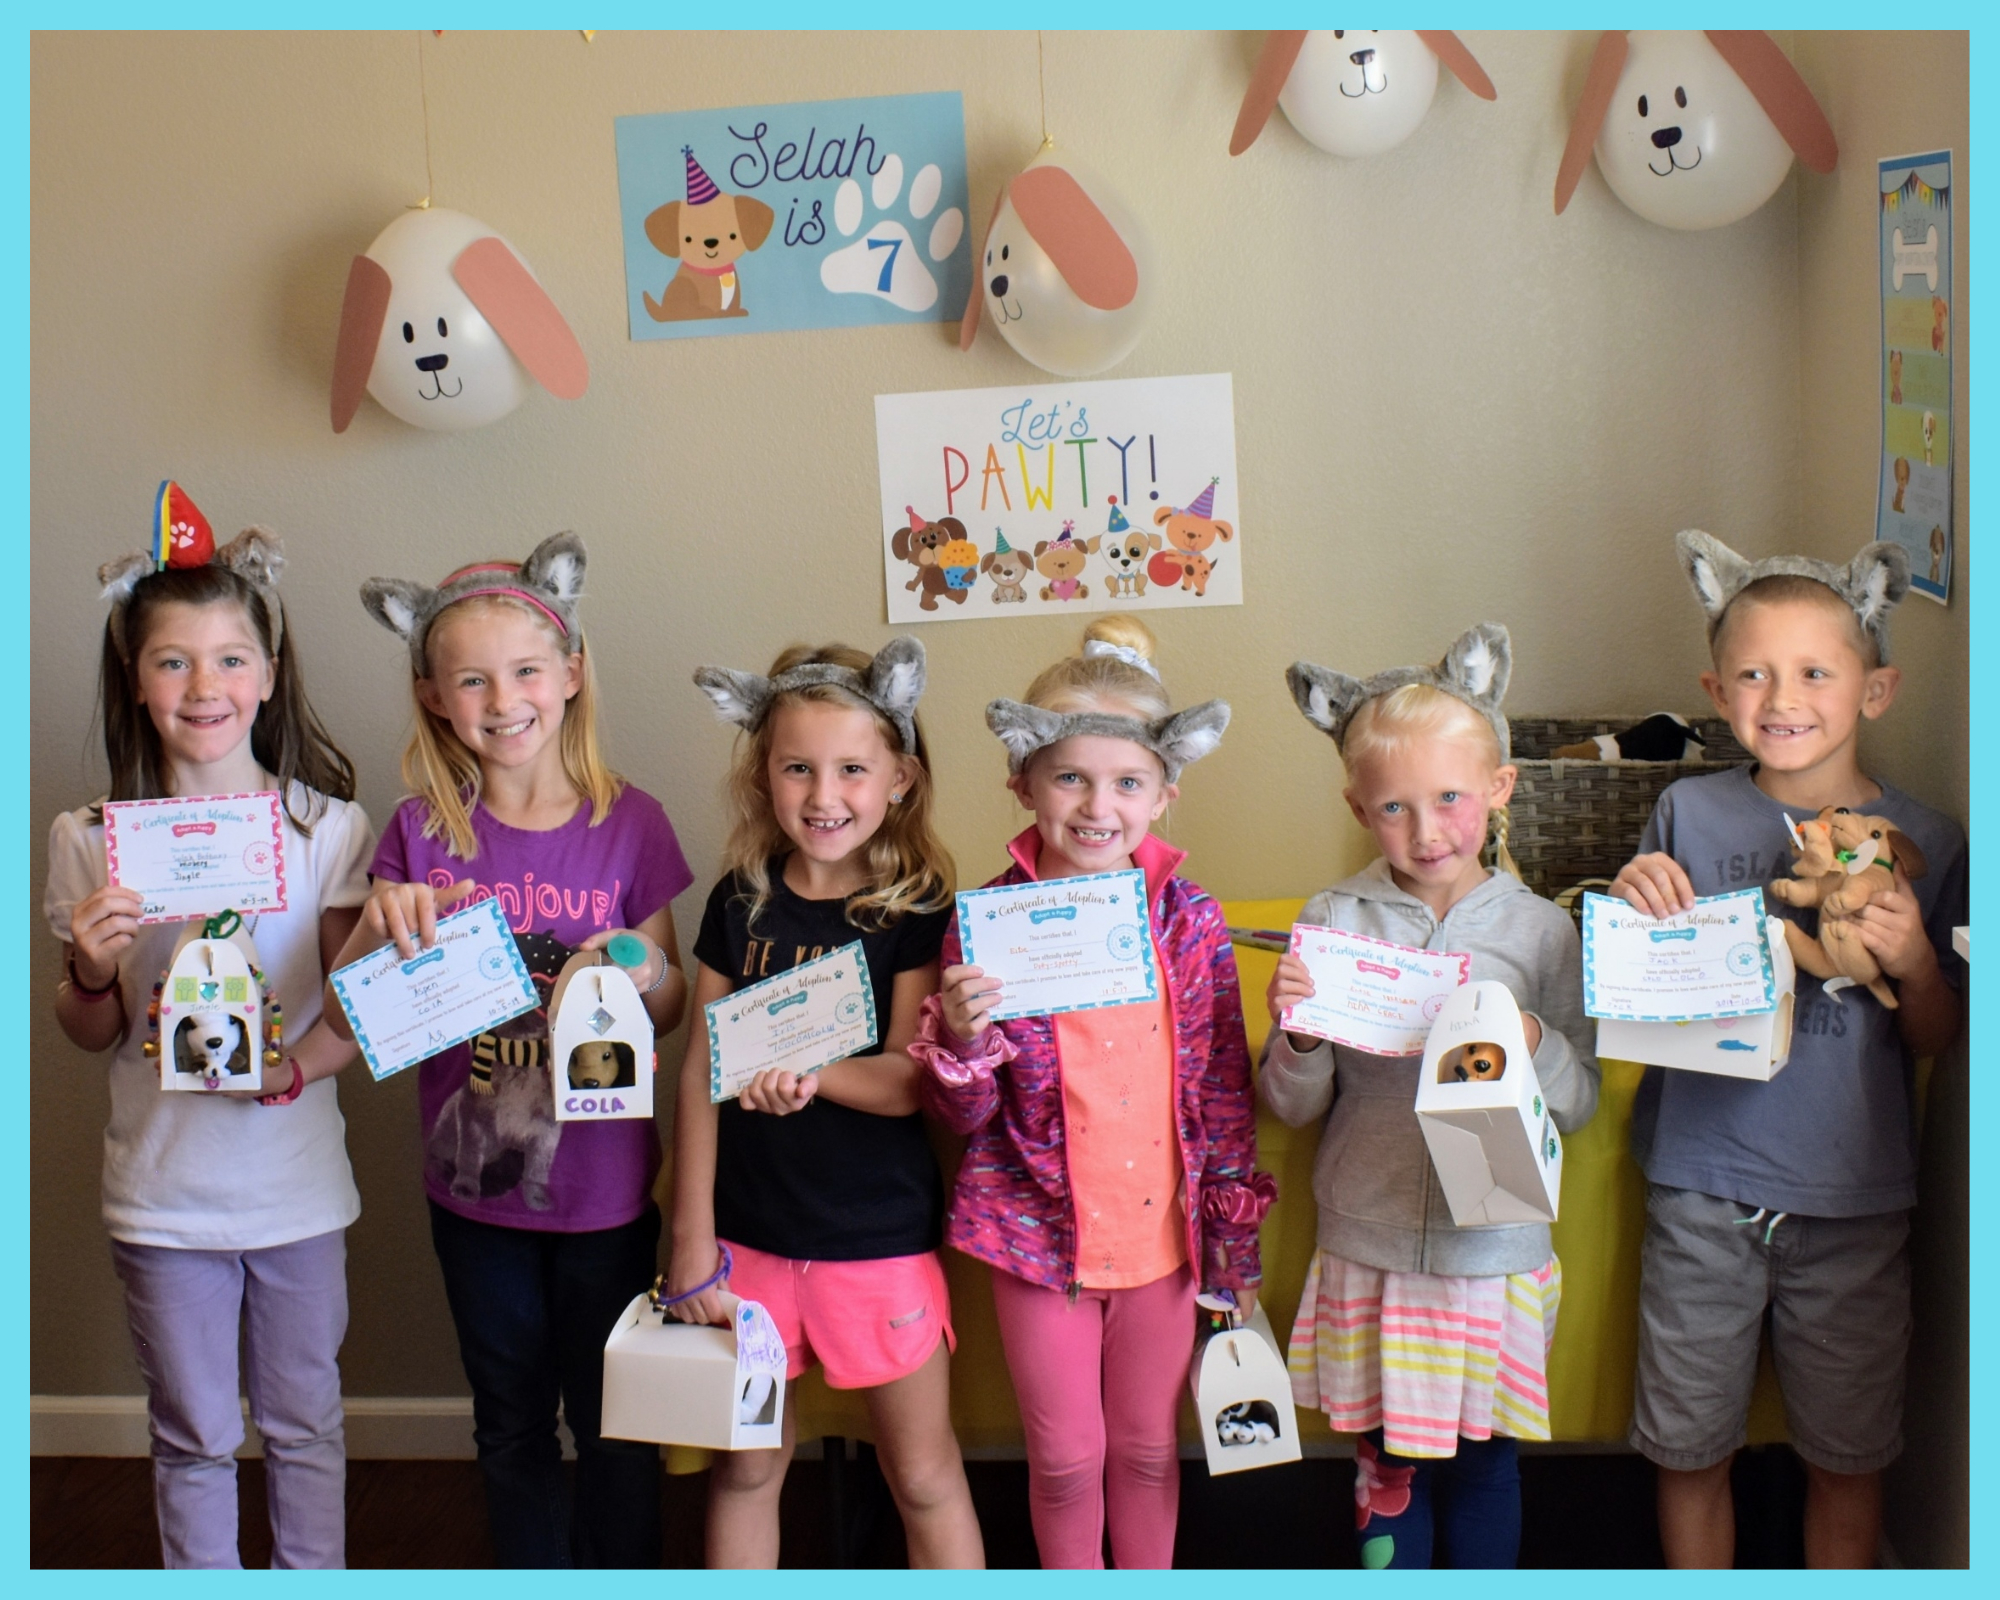
The kids’ eyes were HUGE as I explained we had found these puppies and they needed homes! I said they could each pick one and they just stared at me with mouths gaping and said slowly, in awe, “Do we…get to…KEEP…them?” When I said, “YES!” they just giggled with gratitude and joy and wonder. My goodness, I love this age!
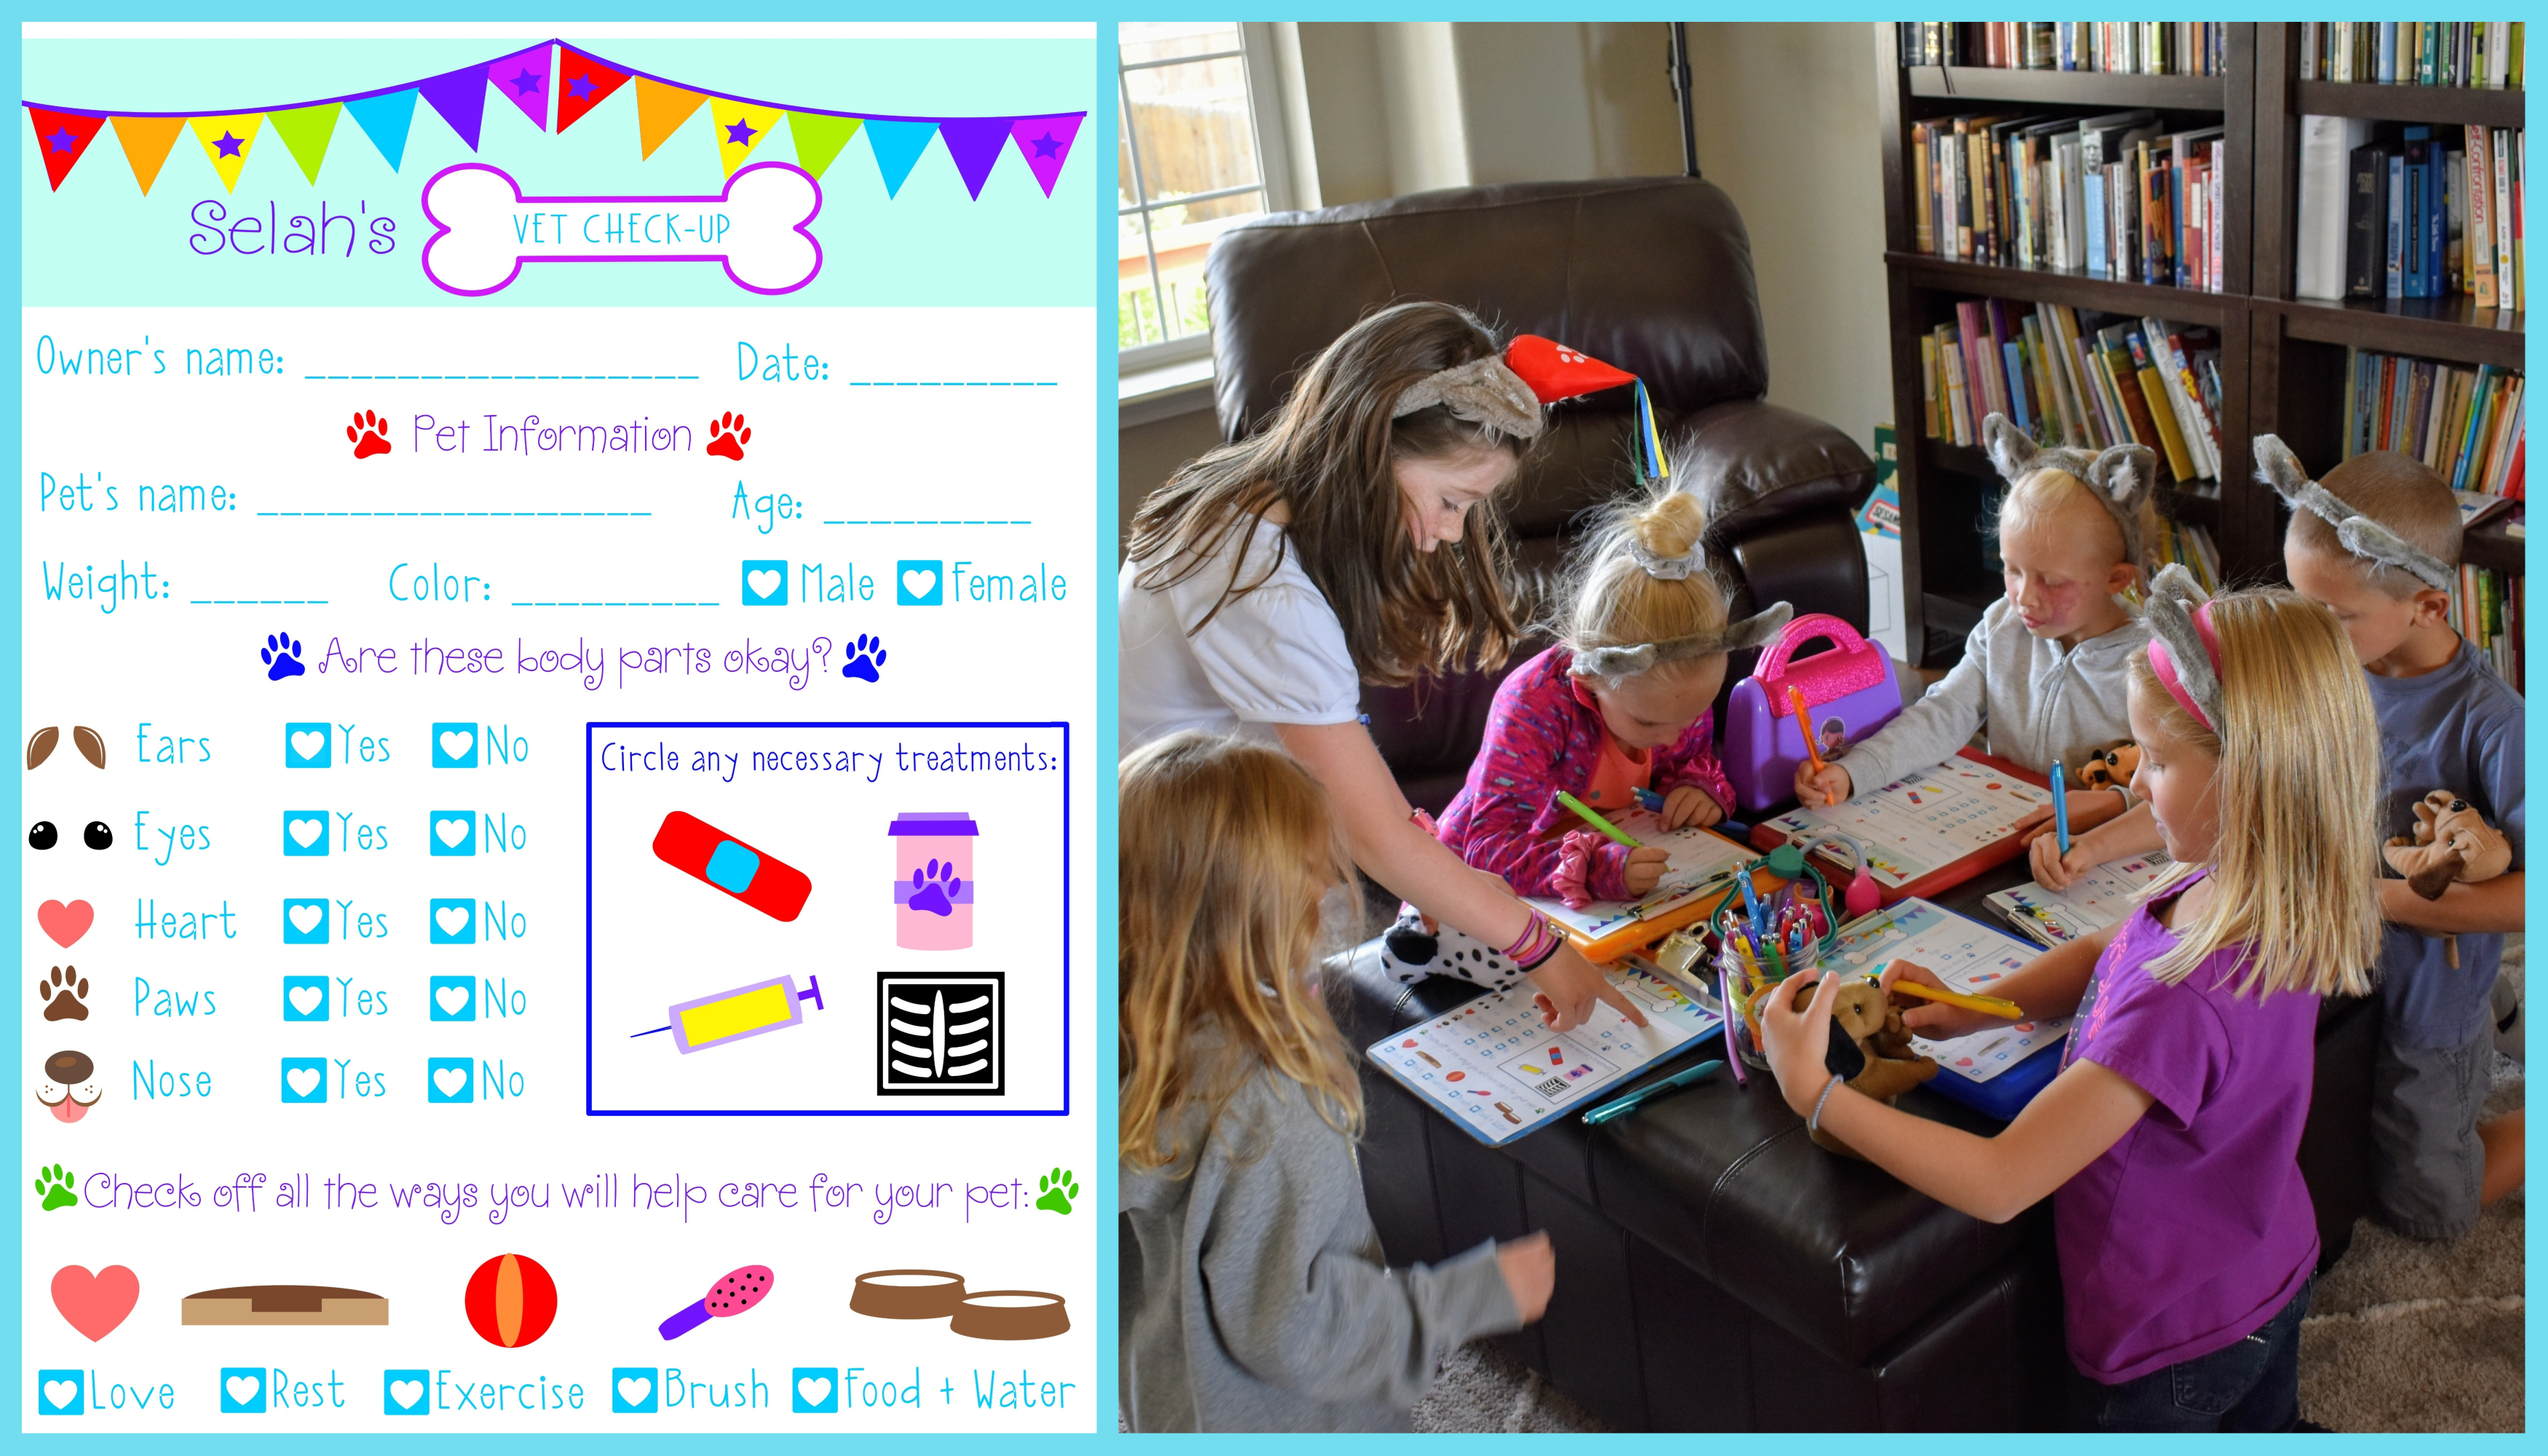
Here are the various stations, with instructions on the “Selah’s Puppy Adoption Center” poster. Choose your favorite puppy, take your pup to the vet, design a perfect collar, decorate a doggy carrier, and receive an adoption certificate. The kids each selected a puppy and we headed to the Vet’s office! Selah had set out clipboards with “Check-up” sheets attached and various vet supplies.
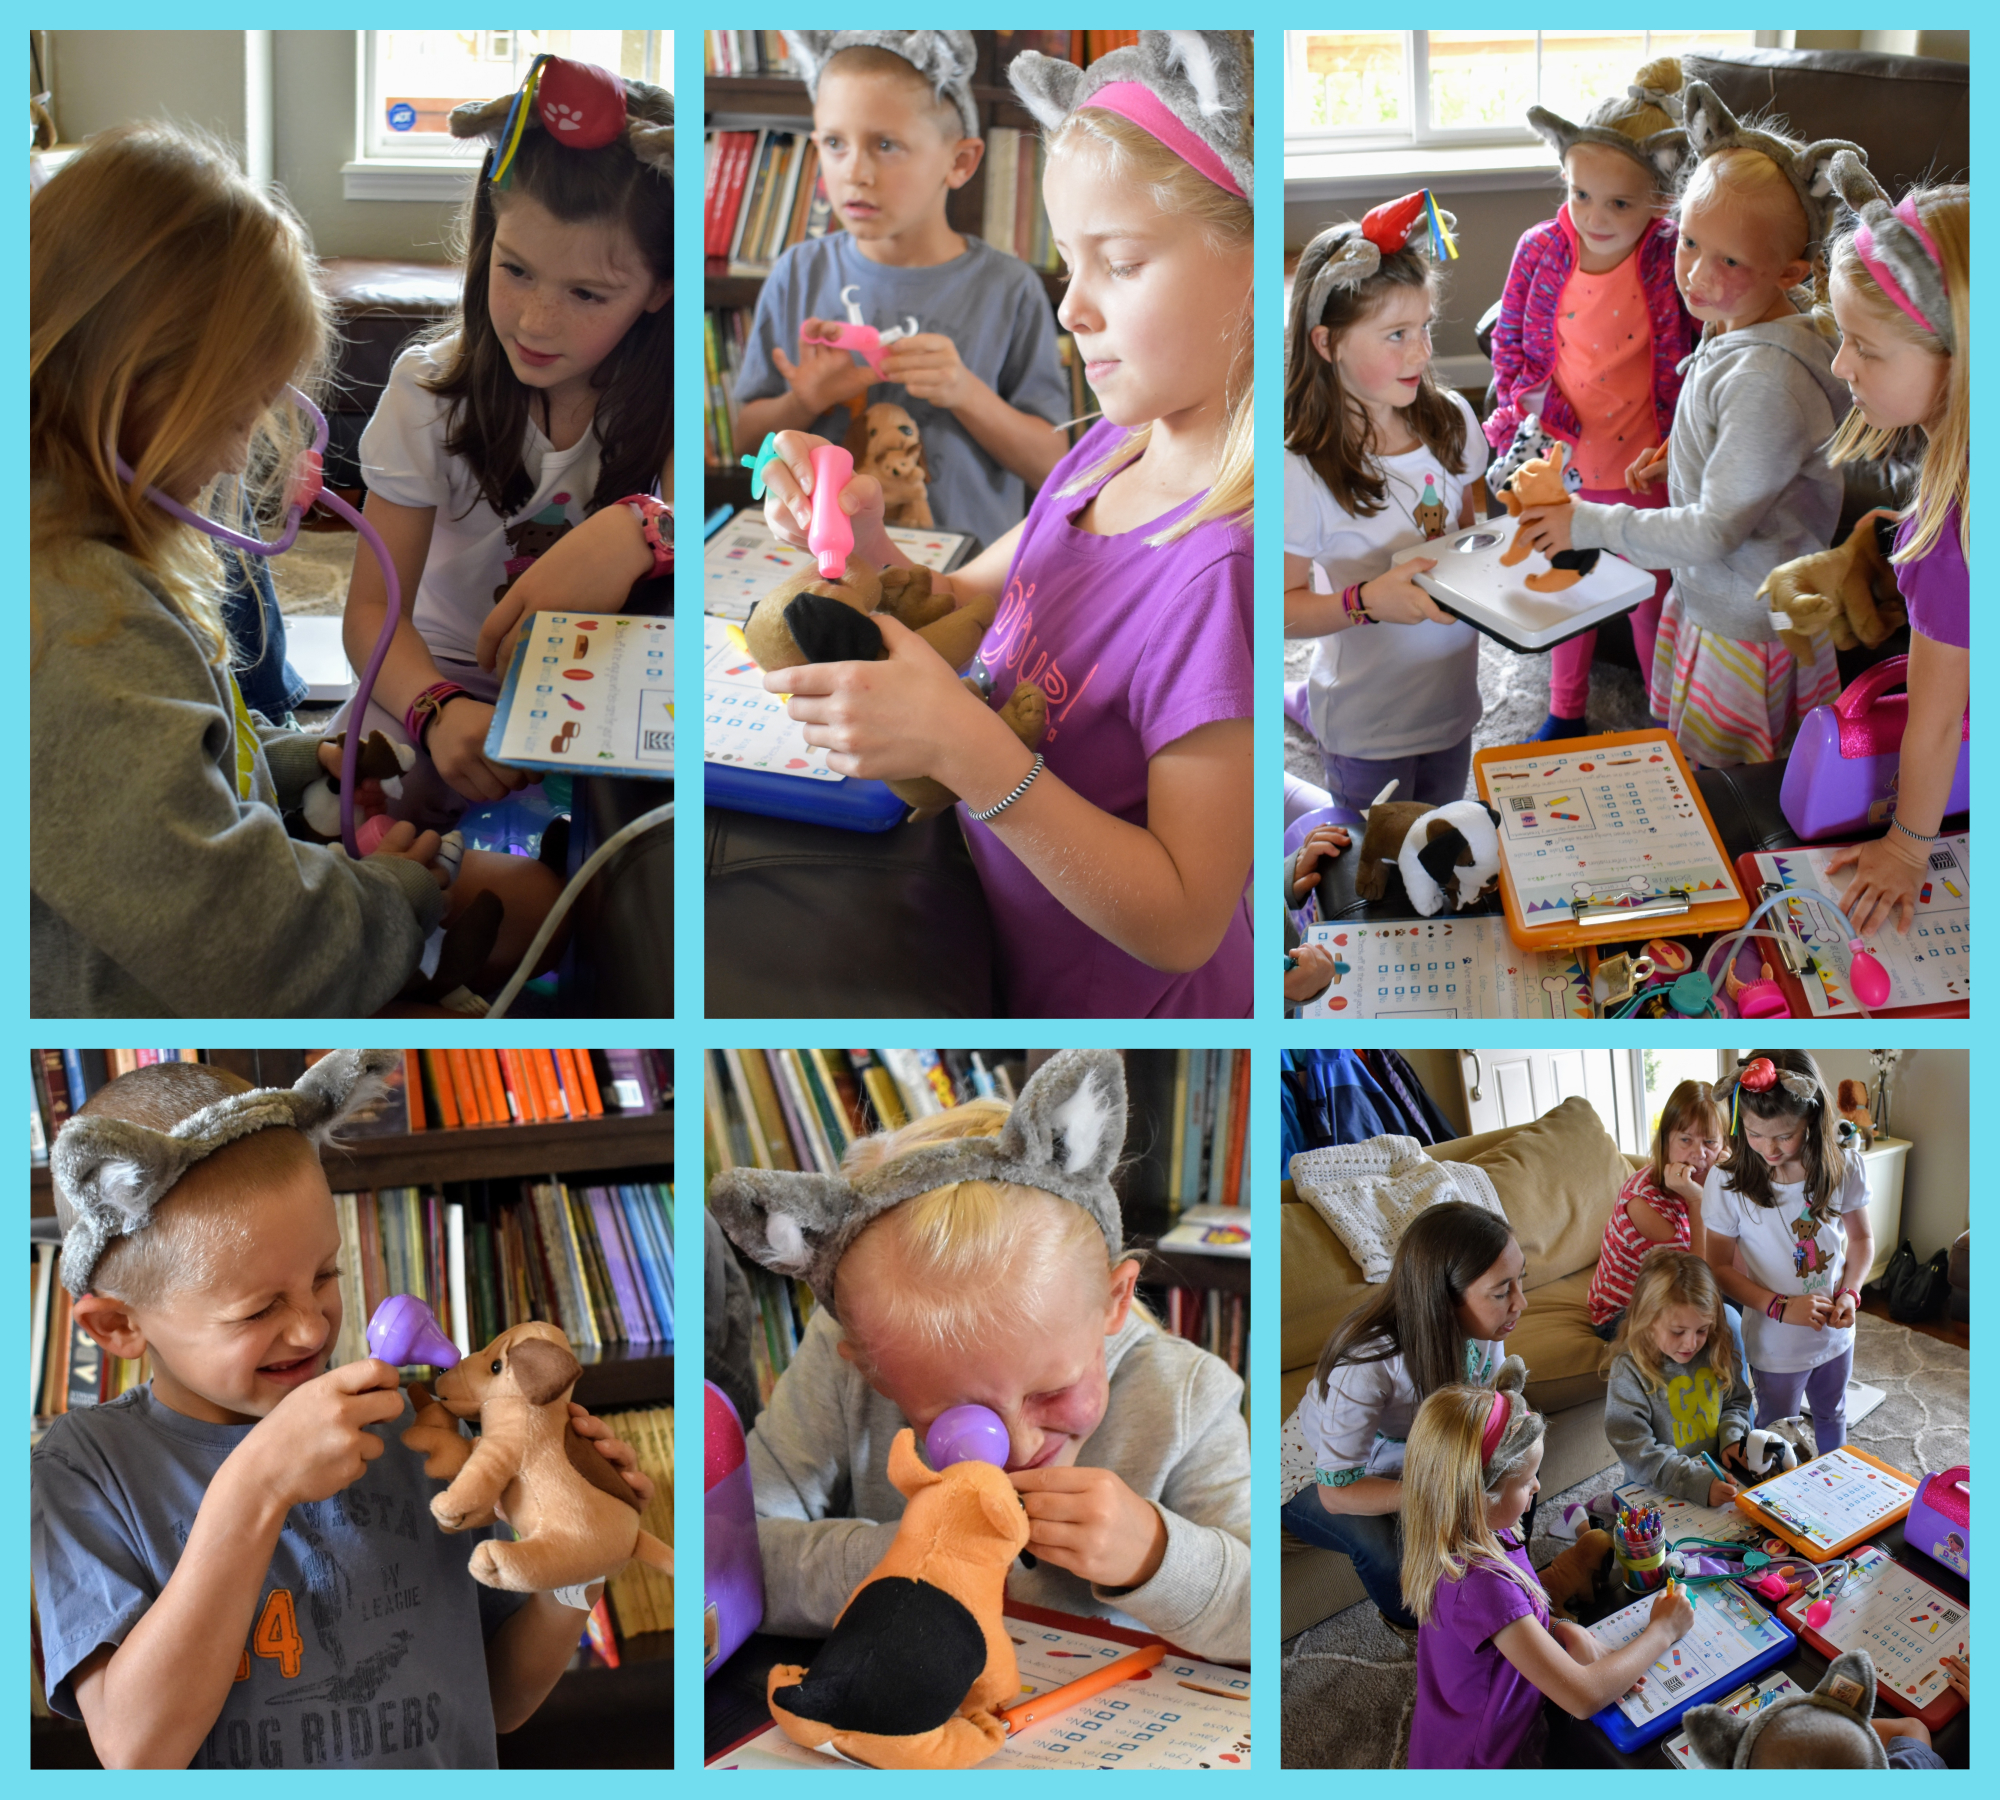
I created this “Check-up” sheet after scrolling through several ideas. They were perfect for giving the kids a guide as to how to take care of their pets. I was fully expecting Selah to jump in and examine her puppy but, instead, she took on a teacher (or head veterinarian?) role and helped each friend one by one, answering questions and instructing them on how to fill out their forms and take care of their puppies. It was adorable. I was hoping this station would be fun for the kids, but I was surprised to see how FULLY engaged and “in it” they were. They carefully, diligently, and quite seriously inspected their little puppies with stethoscopes and examining tools. We weighed them and checked their eyes, ears, hearts, paws, and noses. We bandaged, provided medicine, or x-rayed them if necessary. When we were certain we had 6 healthy puppies, we moved onto crafting!
I had purchased these gable boxes from Hobby Lobby and Brian cut a hole in the front so their puppies could see through. Then, I just pulled out every sticker, gem, and crafting supply I had that might work to decorate them. They made adorable little carriers for their pups!! I also set out pipe cleaners and various beads and jingle bells so the kids could decorate collars. I cut out little circles from cardstock so they could create a tag for the collar. It was fun to see their creativity!
Once they had finished their carrying cases and collars, they signed an official Adoption Certificate!
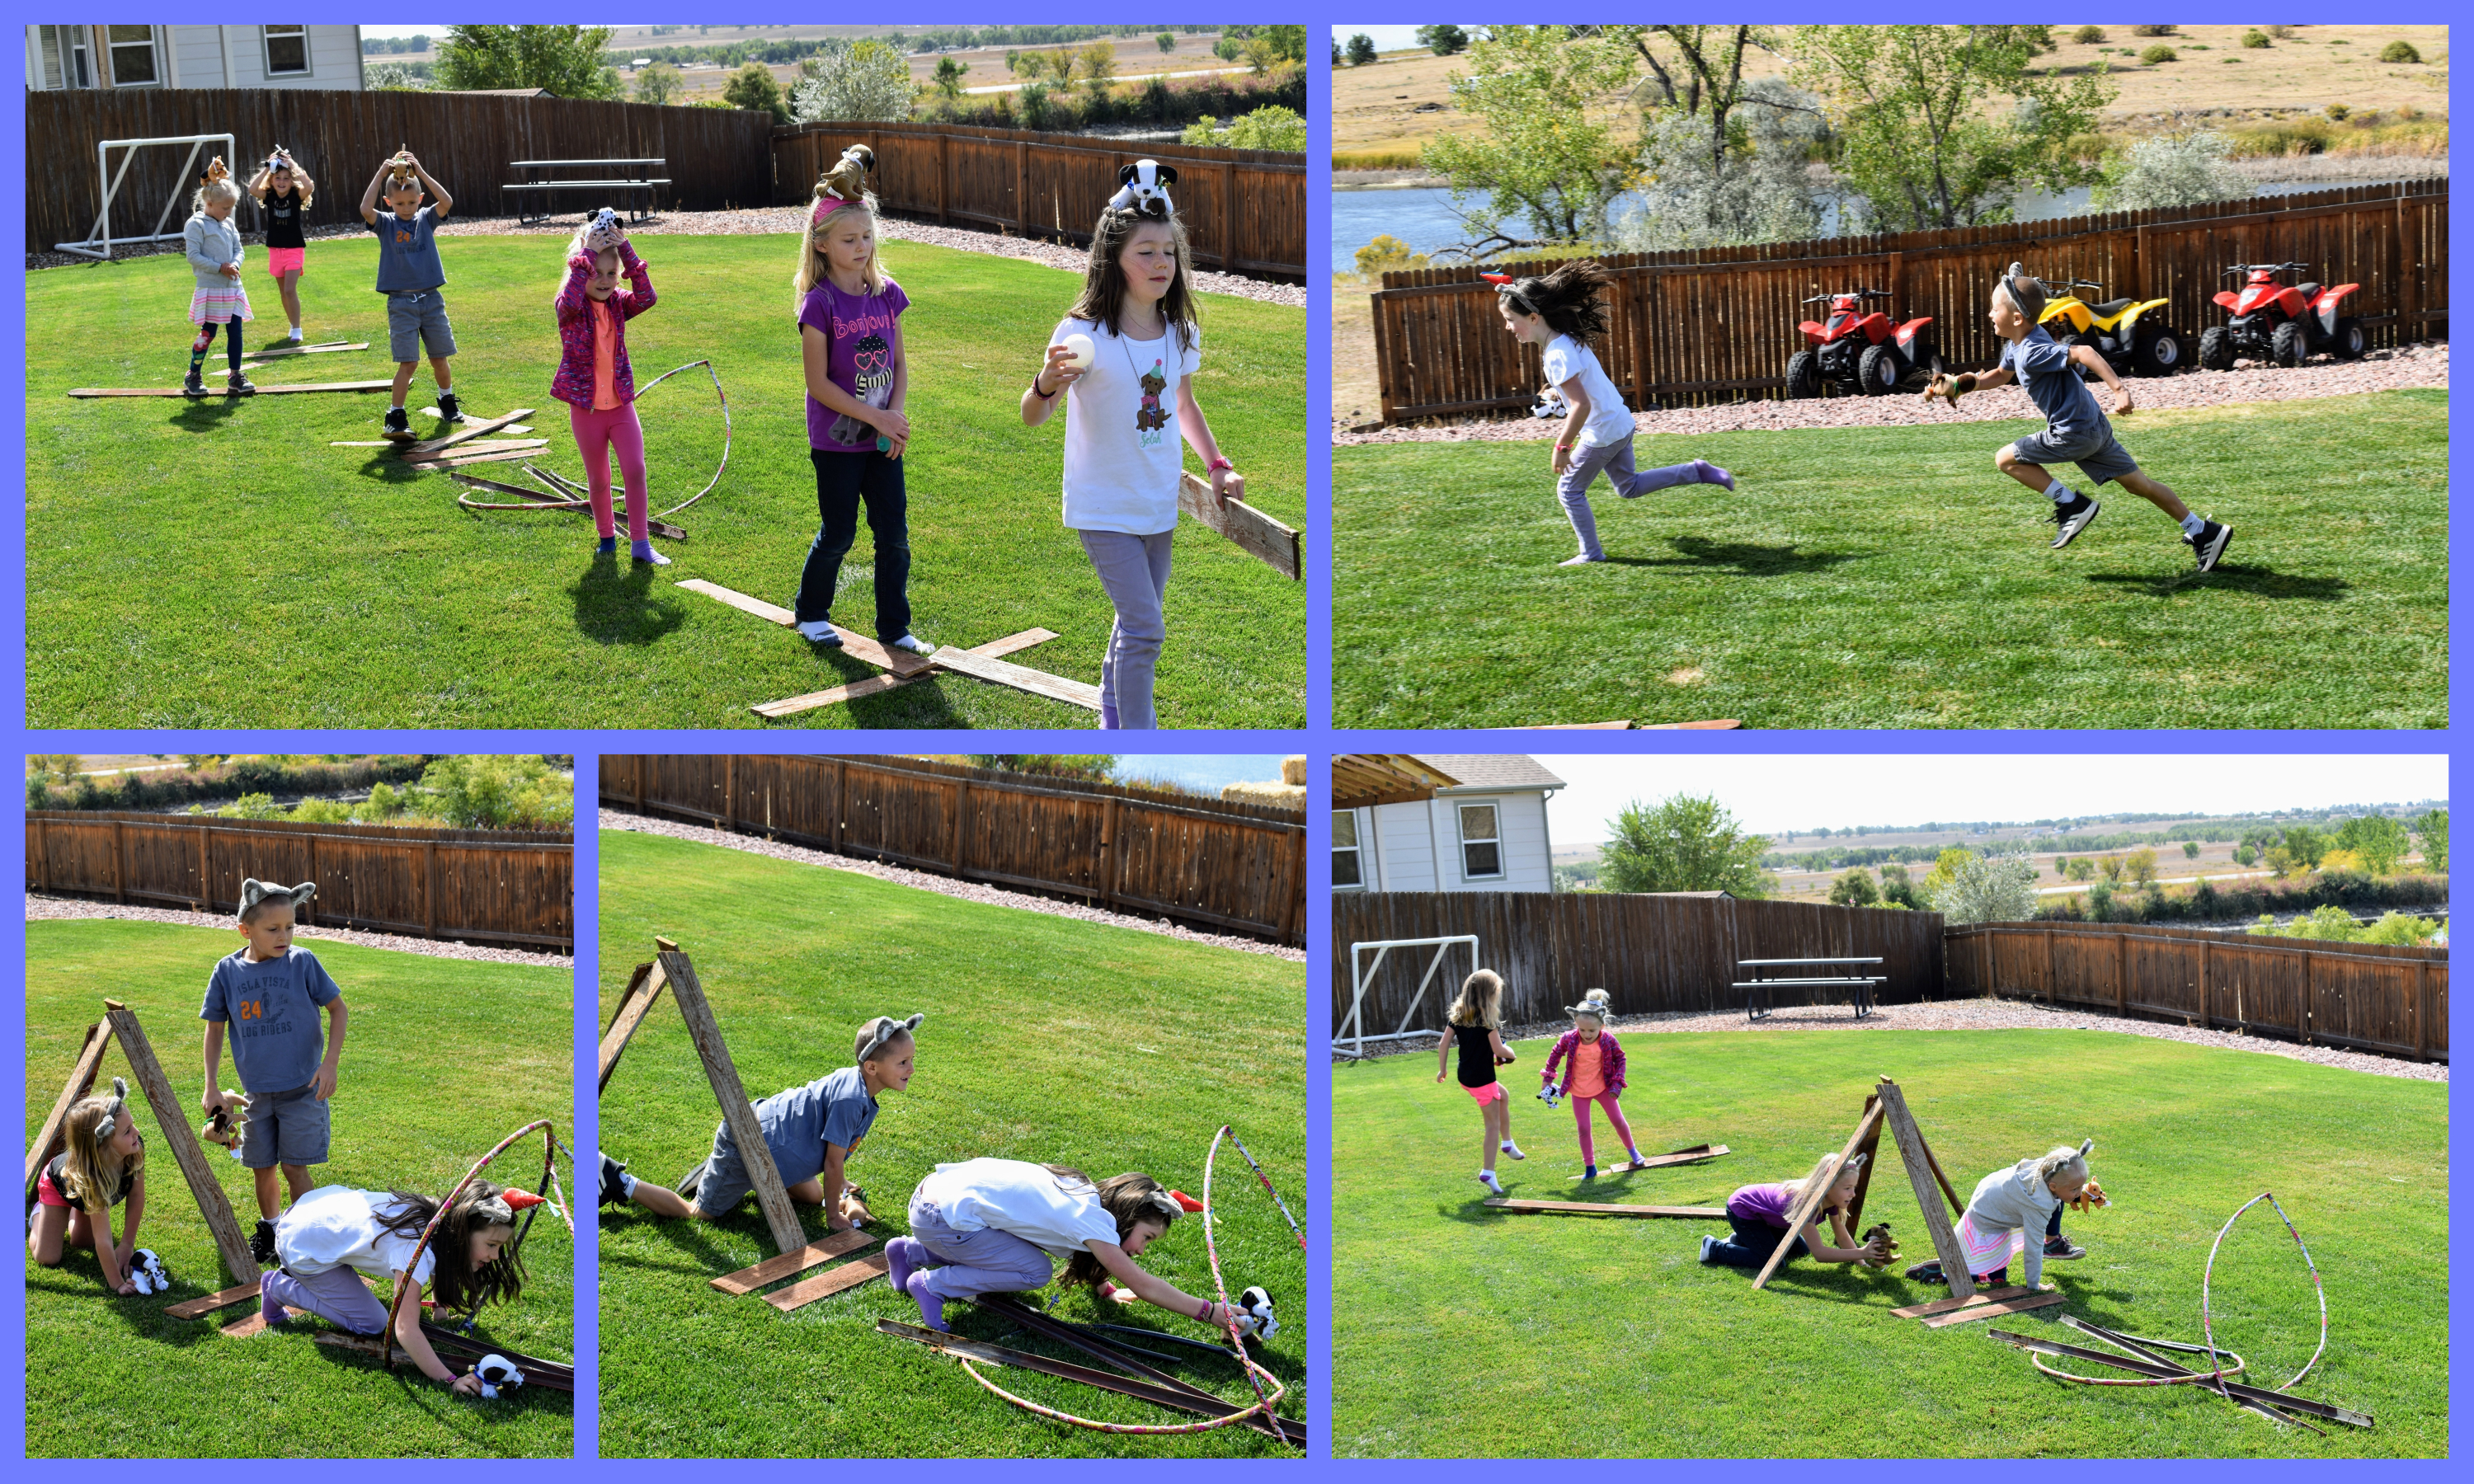
Selah was adamant about having an obstacle course for the puppies. She and Elliott had set up a little course in the backyard and once the puppies were “officially” theirs, they took them outside and ran through the obstacle course with them! Meanwhile, I set up for lunch inside.
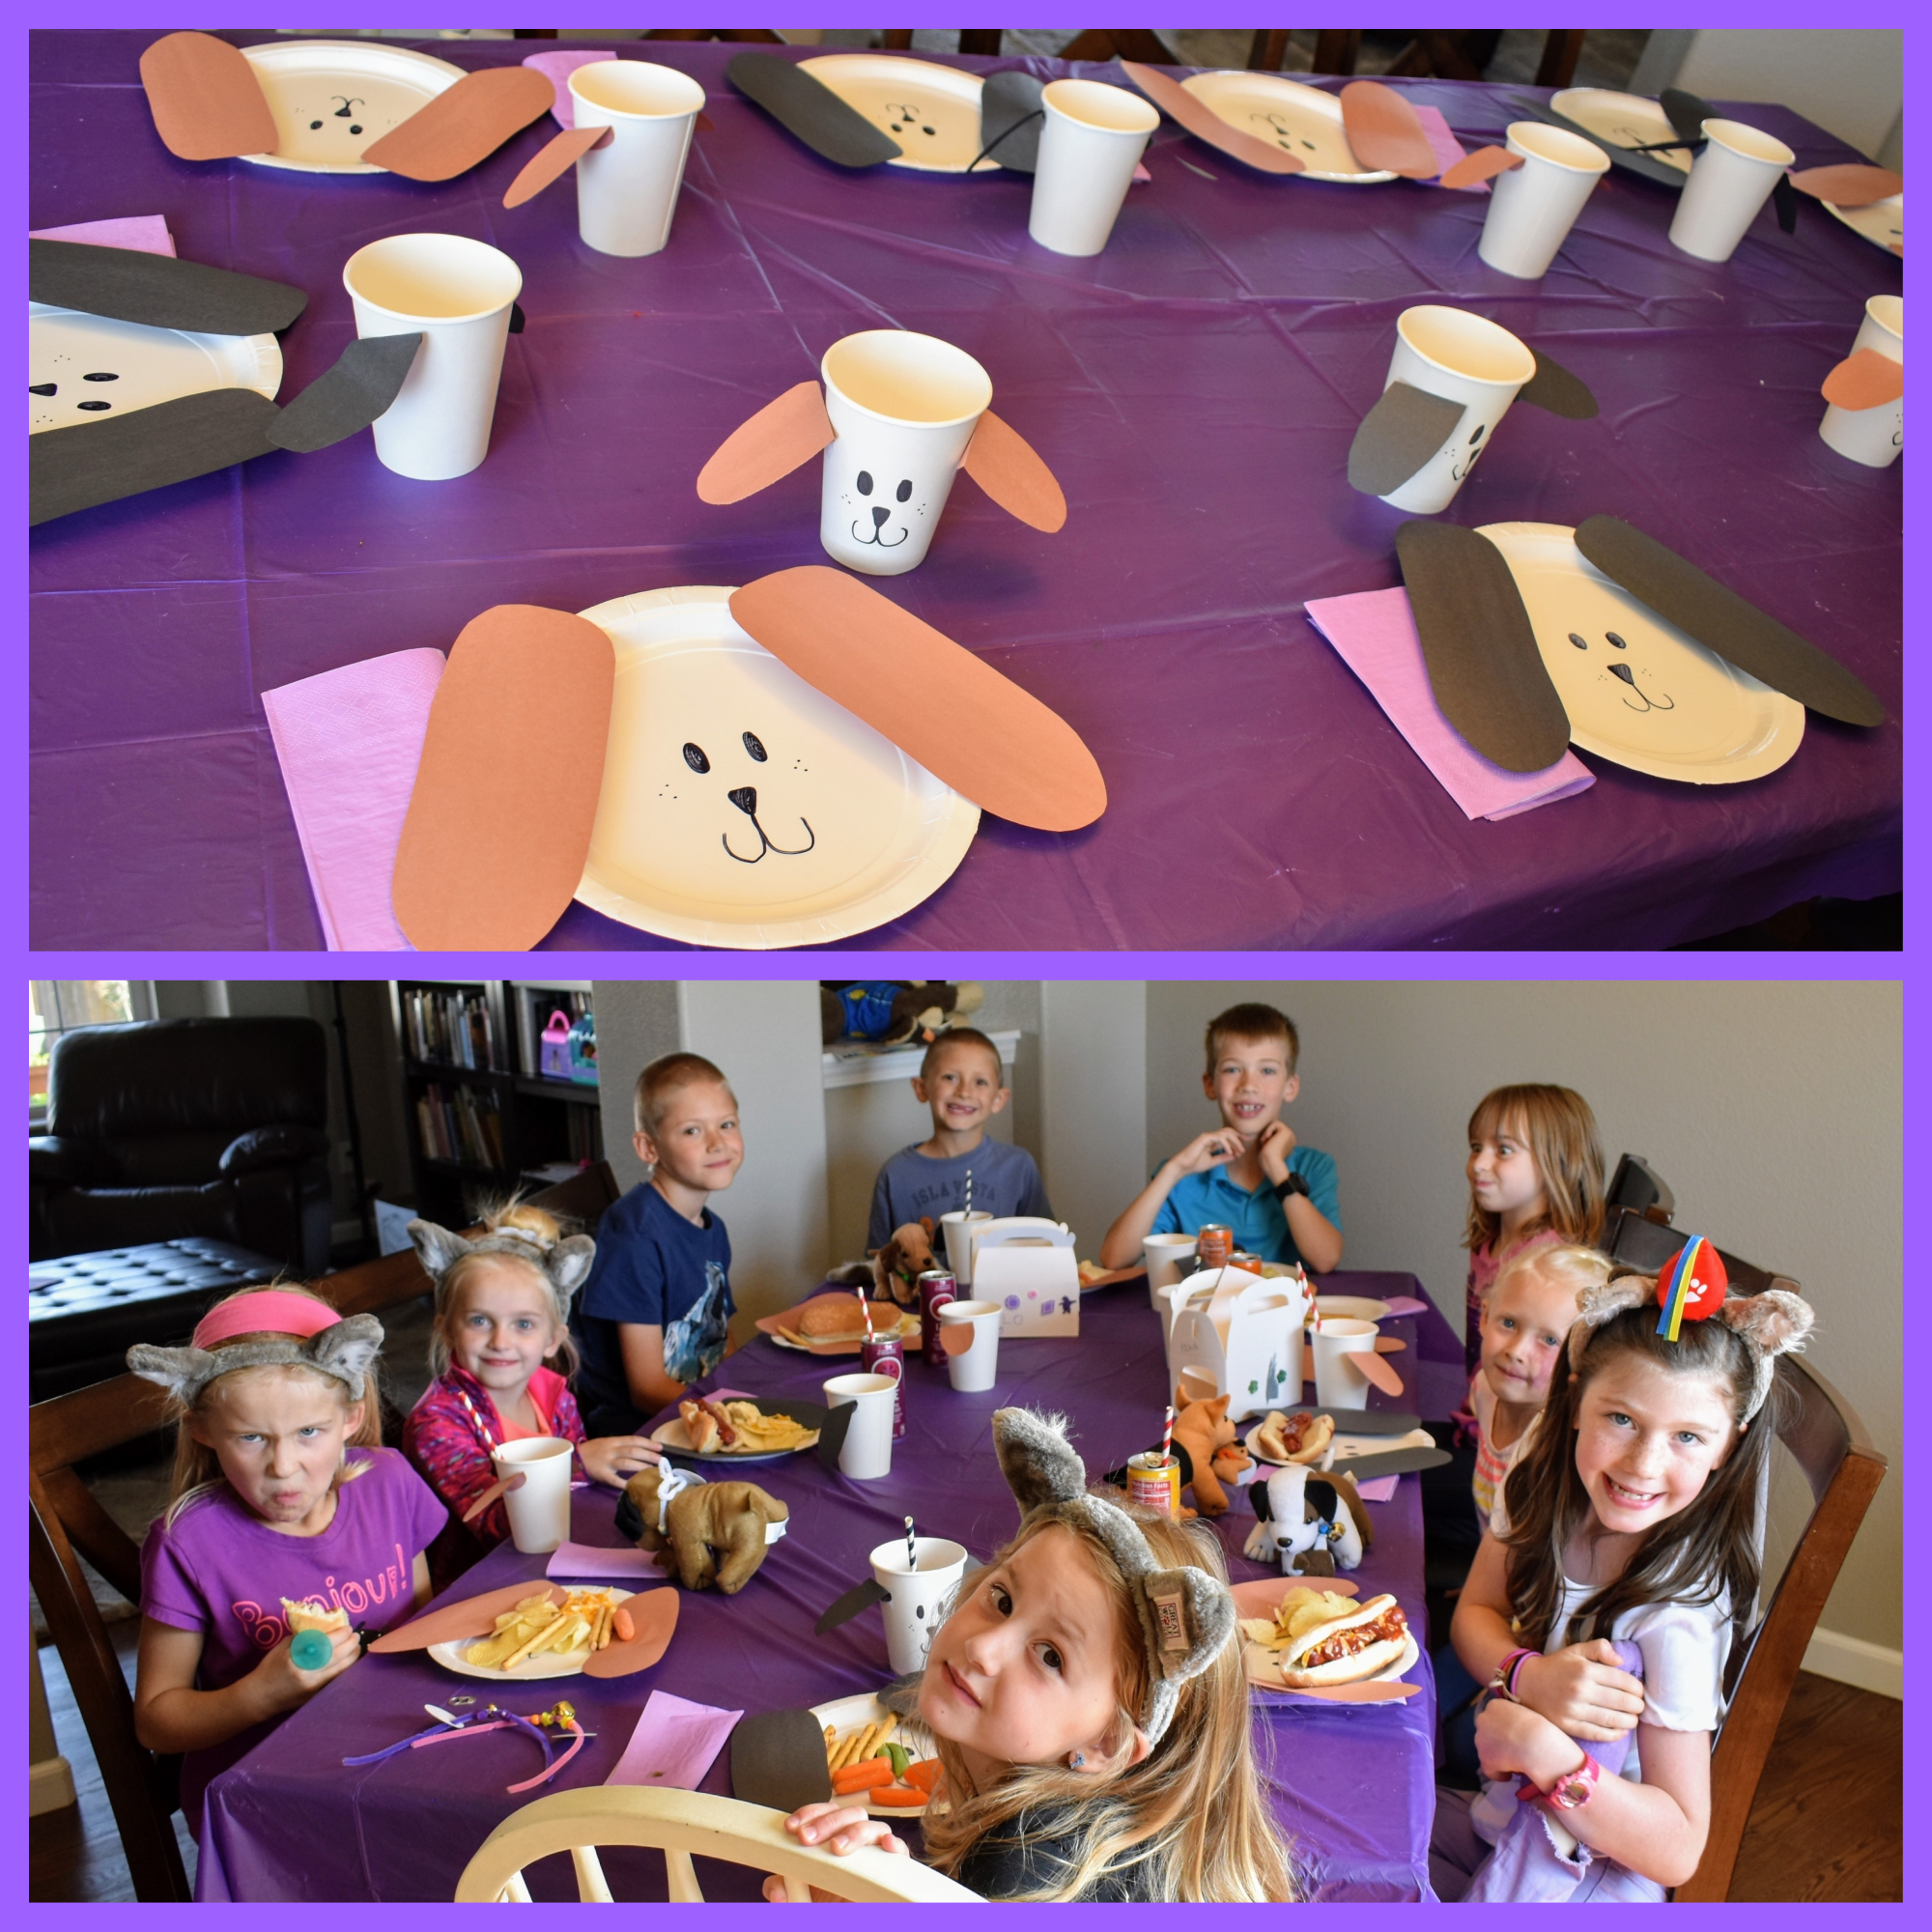
We, obviously :), decided to have a HOT DOG BAR for lunch, along with some “puppy” food. As we were talking about various toppings we could have out for hot dogs, Grandma suggested chili. I immediately got the vision in my head for our “Hot Dog Cafe”…Choose between a “Hot Dog” or a “Chili Dog,” (check out the picture below) and then add your various toppings!
In addition to hot dogs, we had Paw-tato Chips, Veggie Kibble, and Fetch Sticks. Super fun :).
We had a couple older siblings playing with Elliott while the younger ones paw-tied, but they joined us for lunch!
For her birthday “pup-cakes,” Selah requested Mud Pie, which is the Moberg tradition. I made these individual Mud Pie pup-cakes and we decorate them with paw prints. The Oreo paw has mint chocolate chip ice cream inside, and the marshmallow paw has cookies n’ cream. Mmm.
Happy Birthday to you! Happy Birthday to you! Happy Birthday, dear Selah!
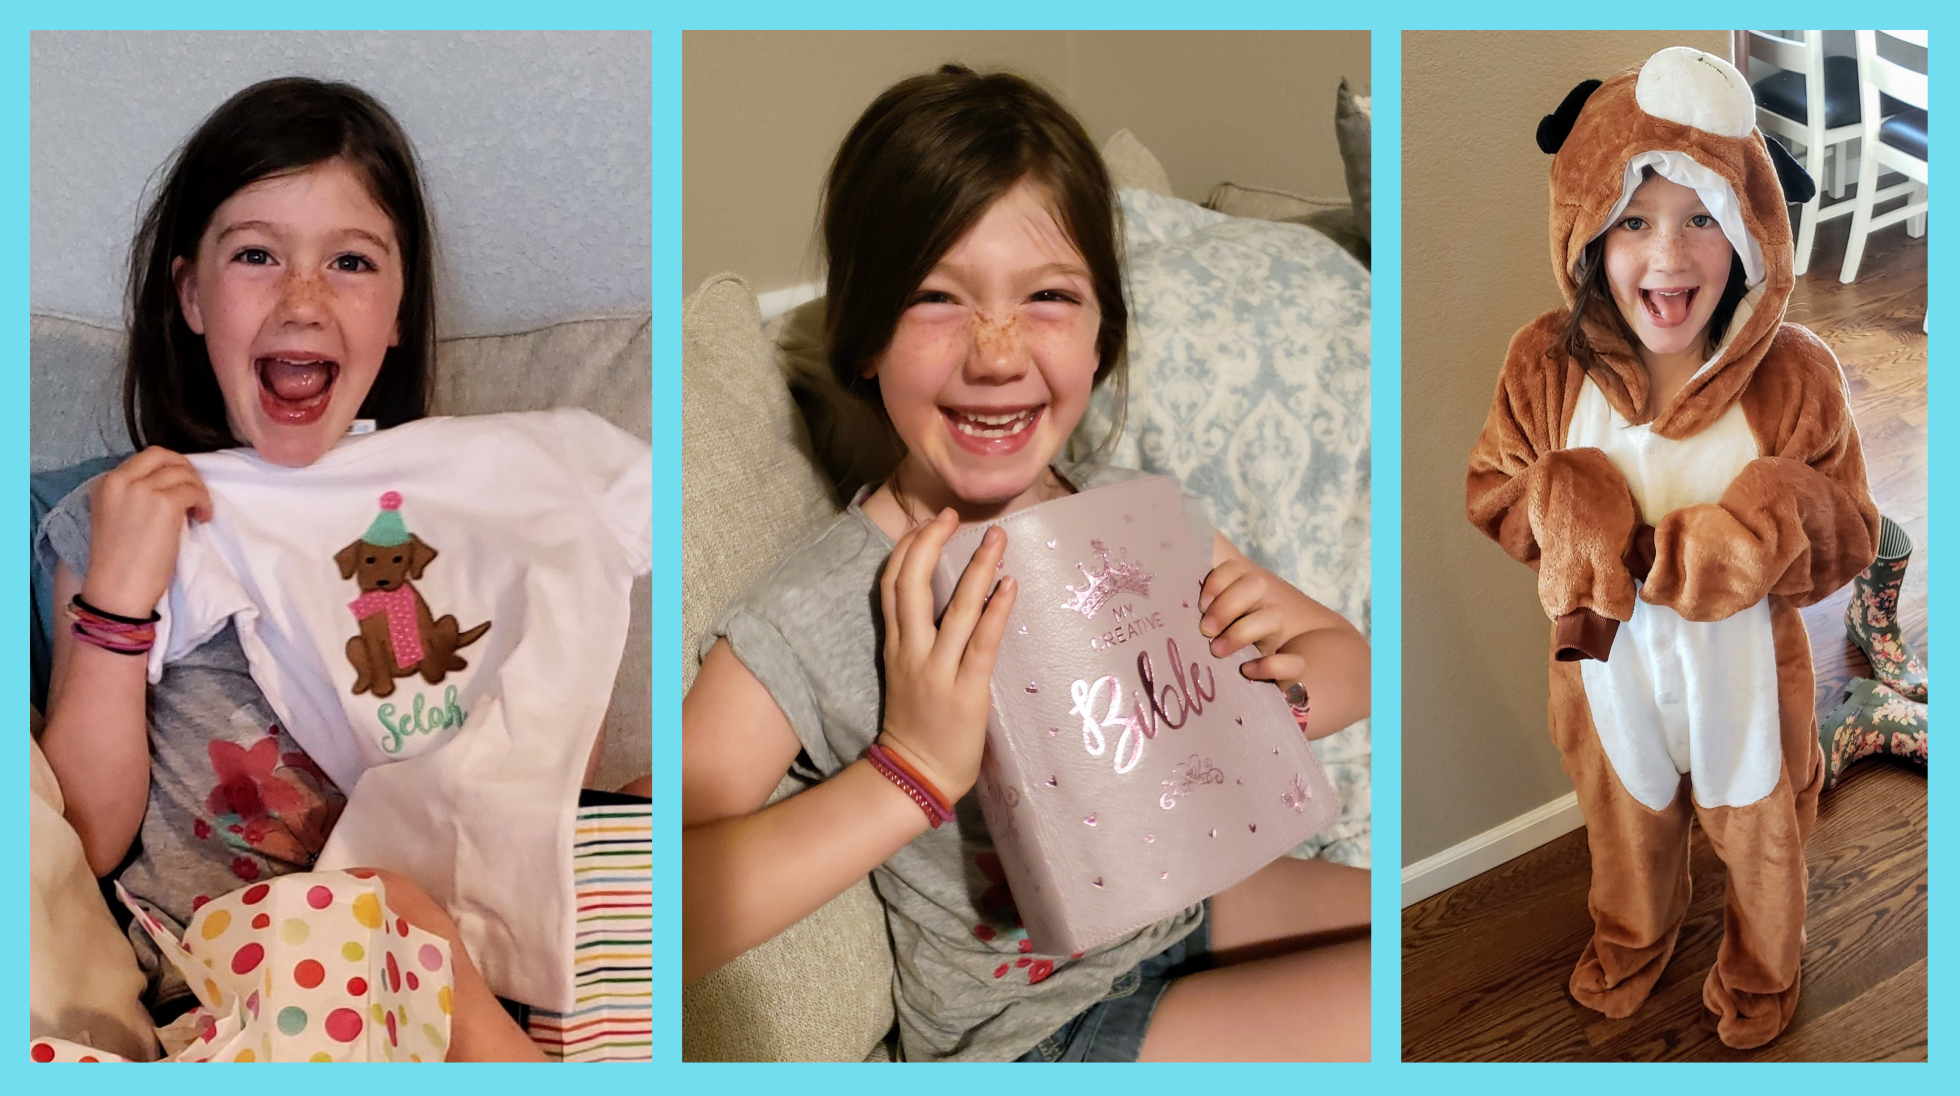
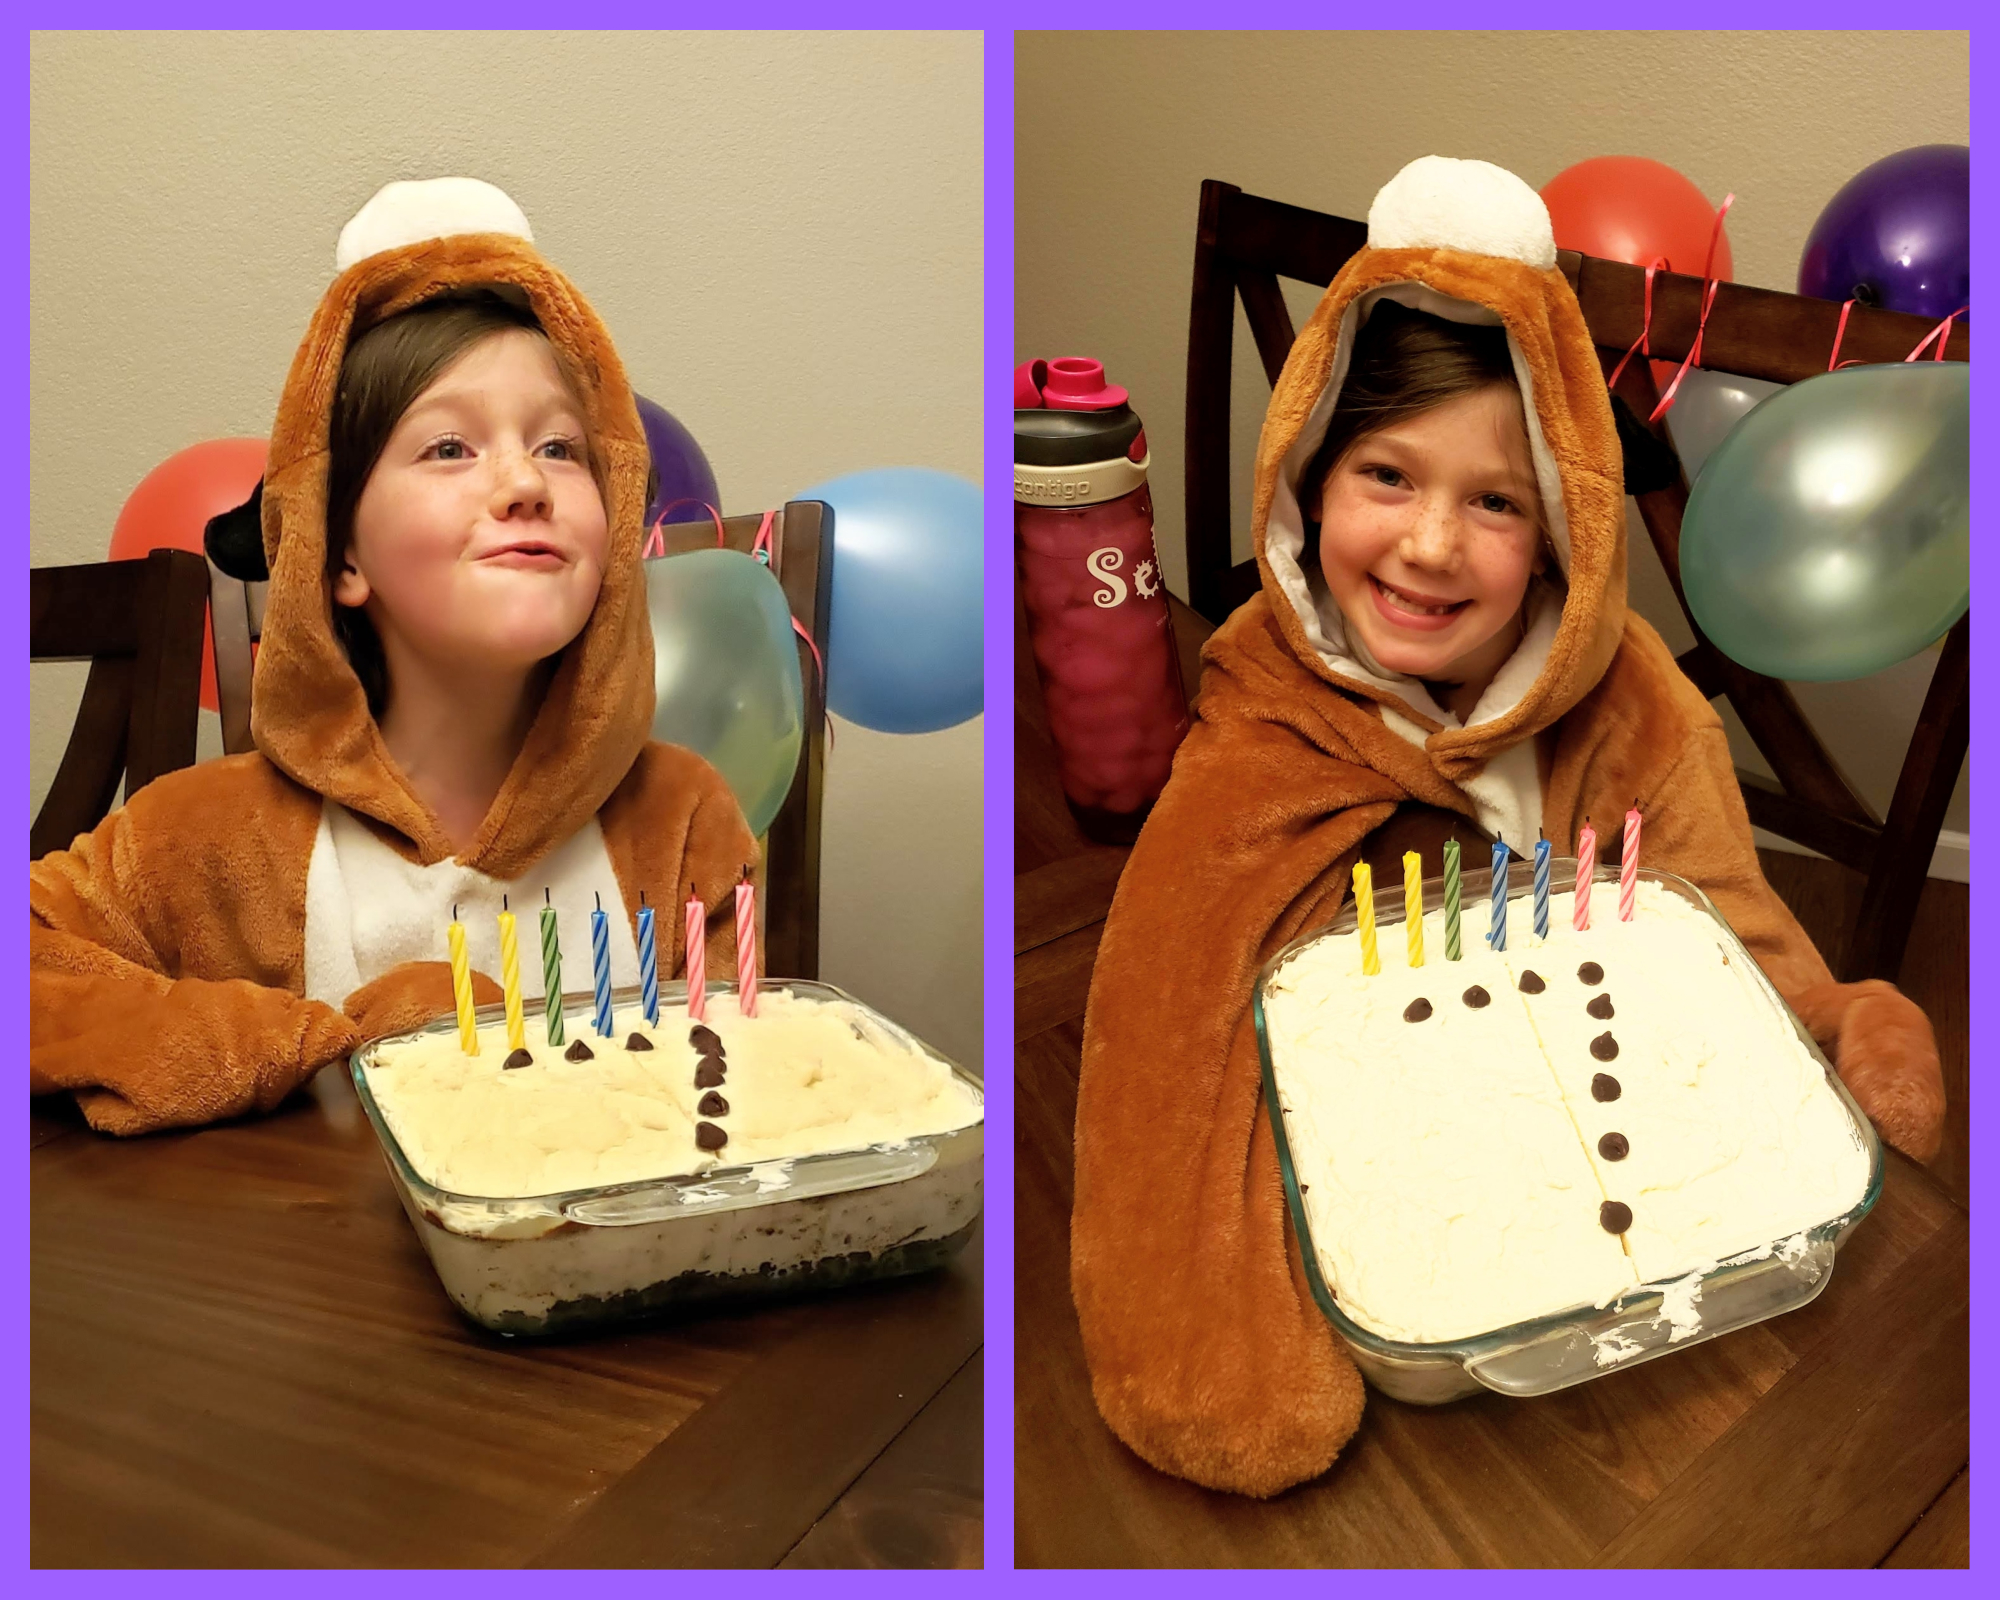
For her birthday, we got Selah three presents this year. The shirt you see her wearing (how adorable, right?!!), a bible of her very own, and…wait for it…a puppy costume.
She basically hasn’t taken the costume off since and now we all feel like we really DO have a real, live puppy in the house! For her birthday breakfast she requested waffles with fruit. We had an amazing feast! That night, we celebrated with (more) Mud Pie! Little girl by day, puppy by night. We all laughed hysterically when she put her little head down in front of her birthday cake! Look at that puppy!
She lifted her head, howled, and eventually blew out those 7 candles. So I suppose it’s official. Our little puppy is 7 years old!
And as if all of that weren’t ENOUGH birthday fun, here is even more celebrating!
Happy birthday to our dearest Selah Bethany. You may be 7, but you will always, always be my baby girl. And I will never stop reminding you that you will NEVER be too old to snuggle me.
I am pretty sure that before every single birthday party we throw for our kids, I say, “Let’s keep it simple.” And every year, it just ends up being far from that. I seriously don’t know how it happens EVERY.SINGLE.TIME. This year for Selah’s birthday was no different…we decided to let her choose one friend to celebrate with and the plan was to…you guessed it…KEEP IT SIMPLE.
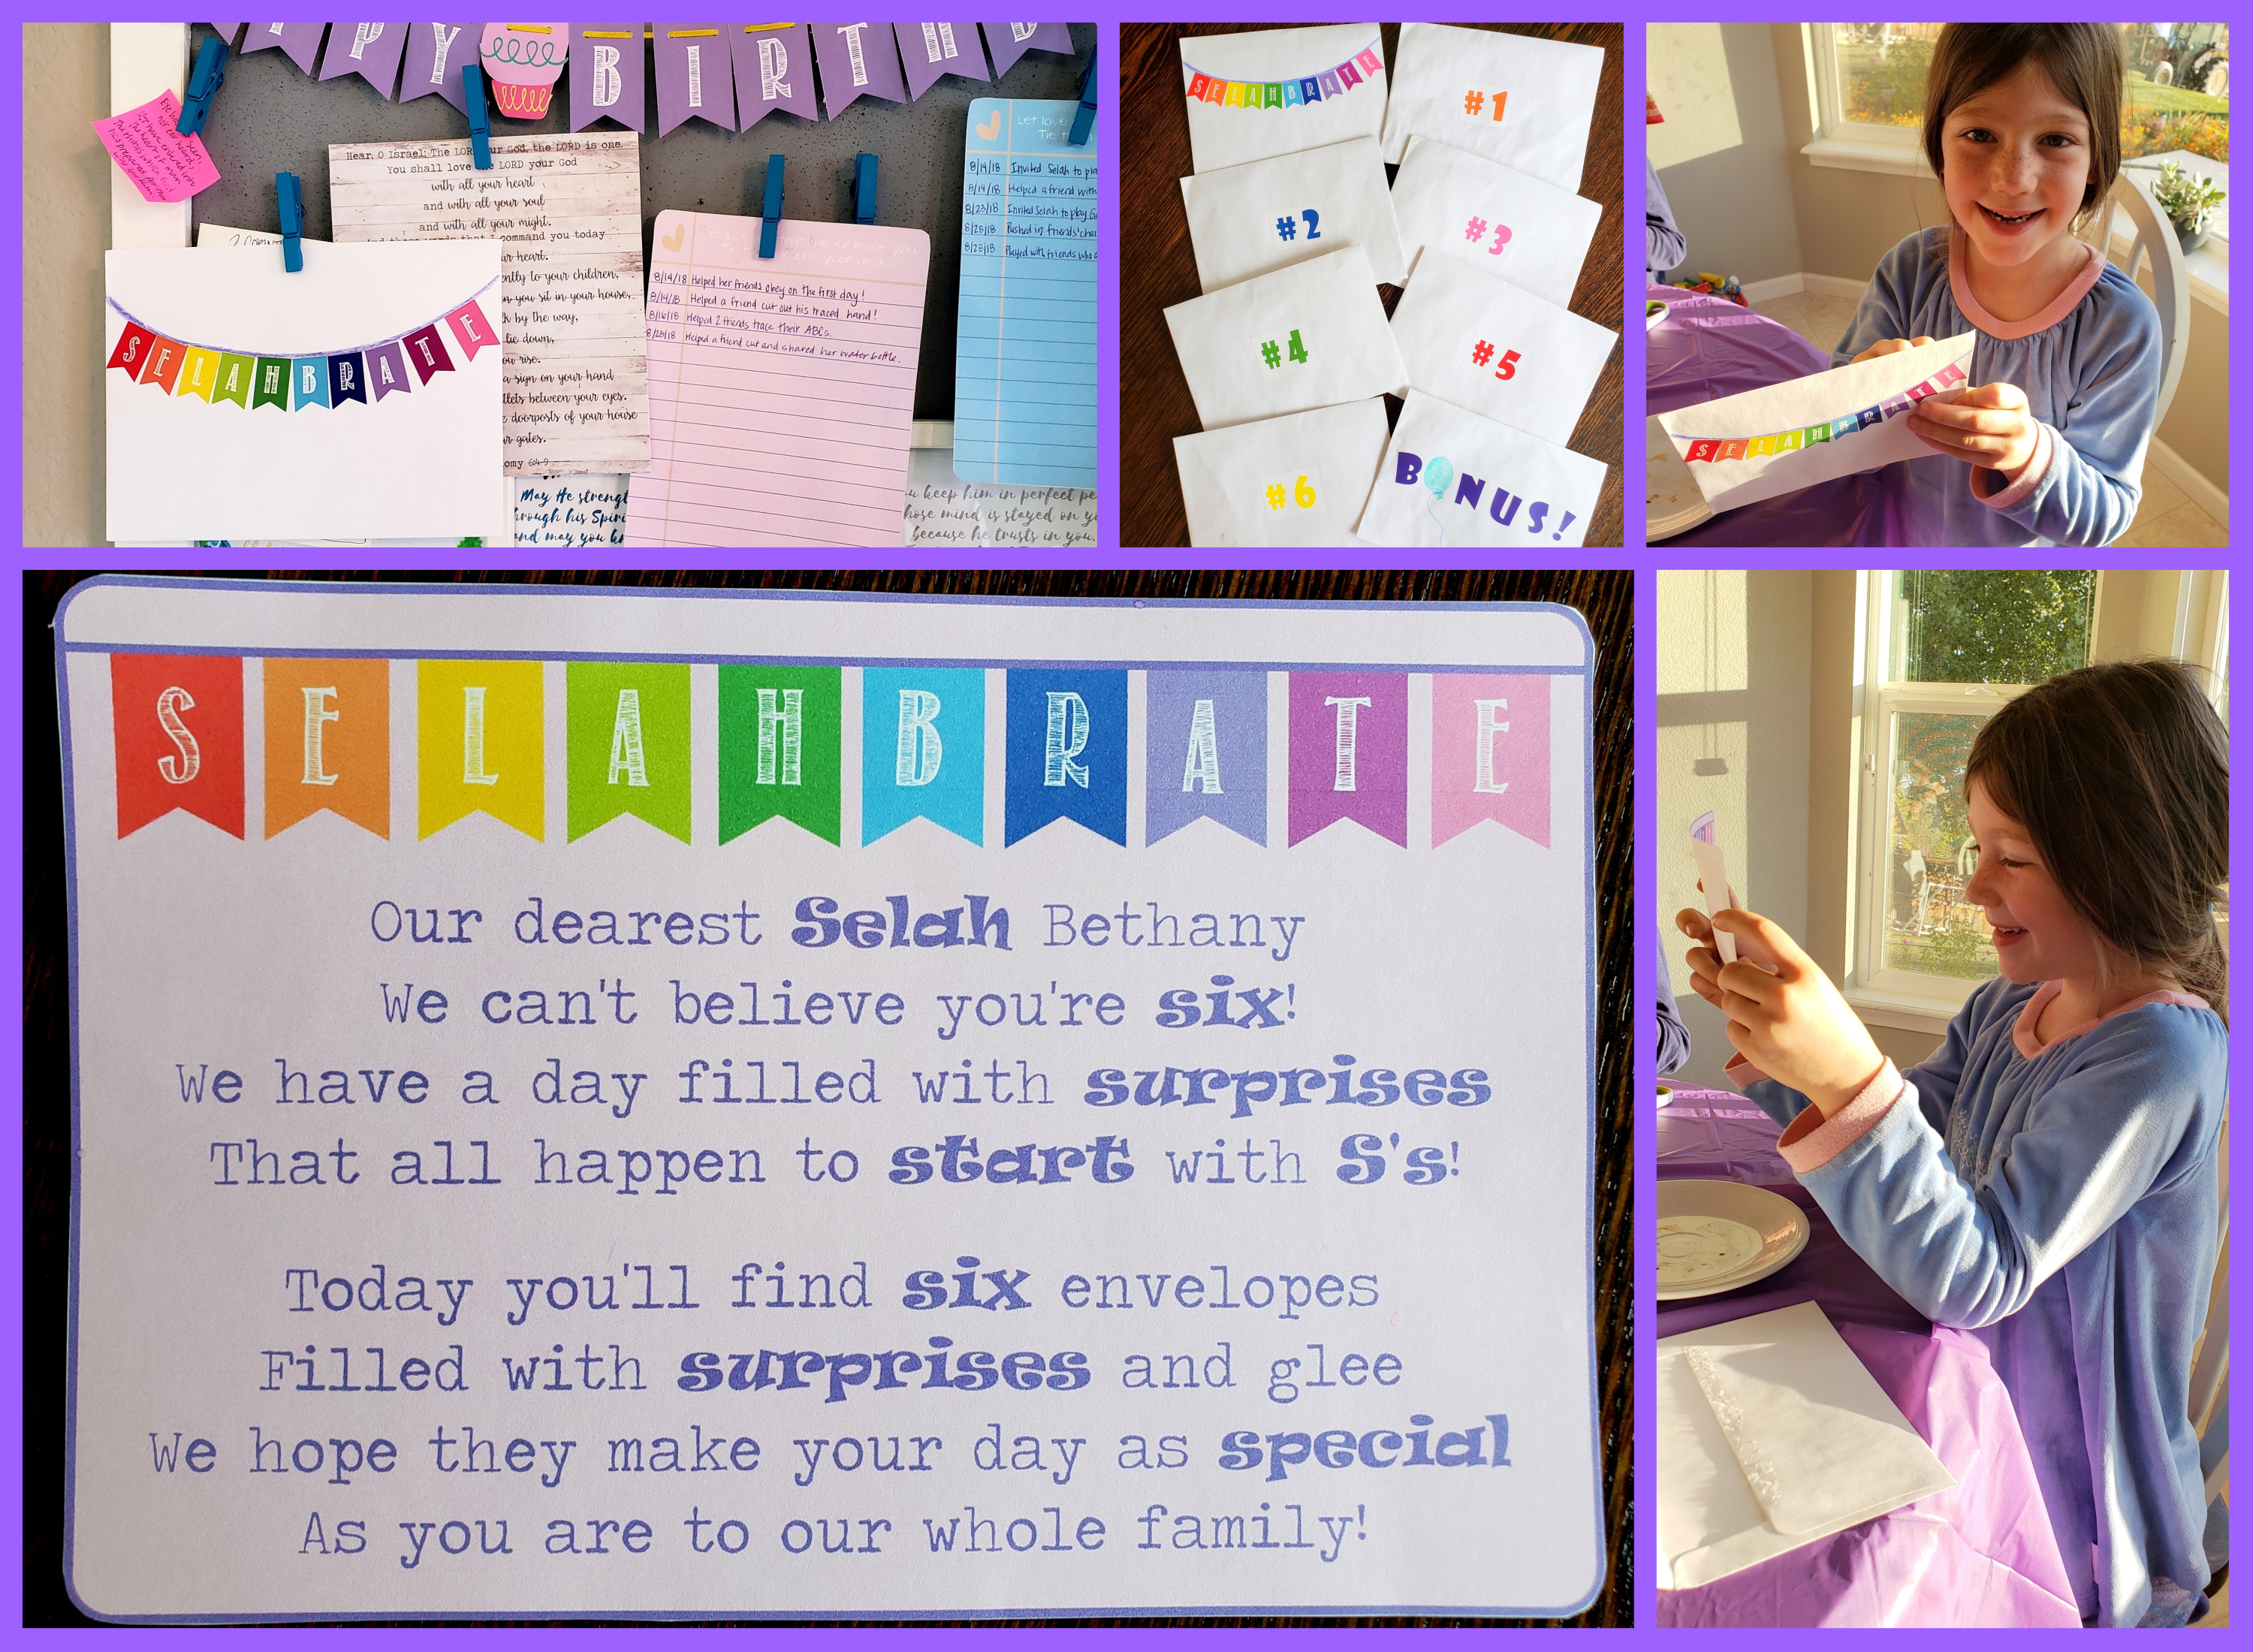
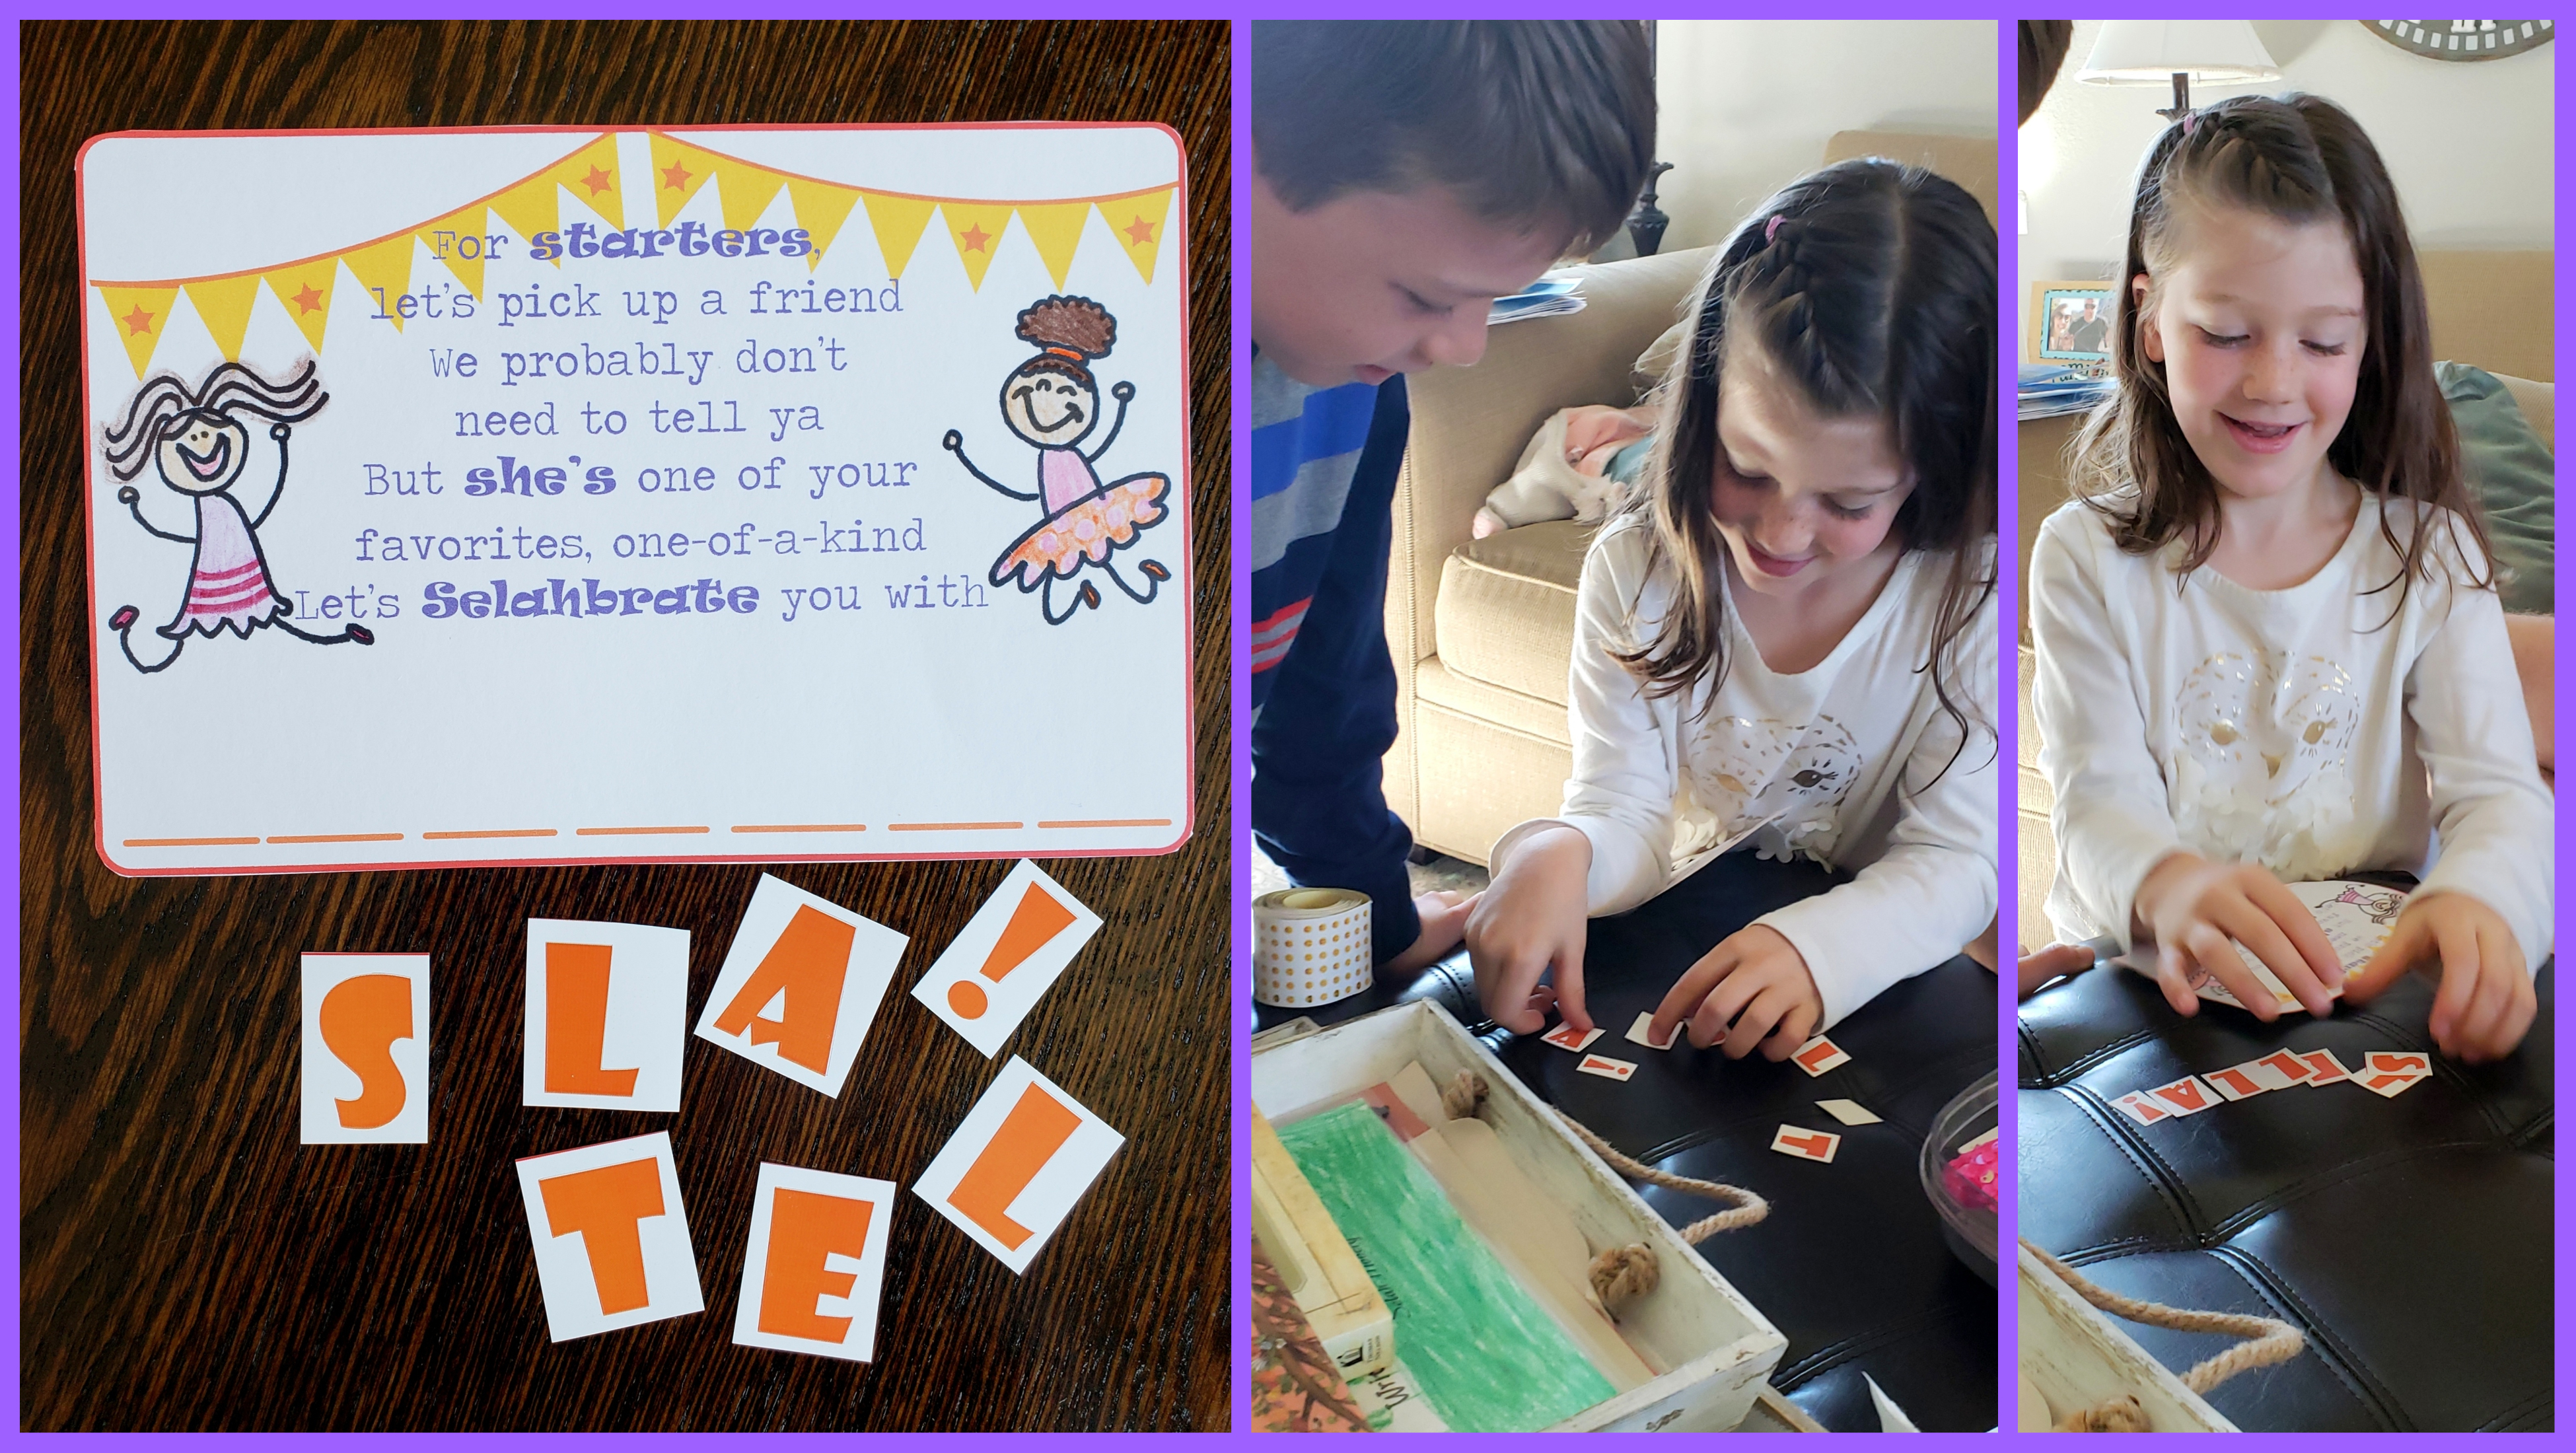
But then as the birthday ideas began to come together in my mind, they just kinda snowballed into a somewhat extravagant birthday “Selahbration” for our girl. Her very special guest of honor was her dear friend Stella and so other than knowing that Stella would be there, we decided to keep all the party details a SURPRISE for Selah! Oh my, this turned out to be way more fun than I could have ever imagined!! The theme that came together was activities centered around the letter “S”…Selah turning Six with her friend Stella…it all just came together in my mind and I decided to send her on a little scavenger hunt with clues that she had to unscramble. (P.S. What a great learning opportunity! After I came up with this idea for her birthday clues I started incorporating unscrambling letters into her homeschooling day!) I created postcard clues with real STICKERS that she had to unscramble! I’ve never made stickers before and now I am totally hooked. I want to make stickers for everything. Super fun. I had so much fun prepping this day for her!
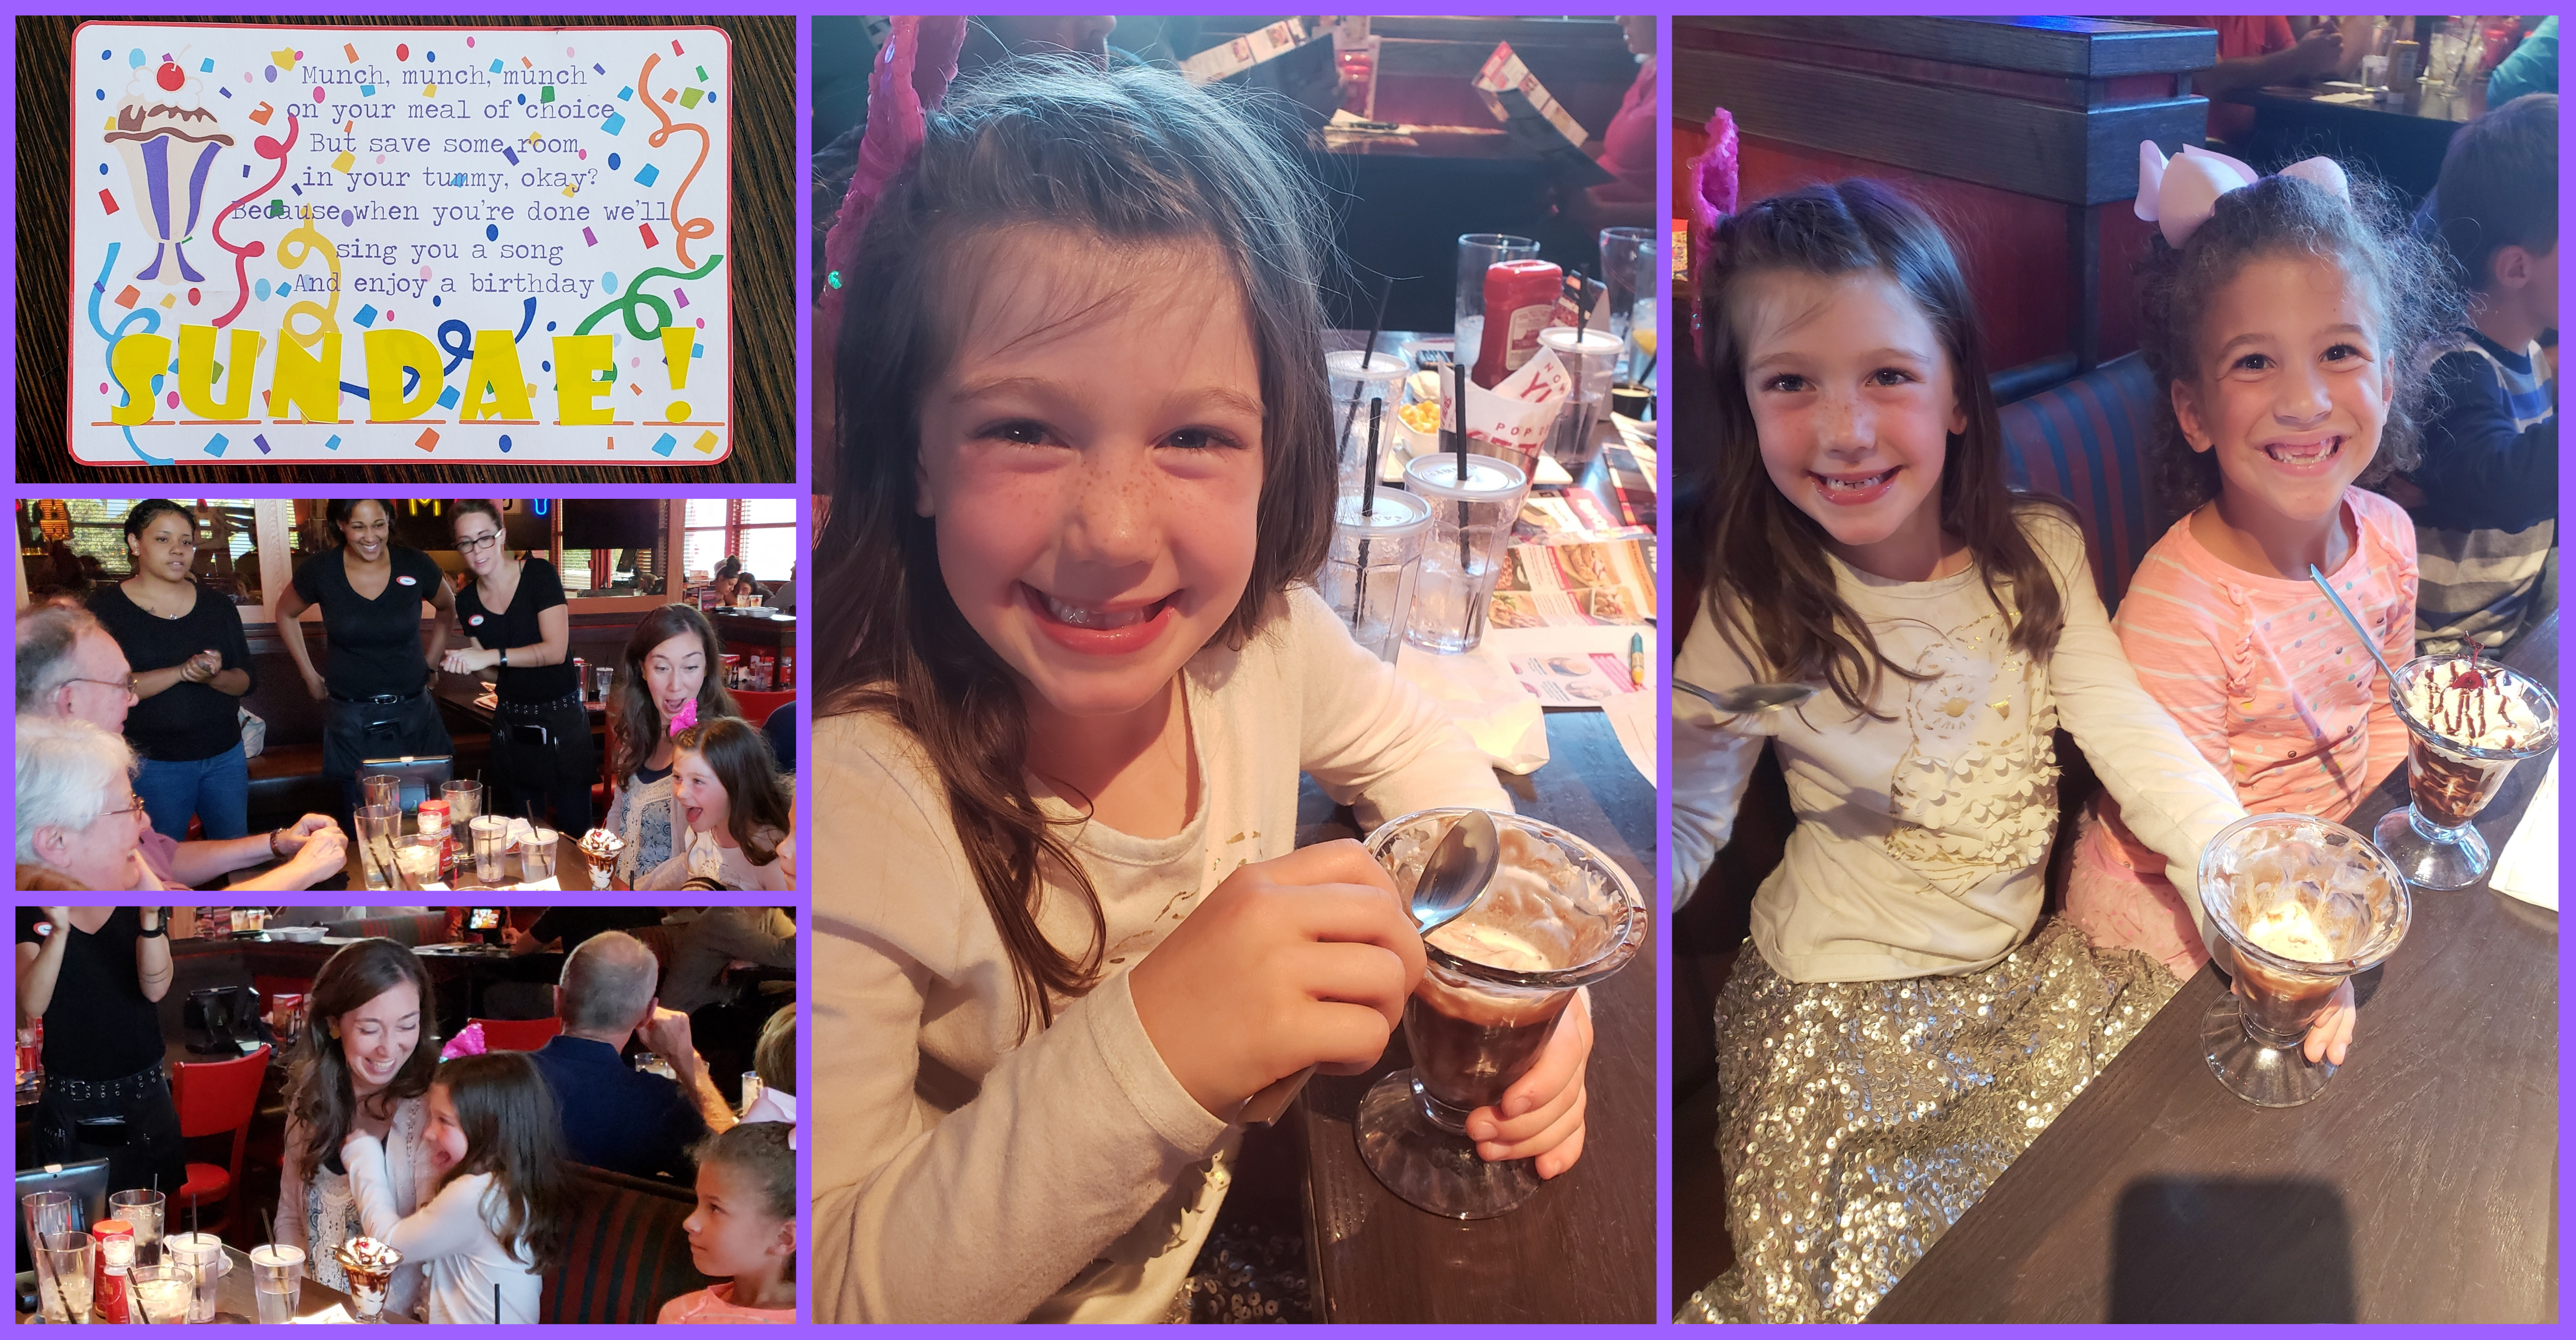
So the day began with her finding an envelope pinned up to a cork board in our kitchen that read, “Selahbrate.” I had seven other envelopes waiting (six plus a bonus one) that I would place/hand out strategically. Within the first envelope was a card that explained the day ahead.
She was VERY excited and immediately jumped out of her chair and began trying to find the six envelopes. I told her she couldn’t find them and that they would find her. “But how?!!” she kept asking. It was adorable. It was soooooooo hard for her to wait for the envelopes to “find her!!”
To help kill time, Elliott selected a special book and suggested that she read it. It was one of her favorites–Angelina’s Birthday Surprise. And much to her surprise, as she began to read through it, an envelope fell out from the pages of the book! It said “#1” on it!! “WHAT?!! How did that get in there?!!” she exclaimed with glee.
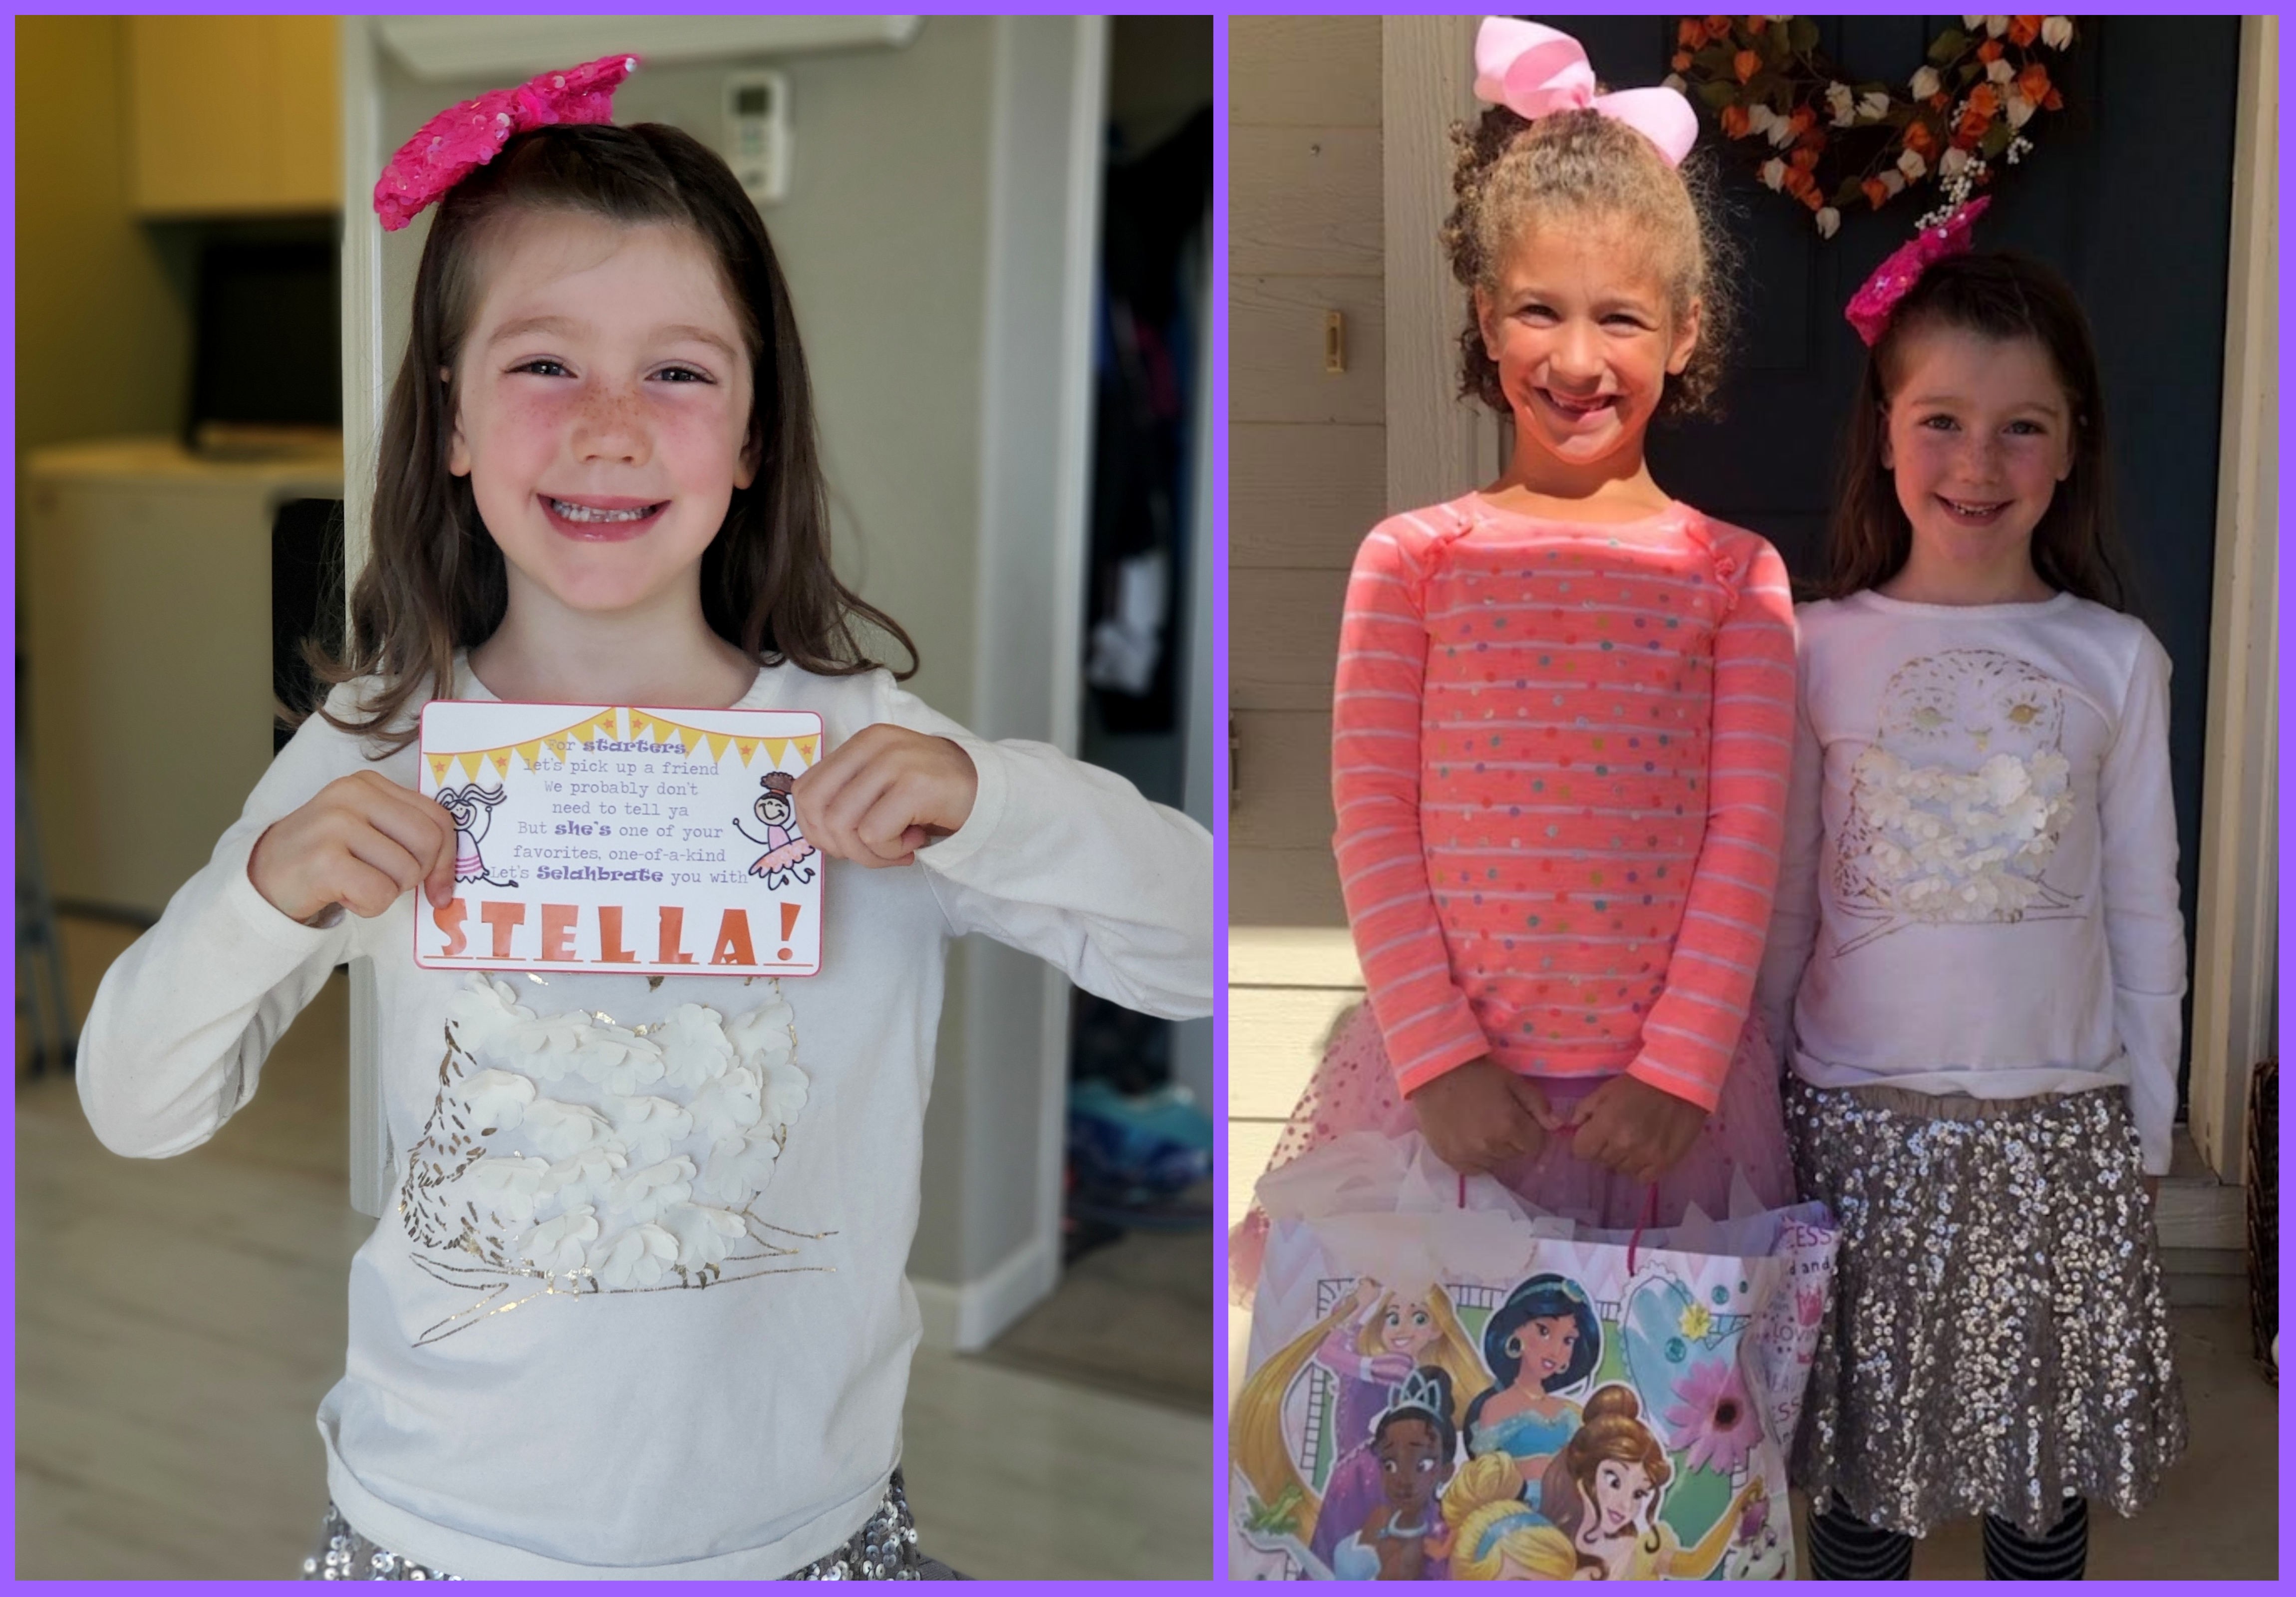
She knew that Stella would be a part of her day and that was great because this was the first time she had ever unscrambled letters. This was definitely a challenge for her so it was great to start with one that she already knew the answer to :). So she unscrambled the letters and stuck them to her card and got…
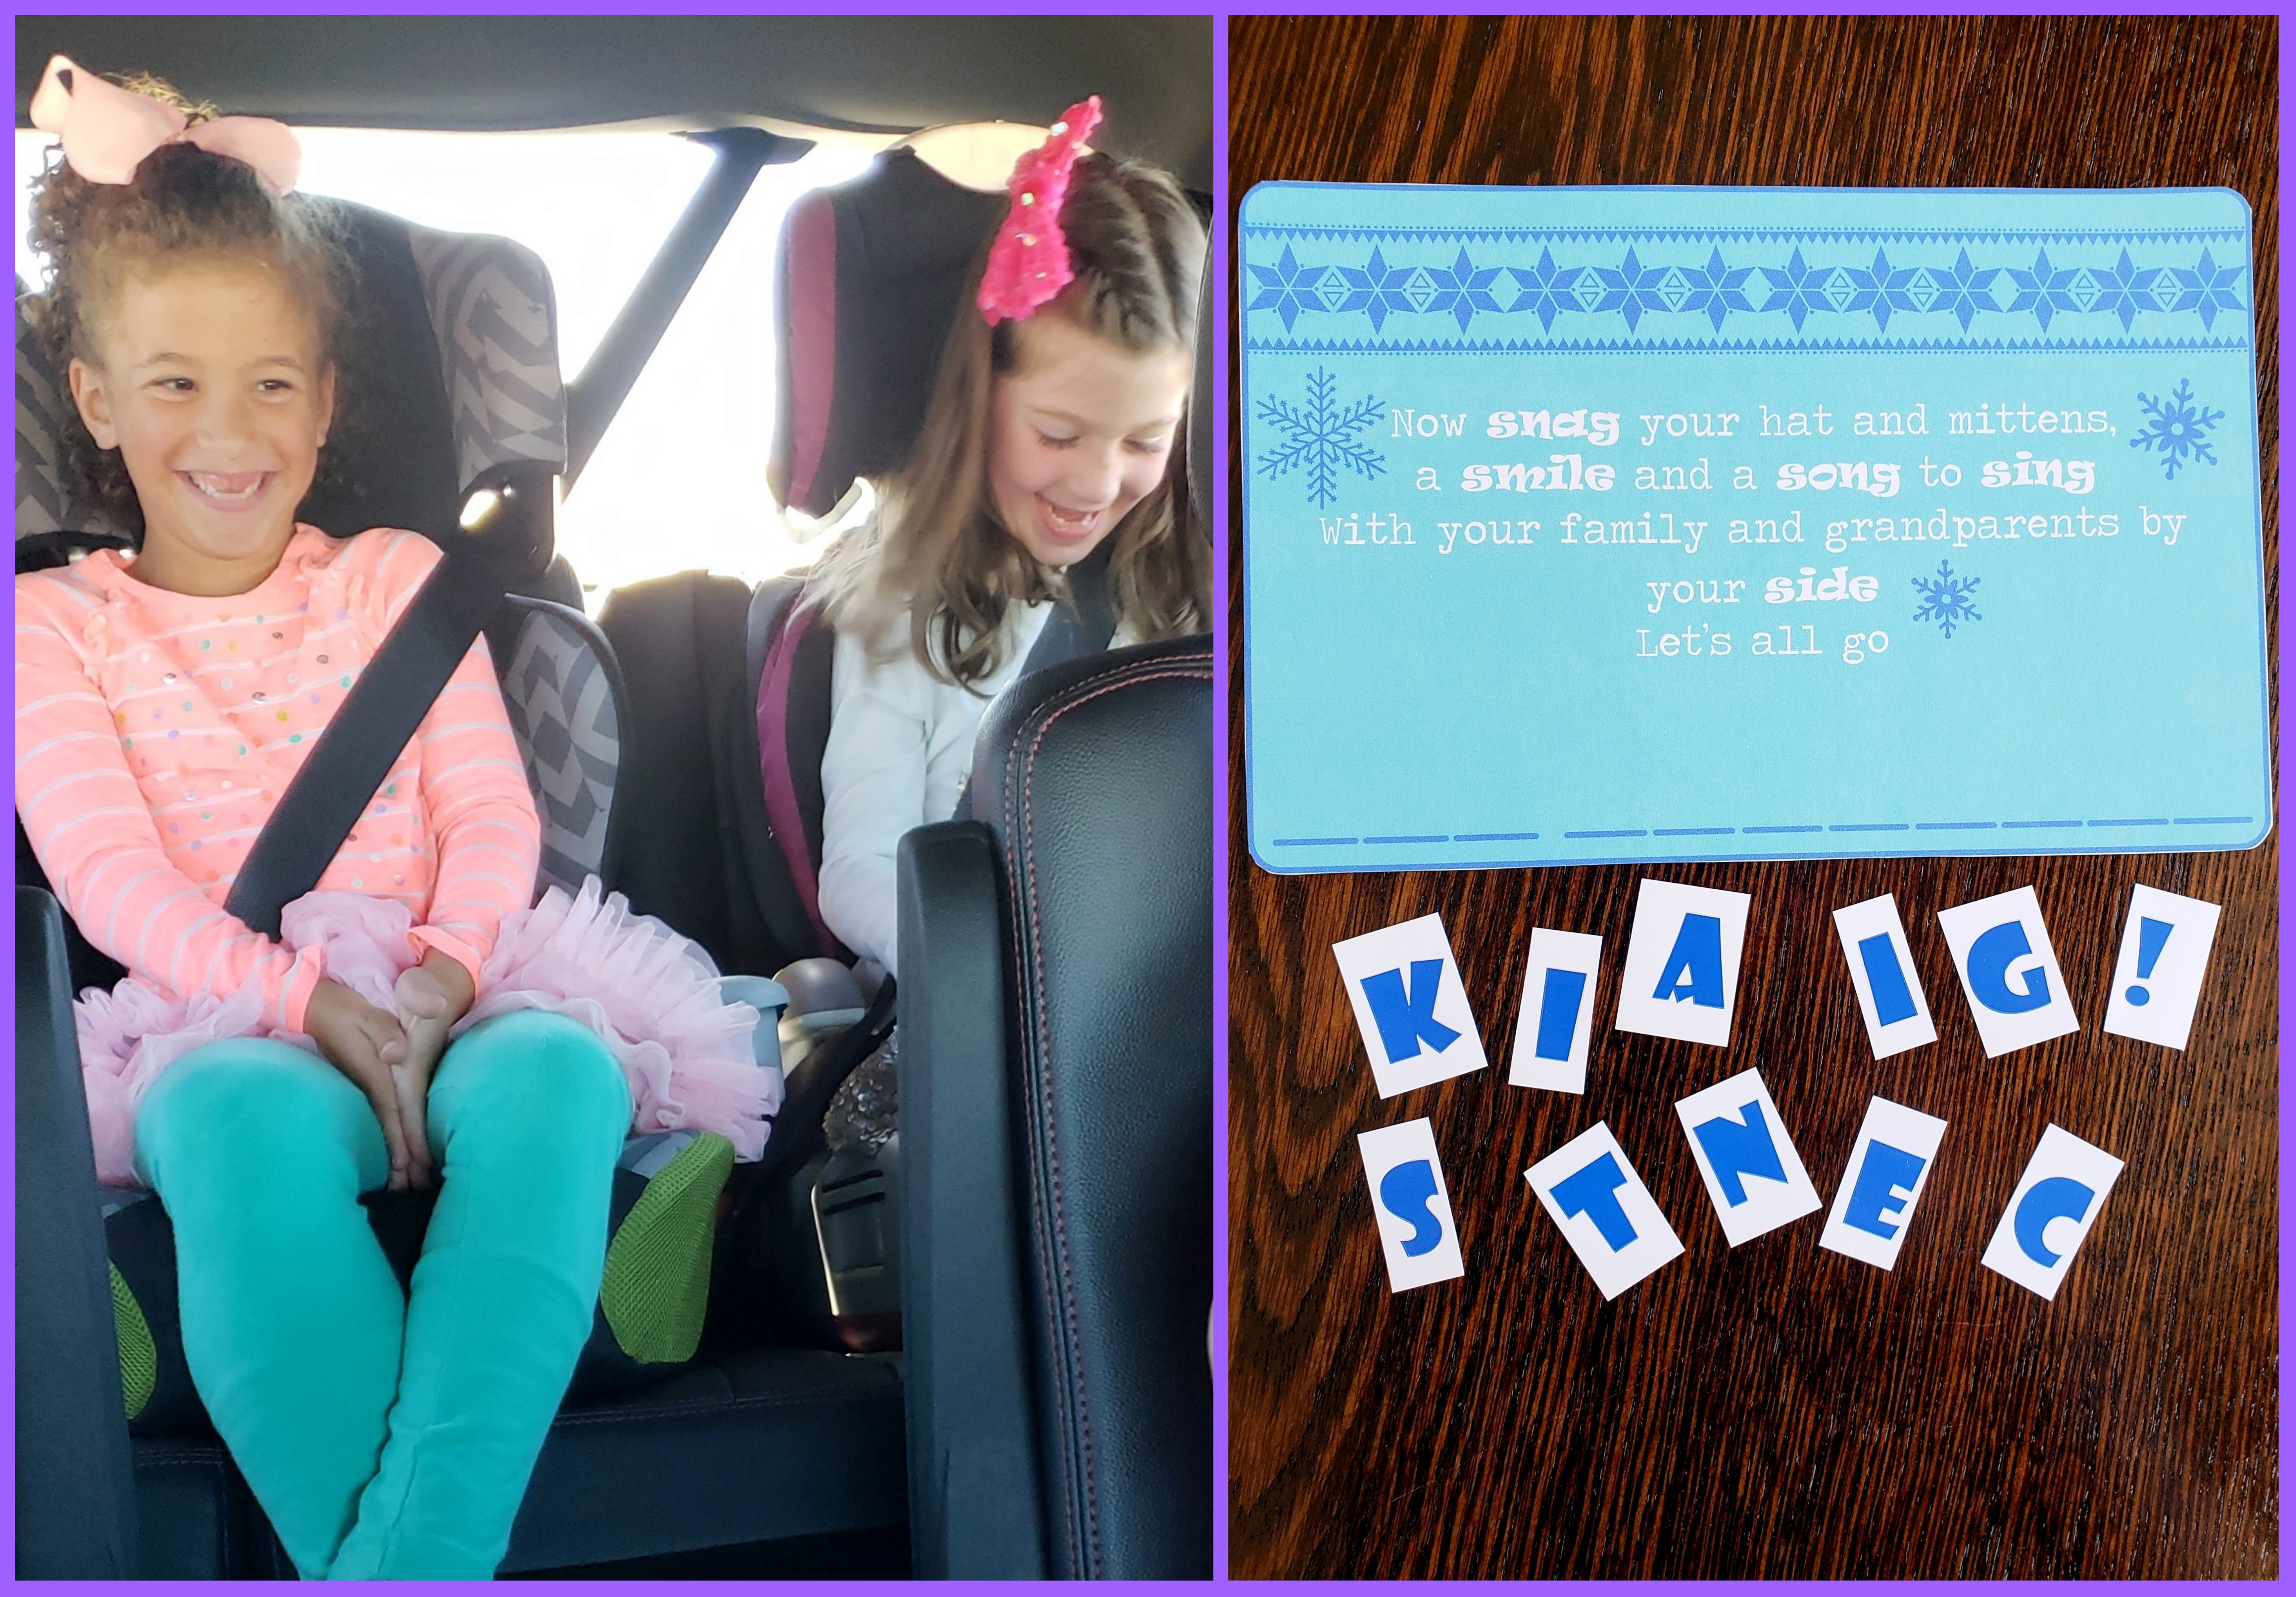
We headed off to pick up dear Stella. Once Selah greeted her I told Selah to go ahead and get back in the car so Stella could say goodbye to her mama. But when Stella climbed into the backseat with the kids, somehow she had envelope #2! Selah was SHOCKED when Stella handed her the next envelope! She opened it up and read the clue…
Can YOU solve it?? Now, this one was a little tricky because it was actually two words and it was the second word that started with S. (But I knew if I put the first word into the print it would be too easy for her to solve.) And she had to unscramble it in the car. I told her which letters to group together for each word and with a little coaching, “What does the word have to end with to complete the rhyme?” and a few more prompts, she figured it out!
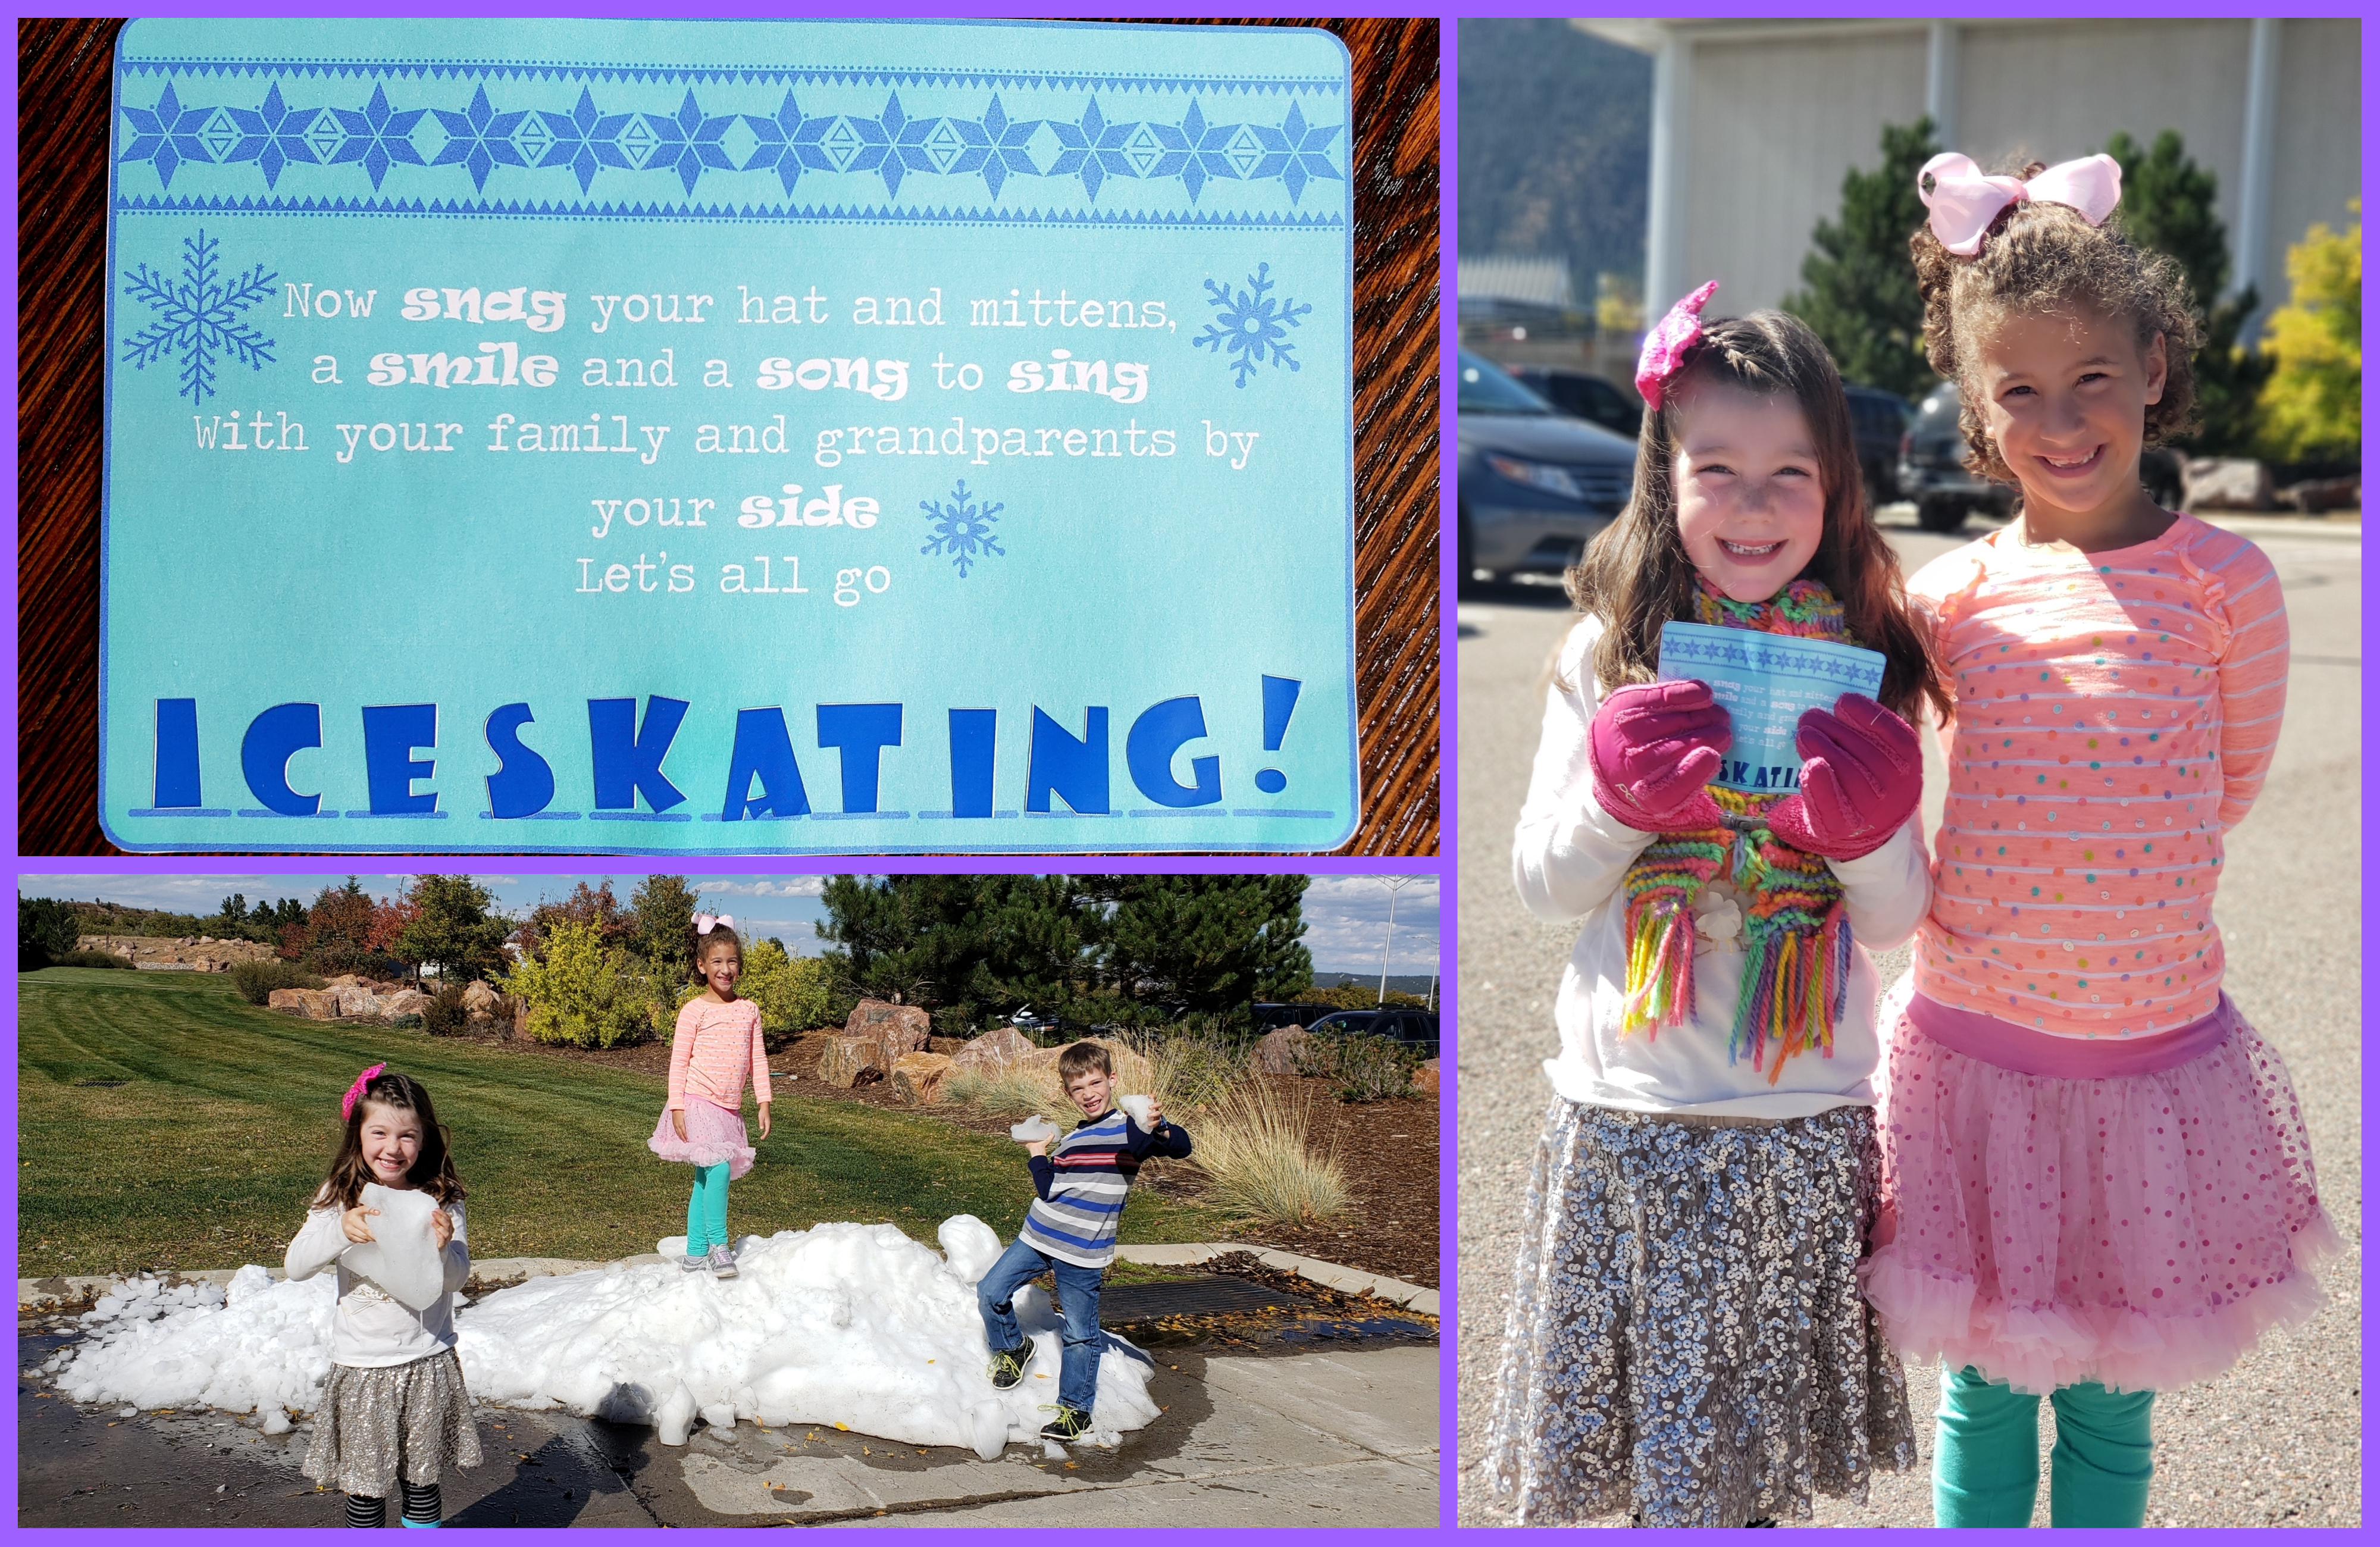
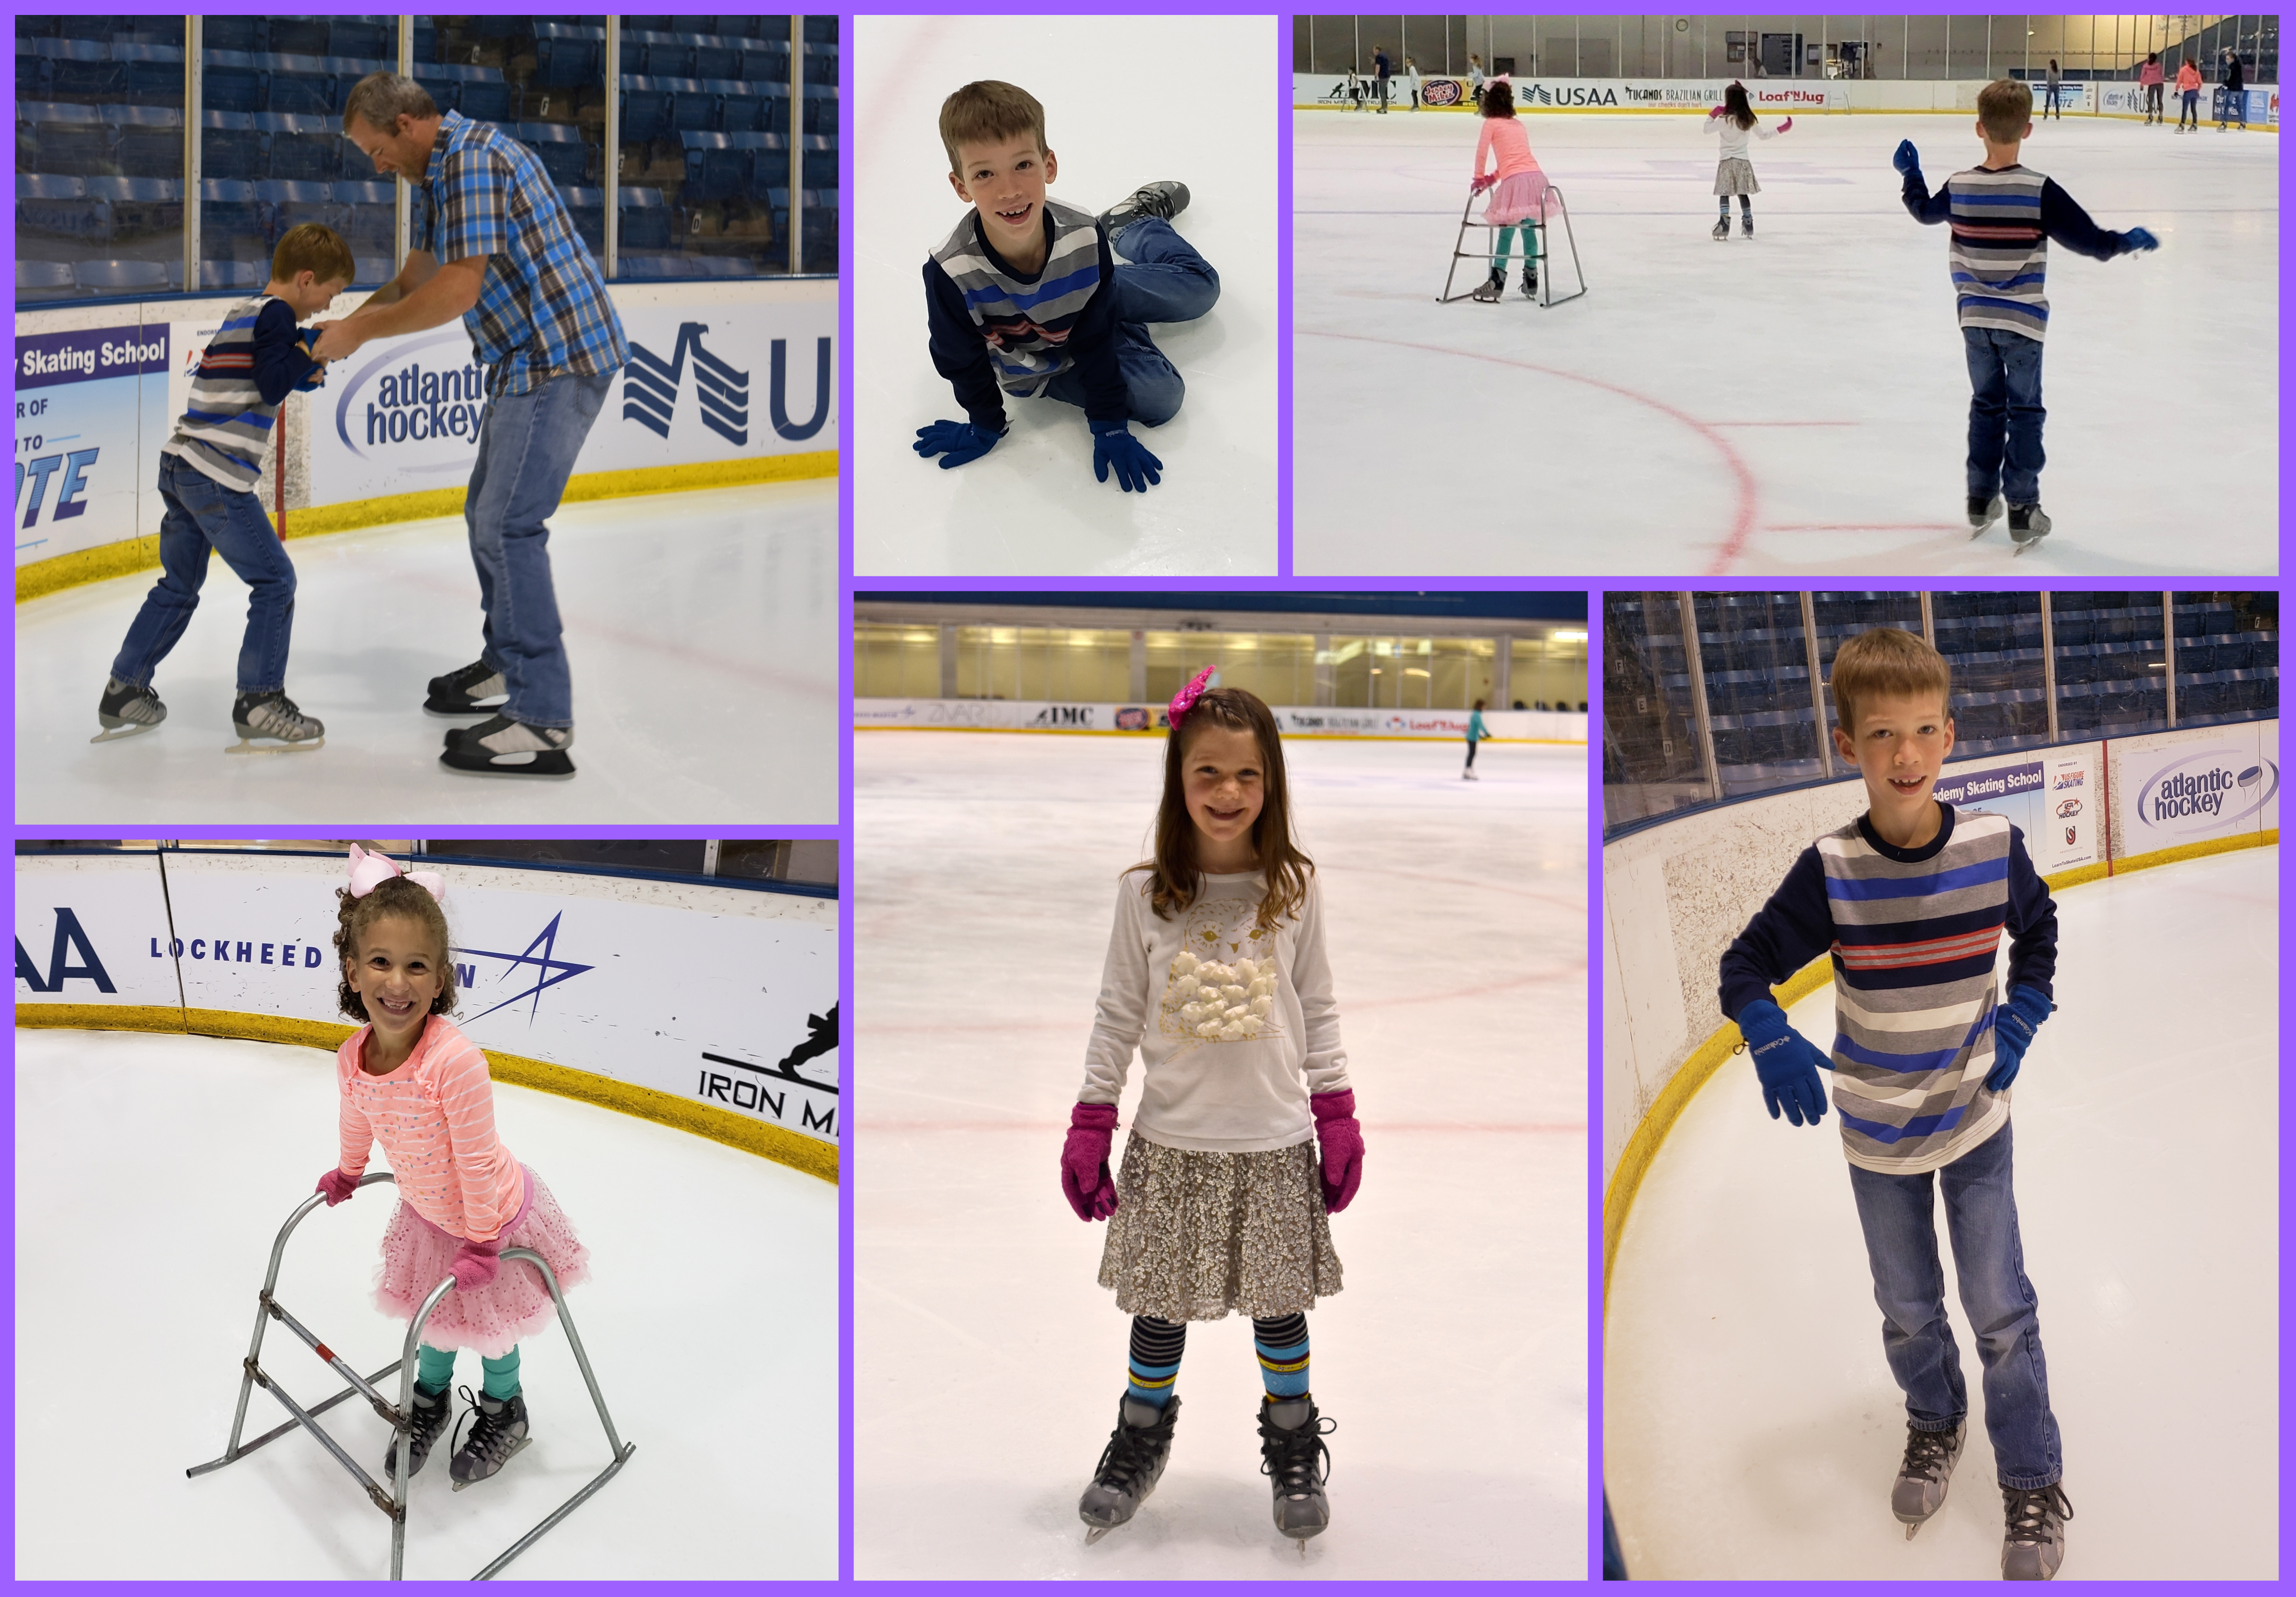
She had been asking several months back if we could go ice skating and it just didn’t happen. When I thought of that idea for her birthday I knew it would be the perfect surprise adventure. The kids had never been so they were thrilled!!
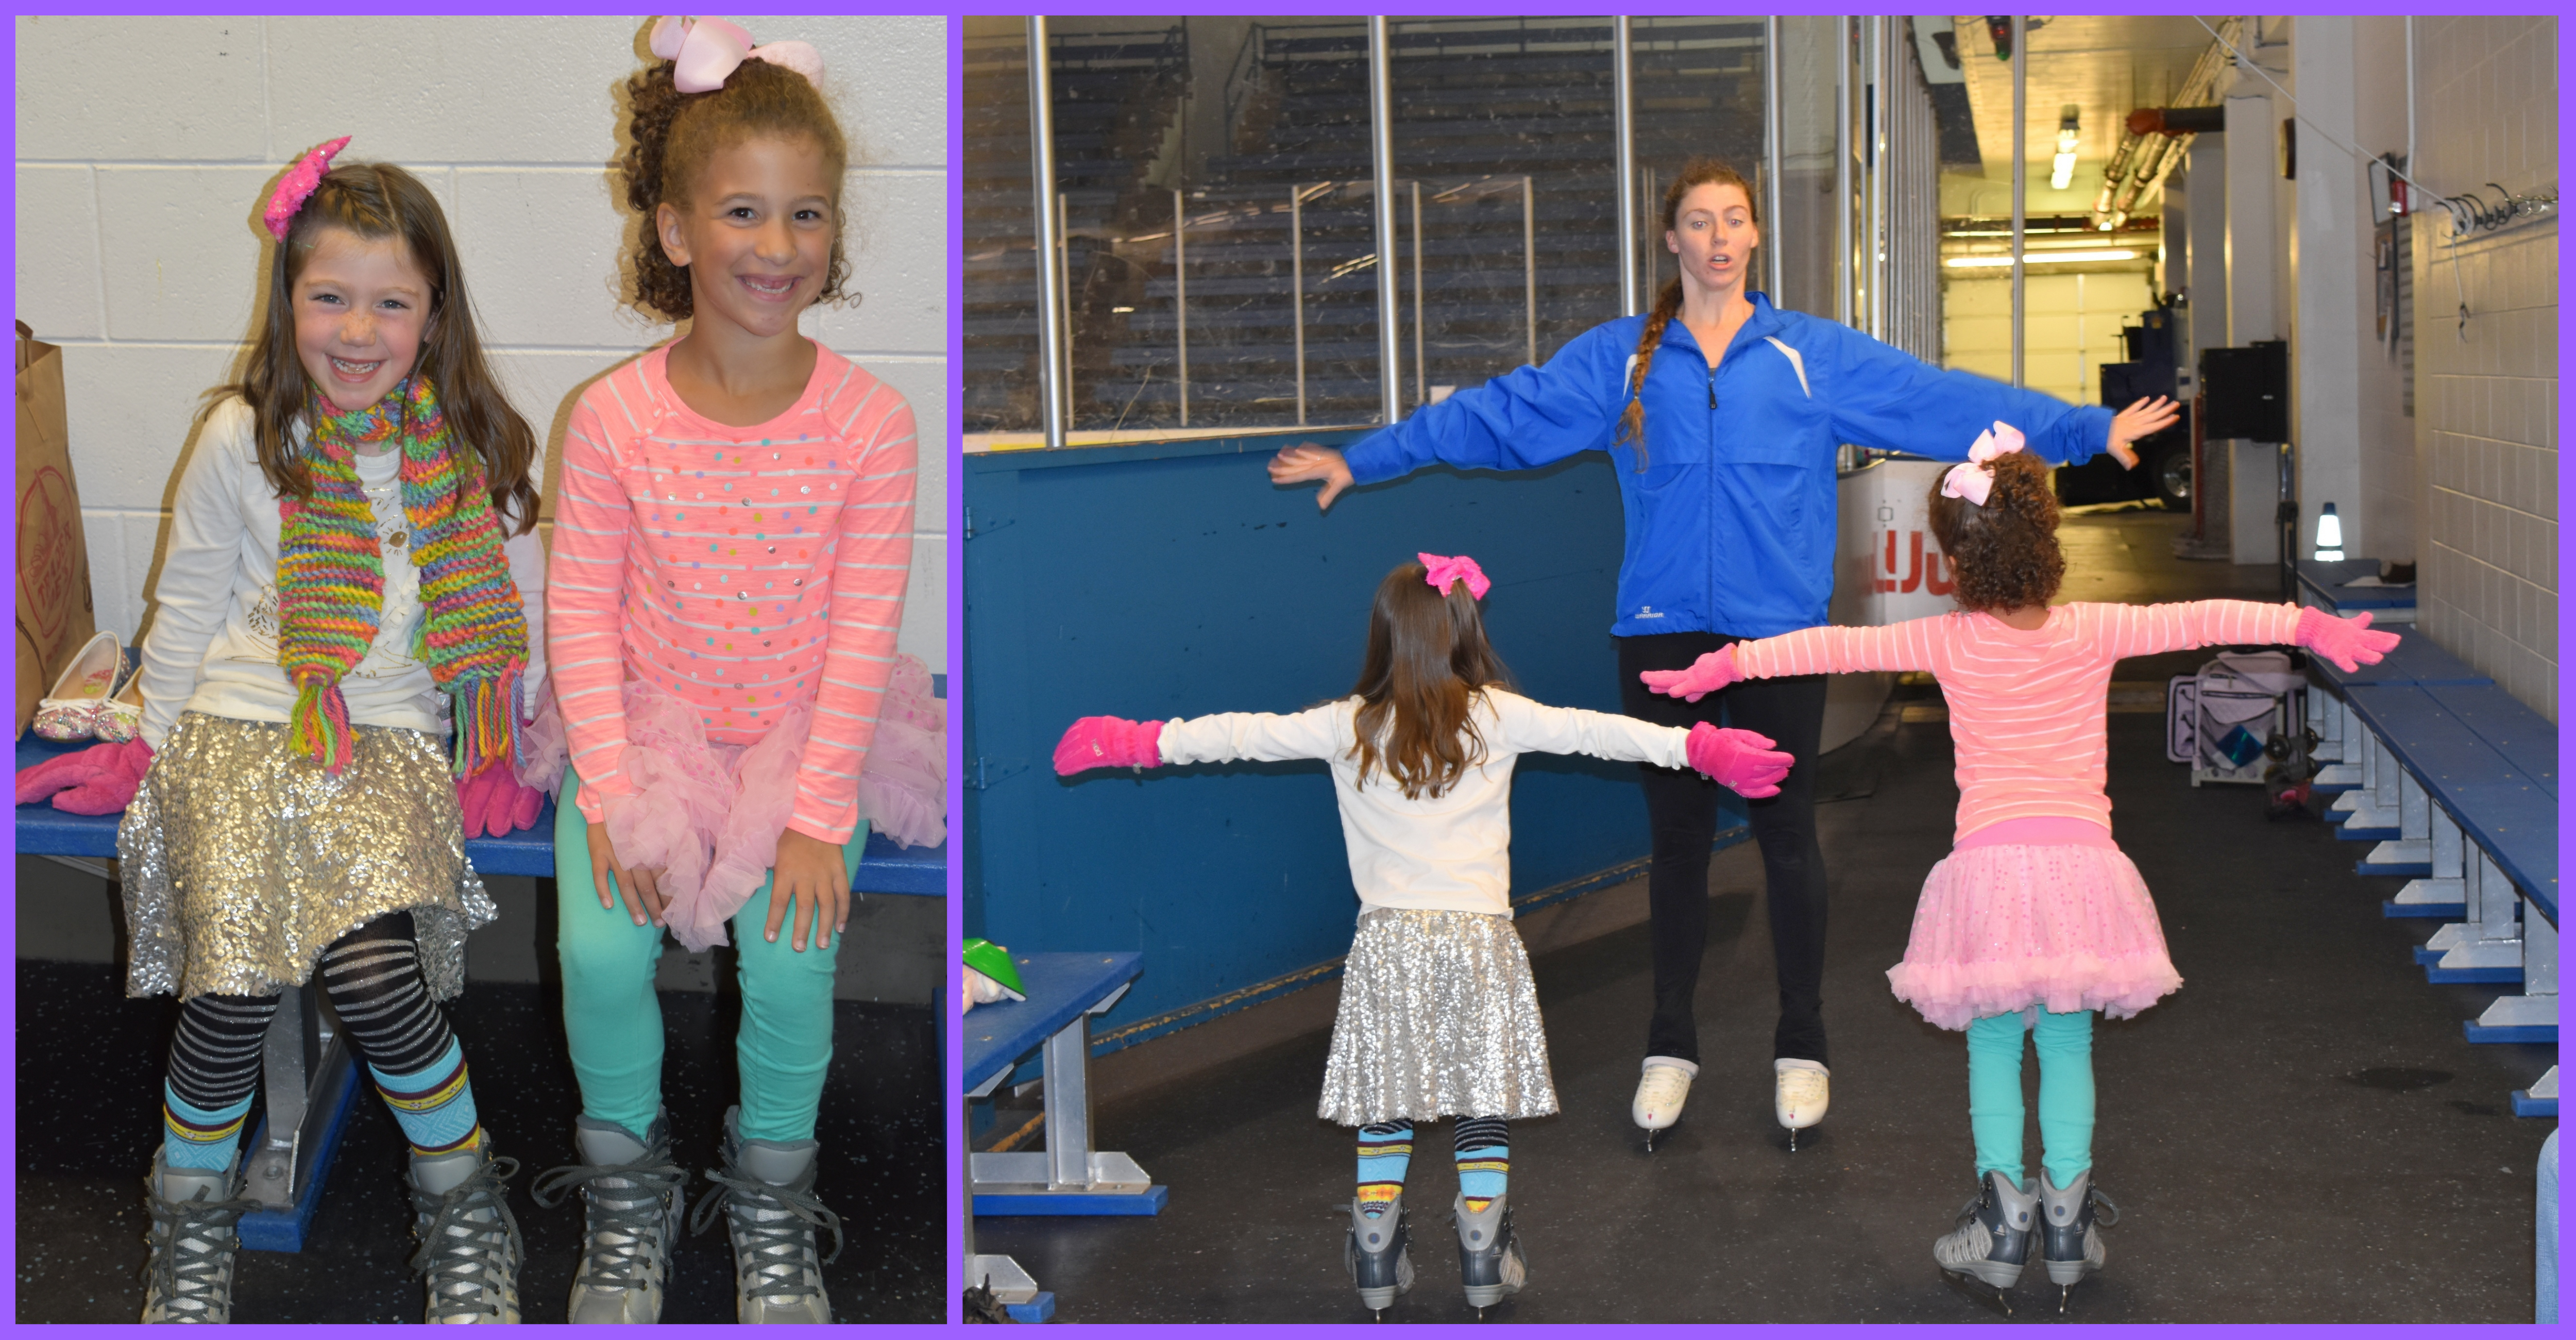
I was able to get a 30 minute private lesson for the girls. Stella had never skated either and this seemed like a good way to start things off. The gal was wonderful with them and happened to be from South Africa which was super fun!
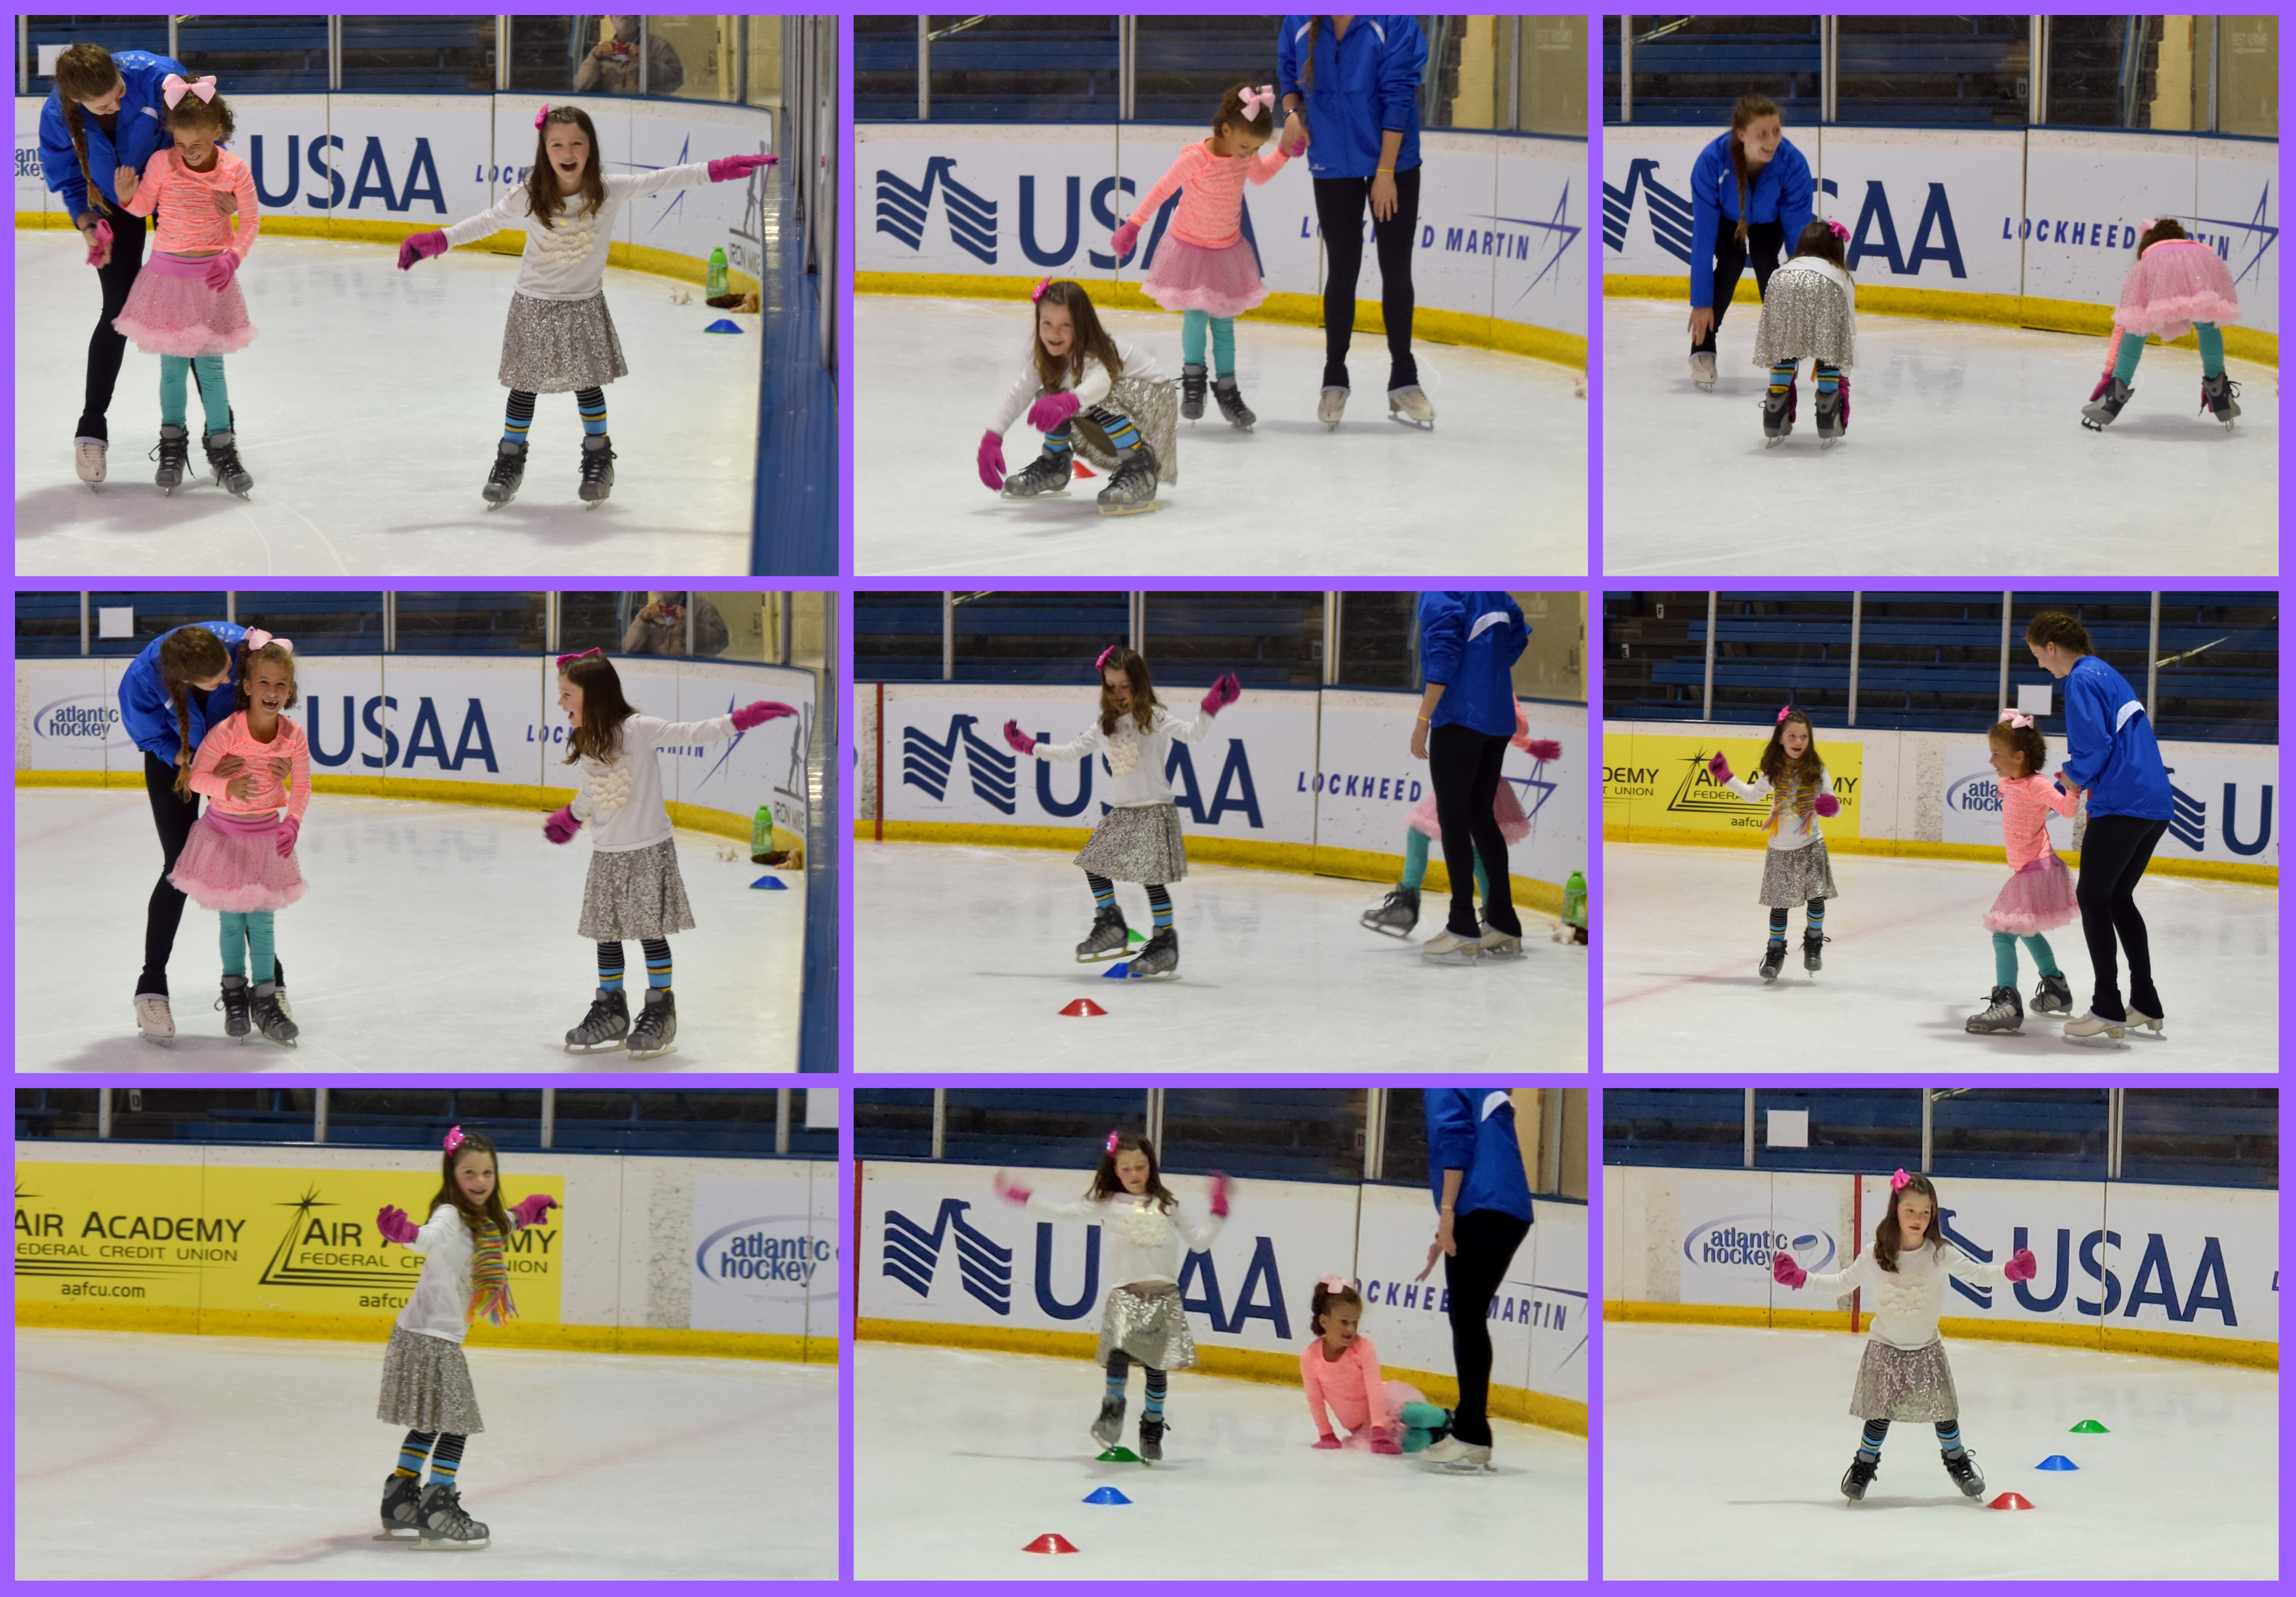
The girls had a BLAST and laughed their way through the lesson. Afterwards, the teacher handed envelope #3 to Selah. My goodness, you should have seen Selah’s face when she handed it to her! “How did she…??!!!” She couldn’t even finish her sentence she was so in shock!! She opened up the envelope and sorted the letters…
In the second picture you can see Elliott running to tell me that he’s figured out the answer ;).
The kids took a quick few bites and then were all eager to get back onto the ice! Brian gave Elliott his own set of private lessons. The rink also had these awesome walkers that the kids could use. It really helped them get comfortable on the ice. They all fell but they always got right back up with a smile. I was so proud of all of them!! (I was also proud of me who hadn’t been skating since…?? I have no idea!)
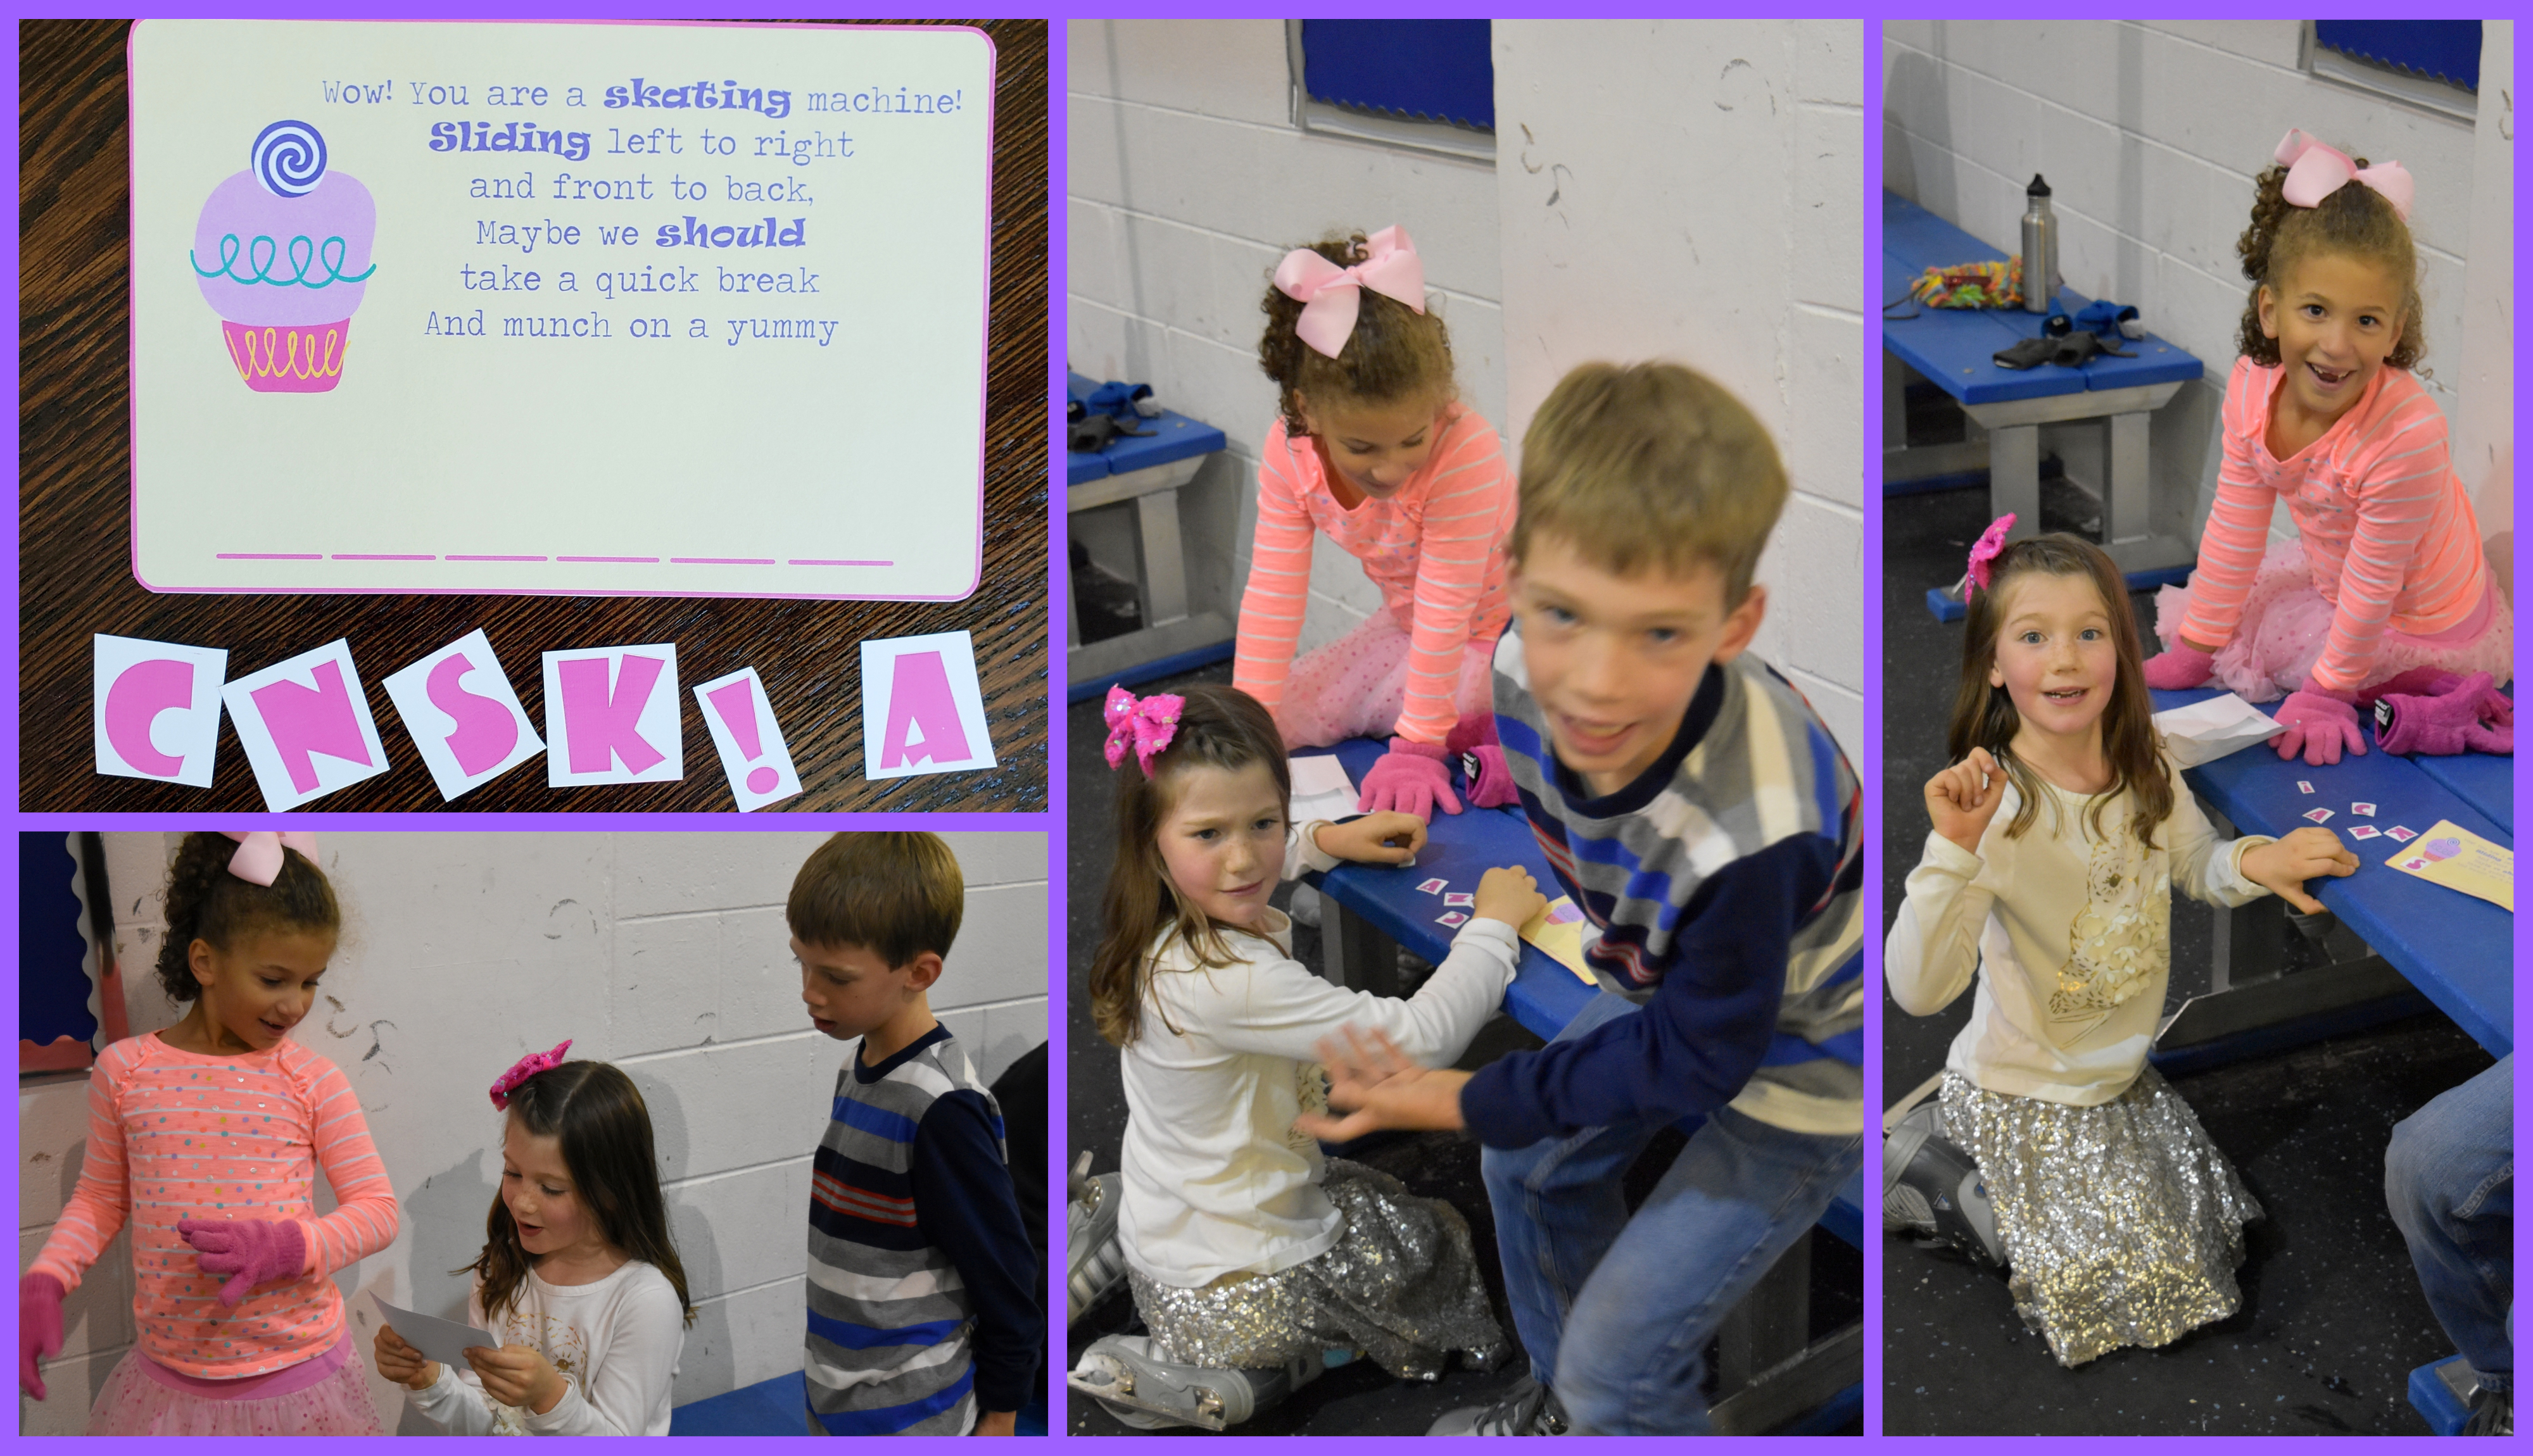
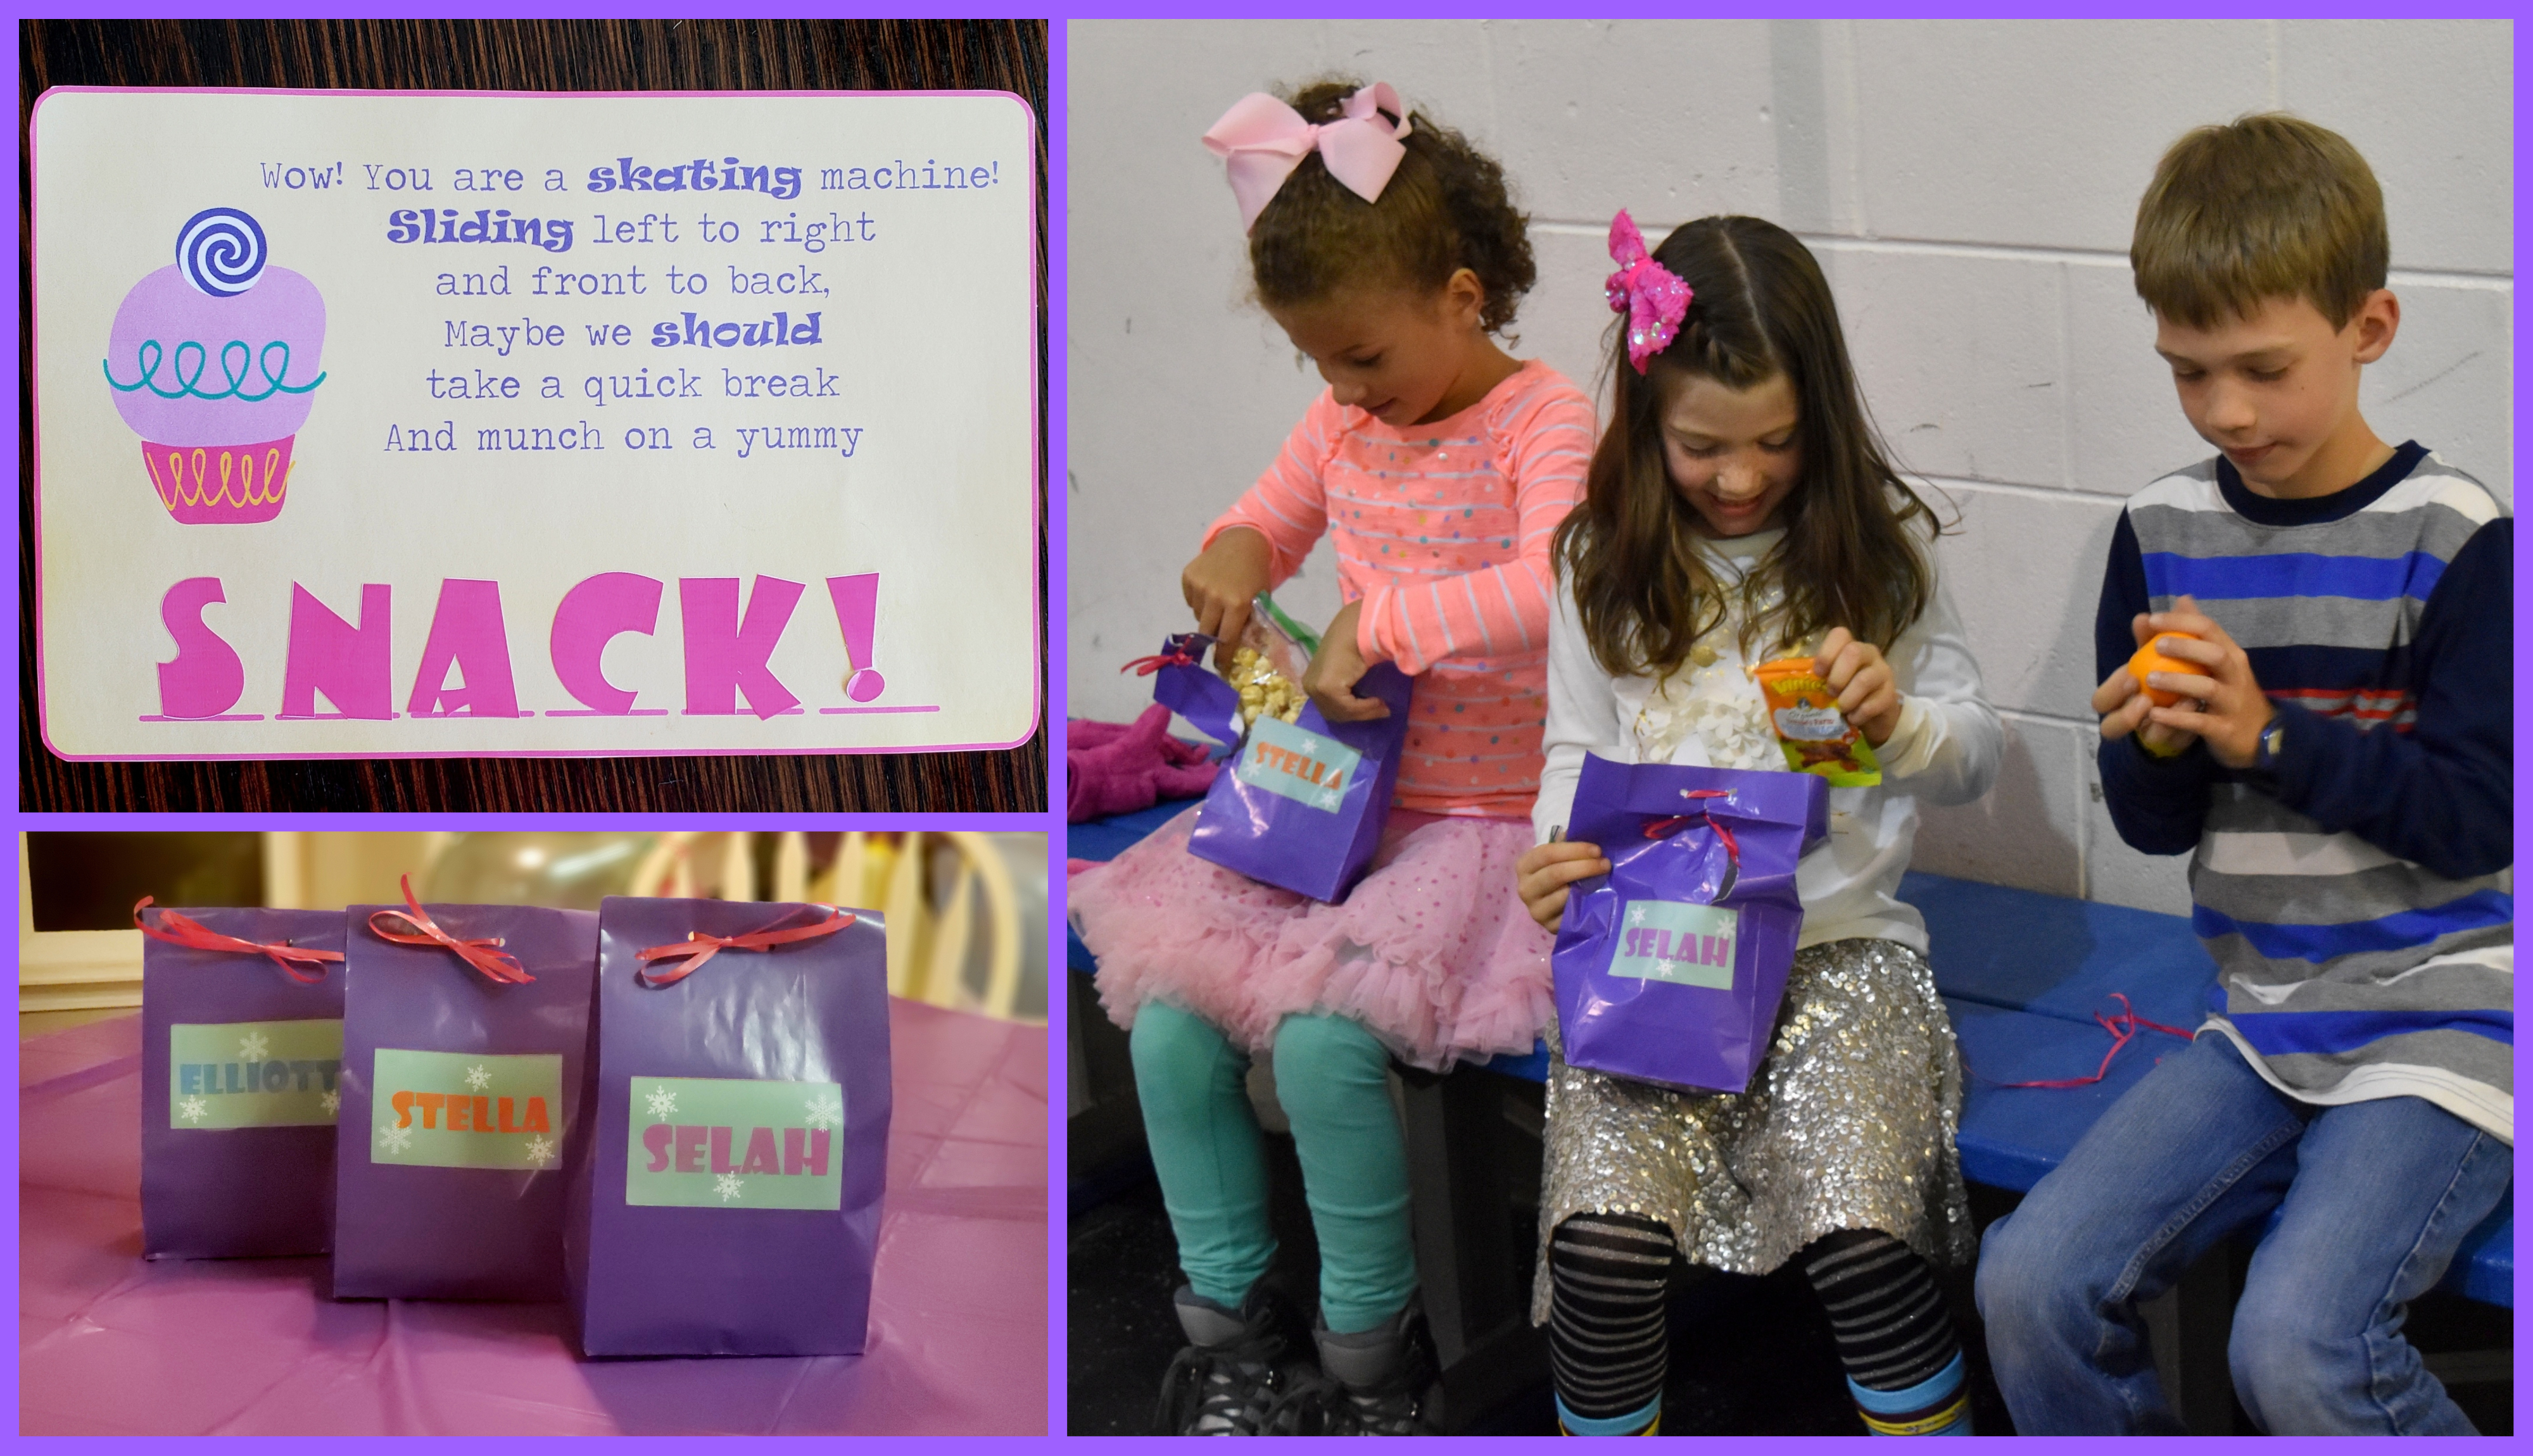
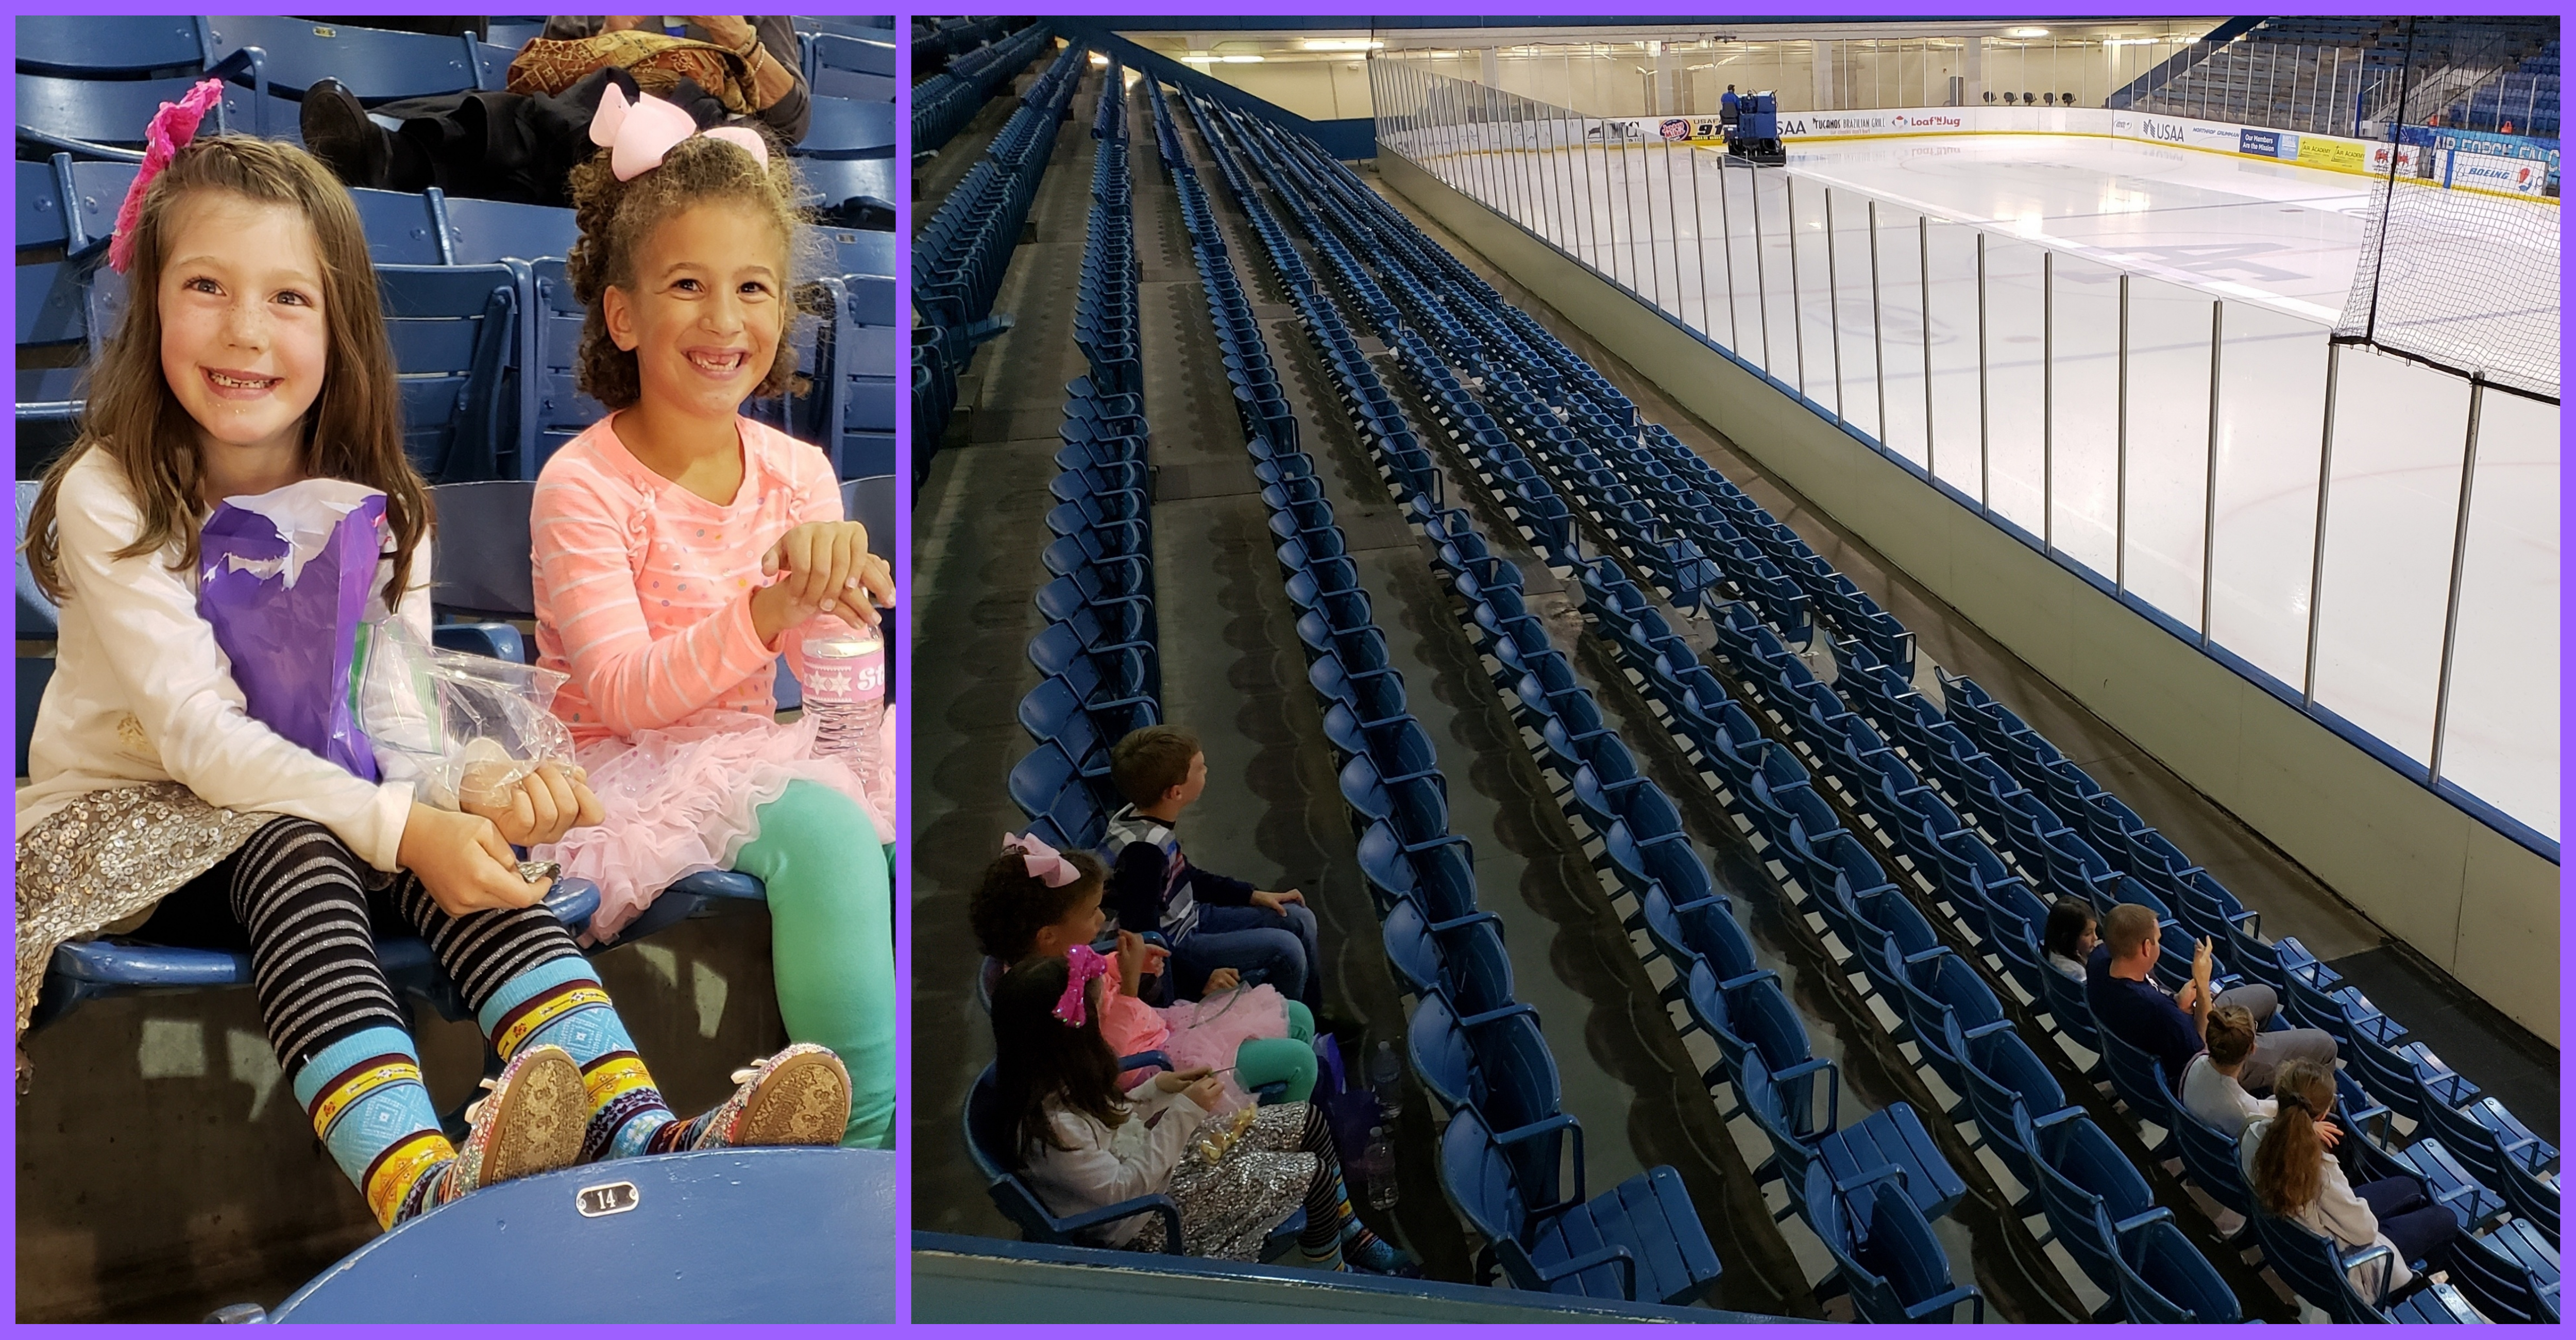
After open skate time was over, the kids reluctantly got off the ice and enjoyed the rest of their snack while the zamboni prepared the ice for the hockey game that evening.
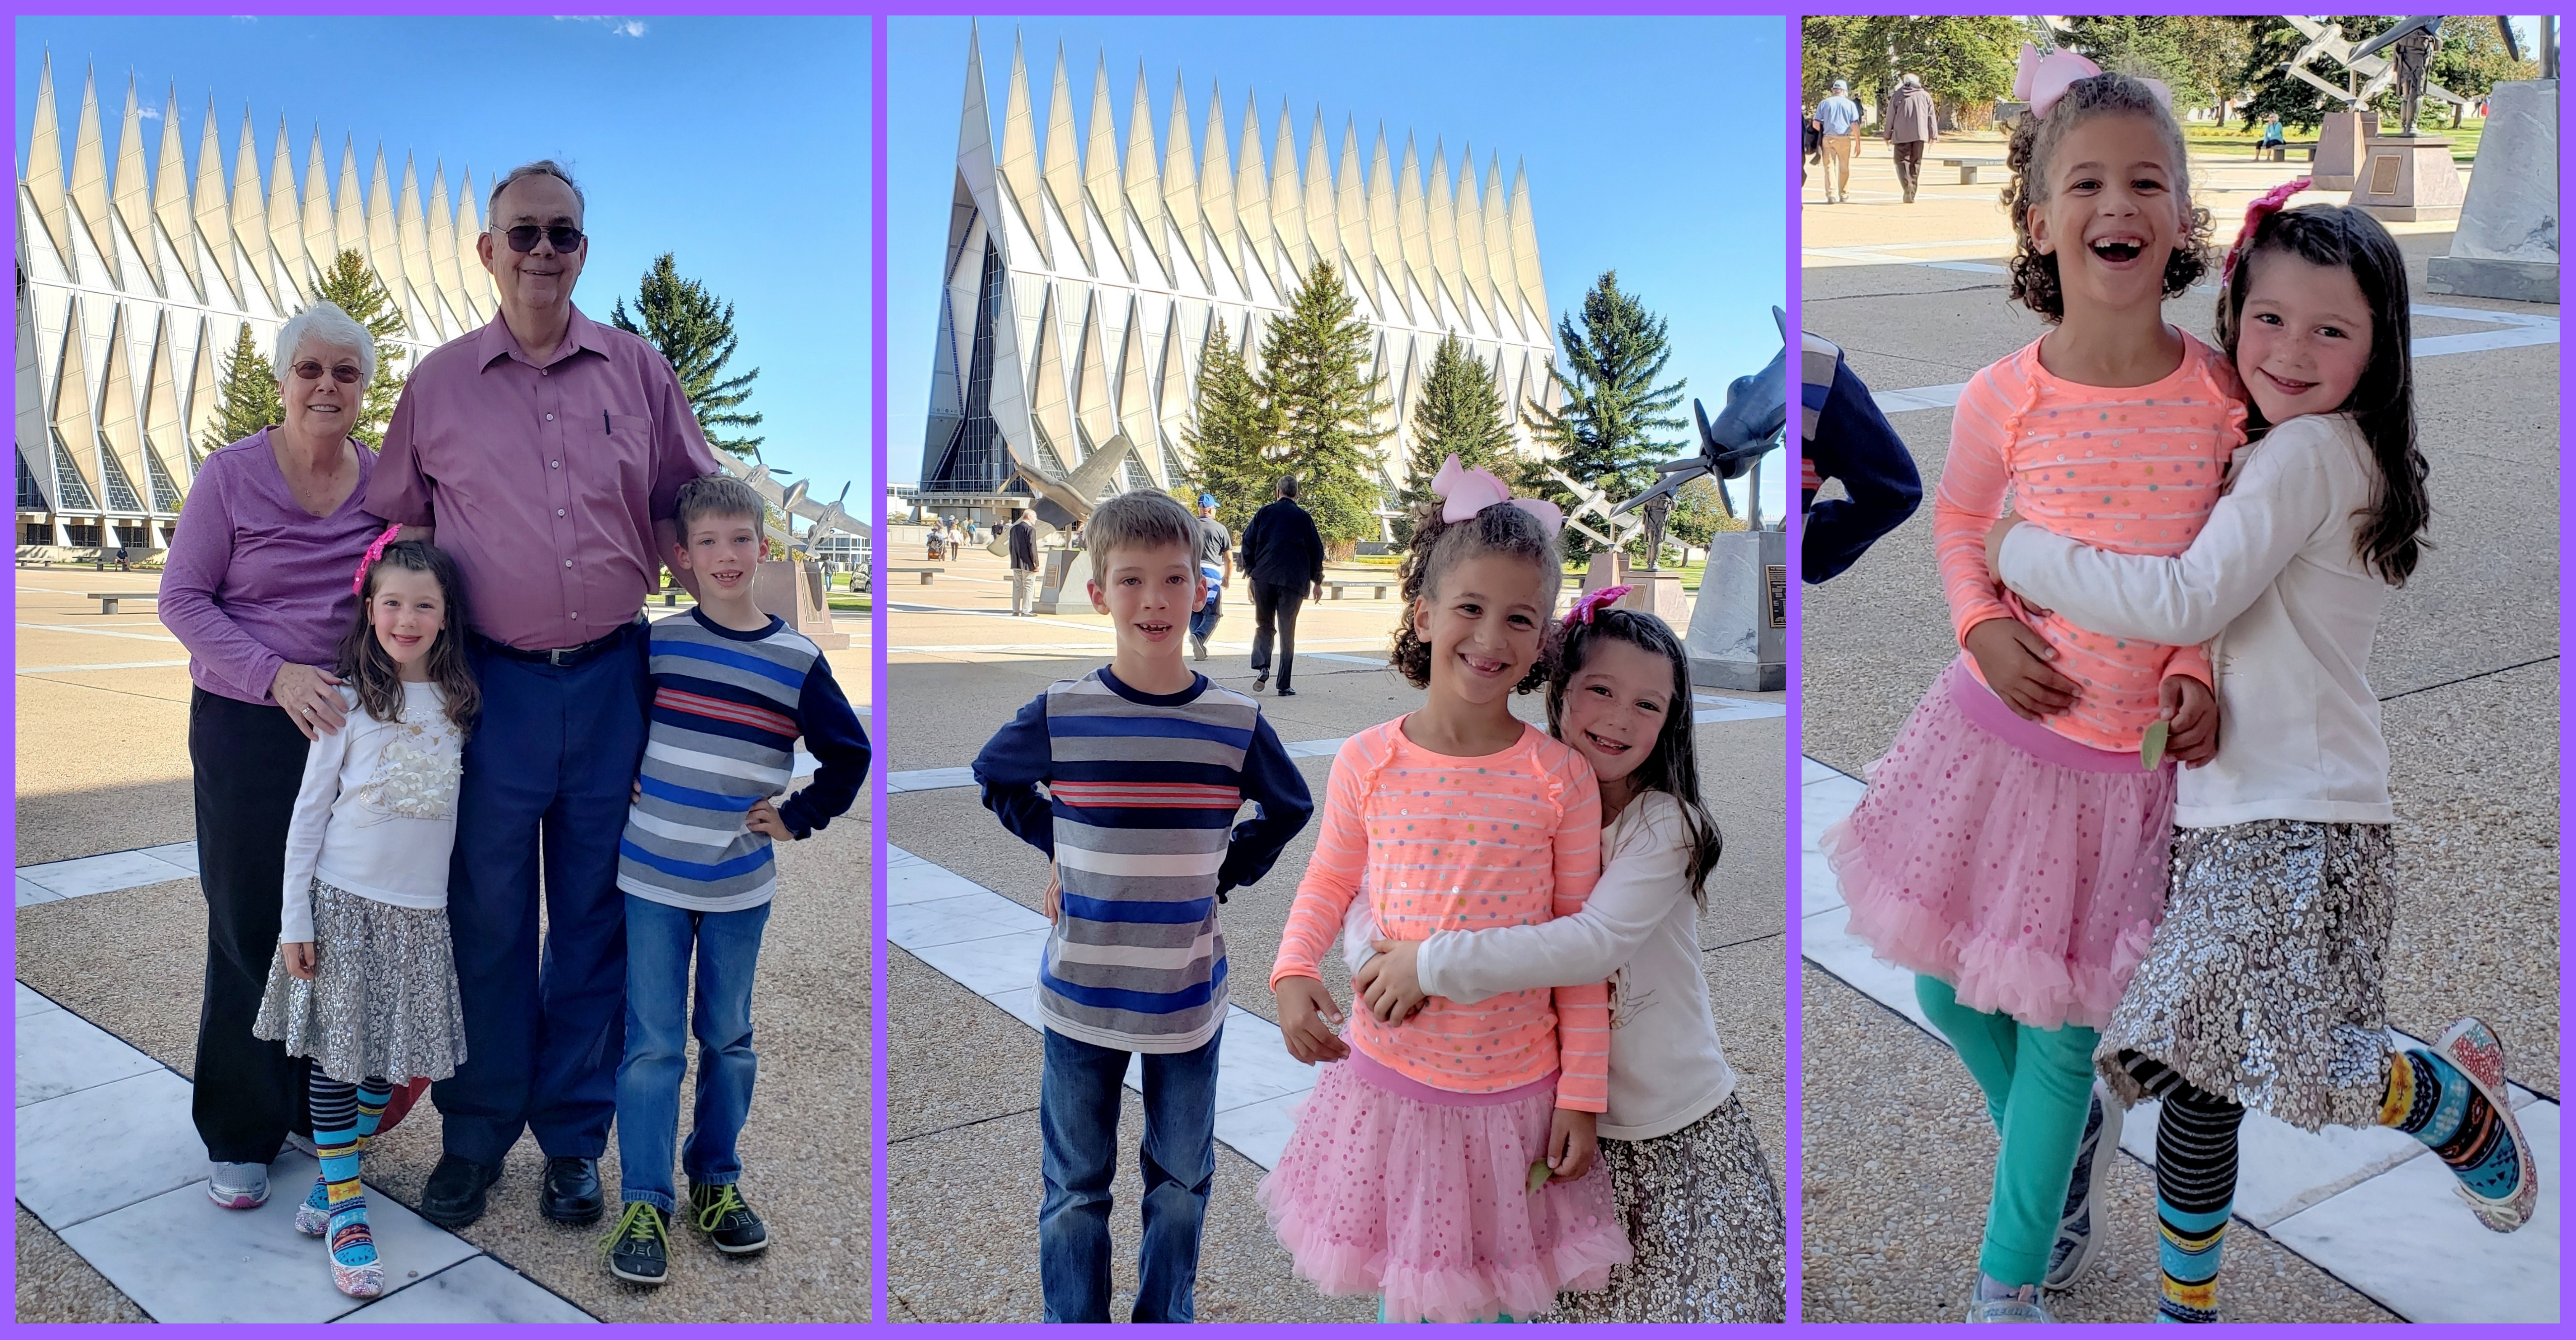
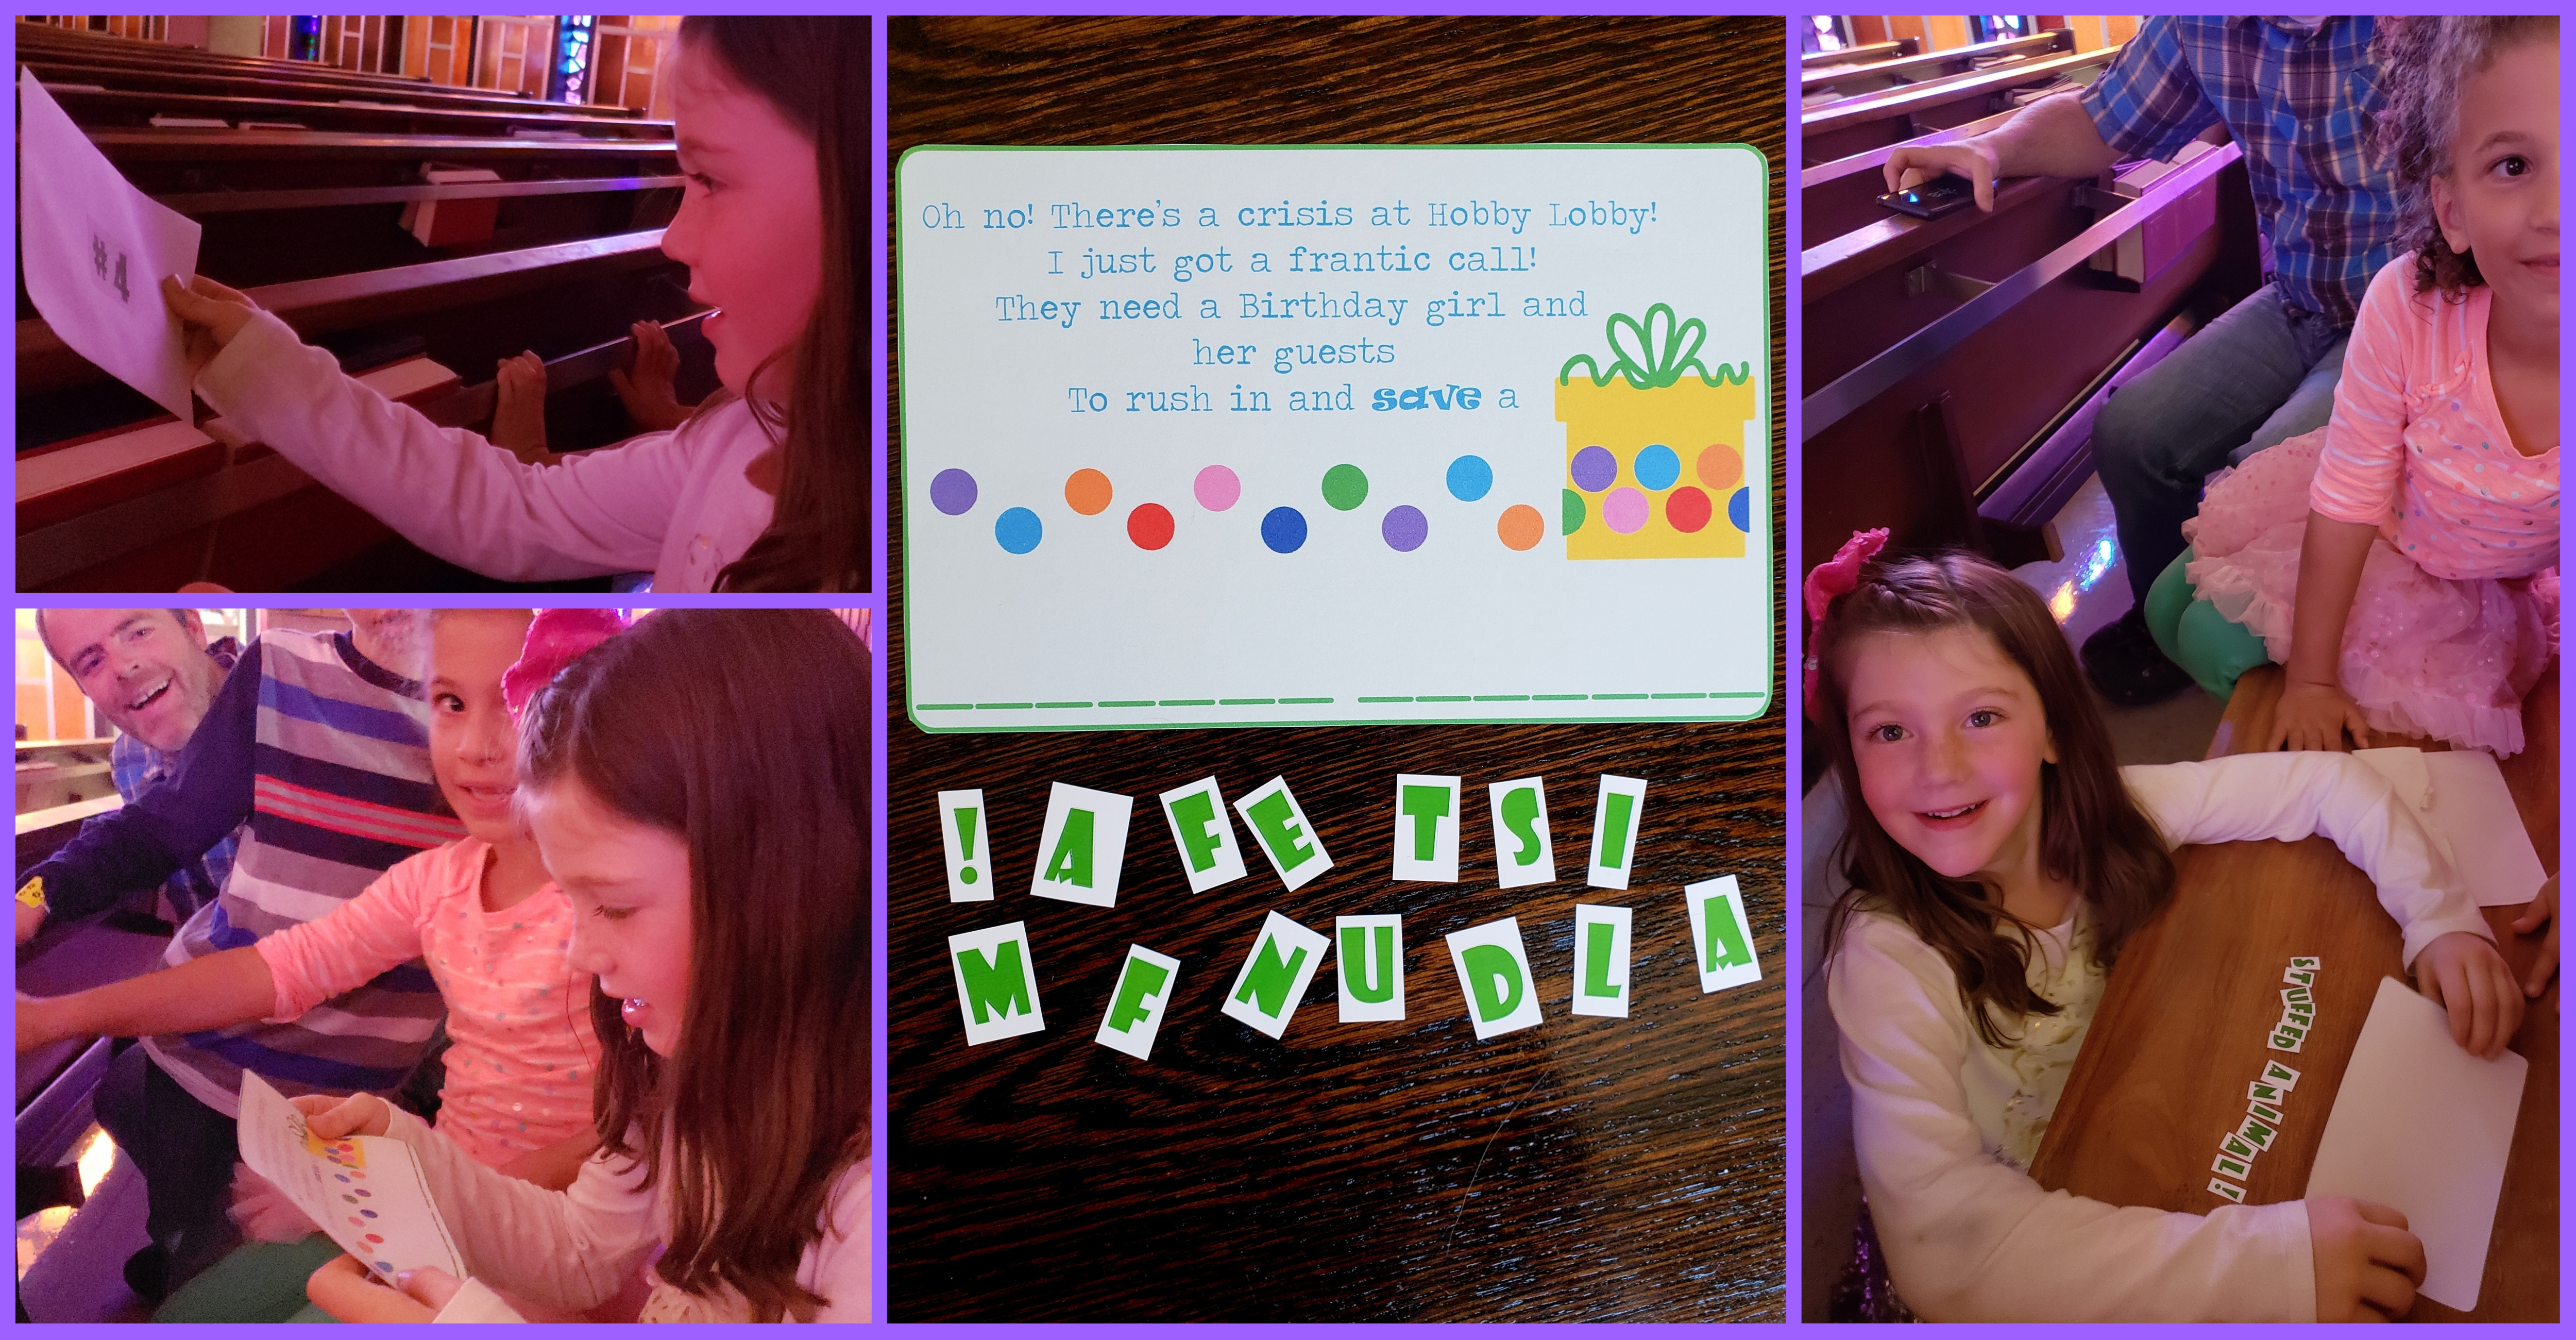
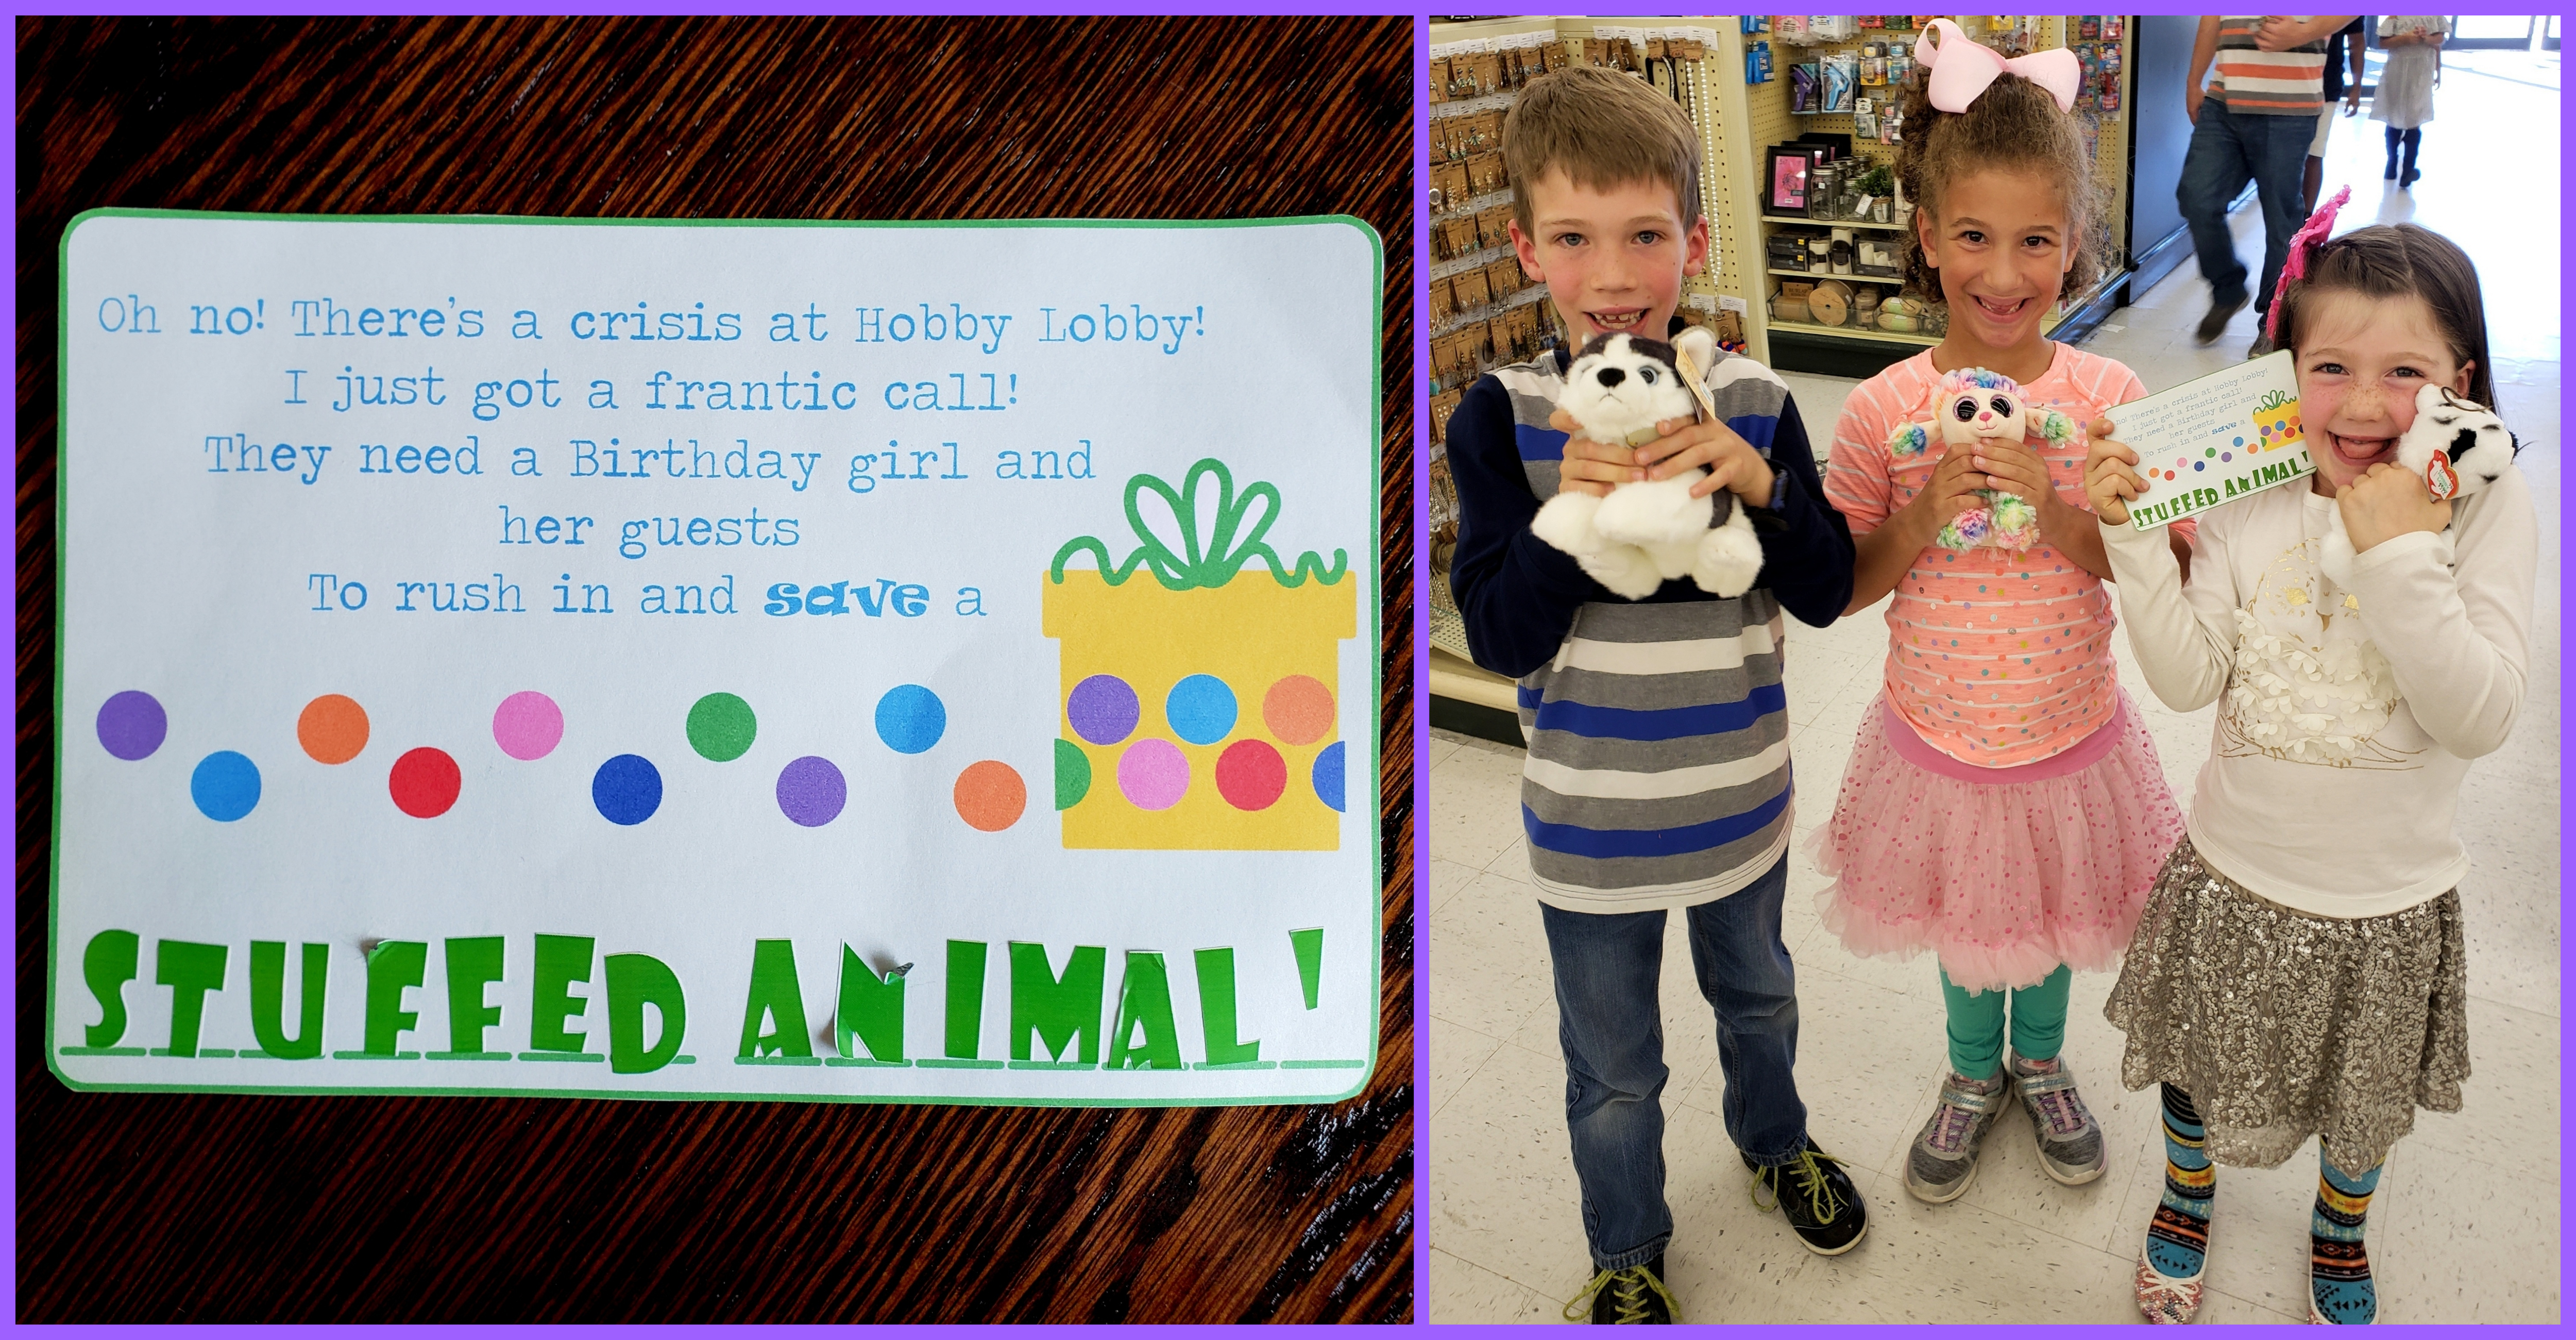
We were at the Air Force Academy so we decided to swing by to see the chapel which will be closing for a long time for renovation. We walked in to look around and encouraged Selah to sit down in a certain pew. Within a few seconds she spotted the envelope sticking out of a hymnal and I’m pretty sure her jaw actually touched the floor!!
This was another two-word clue. I did help her by sorting the letters into two piles so she could solve one word at a time. The party favors were that each kid got to pick out a stuffed animal. This was fun :).
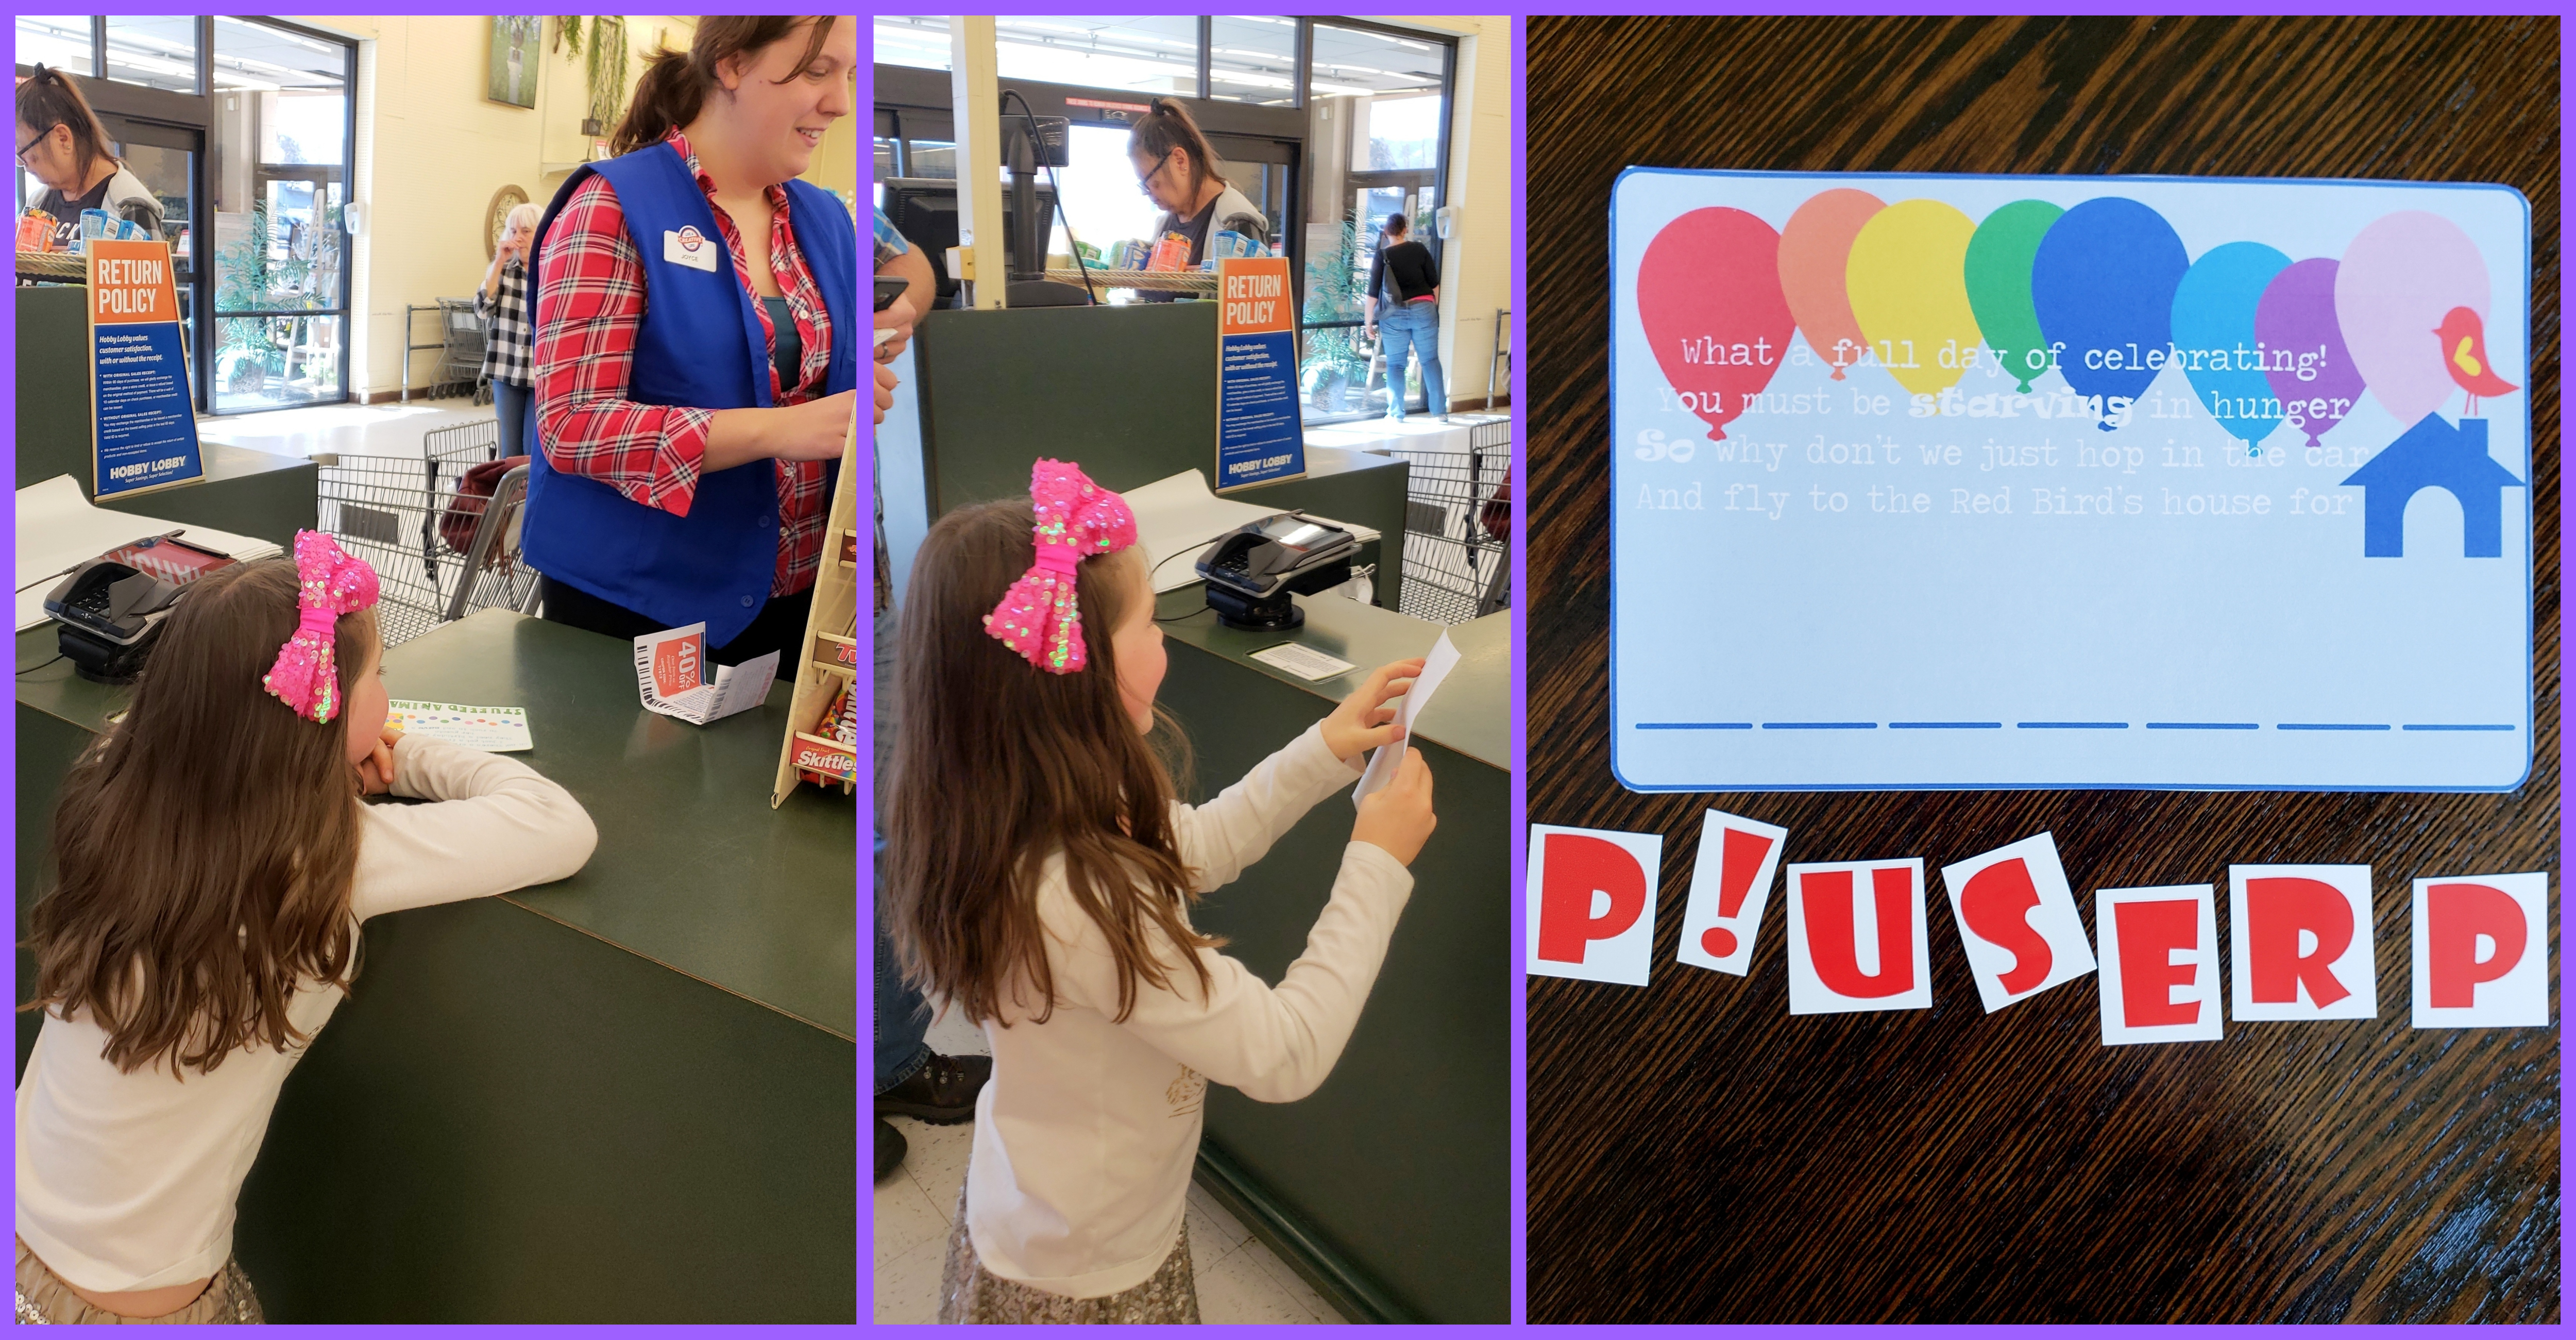
Selah brought her new stuffed animal up to the register and lo and behold, as the gal handed her stuffed animal back to her she also handed her an envelope… Selah’s utter shock never got old!!!
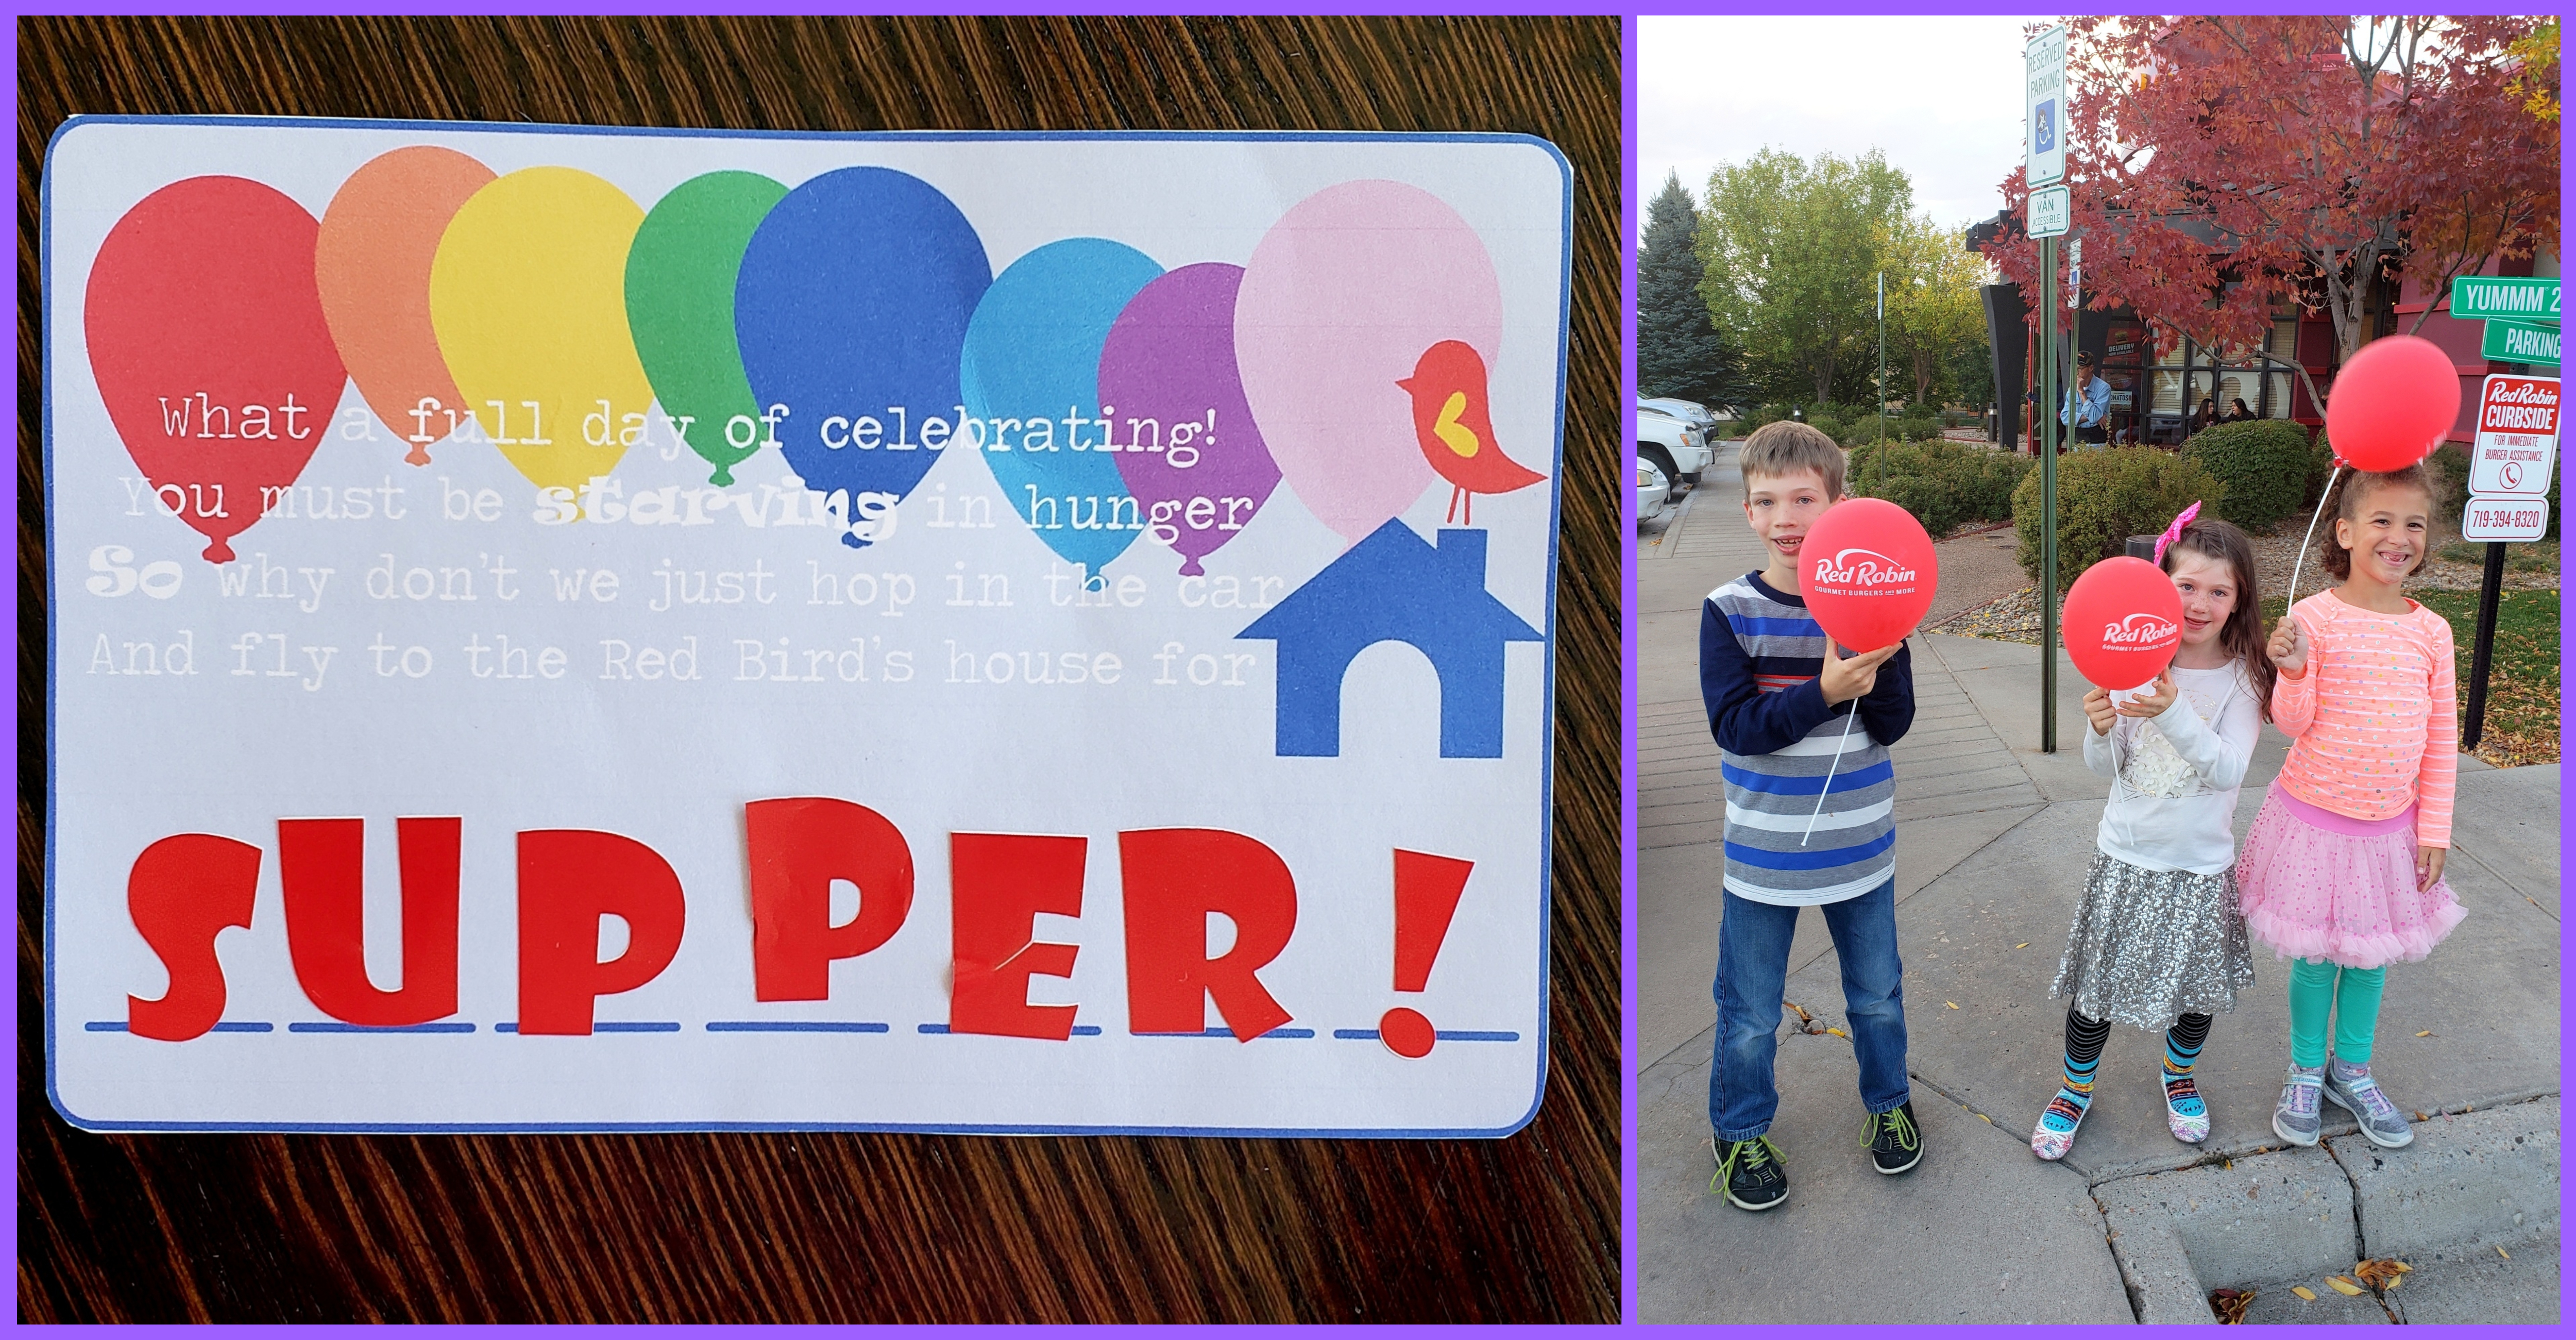
We headed off to one of her favorite places to eat…
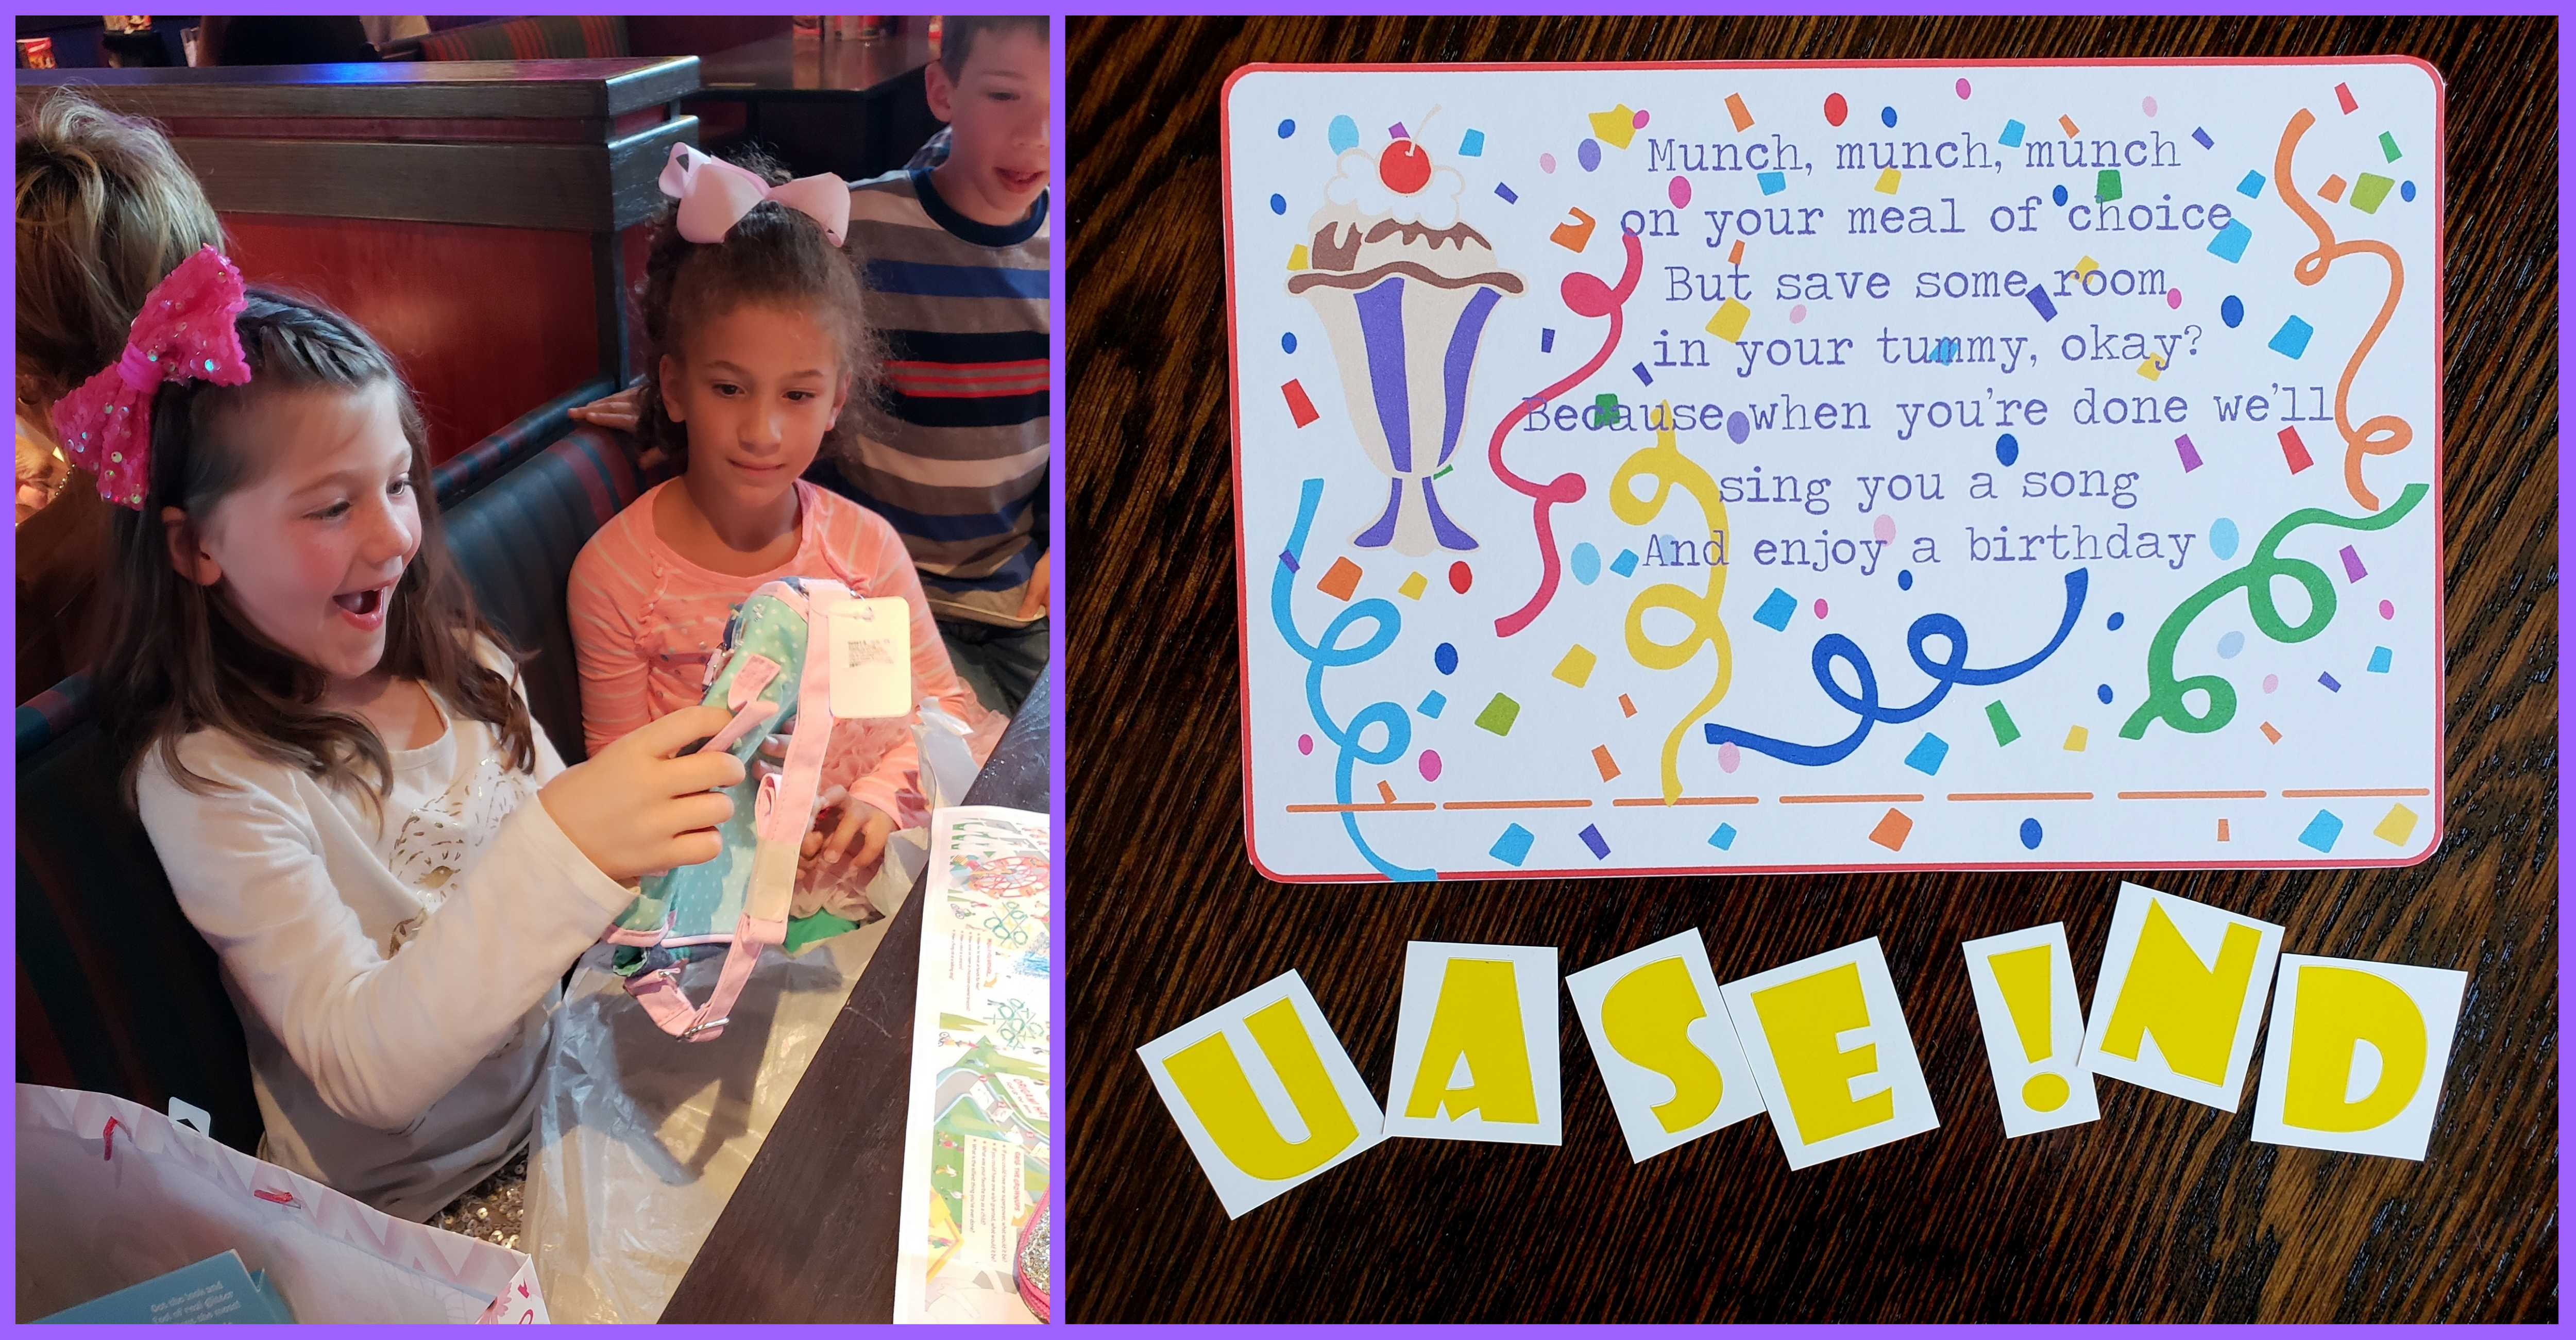
She opened some very special presents, we had a delicious dinner and towards the end of our meal, Selah received a sixth envelope from the waitress!
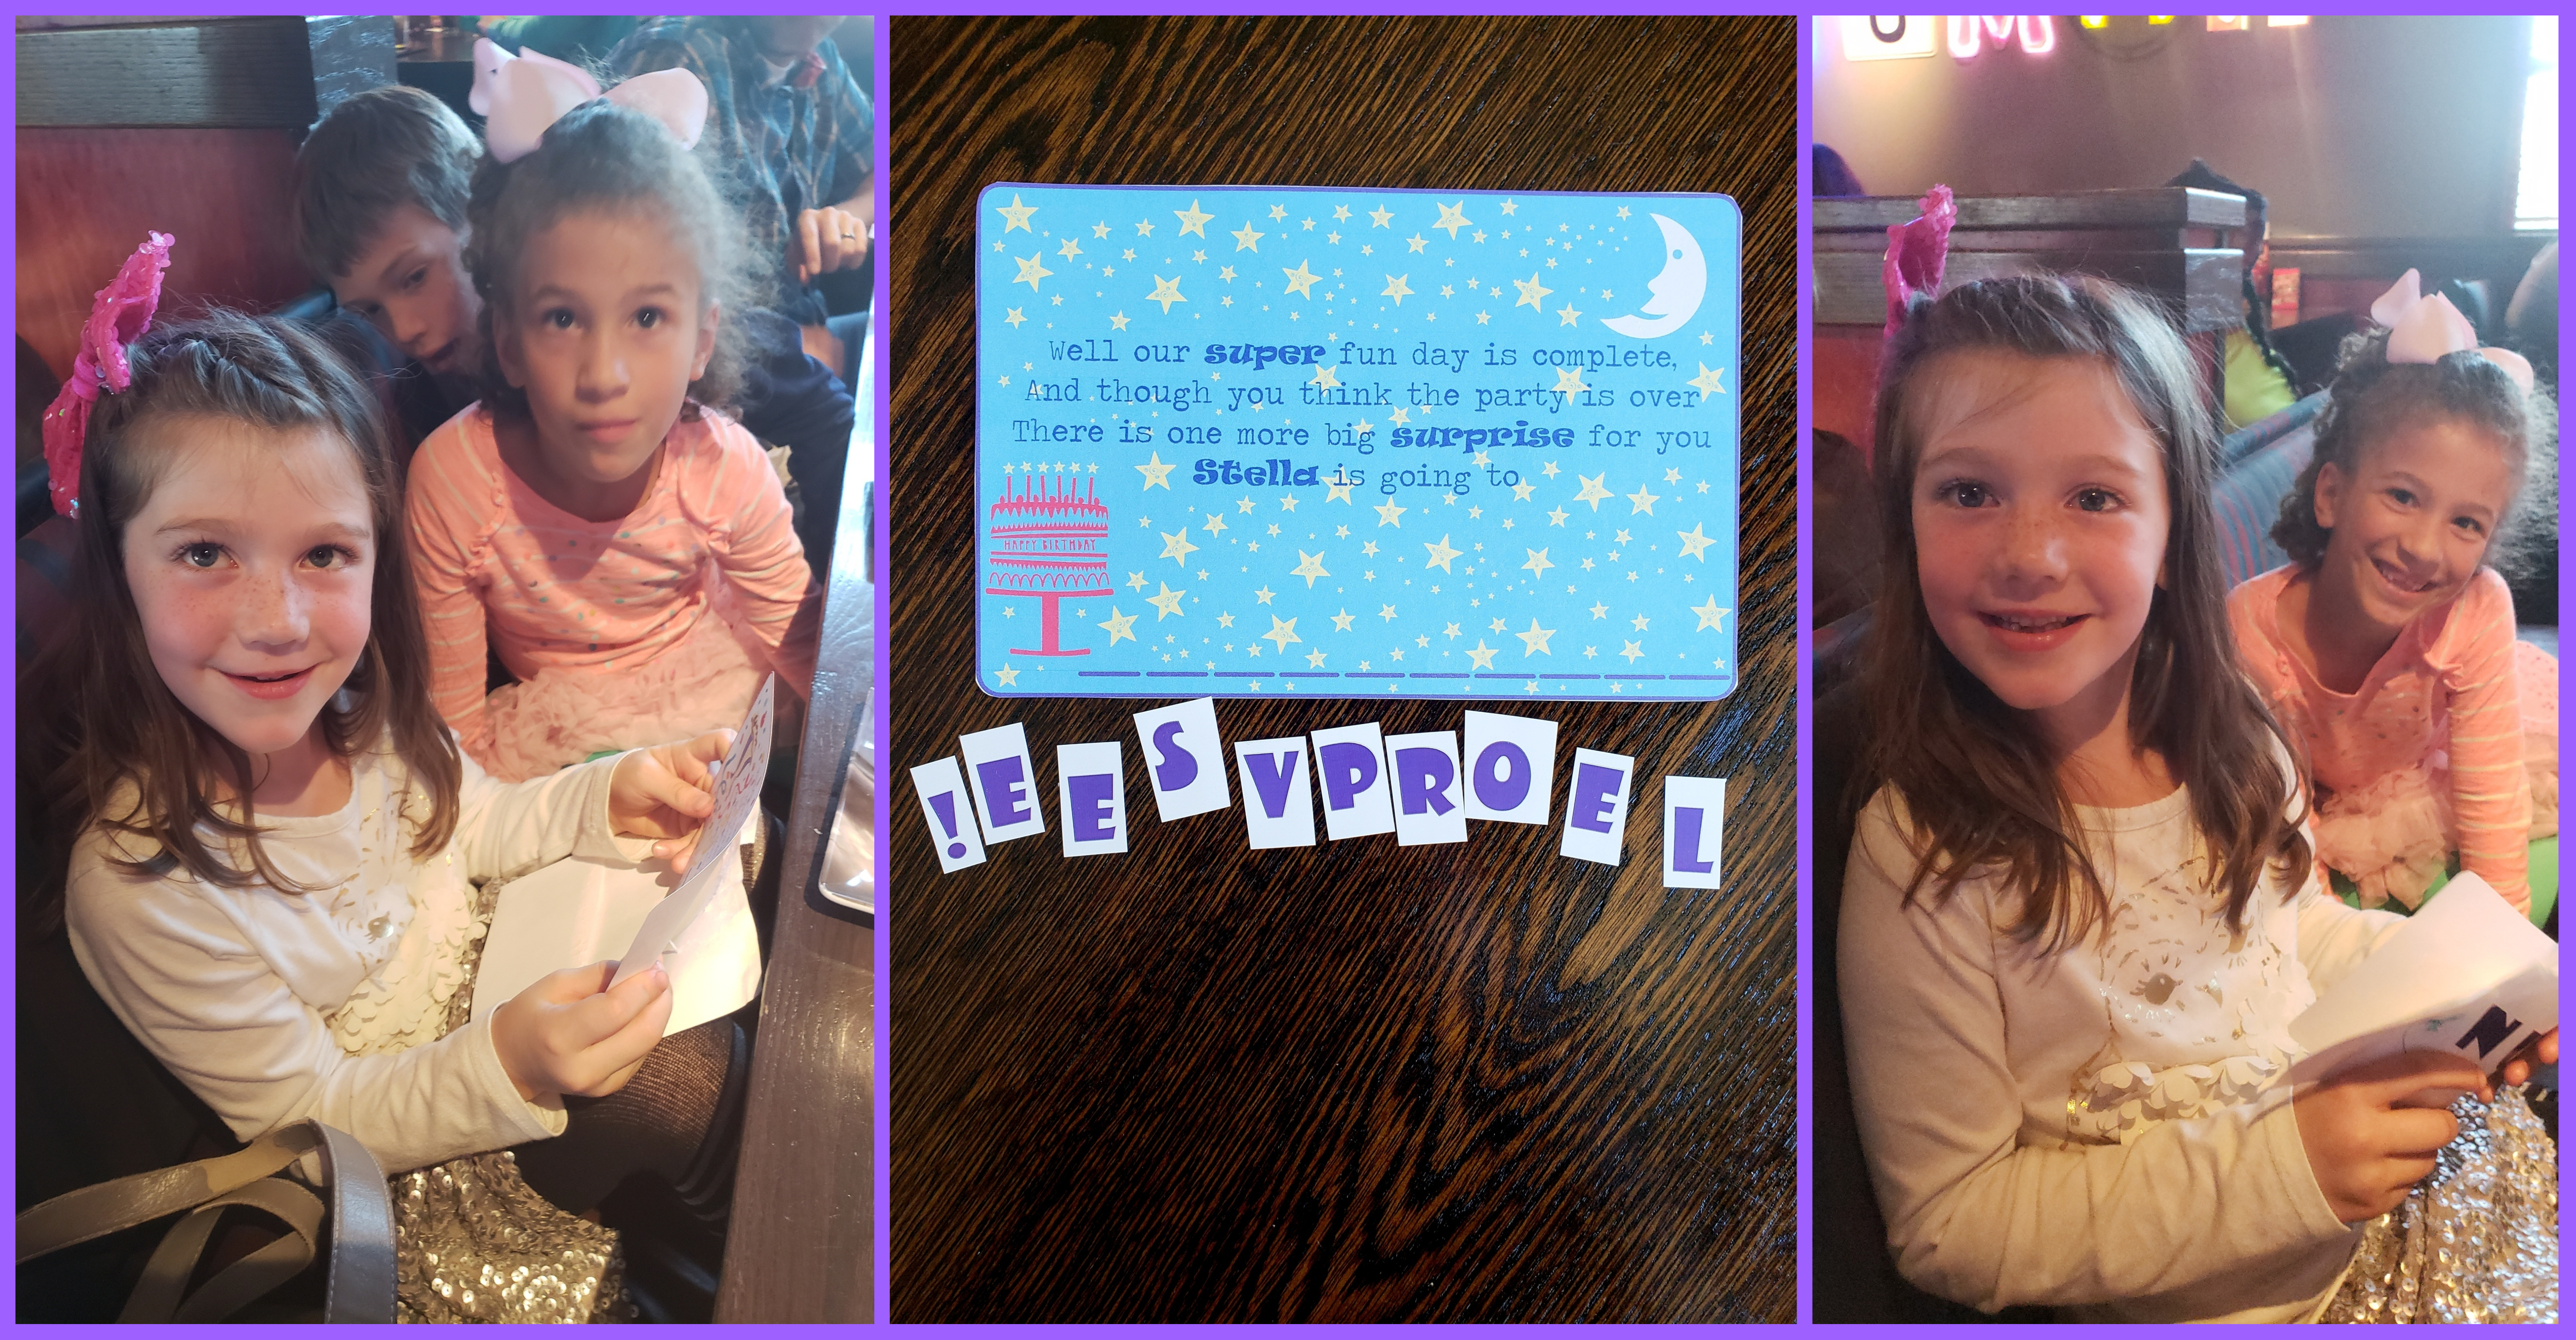
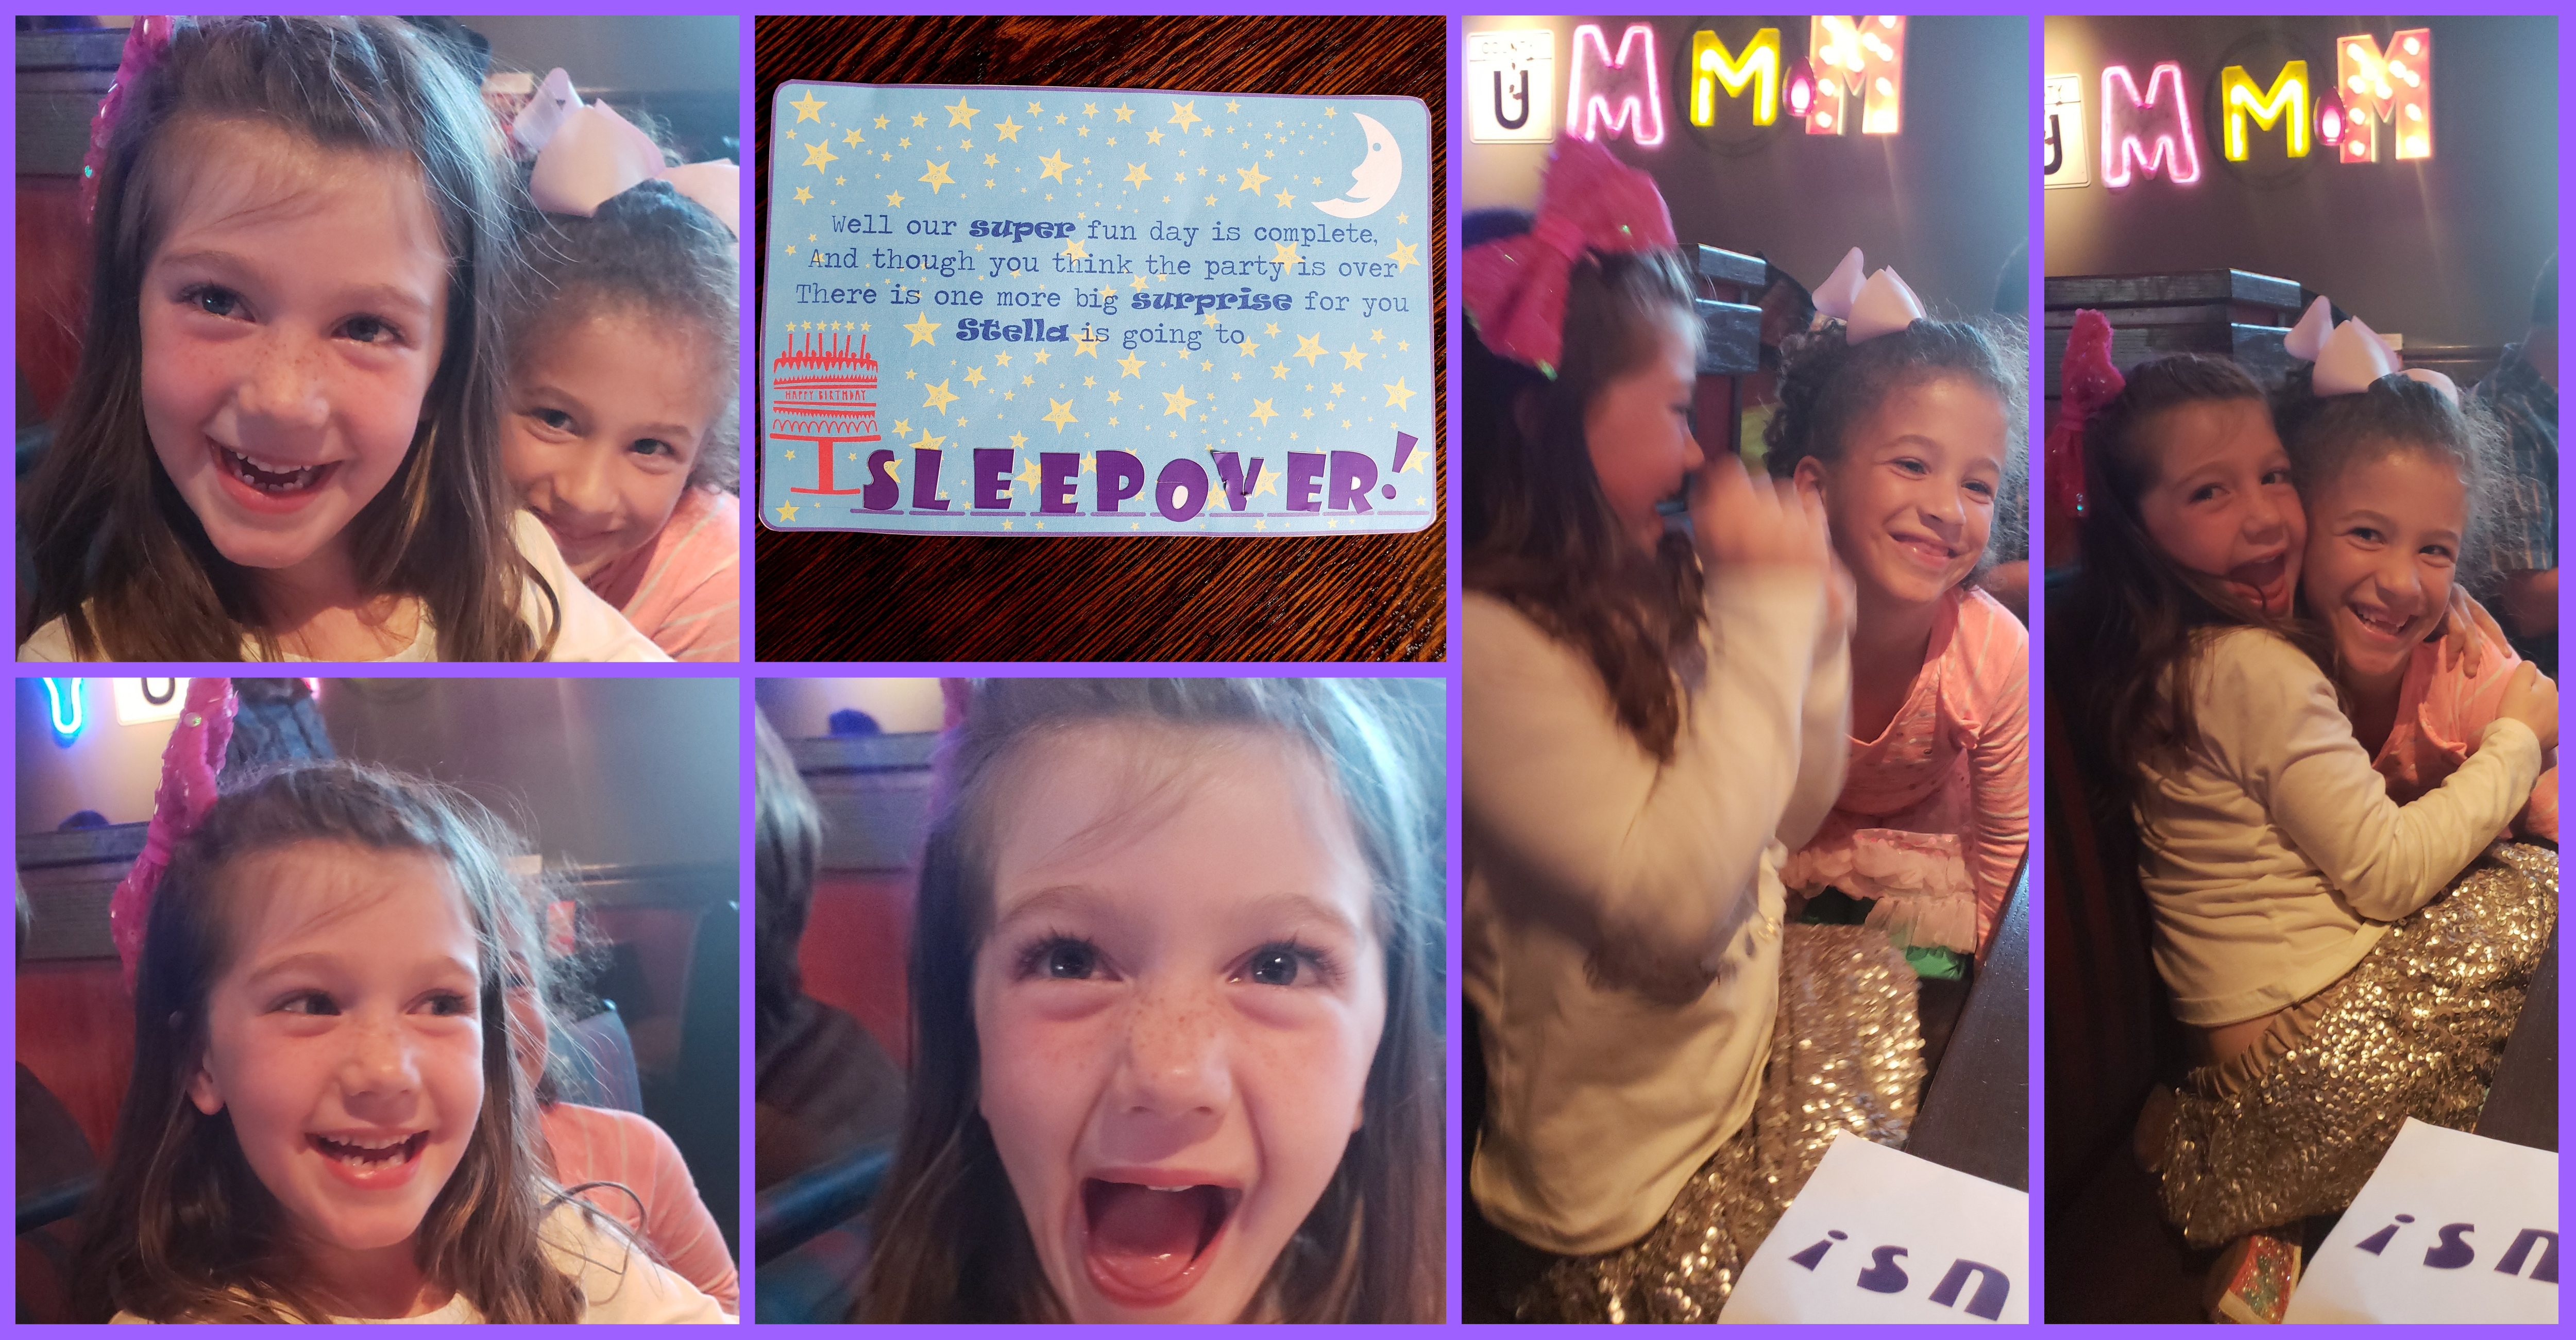
Now, for various reasons, I chose to do a Bonus envelope in addition to the six envelopes. I knew that this was, by far, going to be the best of all the surprises. She was surprised that their was a bonus envelope in the first place, but as she opened it and read it and started to figure out what it could be…she couldn’t even contain herself.
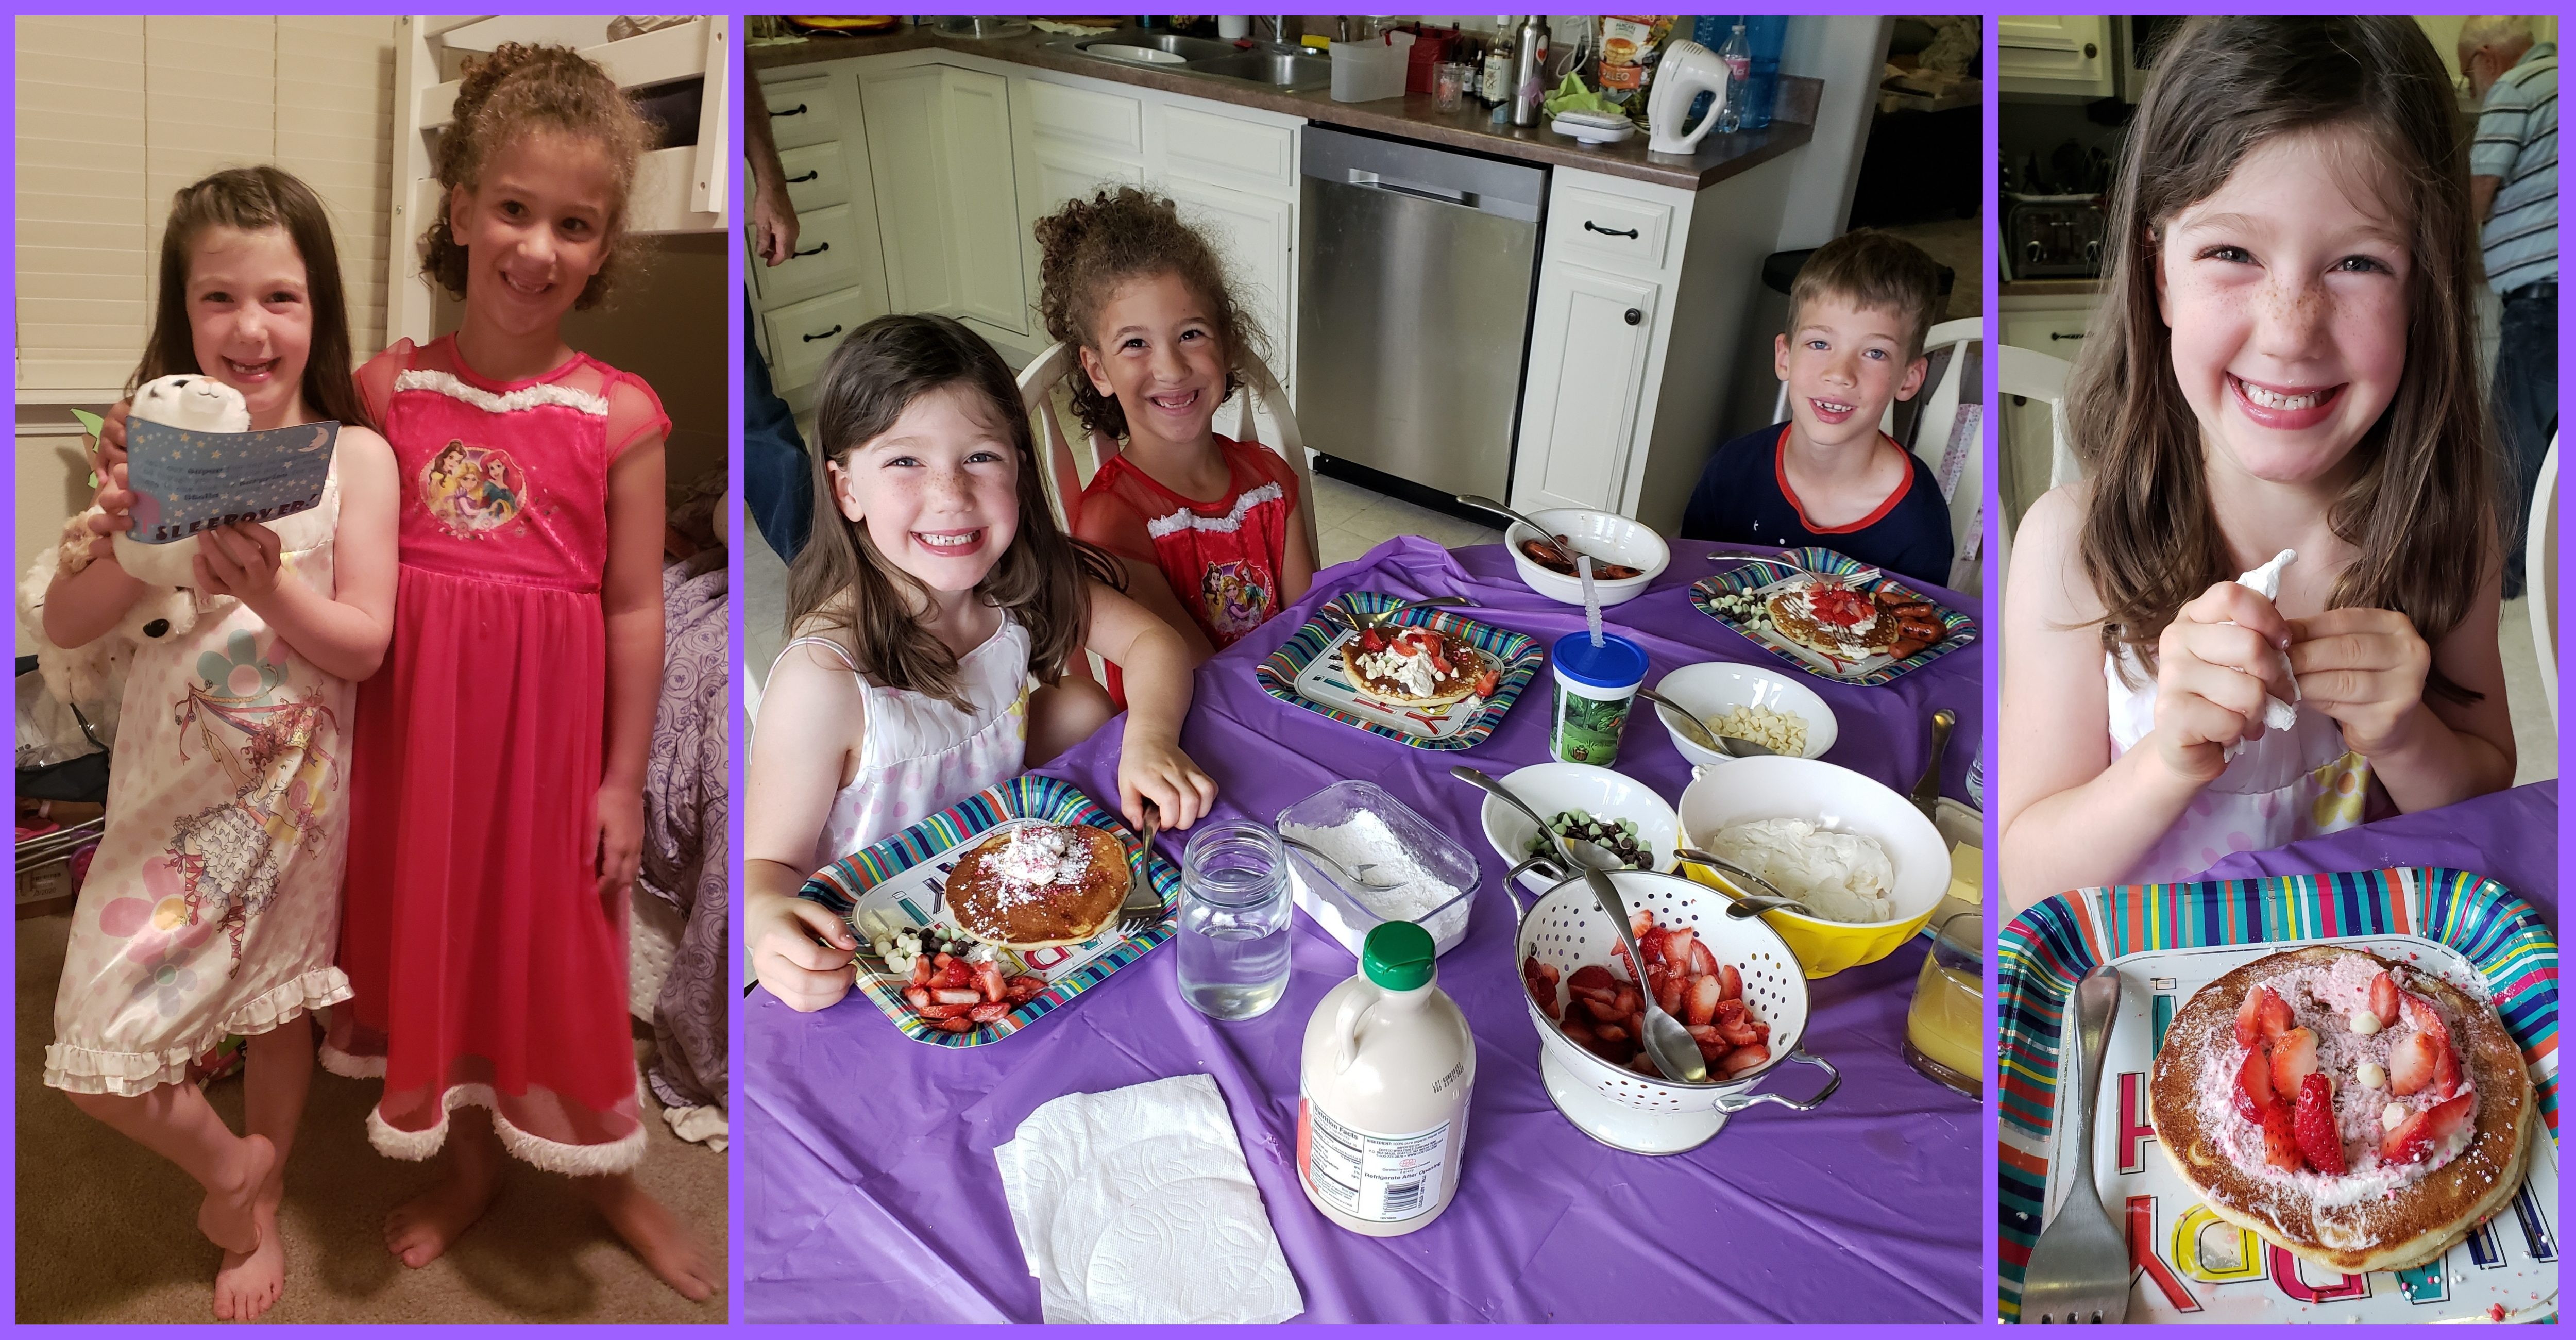
It was both of the girls’ first (real) sleepover and it was absolutely fabulous. Girl chats, lots of laughter, not enough sleep, and delicious pancakes the next morning: utter birthday bliss :).
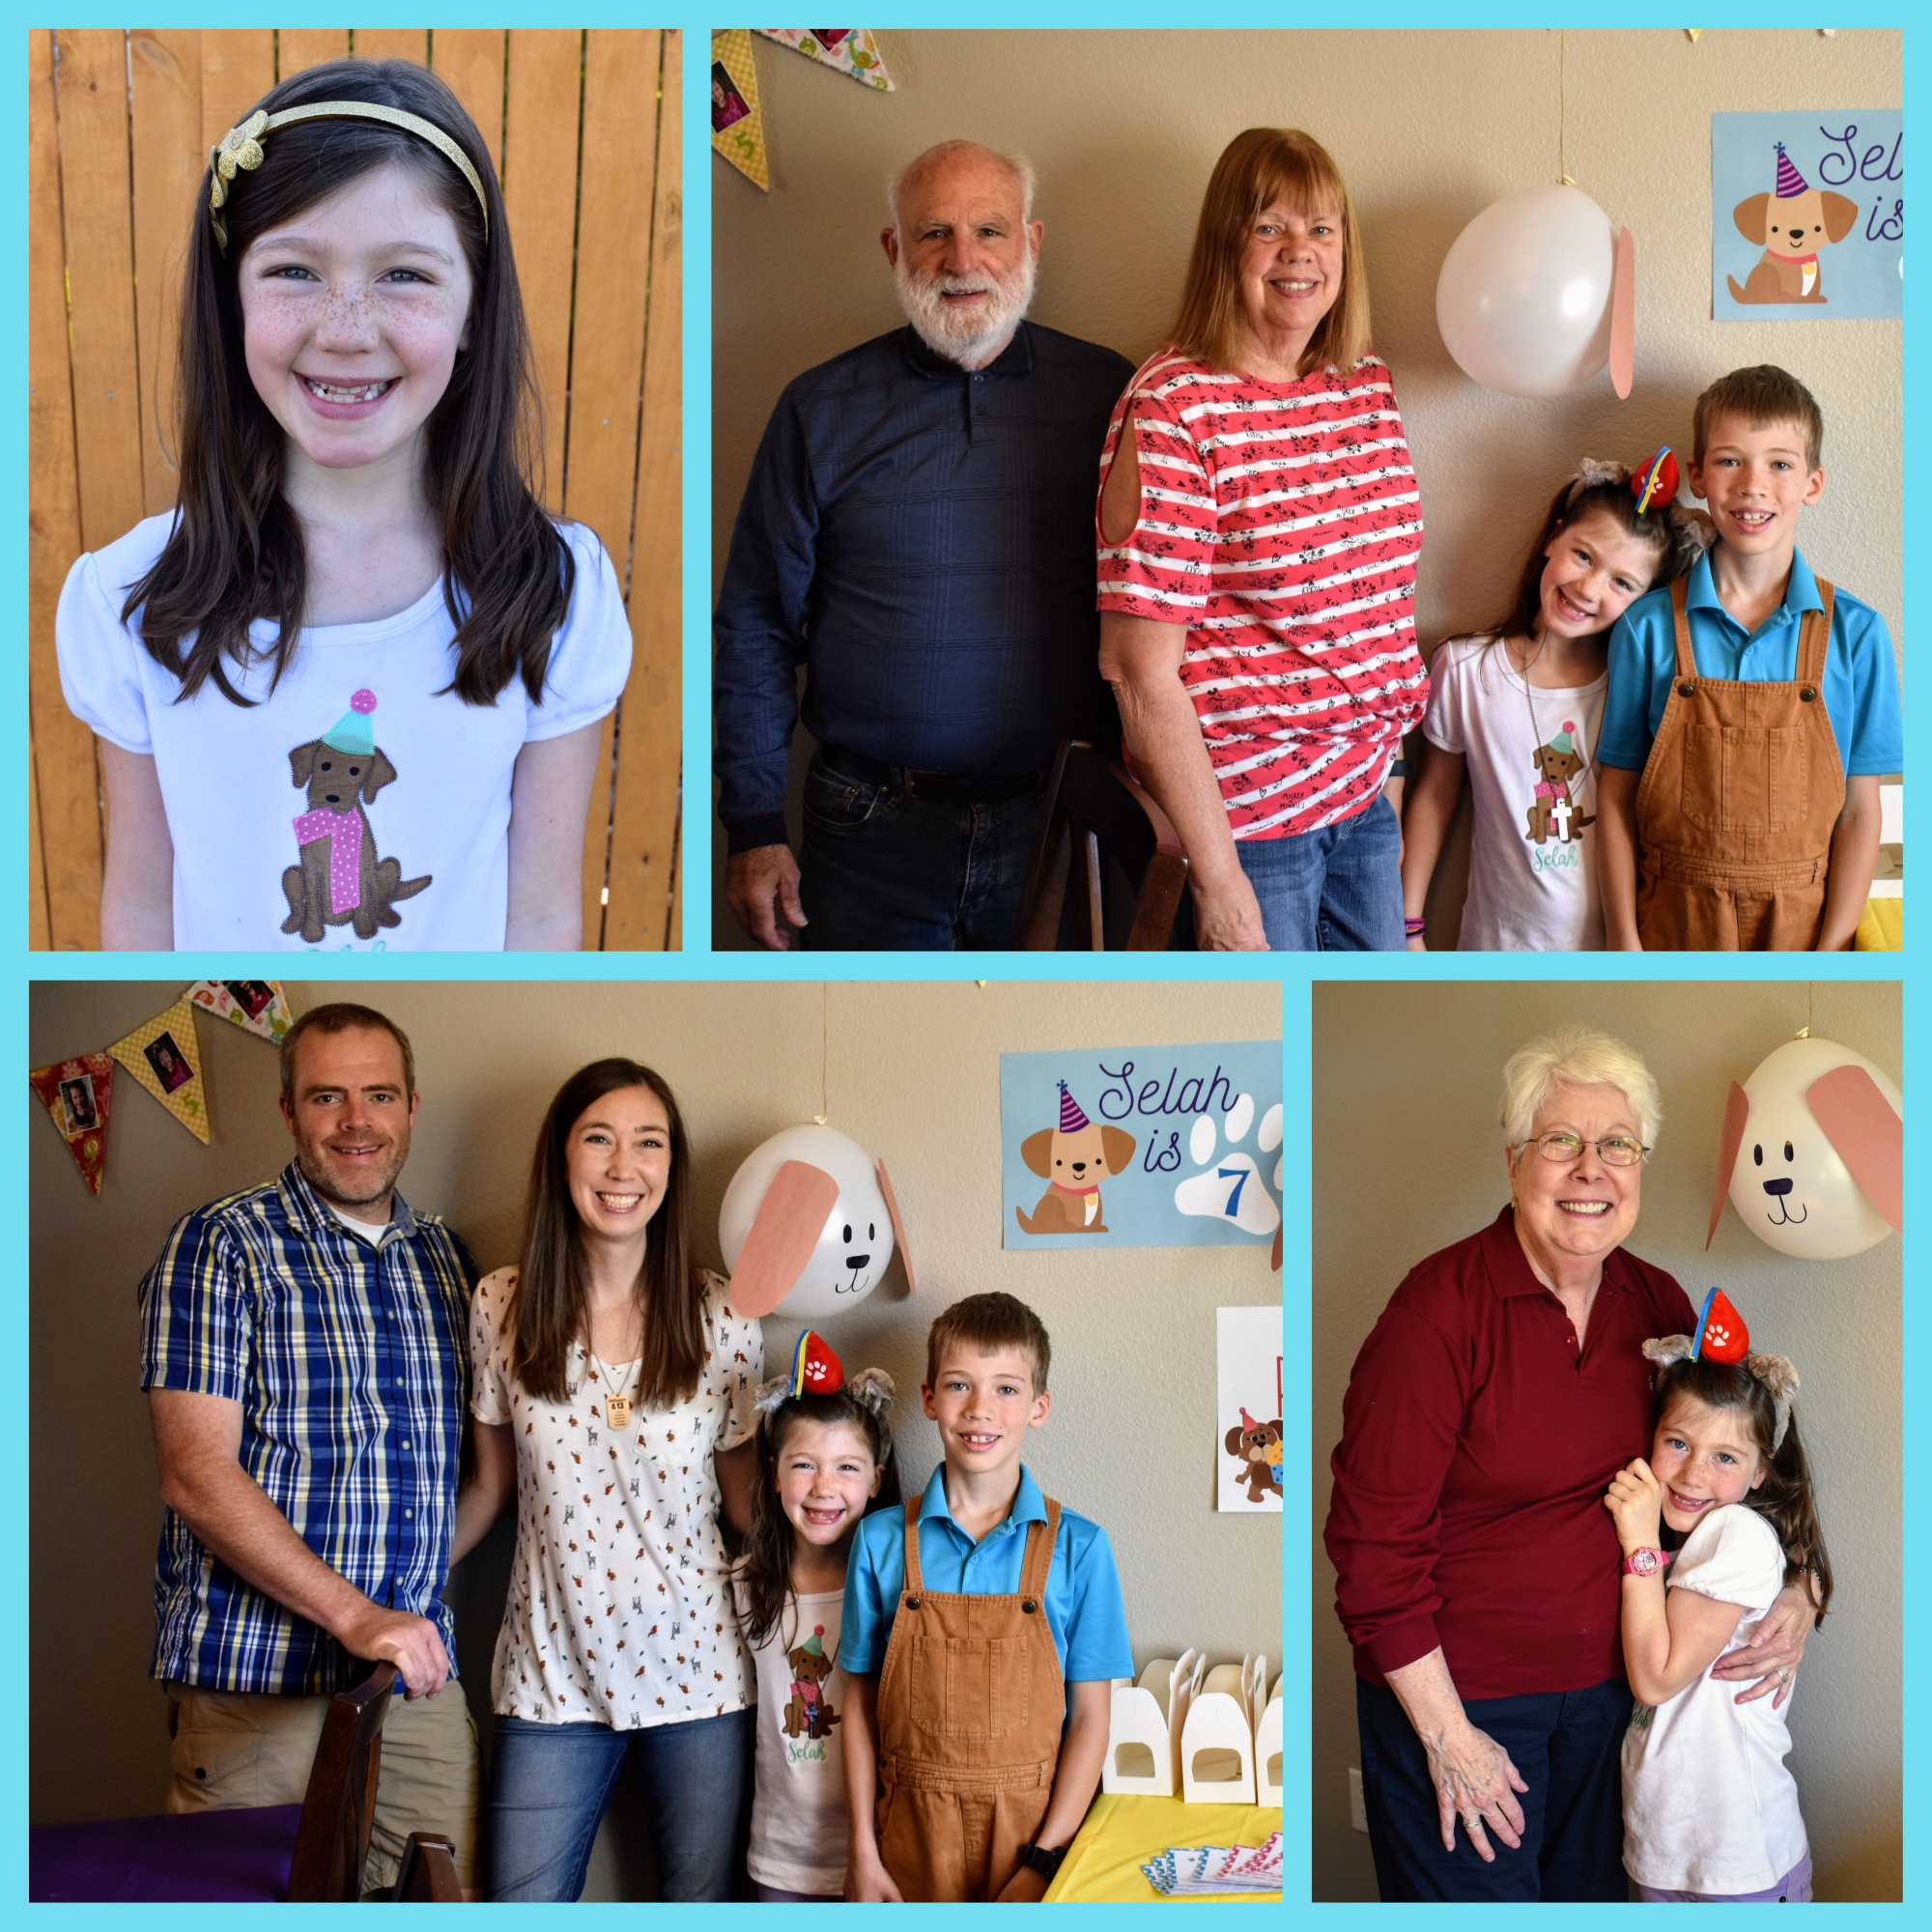
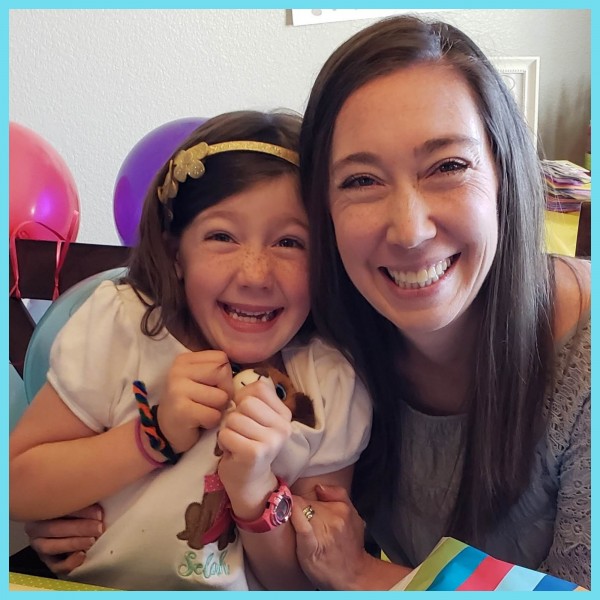
Although yes, the clues turned out to be super fun and special, I have to say that what made this party a success were the people who were there to selahbrate with our girl! She had both sets of her grandparents there, her parents and brother, and her dear friend Stella who has so many of the qualities I have prayed for in a friend for Selah. Stella is kind-hearted, thoughtful and FUN!! She has the BEST giggle and she lets it loose freely!! I am thankful Selah had such a special friend to go on this birthday skating scavenger hunt adventure with her! She was surrounded by people who love her tremendously, and that is what made it wonderful!!
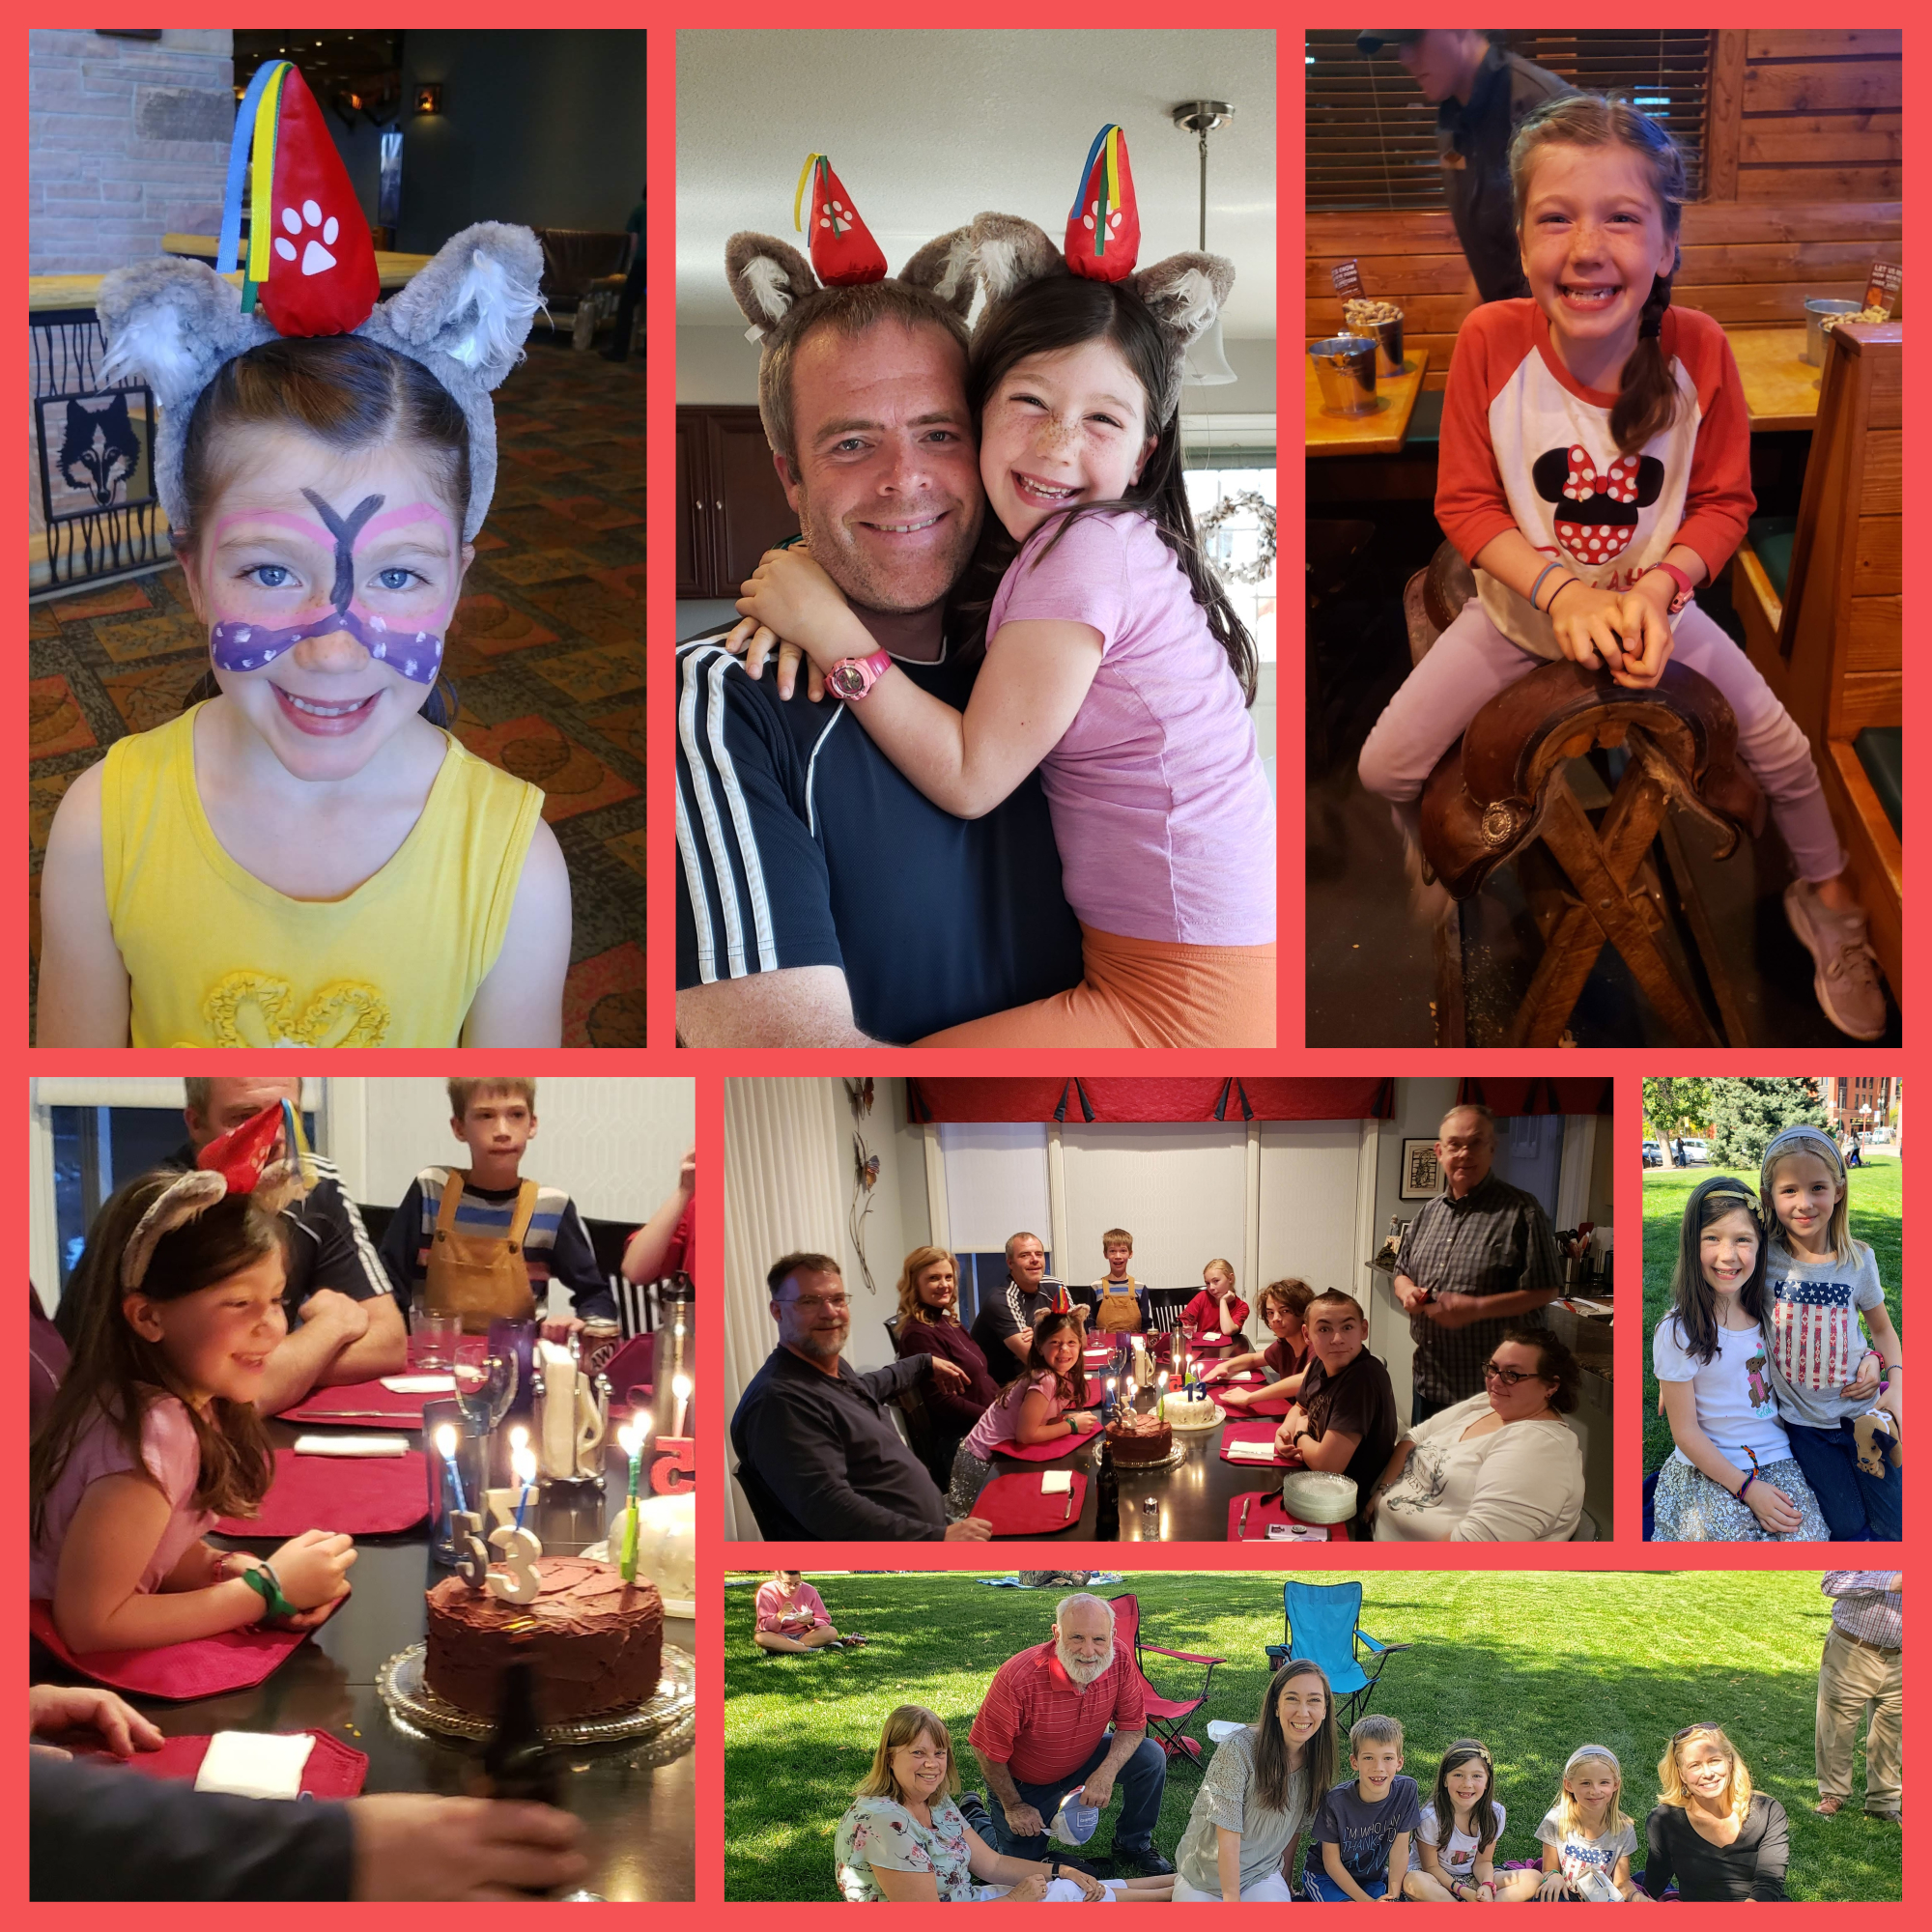
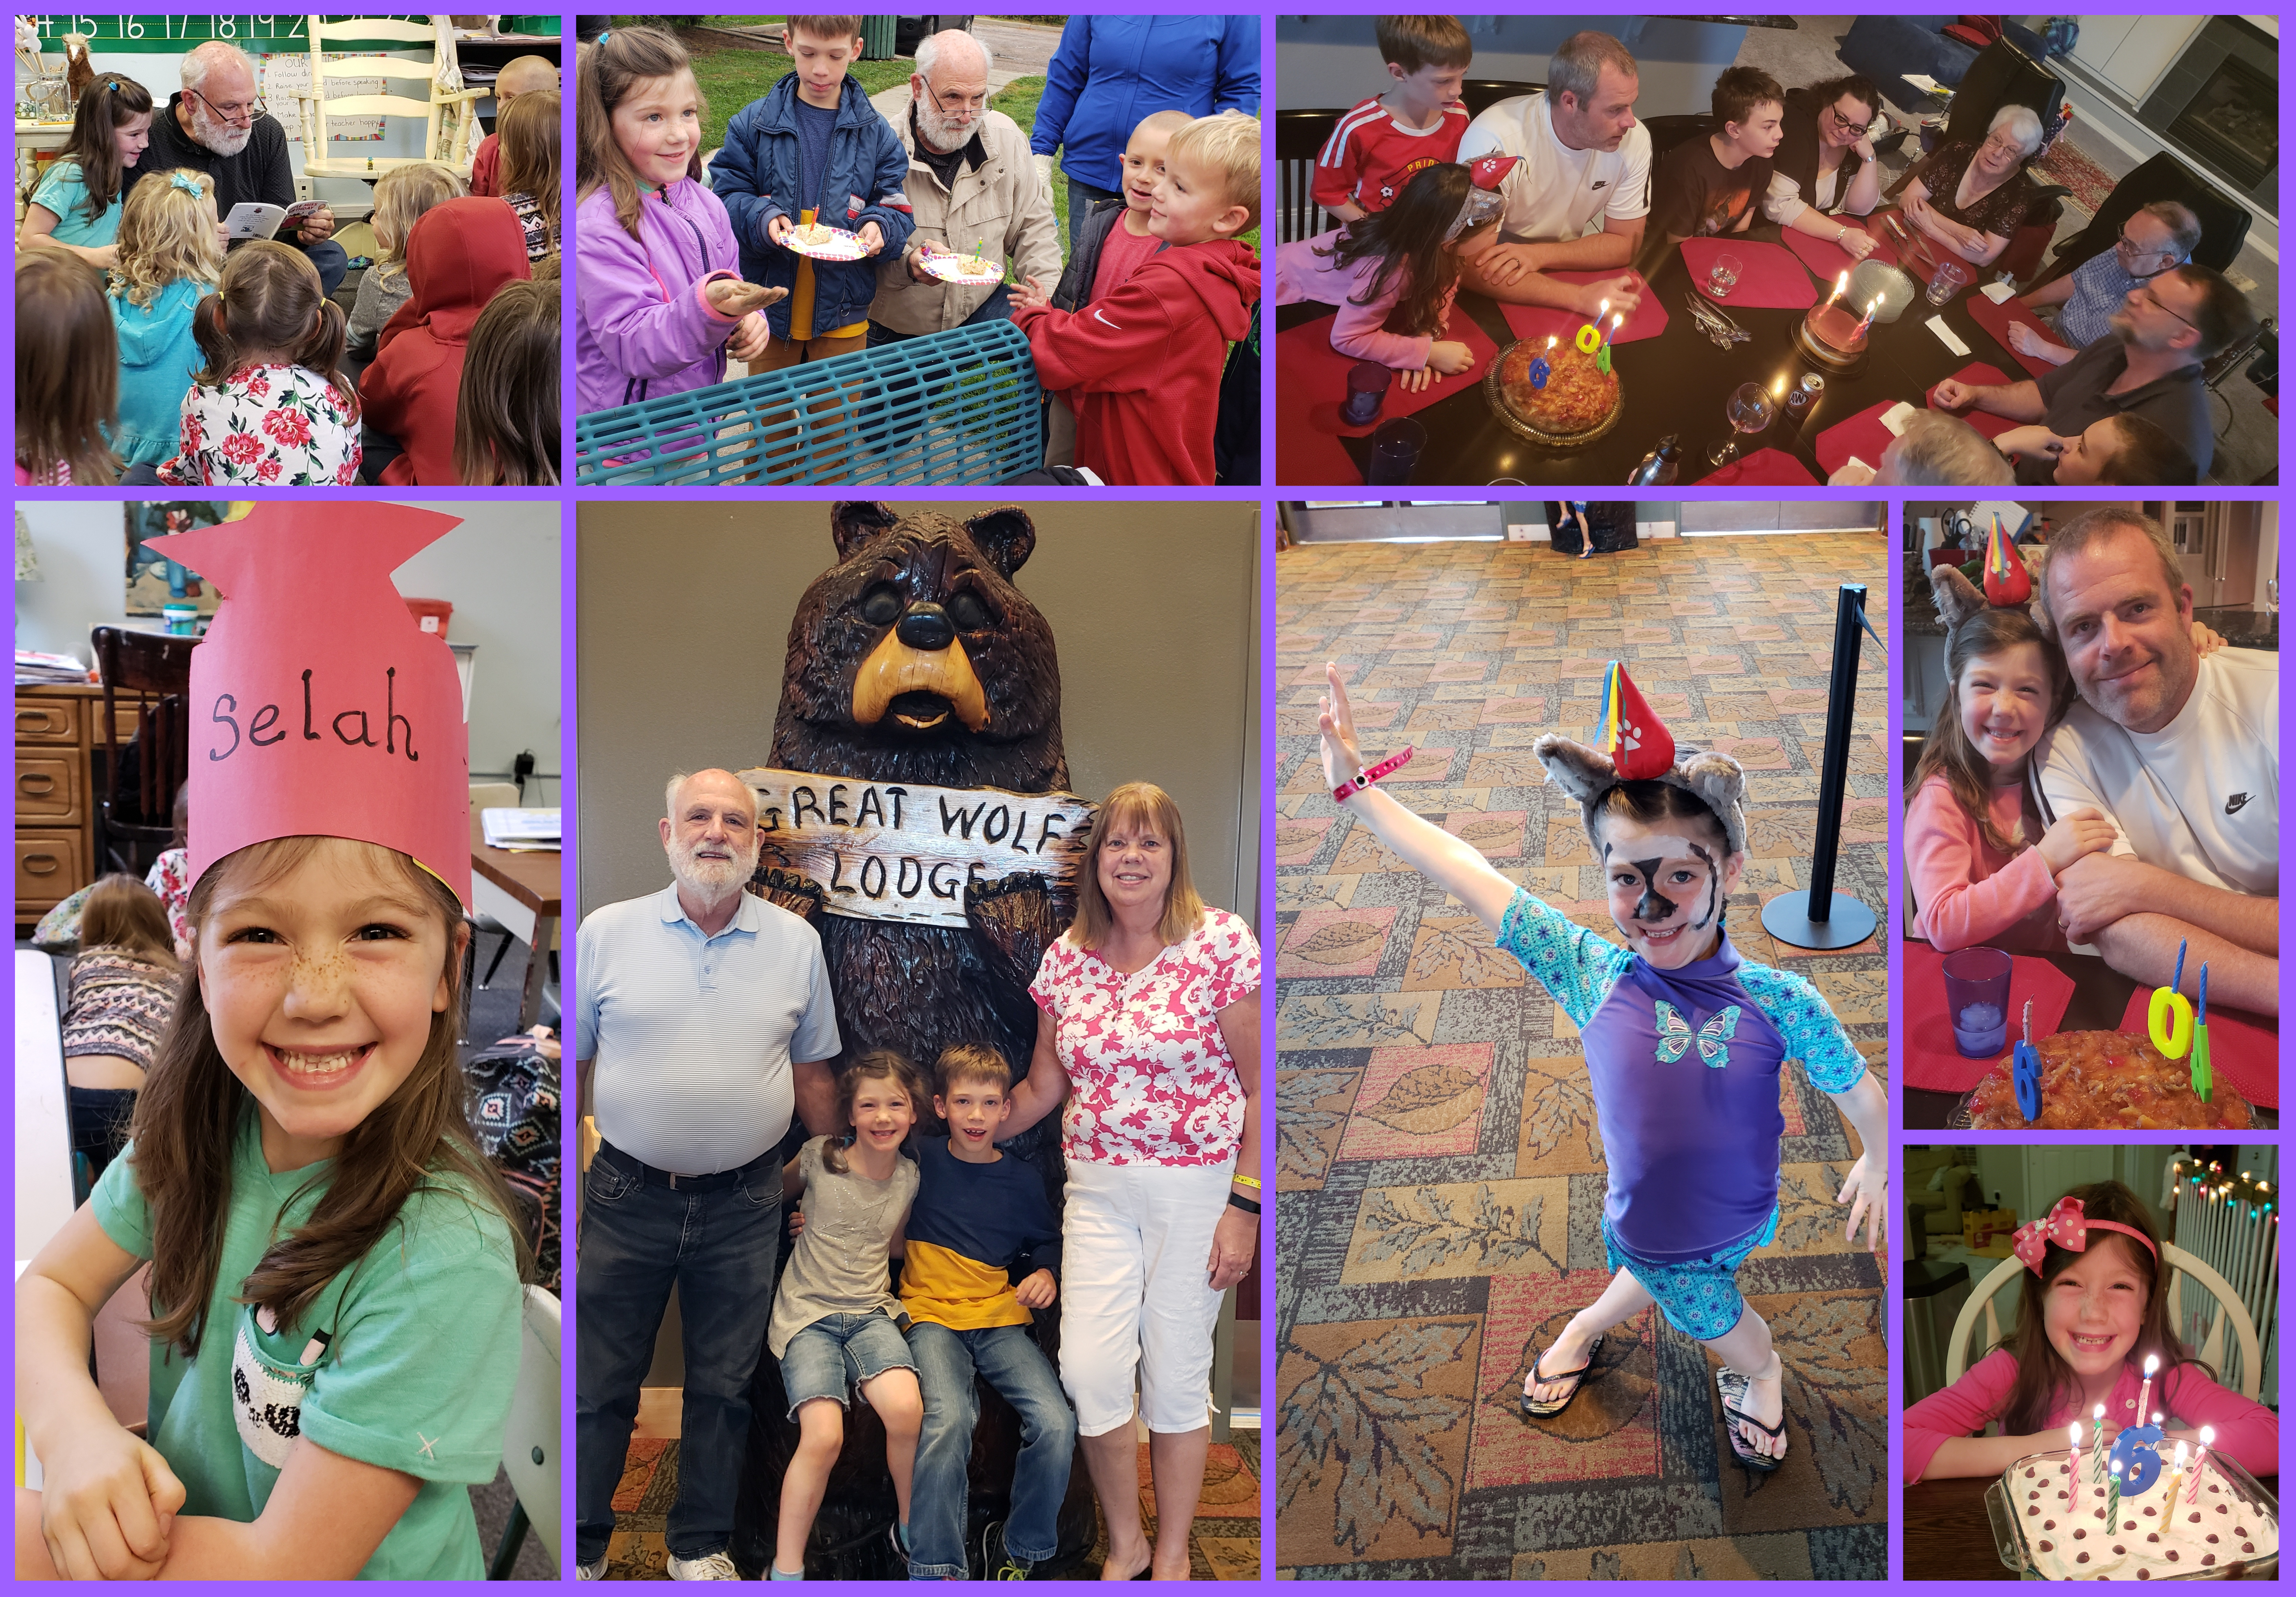
So all that to say… real simple, right?! 🙂 And the reality is, BEYOND this splendid birthday party Selahbration, Selah had multiple other celebrations…her very first classroom birthday celebration where her grandpa read one of her favorite books to her class, a park co-birthday celebration with one of her classmates after school, a birthday party at Grampa and Nonna’s house with family, AND…her Grandma and Grandpa took her and Elliott to Great Wolf Lodge for three days!!! AND we had mud pie at home on her actual birthday!! What a birthday!!! I have a feeling she’ll ask to turn 6 every year!! Selah girl, it is utter joy to selahbrate you!!!!
I know you have all been up losing sleep at night wondering what Elliott did for his 7th birthday. Well, now that he’s near turning 8, I figured I’d put a post up about it so you could all get some sleep. 😉
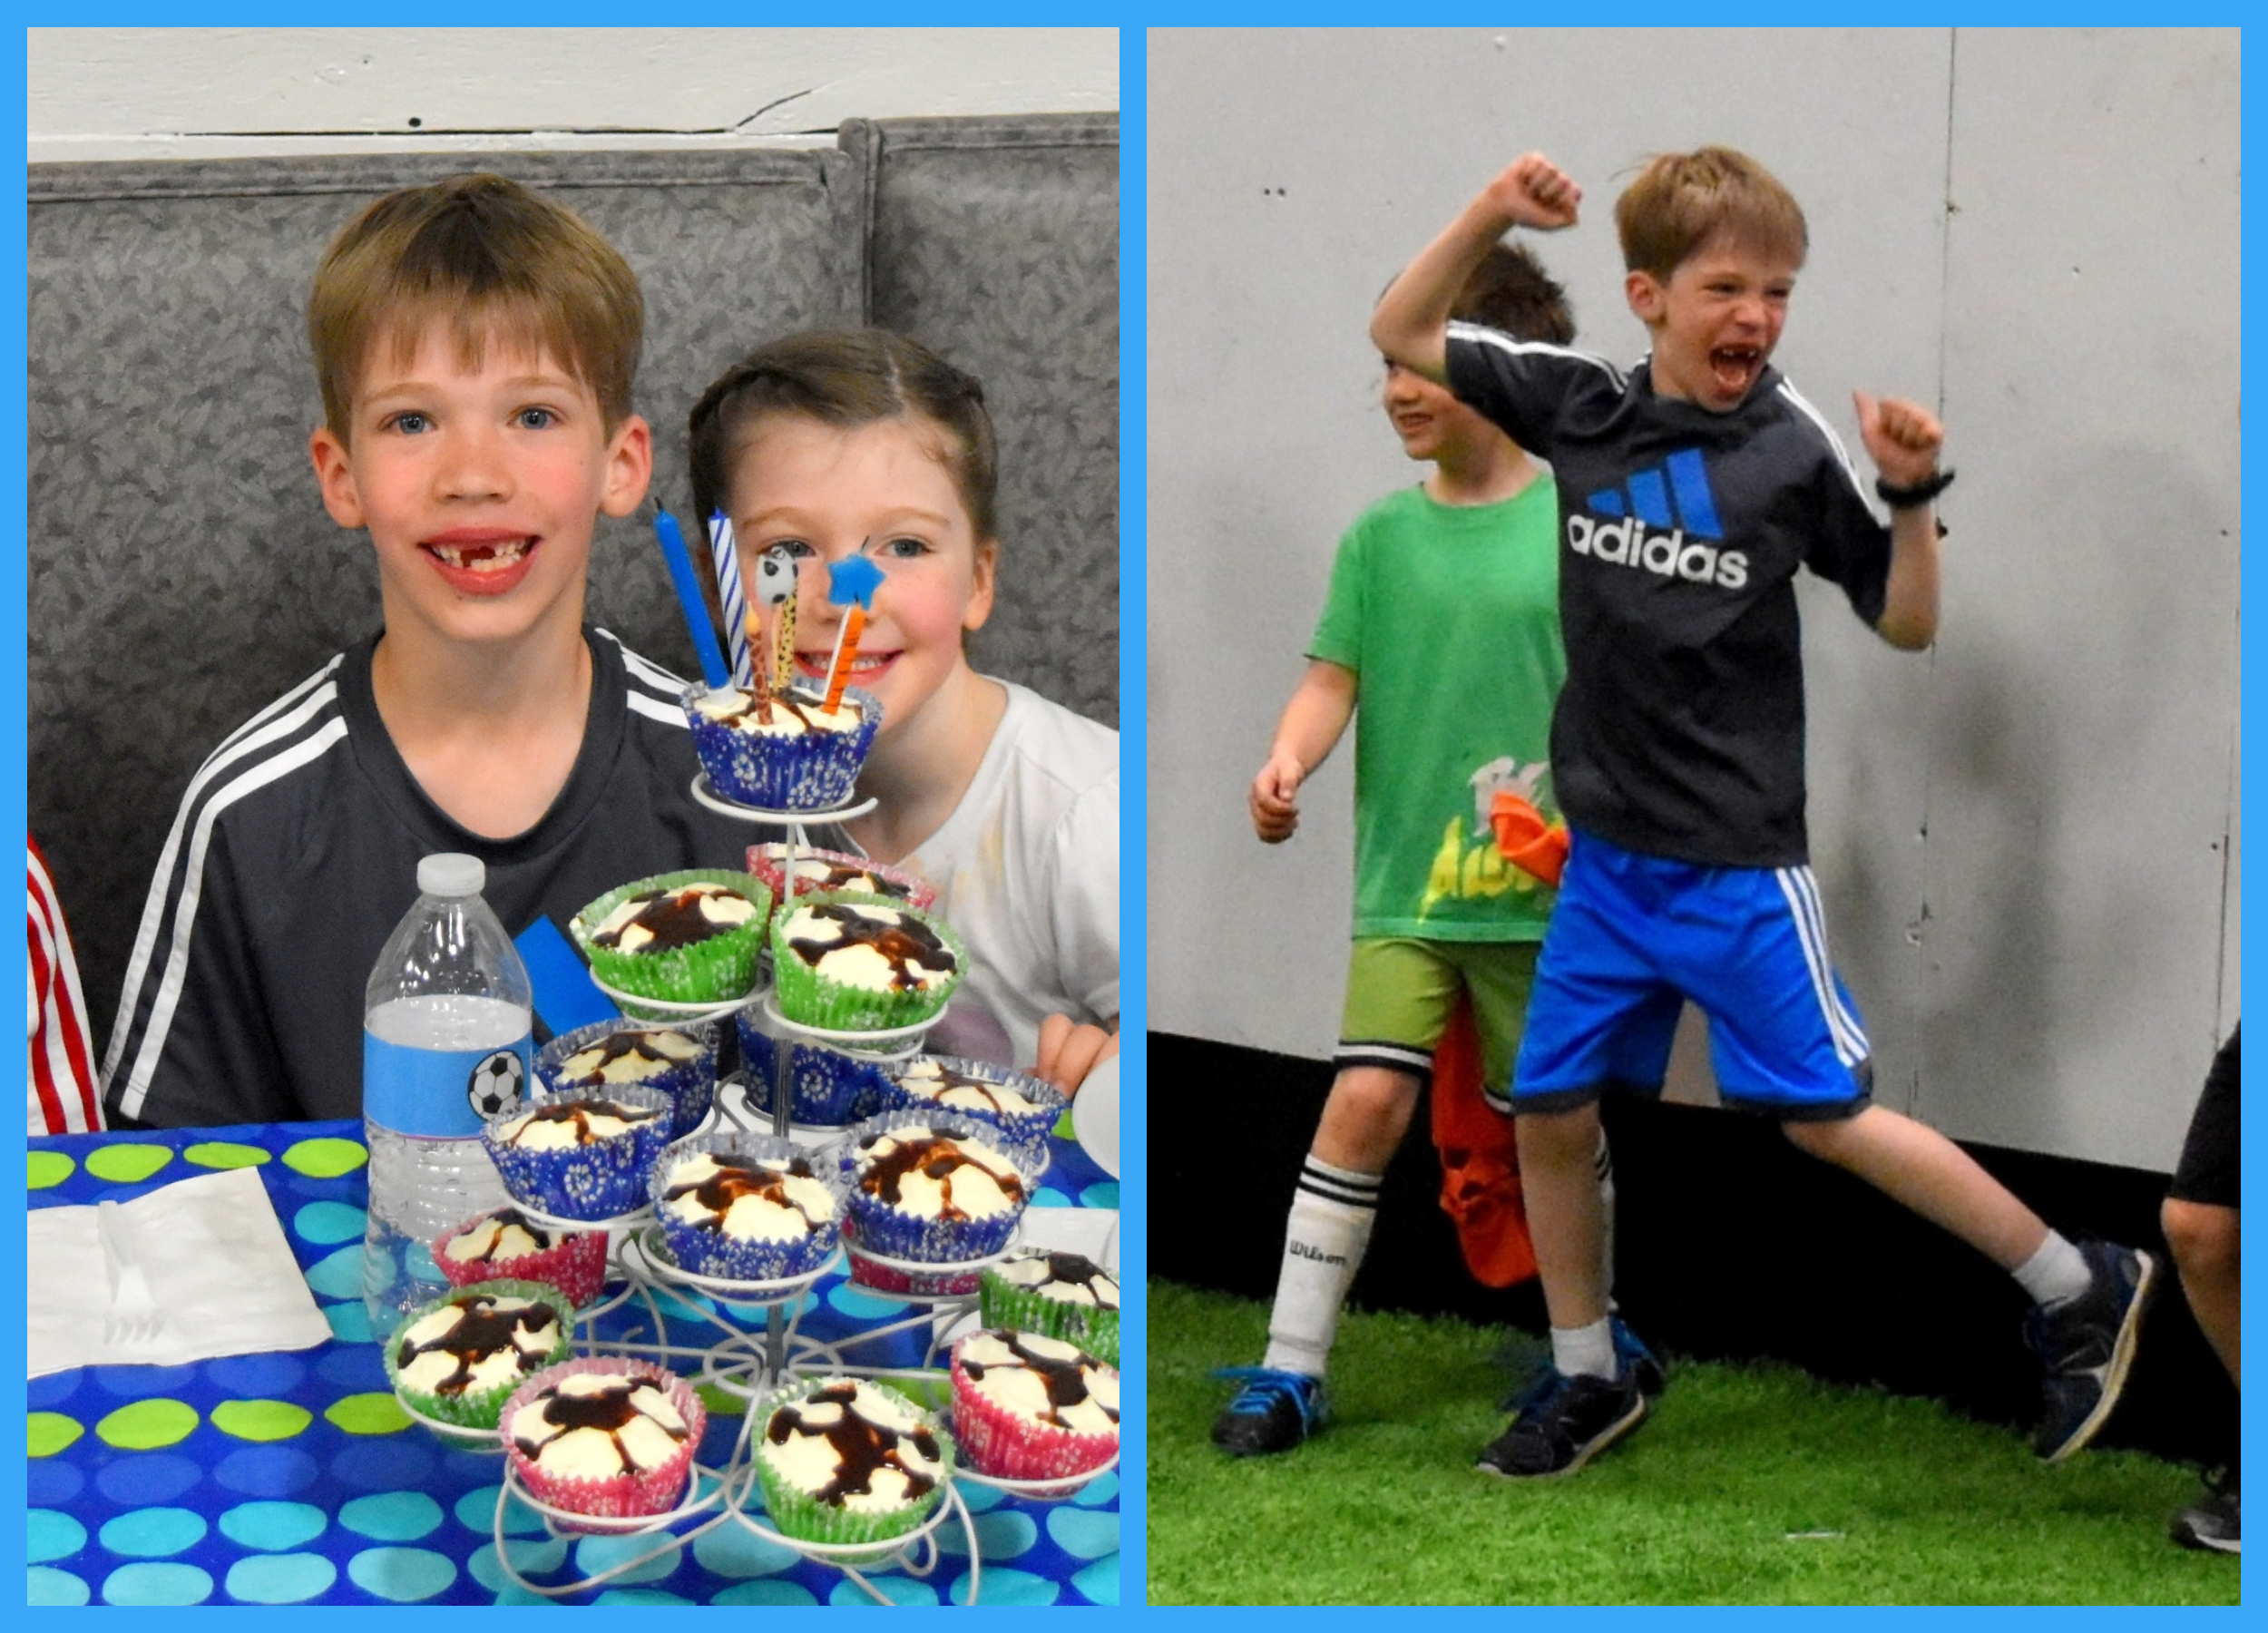
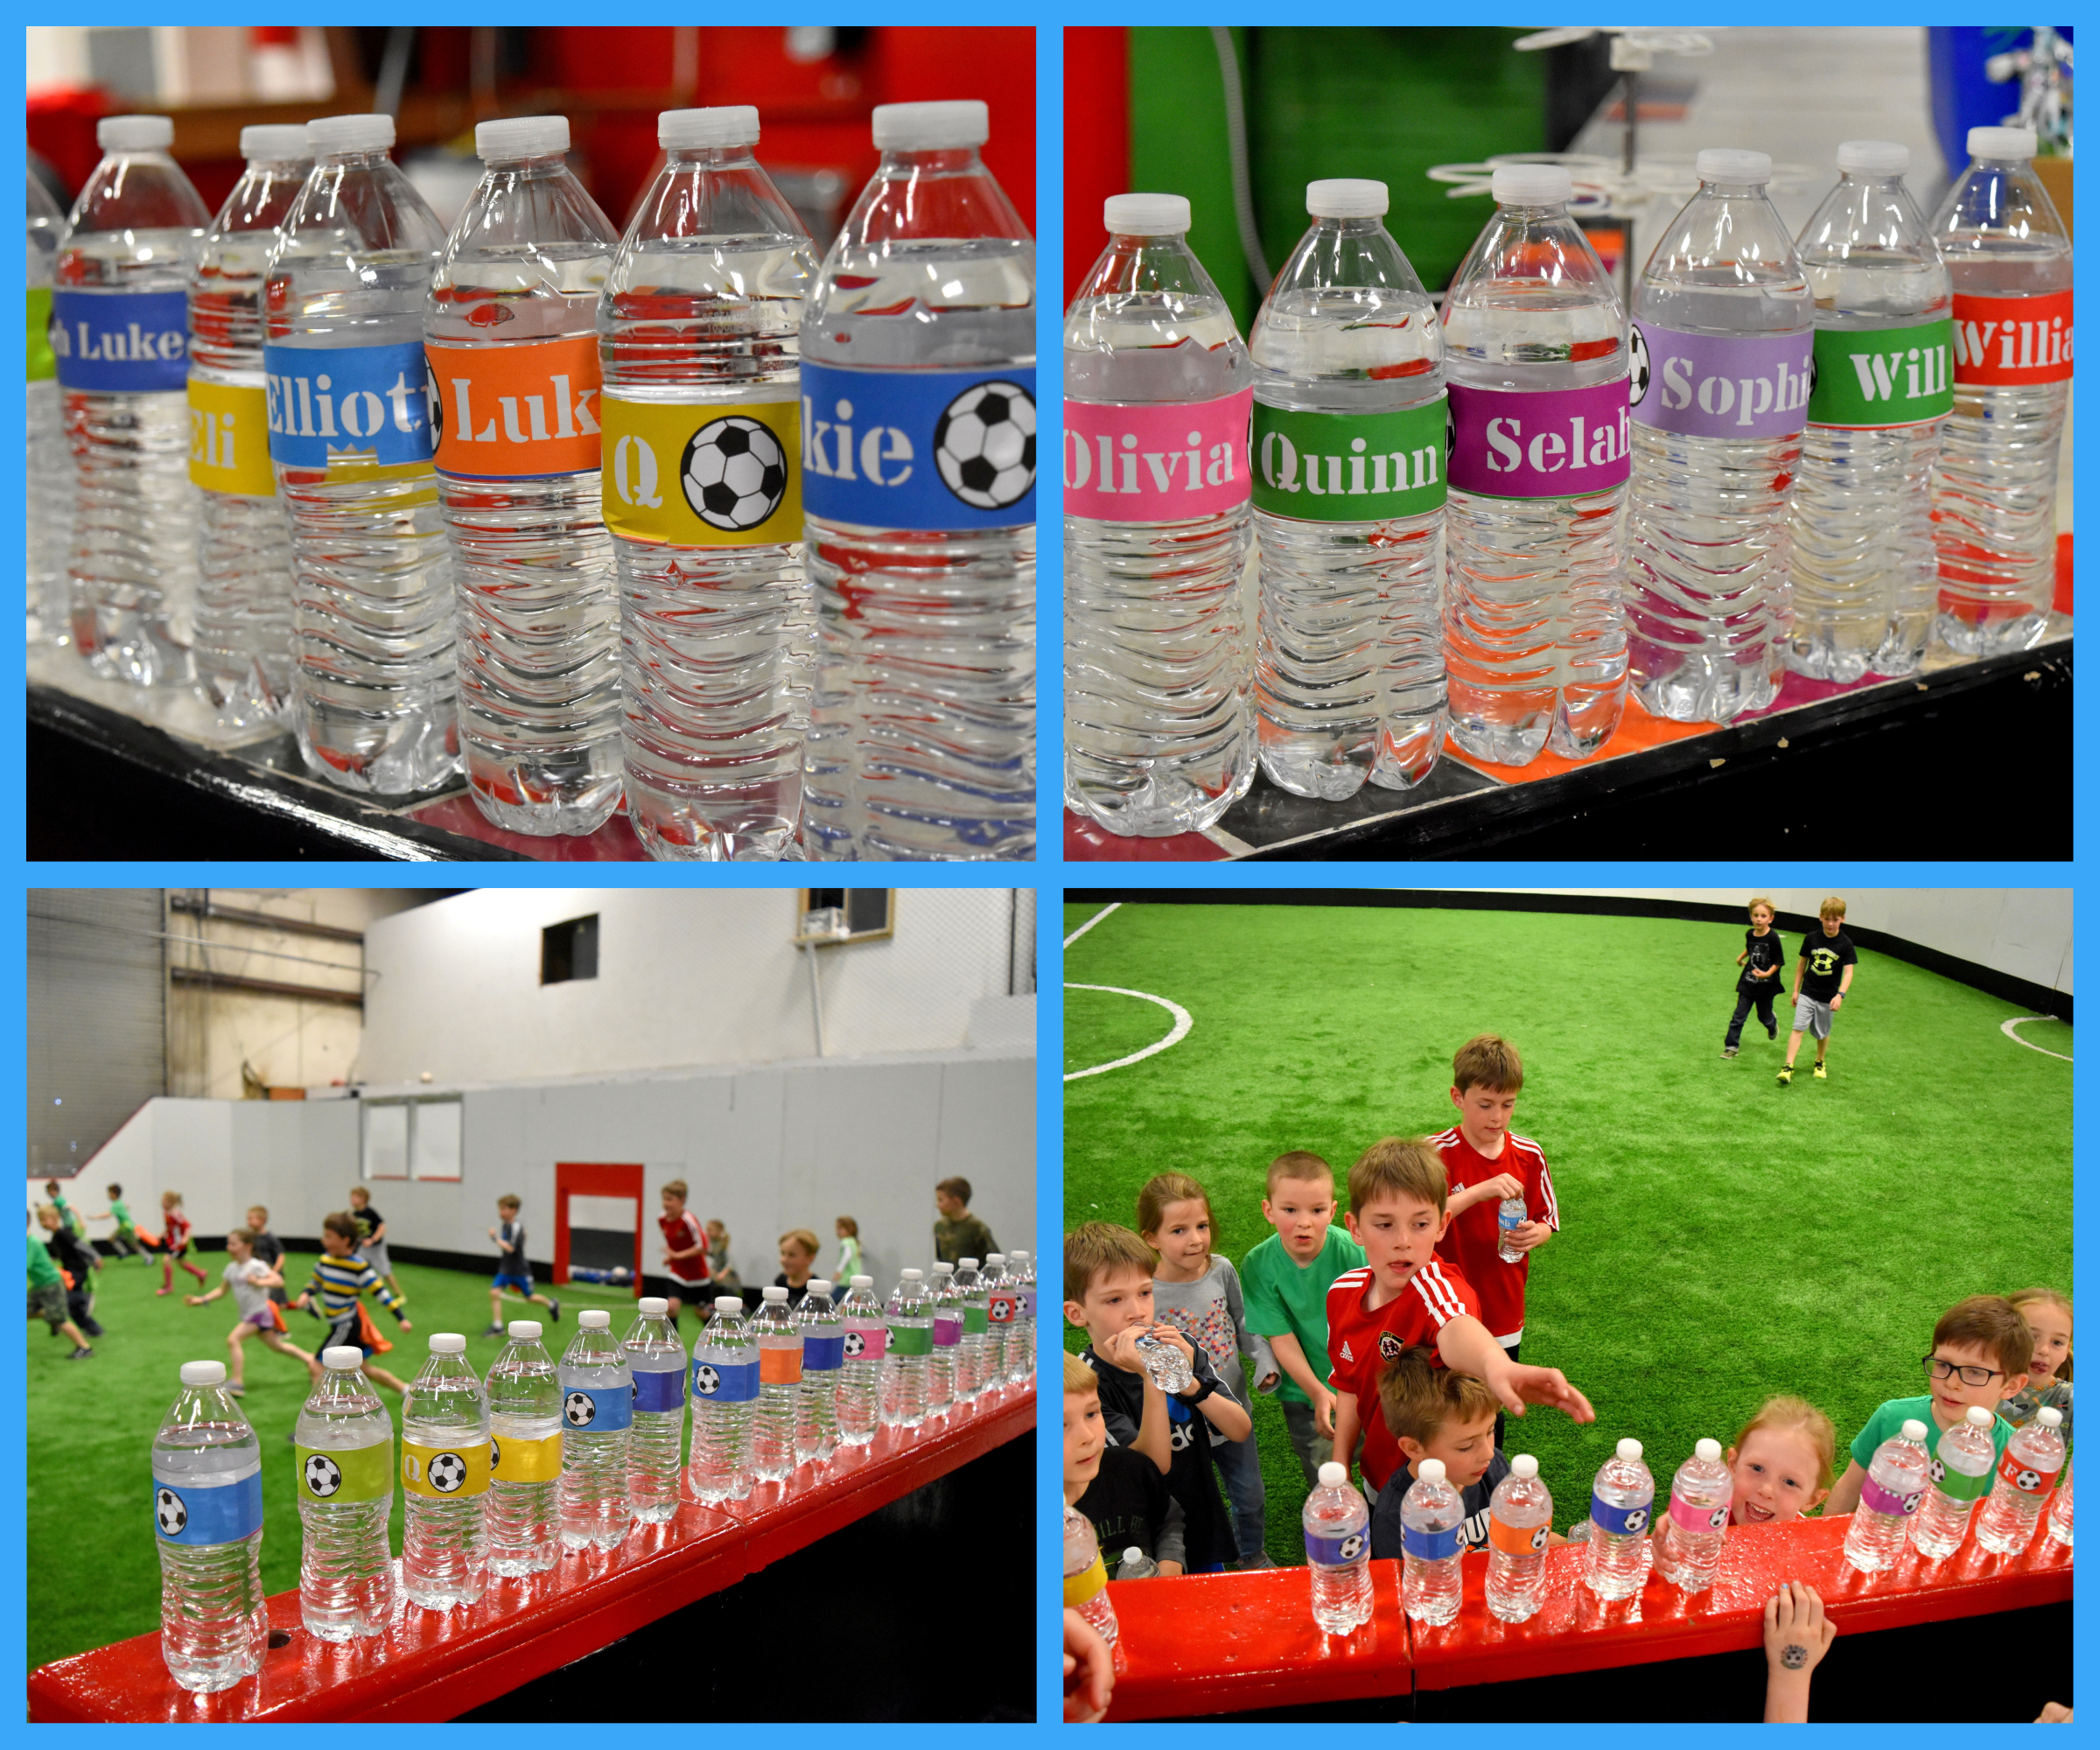
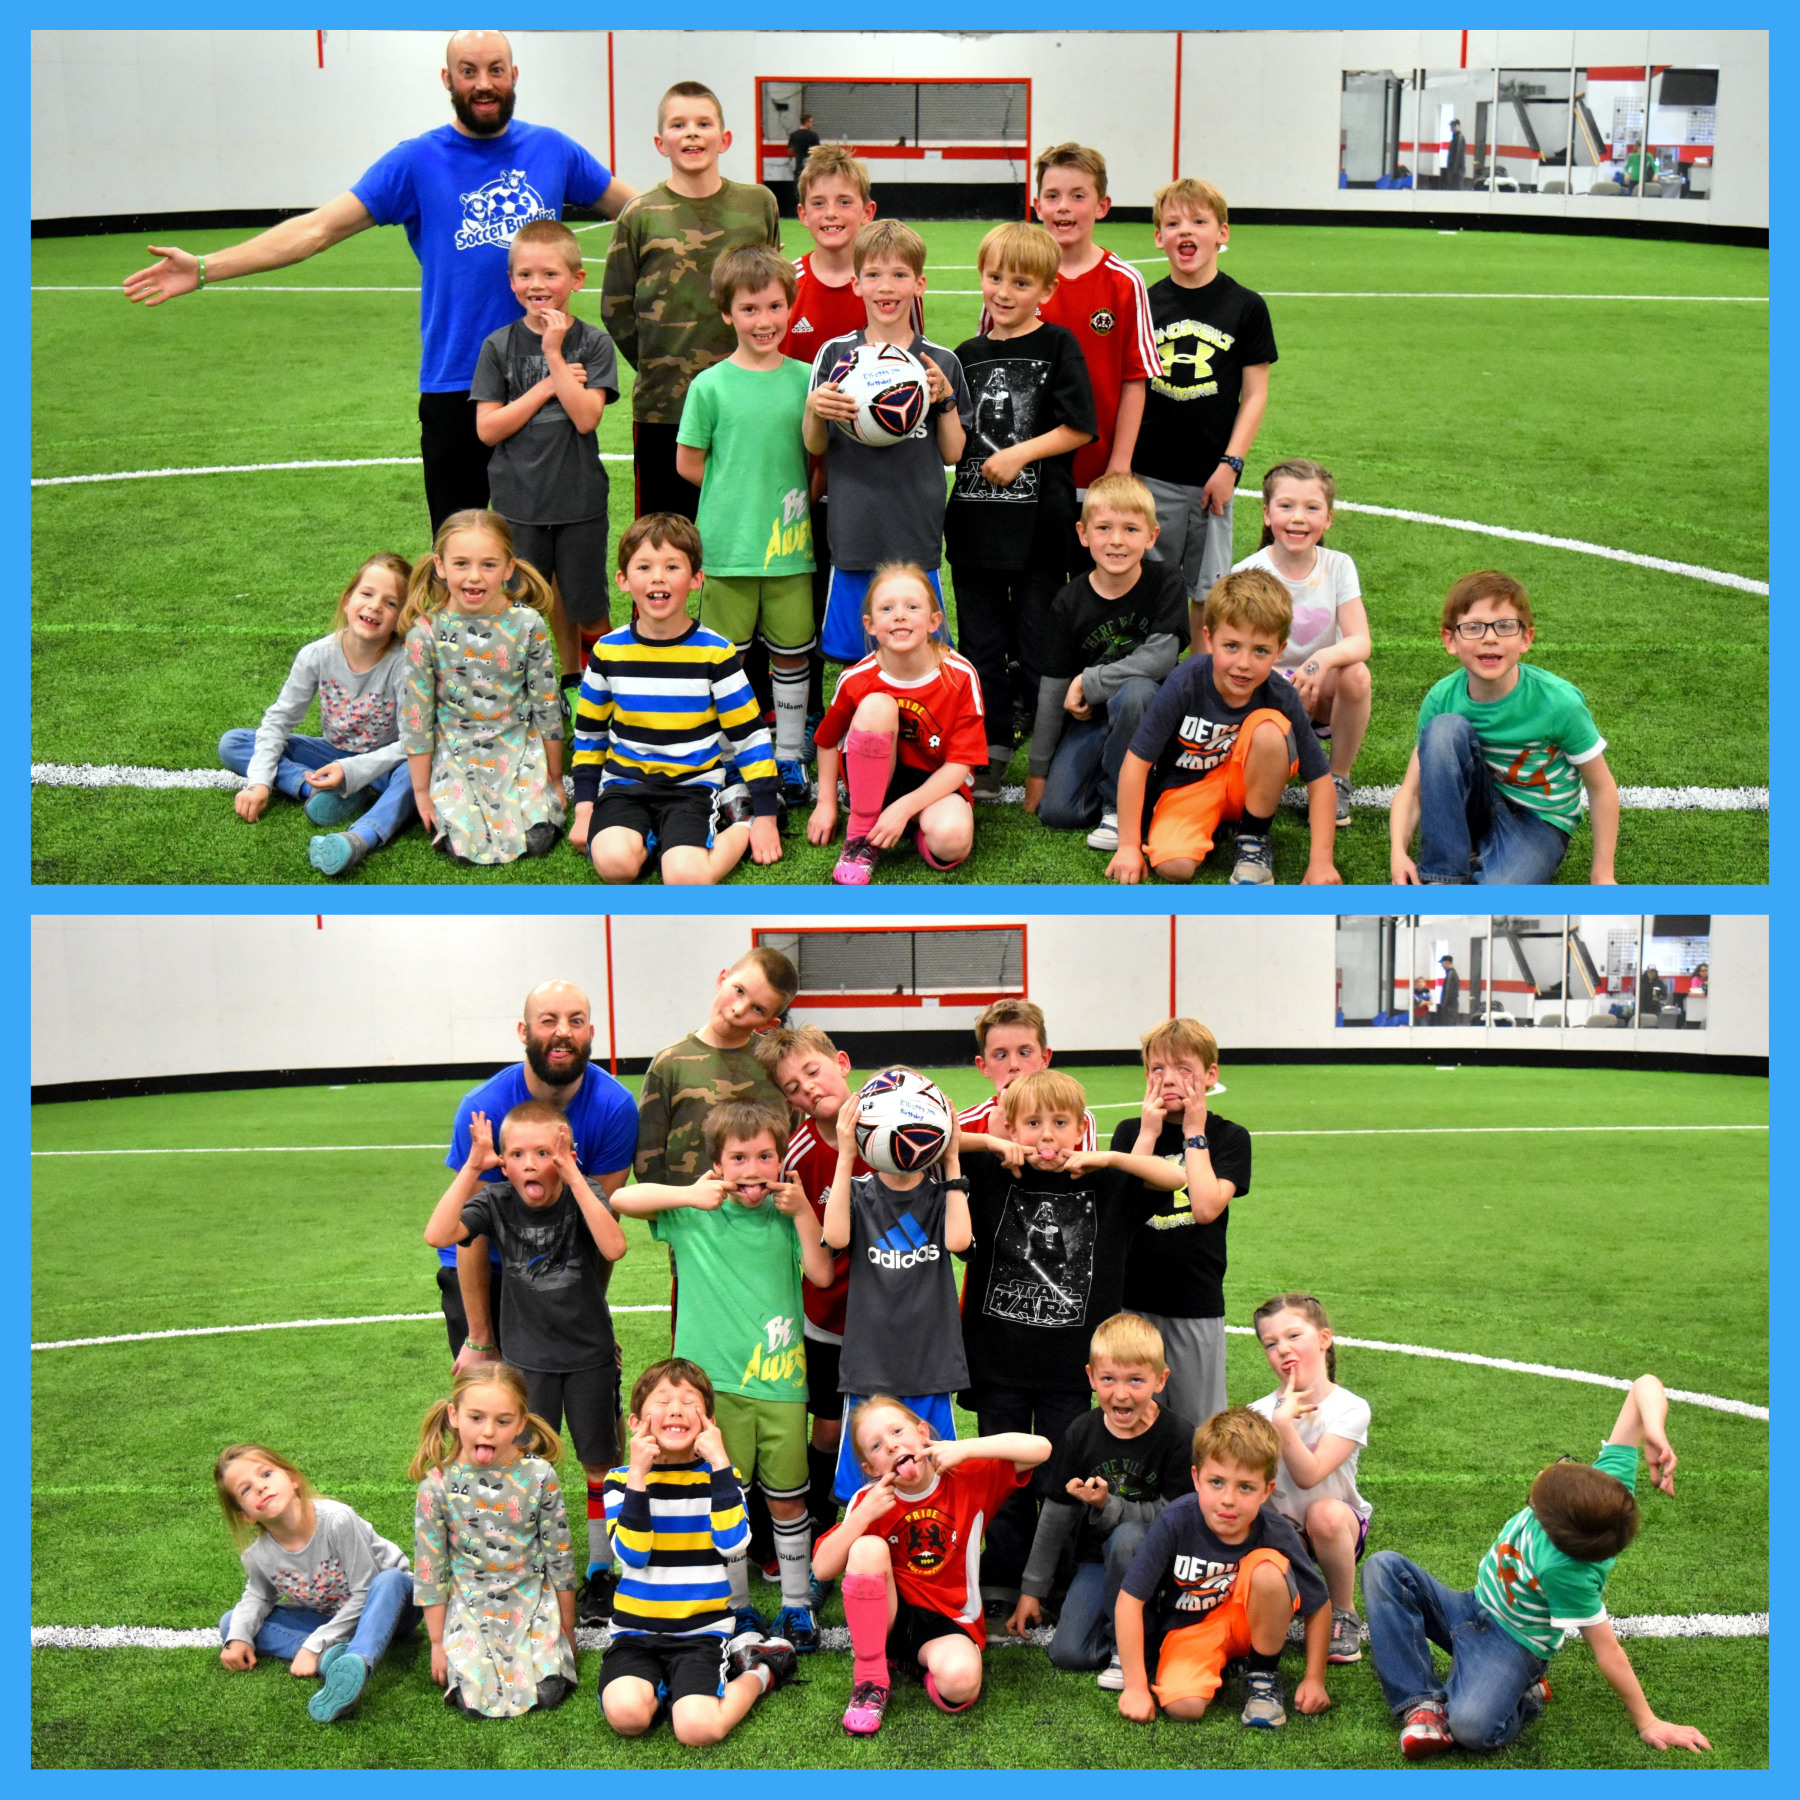
We had a soccer birthday party for him with a little soccer program that the kids had attended the last couple of years. It’s super FUN and this coach was their absolute favorite. He’s like a cartoon character. So when we heard he did birthday parties, we were all in!!
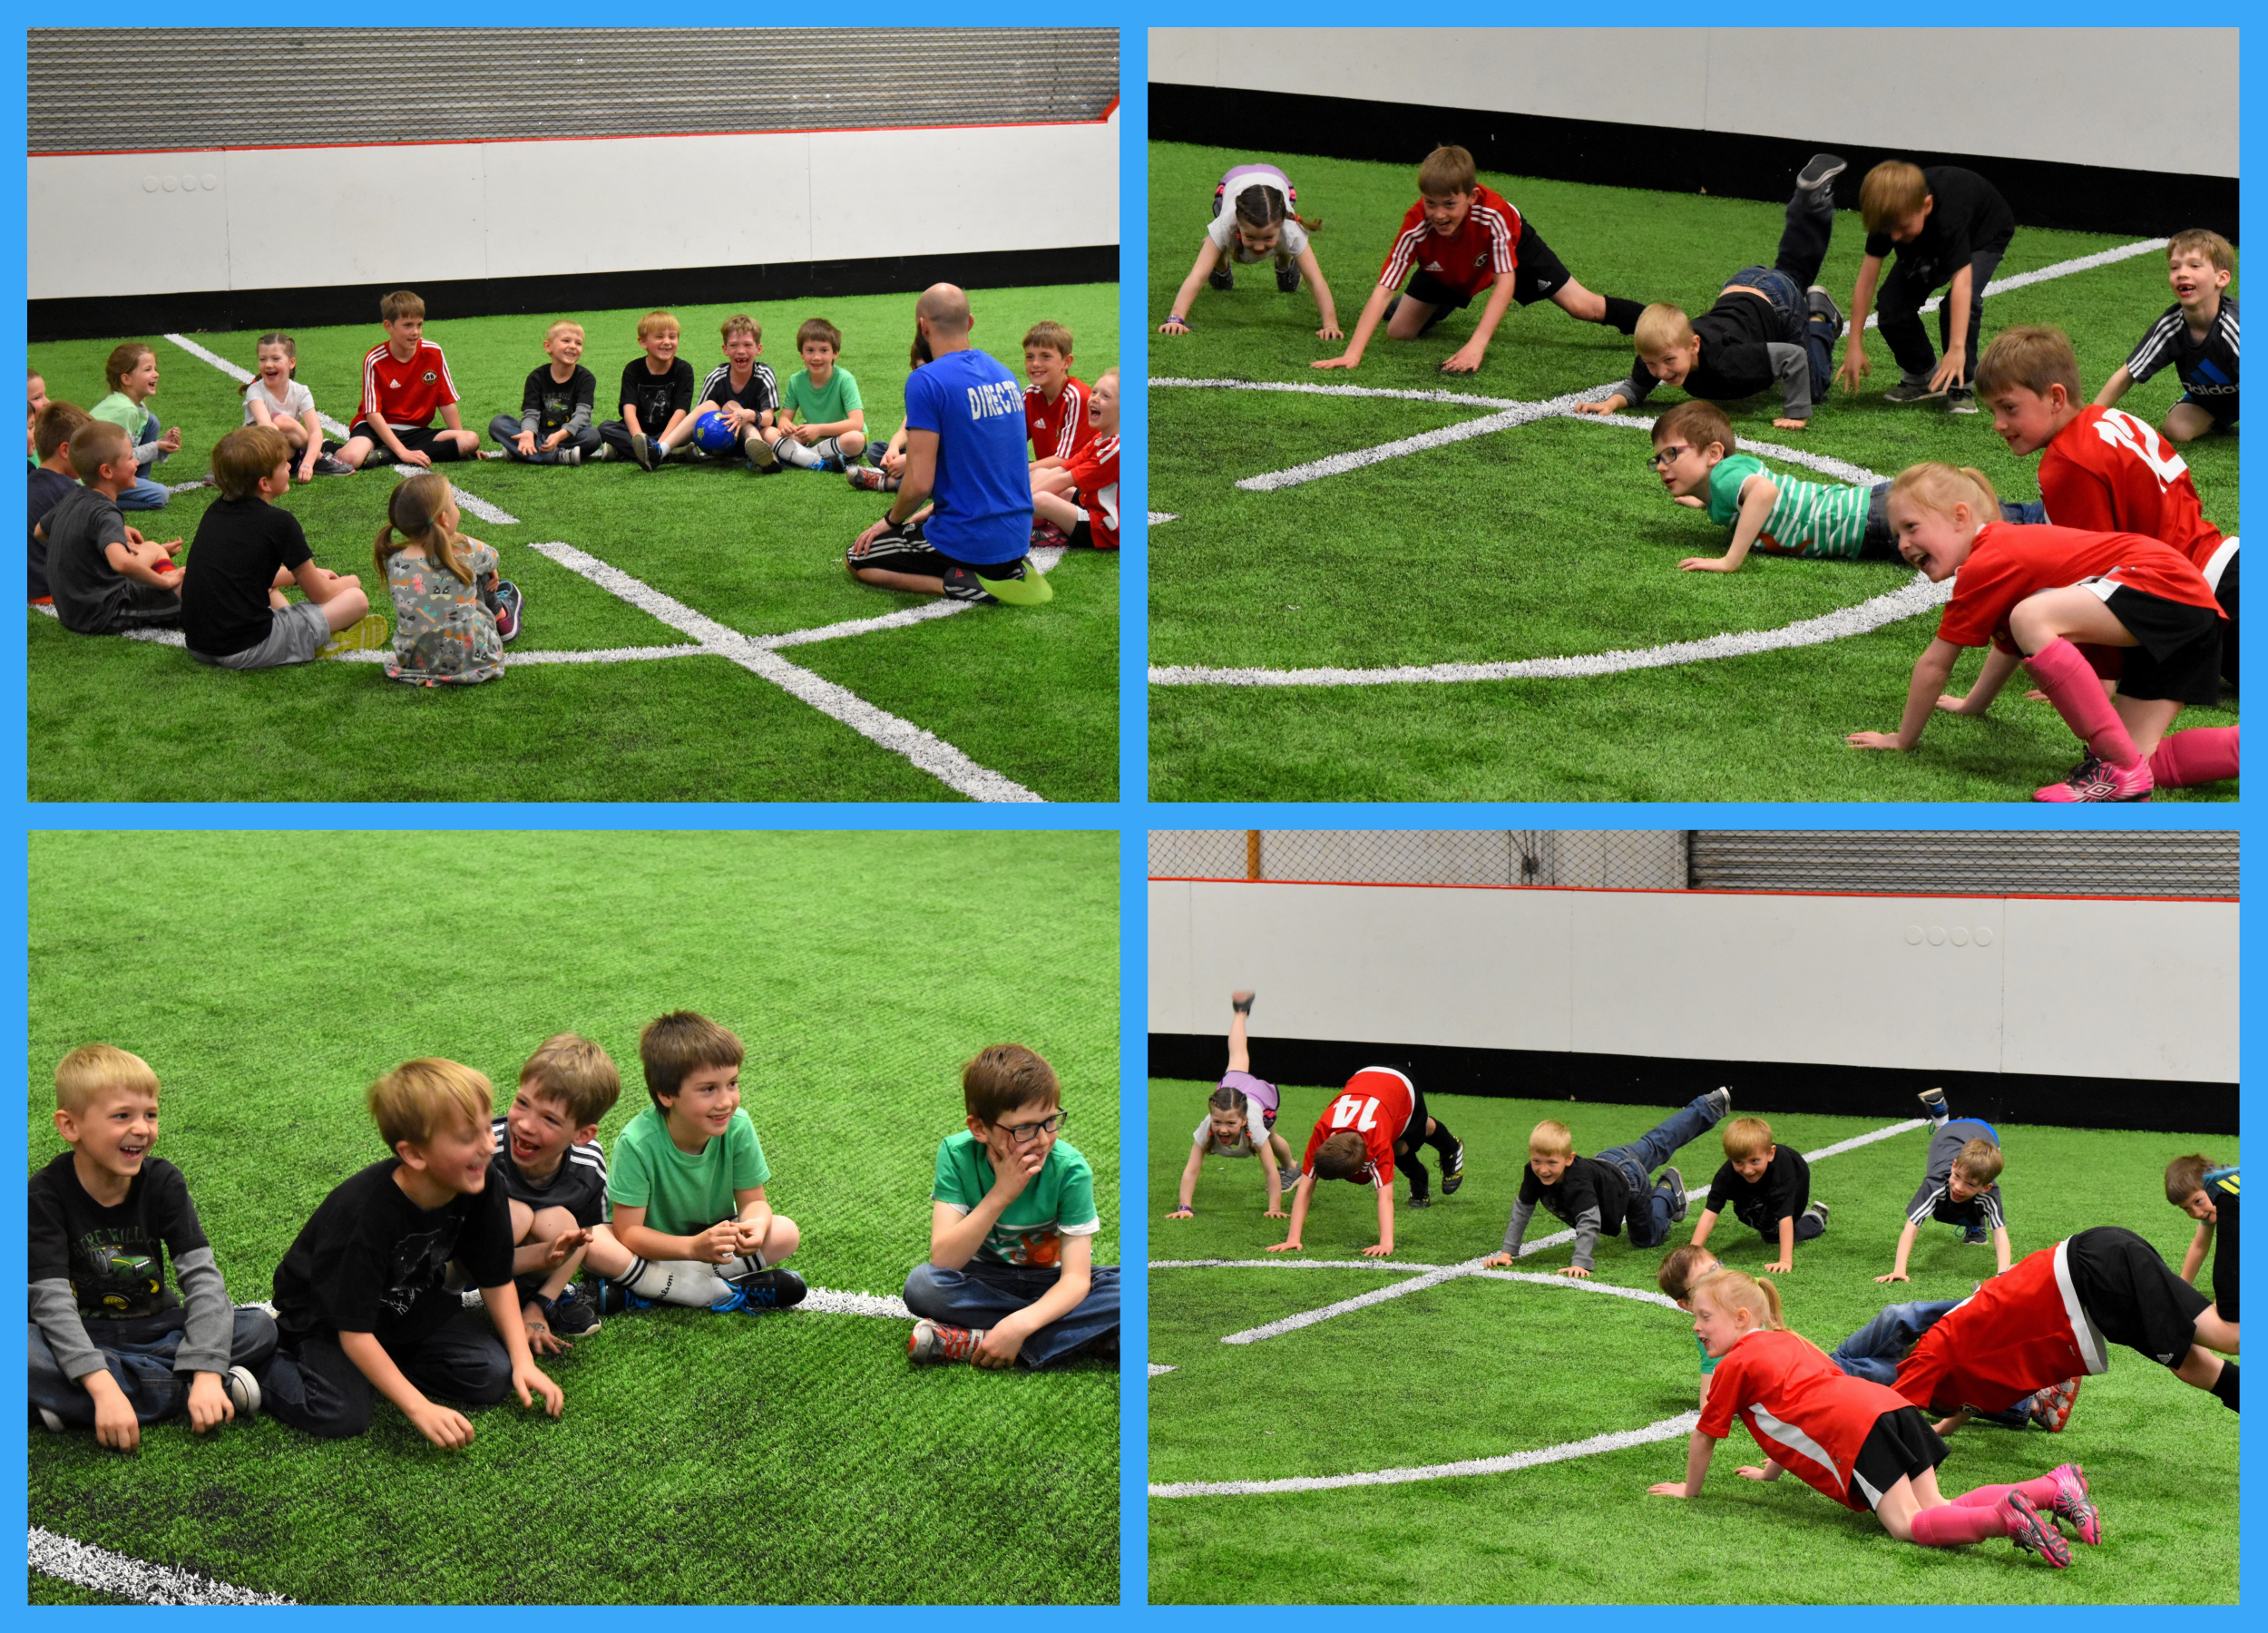
It started off with a hilarious circle time and some stretches…
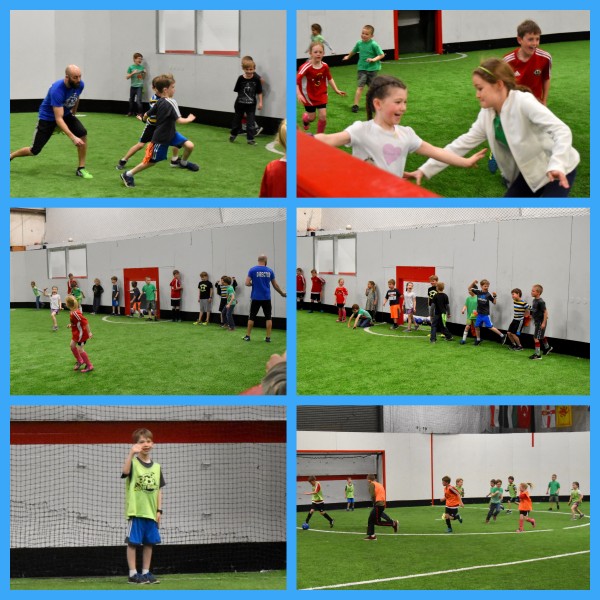
And then some super fun games…
A much needed water break… (The kids and I personalized these water bottles for the guests!)
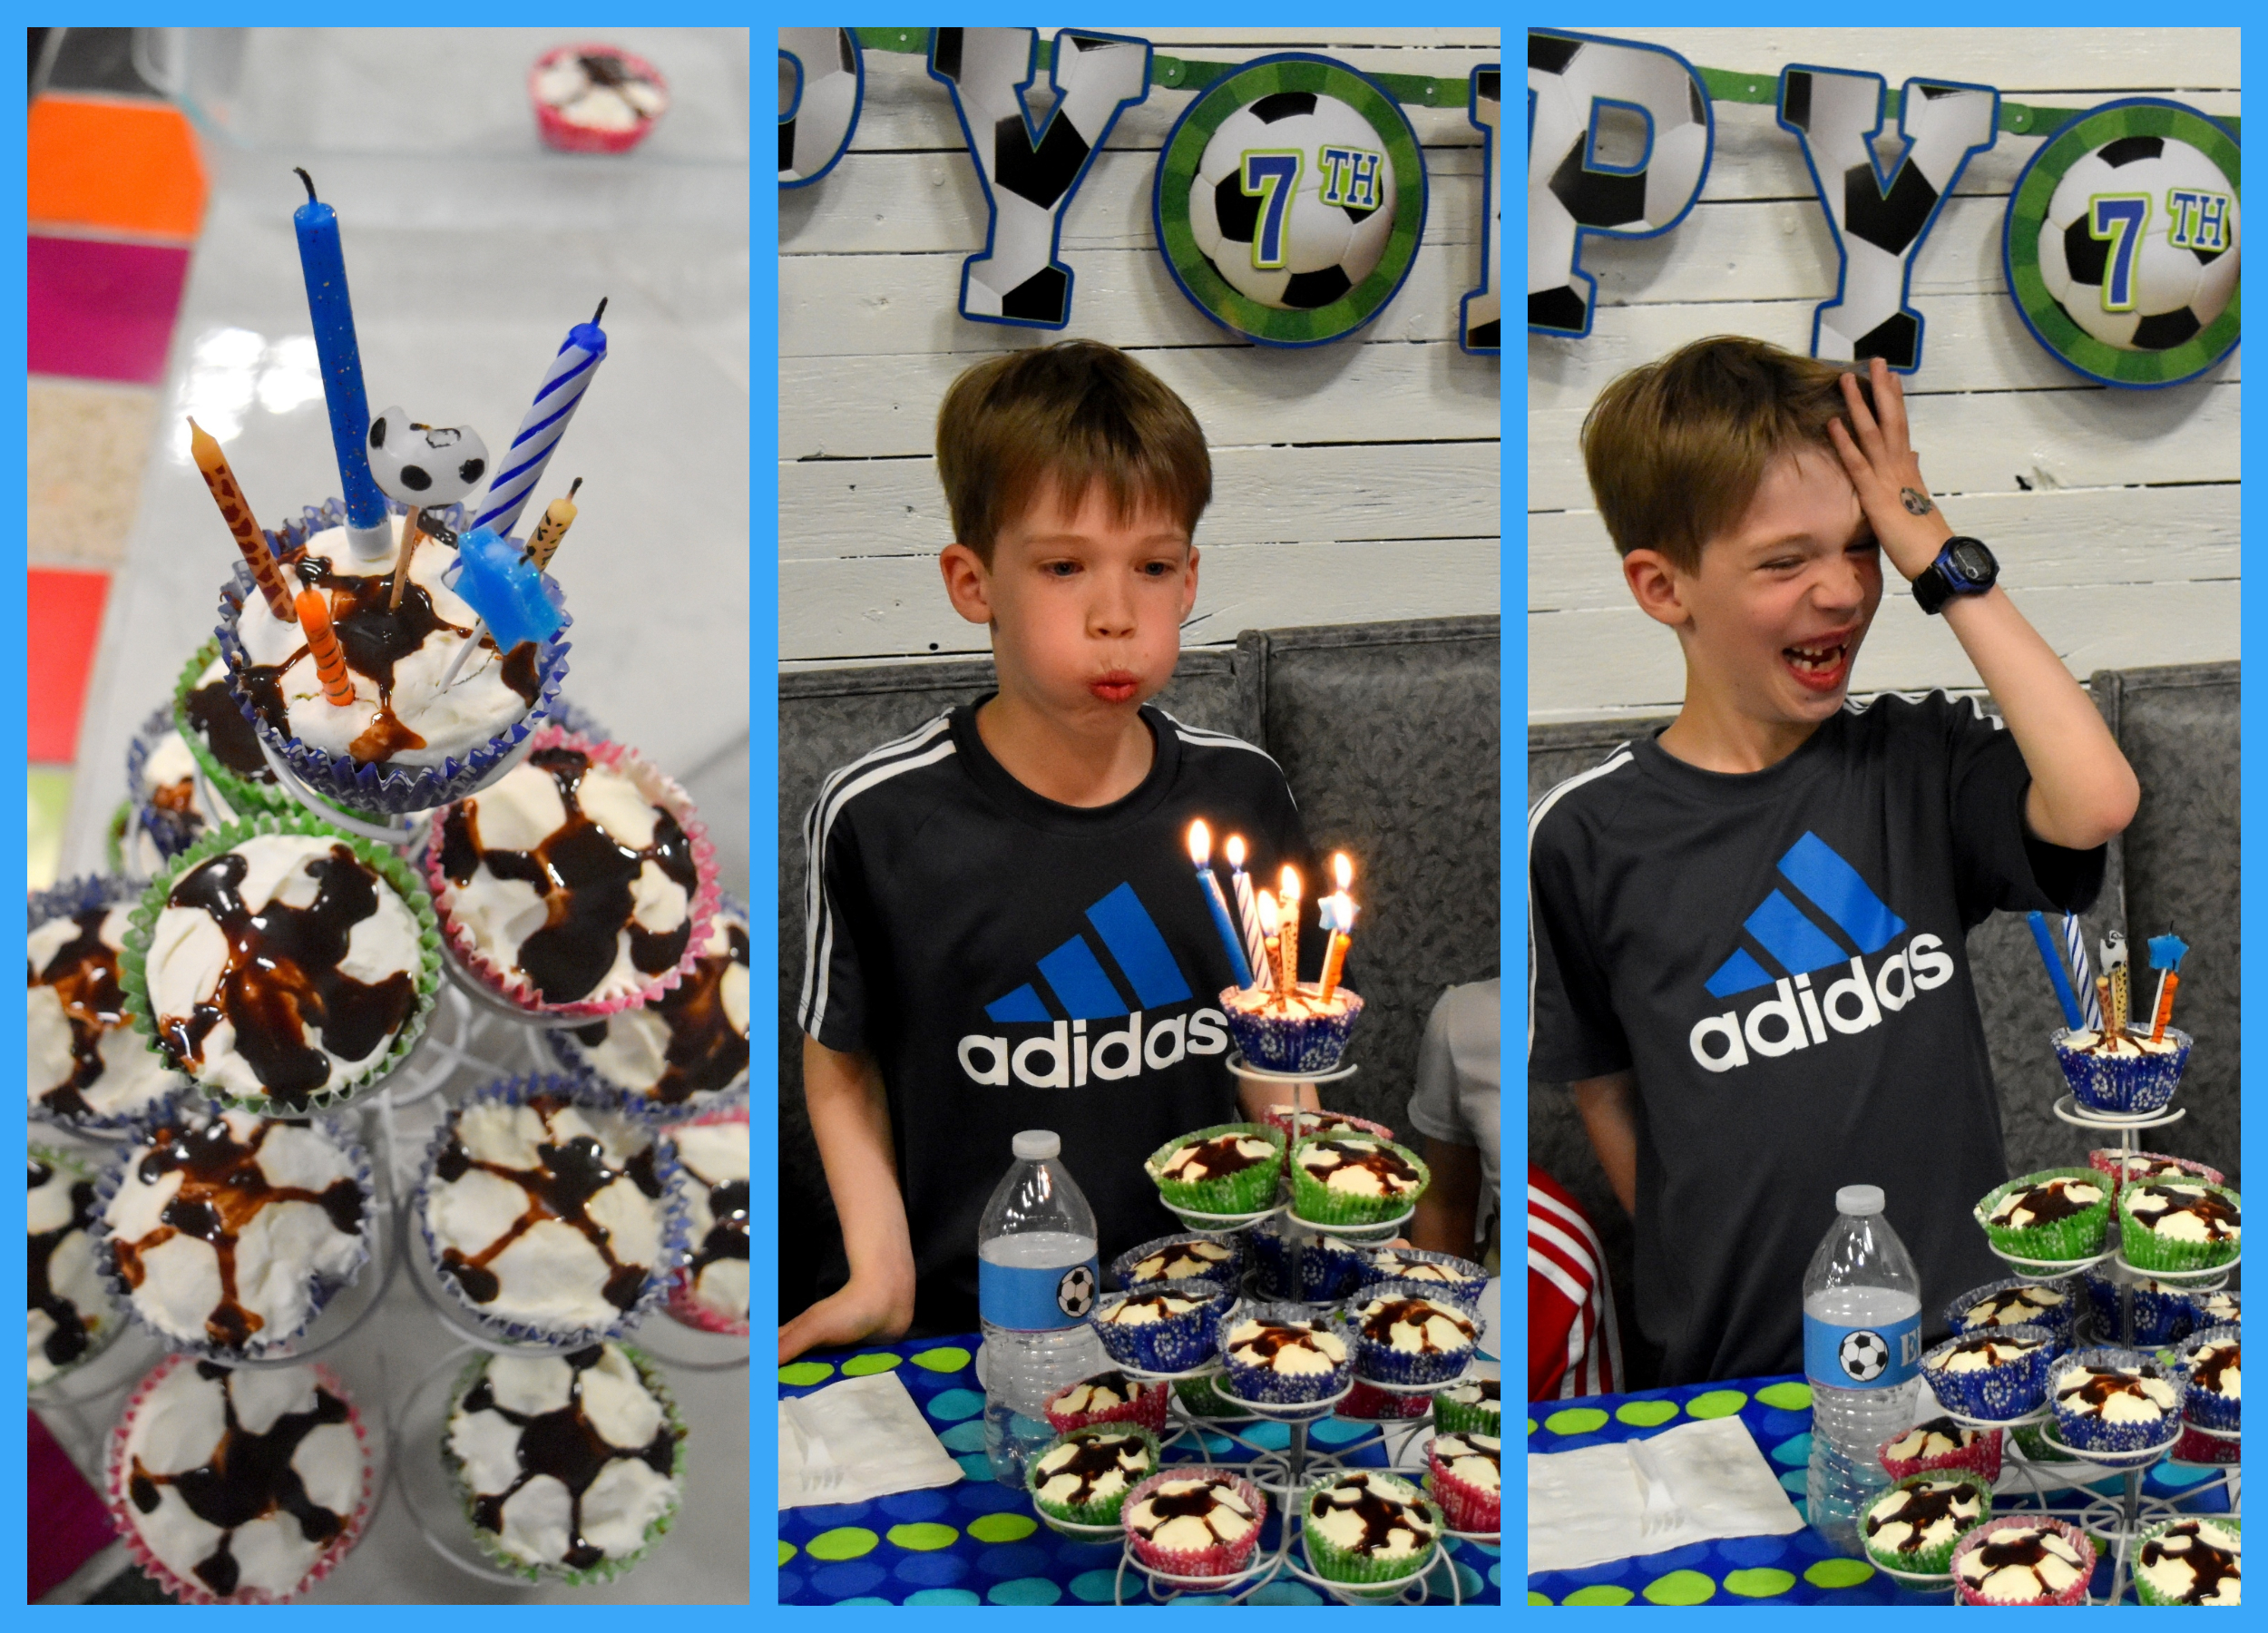
And, of course…cake time! We bought Elliott a new soccer ball and each of his friends got to sign it!
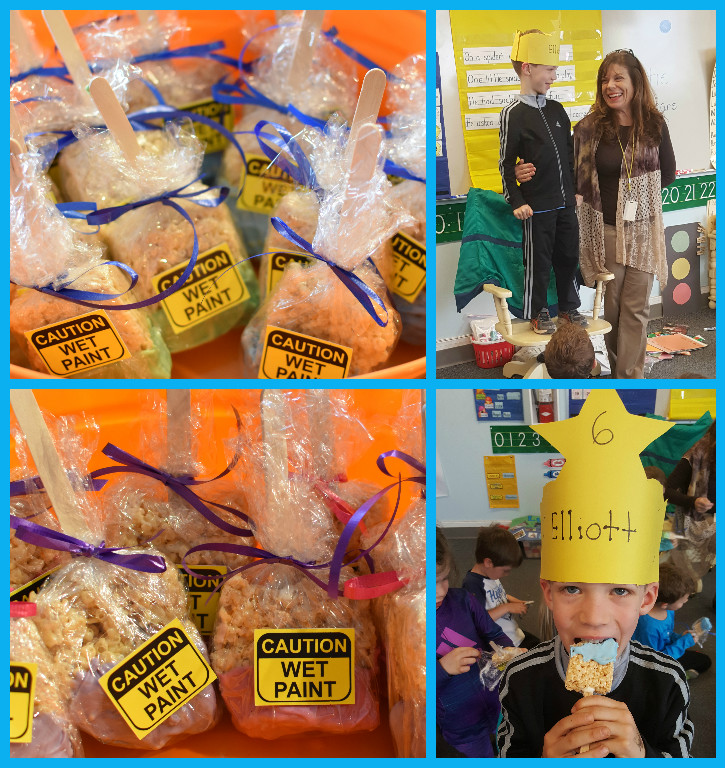
Some of you have had the blessed opportunity to partake in the Moberg family birthday cake tradition of…MUD PIE. Oh my, this is probably my all-time favorite dessert and all the secrets of the trade have been passed down to me from my father-in-law. I decided to tweak the recipe a bit to turn the mud pie into mini mud pie cupcakes and, of course, turn them into soccer balls. YUMMMMM.
It was a super fun time surrounded by friends and family!
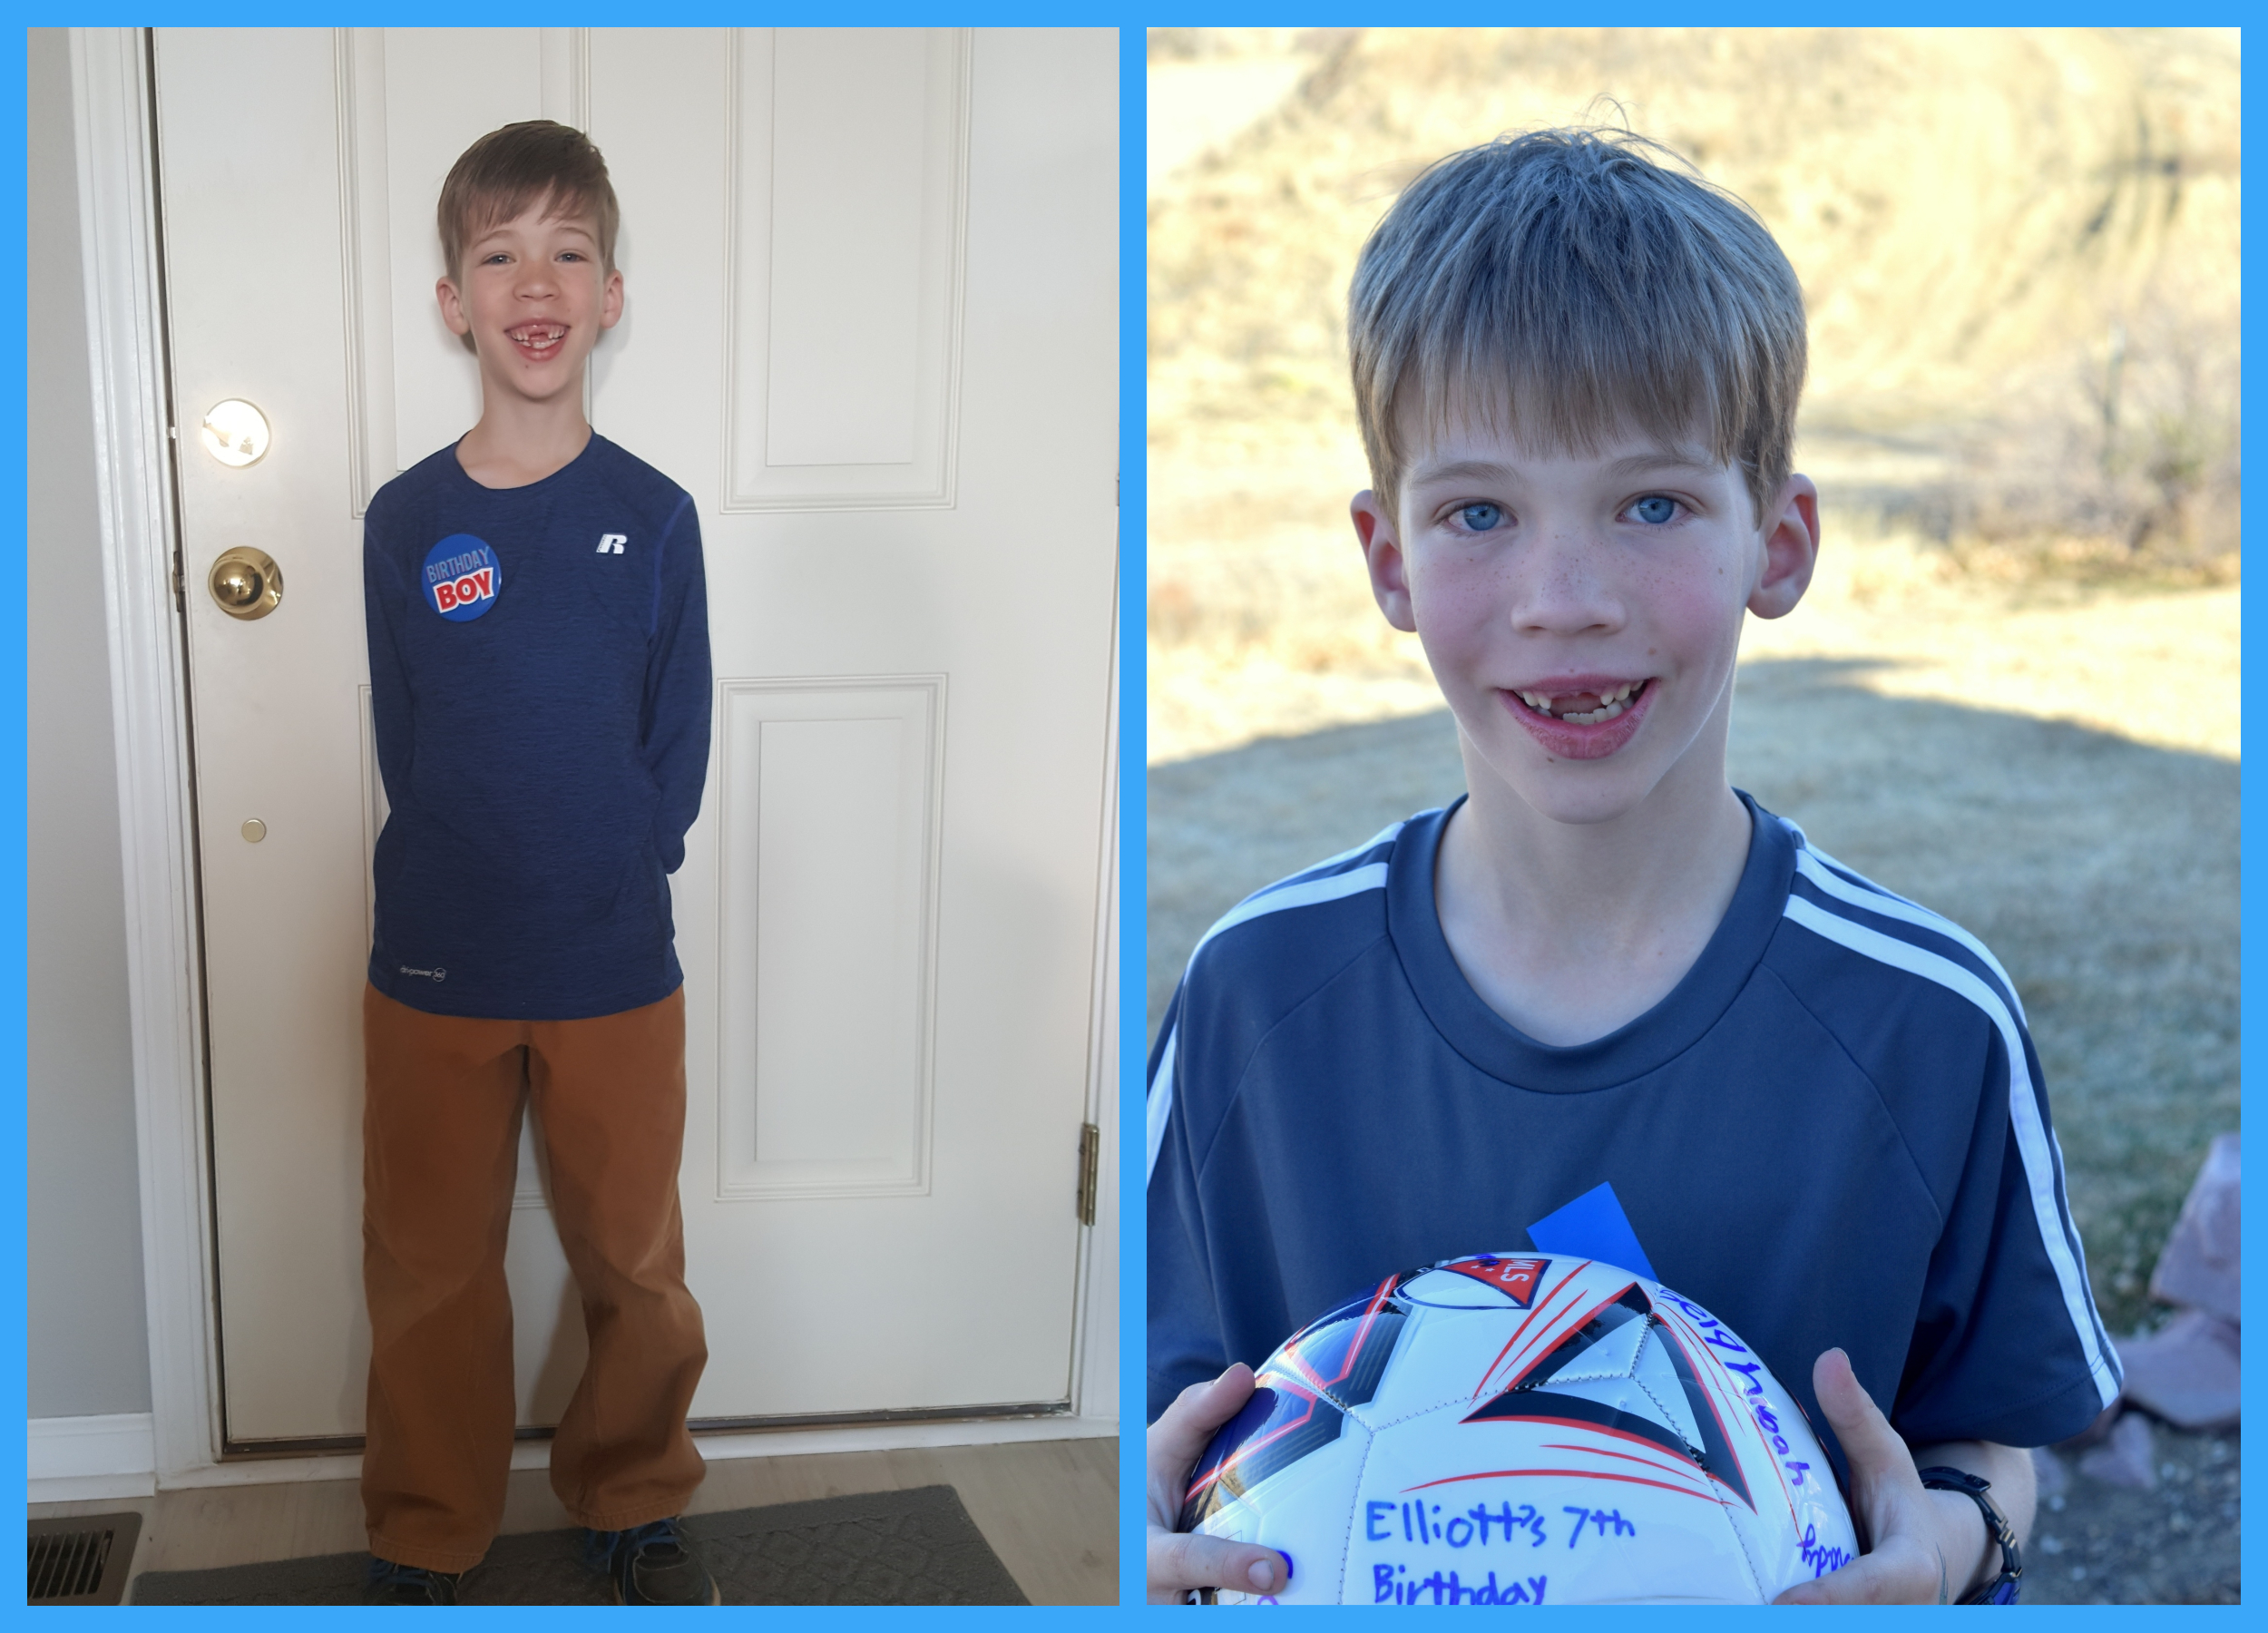
Happy 7th birthday, biggest man!!! (Okay, is it me or did this kid grow up SO MUCH this year?!!! He’s practically a MAN!!)
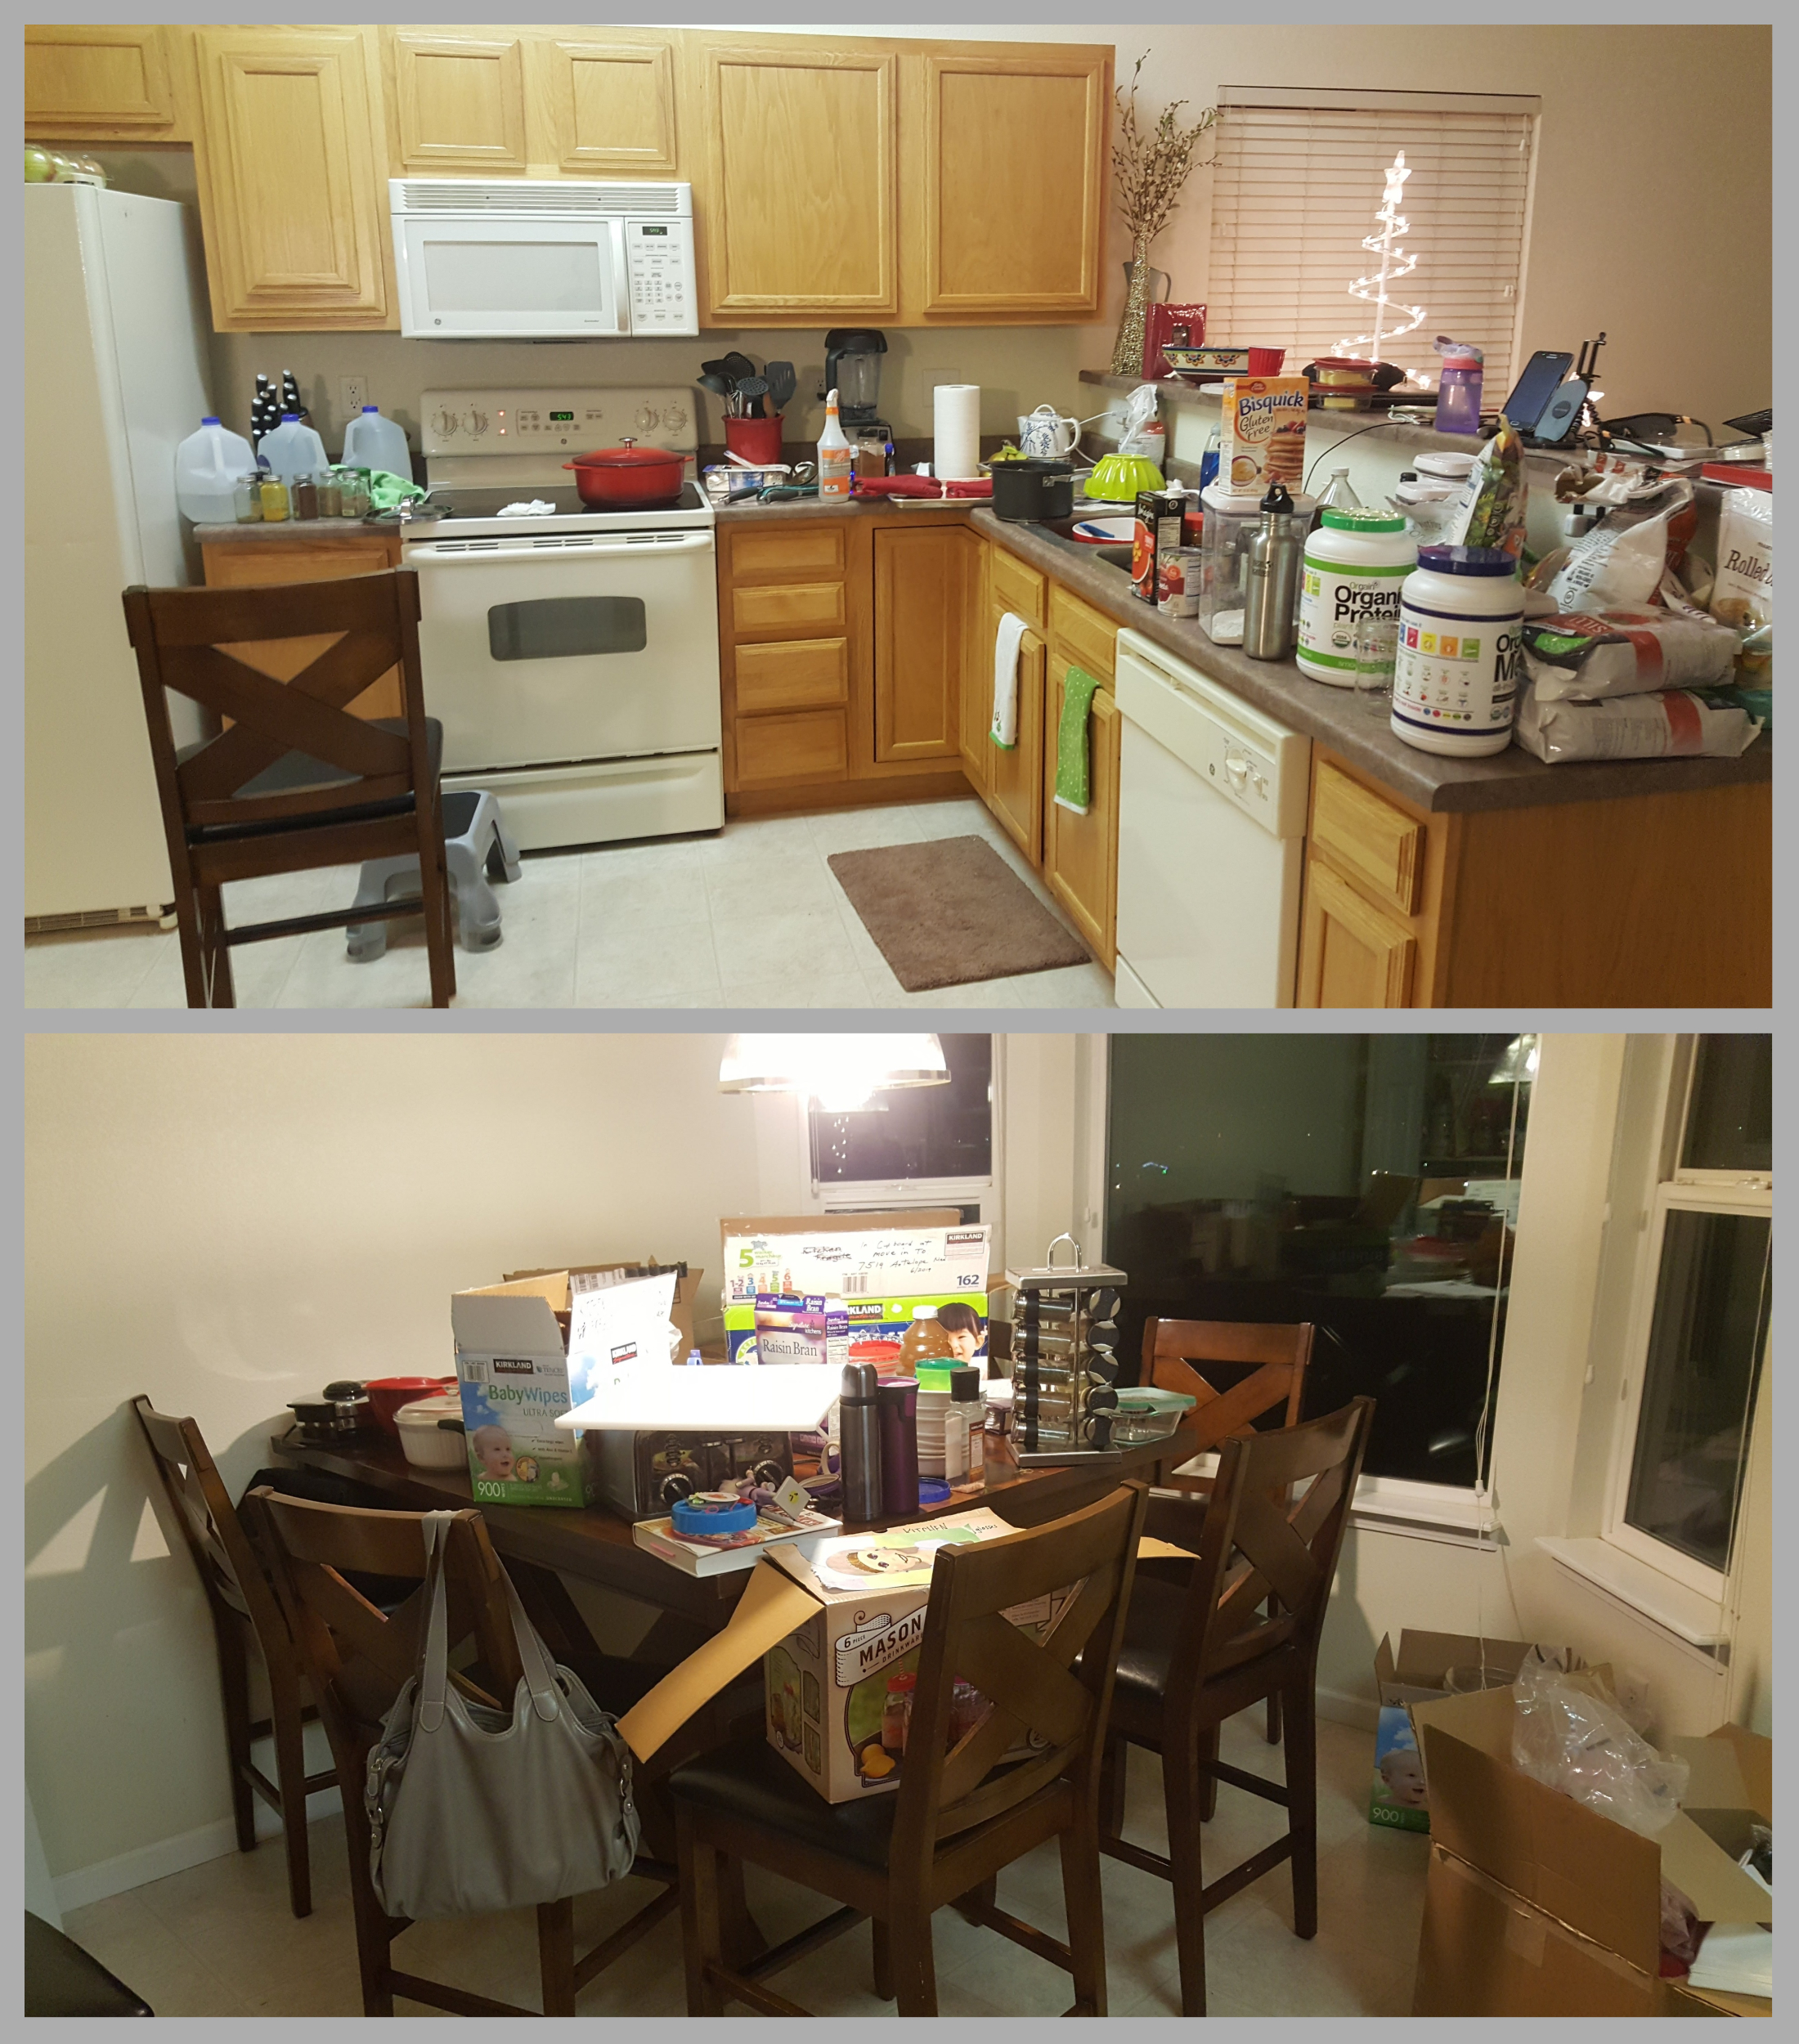
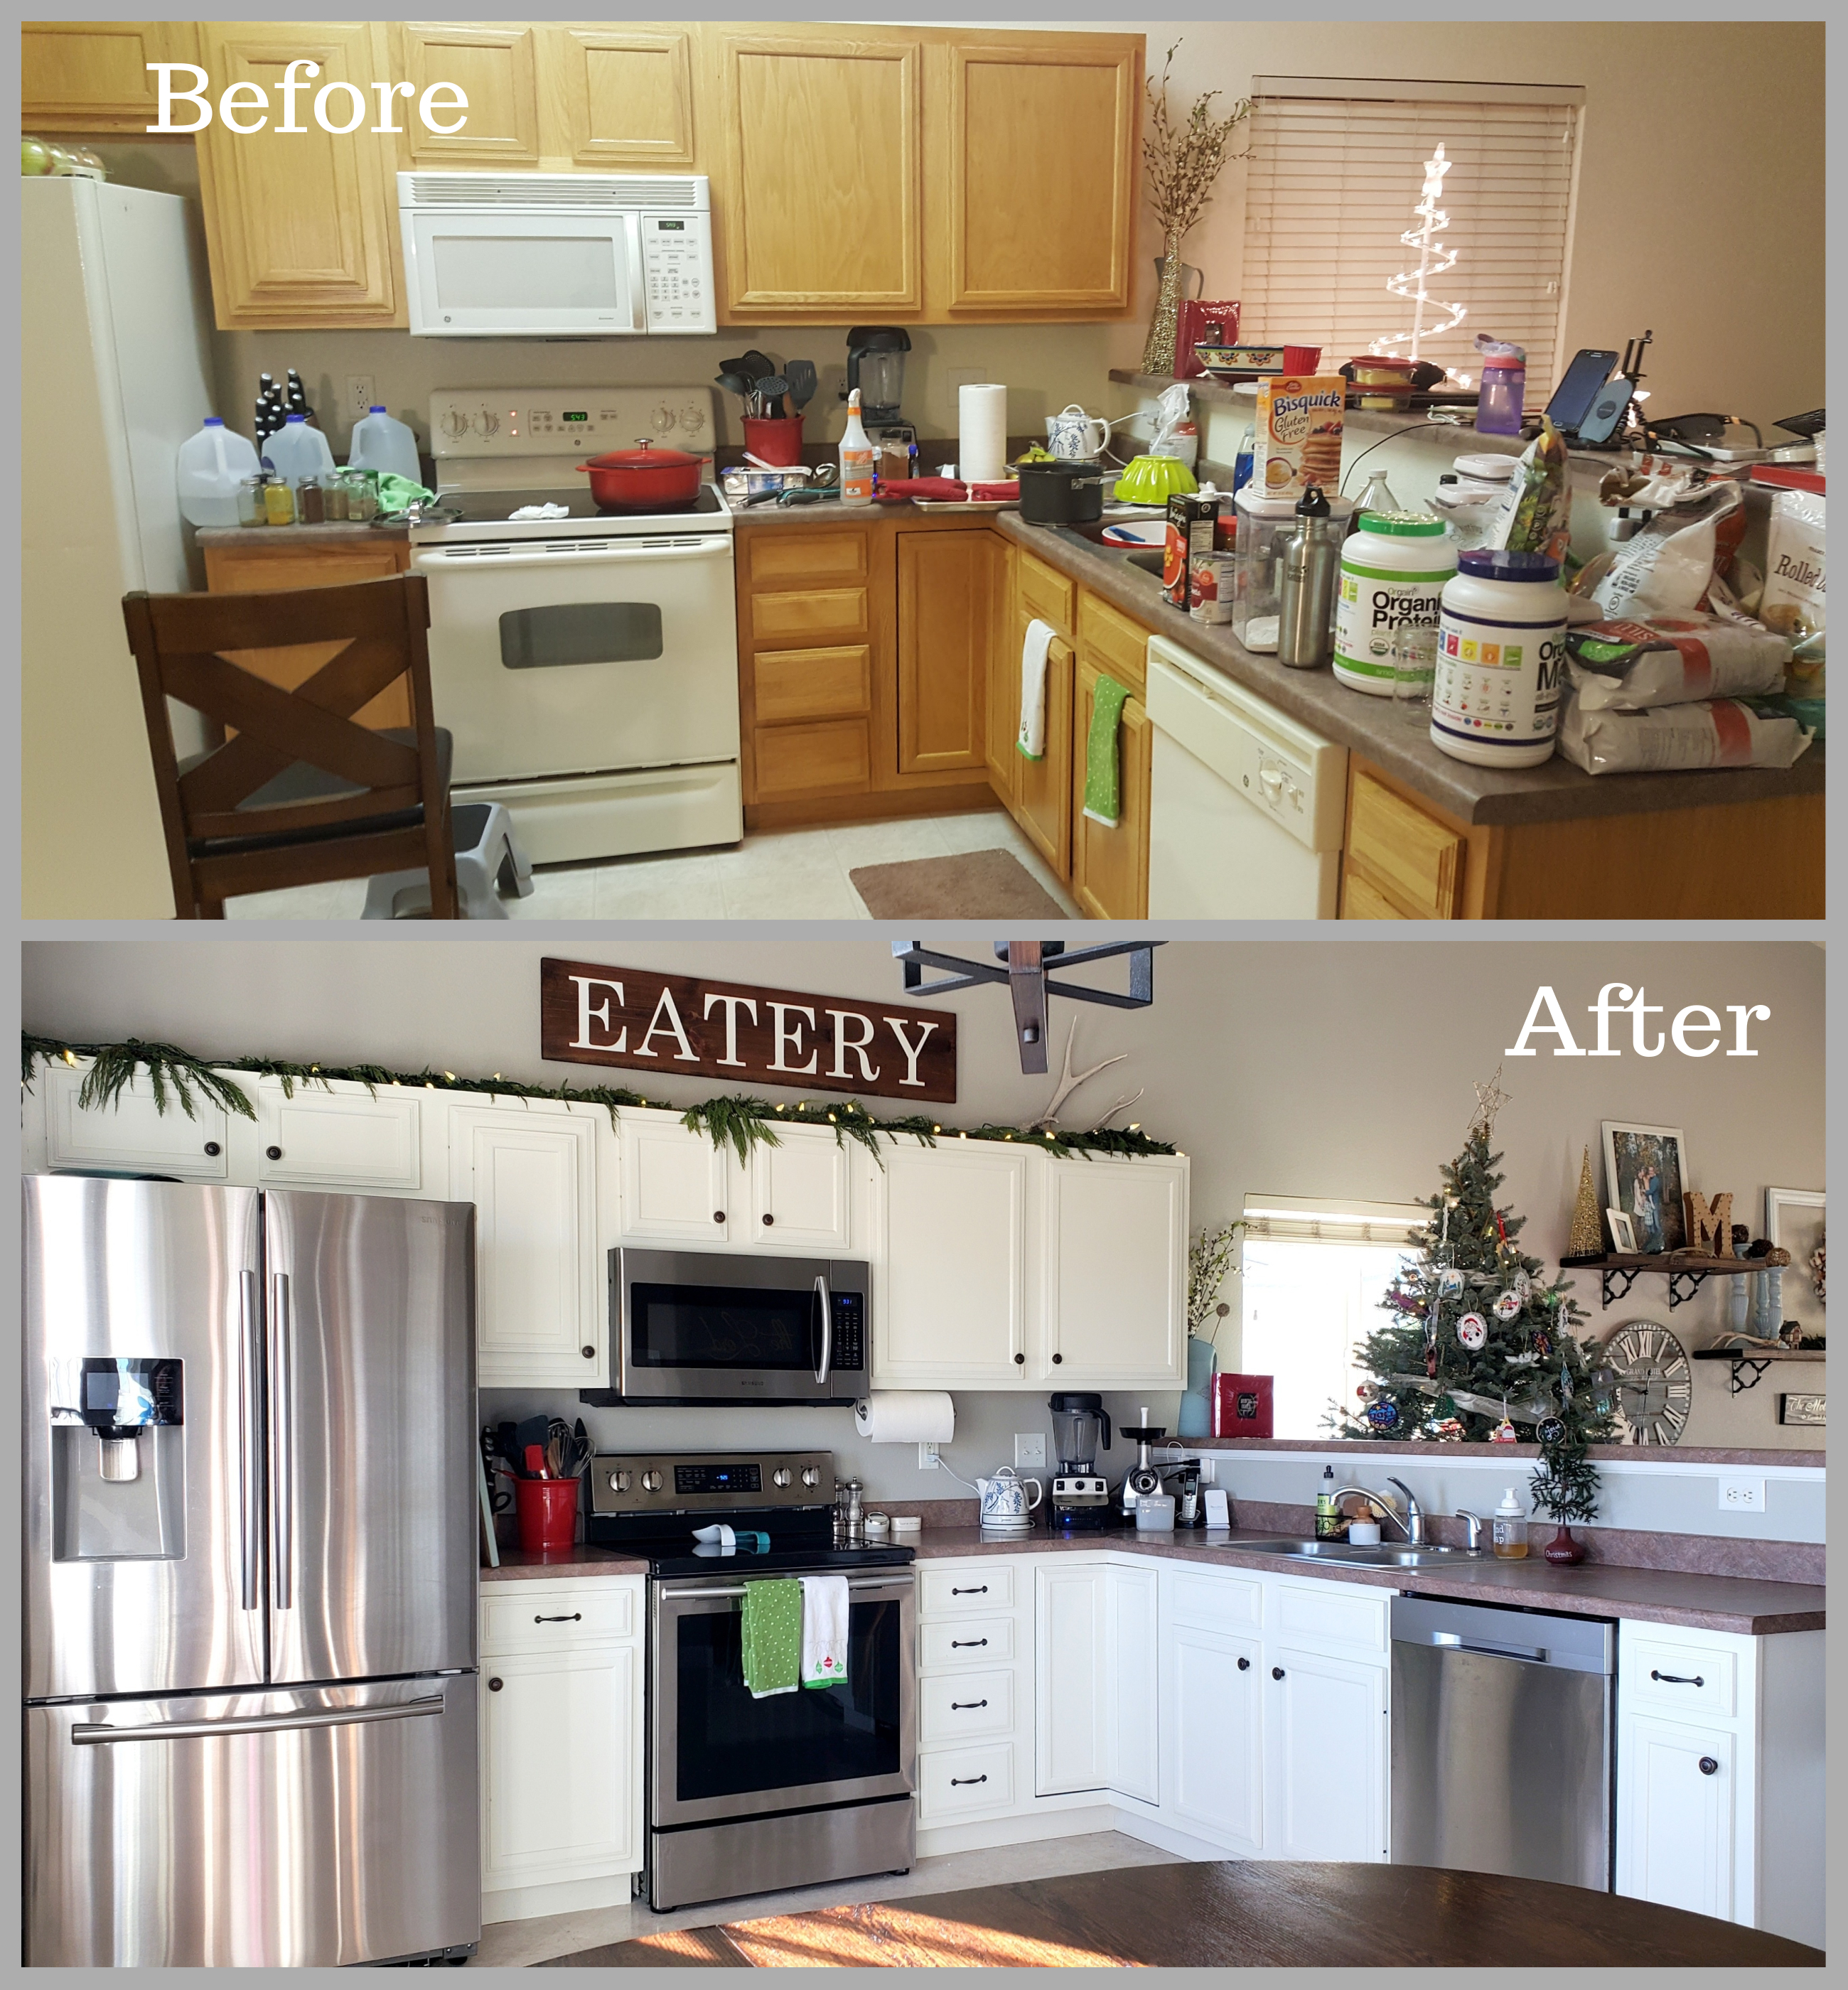
As you all know, we moved into our new home just a couple of days before Christmas last year. We are so unbelievably blessed and grateful for this home; I love it more than any home we have ever lived in! But even so, I still have this teensy weensy little passion for making things beautiful and I couldn’t wait to make it ours. And it was Christmas! So while most may have thoughts of Sugar Plum Fairies dancing through their heads, my brain was singing a different tune. Despite the boxes and stuff literally wall-to-wall and floor-to-ceiling in some rooms (did I mention we downsized??), the thought that kept floating its way around the back of my head was…
“These cabinets would look so beautiful painted white with fresh garland across the tops…”
Sung to the tune of “We Wish You a Merry Christmas!” Do you agree?? Here was our home last year on Christmas day :).
Merry Christmas to all and to all a…need to fit all of this stuff somewhere!!!!
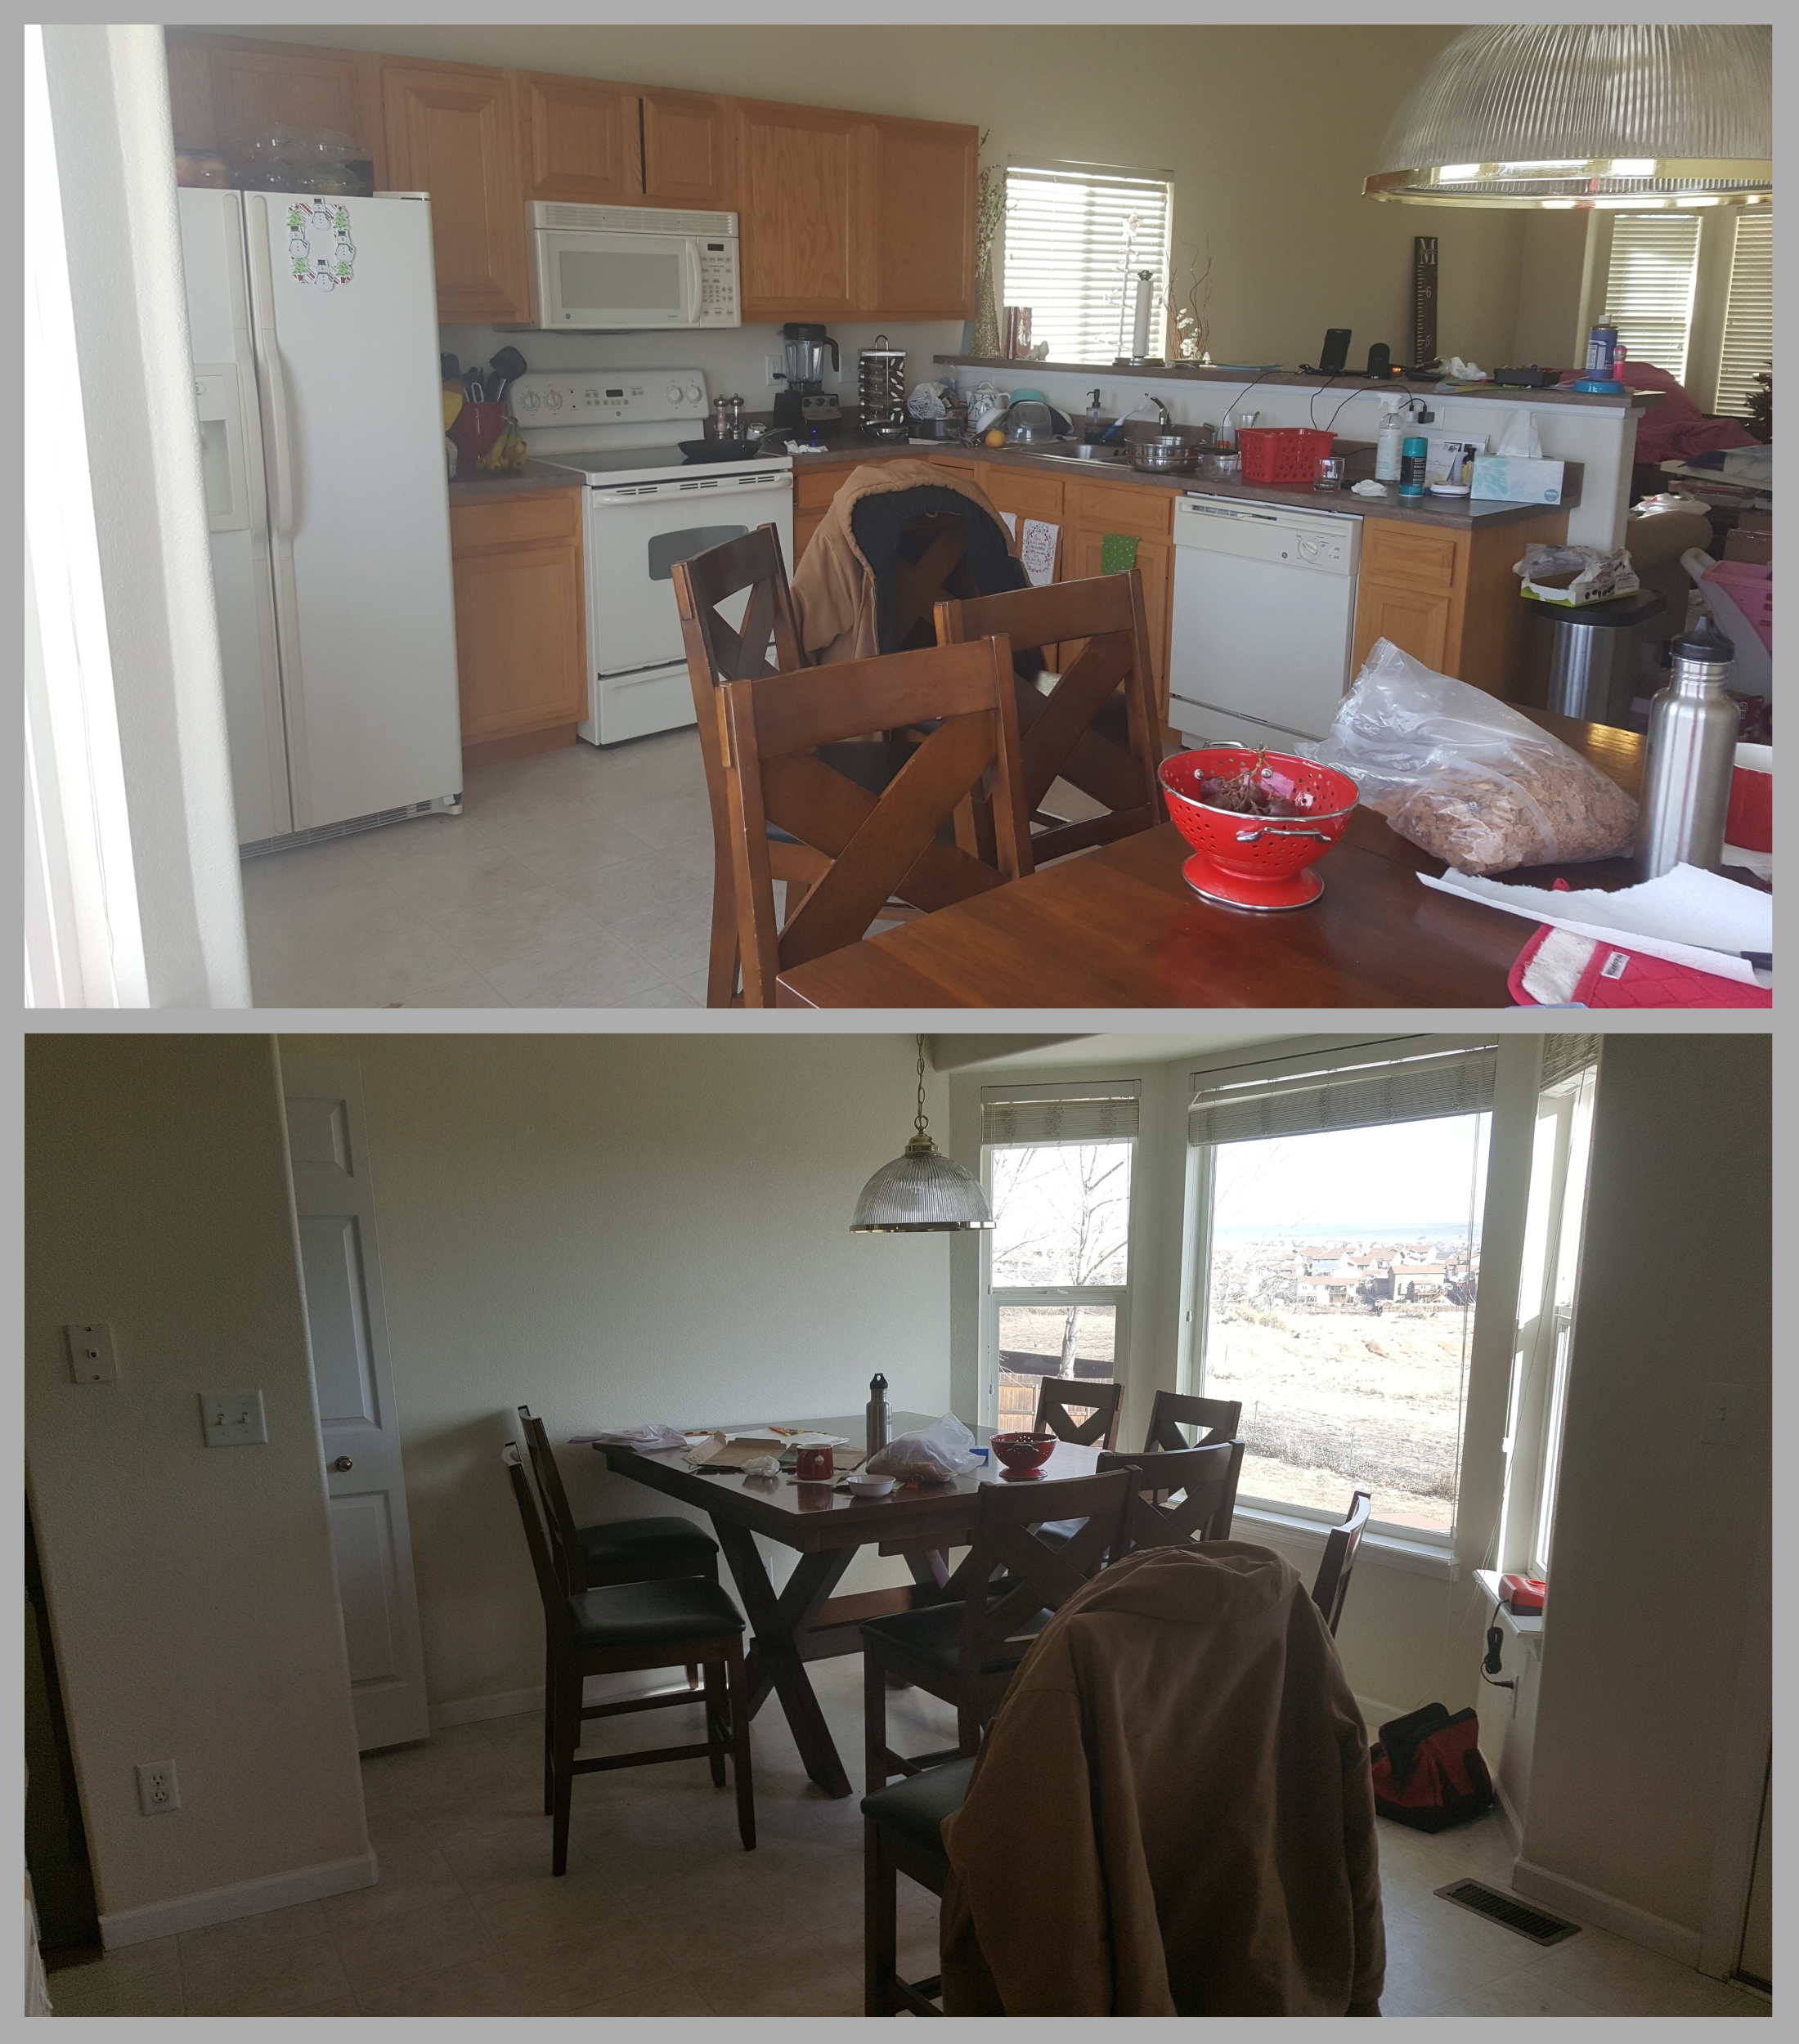
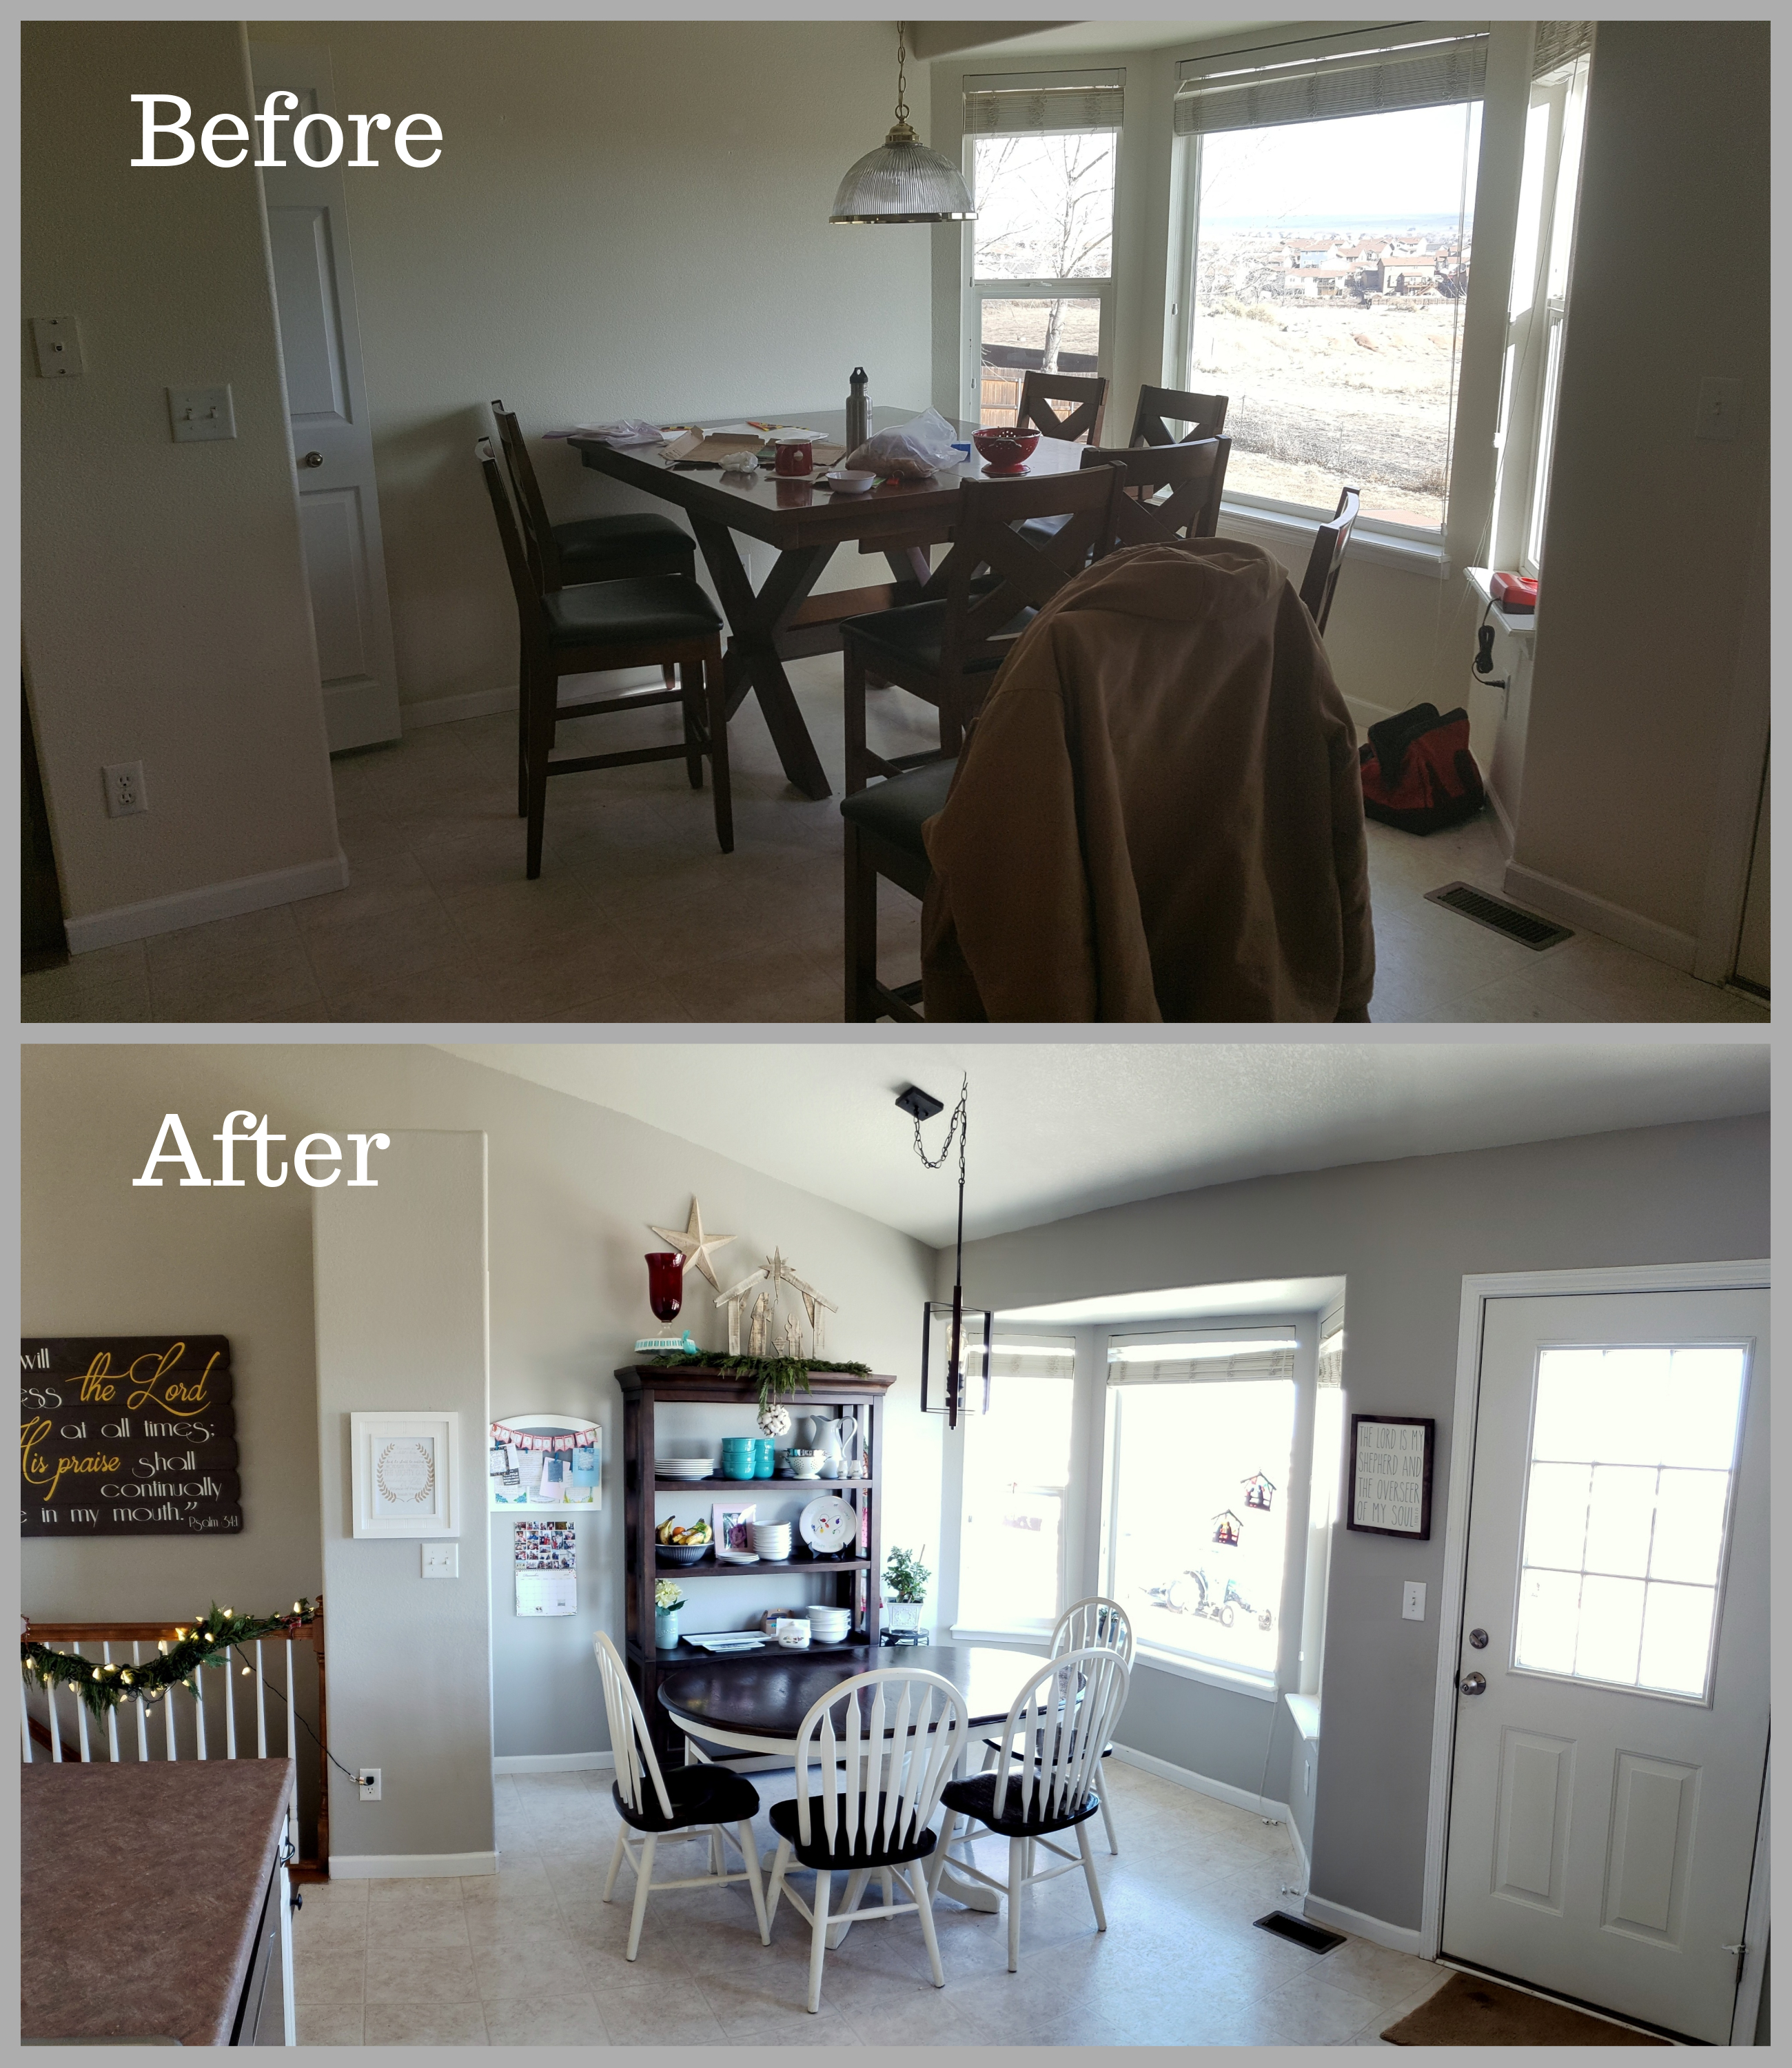
You guys. I am such a sucker for a good “Before and After” photo. My Pinterest feed is filled with them, but I have never had the chance to do my very own before and after because we’ve always rented and Brian has–rightly so–not let me spend a dime or a minute putting effort into a home that wasn’t ours. (He may have been right, but all you have to do is mention the “bathroom wallpaper” from our last home and I may or may not shed a tear or two.) Anyhow, I regress. Here’s another day in our new home, after a tiny bit more unpacking progress:
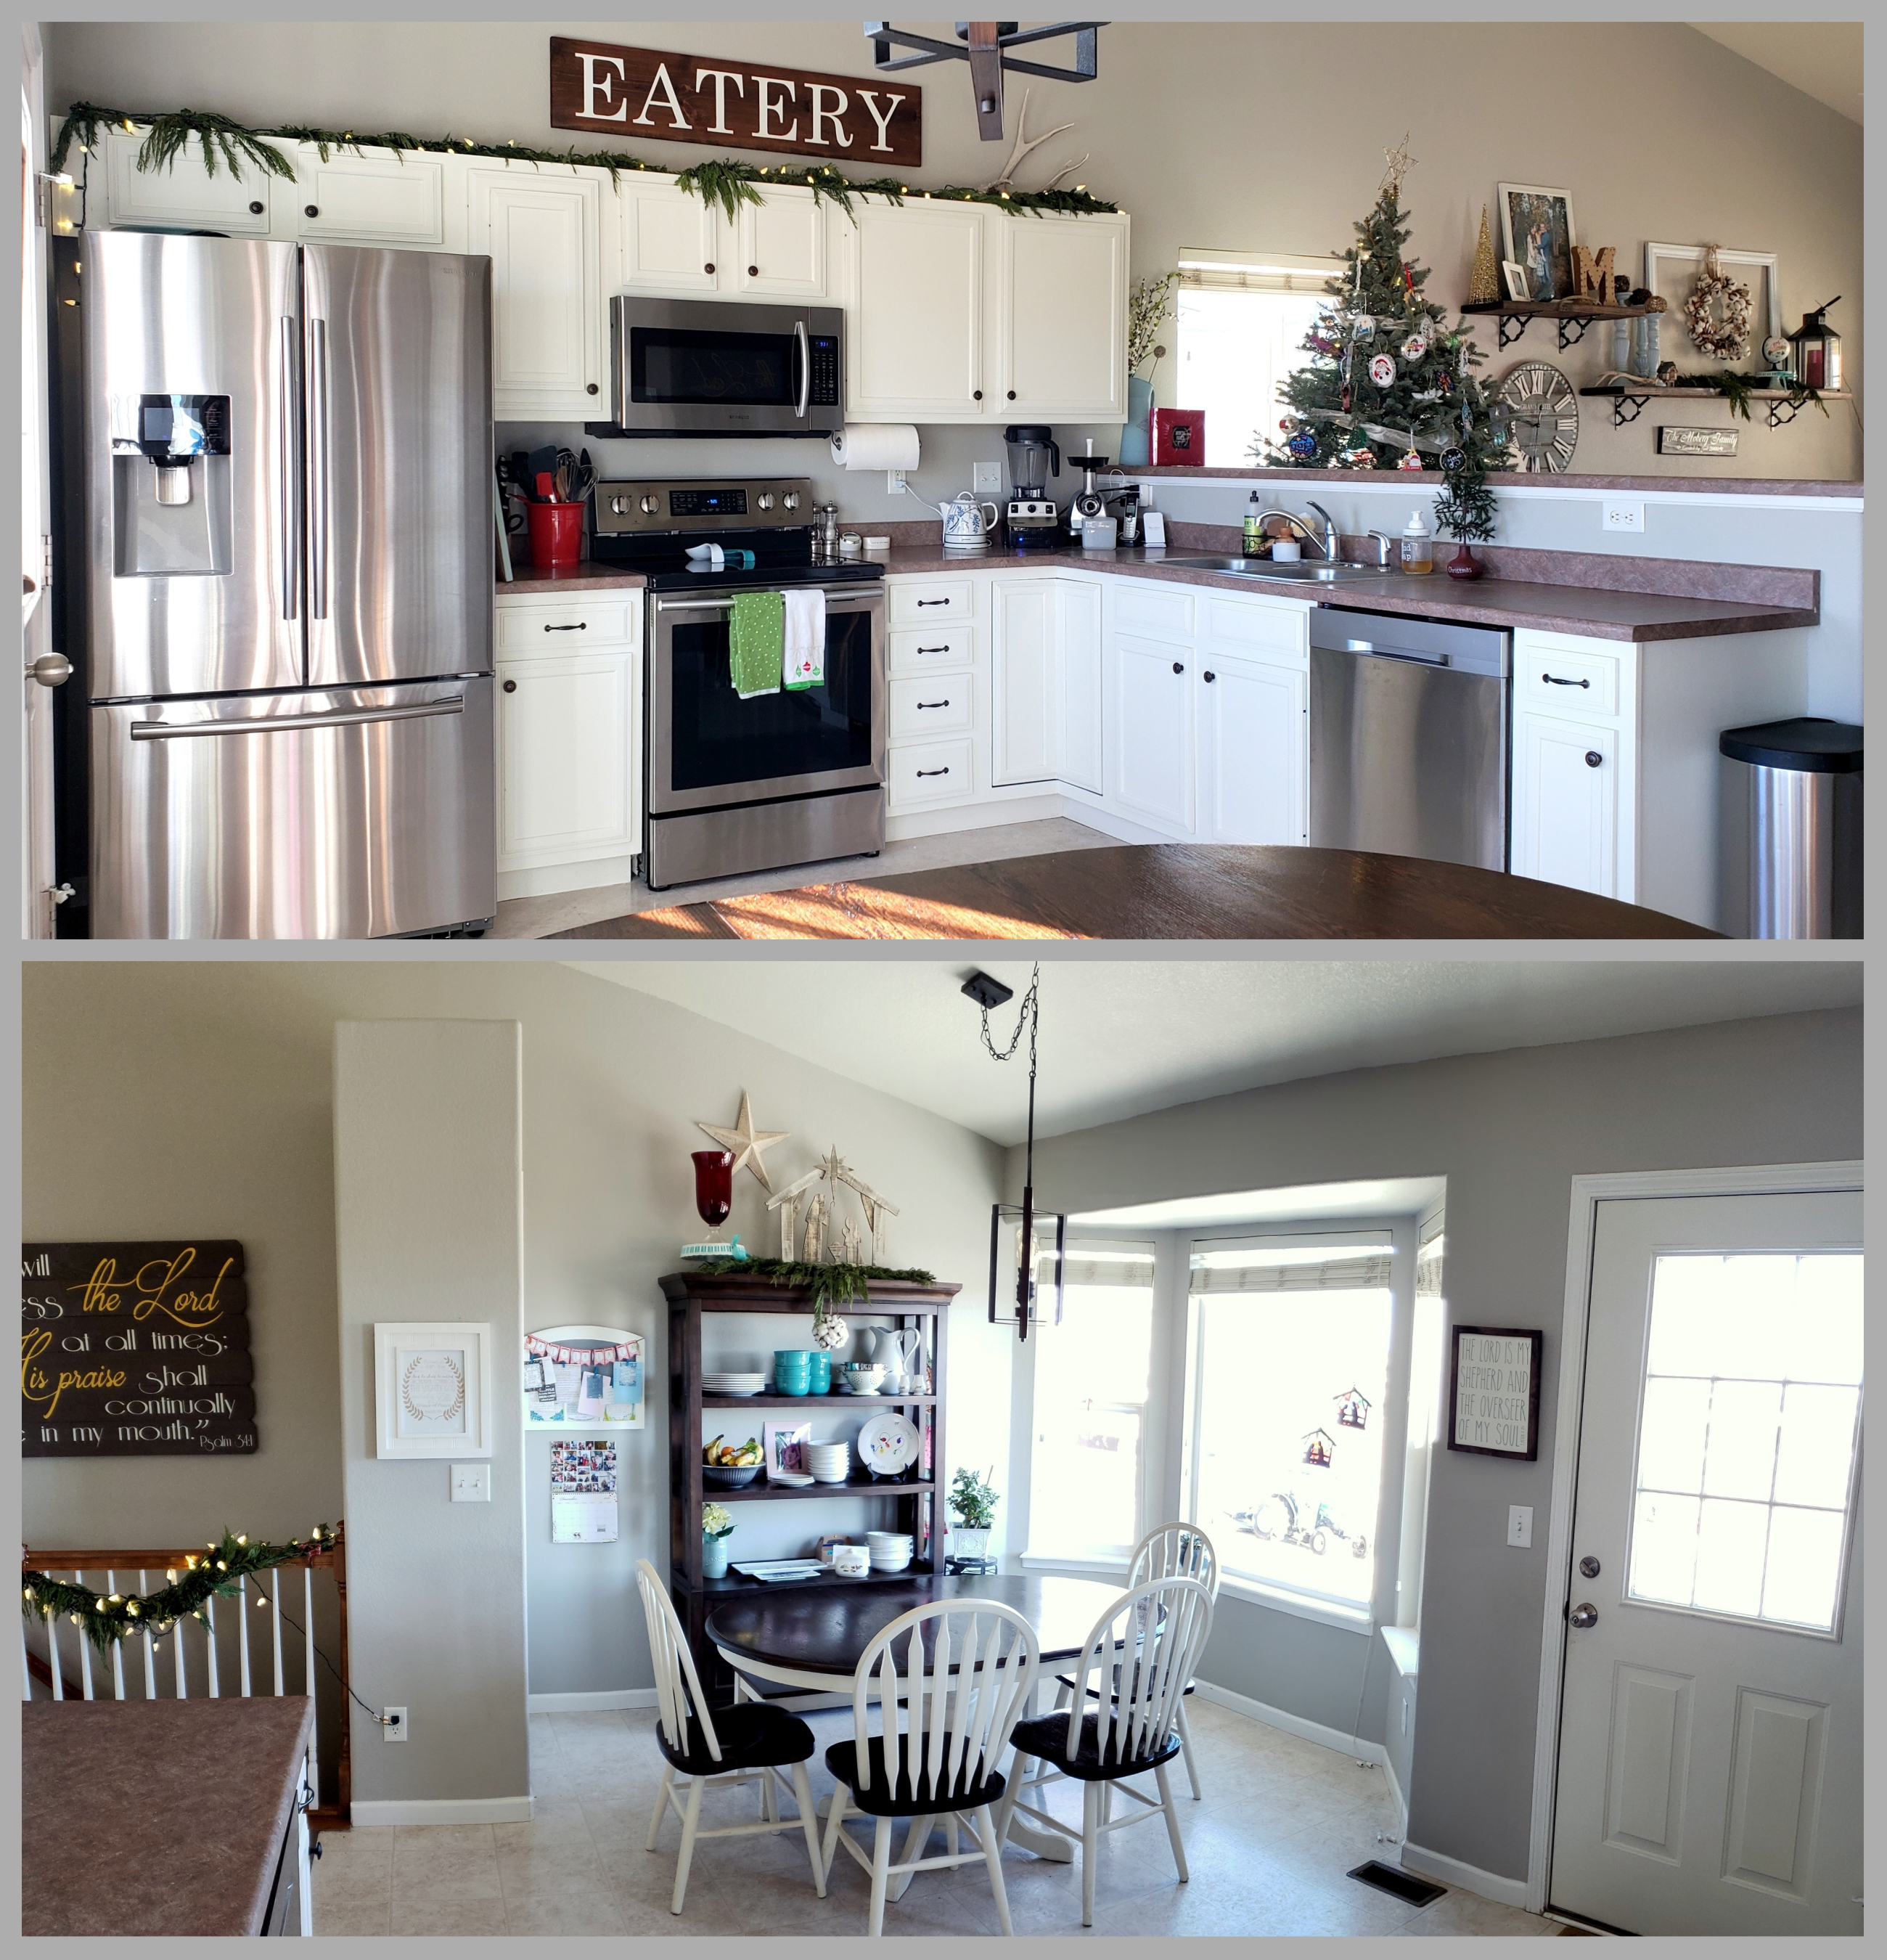
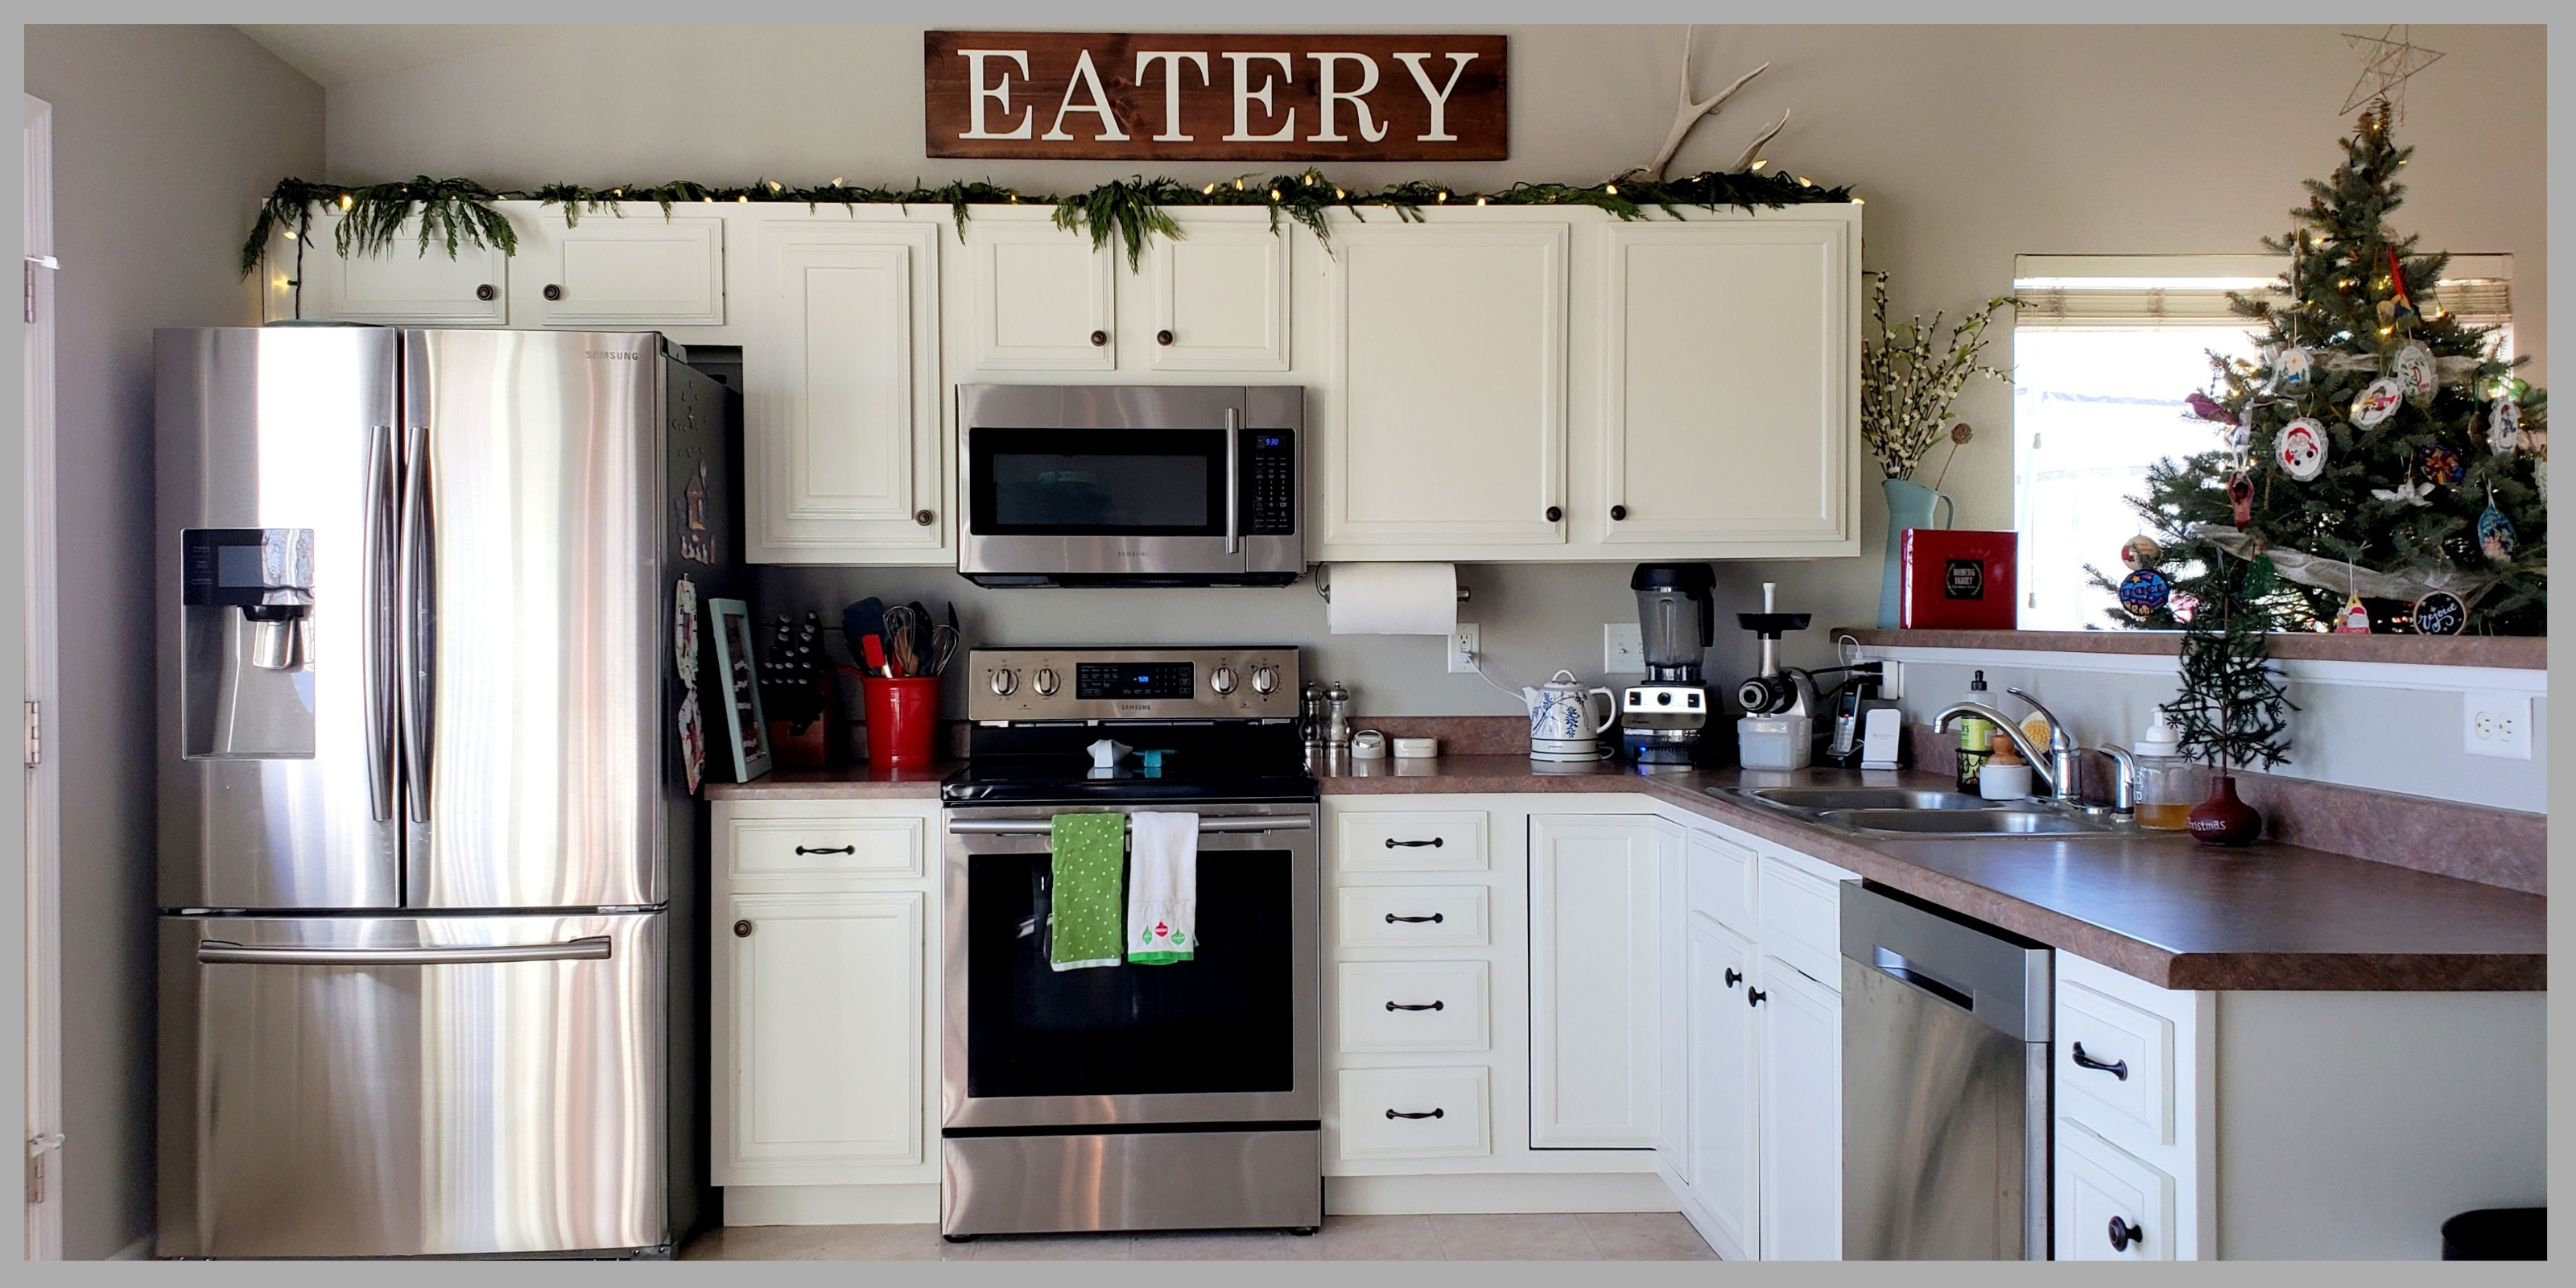
So, after several months of creative storage solutions, new appliances, a dab of paint here and there (shout out to Jillian who helped me paint the kitchen/living room!), my very first furniture make-over, a lot of elbow grease and some fresh garland…I present to you our kitchen this year on Christmas day 2018:
*Squeal!*
Did you see that I even turned a counter-height square table into a normal height oval table?? 🙂 Just kidding. We had to get a new table that actually fit in our new kitchen. A craigslist steal with a little paint and stain turned into my most favorite table ever!
Isn’t it amazing what can happen in just one year?!! I pray that as we enter this new year, that you would be able to look back and remember what the Lord has done in your life, and look forward to 2019 with great expectancy about what He will do in your heart in the year to come!!
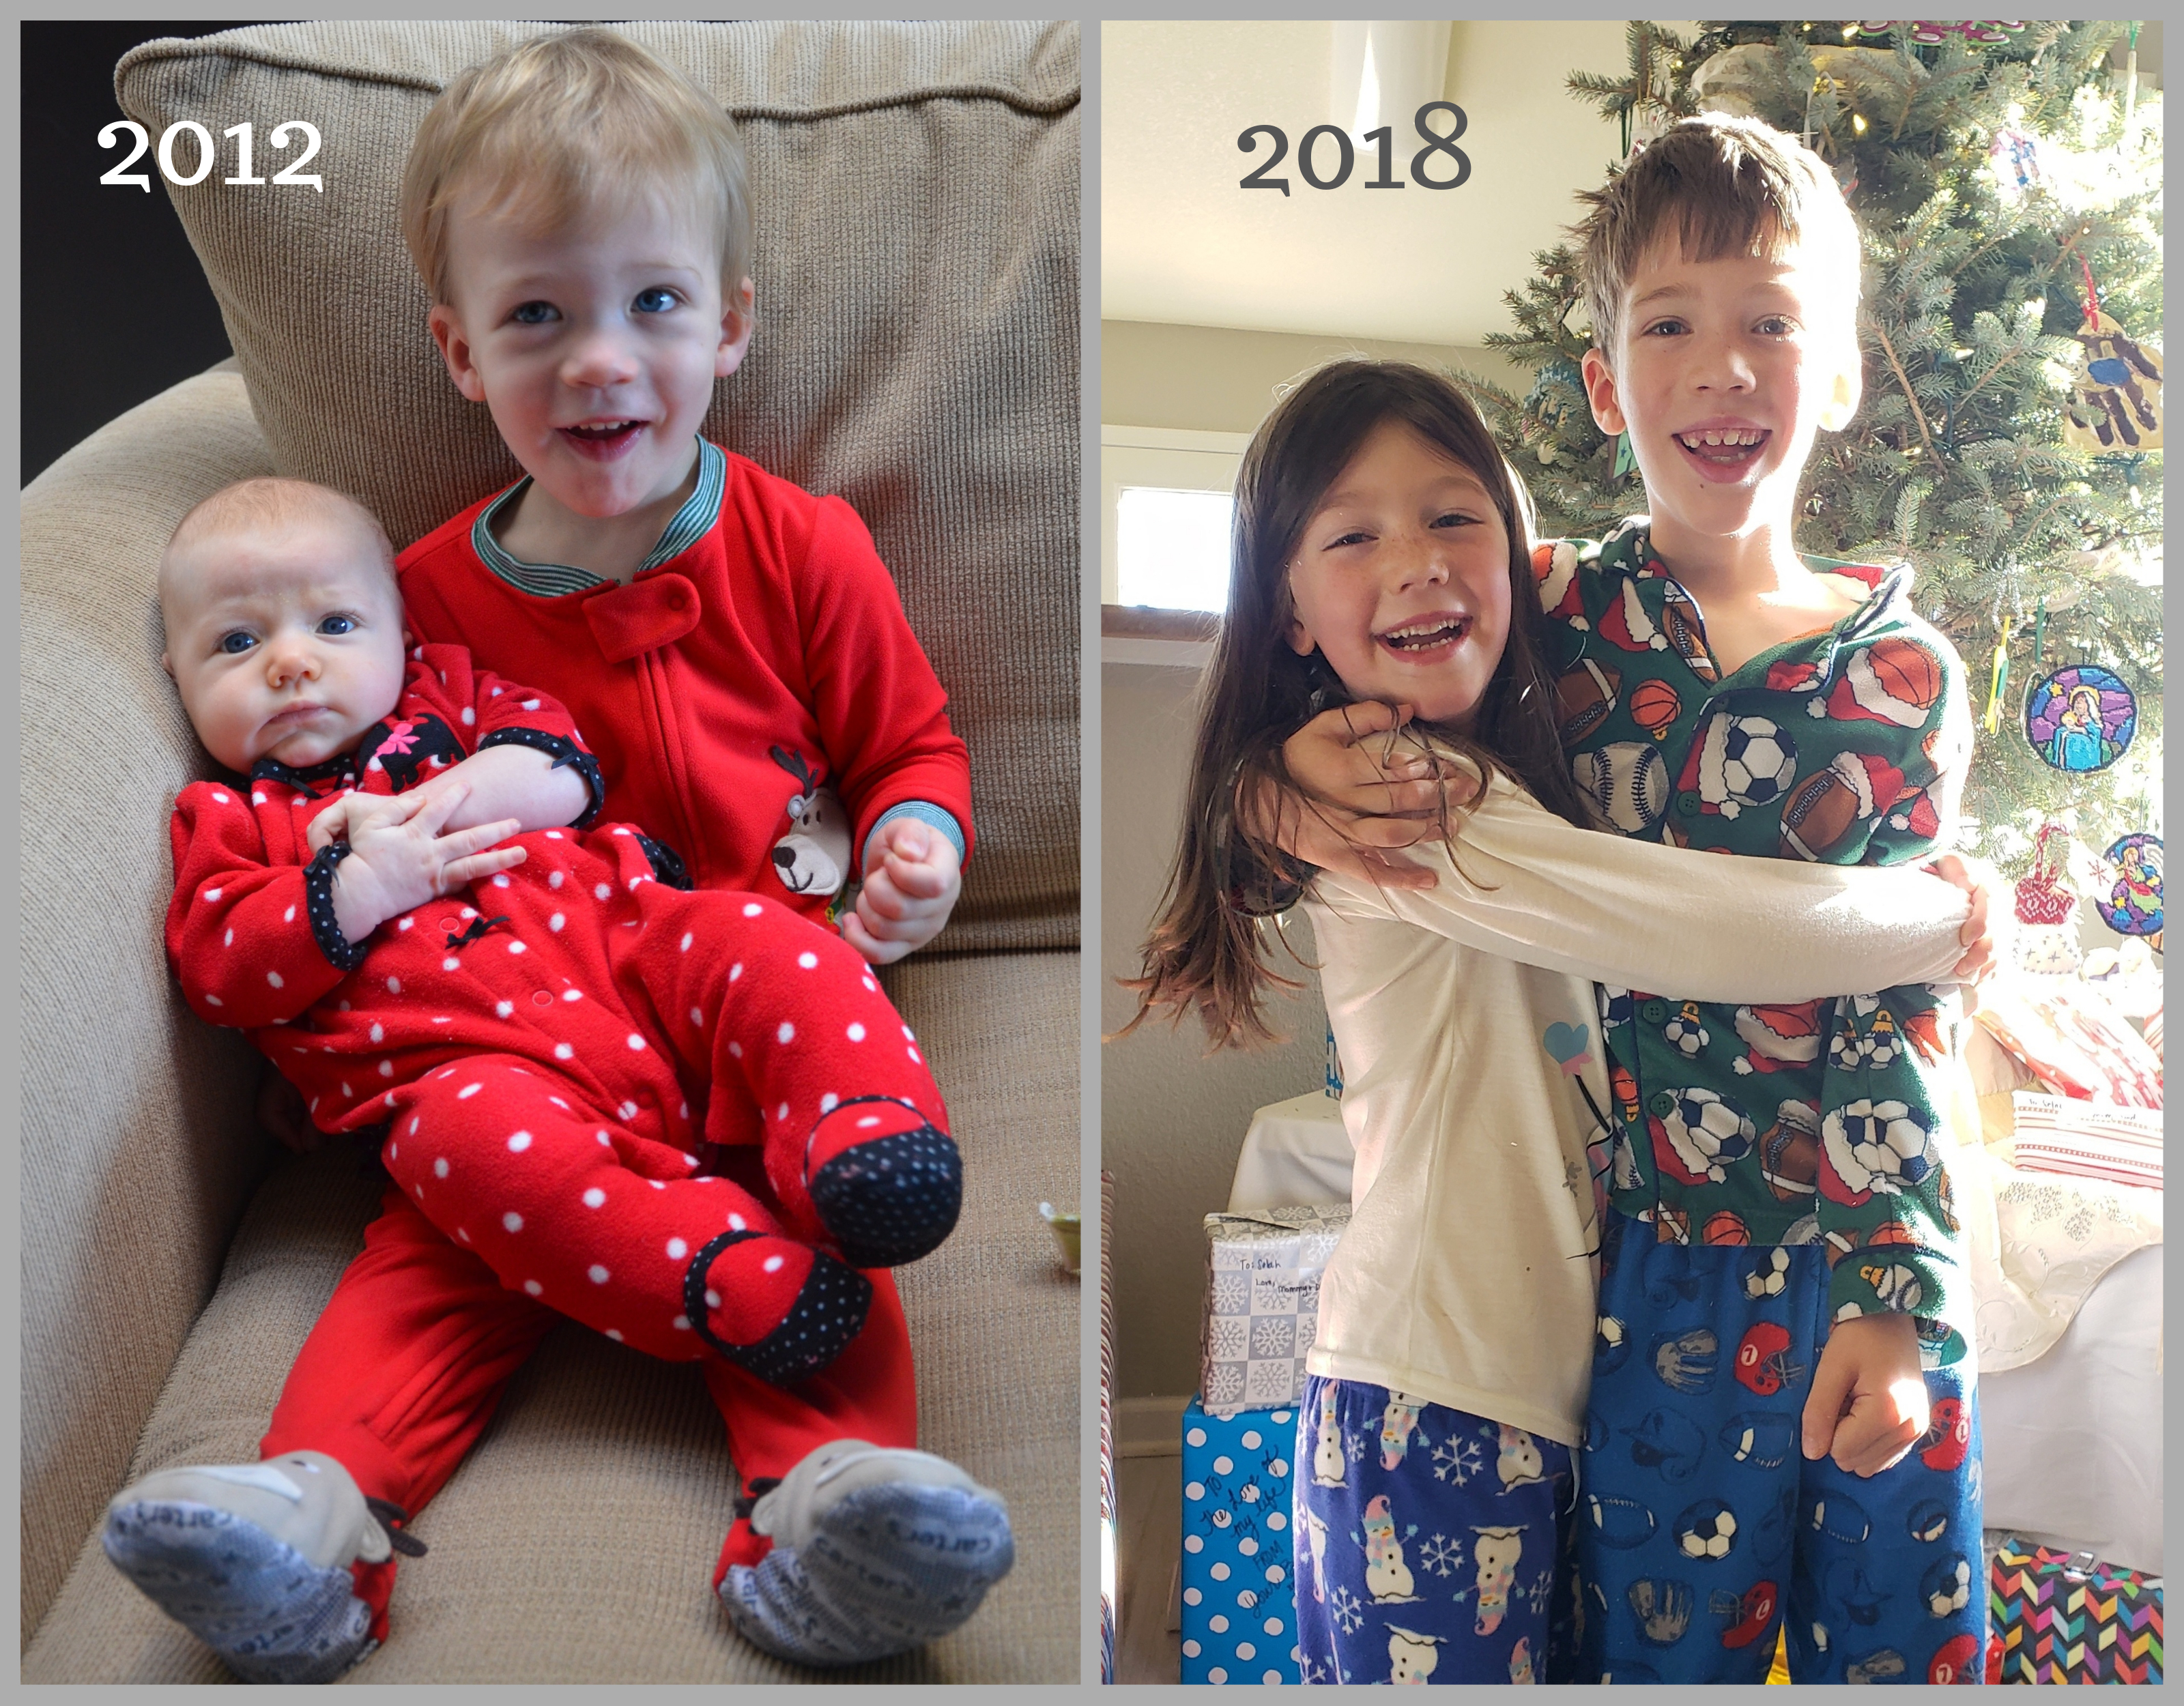
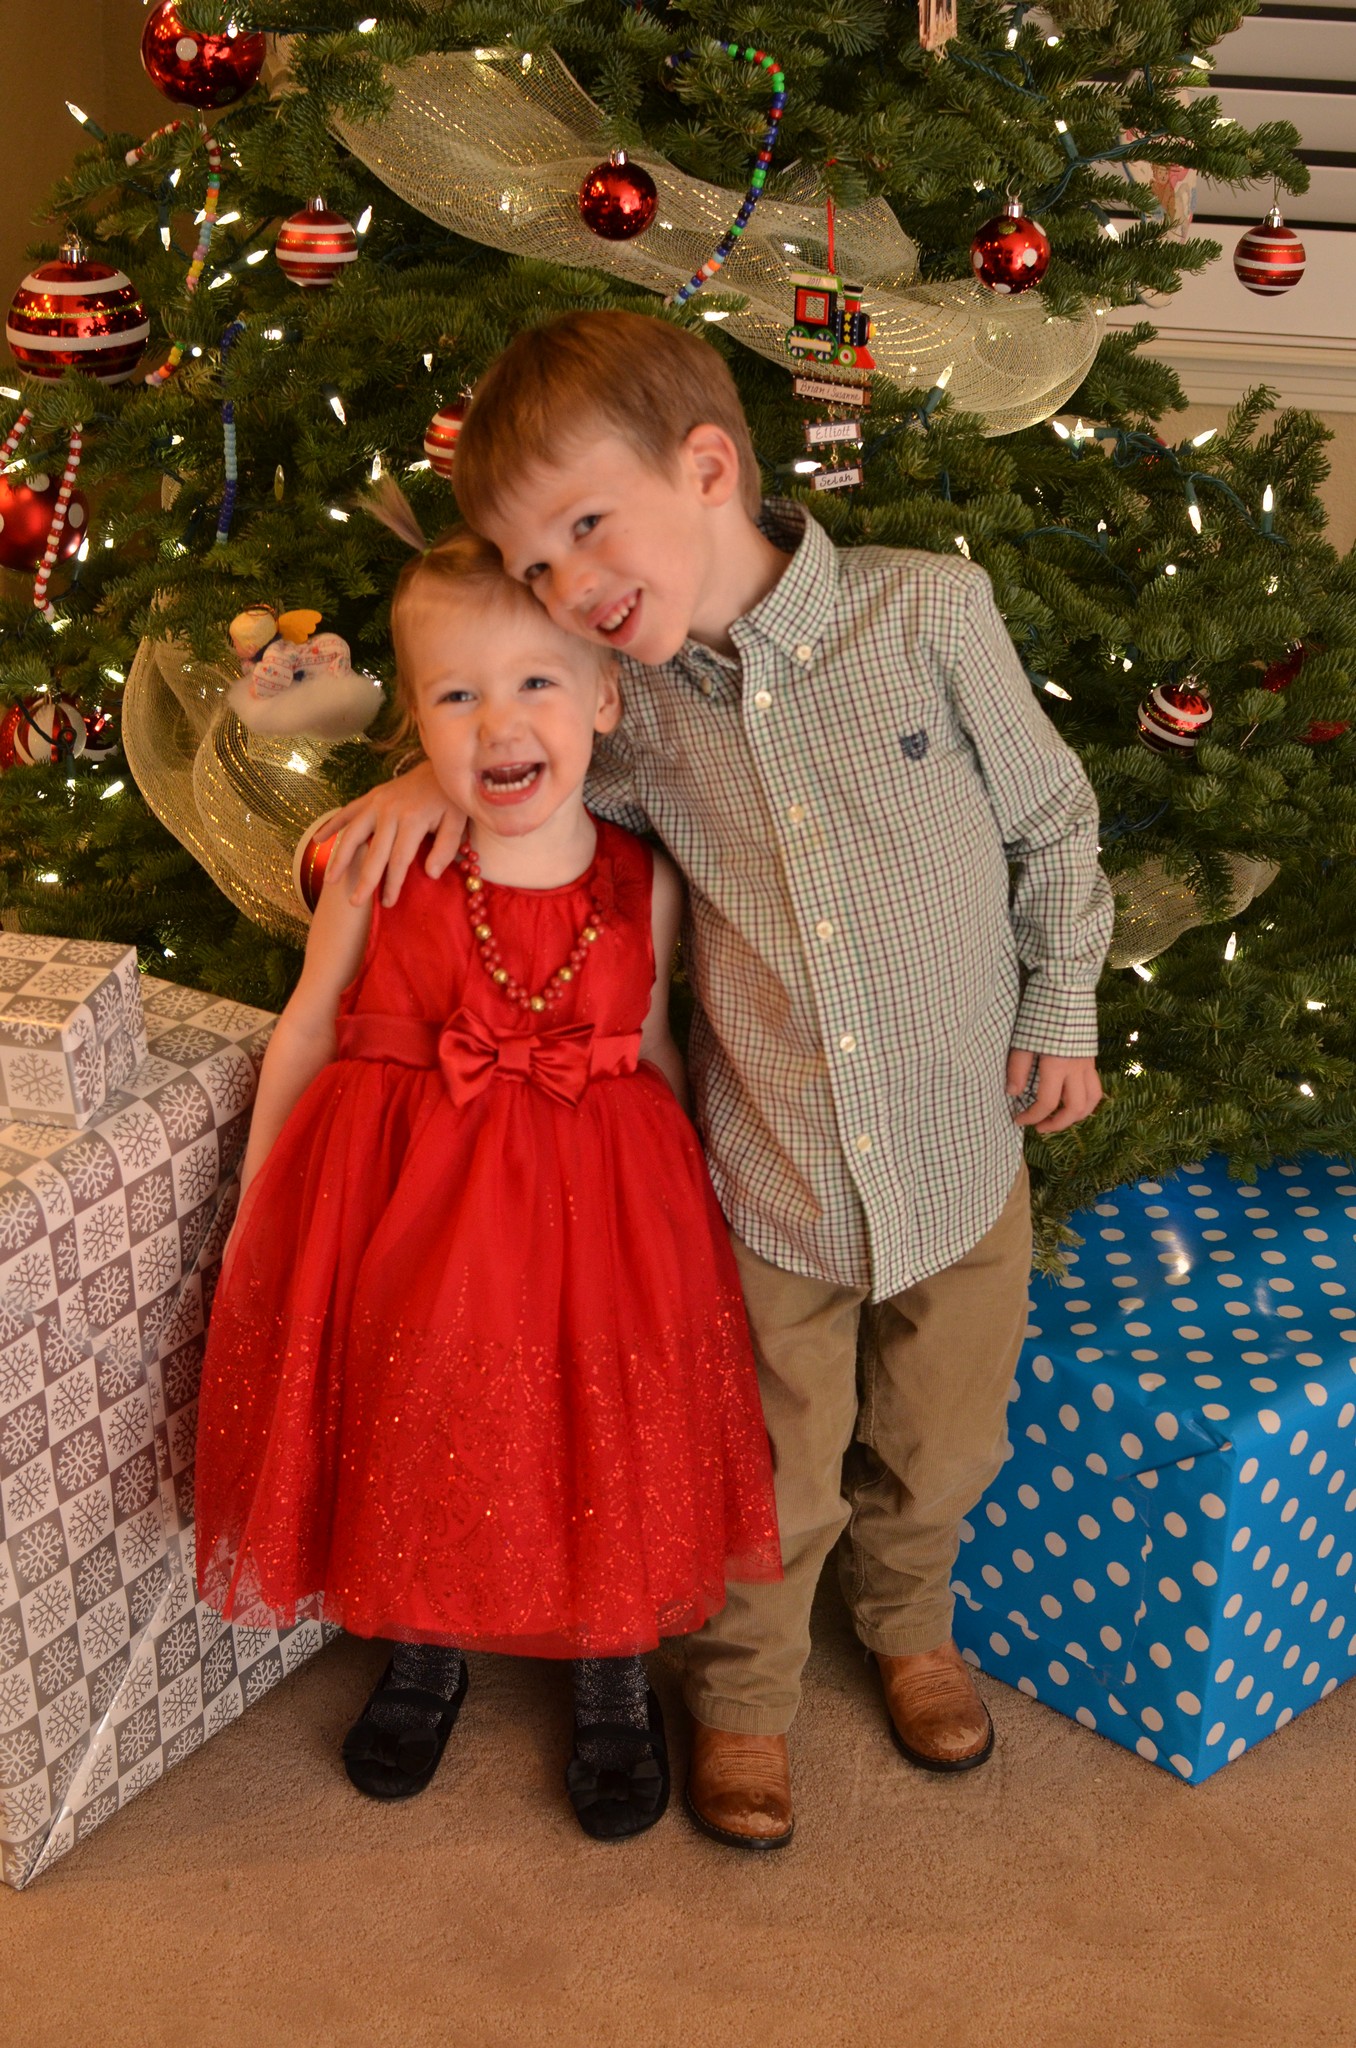
One more great before and after for you…check out how these two kids have grown up in the last six years!! #christmasjammies
He crossed two items off his bucket list before leaving the “5s”…
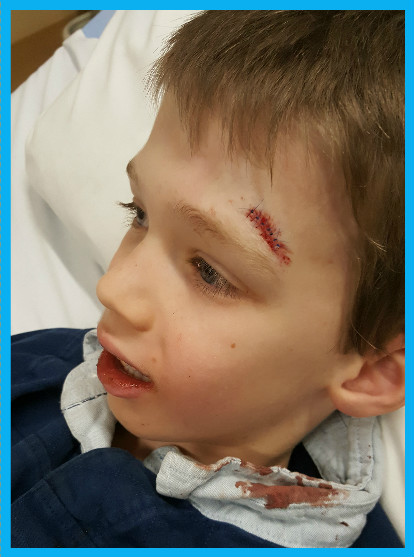
1. Getting stitches–OUCH!
If you think this picture is too graphic, be glad I didn’t show you the “before” picture!! 7 (blue!) stitches!
and 2. Learning to ride his bike without training wheels! Yahoo!!
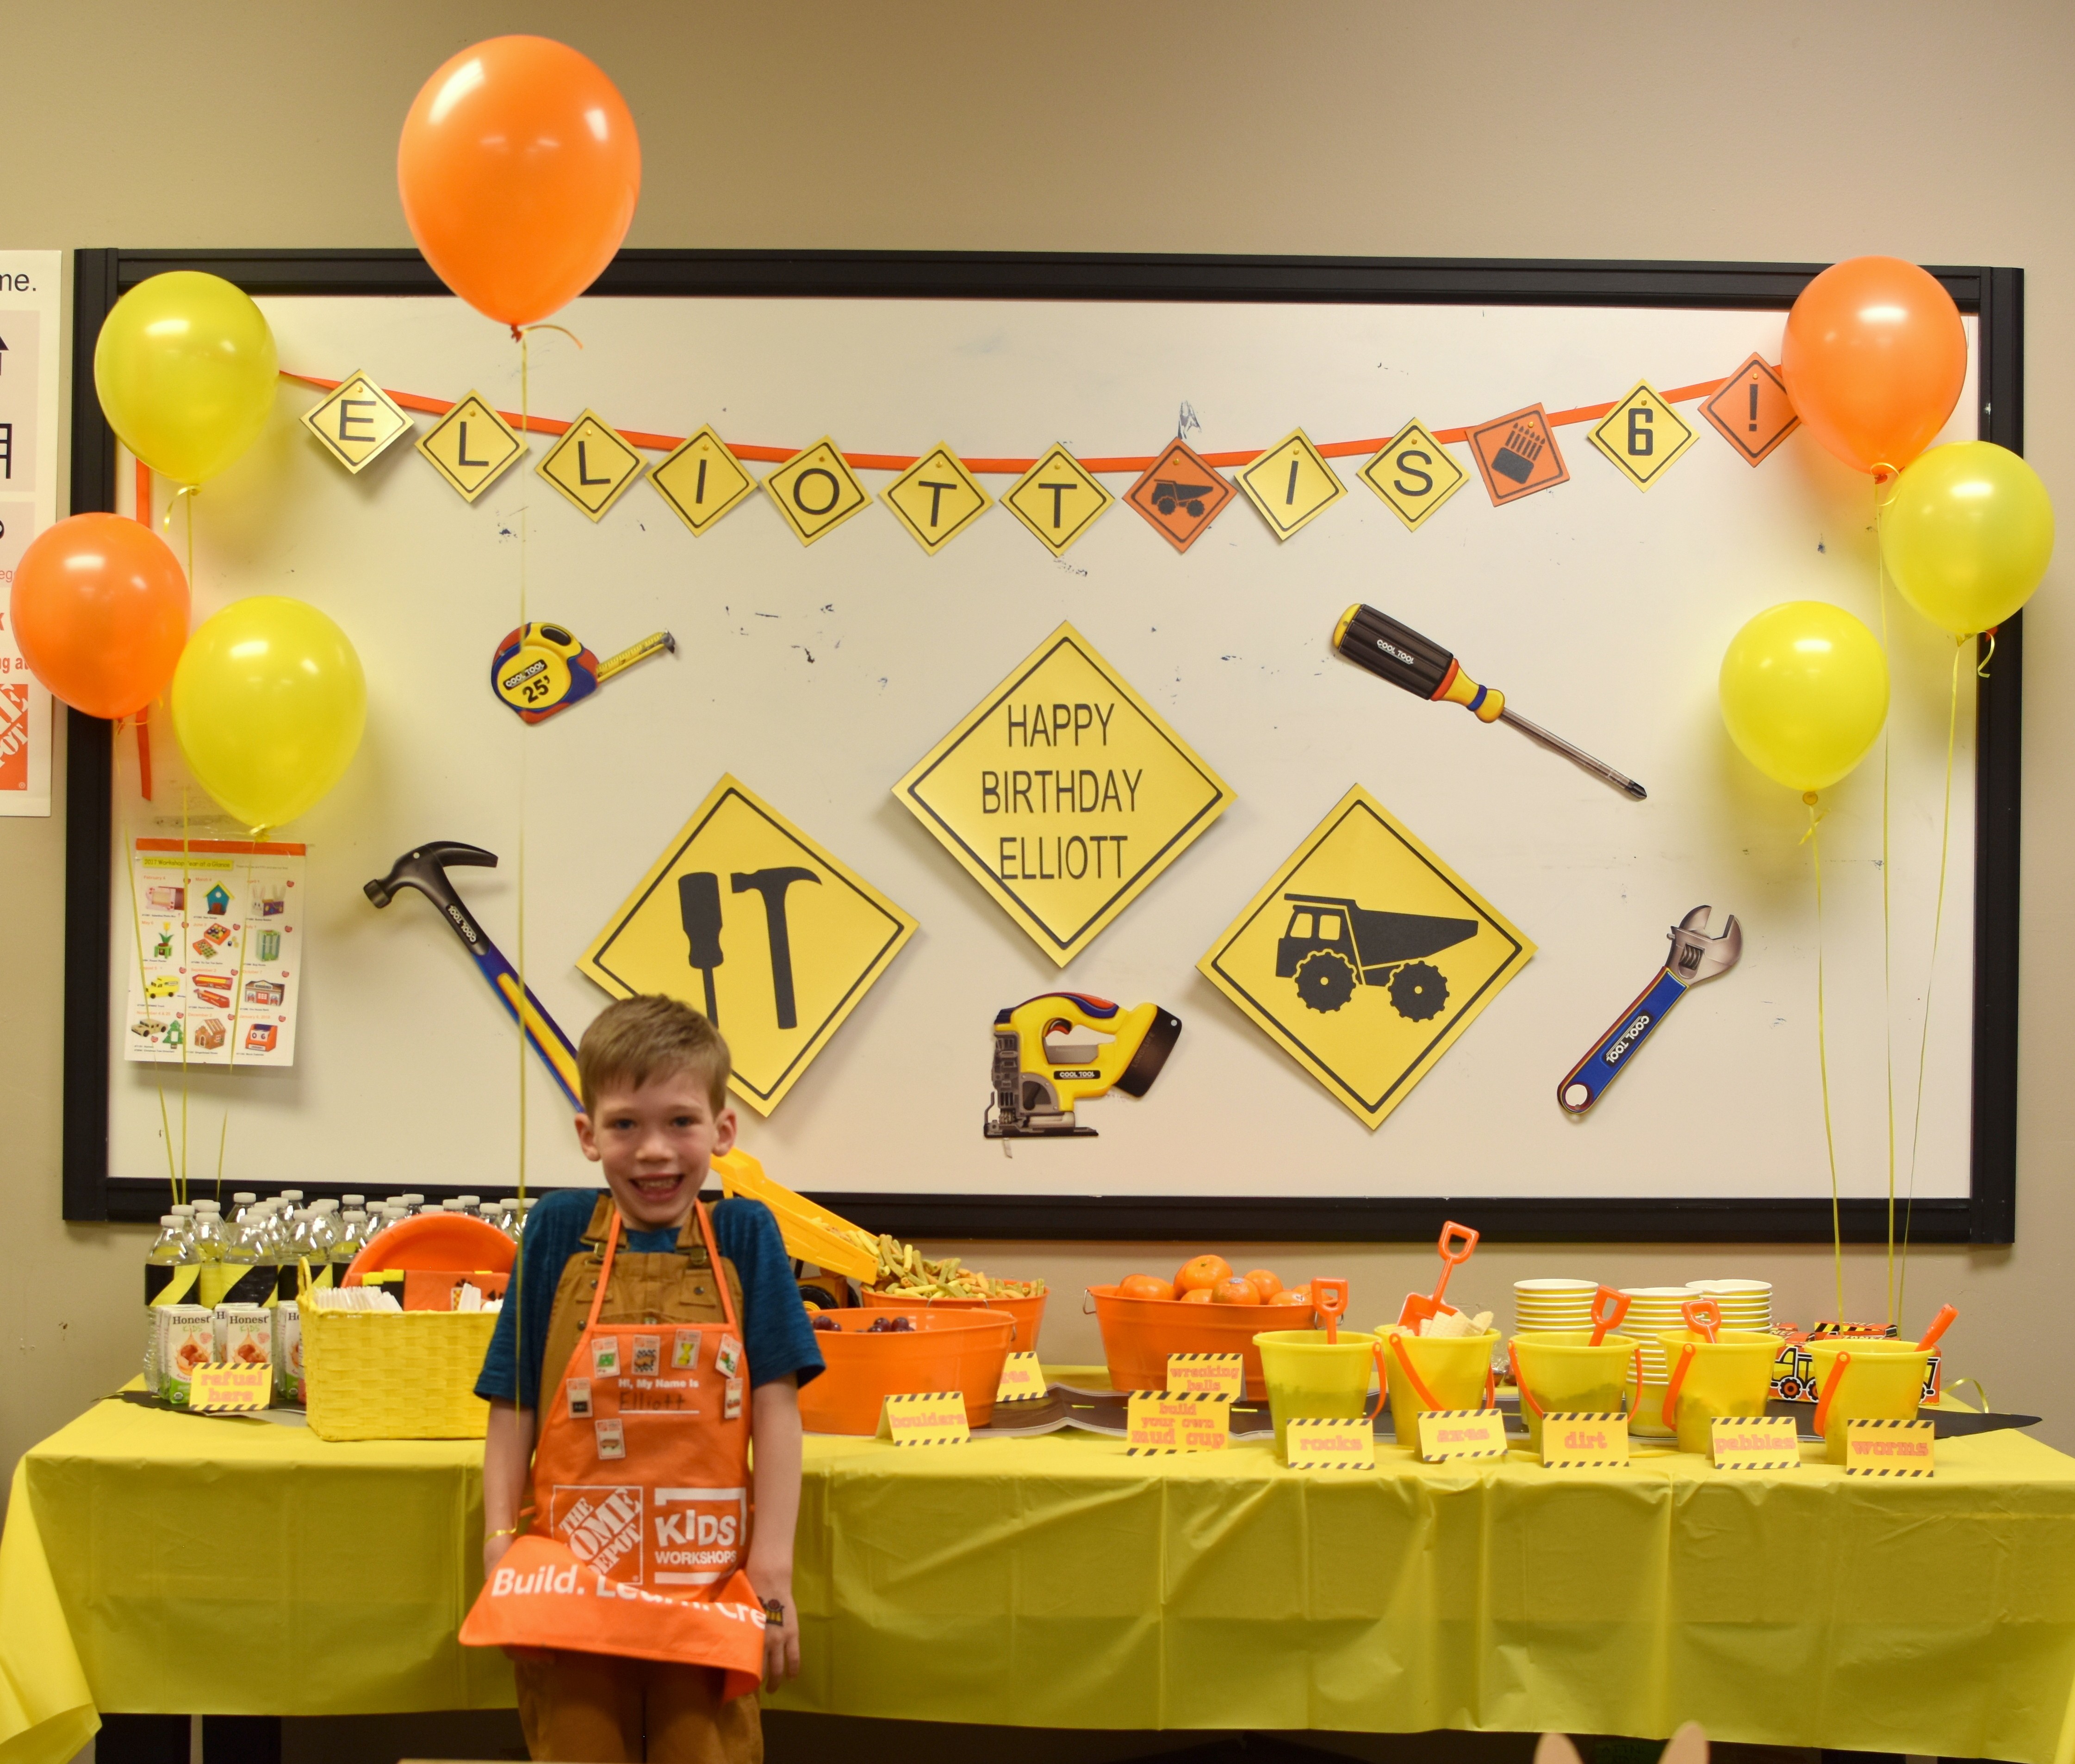
If you’ve been following Elliott’s birthdays the last couple of years, you will know that ever since he was turning four, he has had his parties planned out for the next several years. This year, it was “Wood Crafts.” The way to this child’s heart is truly through wood crafts.
We’ve frequented The Home Depot’s free first-Saturday-of-the-month quite often as the kids love to build and paint. So when I found out they ALSO do *free* birthday parties, I tucked the idea in the back of my party brain for “the Wood Craft birthday year.”
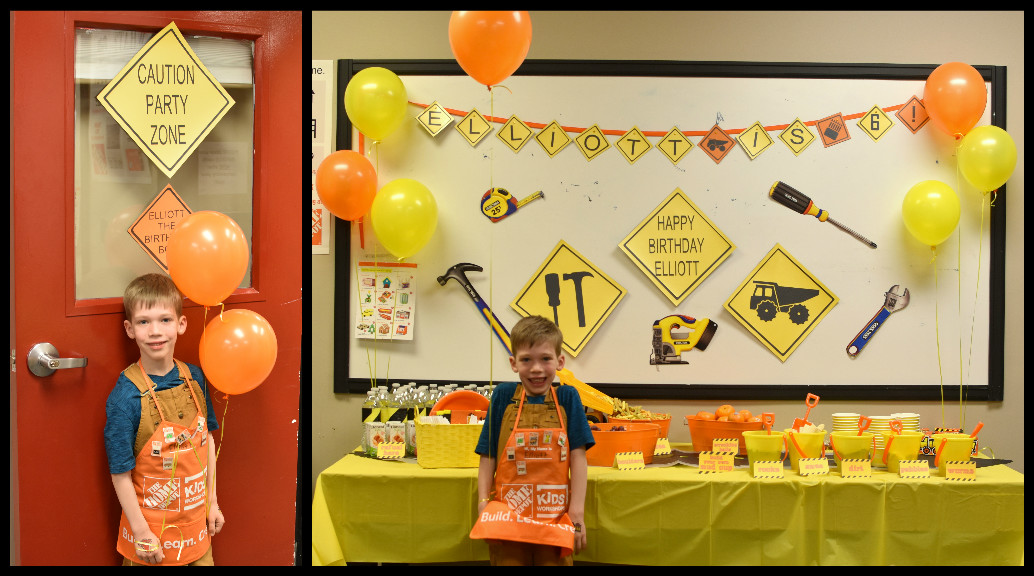
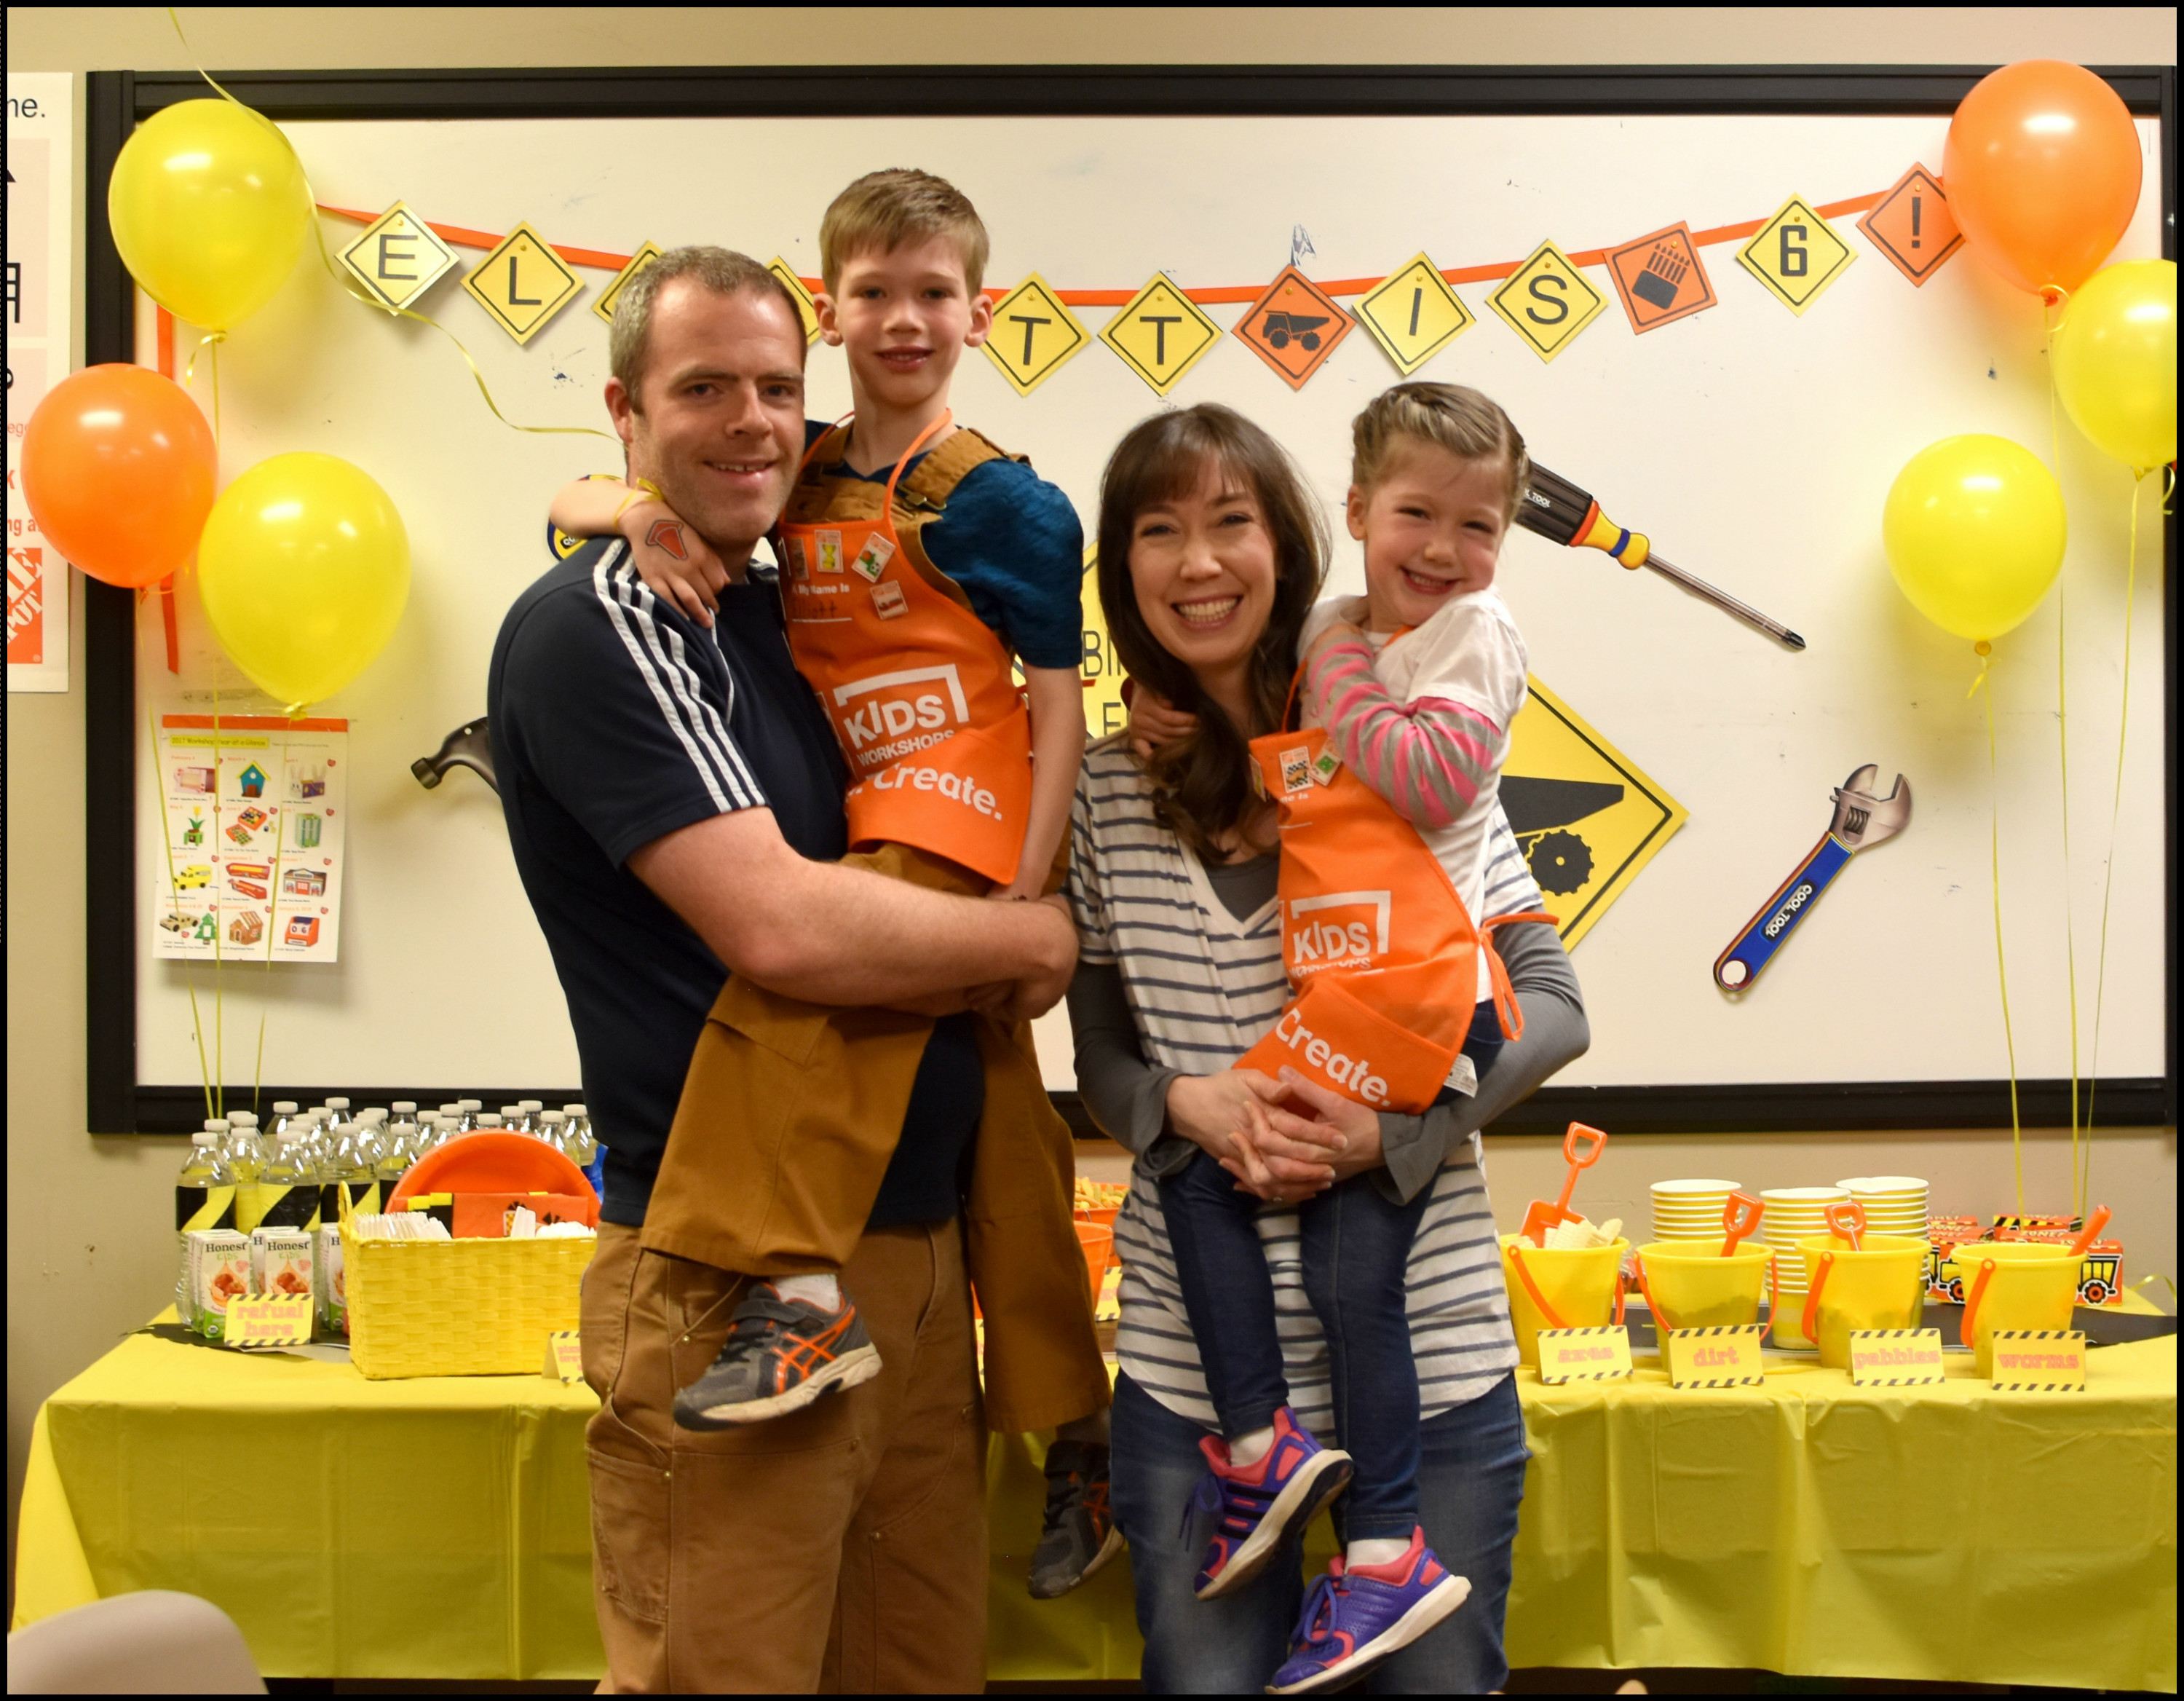
Elliott and I sat down together in February and planned his party. Oh my, he is a boy after my own heart! I don’t know anyone else on the planet as thrilled as I am to surf through a hundred fonts and pick the best ones for our task, haha! But he sat on my lap and we surfed until he gasped with delight when he found the perfect one :). I love him :). We planned out the snacks and the treats and designed the invitations. He had a construction birthday when he turned 3, so I re-used the banners and signs! I just had to change some “3s” to “6s” and we were set!! WIN.
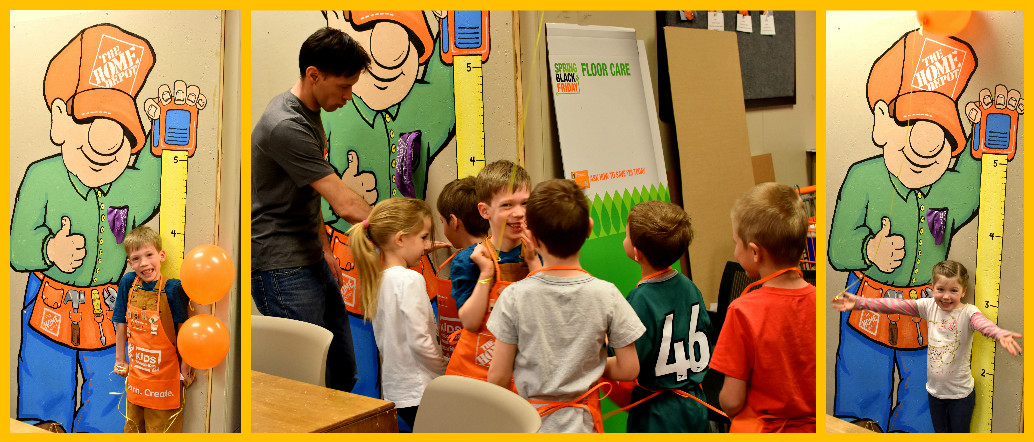
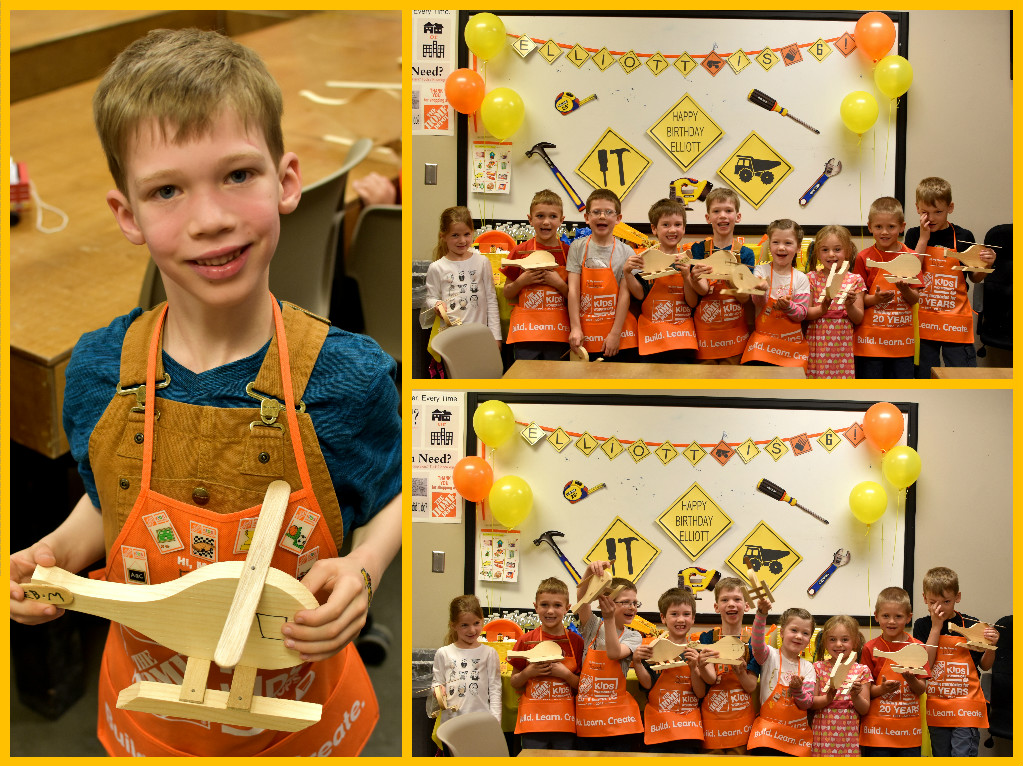
We arrived, set out the food, hung up our banners and waited for our guests to come!
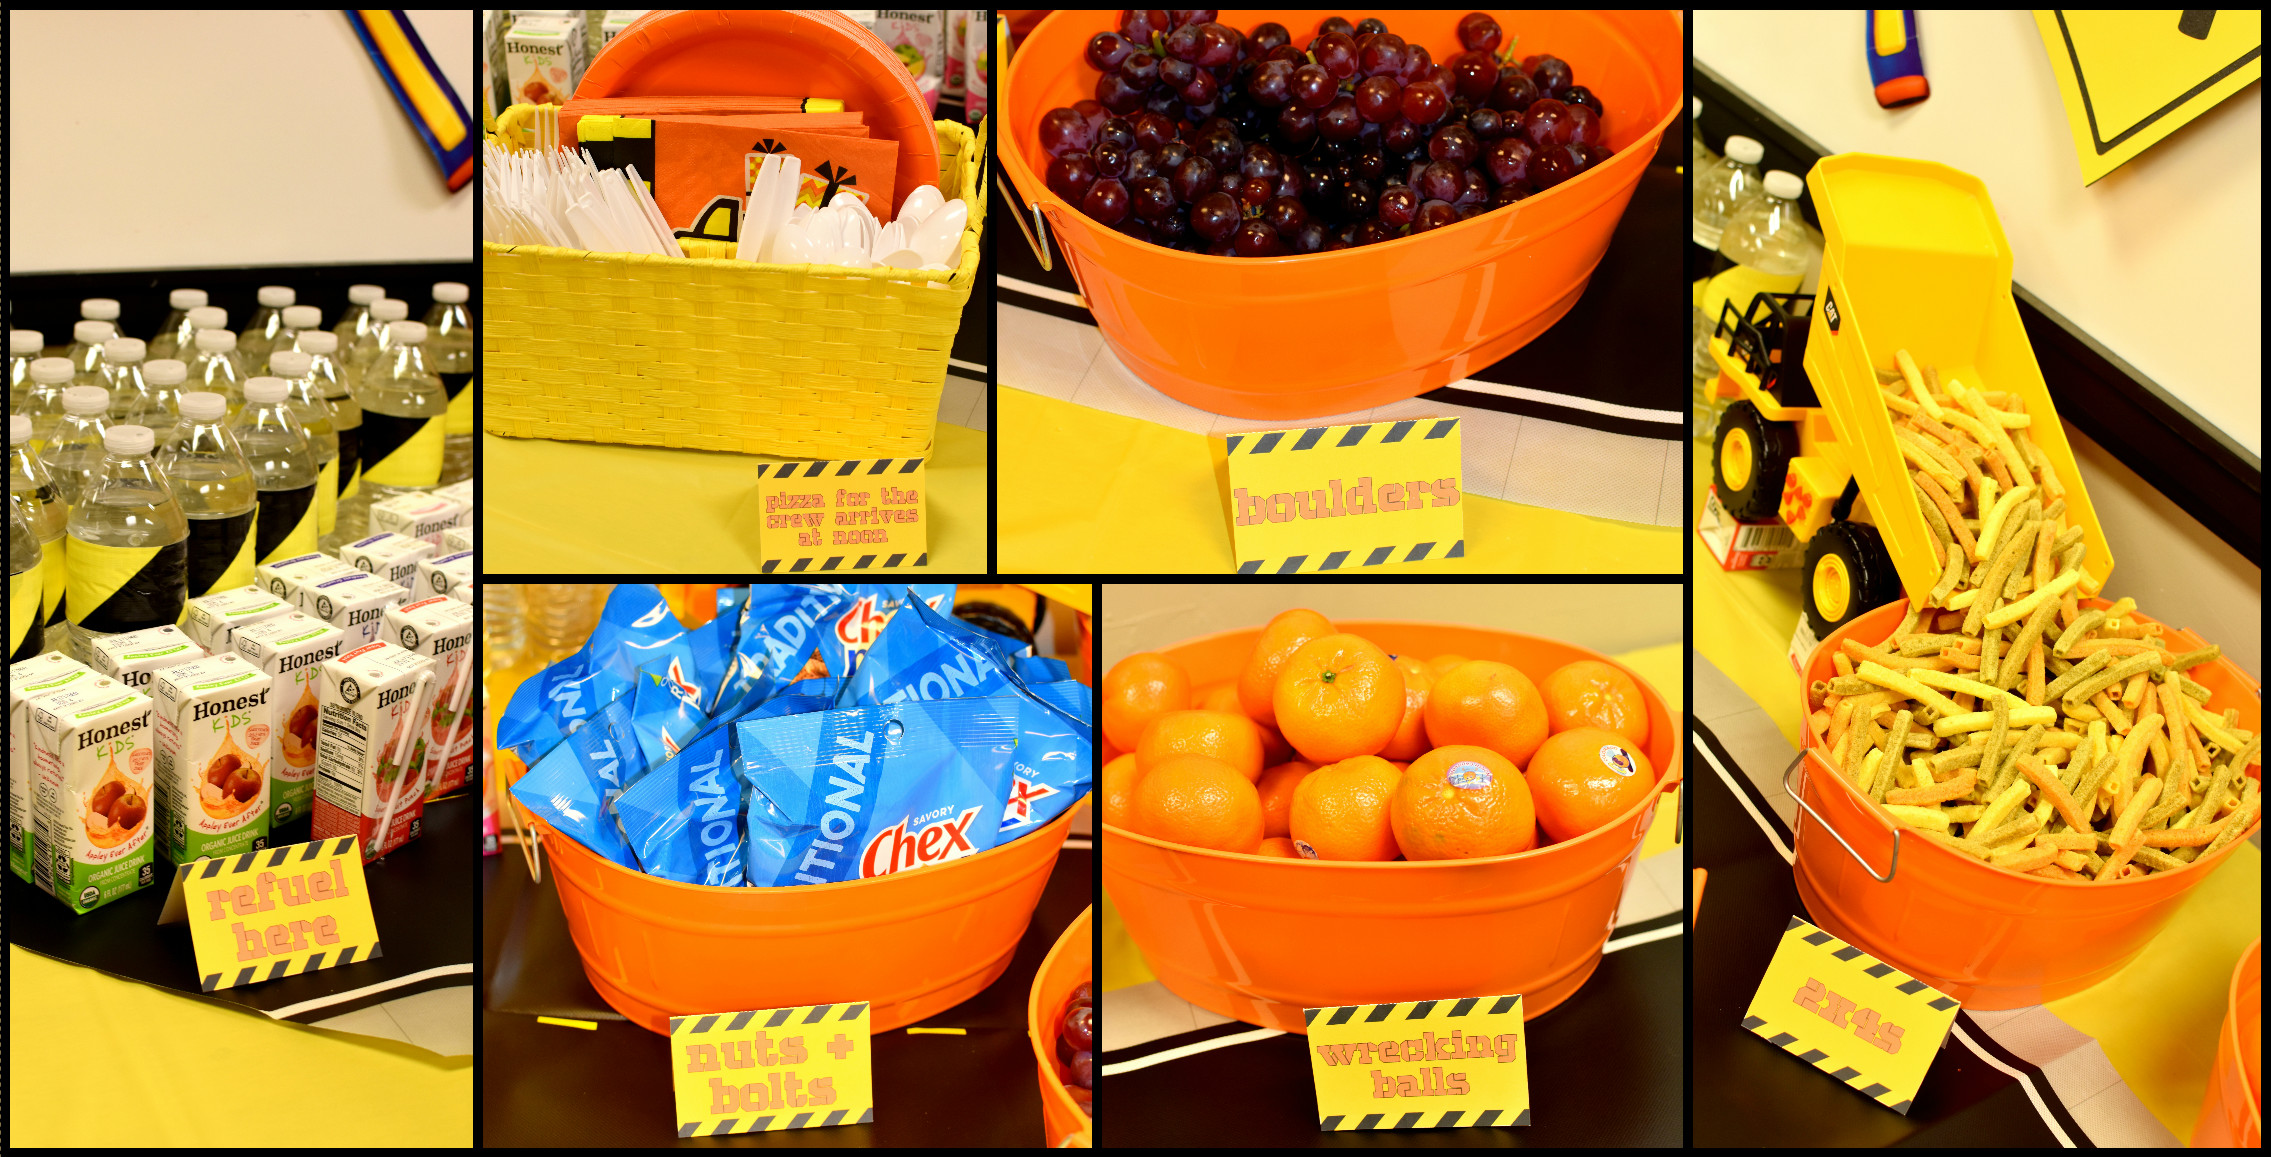
There are SO many fun food ideas for construction parties! Elliott and I had a blast planning these out and making the signs for them! We had a refueling station, boulders, nuts + bolts, wrecking balls, and 2x4s (which Brian not-so-subtly pointed out that they are actually 1x1s…oh well!)!
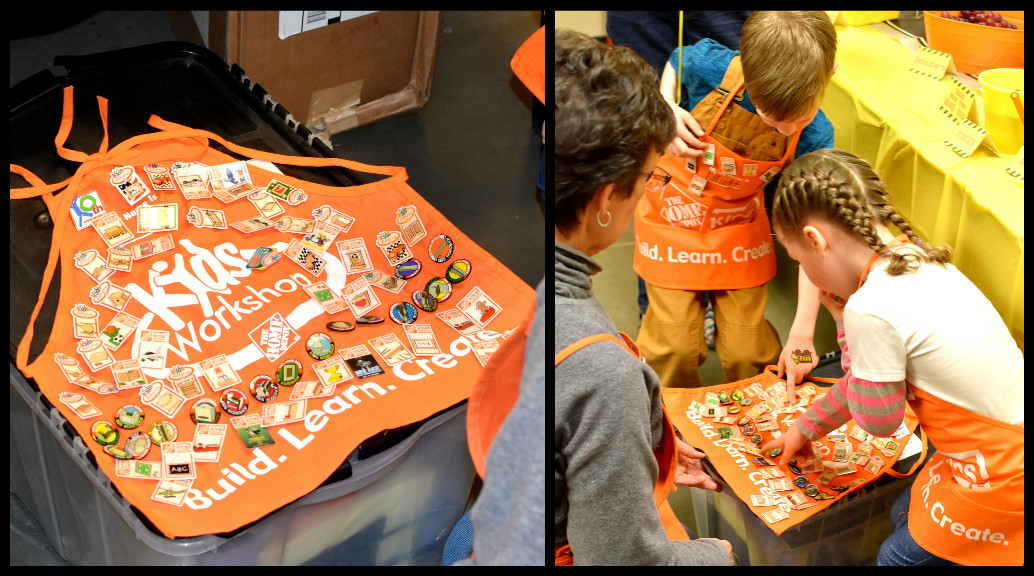
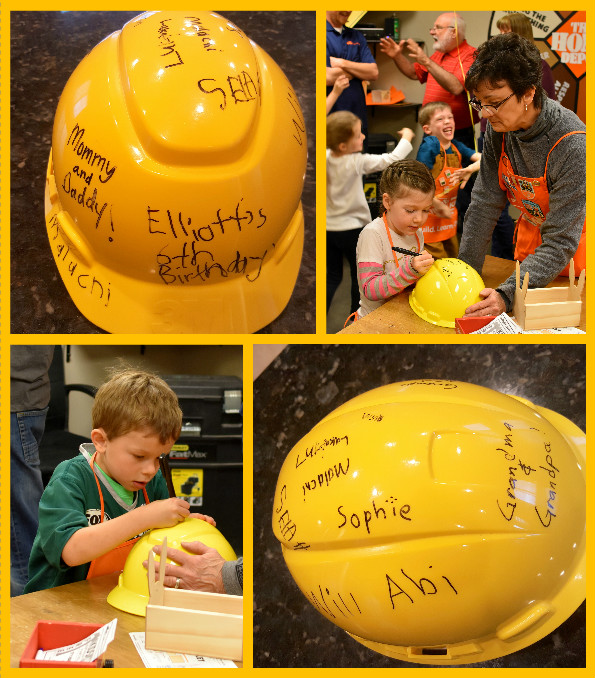
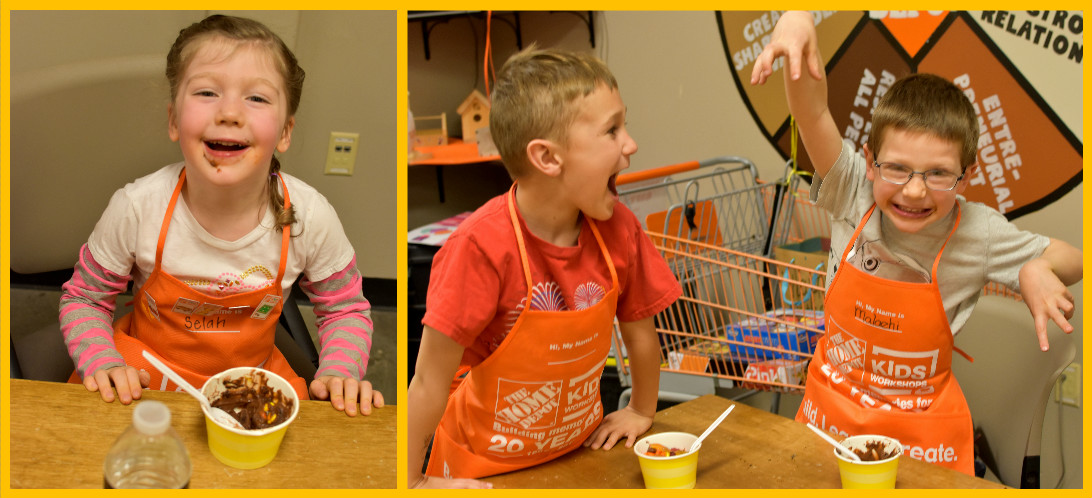
The sweetest lady ran the birthday party. She was great with the kids. Before everyone arrived, she pulled out the ORIGINAL Home Depot Kids Apron (it is actually made of cloth!) with every pin of every project they’ve done! The kids were fascinated as they were sporting their aprons with their completed project pins proudly displayed.
Party guests arrived and got to sign a hard hat for Elliott! How cool!! Nice touch, Home Depot! 😉
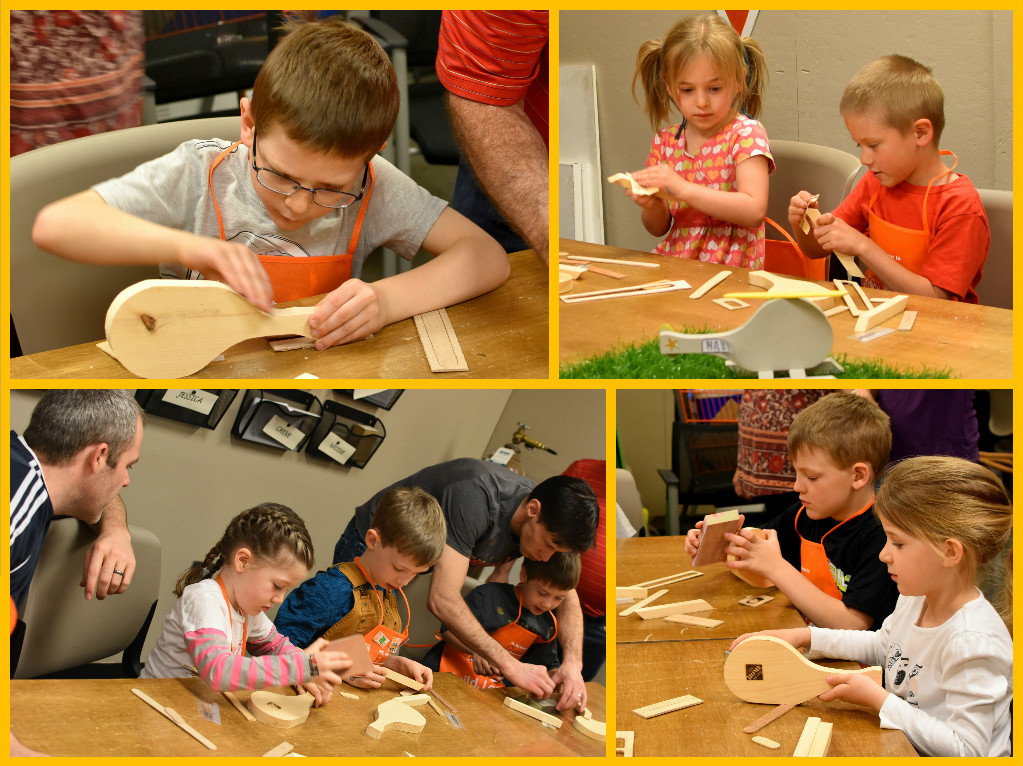
The week before the party we talked to the coordinator and got to choose the wood craft we would be working on. He selected the helicopter. Karen from The Home Depot led the kids through each step.
First step: sanding
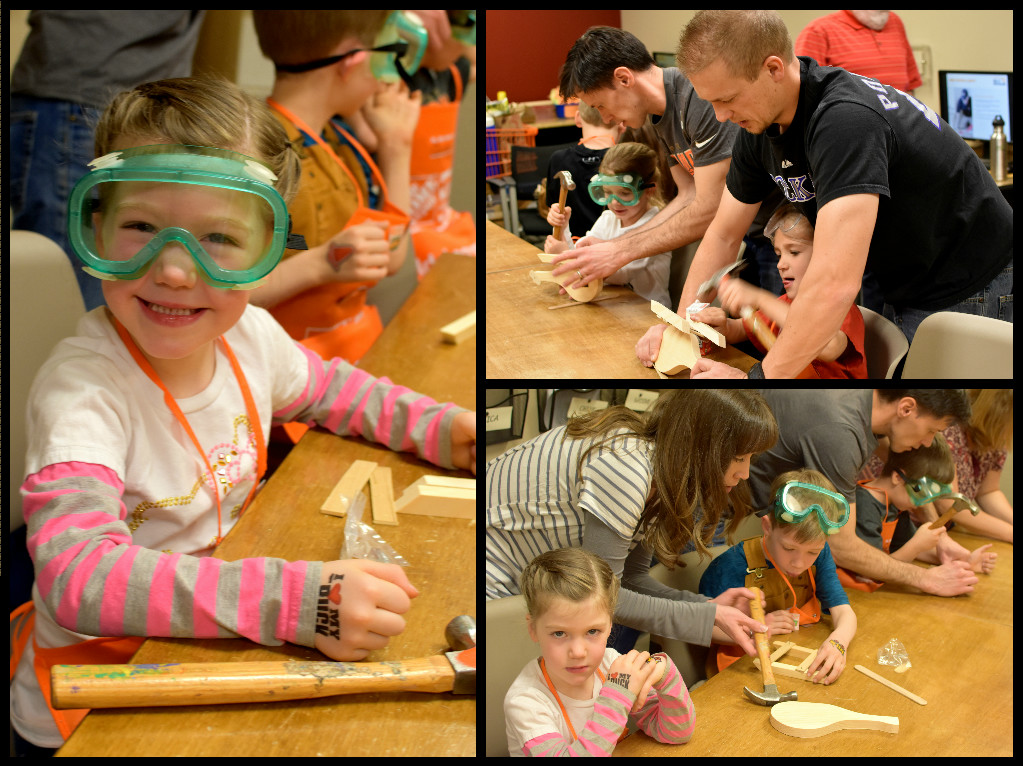
Second step: put on goggles, assemble and hammer
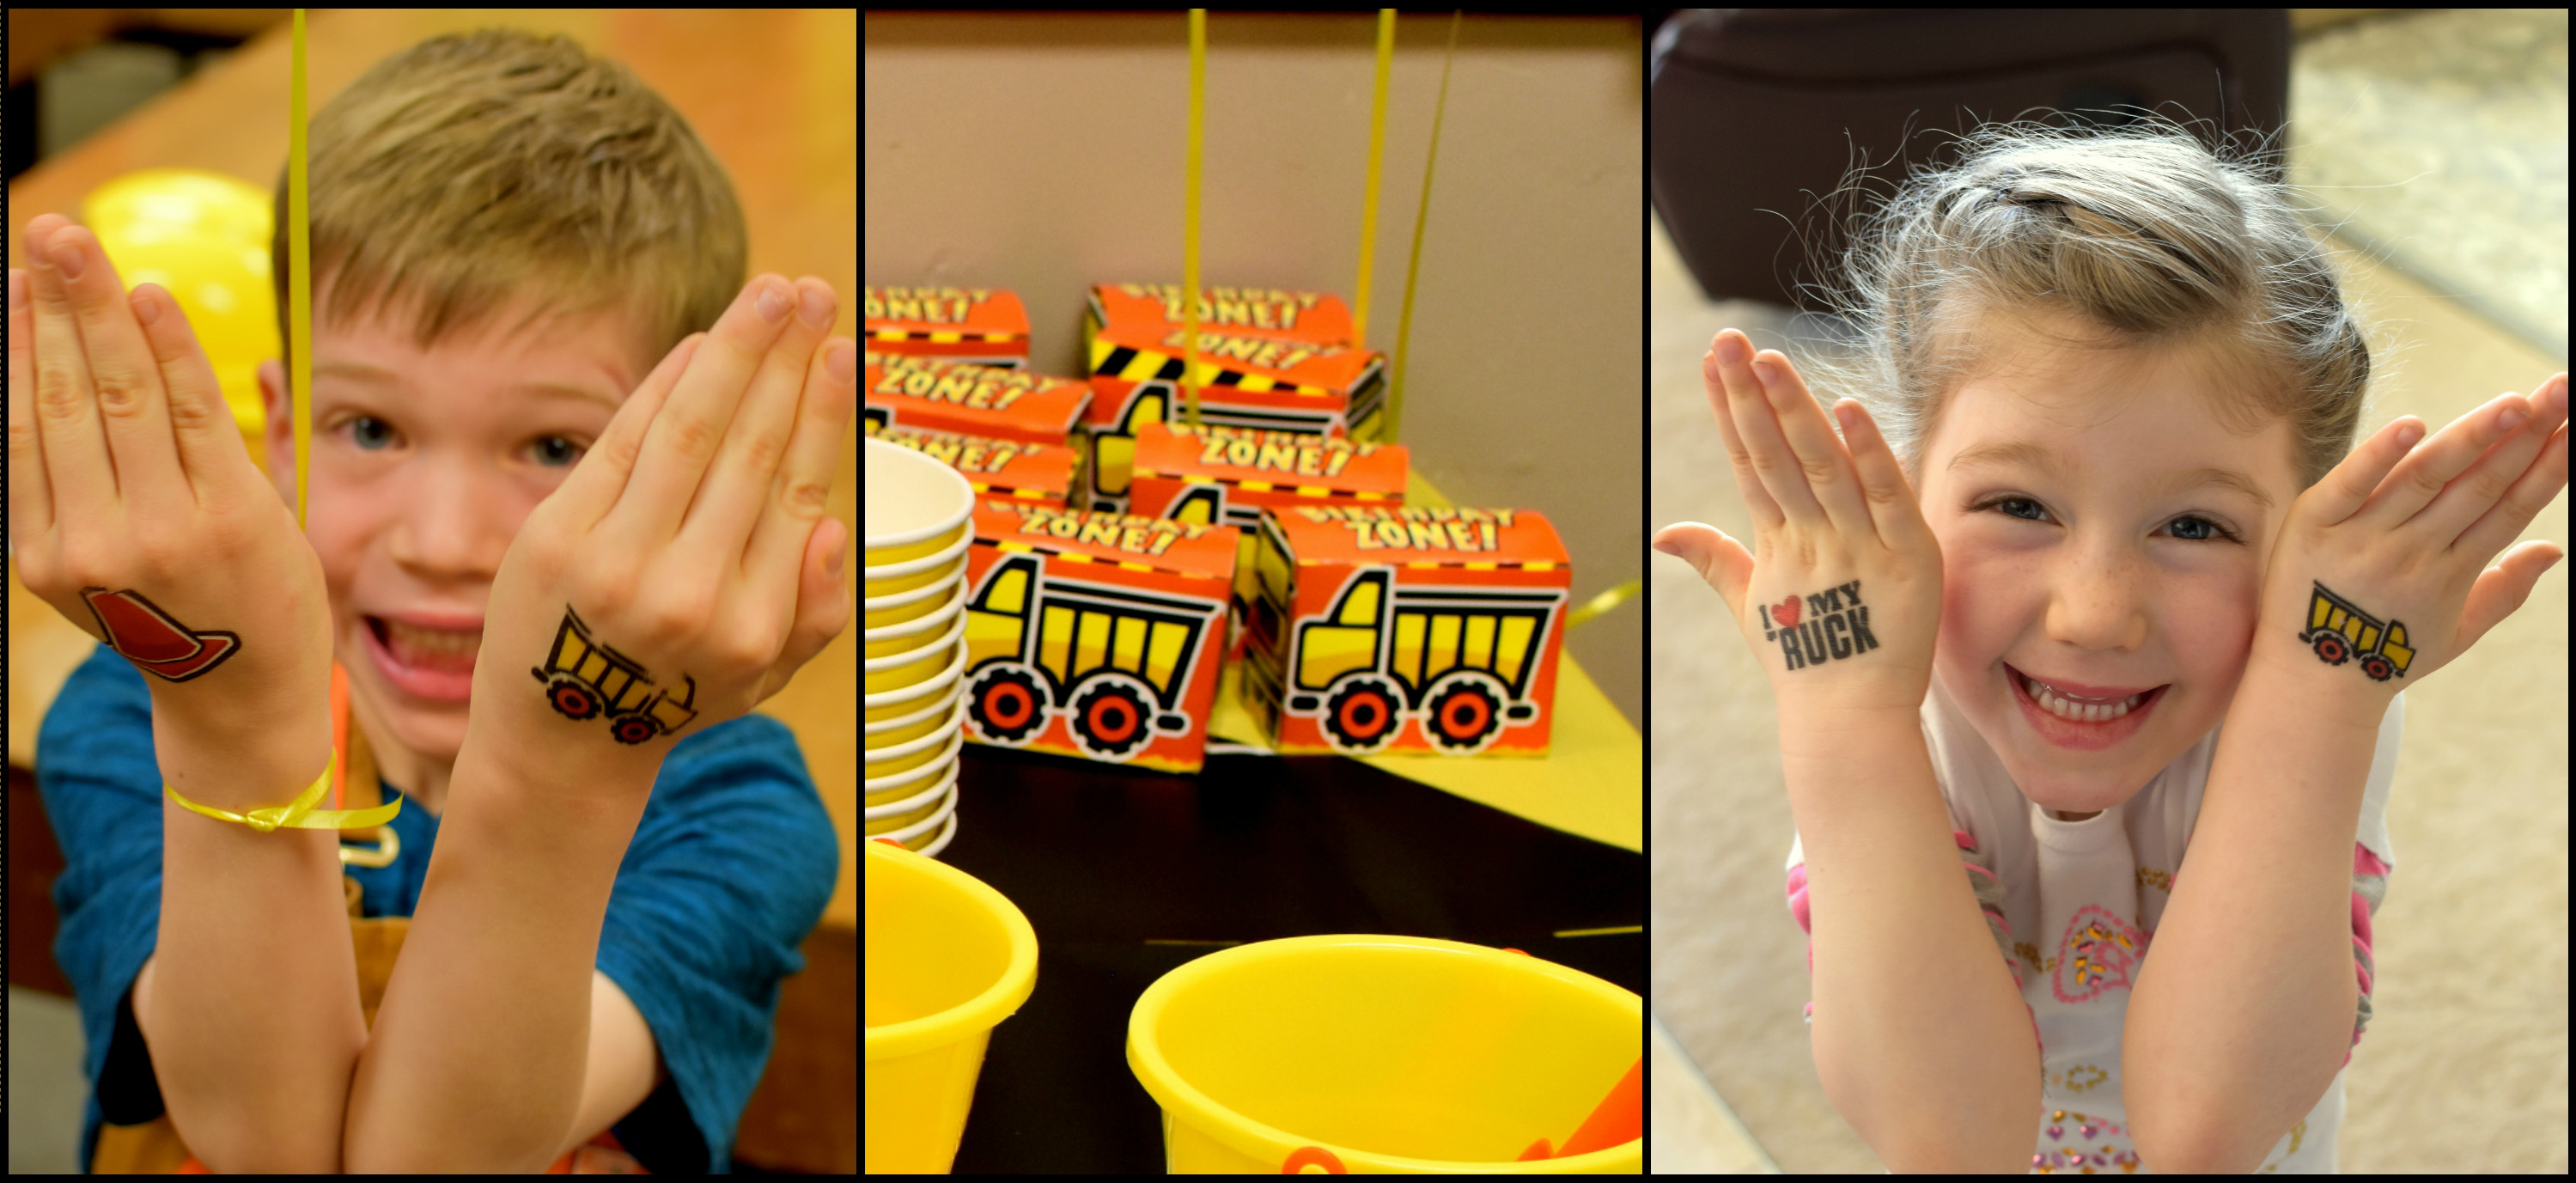
Side note: Do you see Selah in this bottom right picture? She is TOTALLY in to being a statue, especially when someone is taking a picture. When I saw this picture I laughed out loud…especially with her “I heart my truck” tattoo on her hand…it’s the perfect photo bomb–LOL!!!
And, done!
Look at these cute kids and their helicopters!! What a blast!!!!
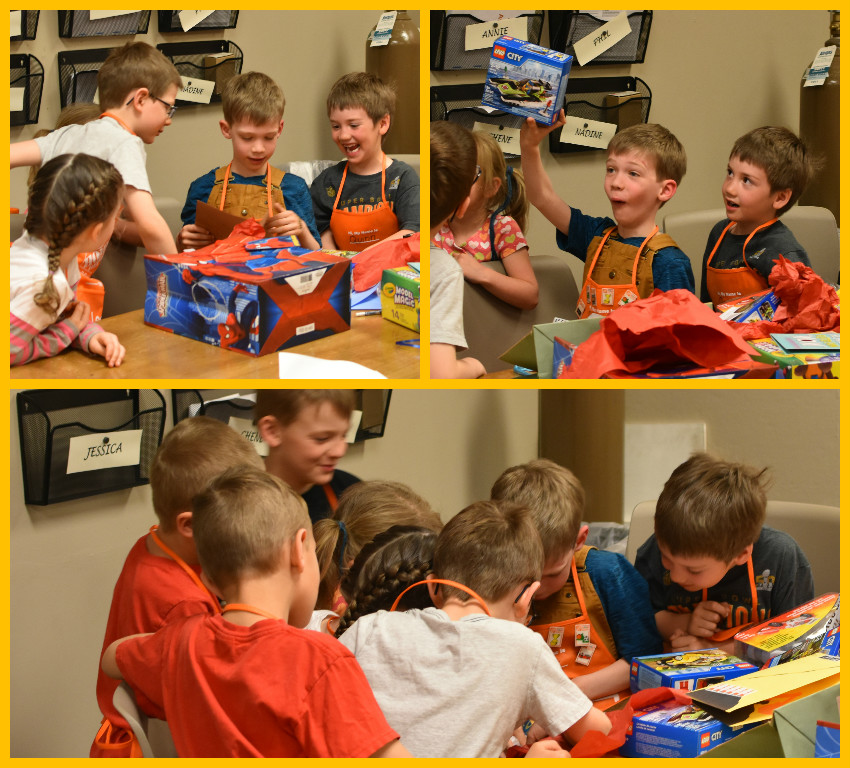
He just couldn’t wait to open presents, so we did that next :).
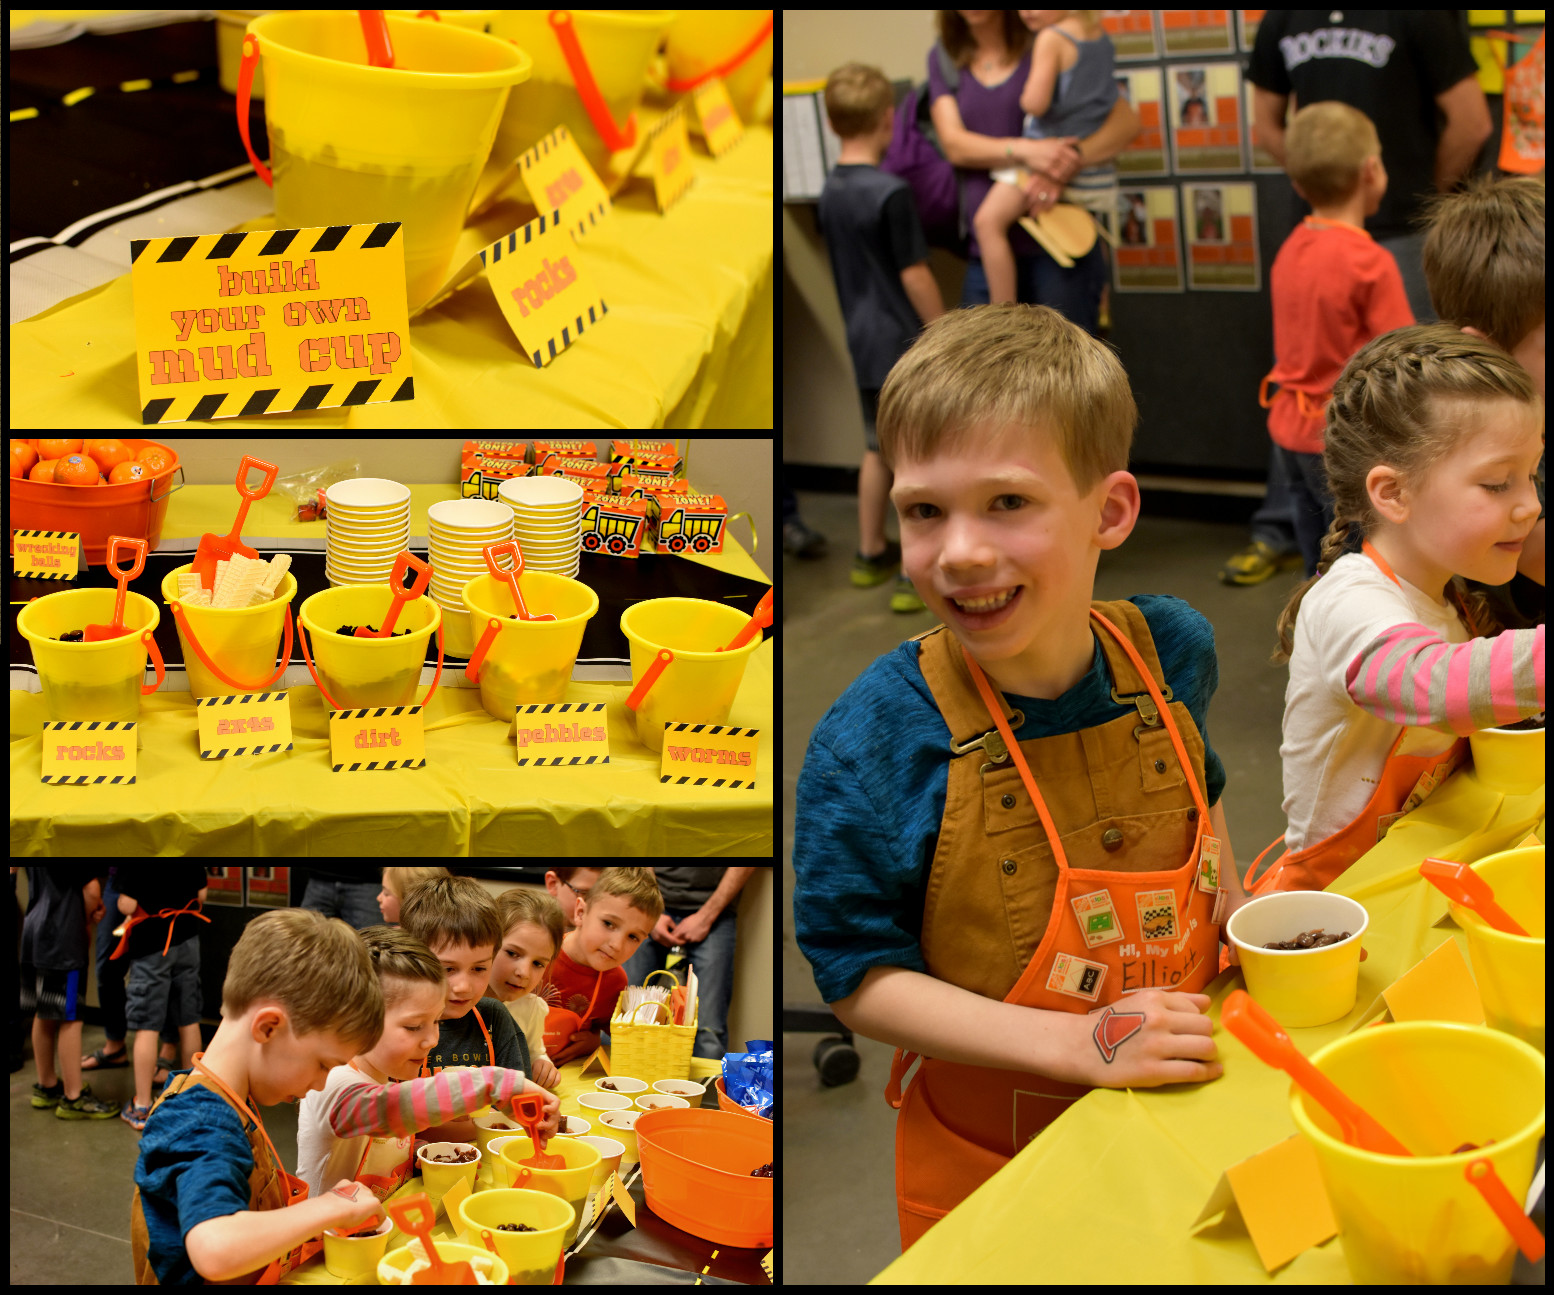
When Elliott and I were planning out the party, he jumped at the idea of doing some sort of “build-your-own” dessert. He opted for Dirt Cups which, ironically enough, I’m not sure he’s ever eaten before?? I explained what they were and he was super thrilled at the idea. So was this baker-challenged Mama!! They were SO easy and a huge hit with the kids. I gathered all the kids when it was dessert time and excitedly explained to them that Elliott really wanted mud for his birthday treat, so we dug some up from our back yard for all the kids to eat! It was a CLASSIC kid reaction: “EEEEWWWWWWW!!!!!” they all screeched in unison. I went on to show them the dirt, the rocks, the 2x4s, the pebbles and the worms they could put on their mud cups! They laughed and squealed and “eewwweed” some more…until it was time to eat! Then all I heard was, “Mmmm, this is delicious!!” So cute. I love kids!!!
The kids each got to take home their helicopters, a Home Depot apron, and these simple favor boxes filled with a couple tattoos and sticker and a construction vehicle eraser.
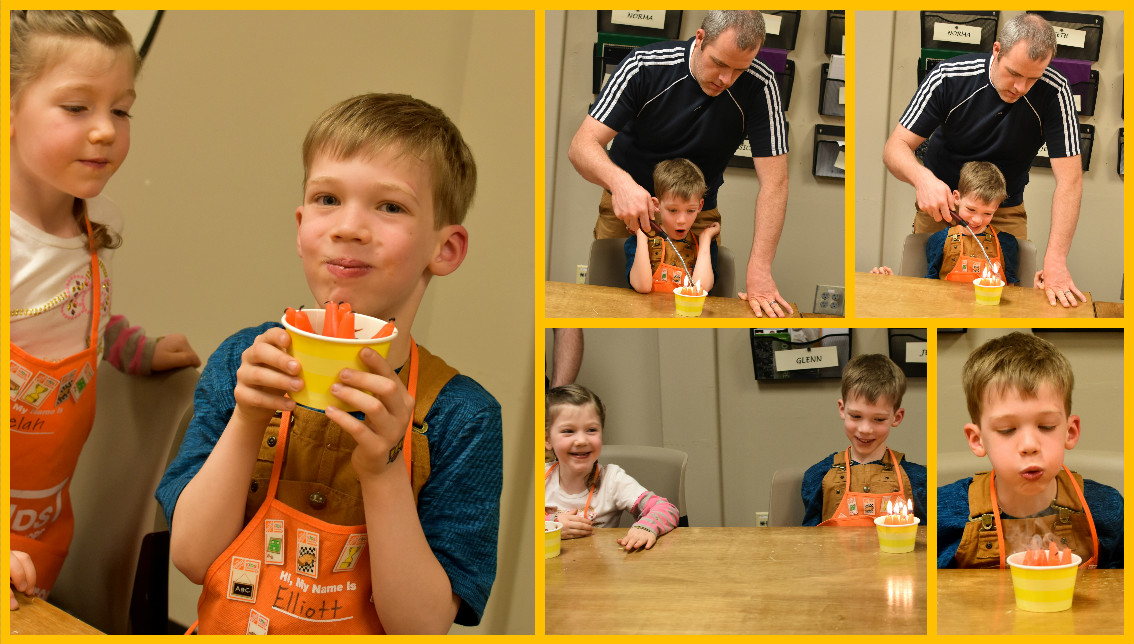
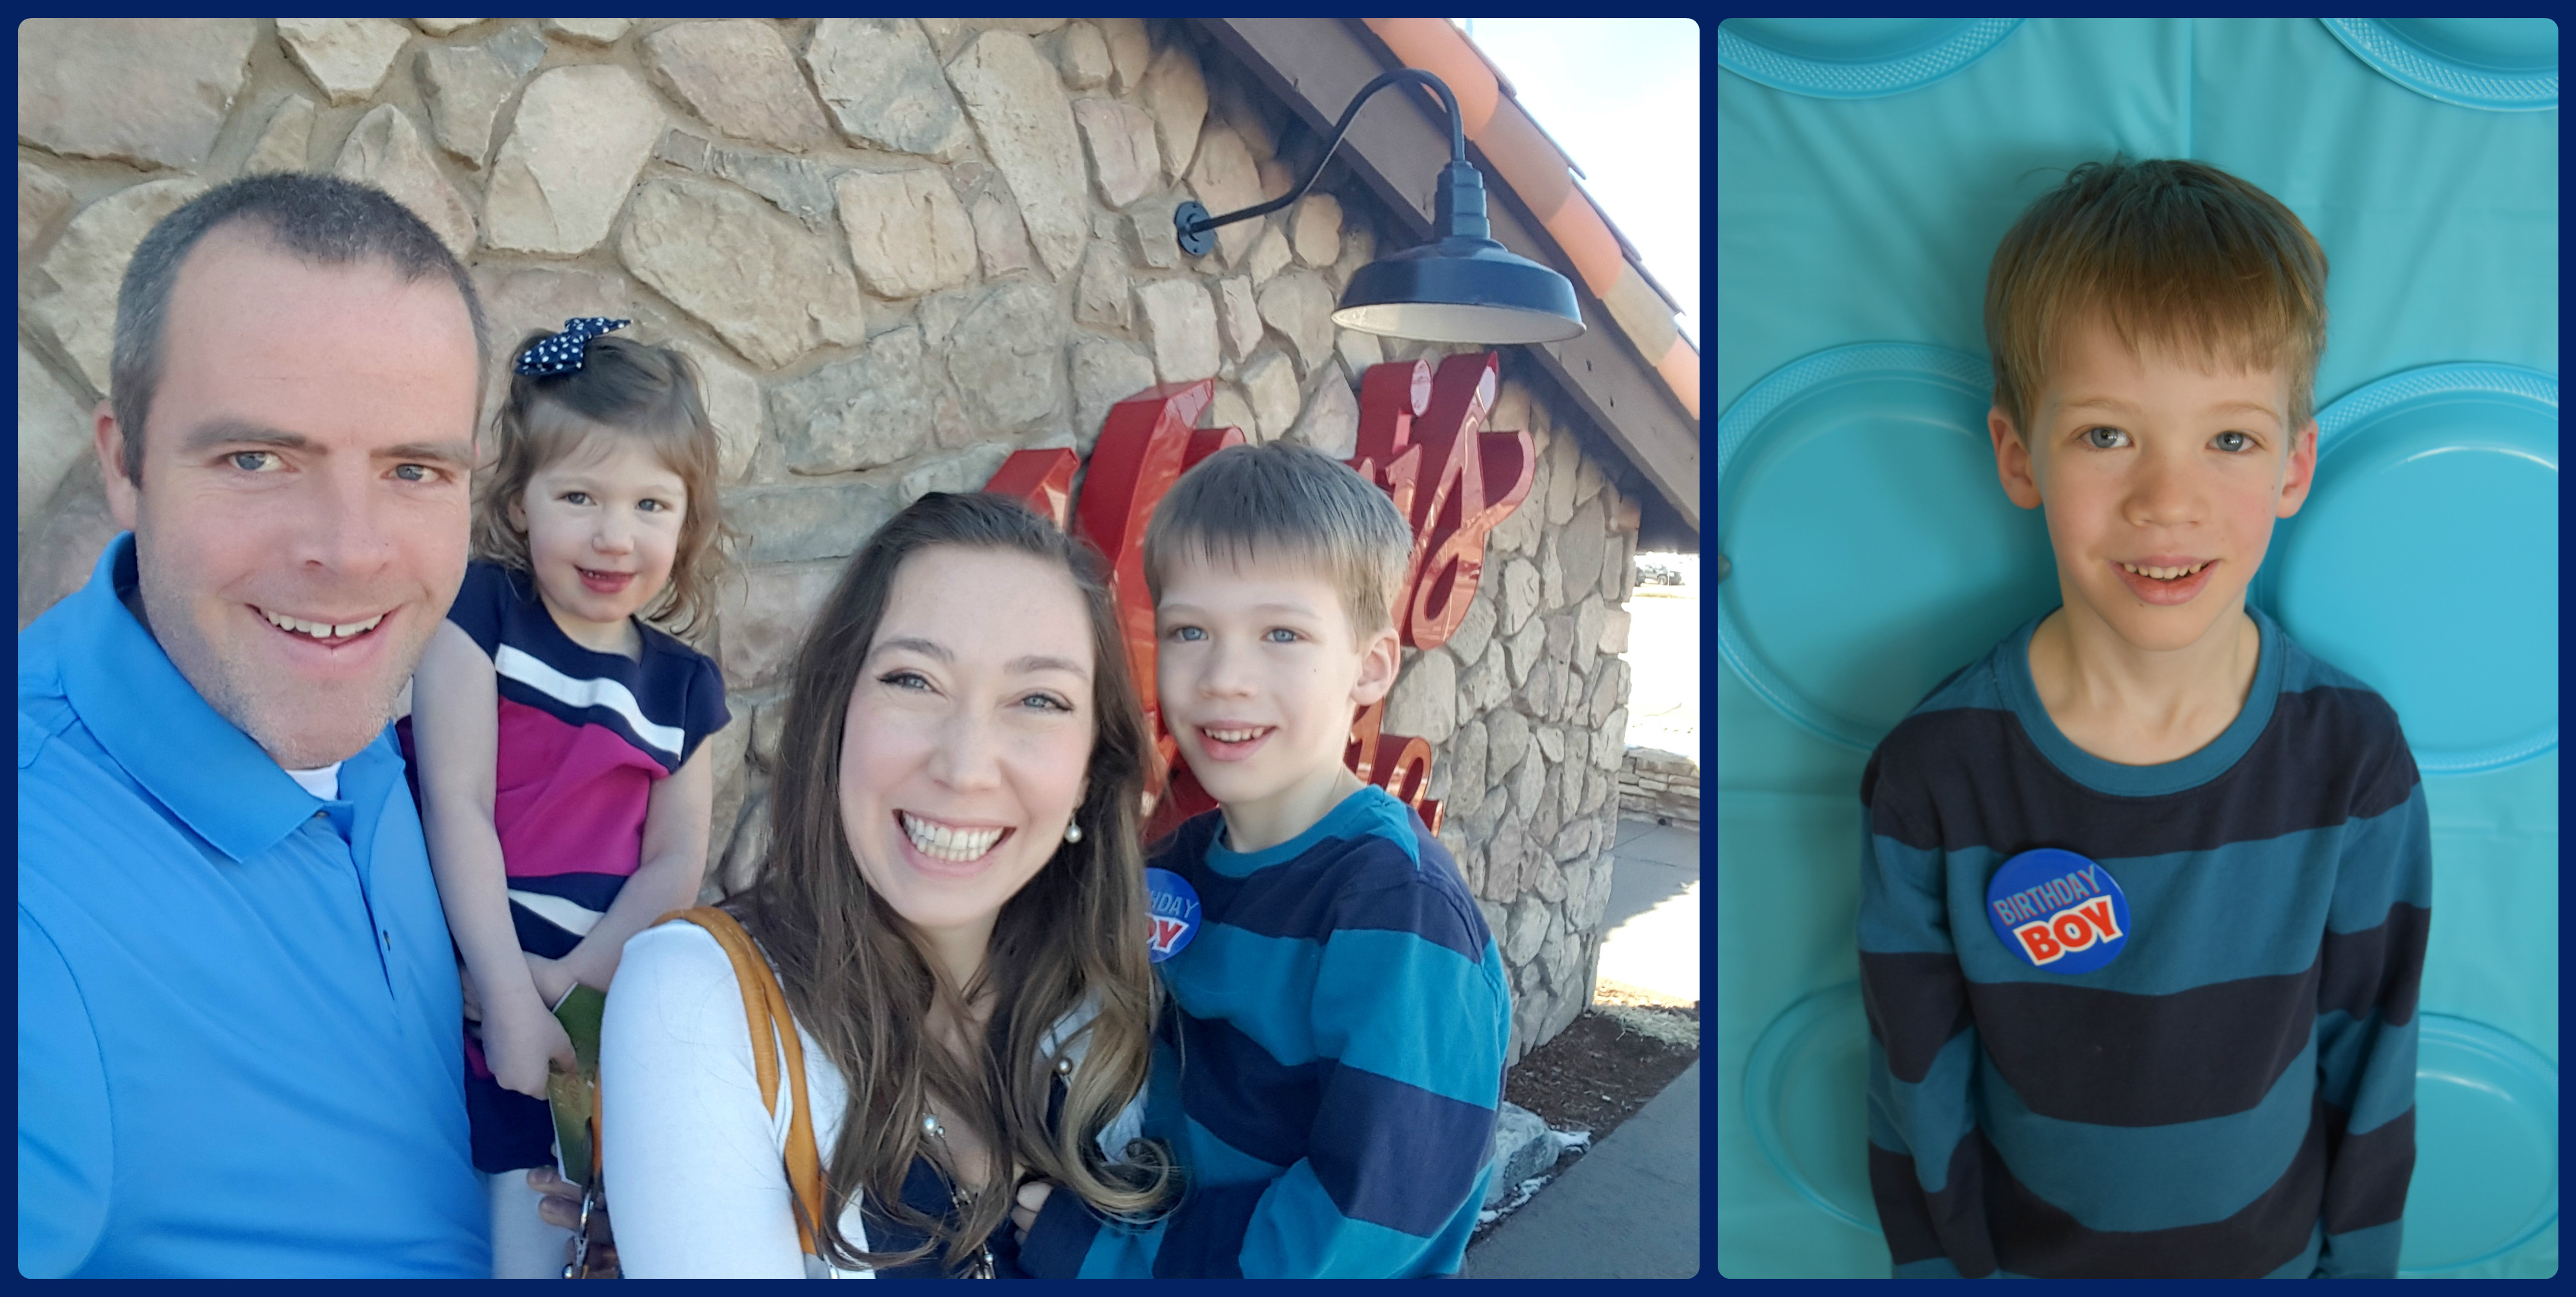
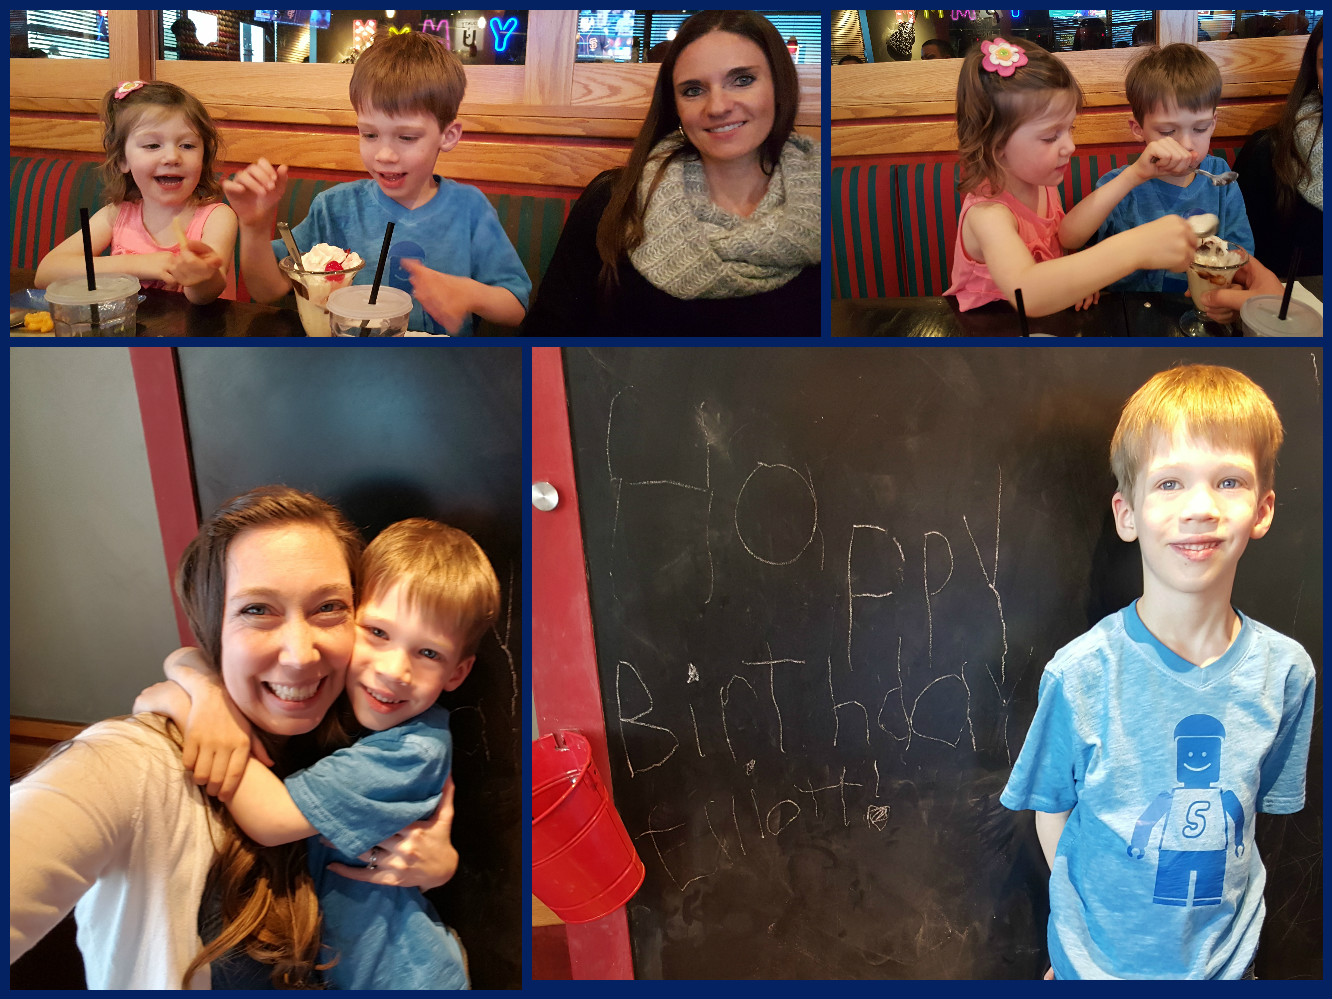
Elliott got a few more celebrations as well…dinner at Red Robin one night, birthday treats for his class another day, and of course–his actual birth day celebrations!
Okay this moment completely cracked me up!! He has been eagerly awaiting the moment the Red Robin peeps would sing to him for his birthday…and then he got all shy on us! And pretended like he didn’t even notice they were singing to him! I guess it was super important that he re-fold his menu in THAT particular moment, hahahah!! I love him! 🙂
But he didn’t have a problem scarfing down his ice cream as soon as those singing people left him alone!
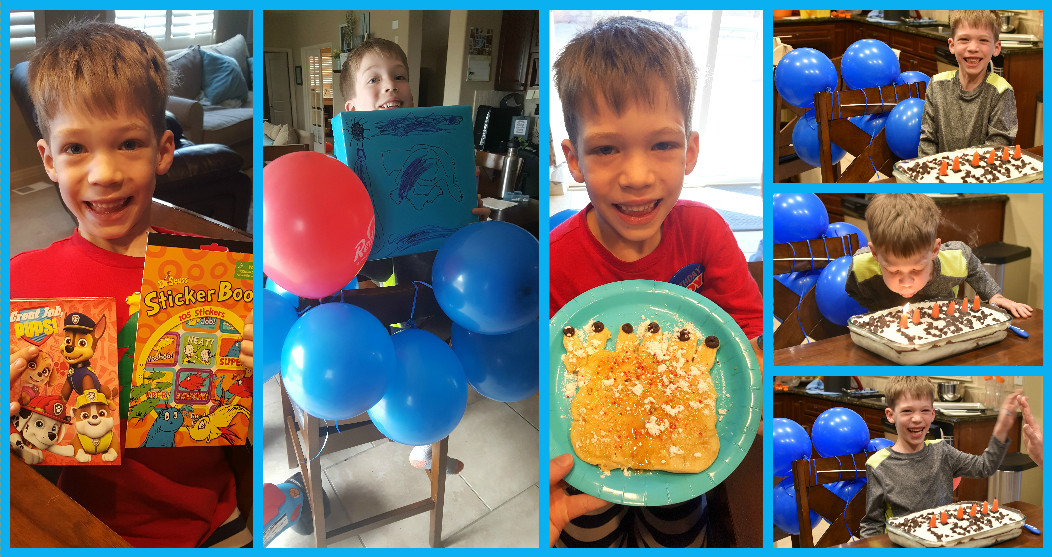
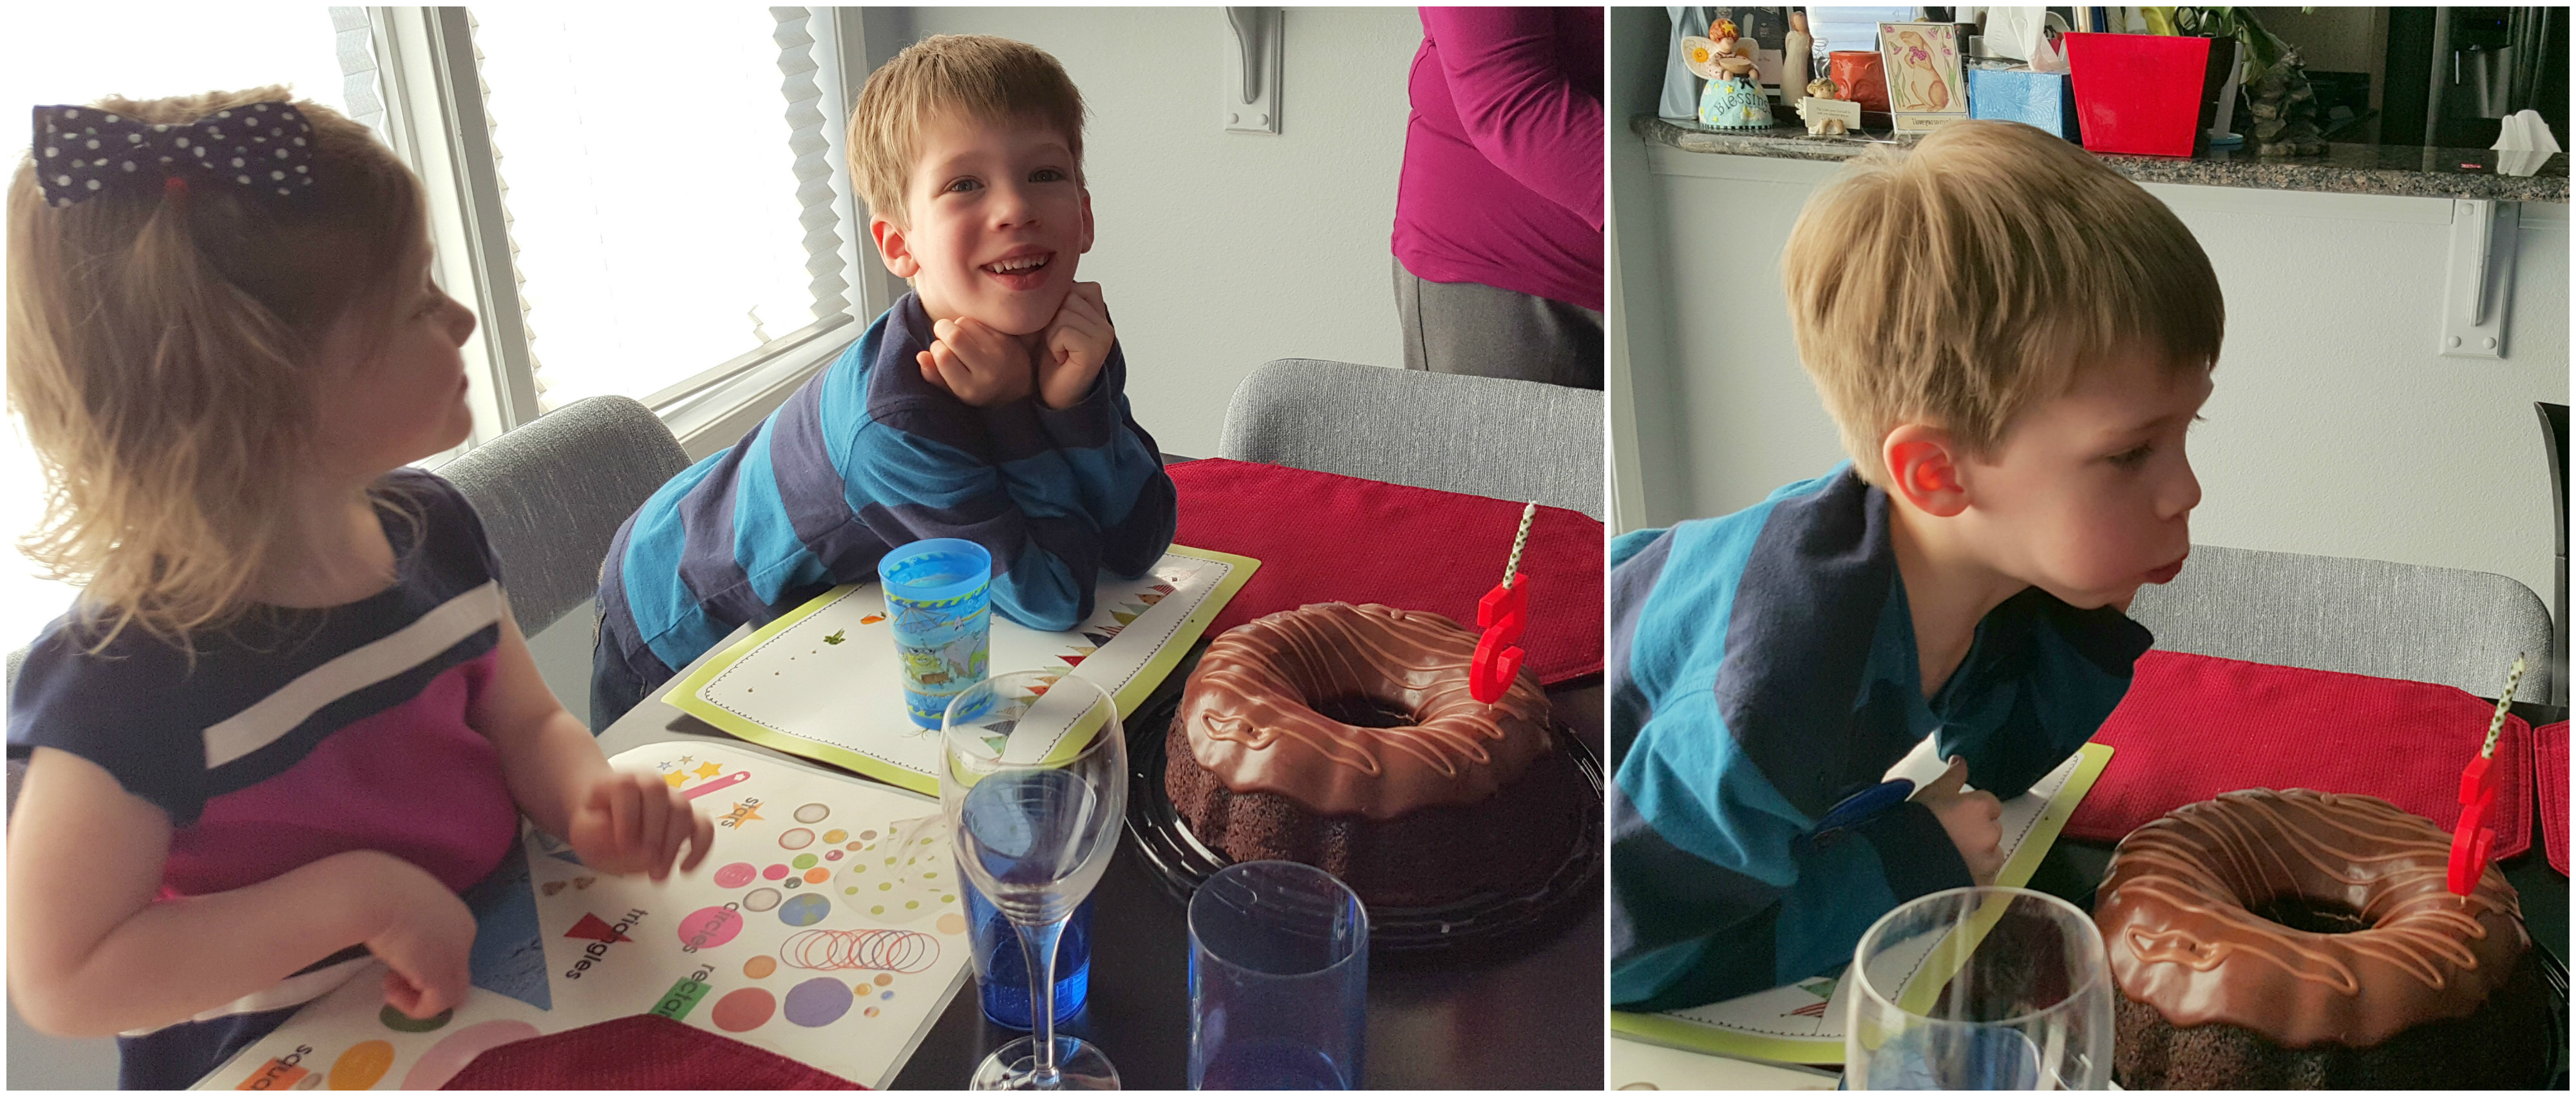
Birthday day: presents from Erika, Grandma & Grandpa, Selah, Mommy and Daddy, a birthday cake-shaped pancake with 6 candles, the park, and Grandpa’s famous mud pie!
Elliott turned 5 on March 20–a phrase he has been telling EVERYONE he has met for the last 8 months or so: “Hello, my name is Elliott and I’m turning 5 on March 20th!” To which the person would almost always respond, “You’re 25?” To which I would jump in and correct, “He’s TURNING 5…” Hahaha! I think we’ve had that conversation at least 100 times with various strangers in various places!!
He requested going to breakfast at Mimi’s (“I want to go to the breakfast place where we sat by the emergency exit and had apple sauce!”). We wrapped up a couple presents for him and Selah helped wrap hers. He got to open one first thing in the morning and then we hid Selah’s present and our other present for him in his car seat to find on the way to Mimi’s.
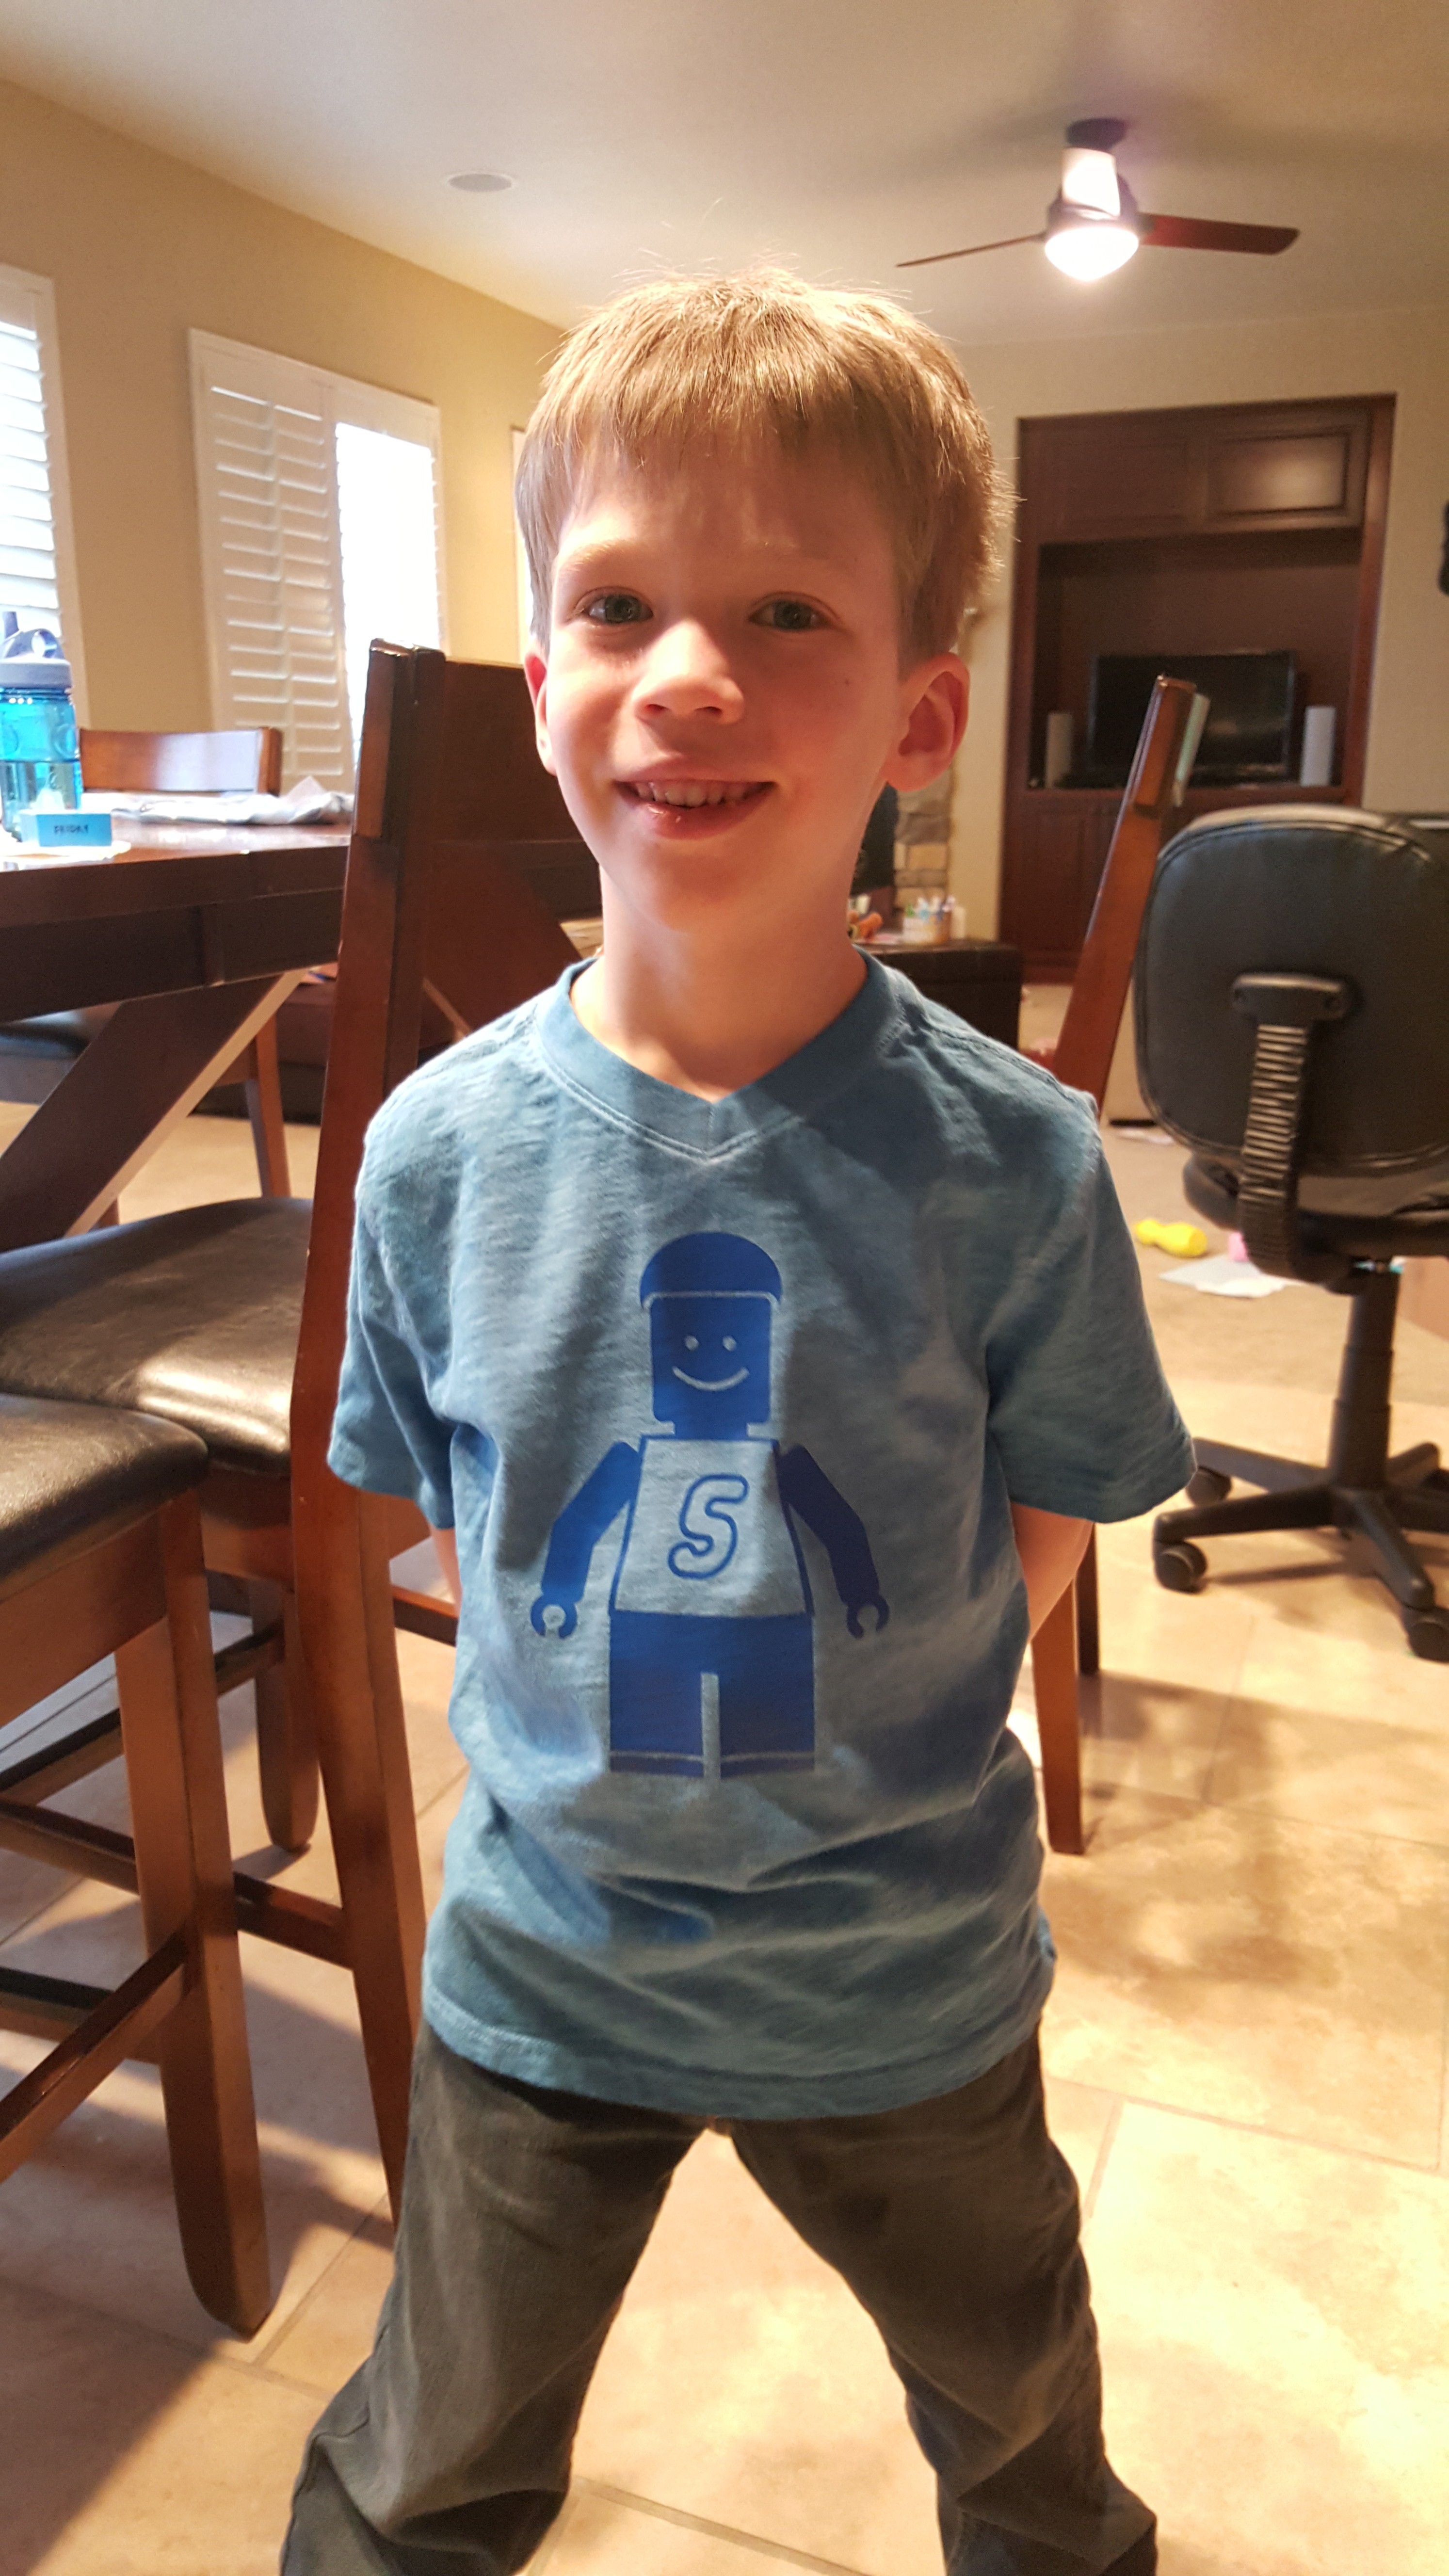
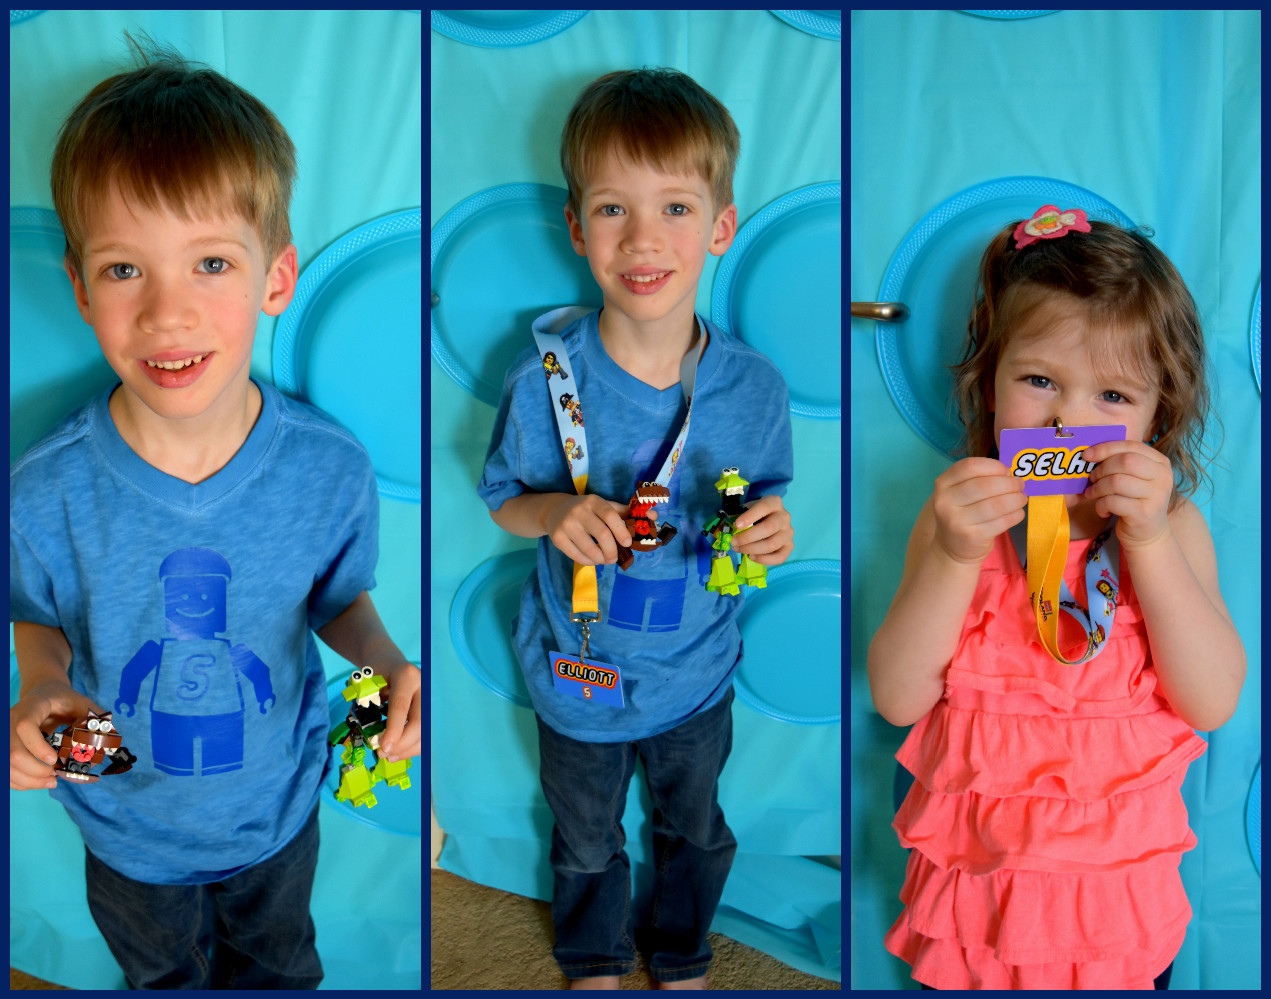
Can you see the train Selah drew on his present? She and Elliott are sleeping in the back. I was so impressed! We made him his very own return address labels, personalized with his name and a picture of him at Lego Land!Elliott’s new favorite color is blue-ish green, with navy coming in at a close second. I had just found this shirt on the clearance rack At Gymboree for $2!! Win!!!! Perfect birthday shirt!!!
That afternoon, special guests Grandma, Grandpa and Aunt Angela drove in! We packed them back up in the car and headed to Grampa & Nonna’s house for the Mauss family birthday celebration.
Happy Birthday, dear Elliott!
Now, for his actual birthday party…this is the party he’s been planning for well over a year. Last year I was thinking he would want to have a Lego birthday, but he approached me in January telling me he wanted to have an animal birthday party. When I suggested a Lego party he responded, “I would like to have an animal birthday this year and a Lego party next year when I turn 5.” What can I say…the child has my party-planning blood in him!!!! So the last time we were at Lego Land, I was sure to take lots of pictures of our boy in preparation for his 5th birthday party!
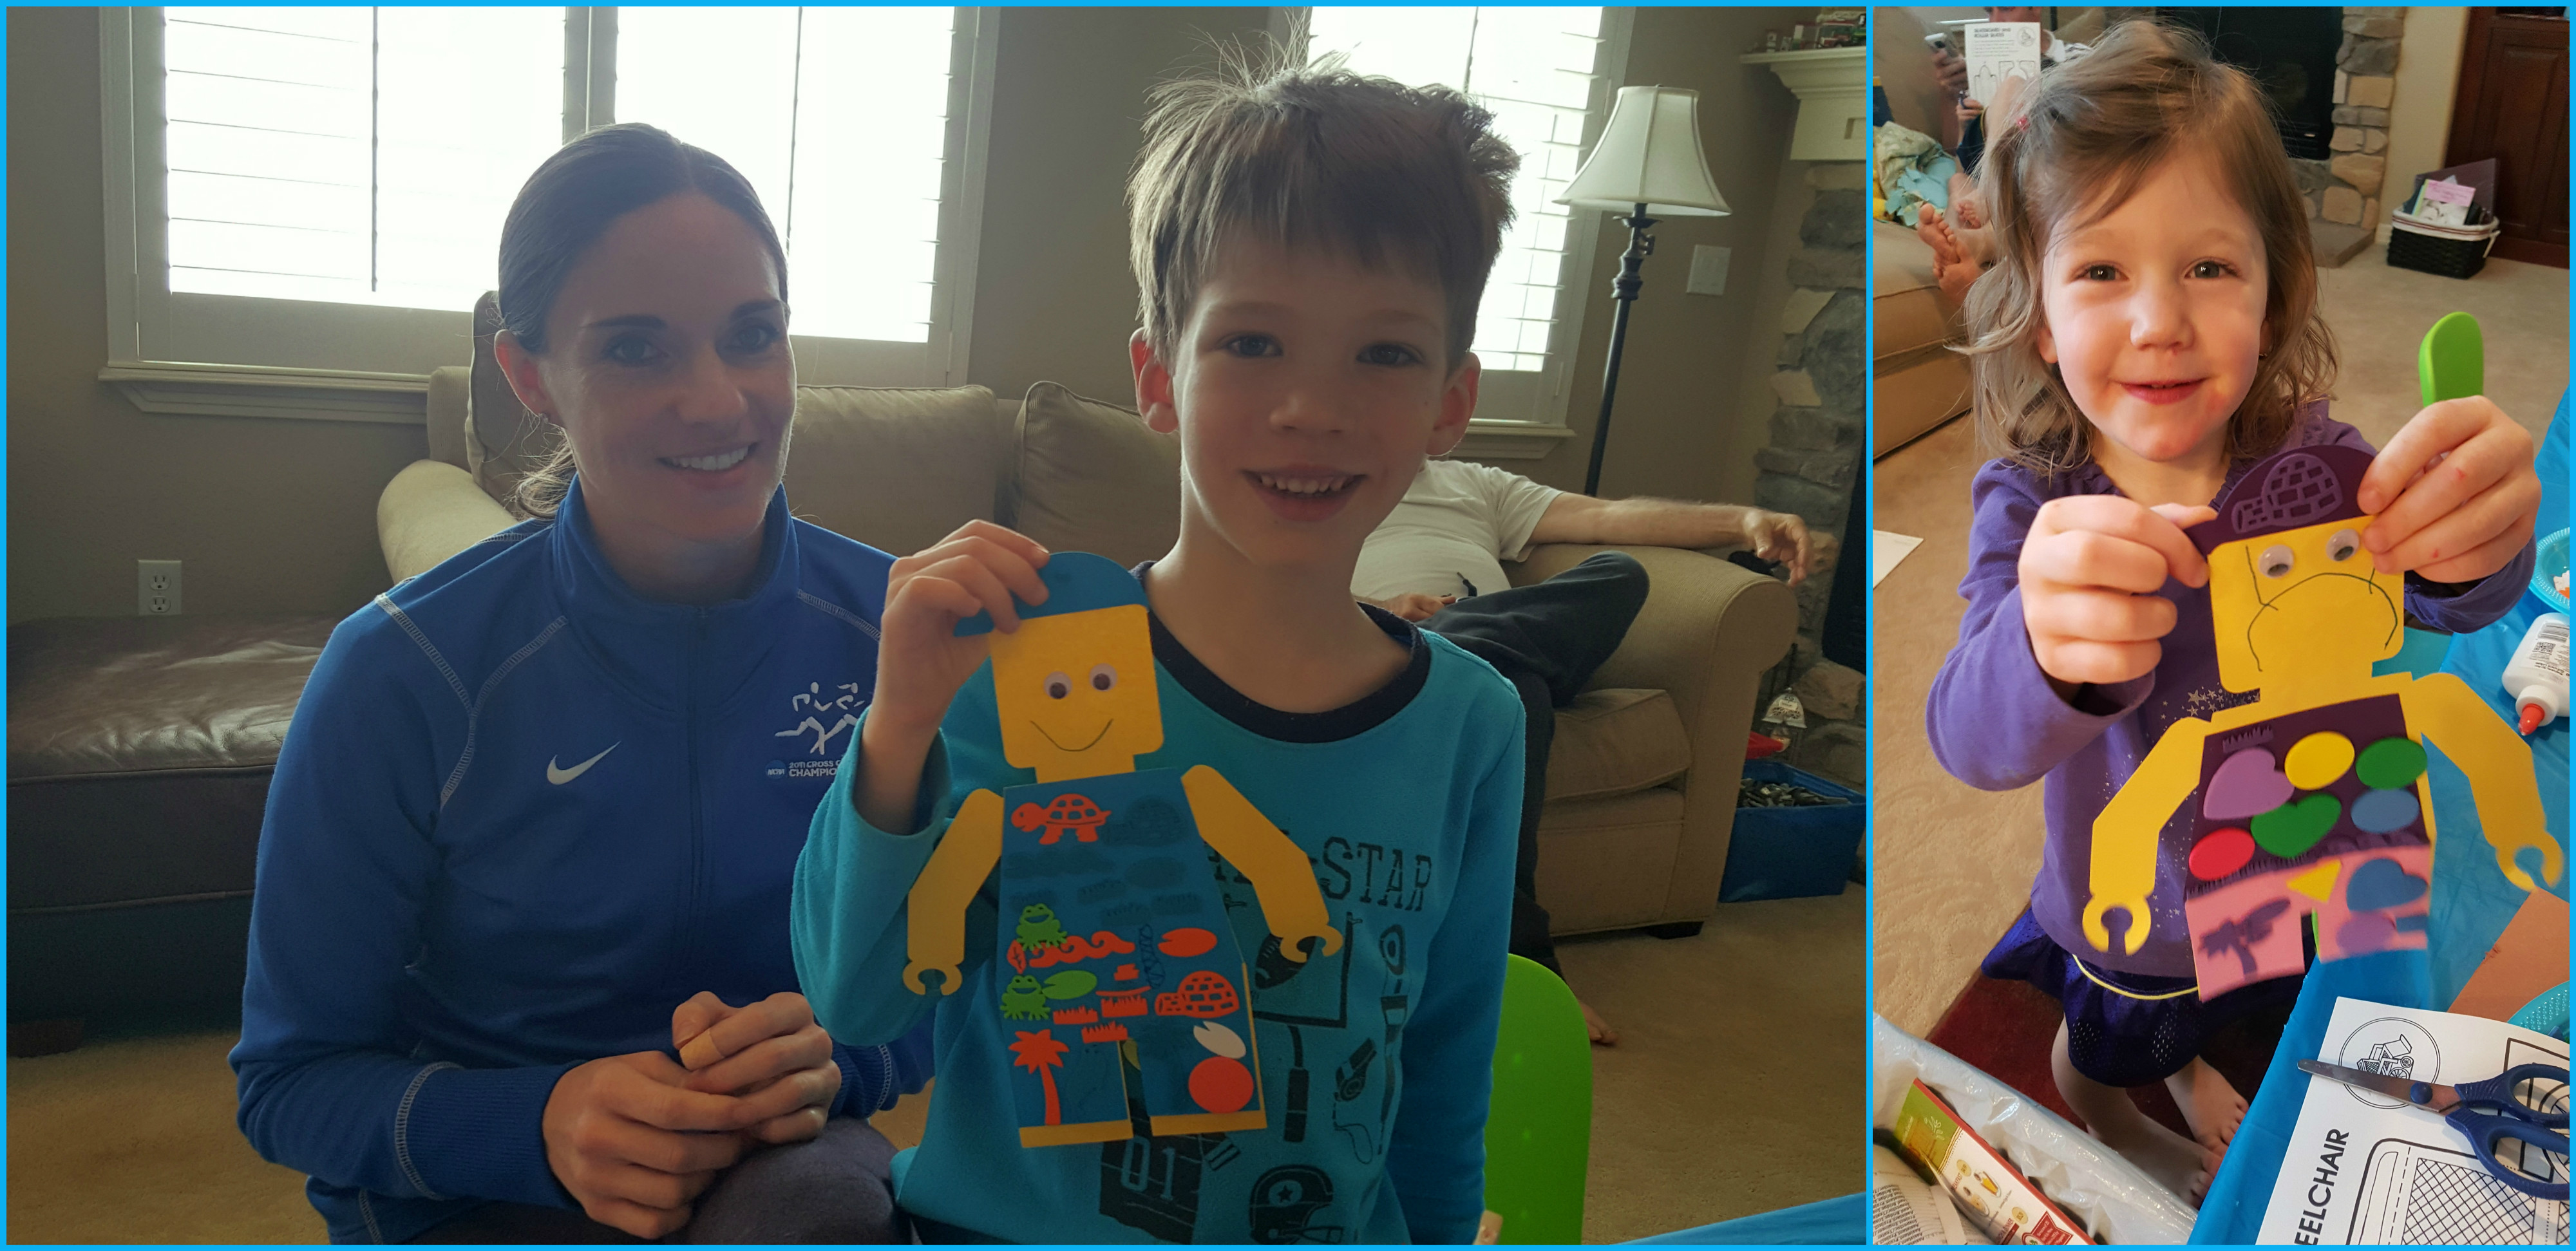
One afternoon I showed him lots of pictures from various Lego parties and we talked through what exactly would bless him at his party. He has very strong opinions about what he wants! 🙂 One of the first things we did was design this shirt together. He told me exactly what he would like (a light blue shirt with a dark blue lego guy, but with a hat, and he wanted the lego guy to also have a light blue shirt). I designed the CUTEST little Lego guy with a hat, but Elliott didn’t like how the bill went to the side…so we ended up with this…which I tried to strongly urge him to go with the sideways hat instead, but he was insistent on this, because “the bill goes in front, not on the side.” I think it looks like a helmet 🙂 but he loves it! So…win!
Elliott and the helmet Lego Guy!
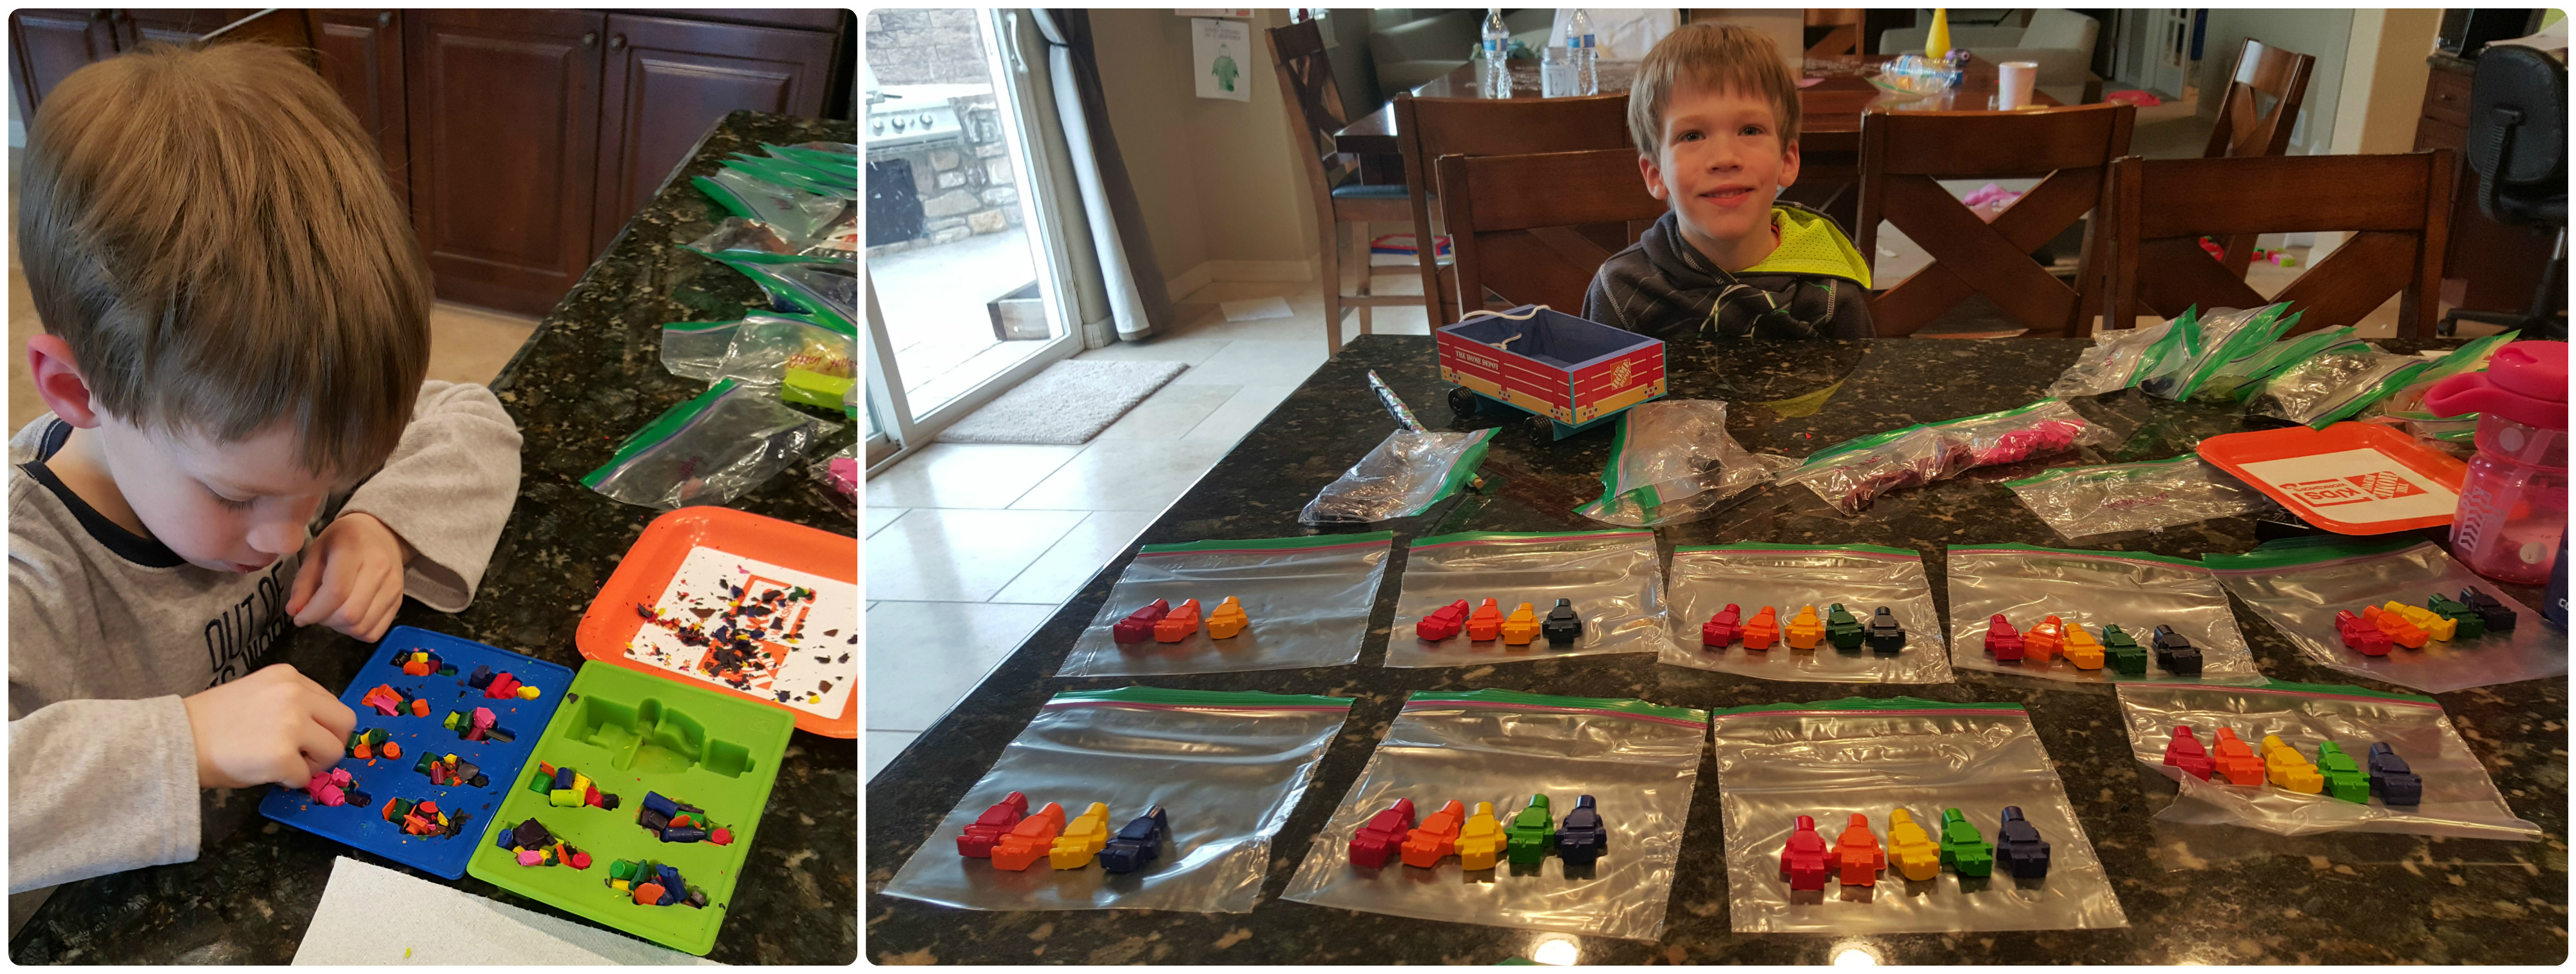
The next thing we did was make a zillion lego crayons out of all of our crayons for party favors.
His favorites were the multi-colored ones, so we made sure that everyone got one of those, too.
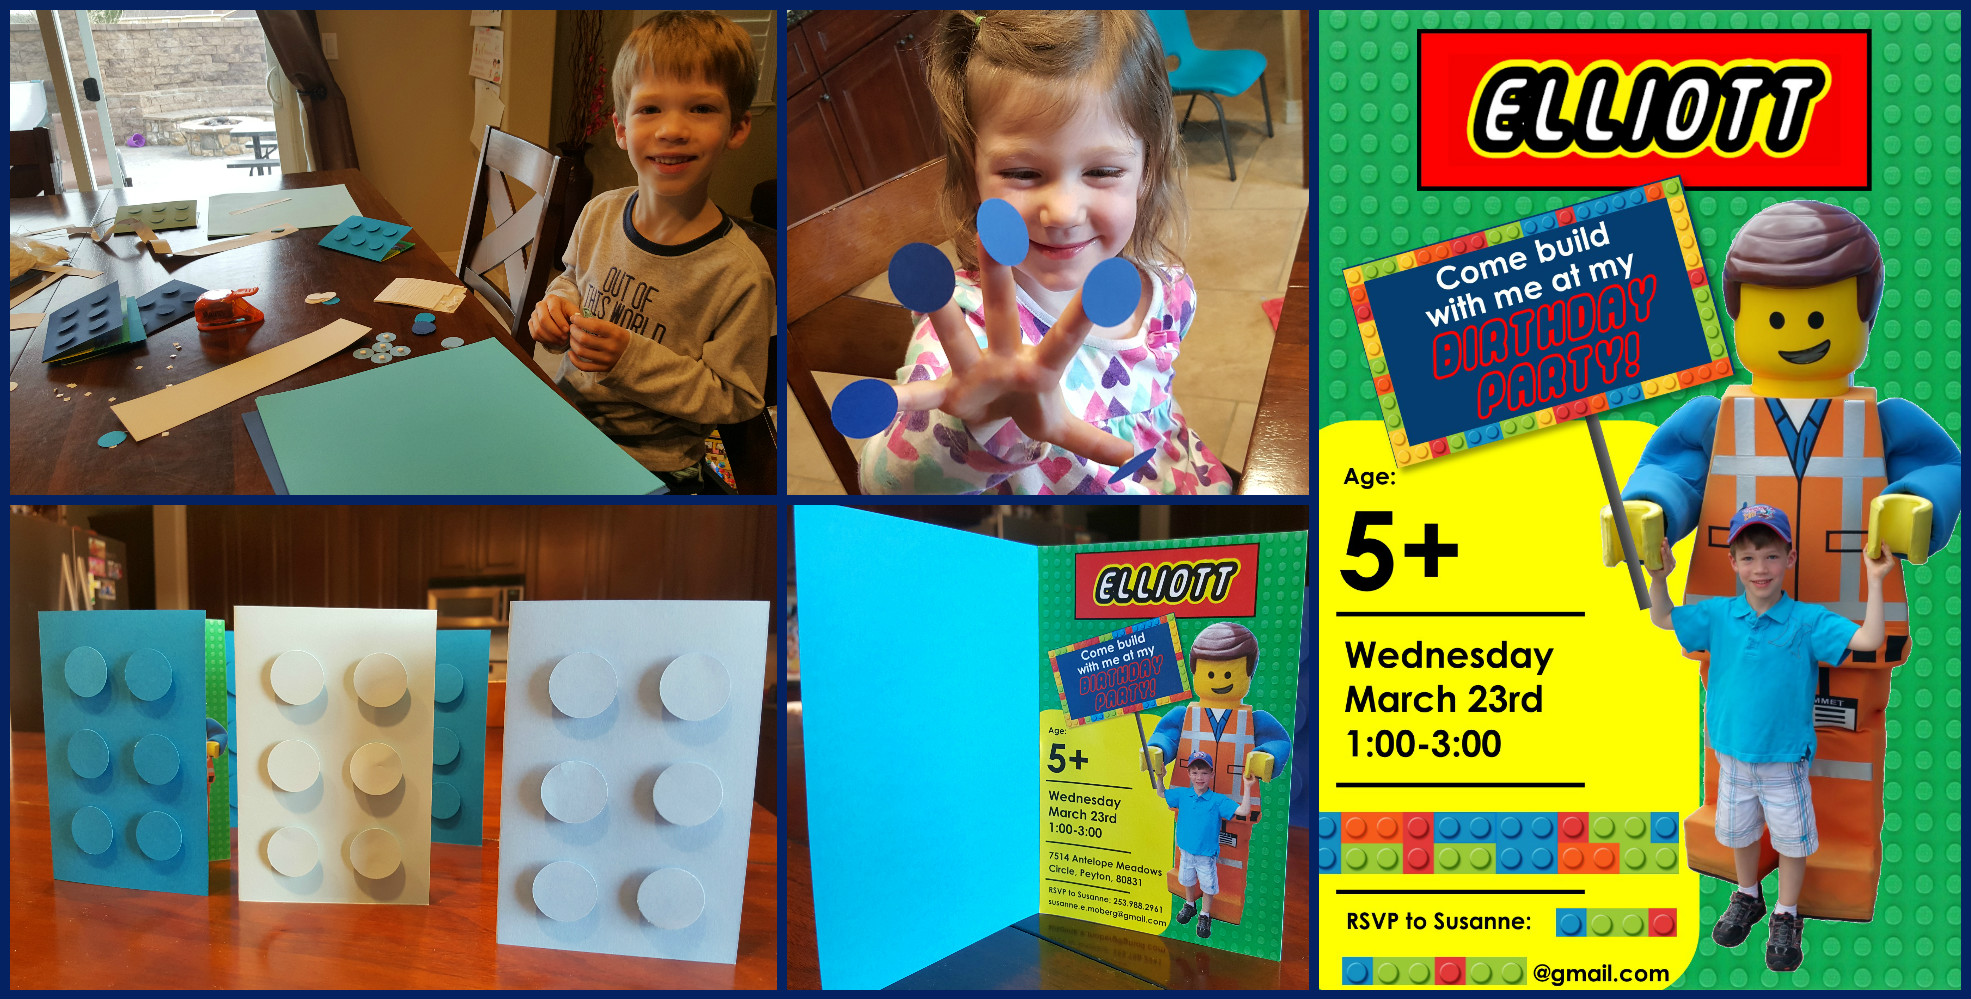
Next it was time to work on invitations. Oh my, these were too much fun to design and the kids had a blast making the outsides look like Legos. One of the things Elliott was insistent on was that the party colors were: blue-ish green (turquoise), light blue and dark blue. So everything from the invitations to the decorations were in those colors. We had a picture of Elliott with Emmett and Brian figured out how to make the background transparent and I put together this little ditty:
Elliott punched out the dots with my circle punch and put foam stickers on them. Selah played around with the dots for a while and then helped attach them to the actual invitations :).
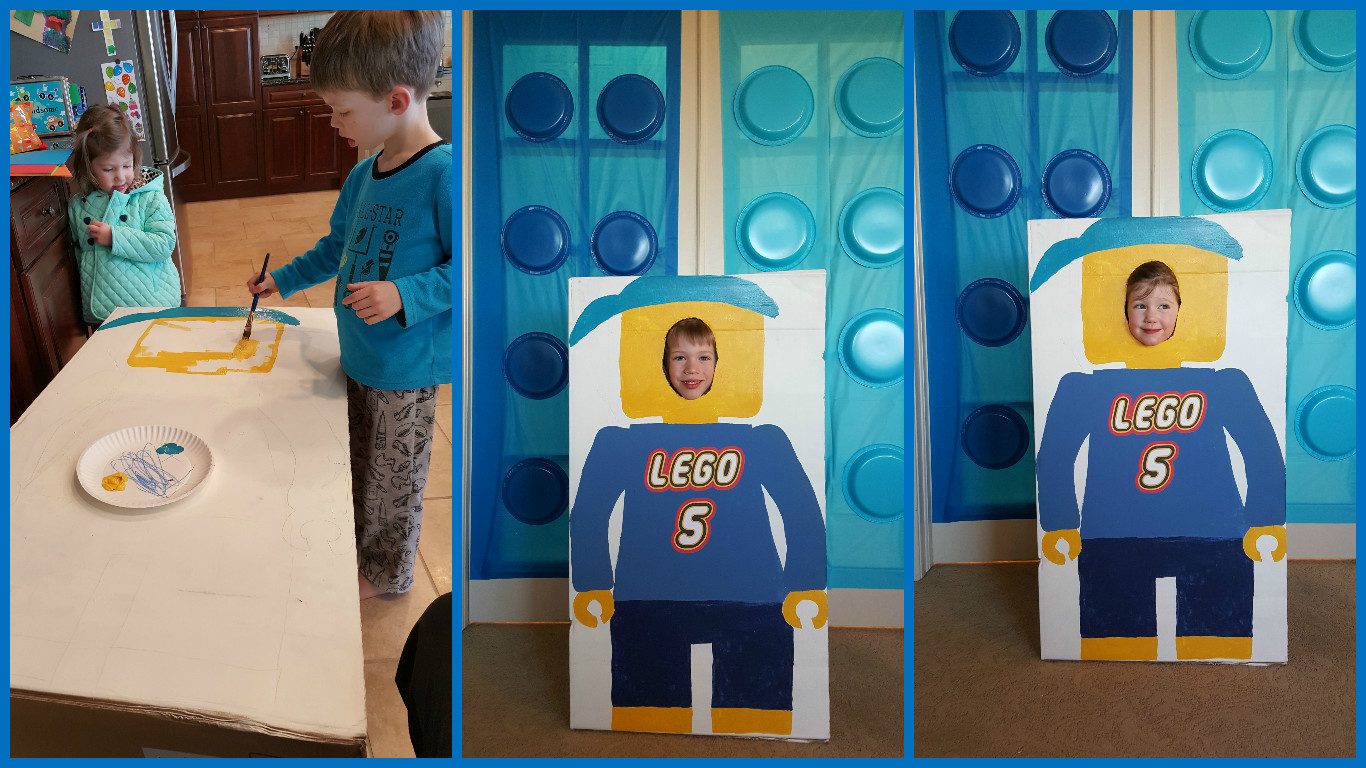
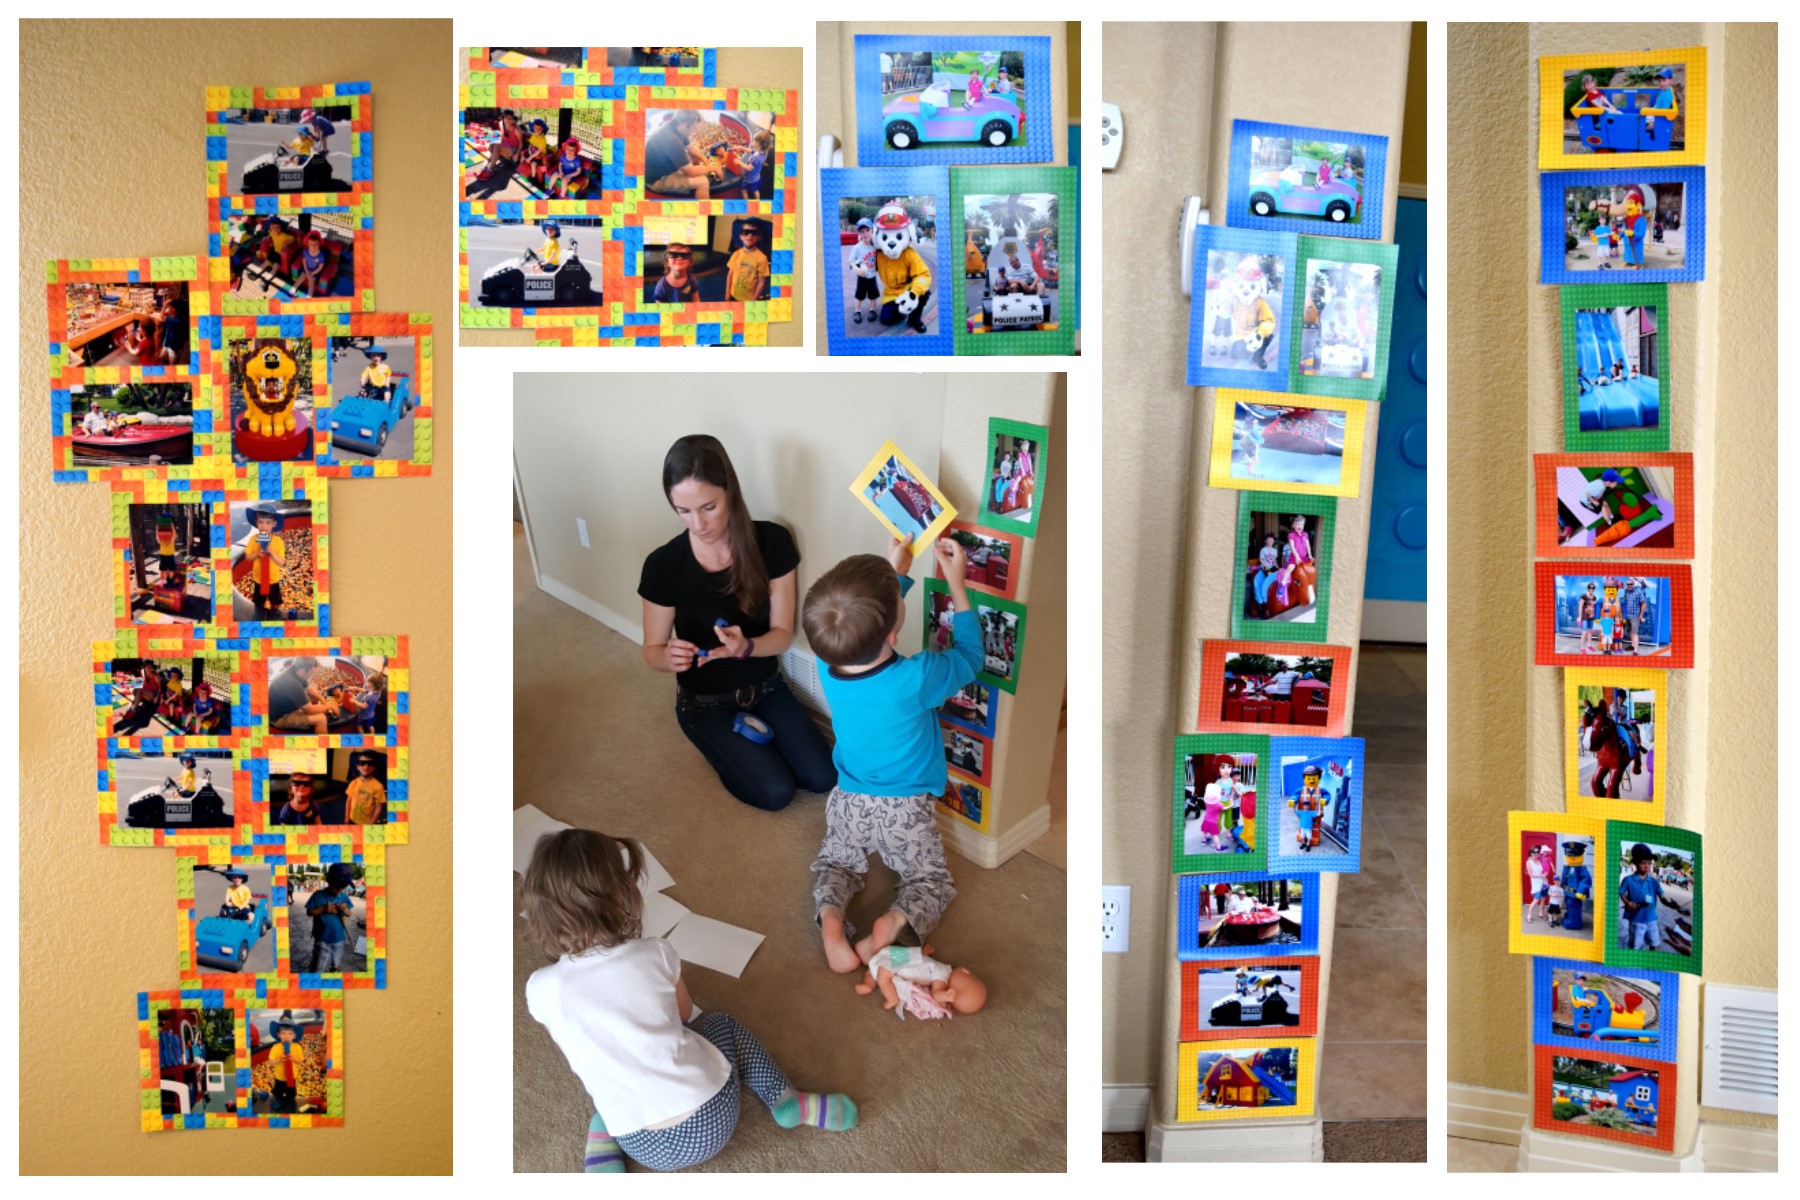
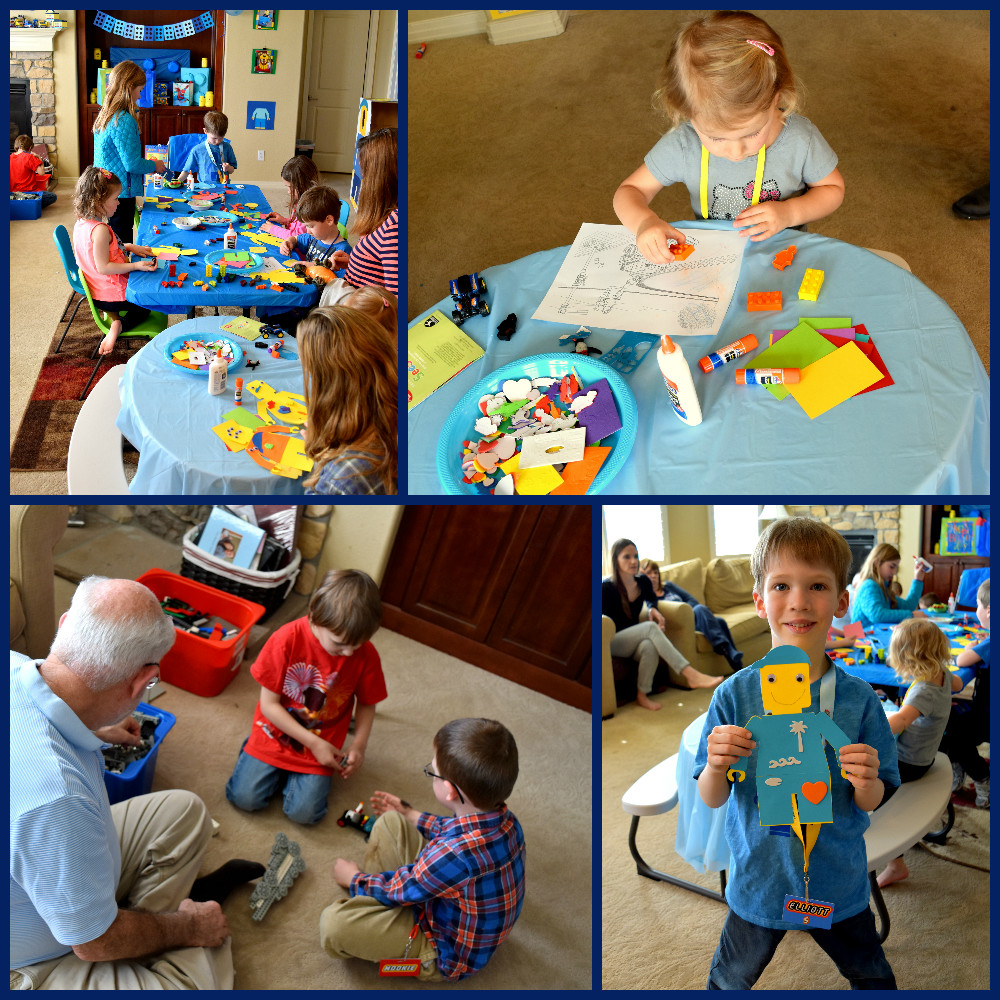
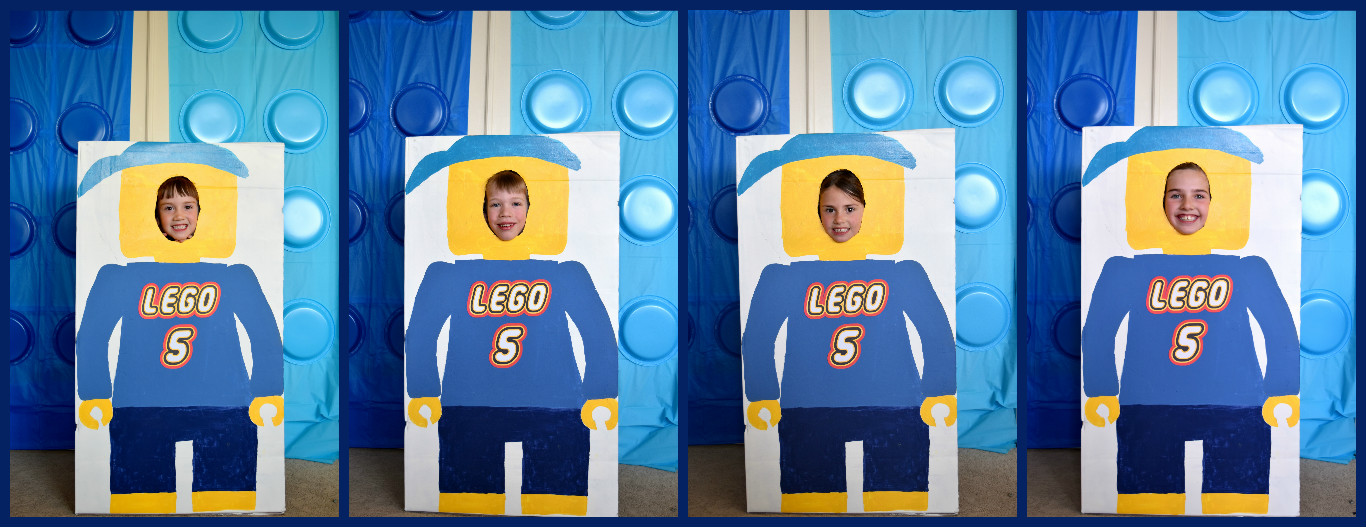
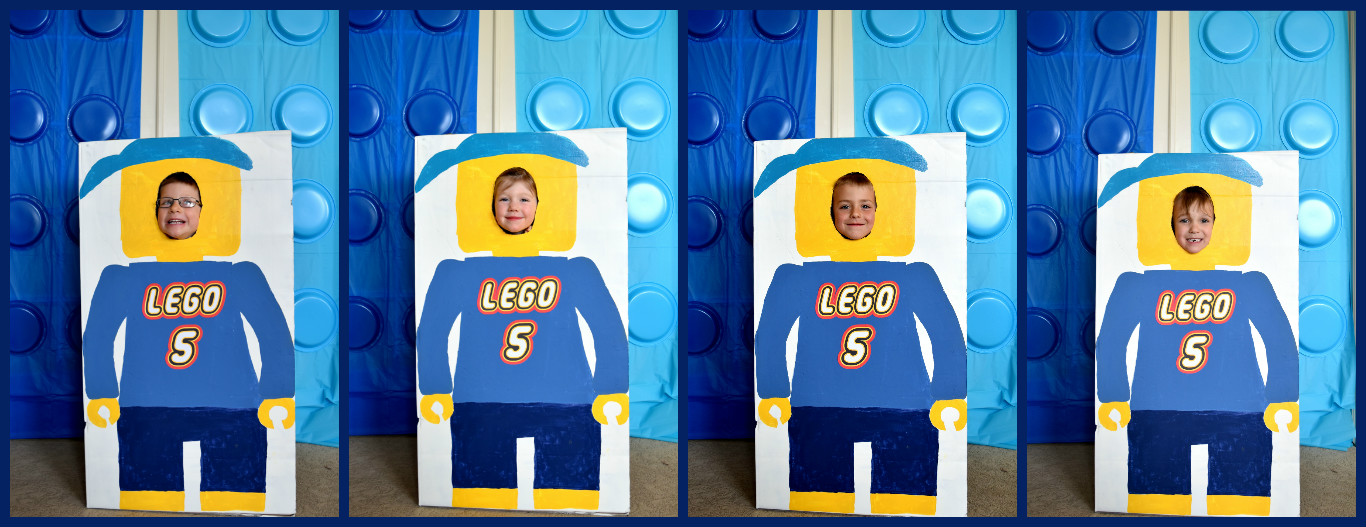
Next up, we worked on painting this Lego Man together, and of course, the kids had to make sure he “worked”! And, as you can see, we decorated the doors to our craft room to look like Legos, along with our front door.
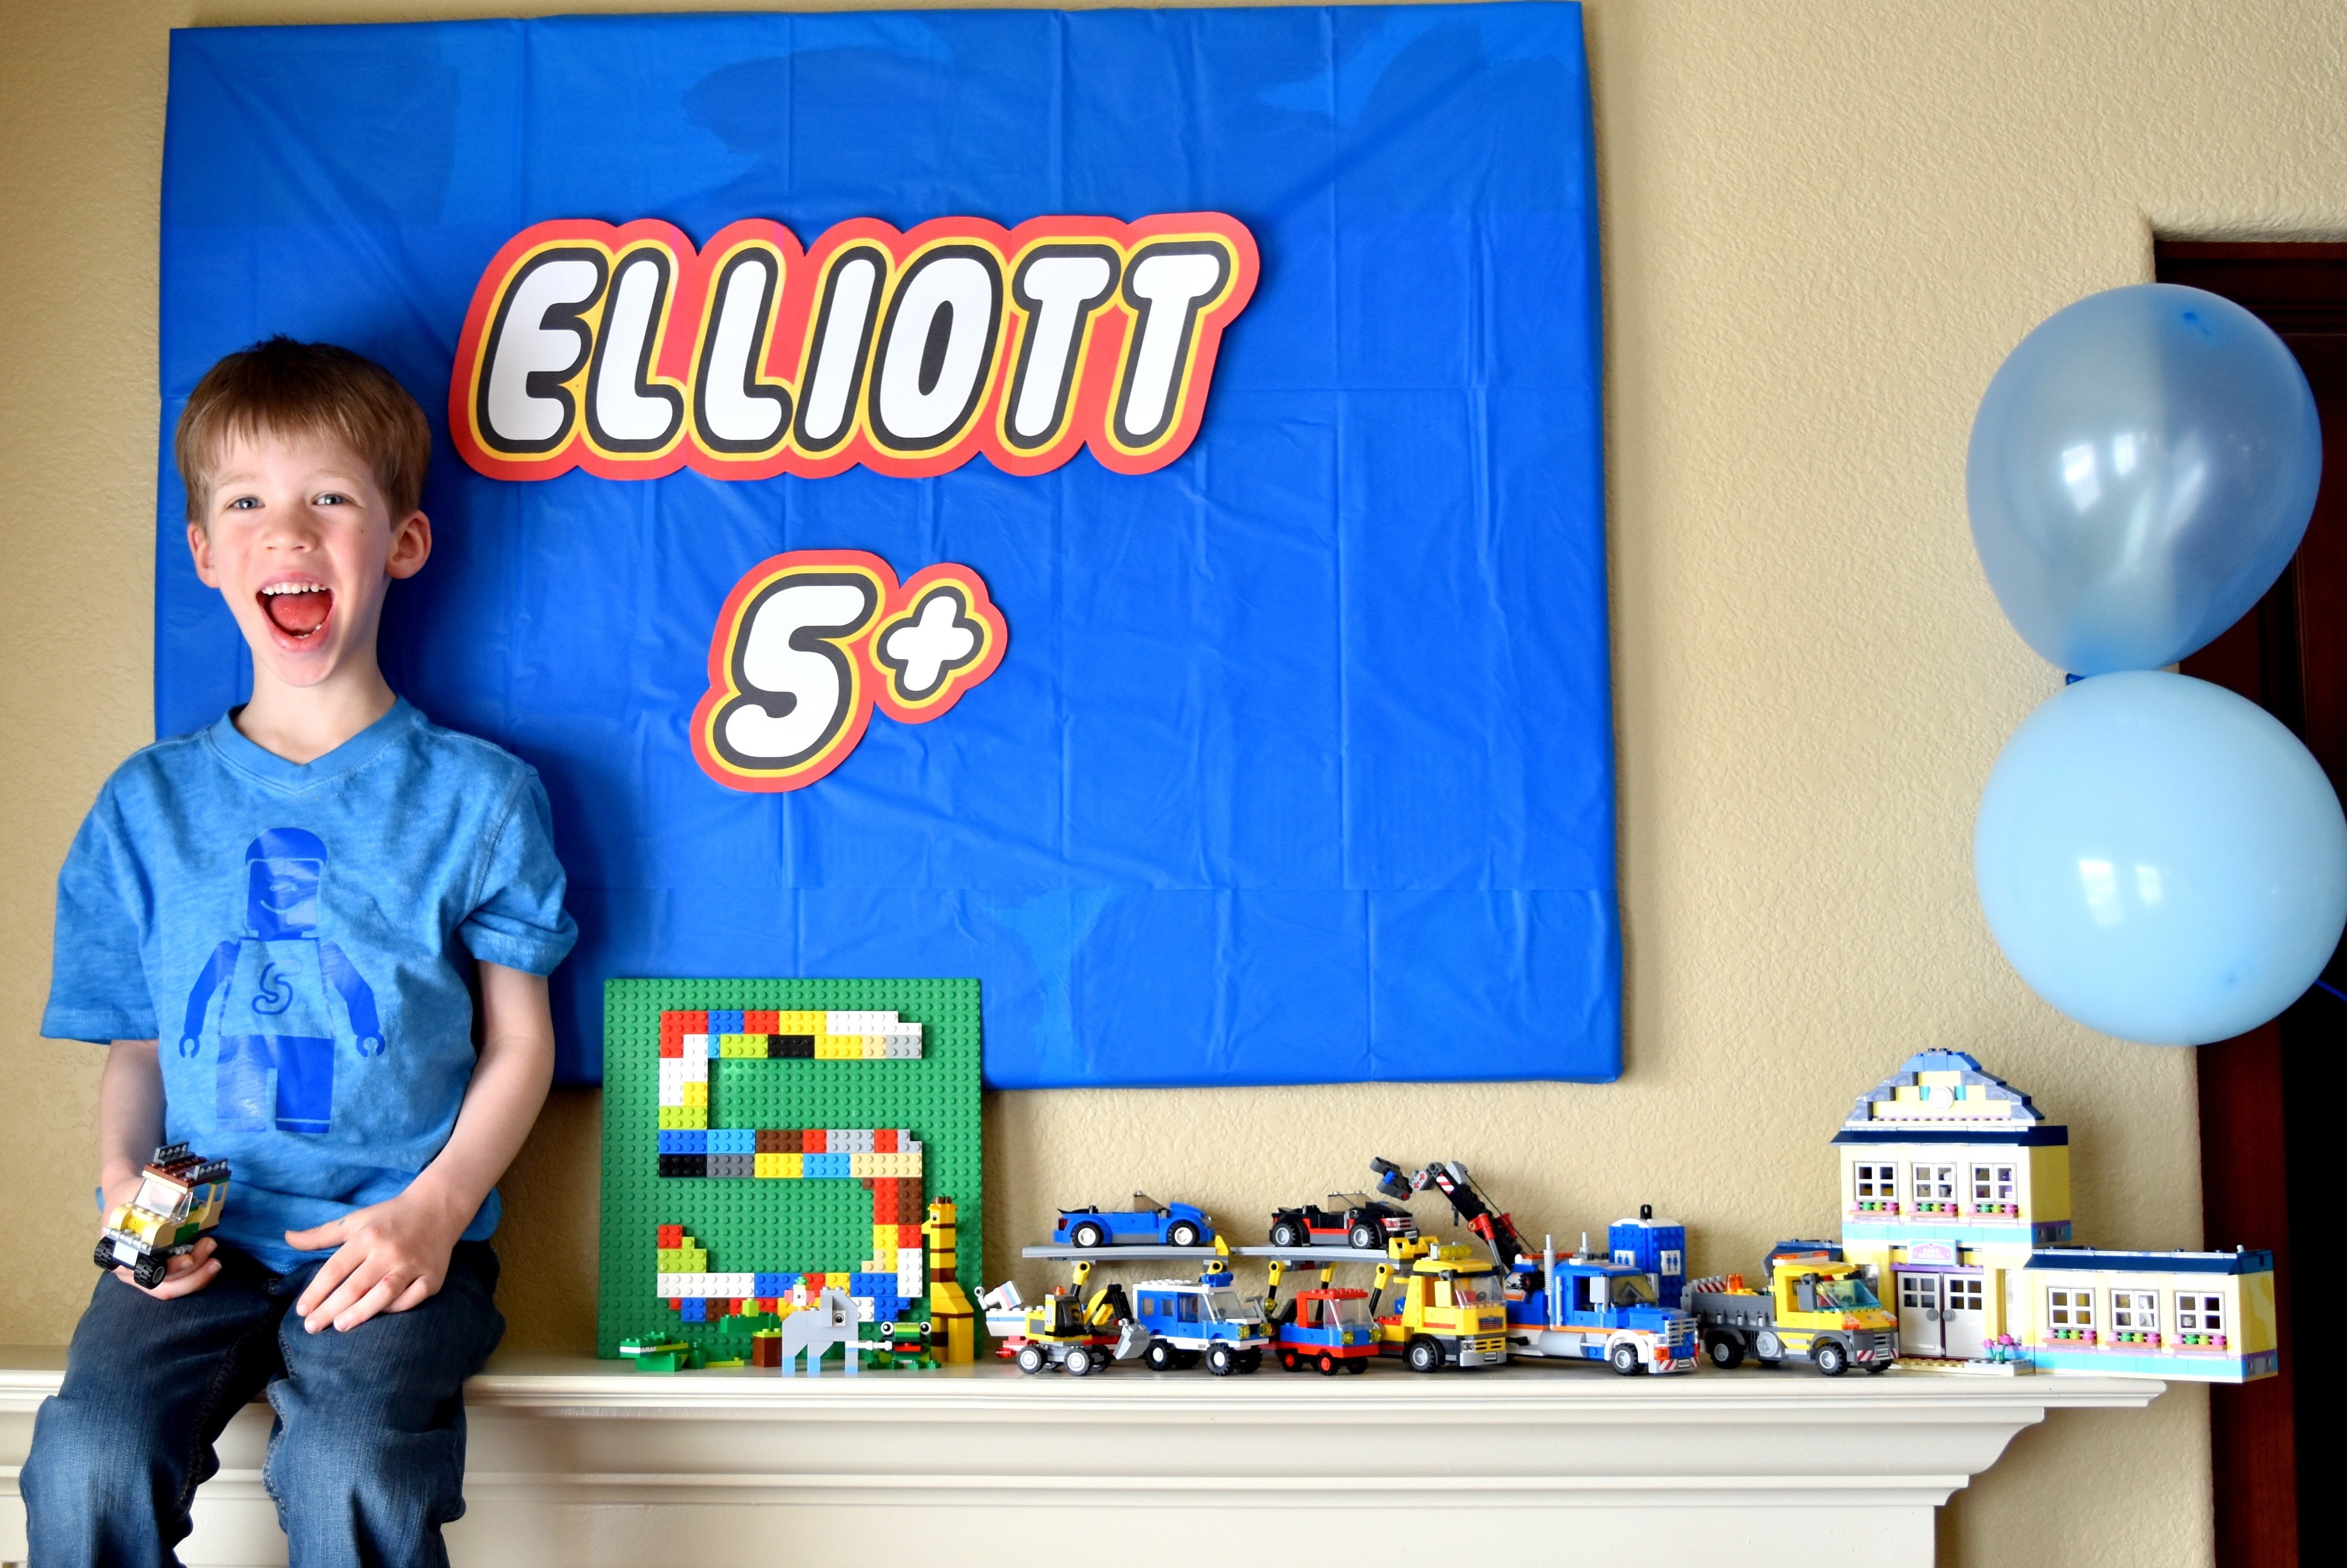
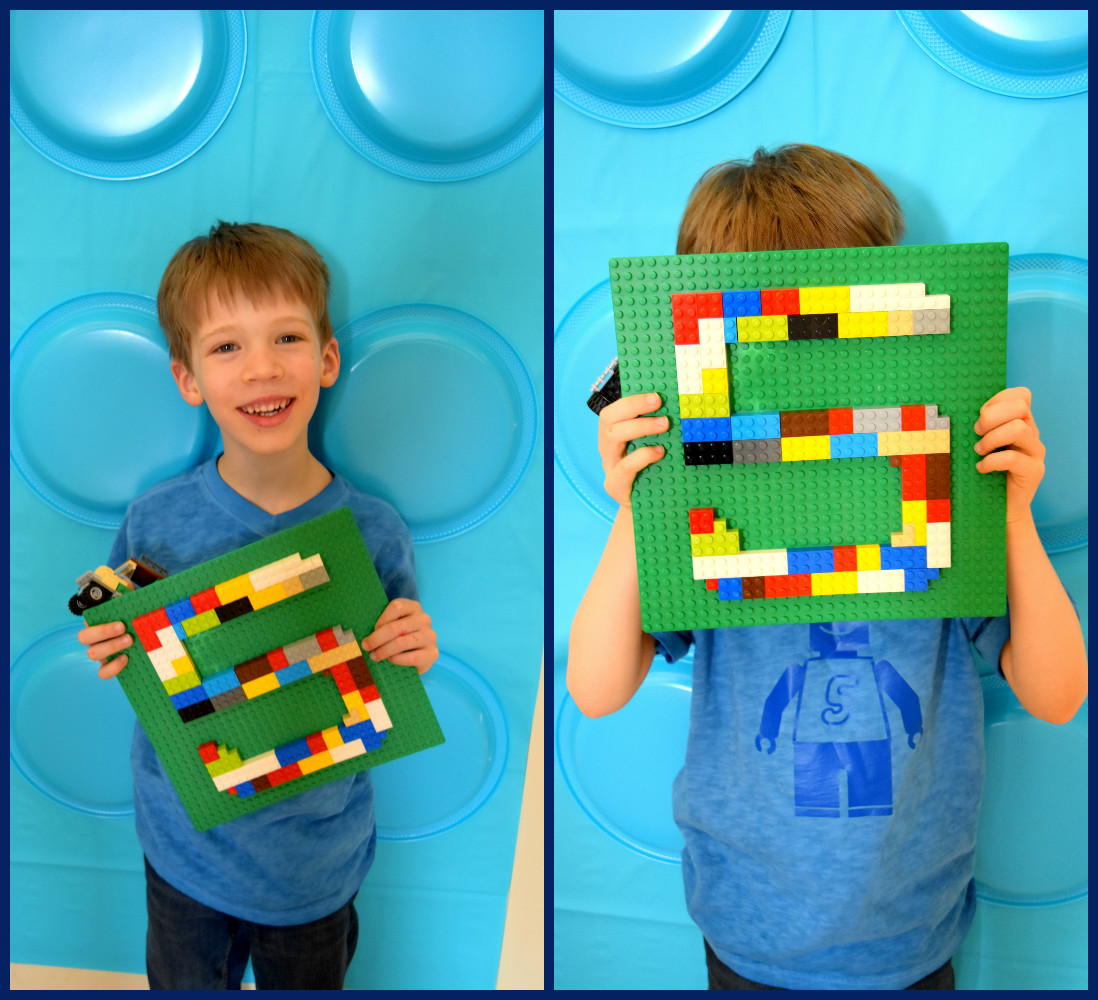
I convinced Elliott to let me draw the hat “sideways” so it actually looked like a hat :). I sketched him out on a box that I had painted white, and Elliott painted (most of) him inside the lines I sketched.Next up, I printed off tons of pictures of him from Lego Land and put them on Lego brick backgrounds, and then the kids “built” Lego towers out of the pictures on the walls.
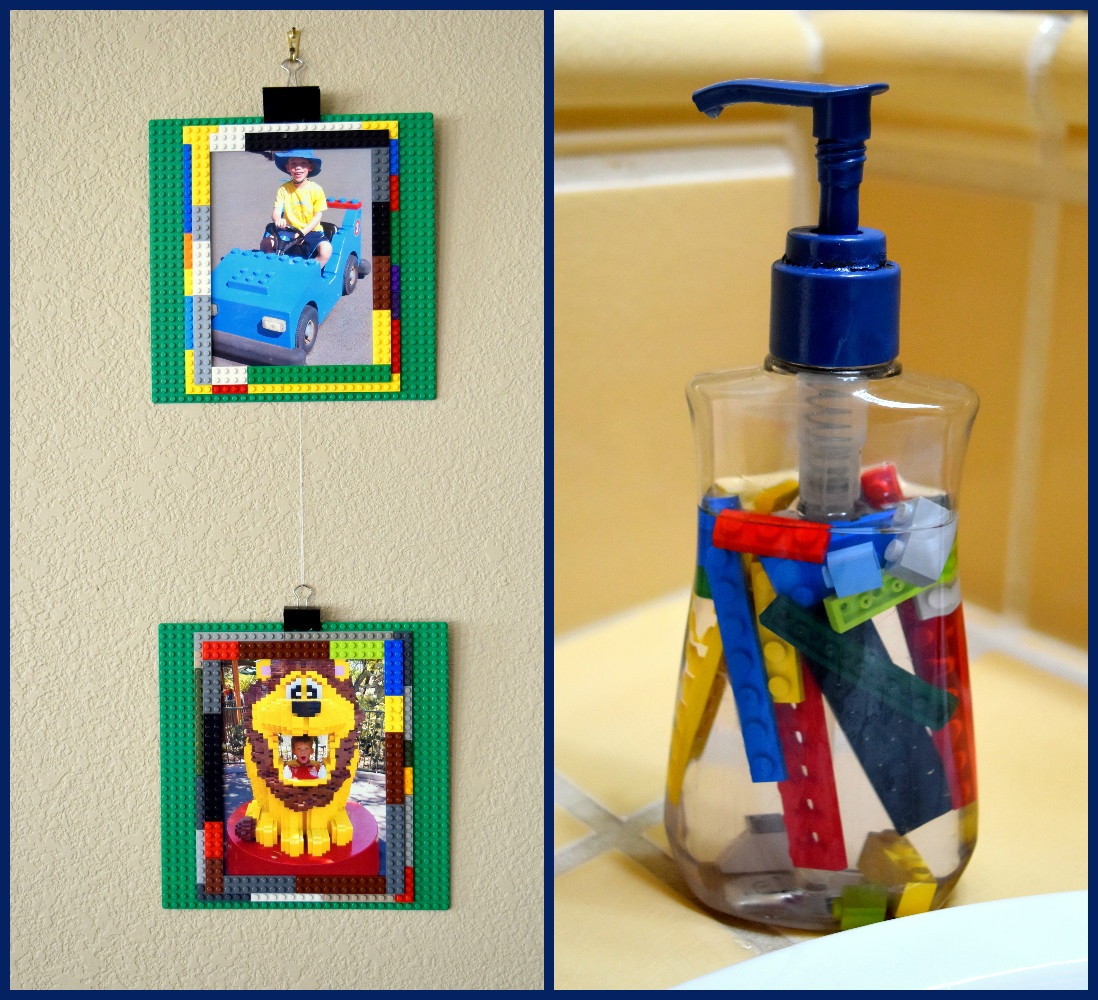
Brian framed these two pictures of Elliott at Lego Land out of Legos!
And how can you have a Lego Birthday party without Lego soap??
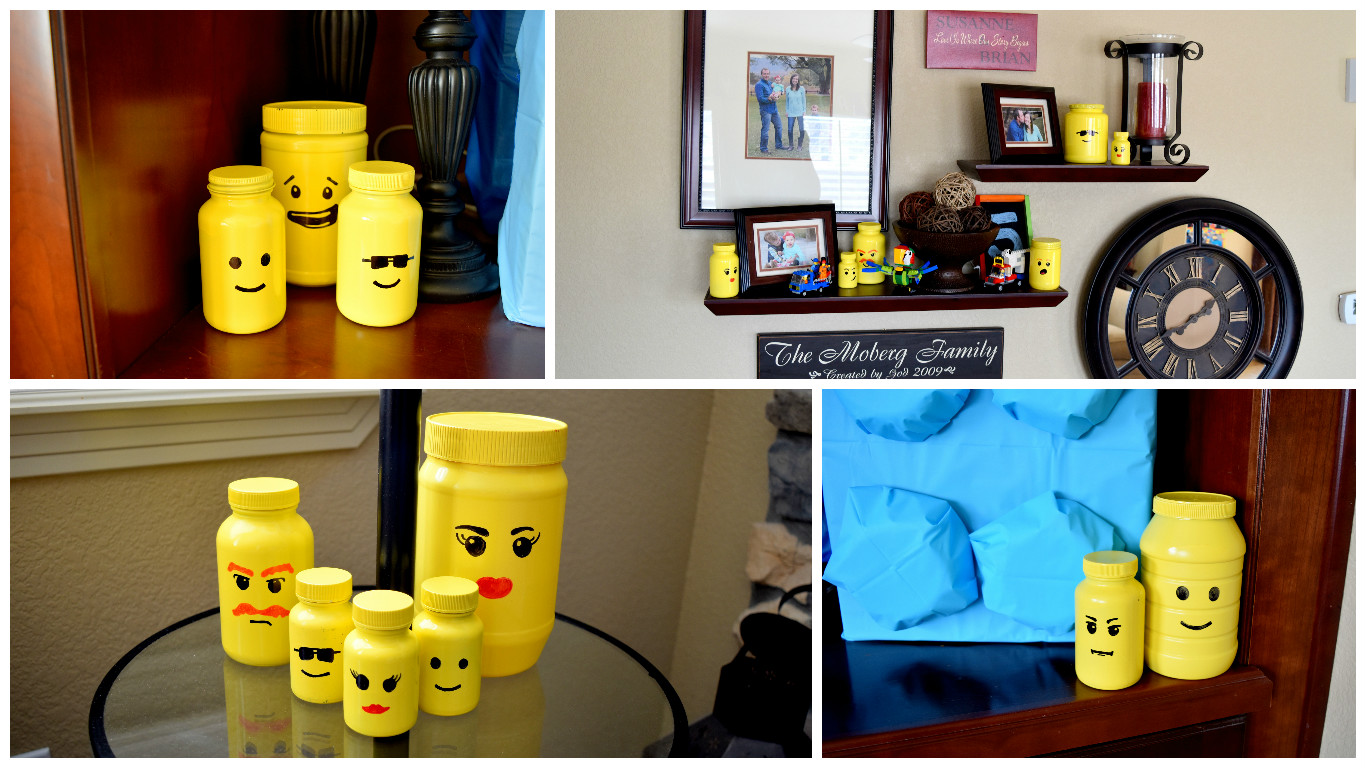
We saved jars for a couple of months and made them into Lego Heads…
I think they are adorable!
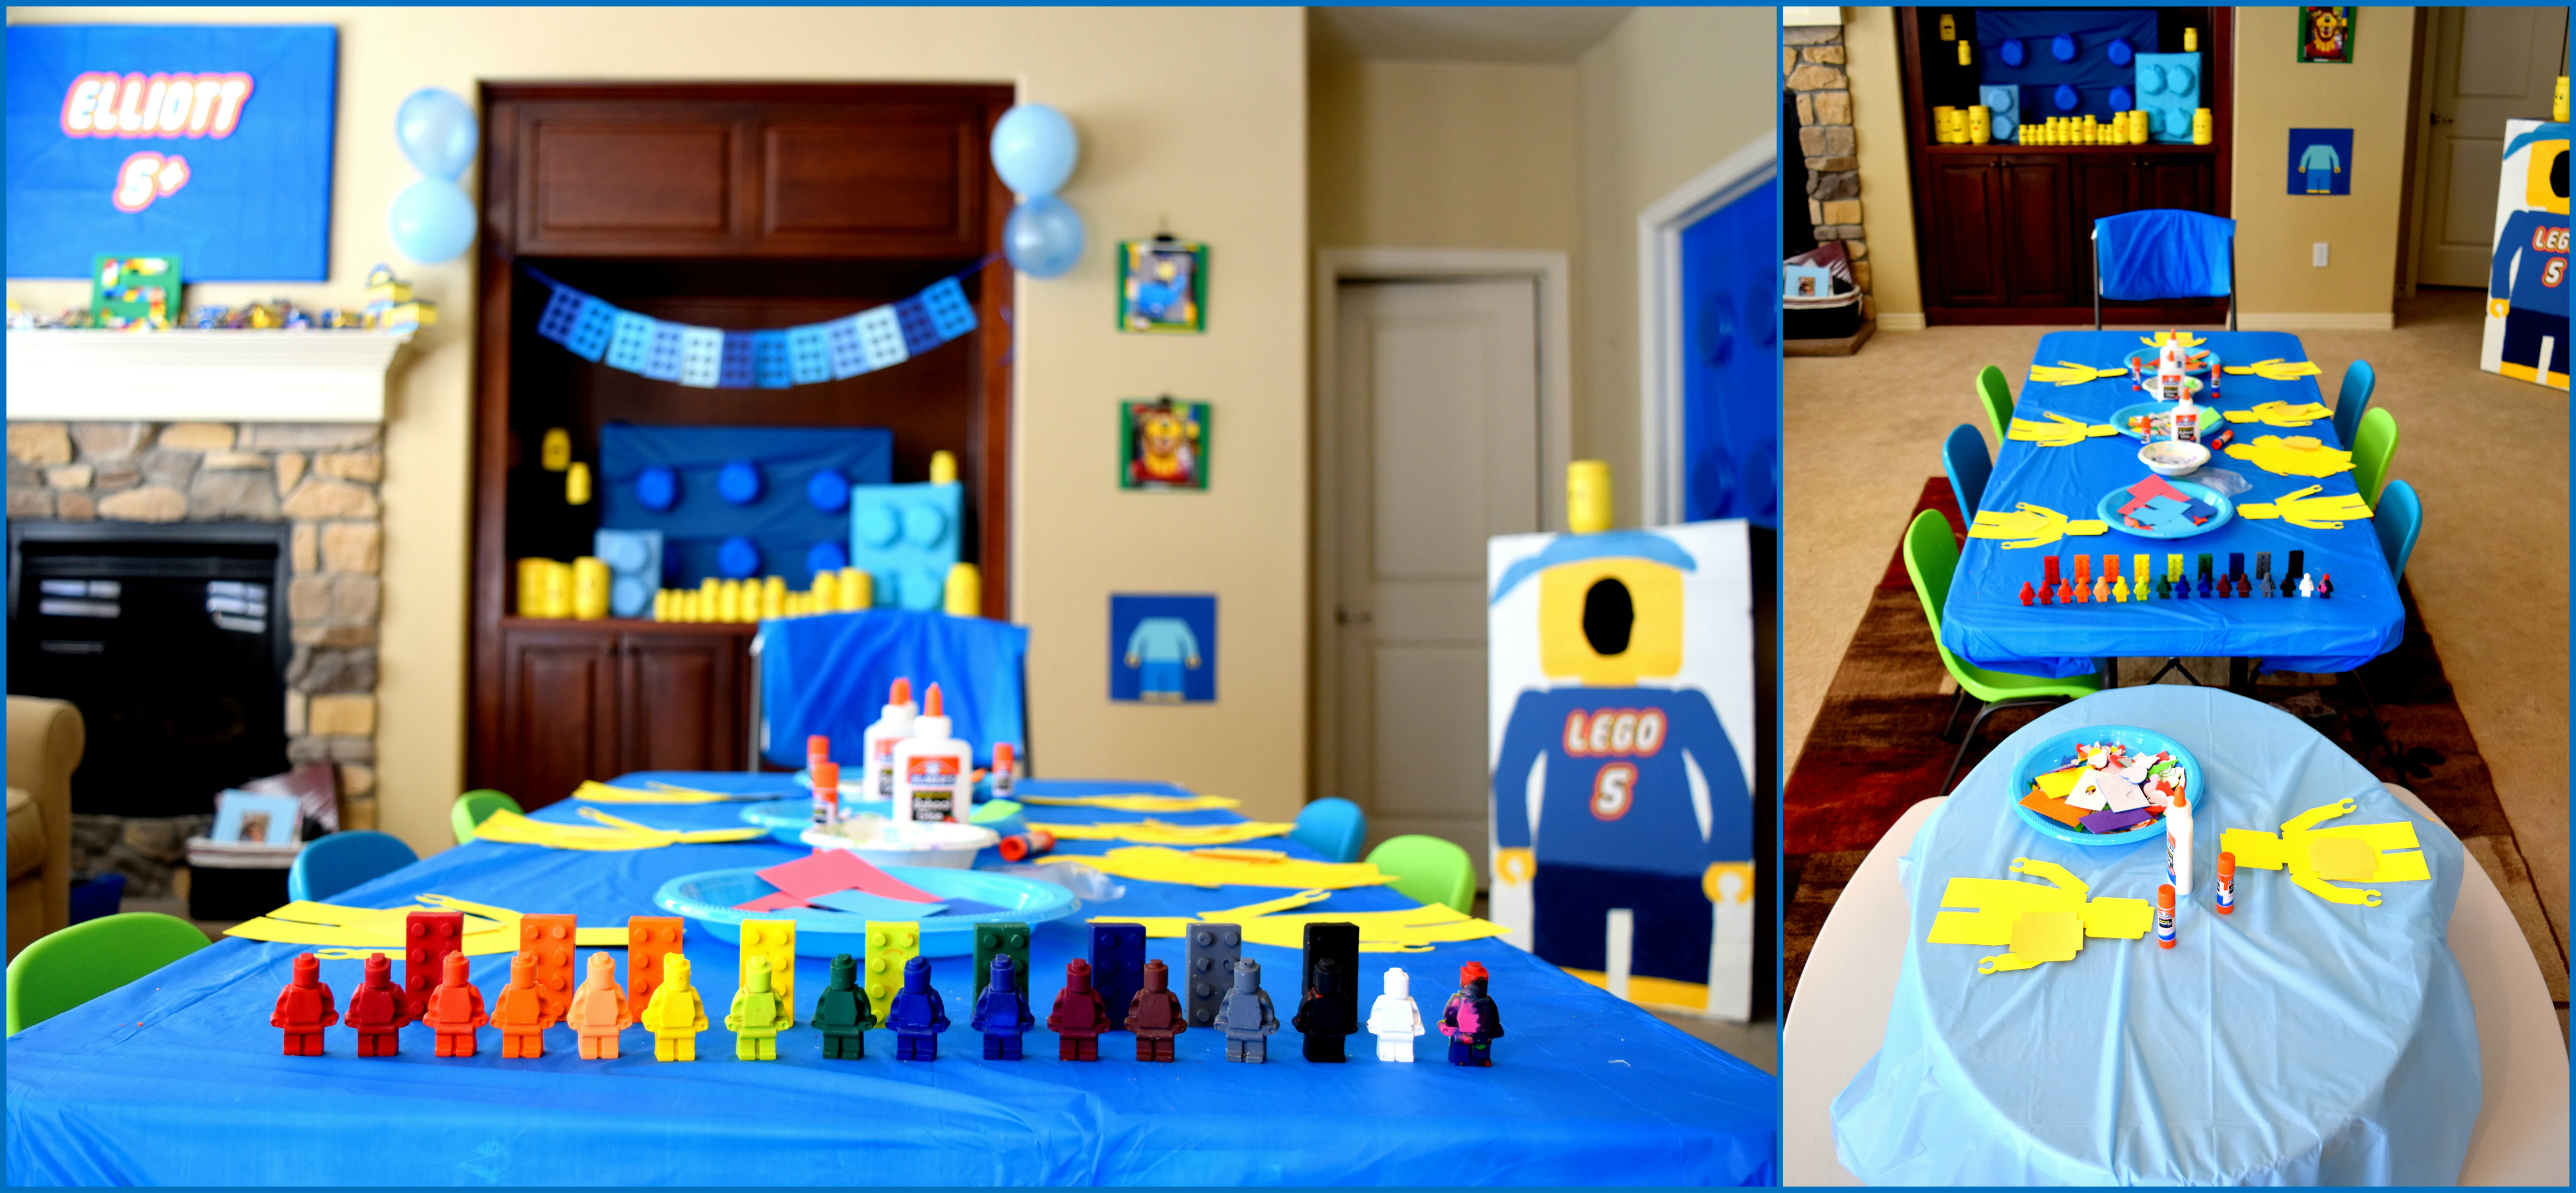
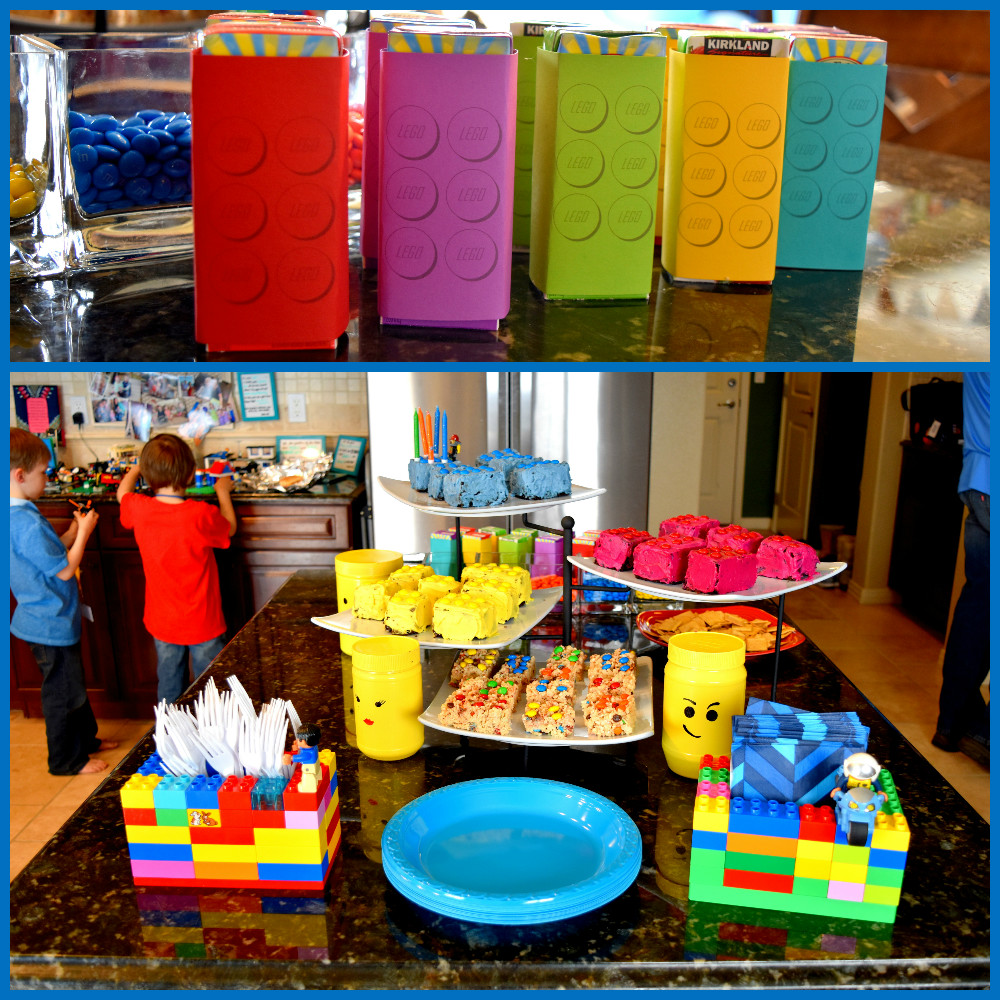
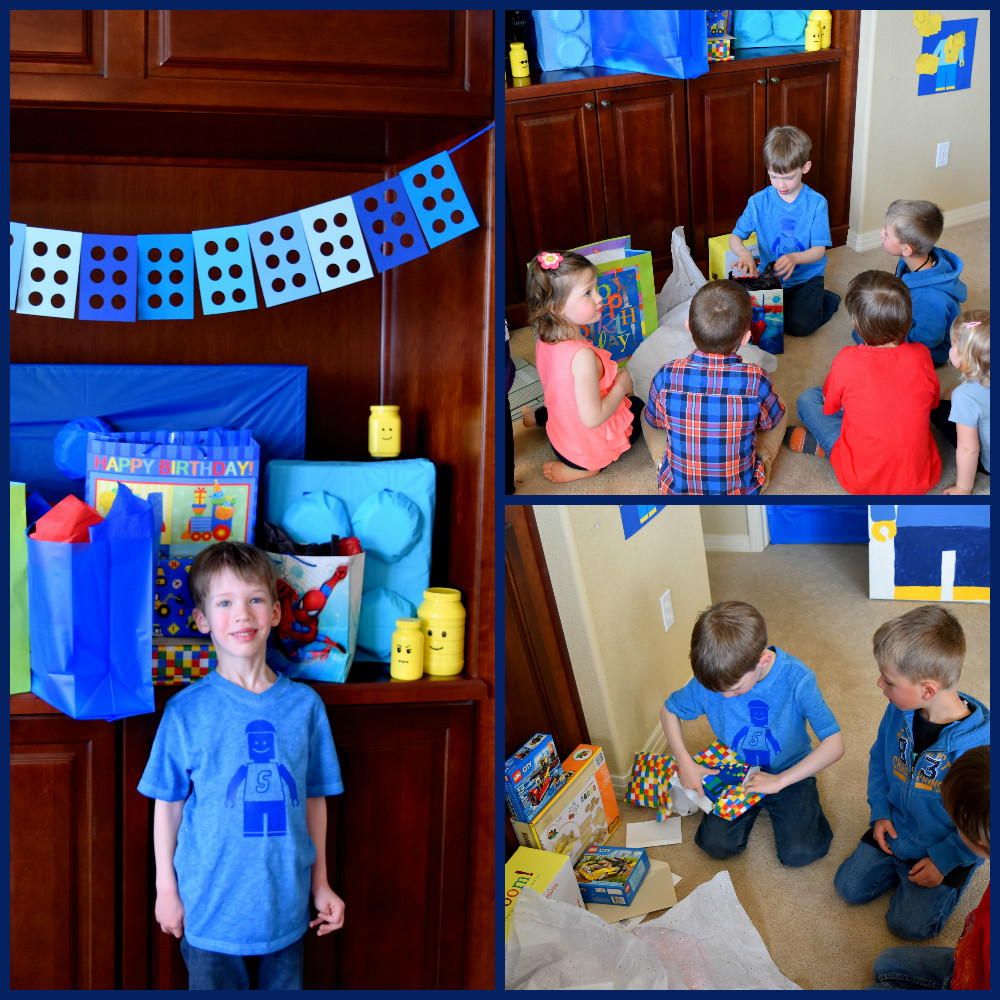
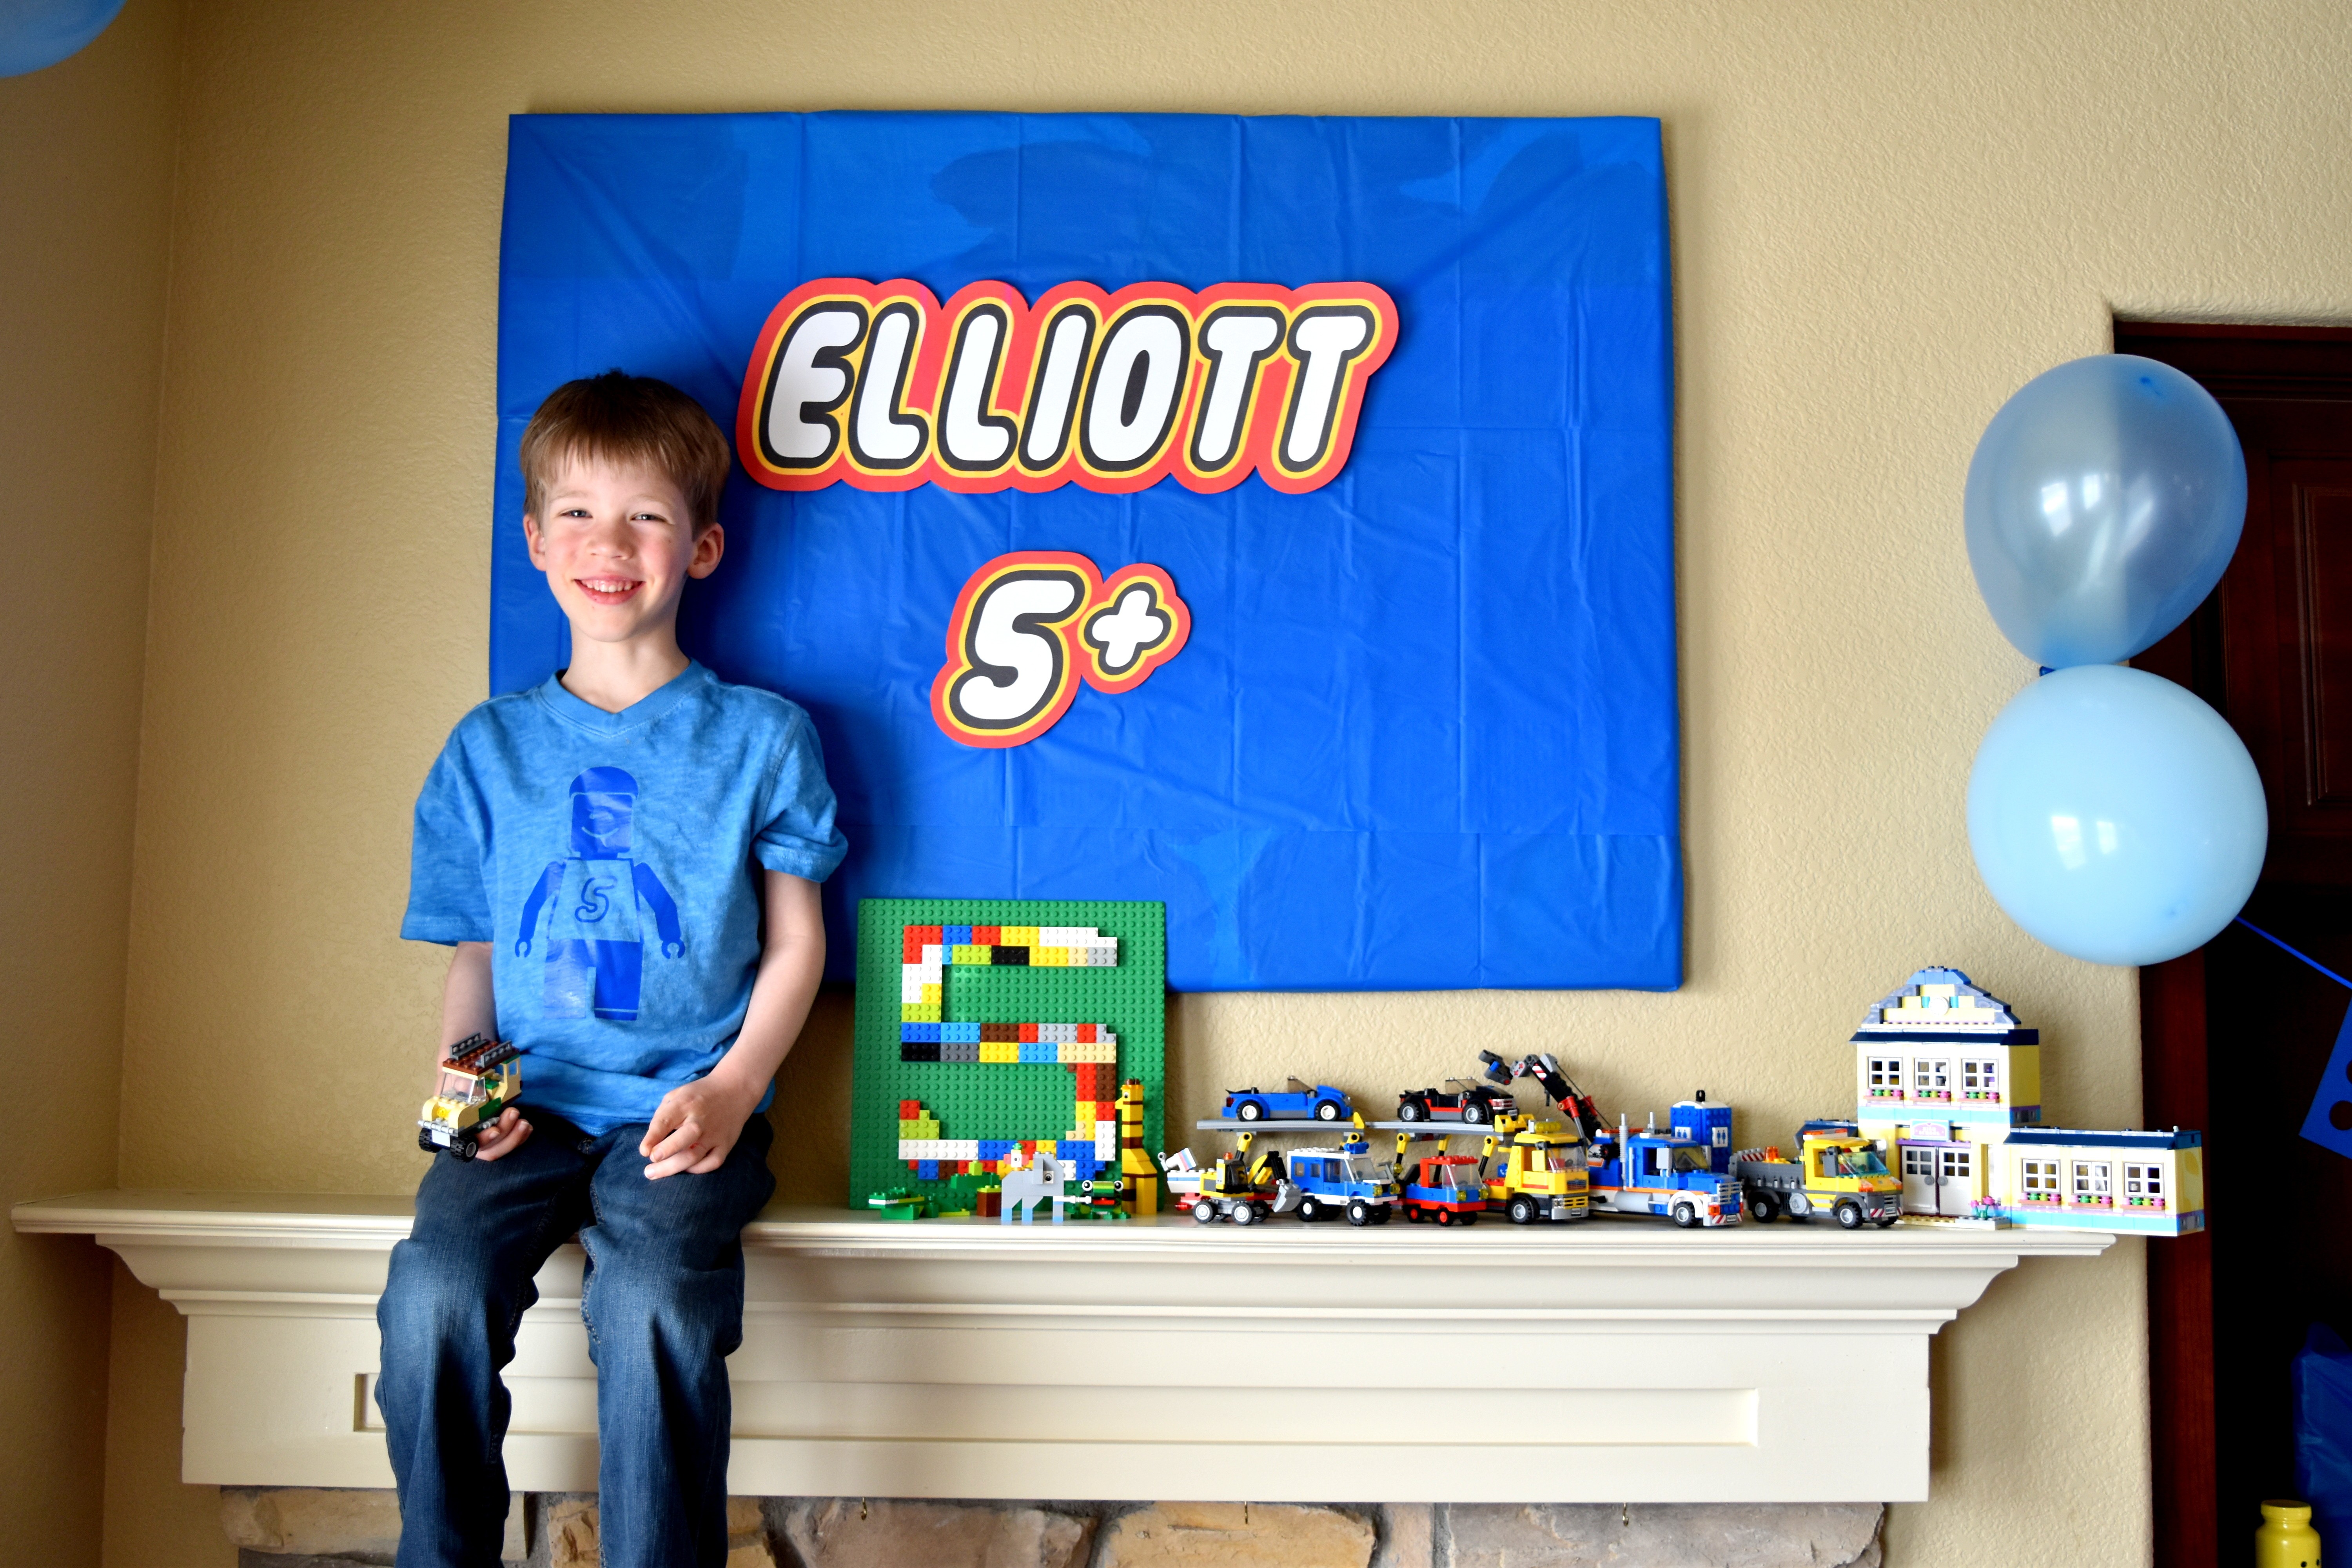
I printed off the Happy Birthday Lego sign from here. I covered our t.v. and two boxes with Dollar Store tablecloths, then wrapped paper bowls with the tablecloth scraps and taped them onto the boxes. And thanks to the Blizzard that blew through on Elliott’s birthday party day (more on that in a minute!) I got the idea to cover up the picture that normally hangs on our mantle with the last tablecloth I had left and printed out the Elliott 5+ sign. Also, we used the scraps leftover from his birthday invitations to make the multi-blue colored Lego banner.
And with that, our living room was ready to go!
And THEN…a blizzard blew in on the morning of his birthday party!! On the third day of Spring!! And it was a bad one…we realized within a couple hours of waking up that no one should be on the roads. So a hundred text messages later, and we were able to move the party to the next afternoon. Elliott was pretty sad, but after agreeing to let him put together a practice Lego Man (the first craft activity of the party) he was in much better spirits :).
And Aunt Angela makes everything better 🙂
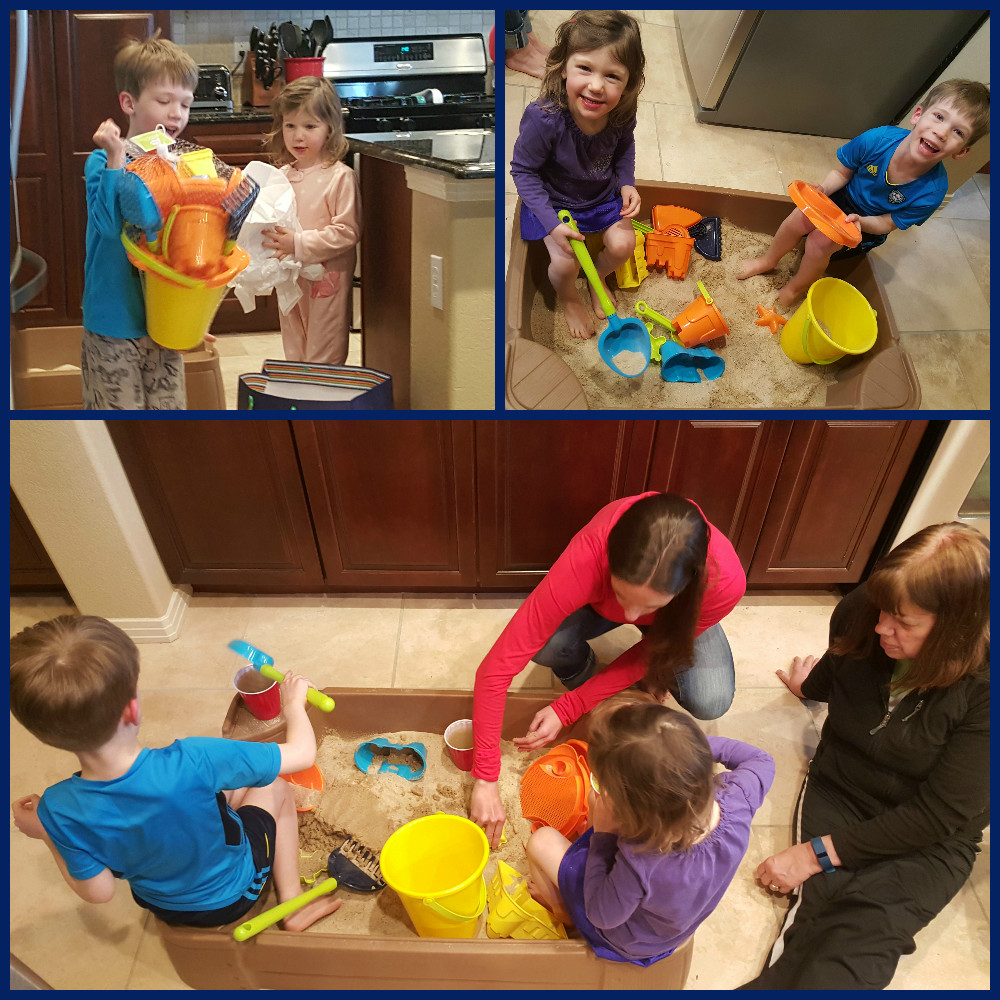
And THEN…he got to open his gifts from Grandma & Grandpa and Aunt Angela…..
A sand box and sand toys! The kids had a BLAST playing in the sand box on our kitchen floor…while the snow and wind beat on our house outside!
Which meant I had all day to keep thinking of new Lego ideas and finishing up the old ones I had had…it’s a good thing we didn’t have TWO snow days or this party would have been out of hand!!
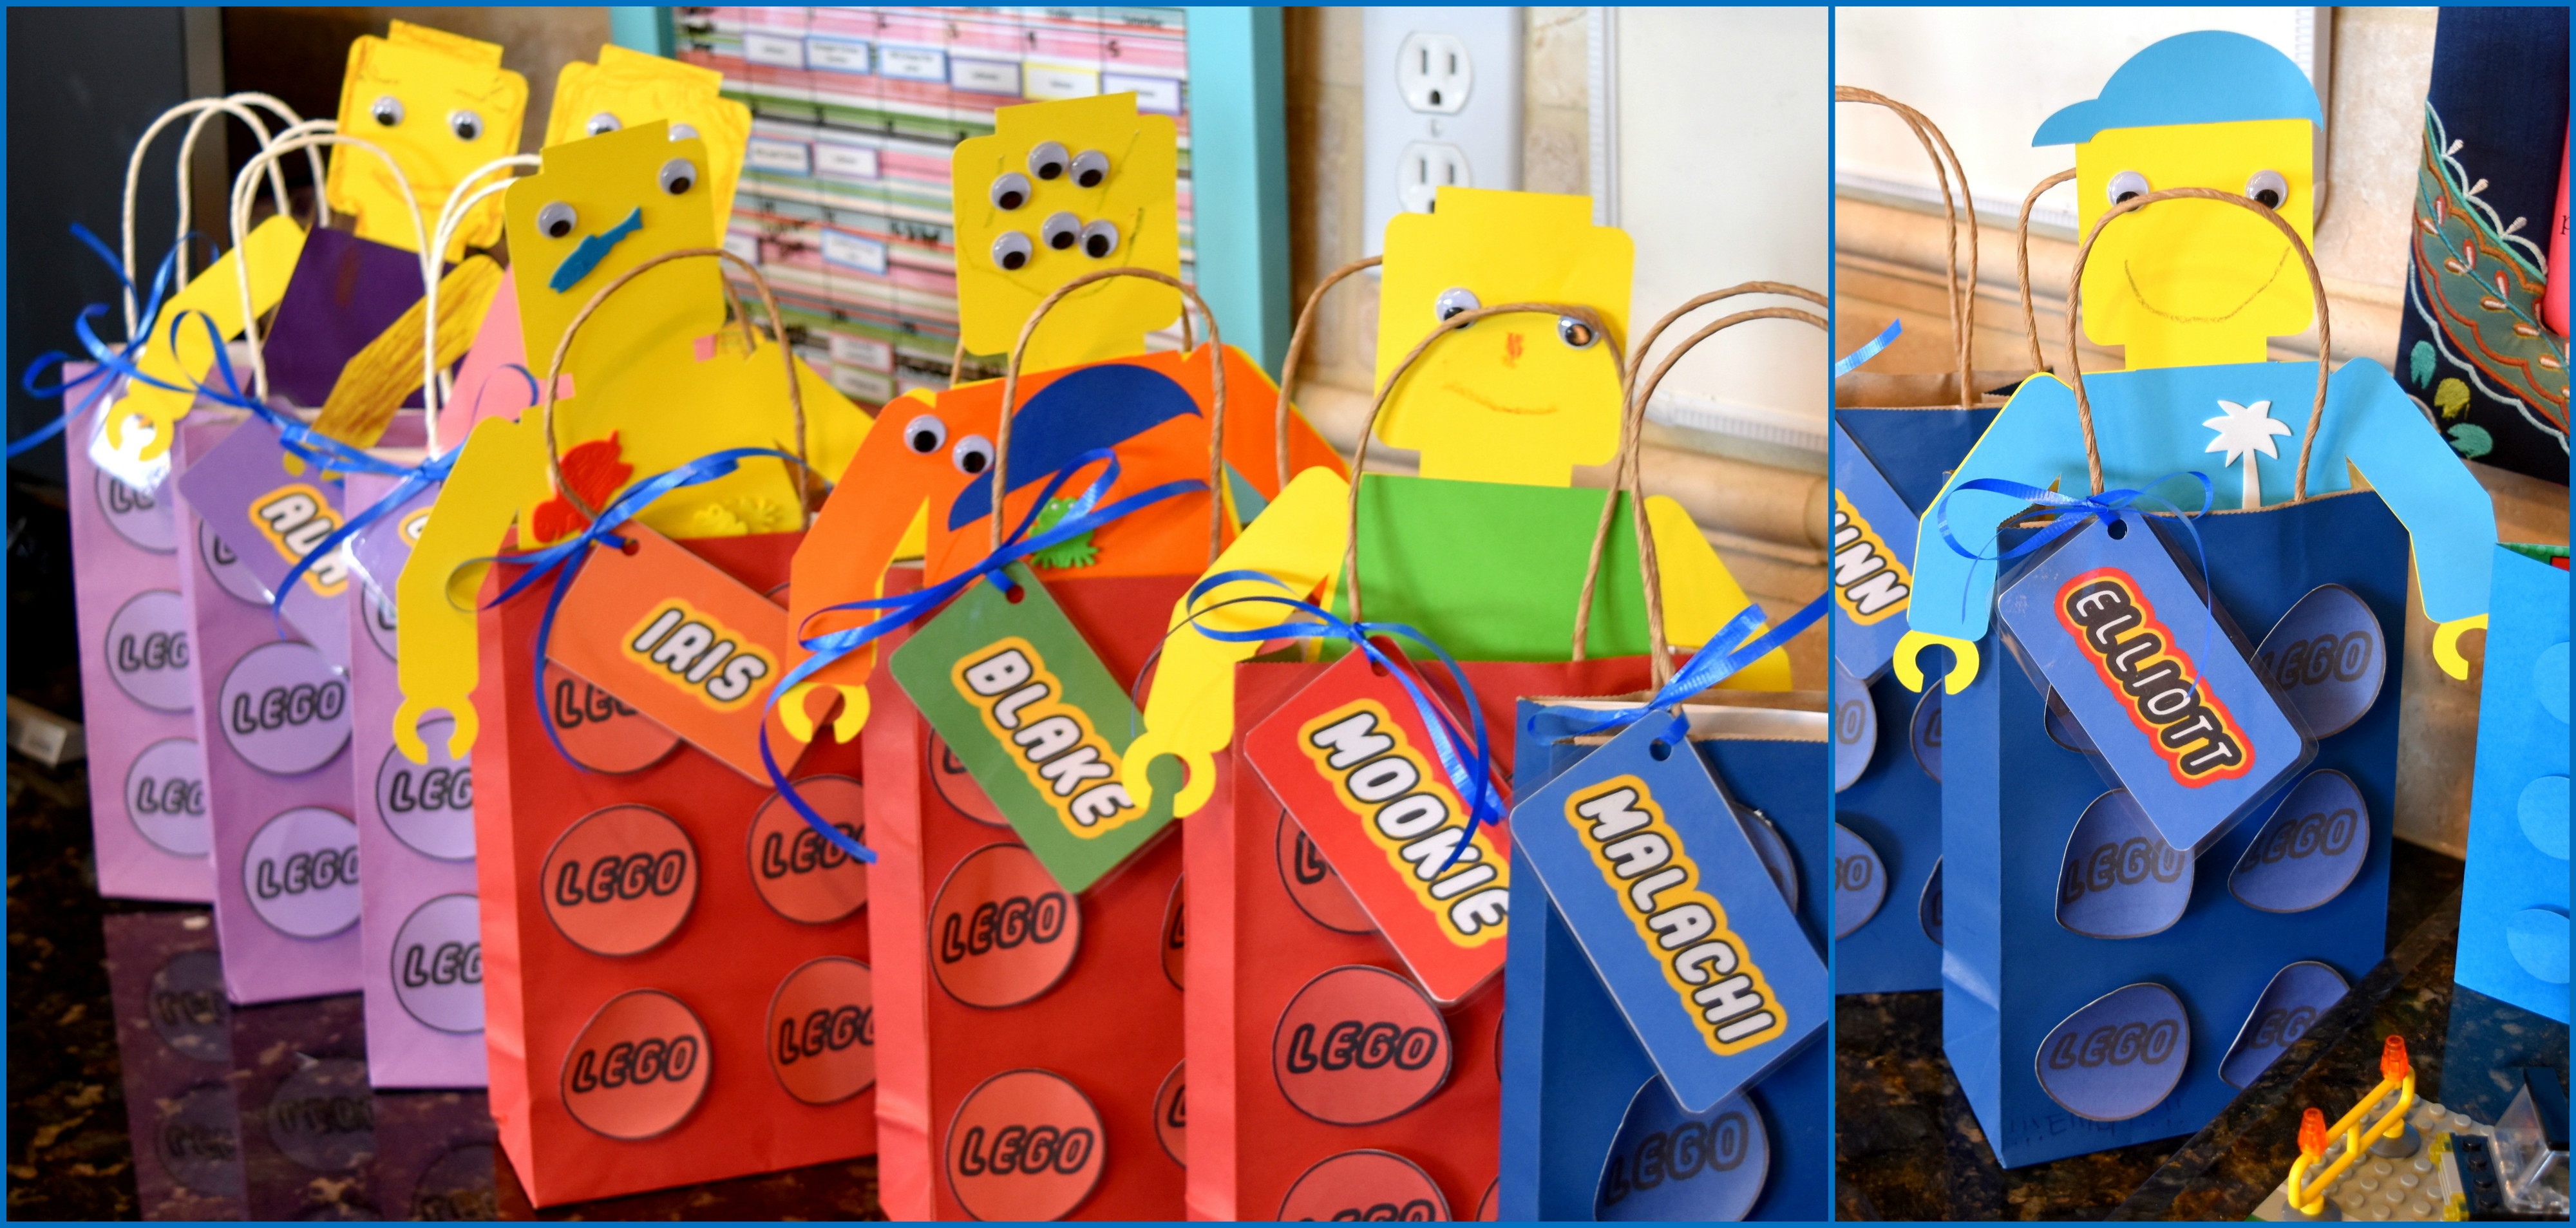
We got the favor bags all ready to go. I designed, printed, and cut out the Lego circles with my Silhouette and Elliott attached them to the bags with foam stickers. Each friend got a lanyard and Lego badge with their name on it, a laminated tag with their name, a Lego notebook, Lego crayons and a Lego coloring book that I put together.
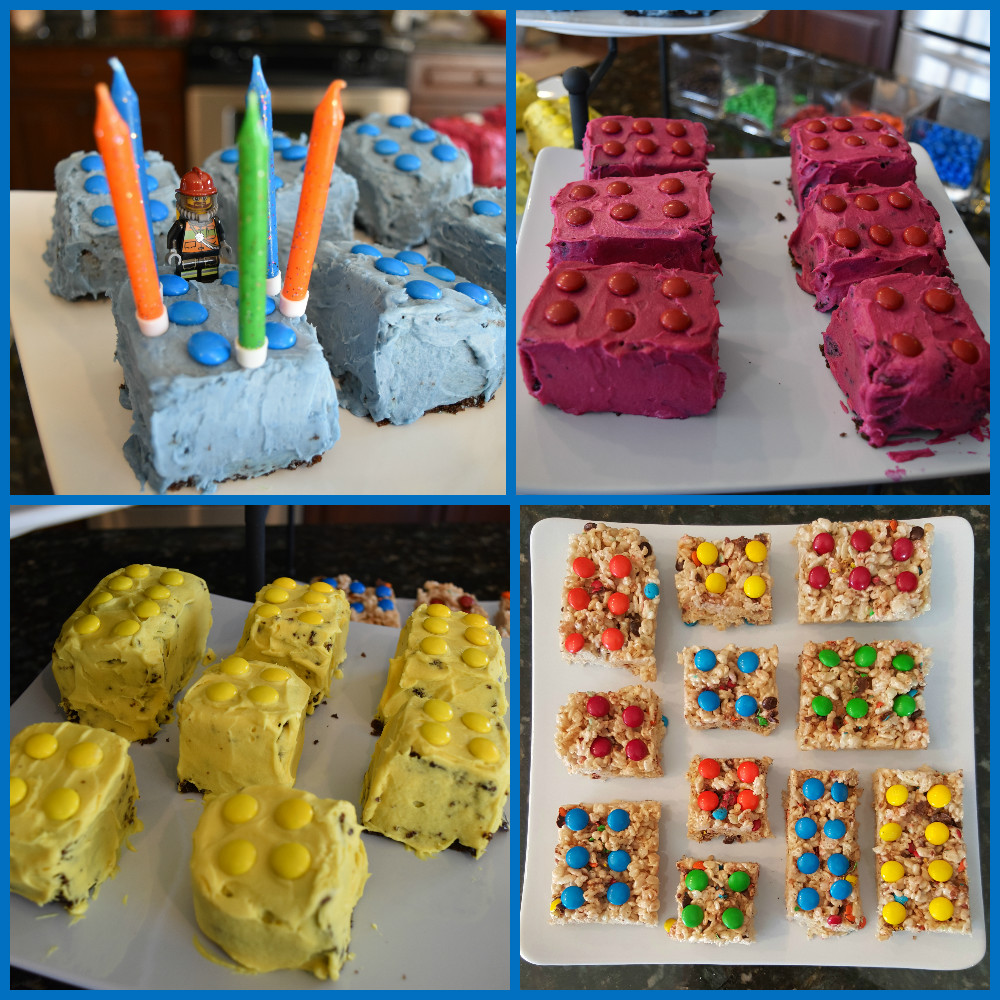
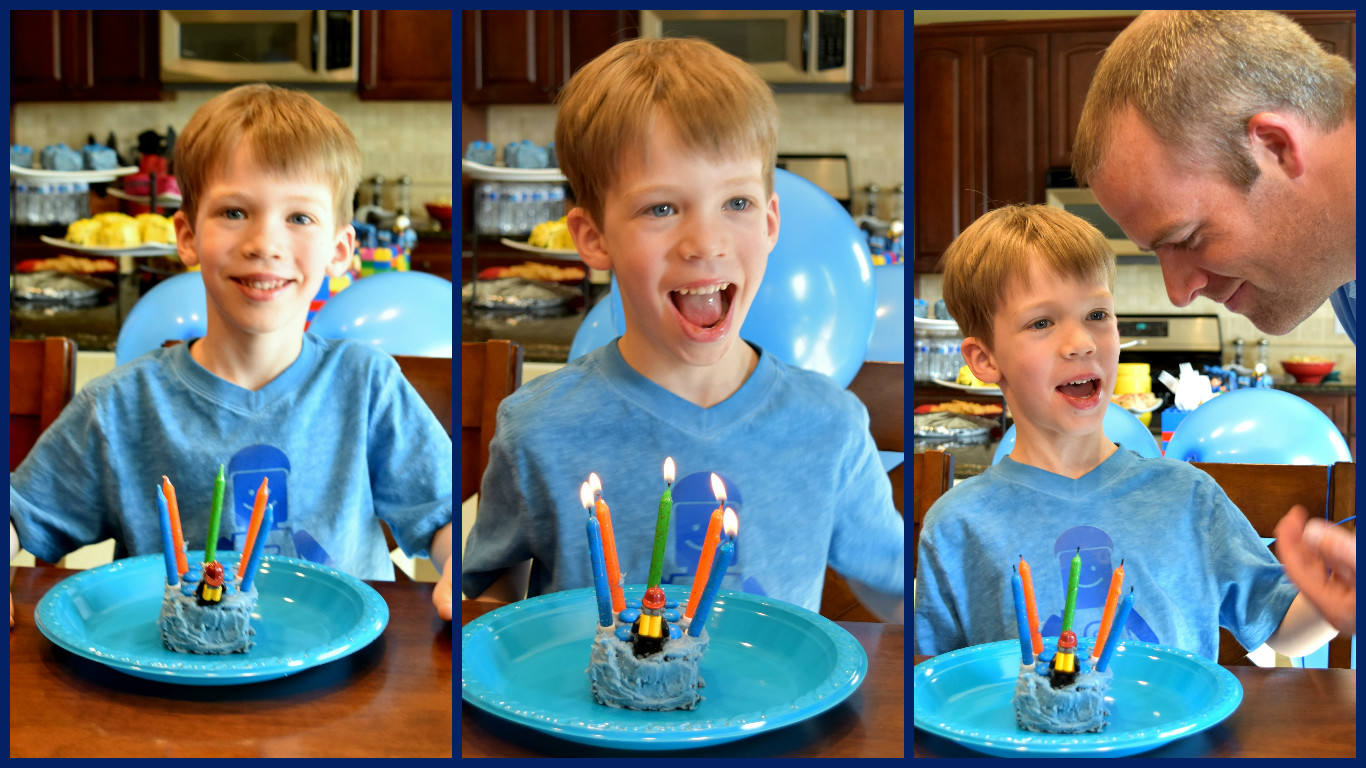
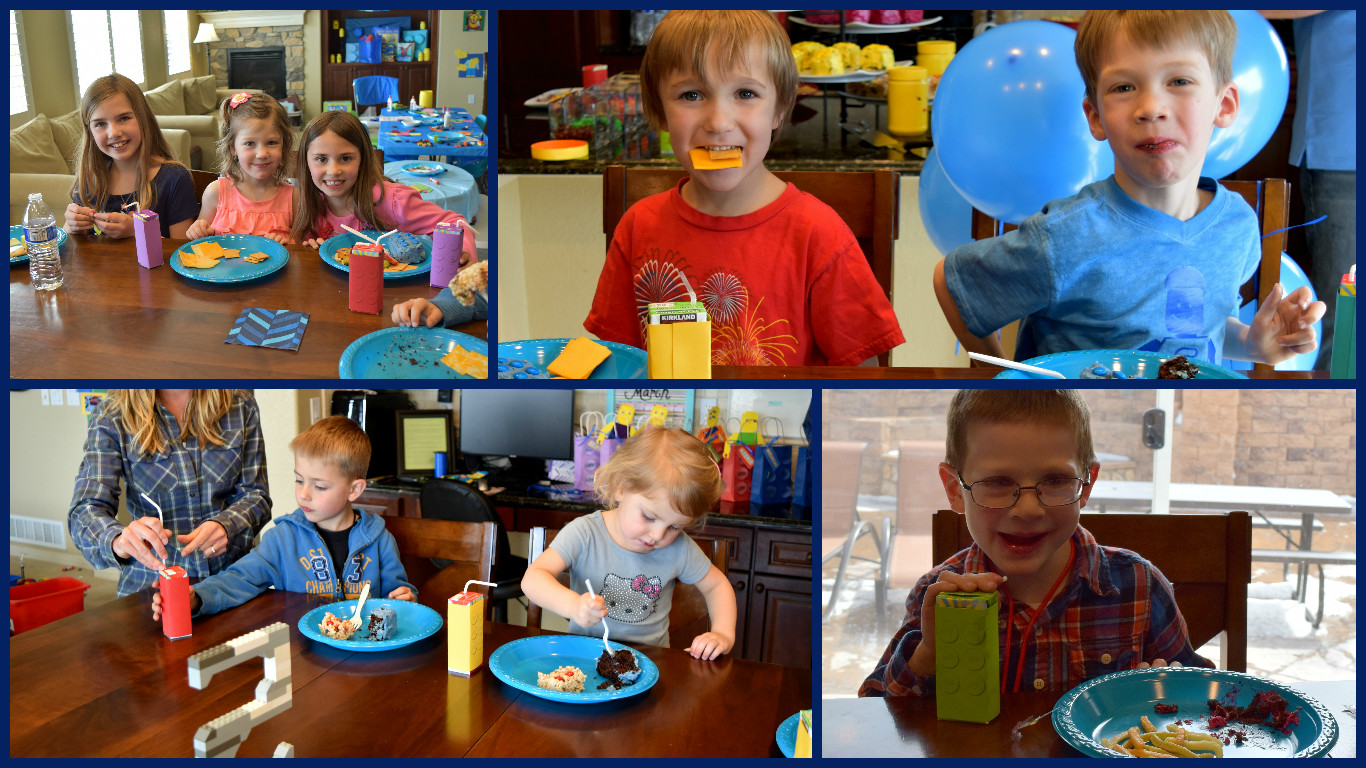
We set out the food and drinks. We looked through several different types of Lego cakes, and Elliott really wanted the kind with M&Ms on them, and he really wanted it to be blue. Brian is *highly* opposed to food coloring, so after doing a little research we picked these up at Whole Foods. They are made from vegetables so there is nothing artificial in there. I thought they worked out great and were a great alternative to food dye. The colors are not nearly as bright and bold as regular food coloring but they totally accomplished their purpose! These Lego Brick cakes were definitely challenging for me to make as I’m not super gifted in the baking arena and the frosting didn’t turn out as smooth as I had imagined it would 🙂 but Elliott loved them and that’s all that matters, right!! I also whipped up some Rice Krispie Lego Treats to have a gluten free option on hand.
Elliott wanted a Lego man on his brick, and he picked a firefighter…in case the candles got out of hand, the fireman would be there to assist 🙂We wrapped juice boxes to look like Lego bricks (downloaded from here) and Elliott and Selah built the fork and napkin holders!
And now for the actual PART-AY!!!!
Guests arrived and Elliott handed them their Lego badges to wear. The first activity was creating your own Lego guy, which I cleverly re-named “DO YOU WANNA BUILD A LEGO GUY?” in honor of the Blizzard the day before. (Get it??? Sung to the tune of “Do you wanna build a snowman?”!!)
We had yellow Lego guy cut outs (thank you, Silhouette!) with shirts, pants, hats, stickers, googly eyes, crayons and markers so the kids could decorate them. They didn’t put as much effort into them as I thought they might (note to self: most 5 year olds are not as into crafting as my son is!) and some finished as quickly as possible so they could play in the bin of Legos on the floor :). We also had several Lego coloring sheets set out as well.Here are some of the finished Lego guys sticking up out of their bags…cute!!!
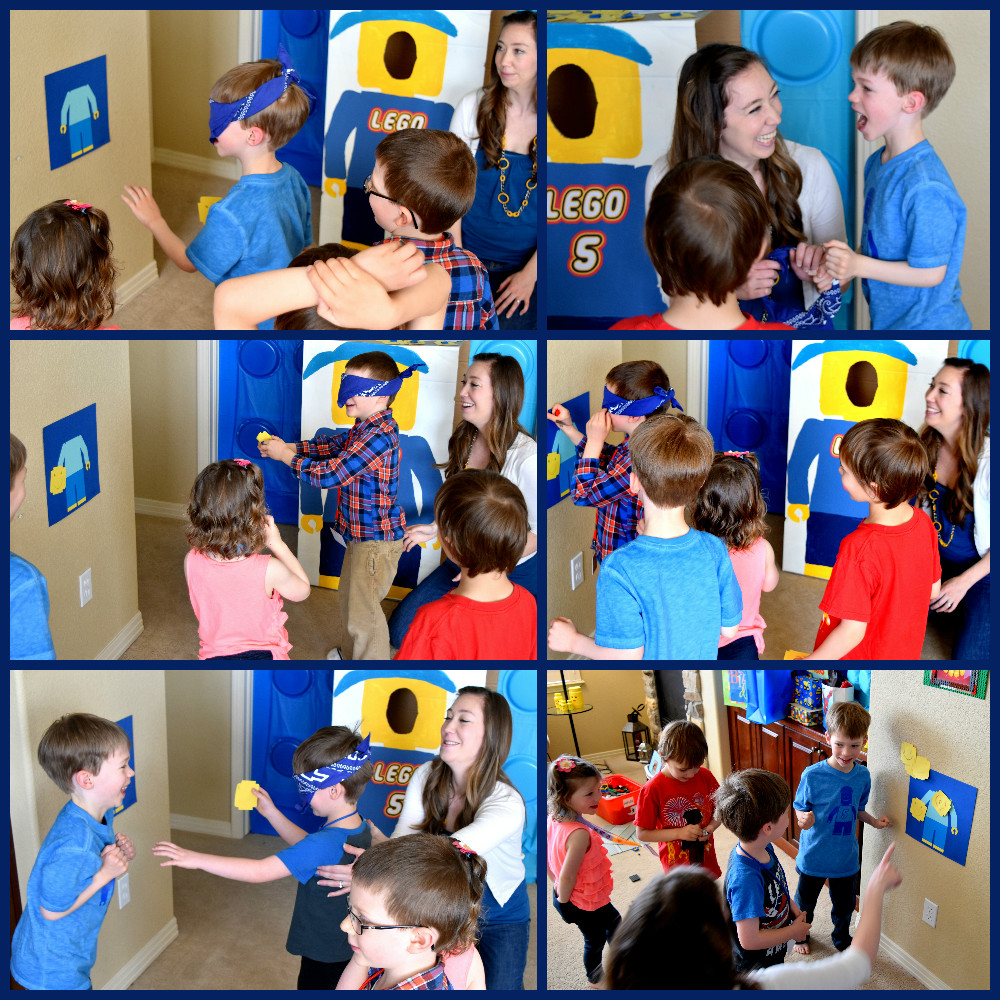
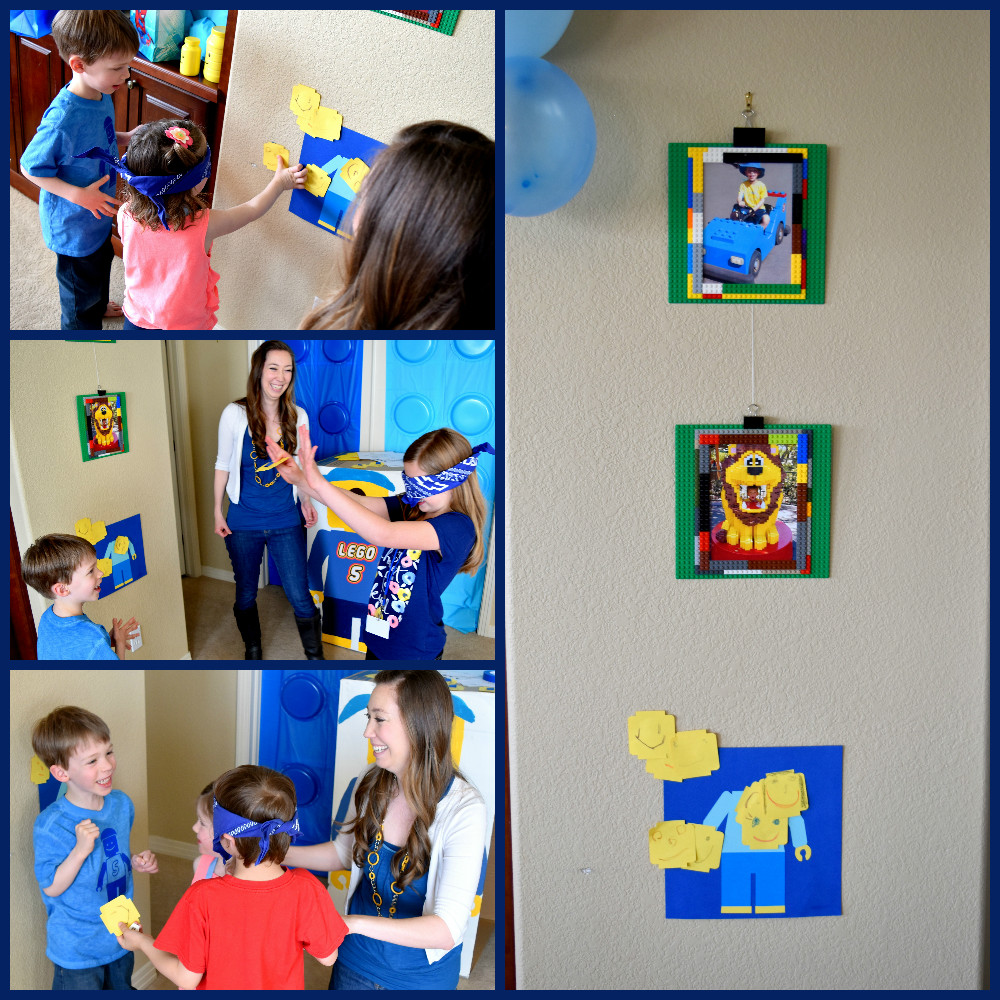
Next up was Pin the Head on the Lego Guy. This game is always such a hit!!! The kids each decorated their own Lego head and then took turns trying to pin it onto the headless Lego man. Everyone was cracking up!!
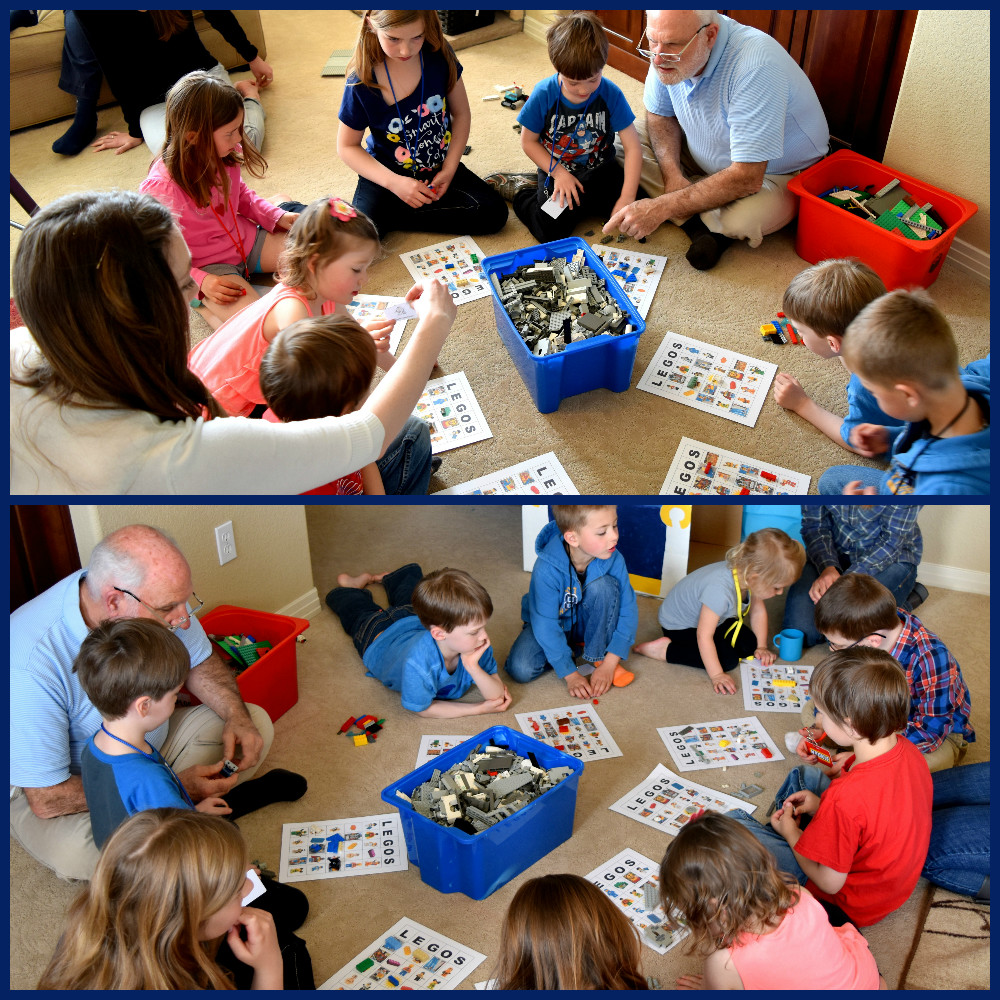
Then we played Lego Bingo. I downloaded the Lego Bingo cards from someone else who had designed them, but we changed up a lot of them because, as Elliott puts it, a lot of them “don’t bless God.” It’s true. What is with the terrifying Lego pieces that are out there? Anyway, it was cute because we used pictures of Elliott at Lego Land and it made the game a lot more fun and personal.
We used Legos for our markers and this game was also a big hit!
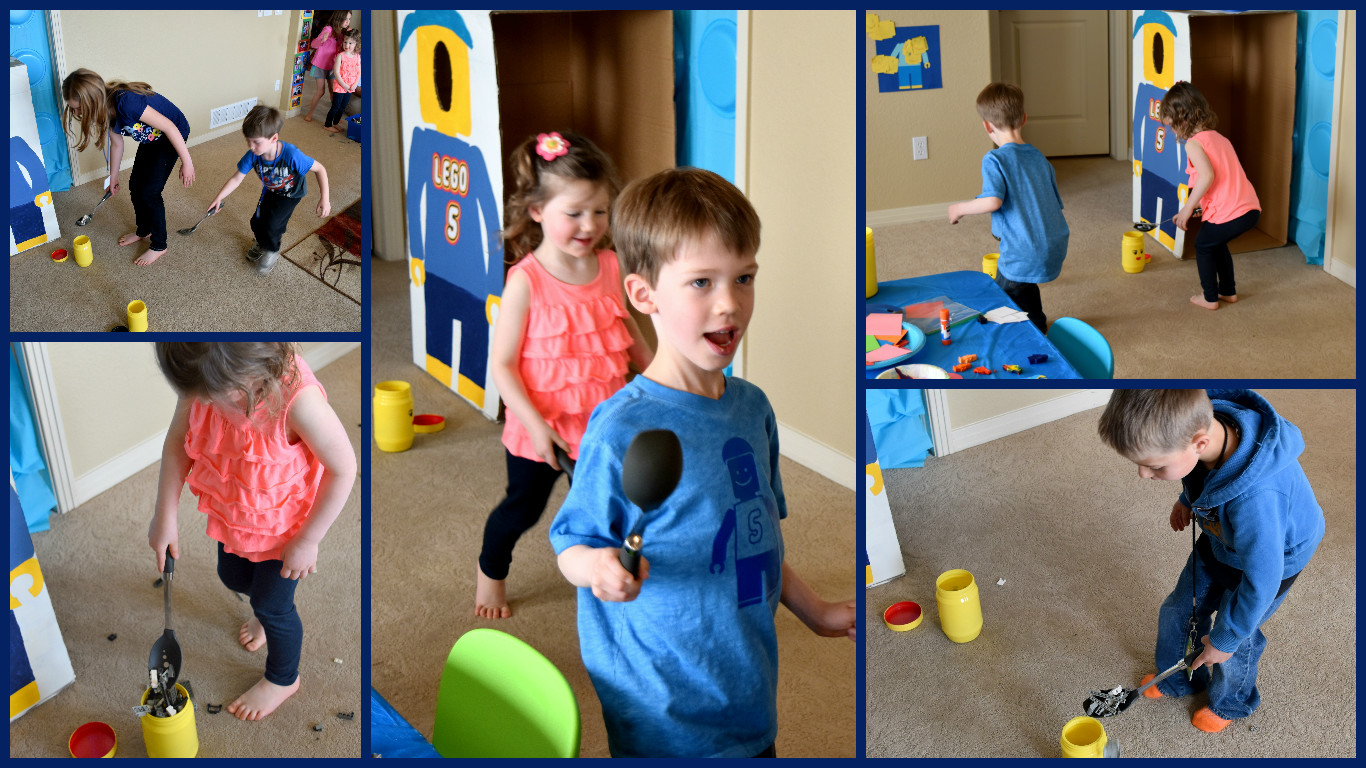
Then we had a spoon race…which team can carry the Lego pieces on a spoon into the Lego head the fastest?
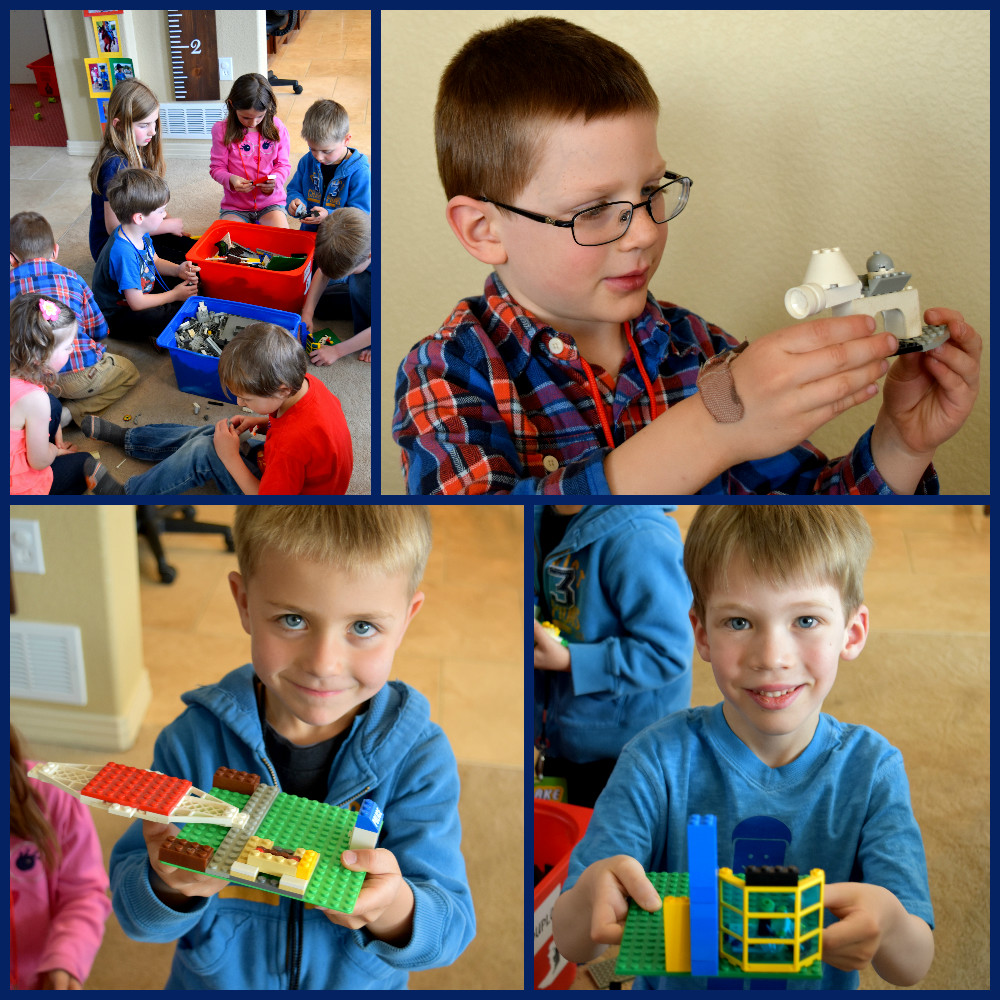
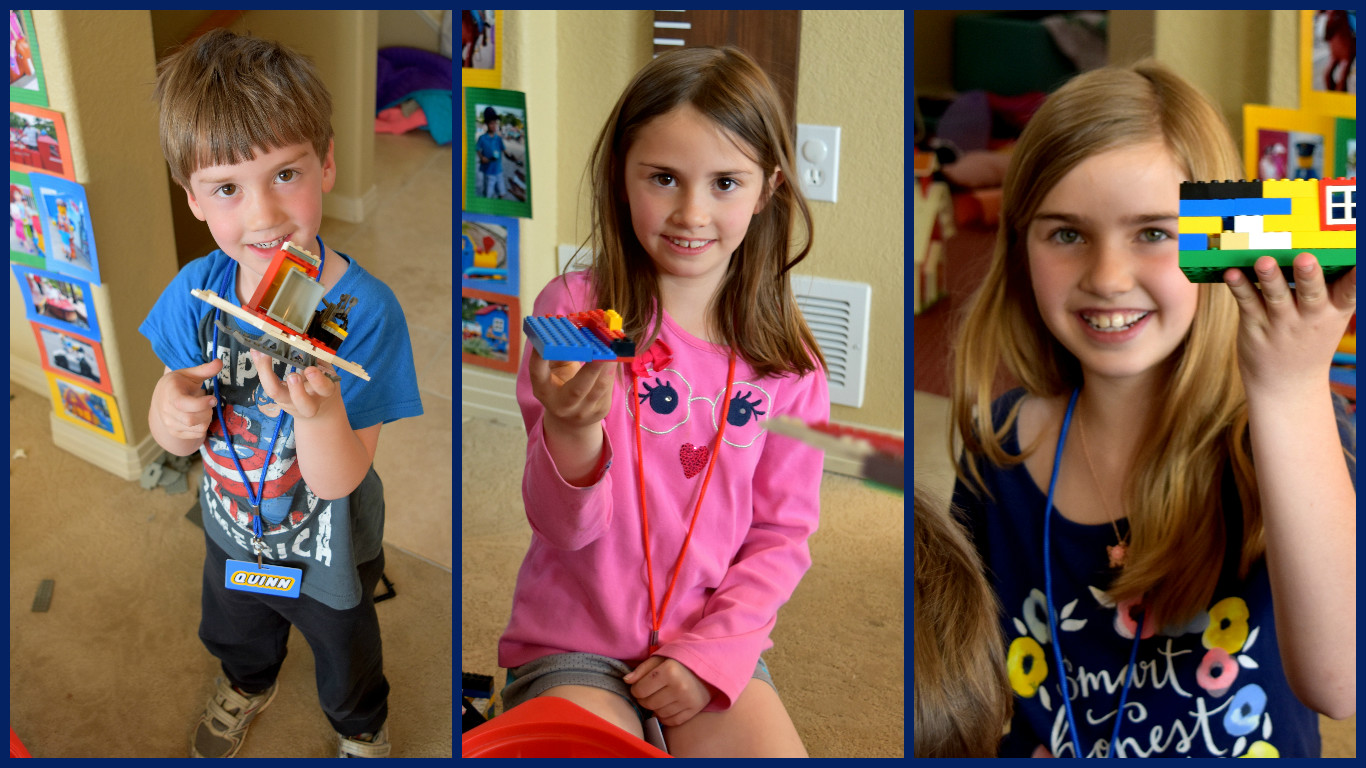
And finally, Lego Creationary: each child builds something out of Legos and the other kids try to guess what it is! This was fun!!
Then it was cake time!
And I almost forgot on the day of, but thankfully Elliott reminded me! Presents!
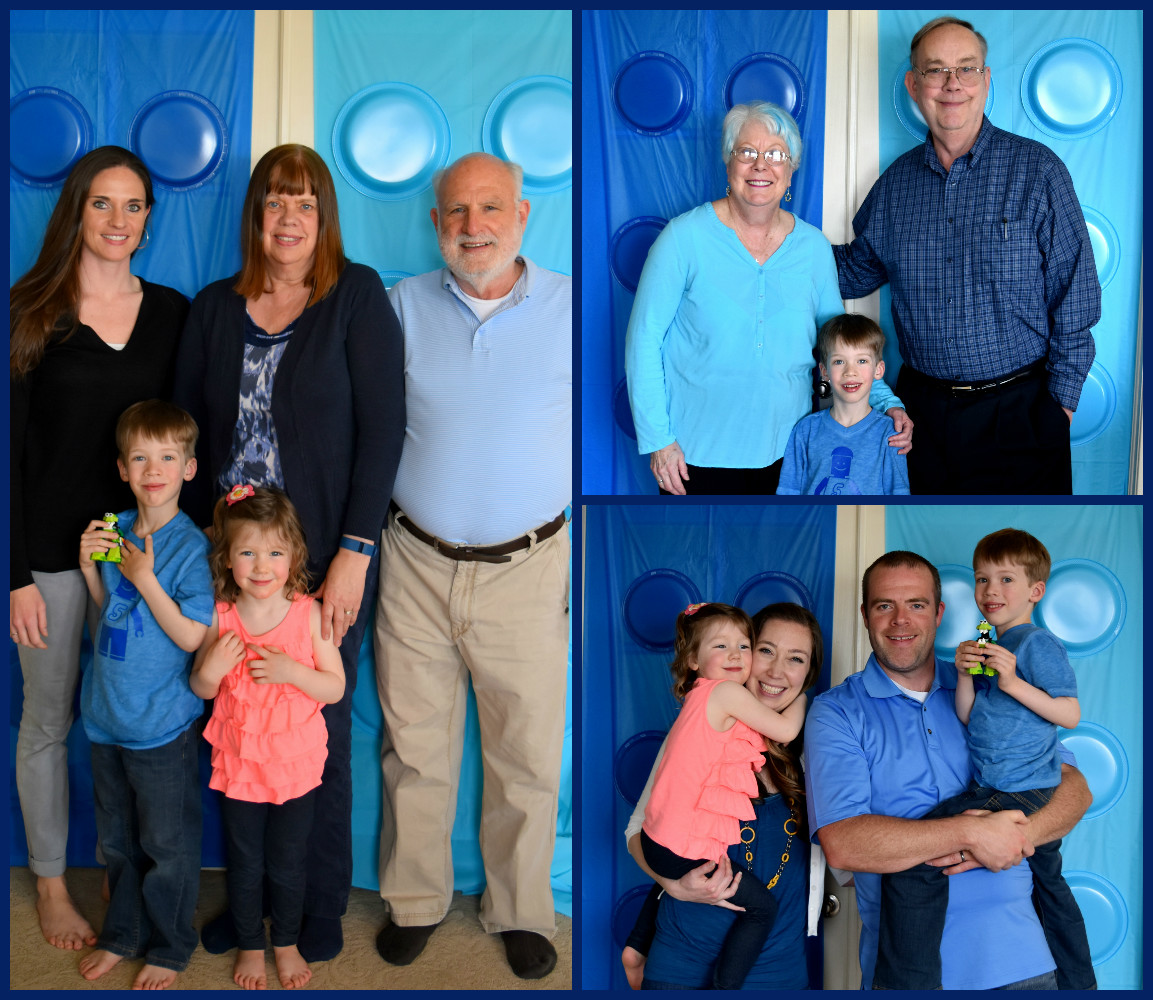
And everyone got their photo in the Lego man, of course!
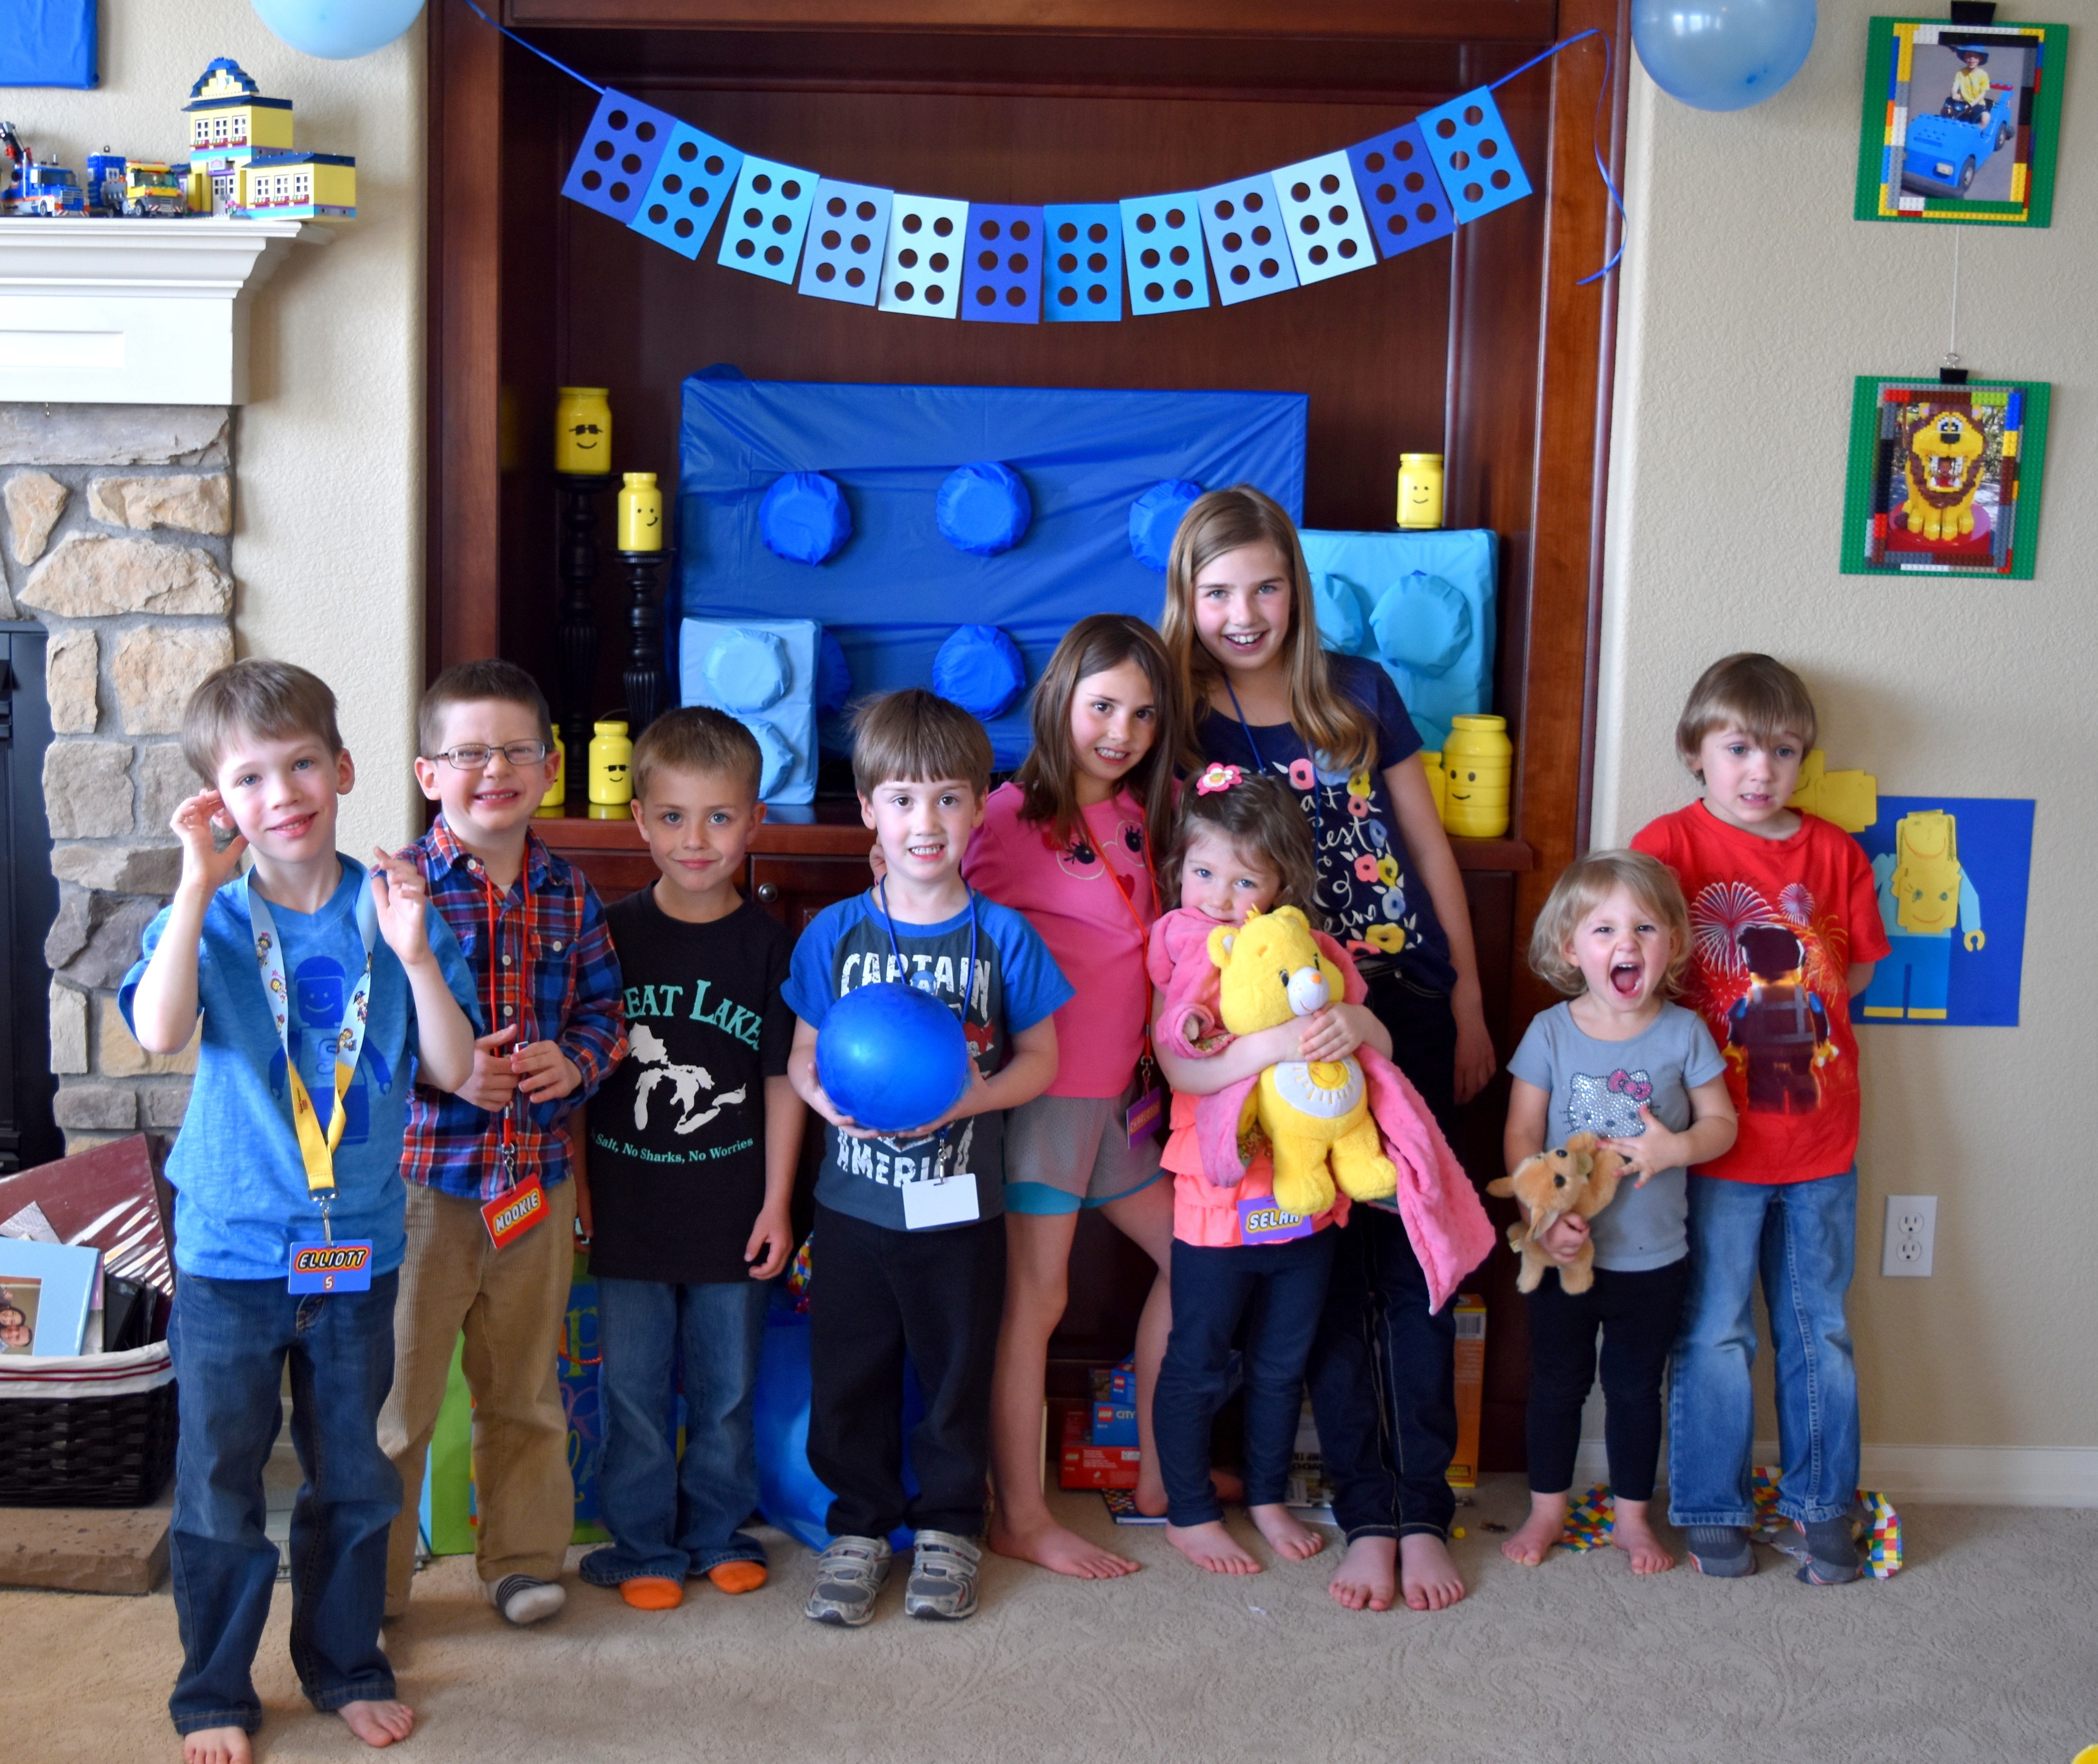
What a fun group of kiddos!!
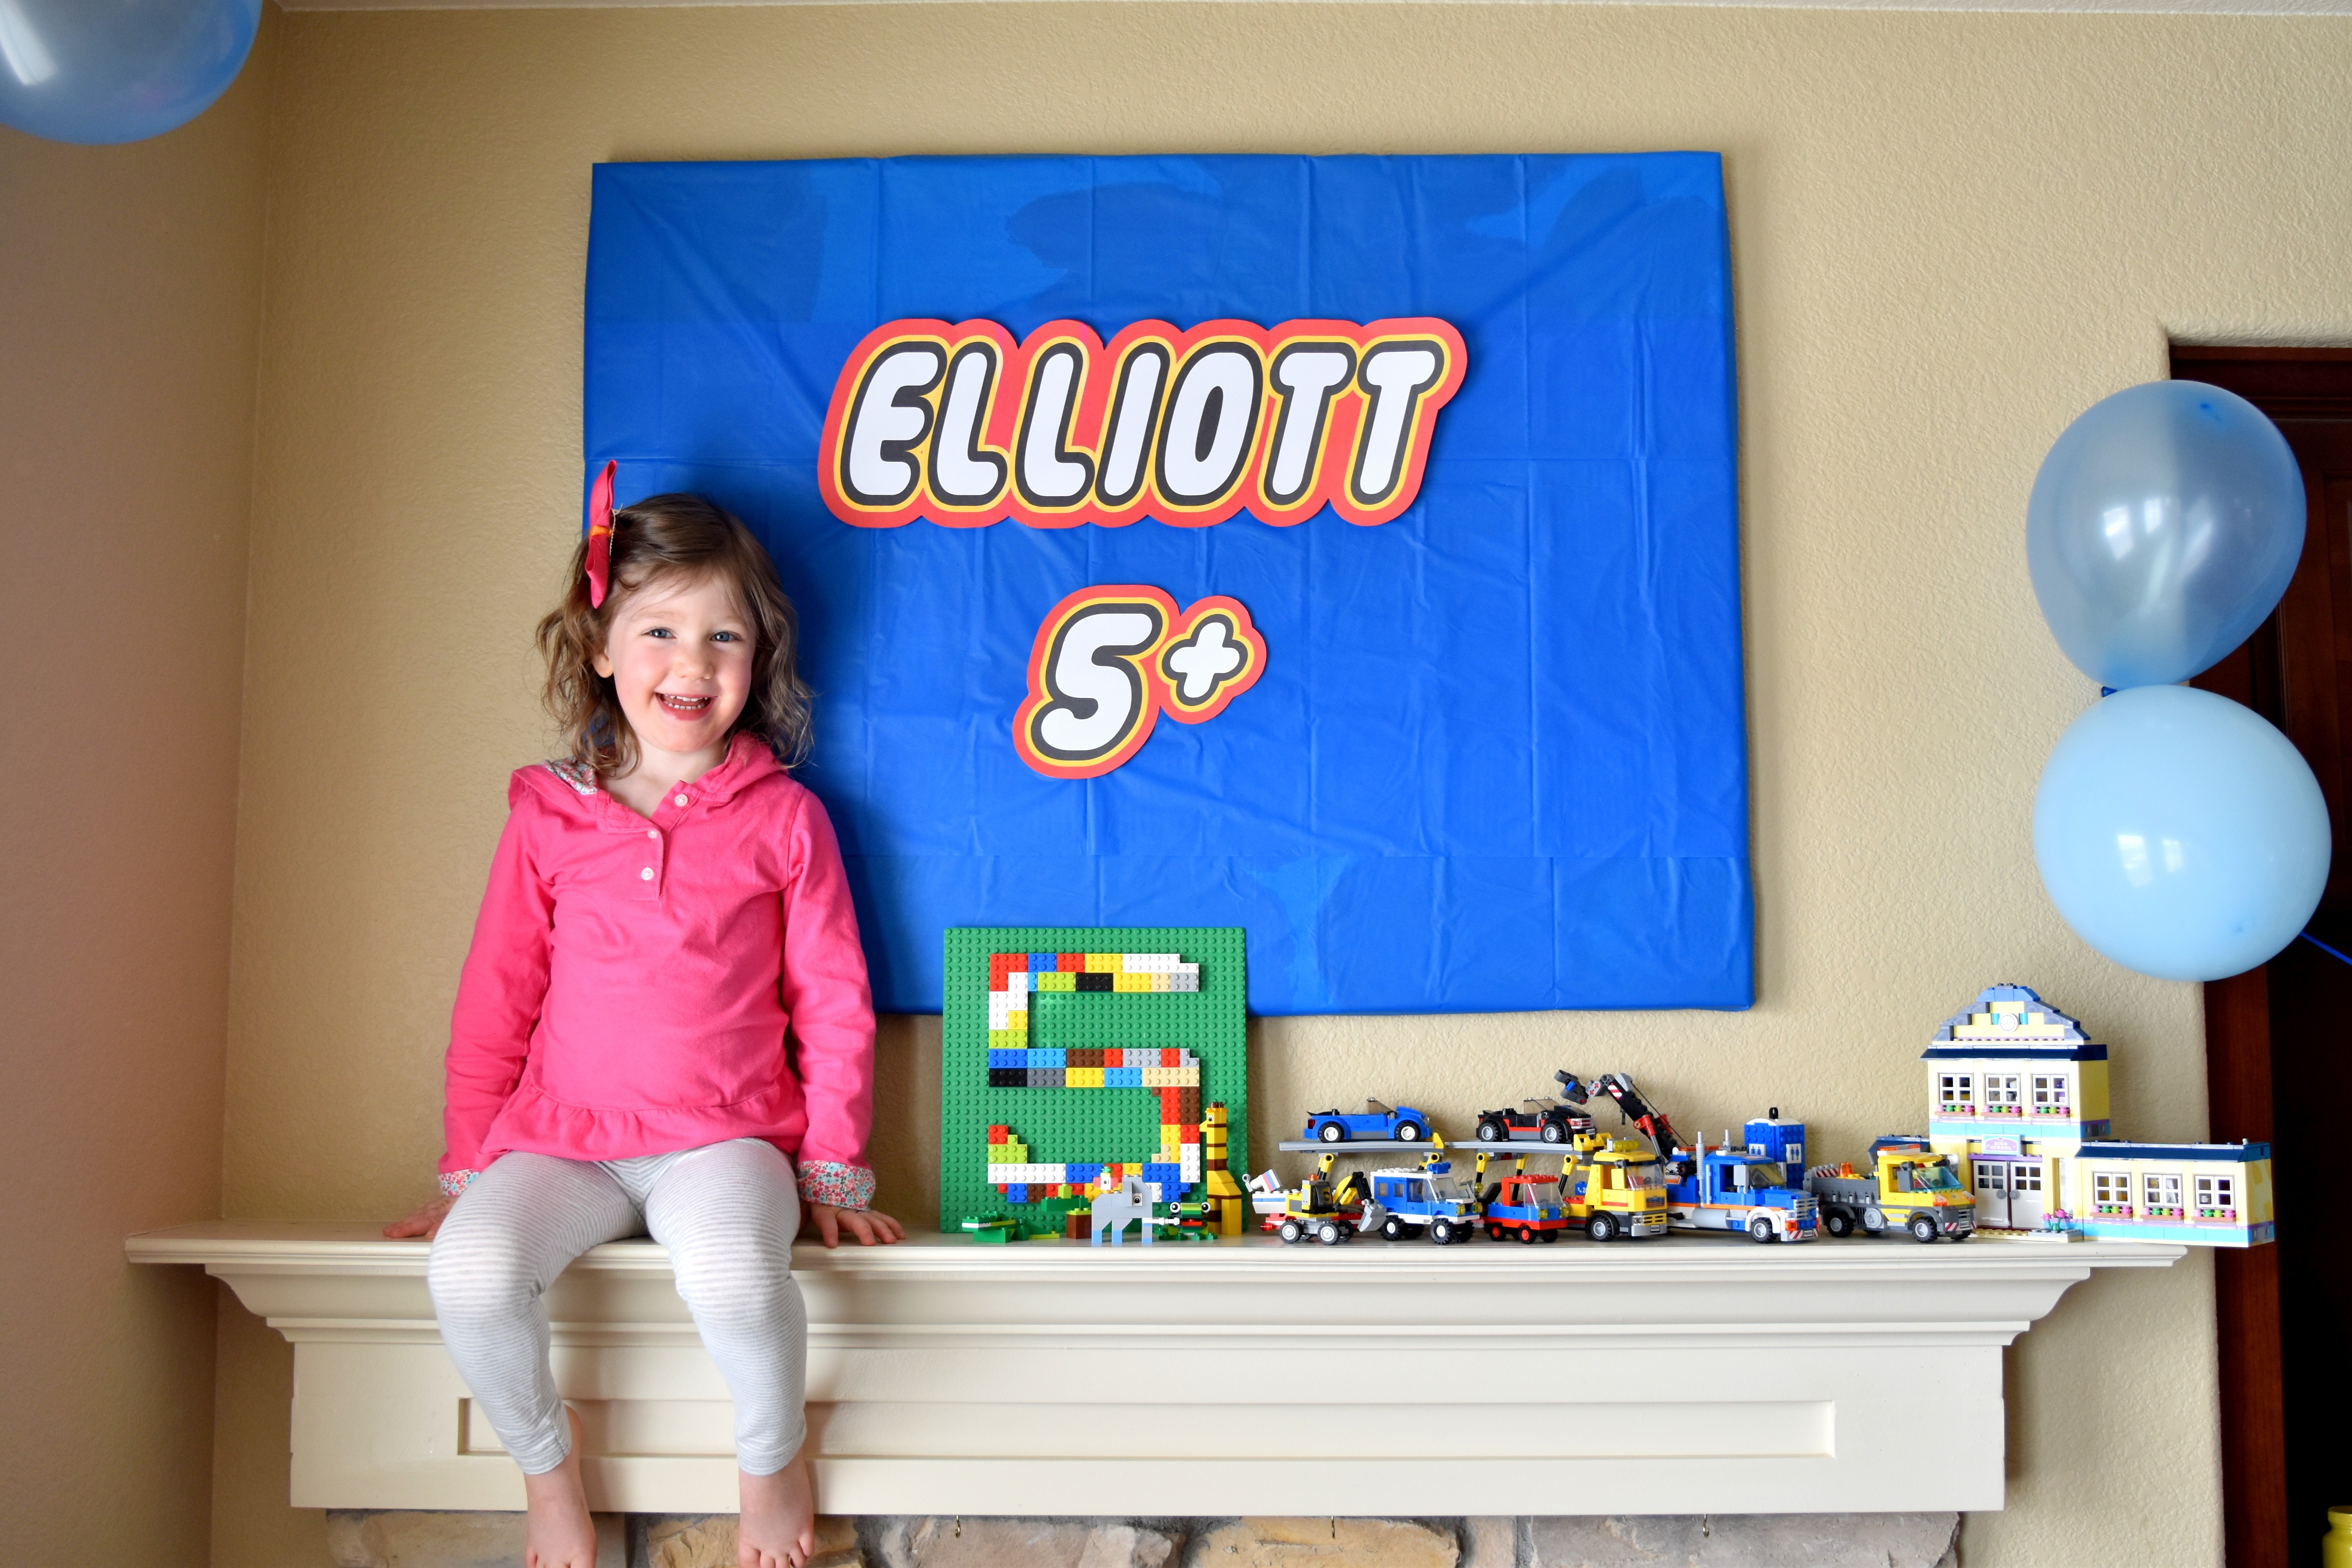
Our Big Man!!And of course Selah wanted a picture up there, too 🙂
5th Lego Birthday Party SUCCESS!!
And as if we hadn’t had enough fun, that night we went to Red Robin for his free birthday burger!
Happy 5th Birthday, our beloved Elliott!!!
(And in case you’re wondering…yes, he already has his parties planned out for the next 4 years!!!HA!!!!)
If there’s one thing that’s helped keep order in our lives, it’s having a home that’s orderly enough that my kids can HELP me keep it orderly.
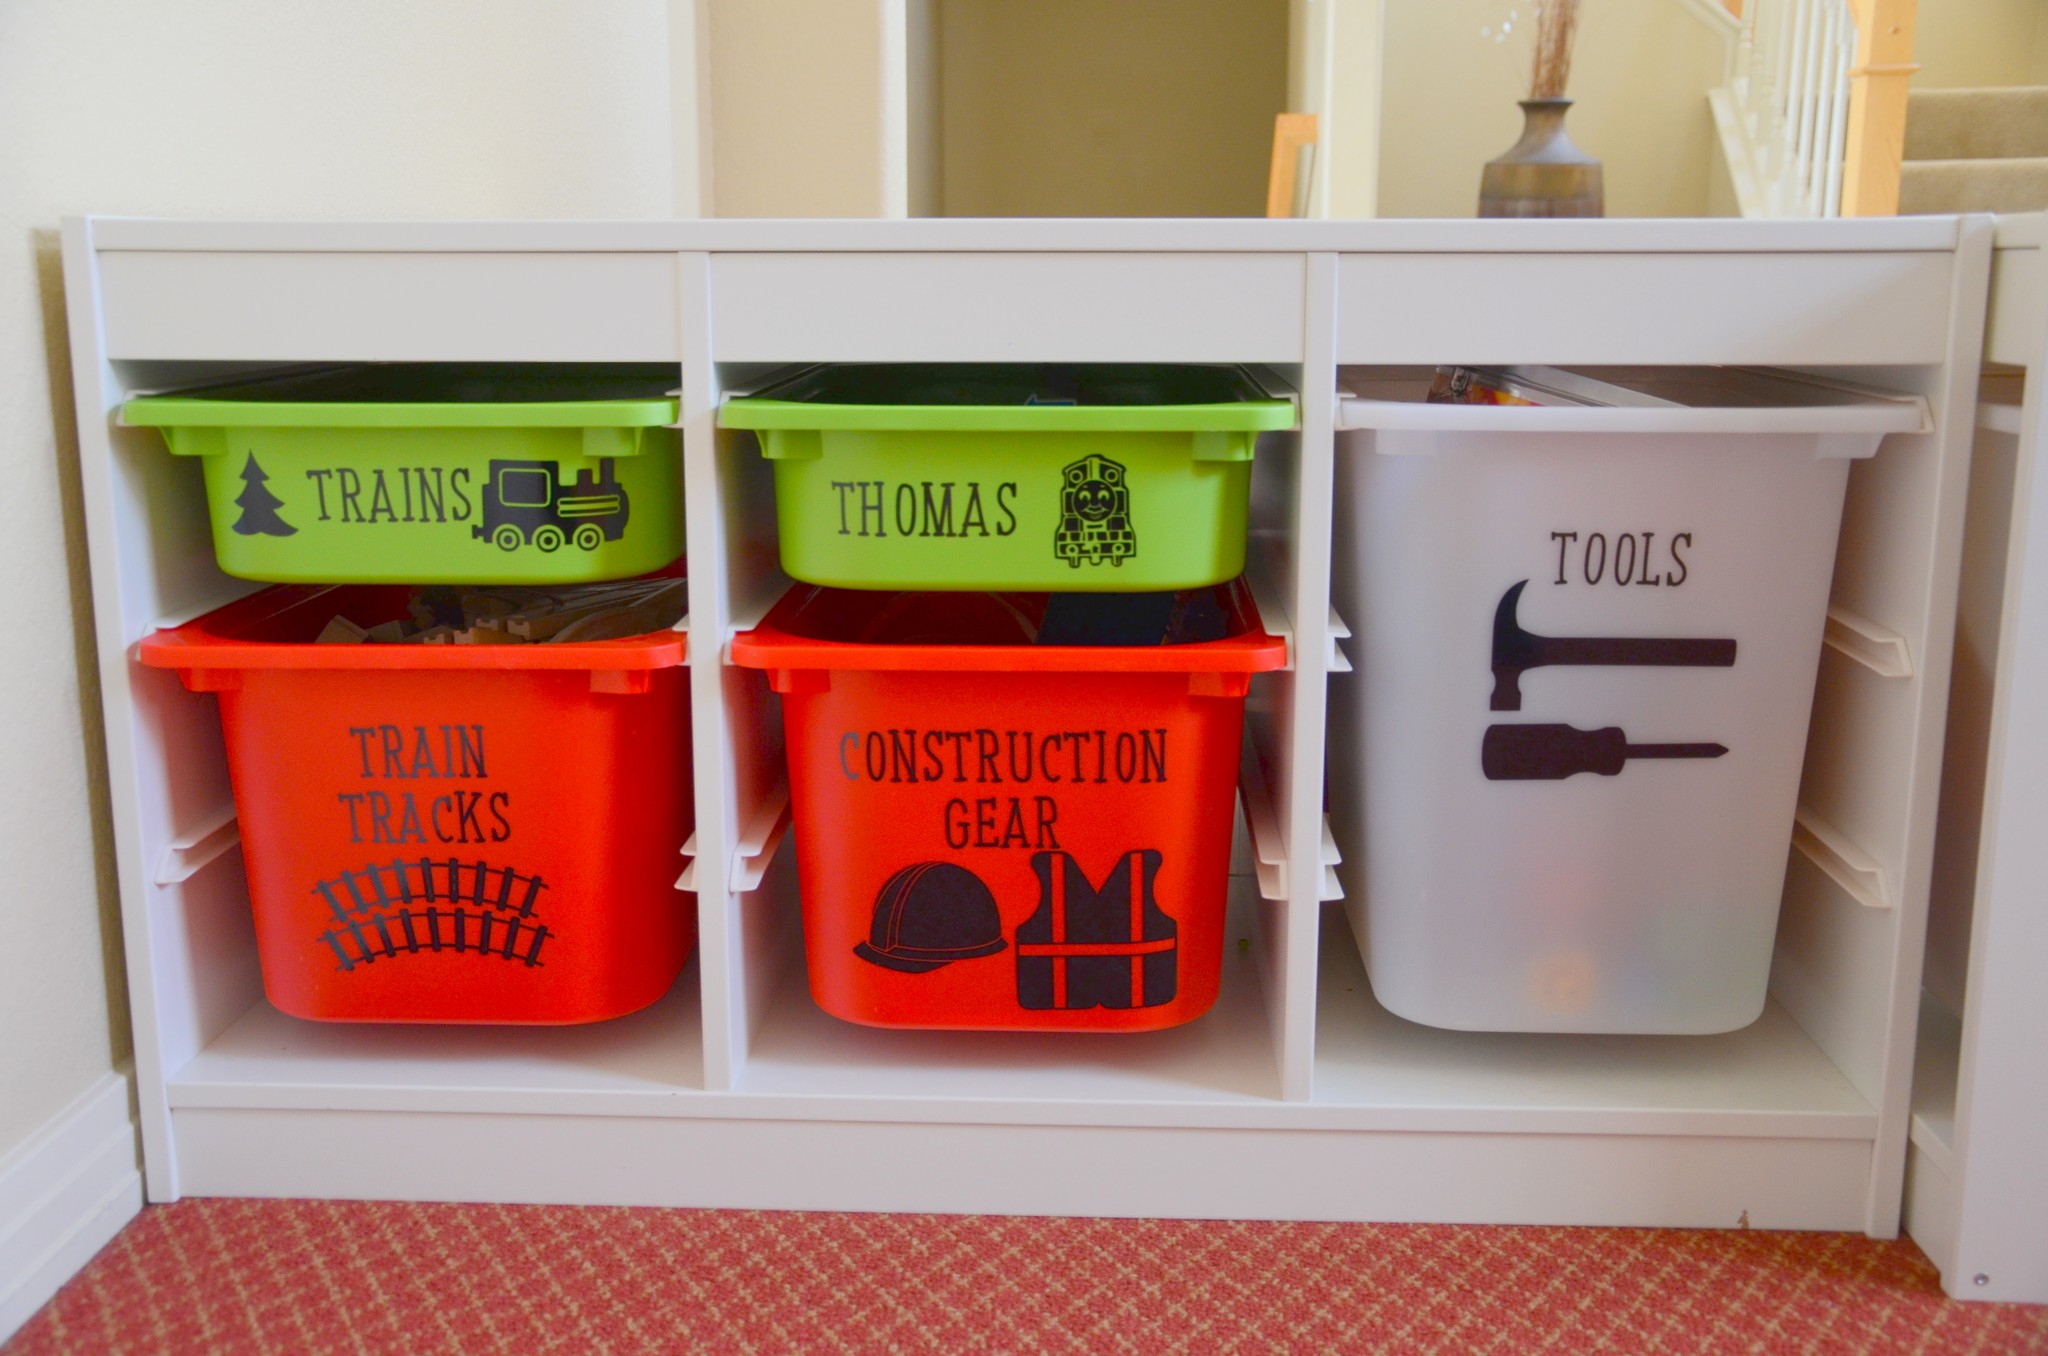
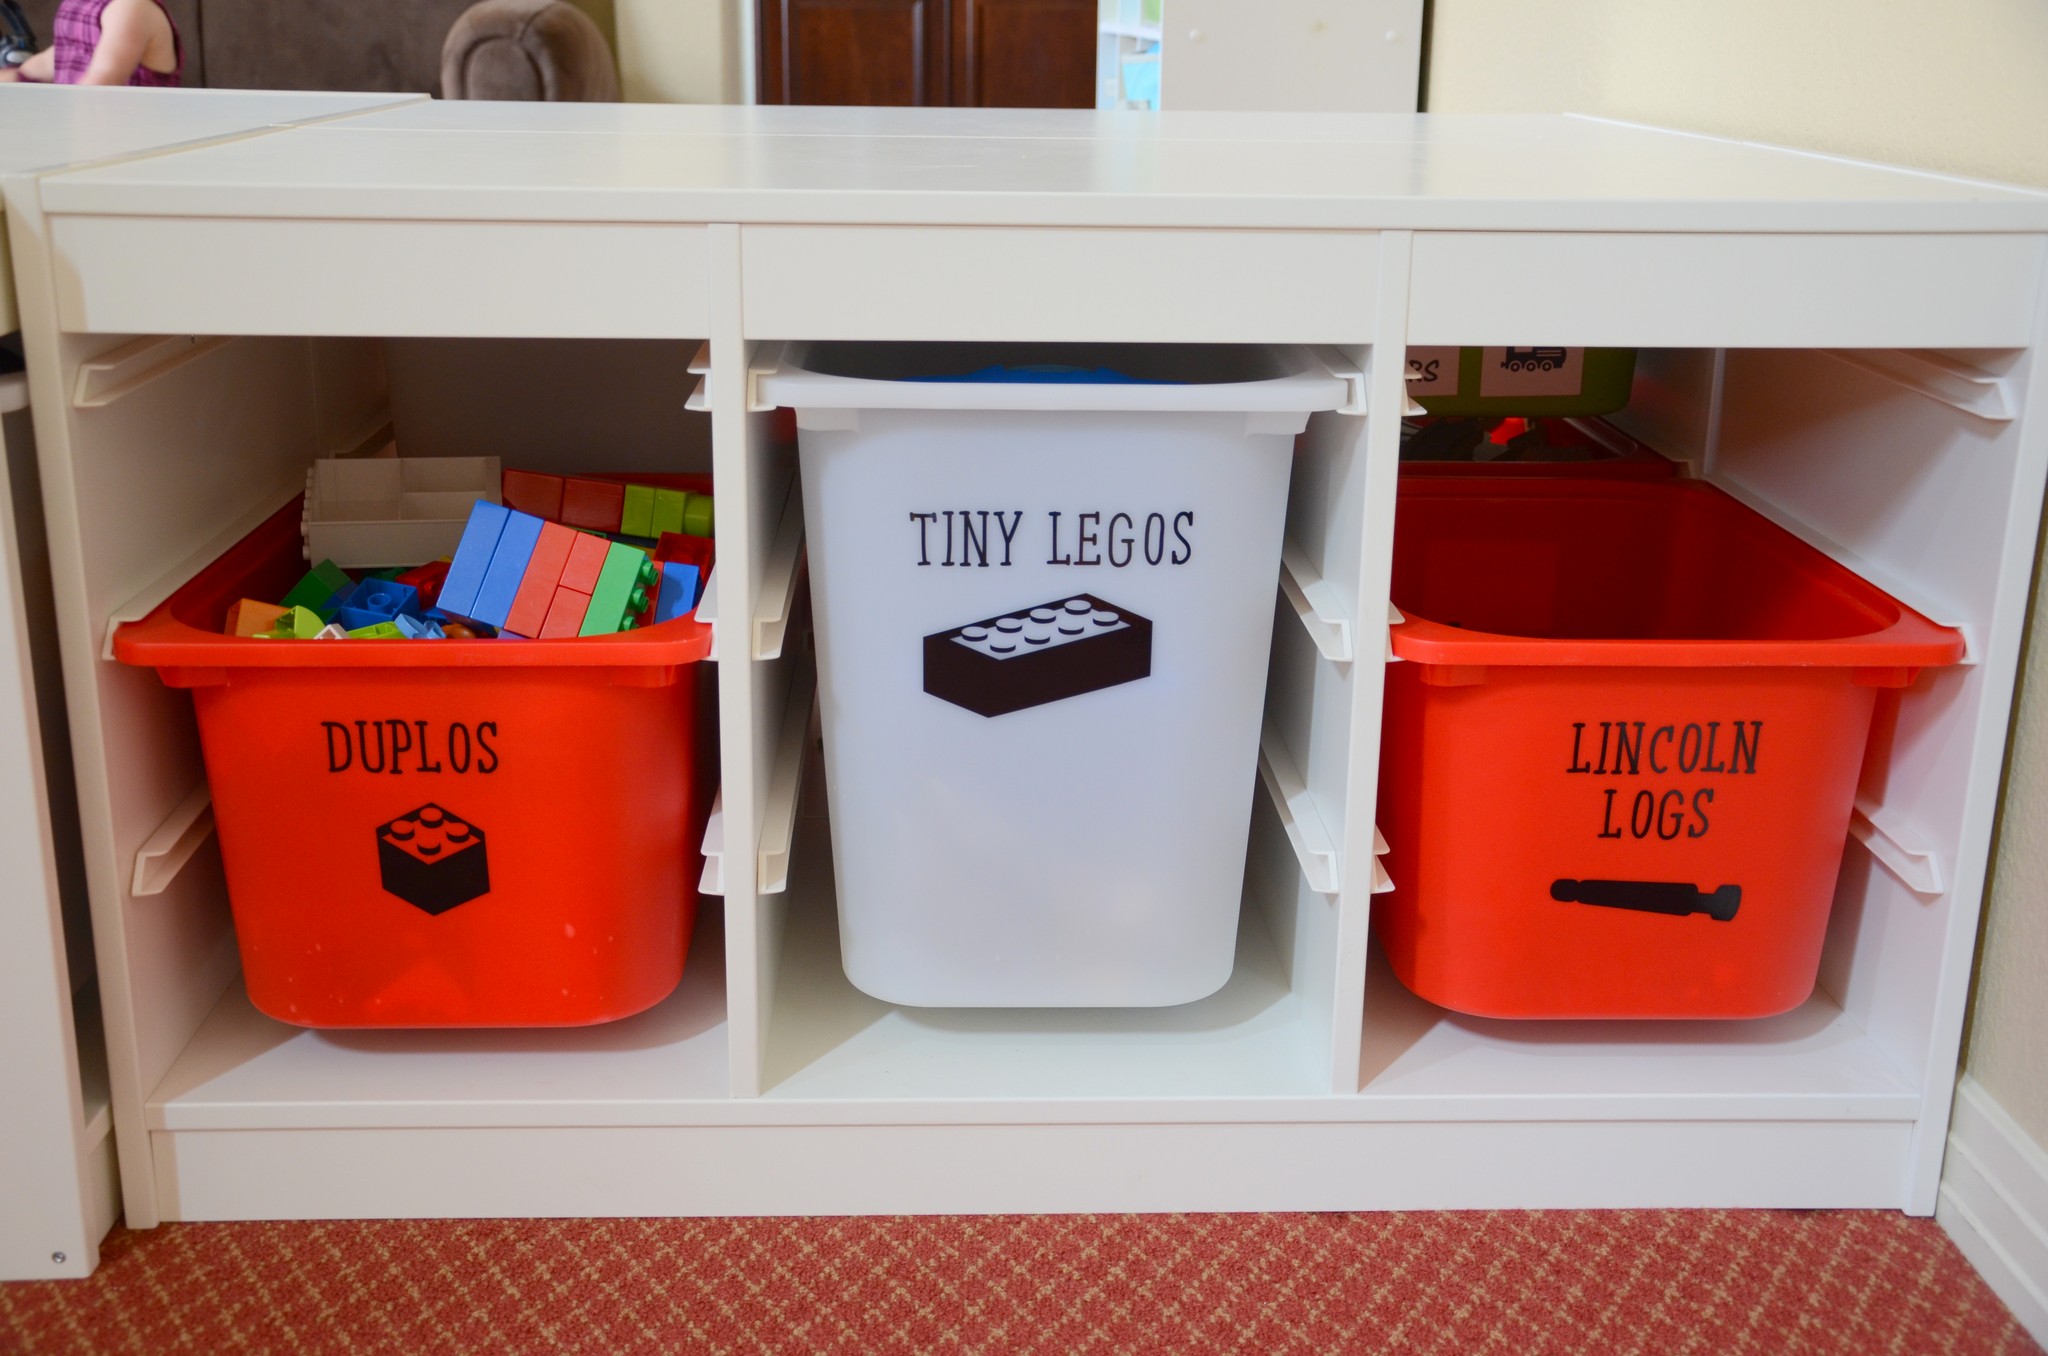
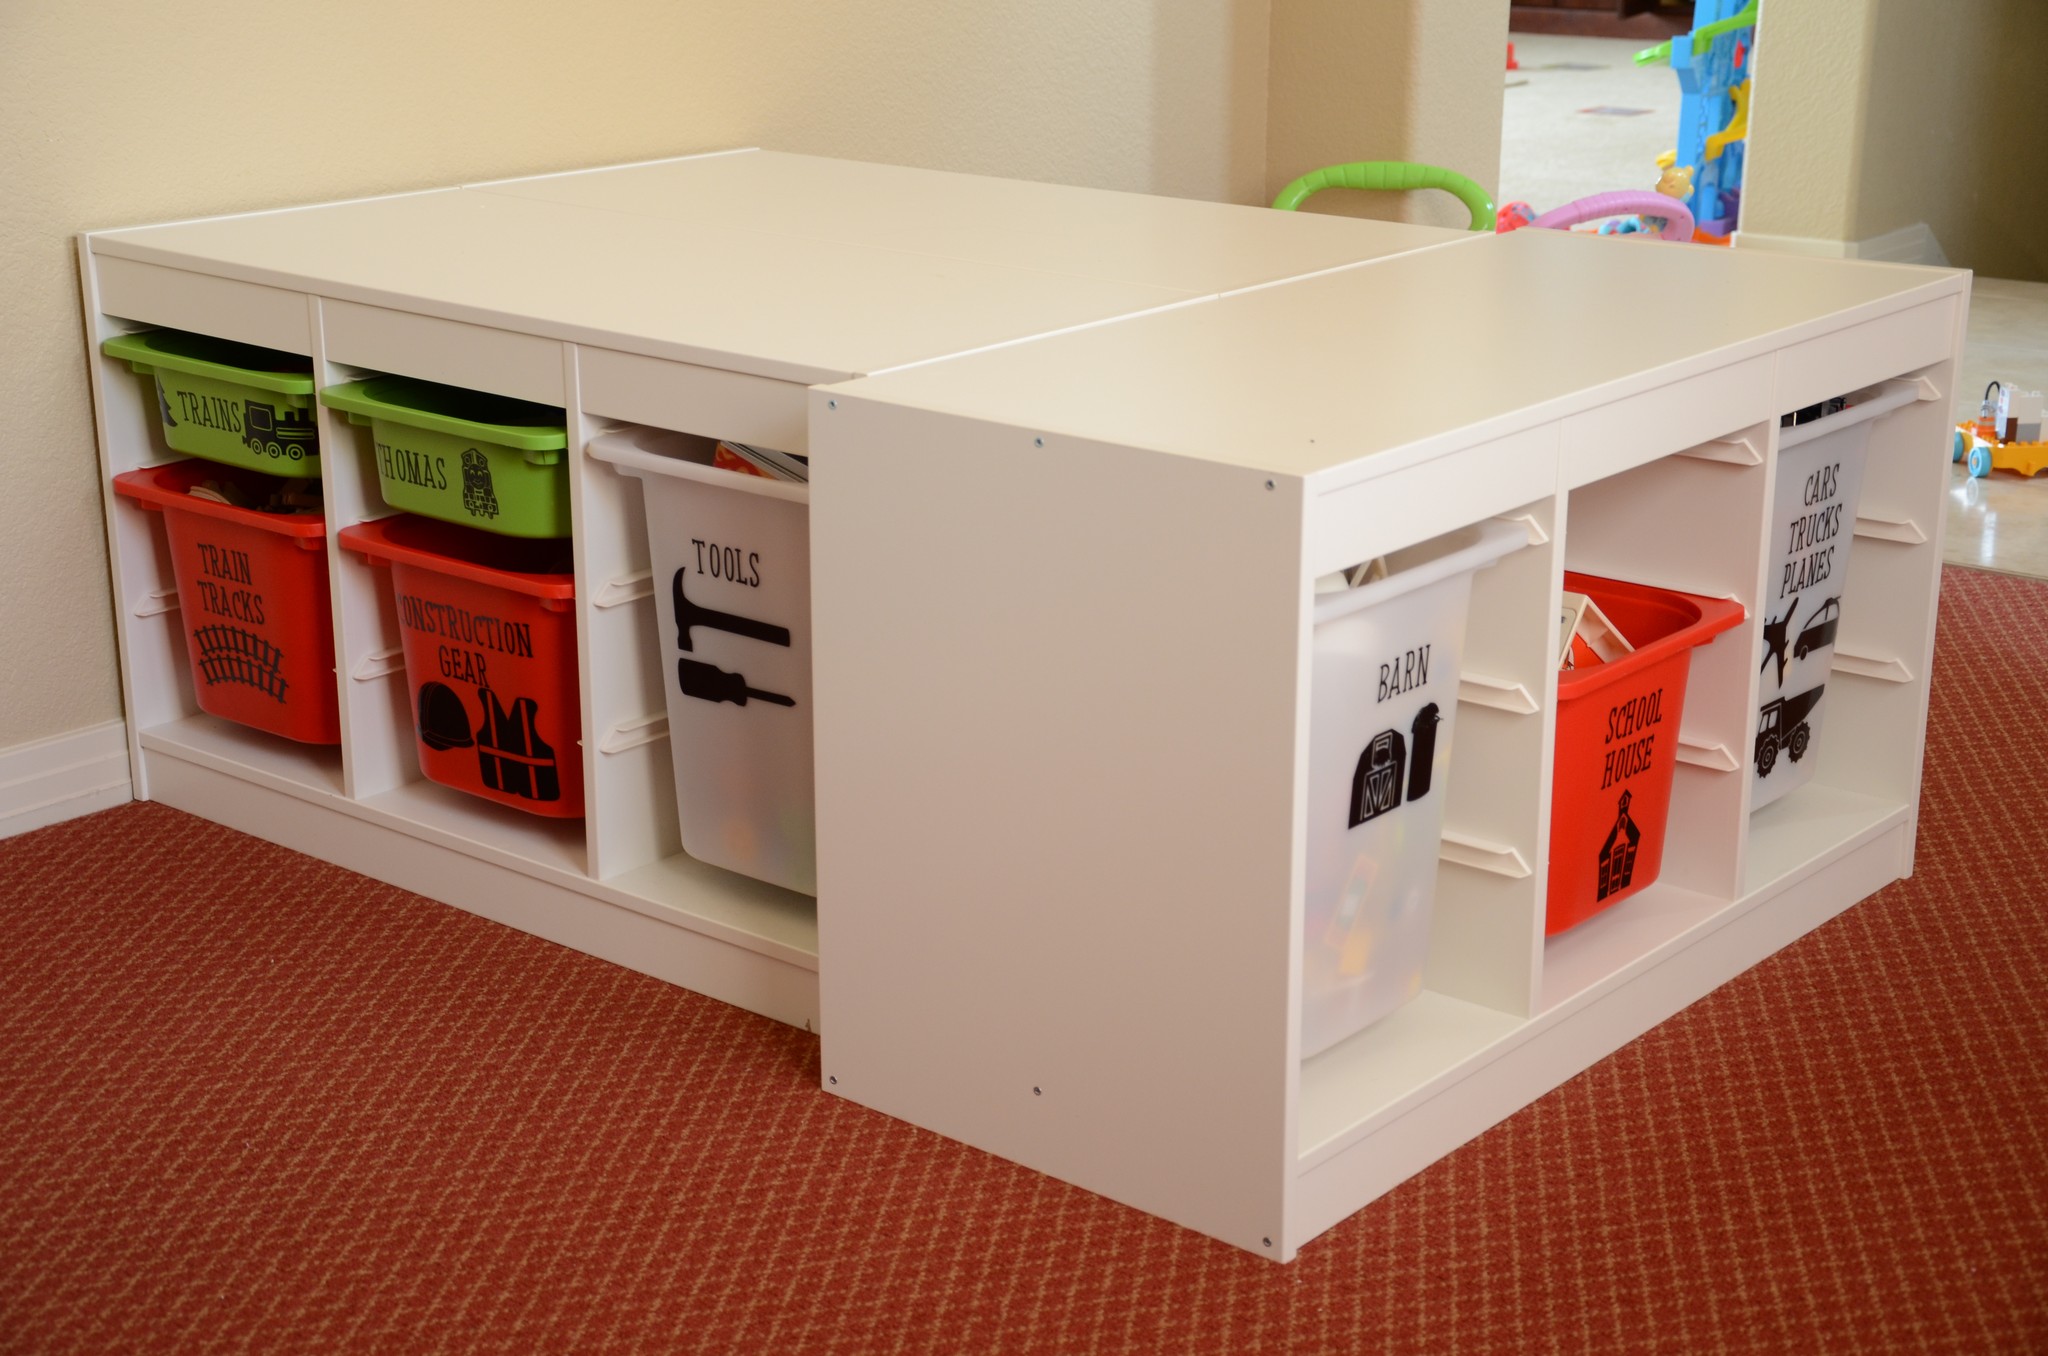
I’ve always had some type of bin to store kid toys in, but when we found the perfect shelving unit/bin combo at IKEA, we both knew it was the ticket to life and orderliness in our crazy “kid land” which we call, “The Playroom.” We were trying to figure out how to store toys and ALSO get some sort of a “surface” in our playroom for building train tracks and doing puzzles and all fun things that require a hard surface. We saw these shelving units set up at IKEA and realized we had found the perfect solution for both (pictures below)!
Upon getting the bins home and the shelving unit built, I immediately started labeling them.
Three things to consider when labeling toy bins for young (non-reader) kids:
1. You want clear, simple pictures so kids can put toys away on their own before they can read2. You want words to go along with each picture so that they can begin to associate that picture with that word2. You want a label that’s going to be durable enough to resist messy and curious fingers that are touching them EVERY day…
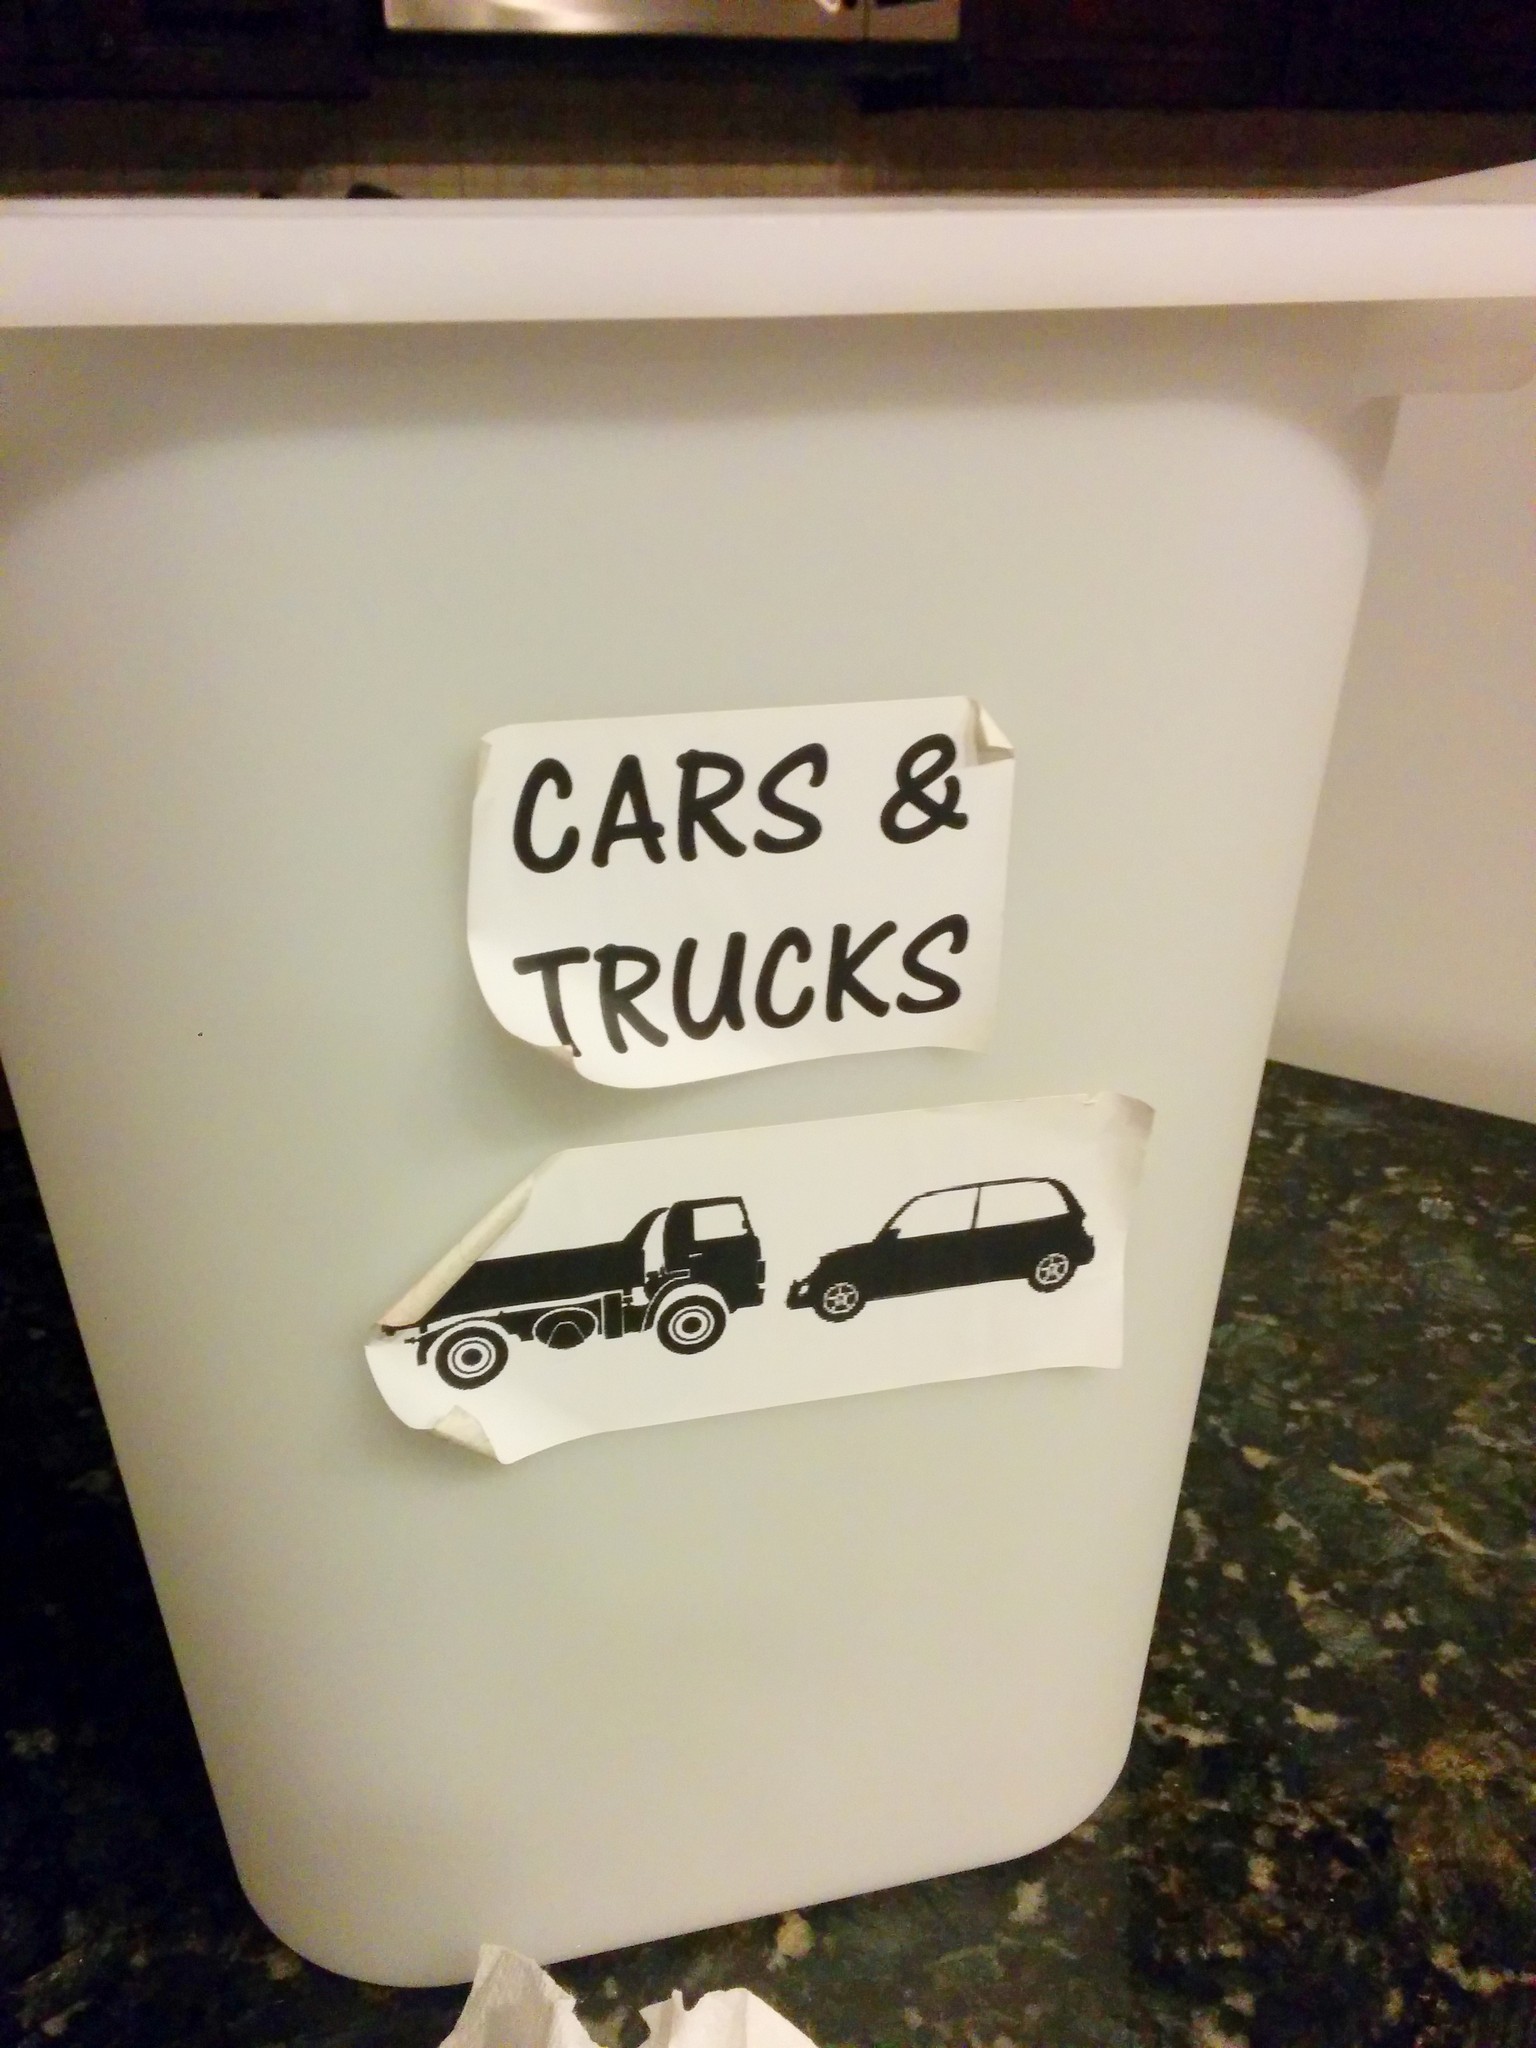
I used my label-maker to whip out labels for each of the bins. They were so darling and cute and I was so proud of myself…until…the next morning when kids actually came near them.
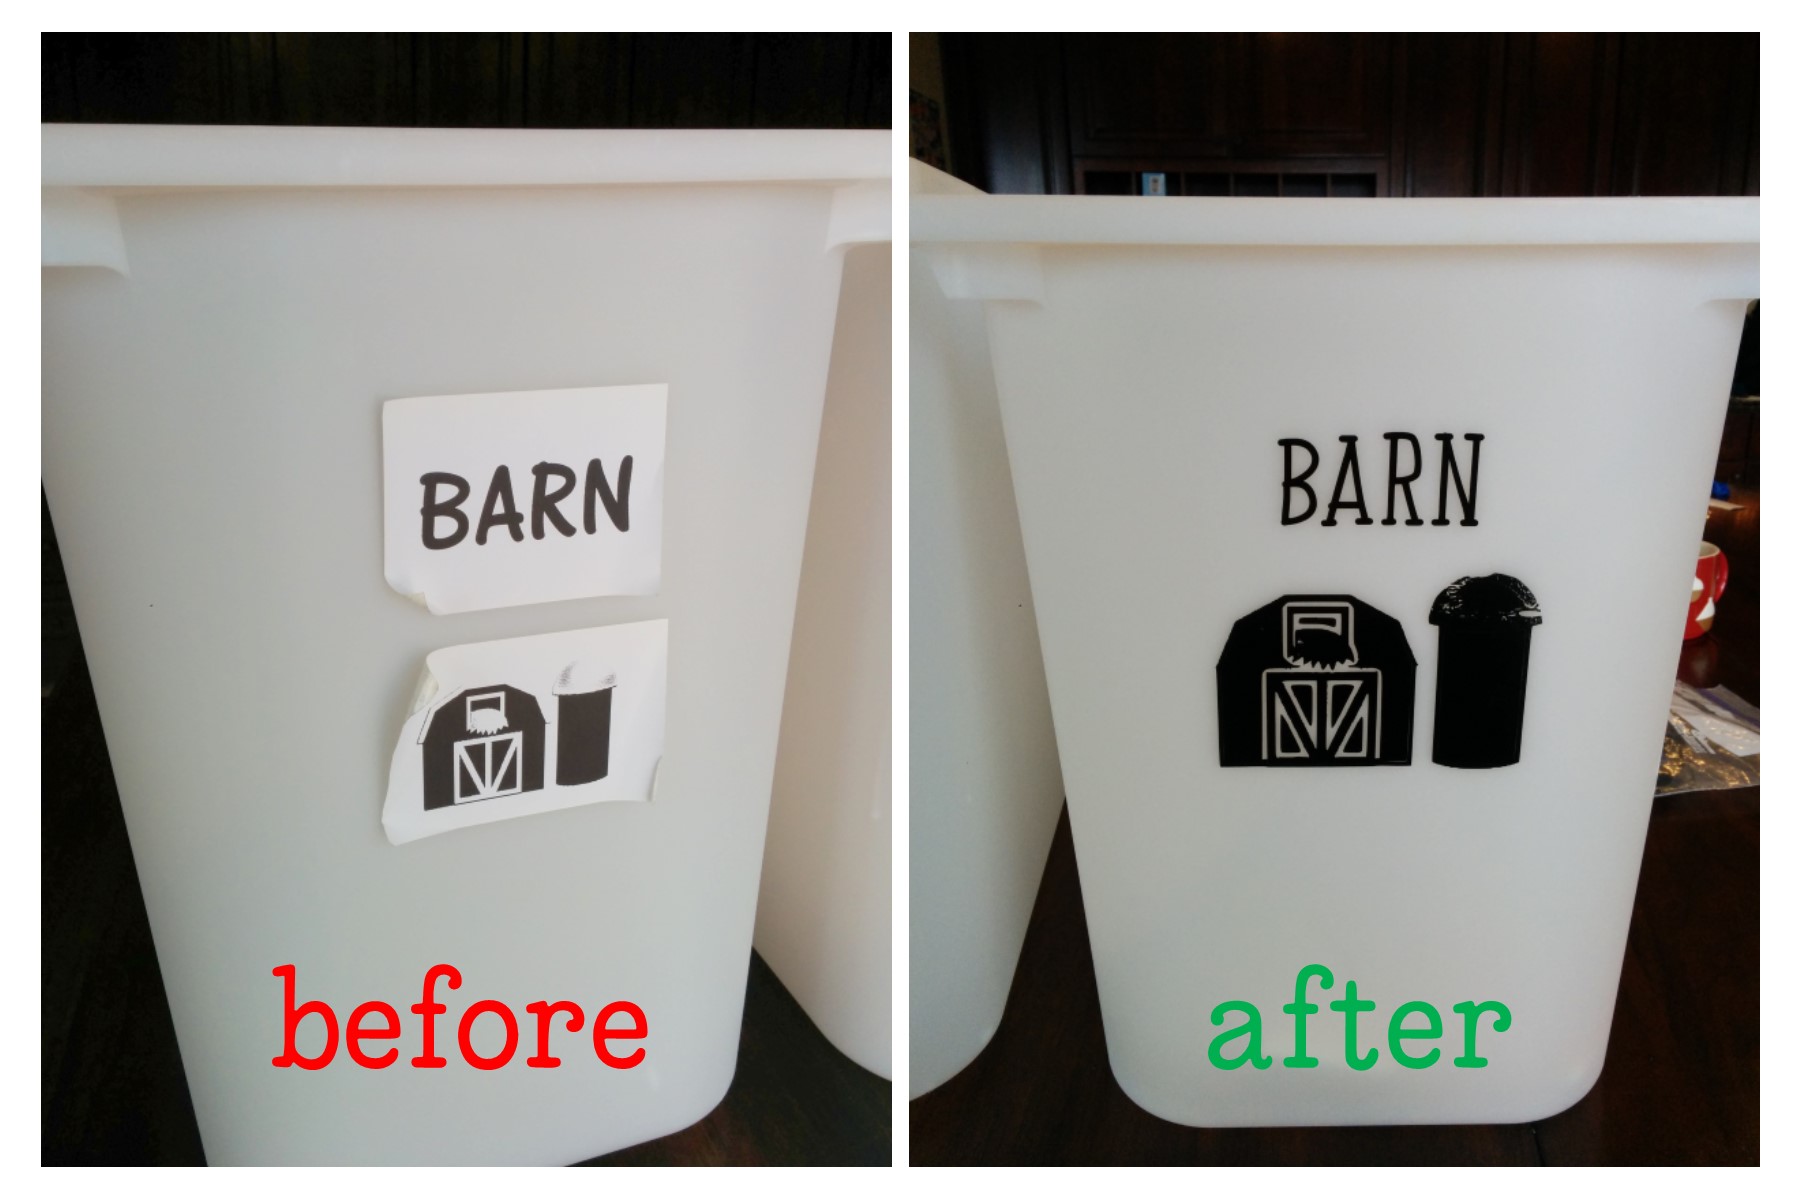
For some reason, the labels stayed better on the colored bins than on the white bins, but in general, they ALL did what most stickers do…they peeled up. With a little use and over just a very little time, the corners began to curl up, and especially with the assistance of tiny fingers that LOVE peeling stickers off :). They began to look grungy and gross and fall off.
Gross.
Enter…MY SILHOUETTE CAMEO TO SAVE THE DAY!!!
I generally used the same files that I had from my previous labels (free images that I found on the internet), but I did grab a few from the Silhouette store for simplicity’s sake. I had to use Oracal 651 Outdoor Vinyl (the Sihouette “Indoor/Outdoor” vinyl did NOT stick to the bins…). (P.S. I learned that the hard way! I cut out ALL of the words, went to stick one on, and I couldn’t get it to stick…I wasted tons of vinyl! Now I always test out vinyl before cutting everything out!) So, I ordered new vinyl, tested it (ha!), cut out the words and pictures and then used transfer tape to stick them on the bins.
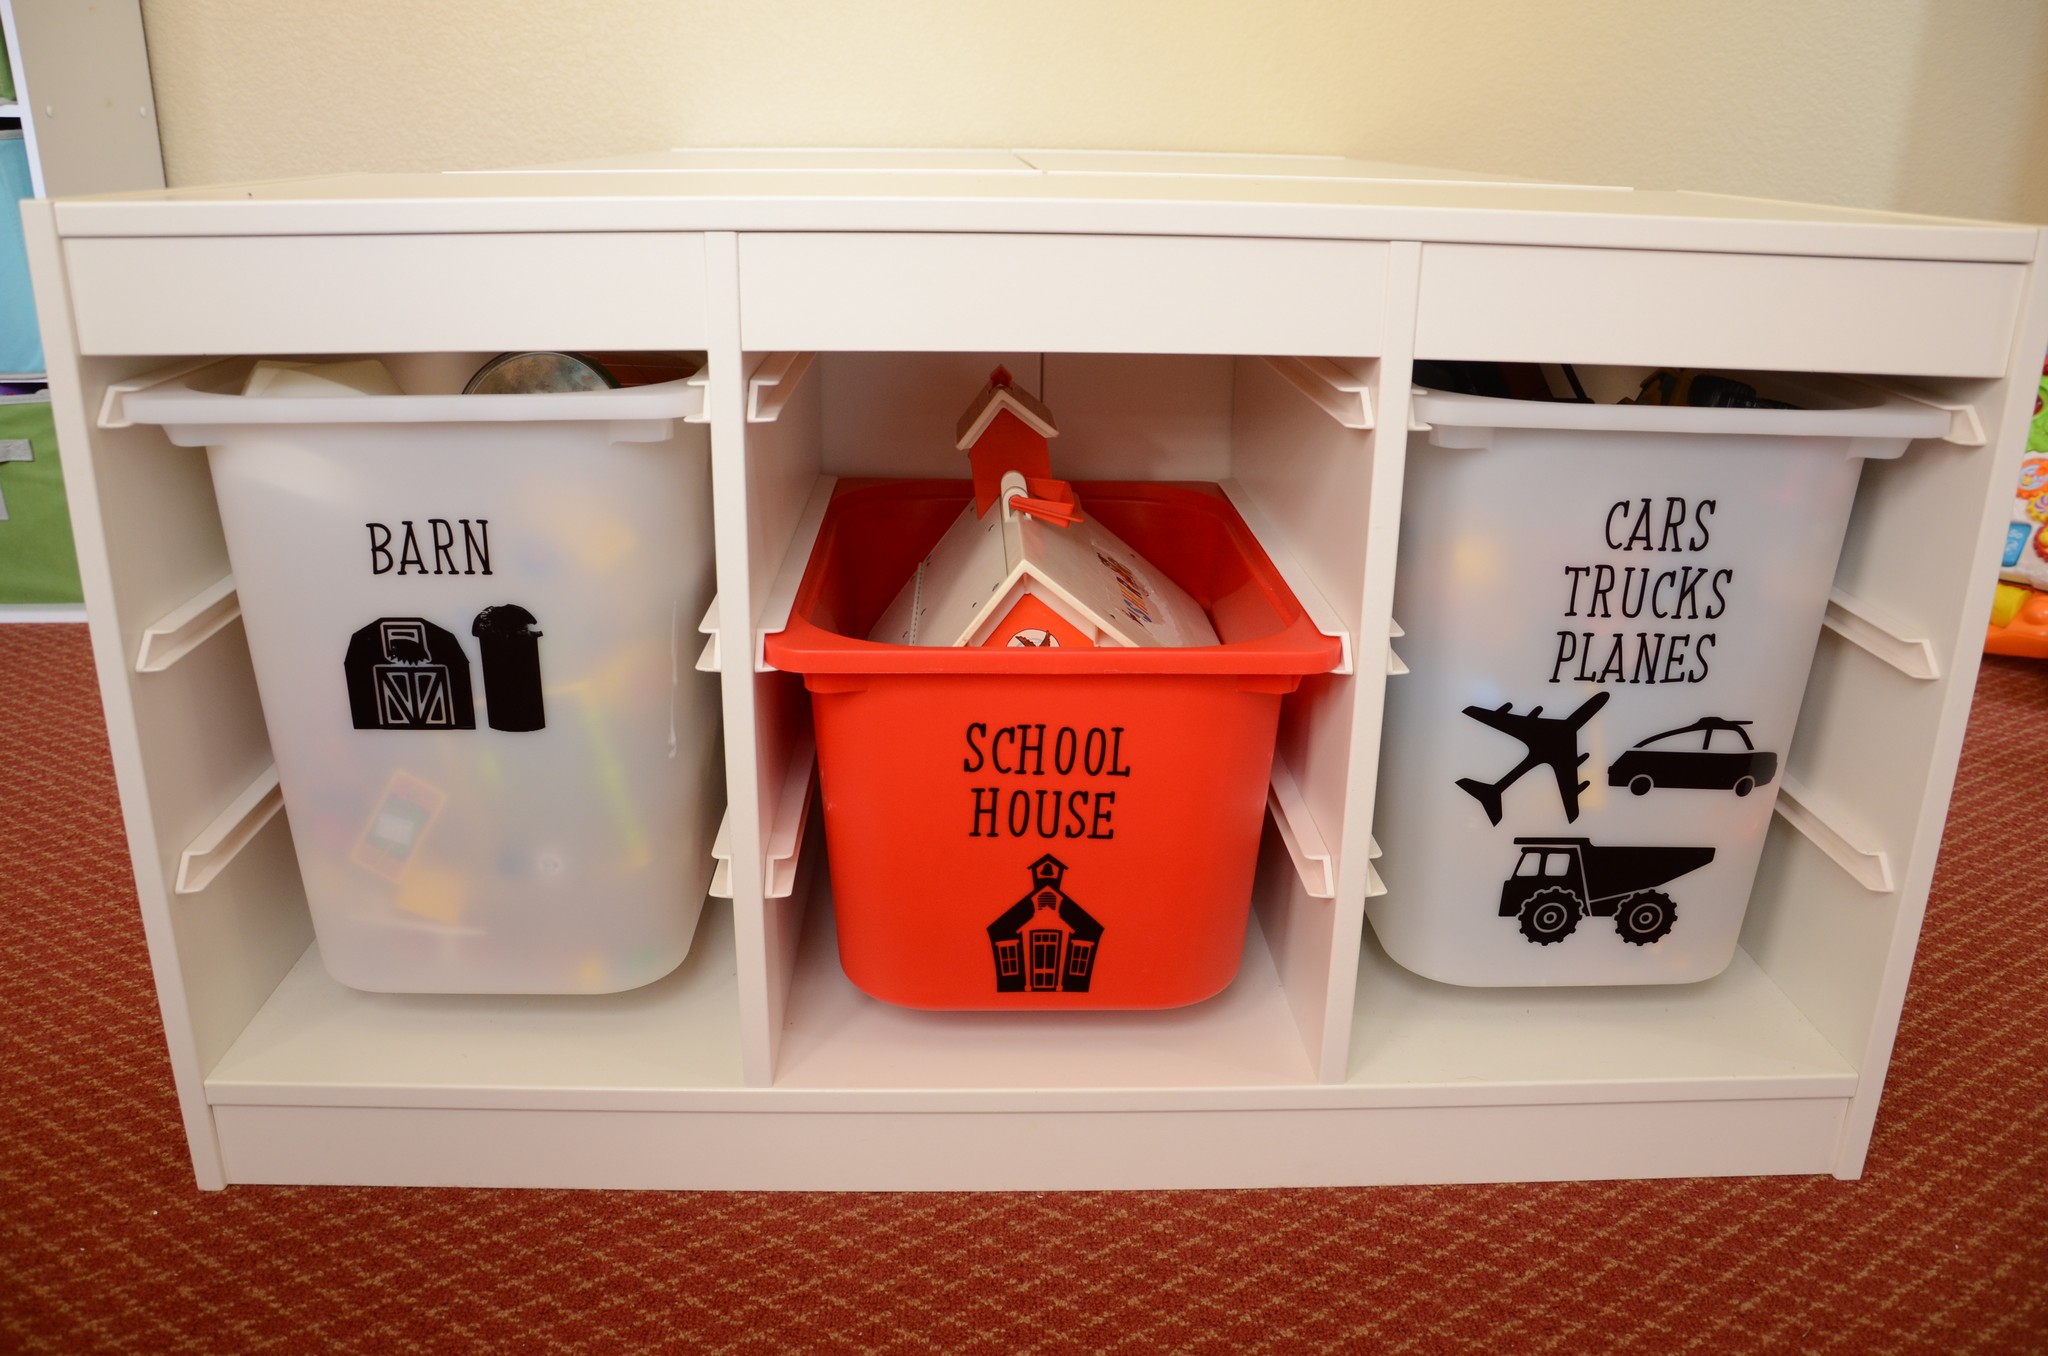
So simple. So easy. And I will testify–these have been on our toy bins for months now, and we’ve only lost one tiny part of one of the images on the Duplo bin. No curling, no grudginess. I also think there is just LESS temptation to try and peel them off because, unlike the labels, they don’t LOOK like stickers. Even with having lots of friends over, they have stayed in place.
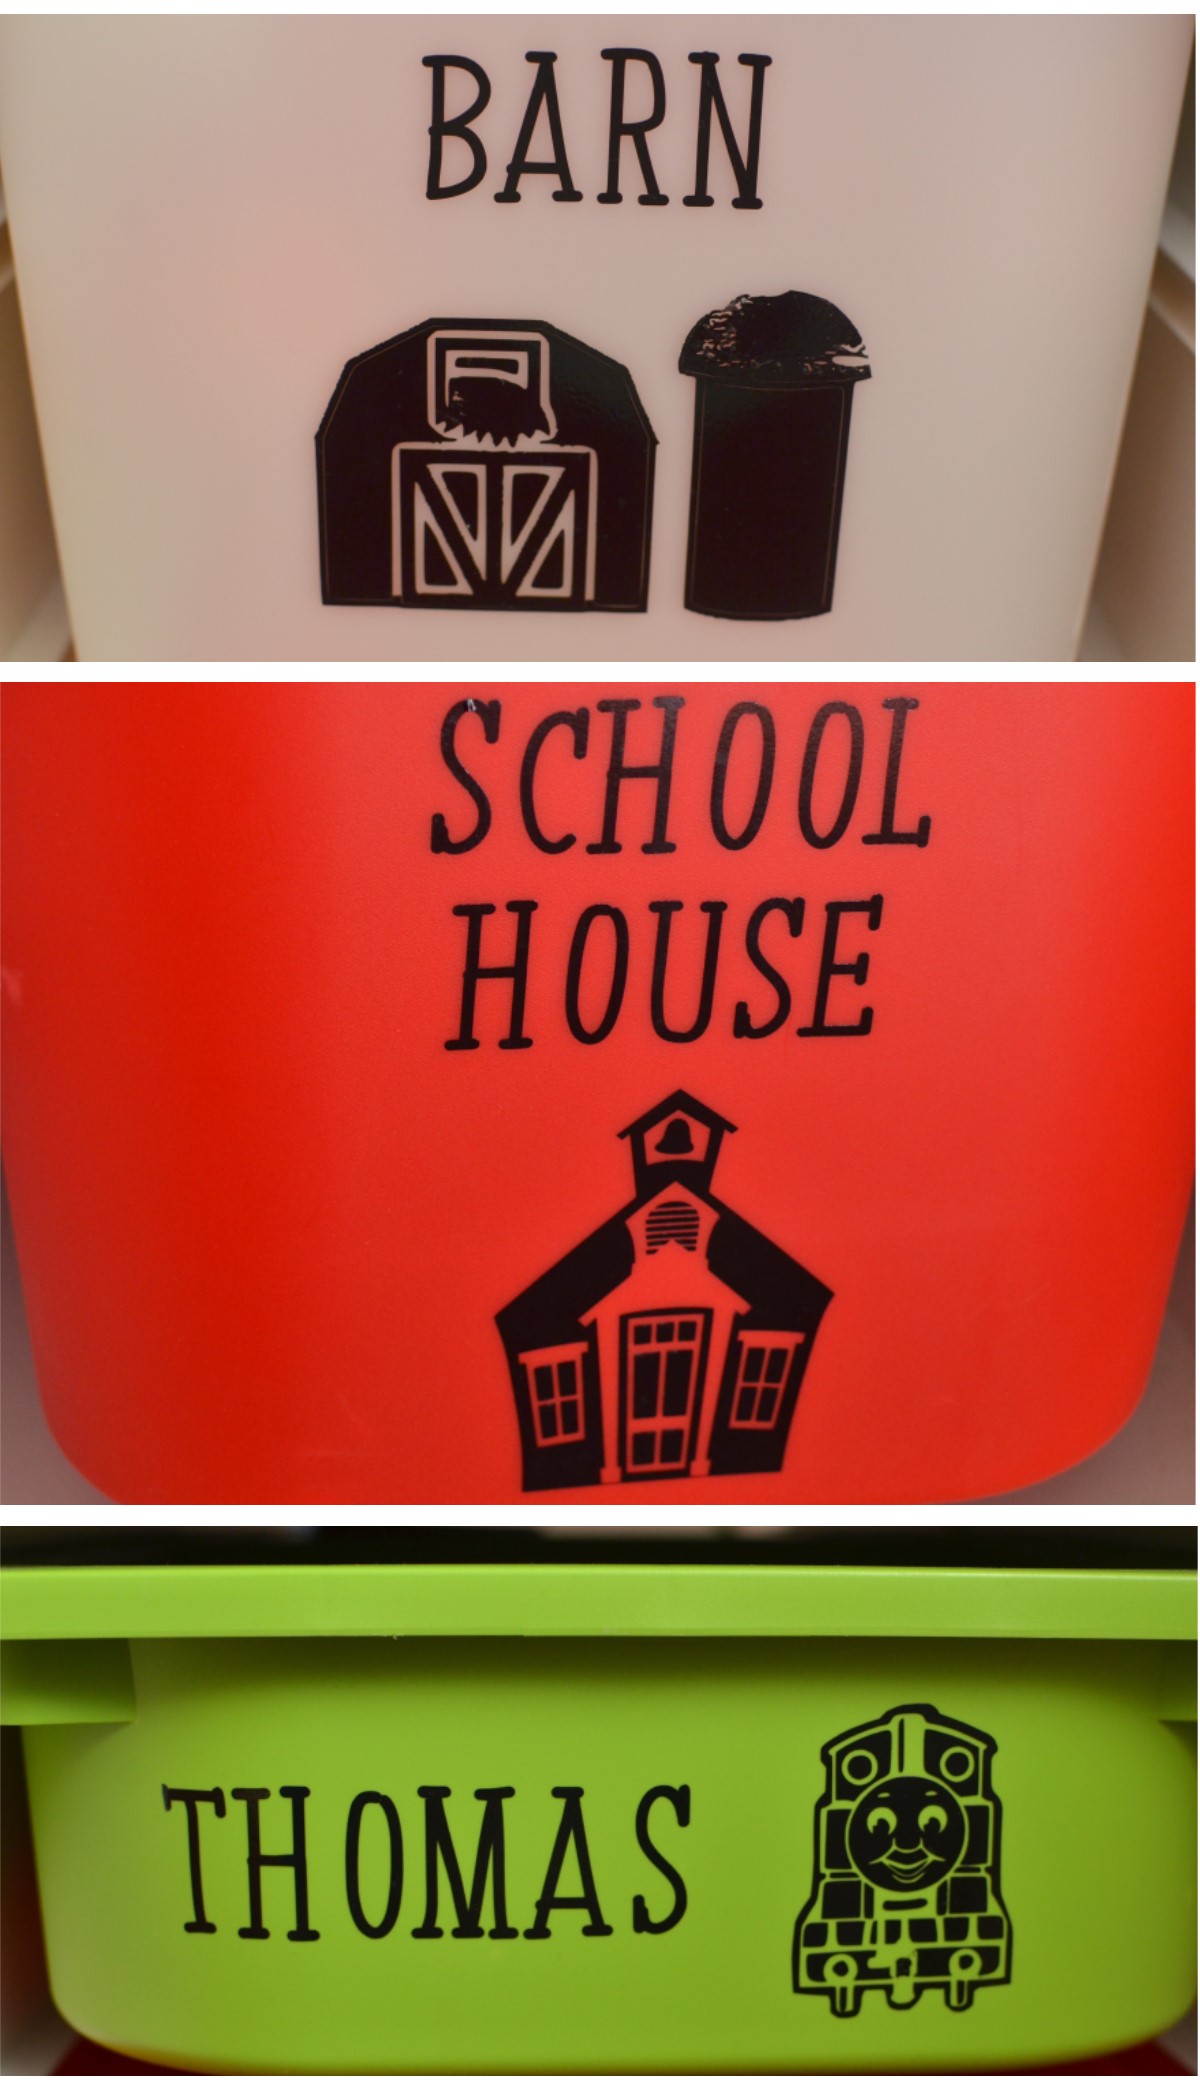
I love how clean and crisp they look, while still being kid-friendly and fun.My kids love to build…can you tell? 🙂How ADORABLE are these?!!Don’t you love the functionality of these IKEA shelving units and bins?! Everything is neatly tucked away and easily accessible, AND the kids have a place to work puzzles and build train tracks!A close up of some of the pictures’ details.
I will admit, I LOVE sitting in our playroom and staring at our cute bins :).
Now, let me cast a tiny bit MORE vision to help create order in YOUR kid land!
Kids can be trained to clean up!
I am a BIG fan of teaching my kids to clean up after themselves. Not only does it produce much-needed discipline in them, but it also takes a HUGE load off of me while trying to keep the house clean. We’ve had both the kids start helping with clean up time as soon as they could crawl. Yes! You read that correctly :). Granted, at that age, I OBVIOUSLY needed to be in the room to aid the clean up, but after a year or so of training them, they are FULLY capable of cleaning up ALL BY THEMSELVES. Like I already said, this is a super easy, simple-to-teach “chore” that kids can develop disciline in early on, AND it’s a HUGE blessing and help for ME.
Step 1: “The Fetch Game”
From 6-12 months (or, crawling to 12 months), I would sit on the floor next to the toy bins and say, “Can you bring me that ball?” or “Can you bring me that yellow tool?” At 6 months, they may not get most objects right, but that’s okay! If they pick up the stuffed animal instead of the ball, I just say, “Oh! Good! You brought me the teddy bear!” All of this is aiding in your kid learning how to respond to instruction, learn vocabulary, and learn to serve and help around the house.
Step 2: “Hide and Seek”
Once they’ve mastered The Fetch Game, (after 2-3 months or so), move on to a slightly more challenging, independent task: “Can you find all the balls and put them in THIS bin? Do you see the picture of the ball on this bin?? This is where the balls go!” If any of your playrooms looks like ours does at the end of a day, this is actually a pretty challenging task! Ha! But it’s developing perseverance and diligence, as they have to scan the room and pick out the intended objects.
Step 3: “I Spy”
Once they’ve mastered Hide and Seek (again, probably after 2-3 months), ask them if they can find the bin that has a certain picture. “Which bin has the tools on it? Good! Can you find all the tools and put them in that bin?”
These were generally the steps I took in training my kids to clean up their toys, and both my kids have been able to fully independently clean up the playroom by age 2. Though it may SEEM like a lot of work on the front end, I will tell you, I am SO GRATEFUL to have two children who know how to pick up and who (generally, ha!) LOVE to clean up because it is a task they can be very successful with. Since we have cultivated the idea that order is important to us, our children have jumped on that train. And though our house is *almost never* perfectly picked up and ordered, we can usually get it back to that place very quickly since my kiddos are such huge helps!
So…are YOU ready to jump on the ORGANIZATION TRAIN?!!
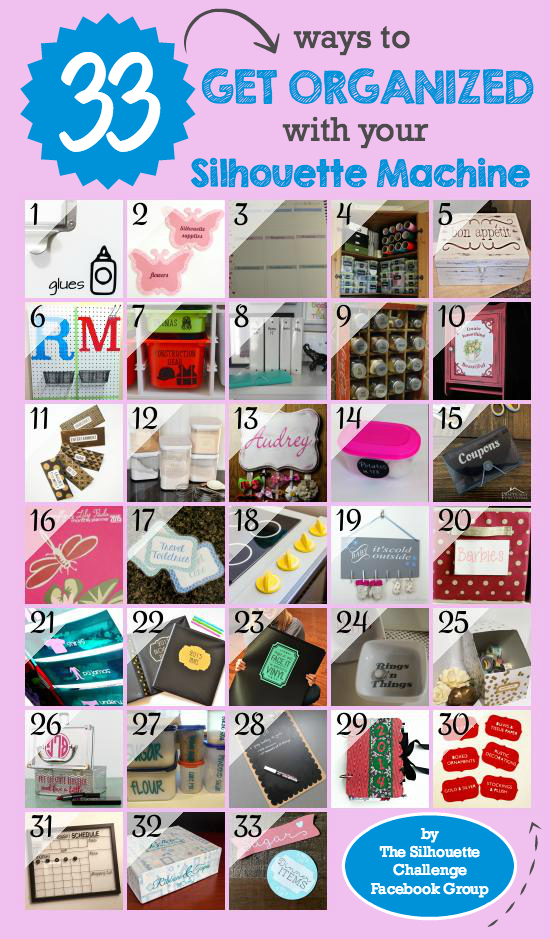
Want to Check Out More Silhouette Projects?
My Silhouette Challenge buddies and I are all sharing projects on our blogs today, so peruse the projects below for a wealth of Silhouette inspiration!
Well, like last year, we had another super fun advent this year! I added a couple of details to our Advent season this year which made it even more special.
Advent Wreath:
Advent Wreath
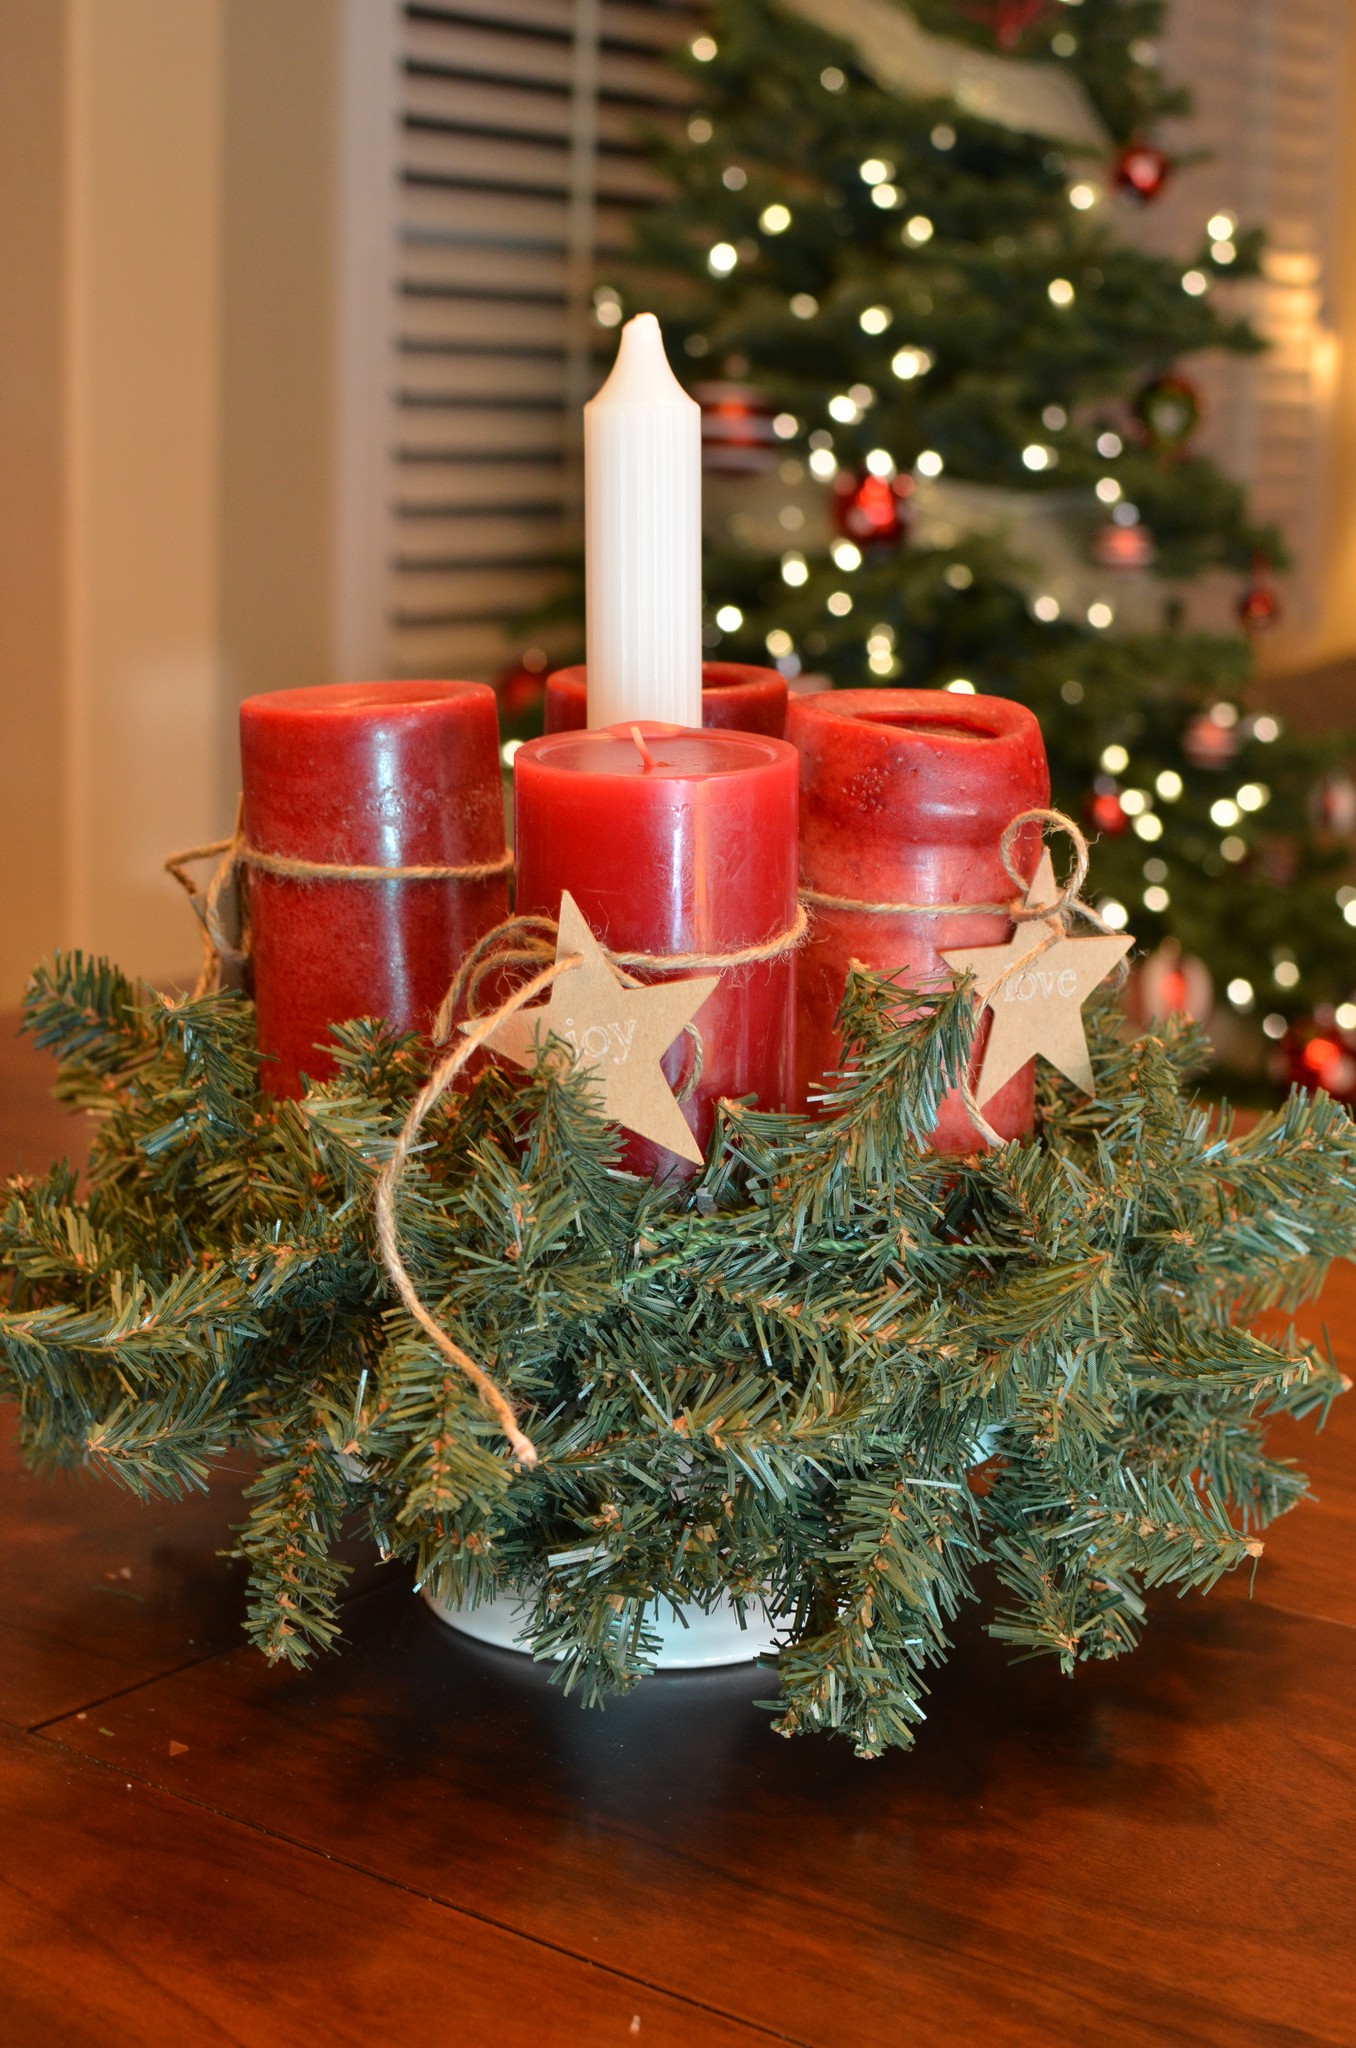
I had wanted to do this last year, but ran out of time. The night before Advent officially started I remembered I wanted to do it and stumbled across a picture of an advent wreath done on a cake plate. I found our cake plate, four red candles leftover from our wedding (!) and then we wrapped a garland around the base. Voila! An advent wreath! My silhouette helped me make the stars to label each candle. The kids were learning about the meanings of each advent candle at church, and it was really good to light the appropriate candle at dinner (most) nights and talk with the kids about what we were focusing on that particular week as we awaited the celebration of Christ’s coming. Our kids are obviously still really young, but it was very good for myheart, and in the coming years I am hoping that the truths go deeper and deeper into our children’s hearts as well.
The Jesse Tree:
Pocket Chart Jesse Tree
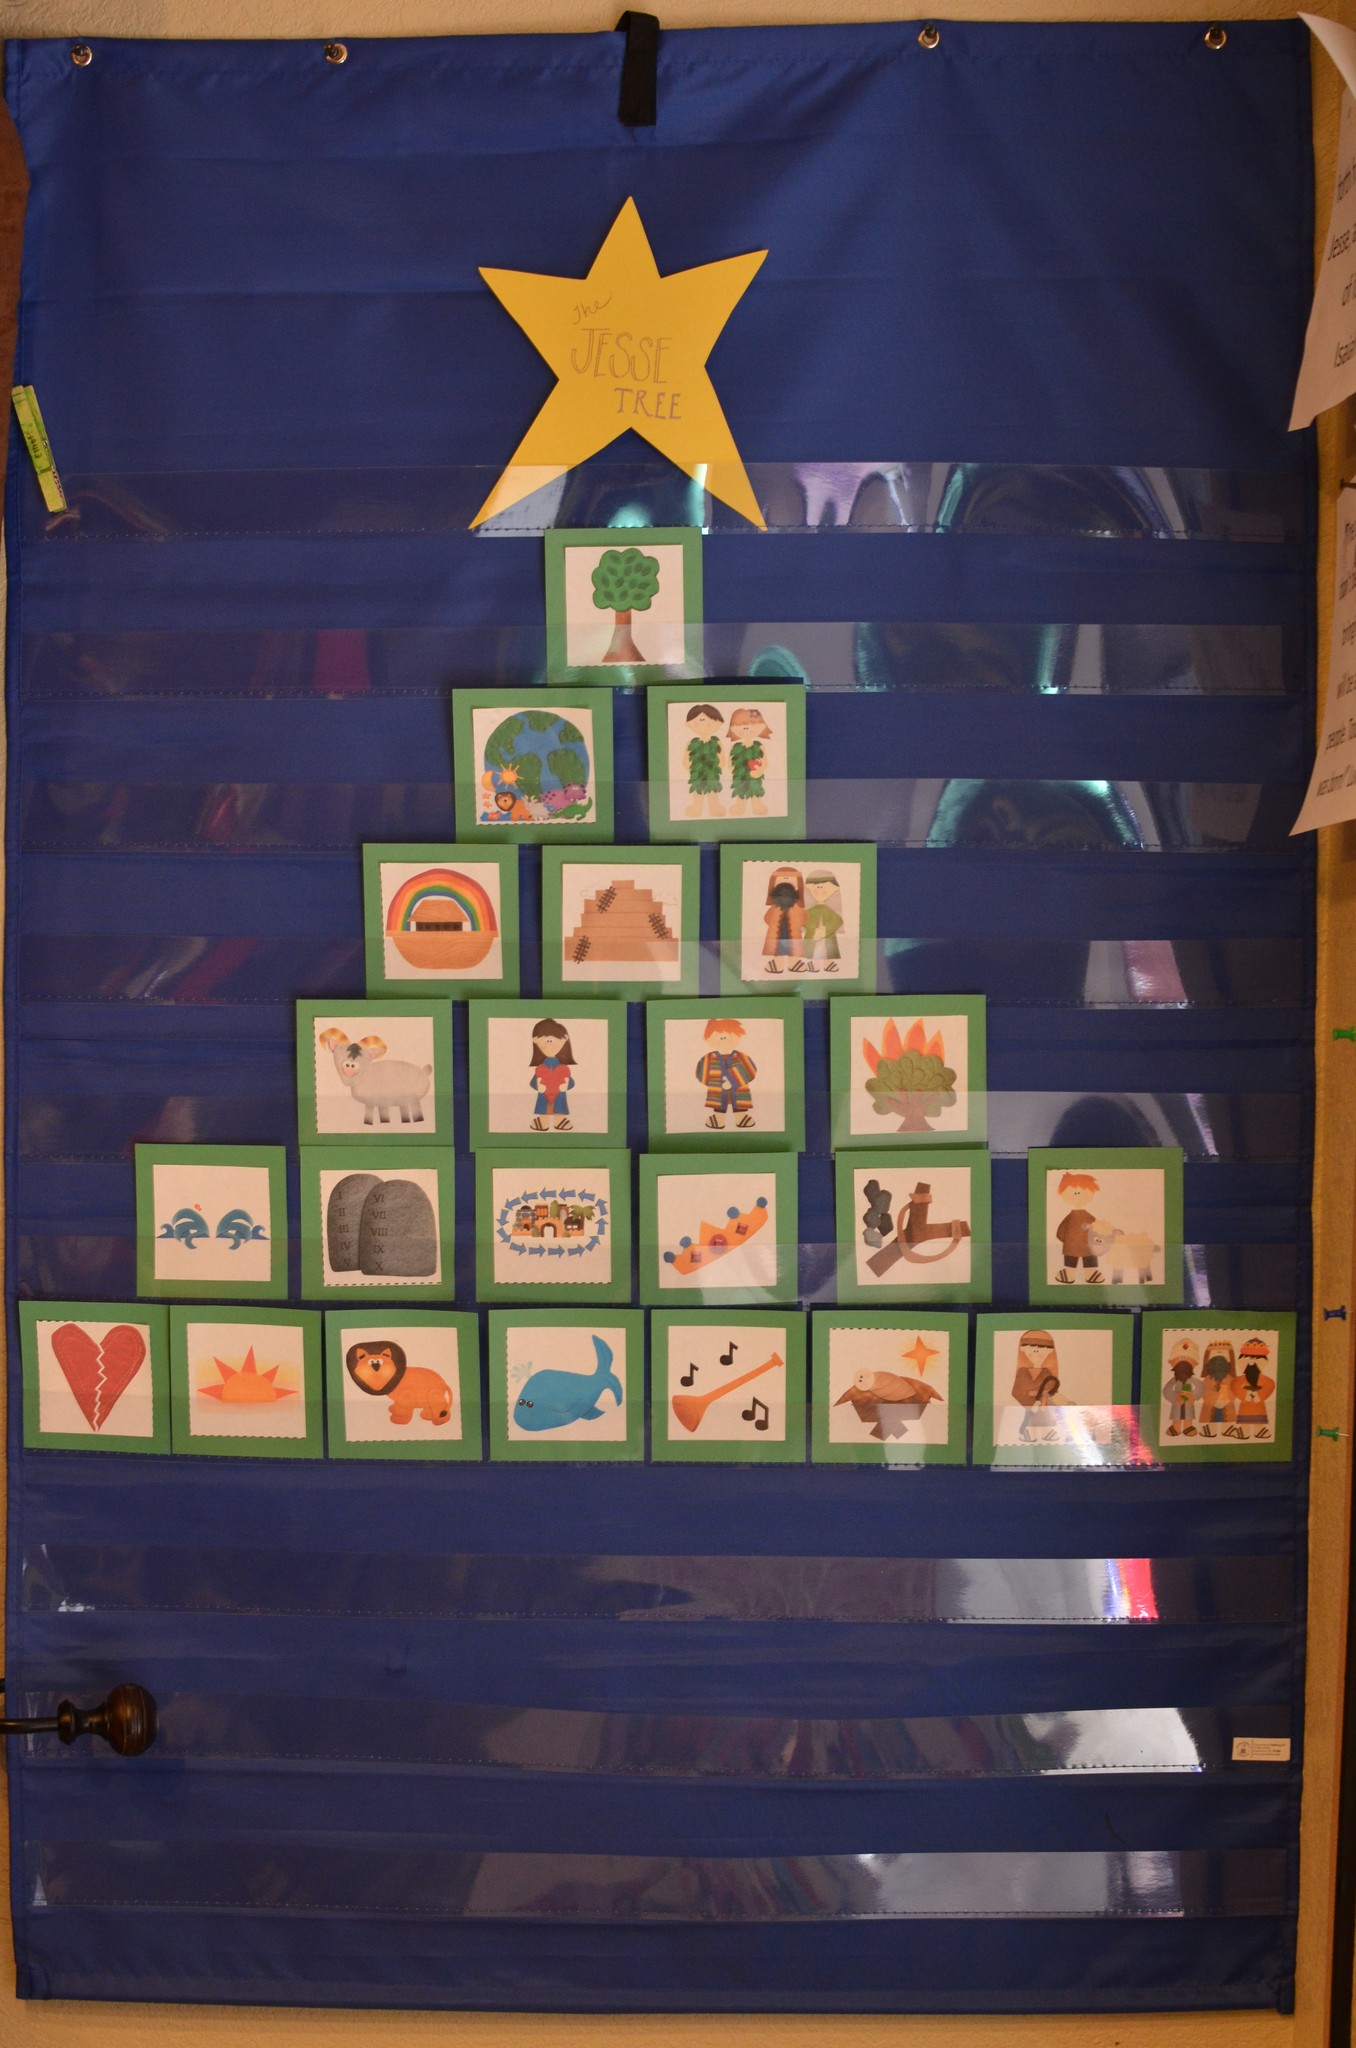
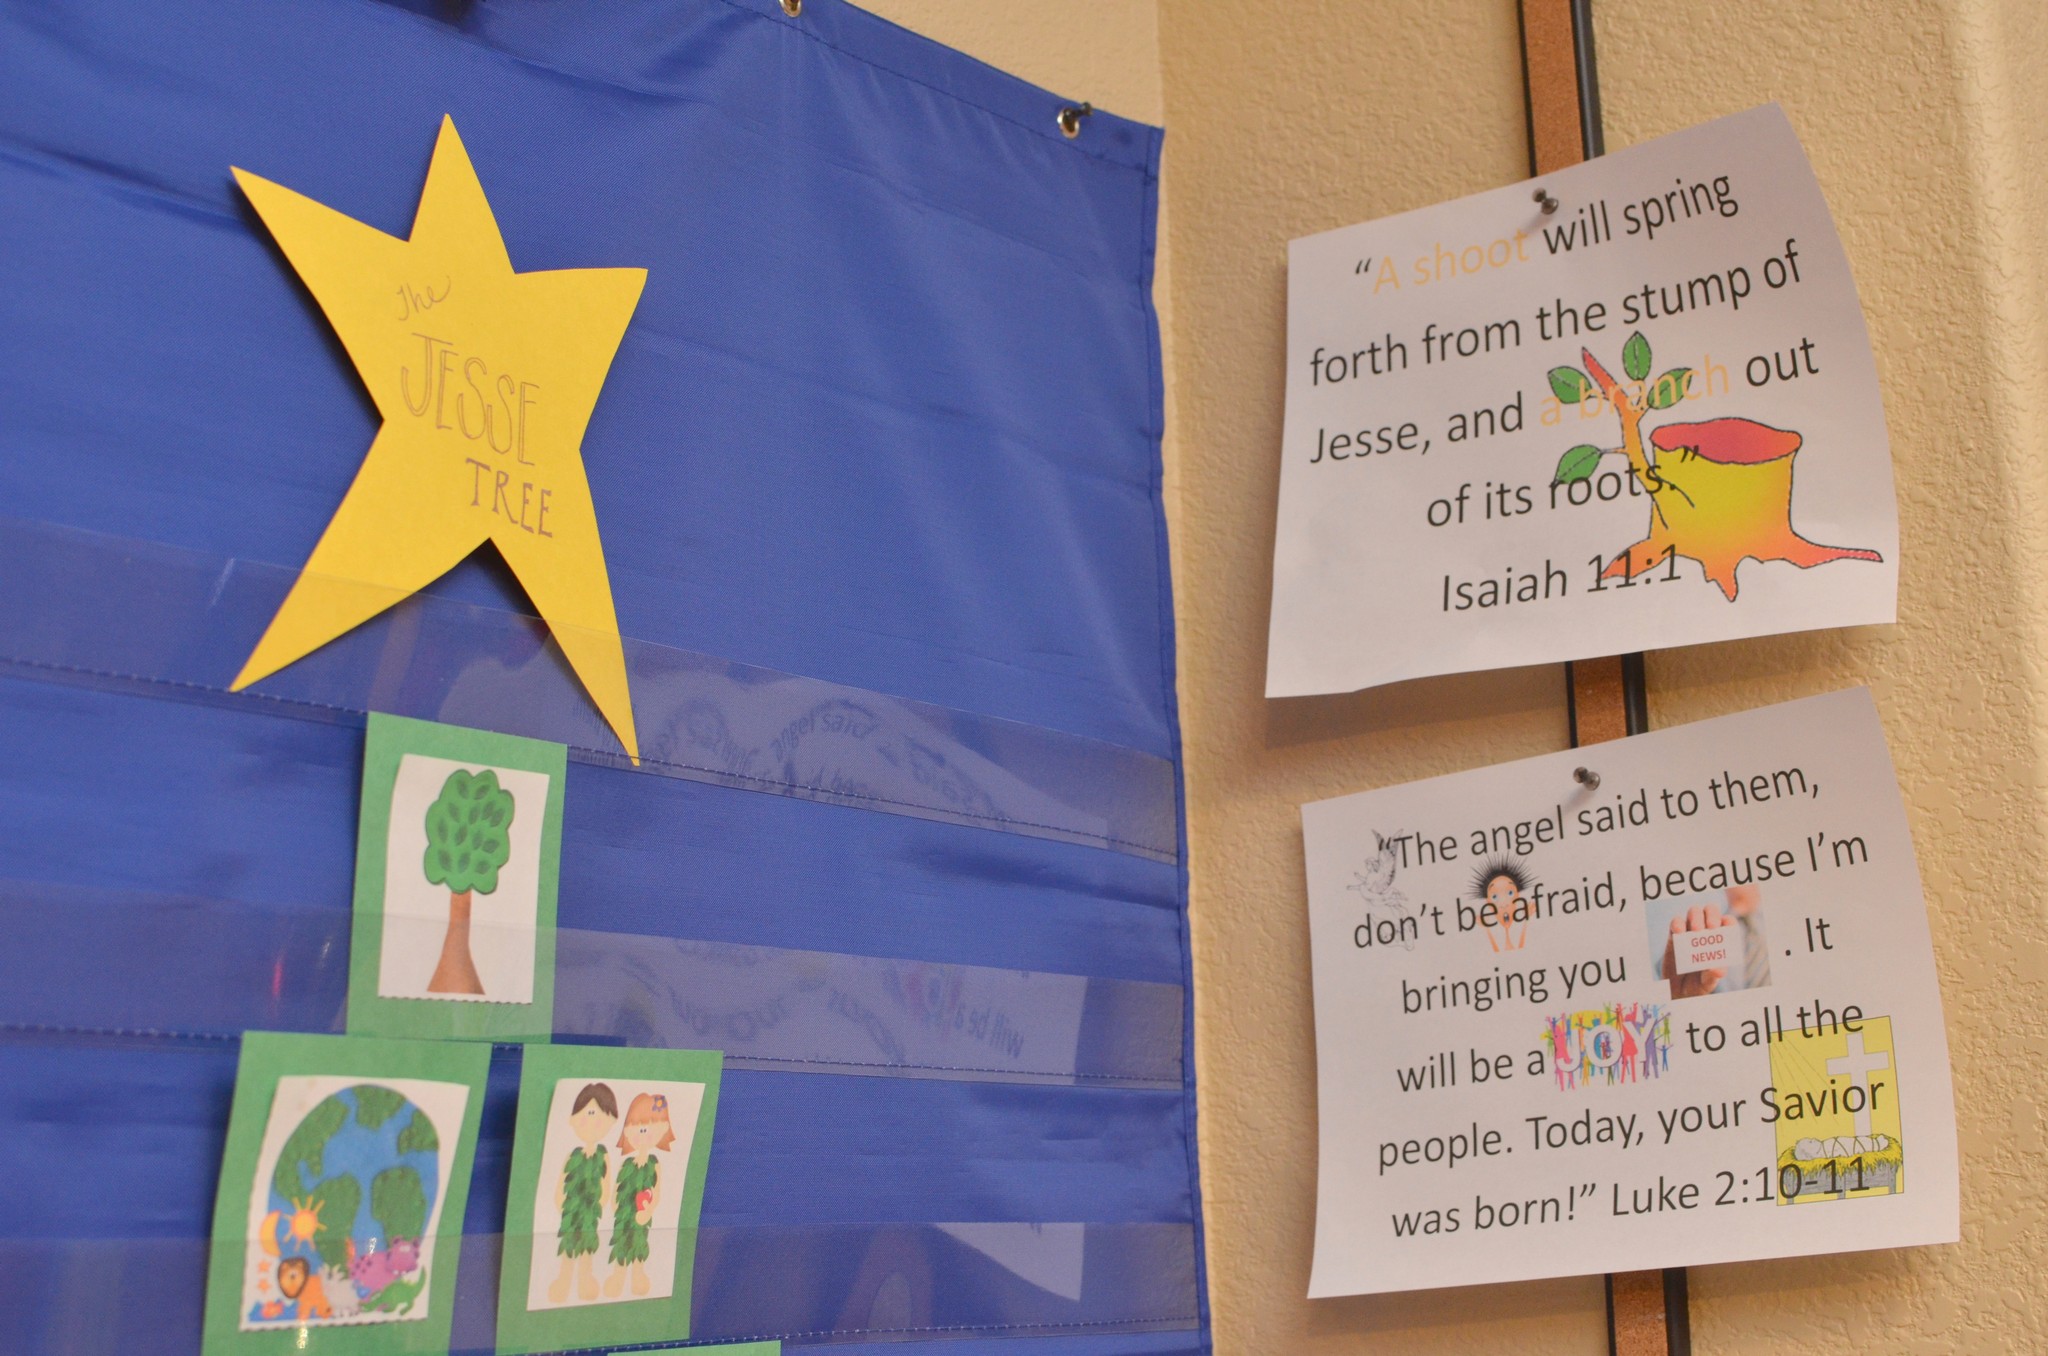
If you haven’t heard of the Jesse Tree, it’s a concept based off of the Isaiah 11:1, a prophecy about Jesus that he would come from Jesse’s line. We already read the various stories from The Jesus Storybook Bible that show the kids how the entire Old Testament points to Jesus’ coming, but I thought it would be great to have some visuals to reinforce each story. I found these printable pictures here (for purchase–$6) and the Jesus Storybook Bible free additions here. (If you are a mom or teacher who loves to teach and do crafty things with your kids, the website Teachers Pay Teachers is a great one!) I had big dreams of turning them into ornaments and putting them on the kid tree in the playroom but, alas, the pocket chart was all I could handle this year :). I actually ended up really liking it there because then we would talk about the pictures throughout the day and while the kids were eating and crafting. Next year, it’ll be fun to see if Elliott can scramble them and then put the pictures in order.
Verse memory:
Displayed right next to our Jesse Tree!
We didn’t work on these as regularly as I thought we would, but it was still great to go over them with the kids and have them up as a reminder. We would say them together every once in a while and act them out, etc., etc. If you’d like to download the verse cards I made for visuals to use with your own children, click here!
Nativity Sets:
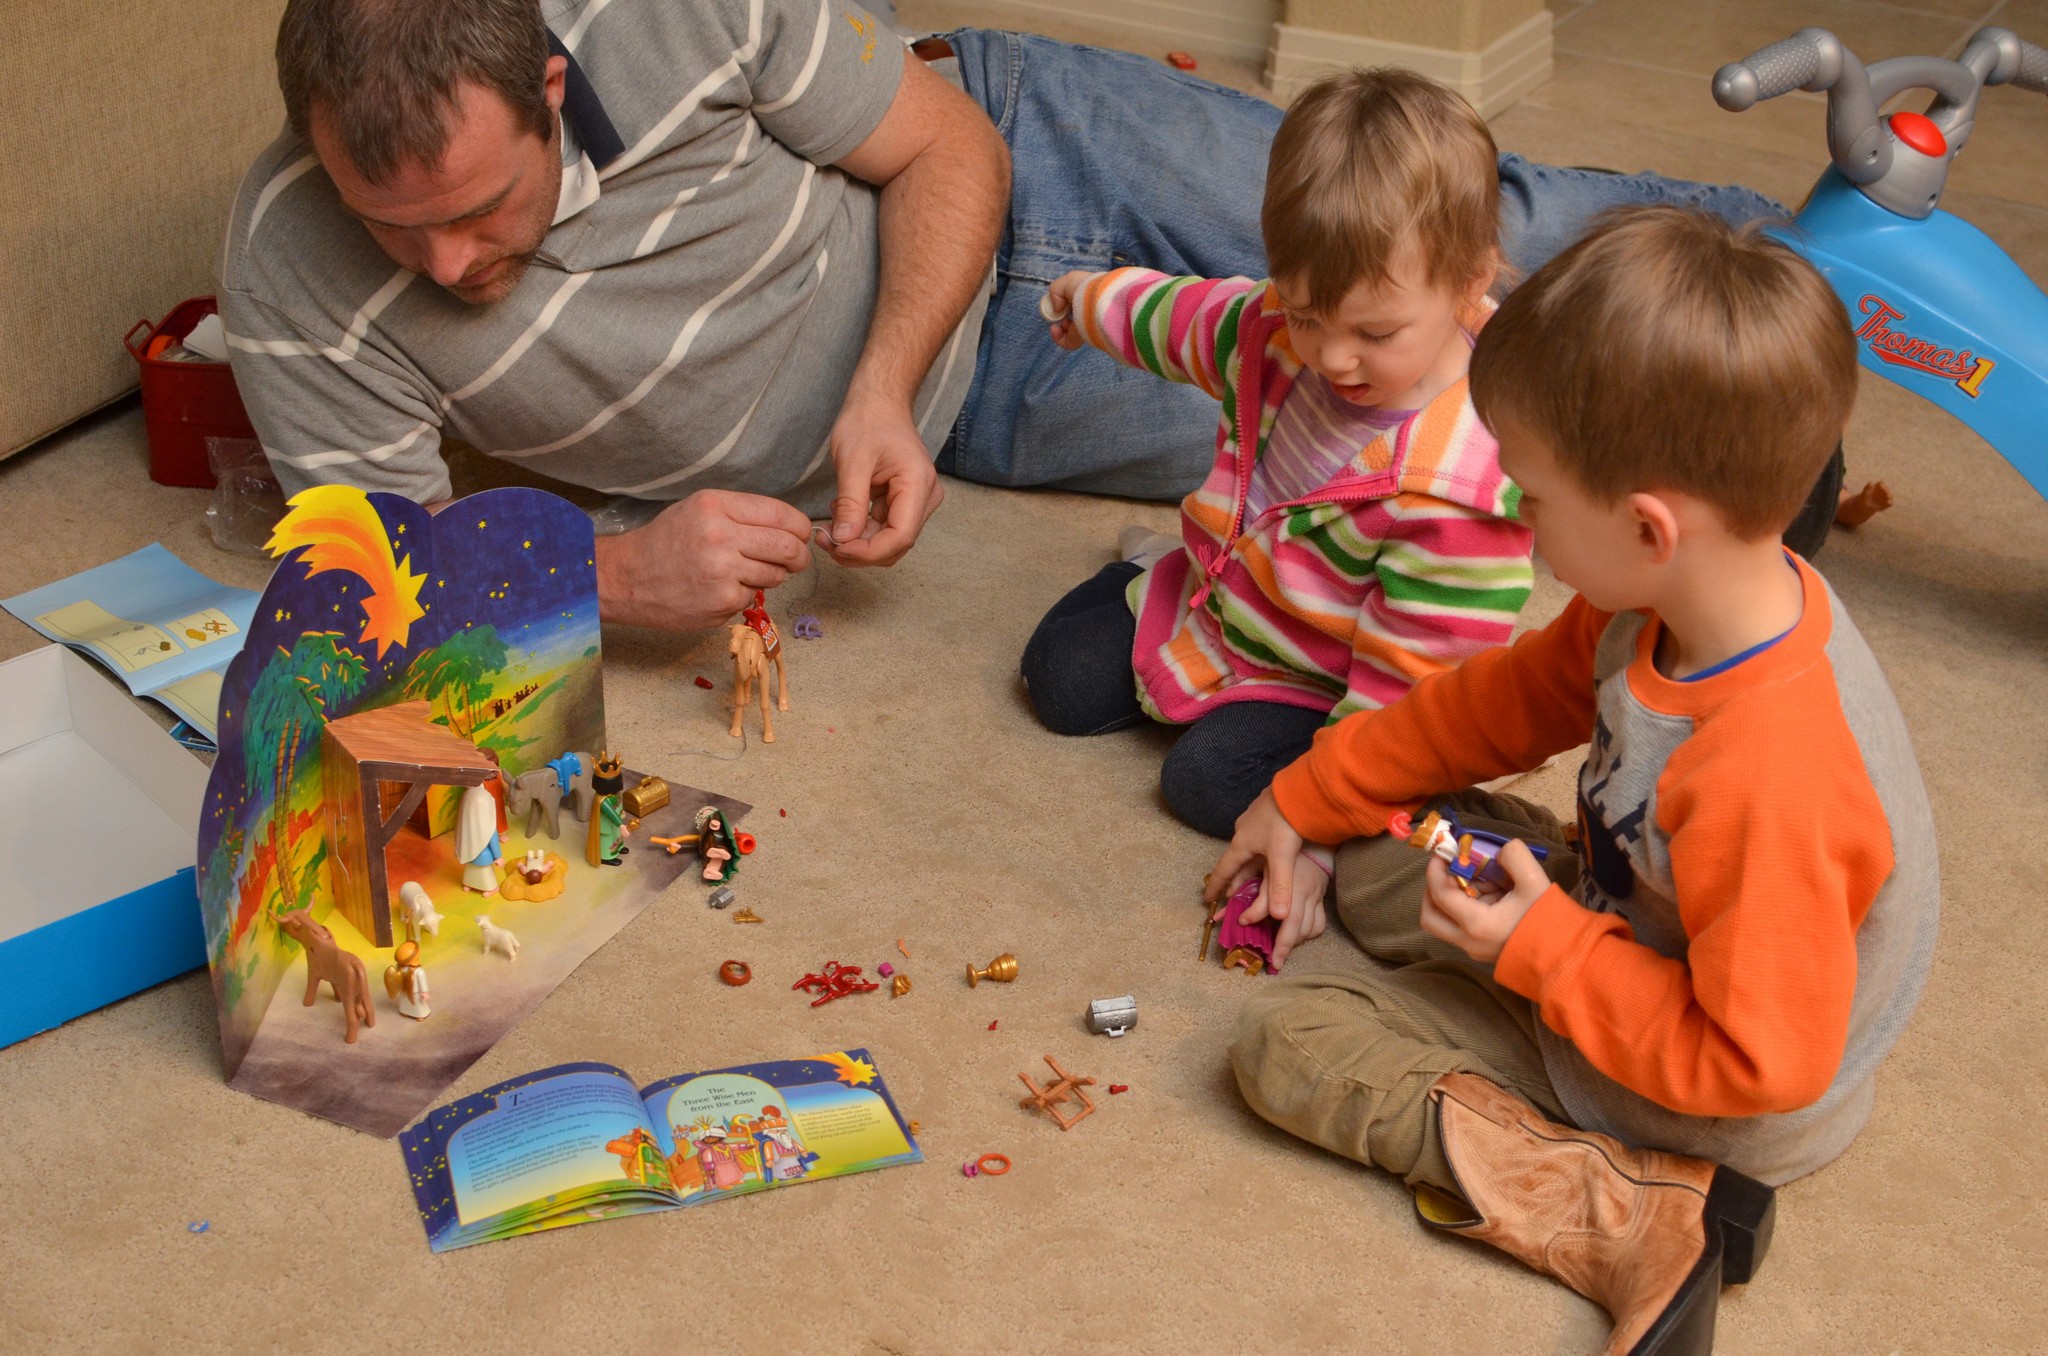
Brian’s parents got Elliott the Fisher Price Nativity set for his first Christmas, and it is SUCH an awesome set. It literally gets played with every day for the month of December. This year, they sent the kids another surprise–the Playmobil Nativity Set! It was, obviously, a HUGE hit, and it was nice to have two sets to reduce the number of fights over who gets to hold baby Jesus :). We had a lot of fun putting it together as a family, reading the Playmobil nativity story, and playing with it tons!
Thank you, Grandma & Grandpa!!
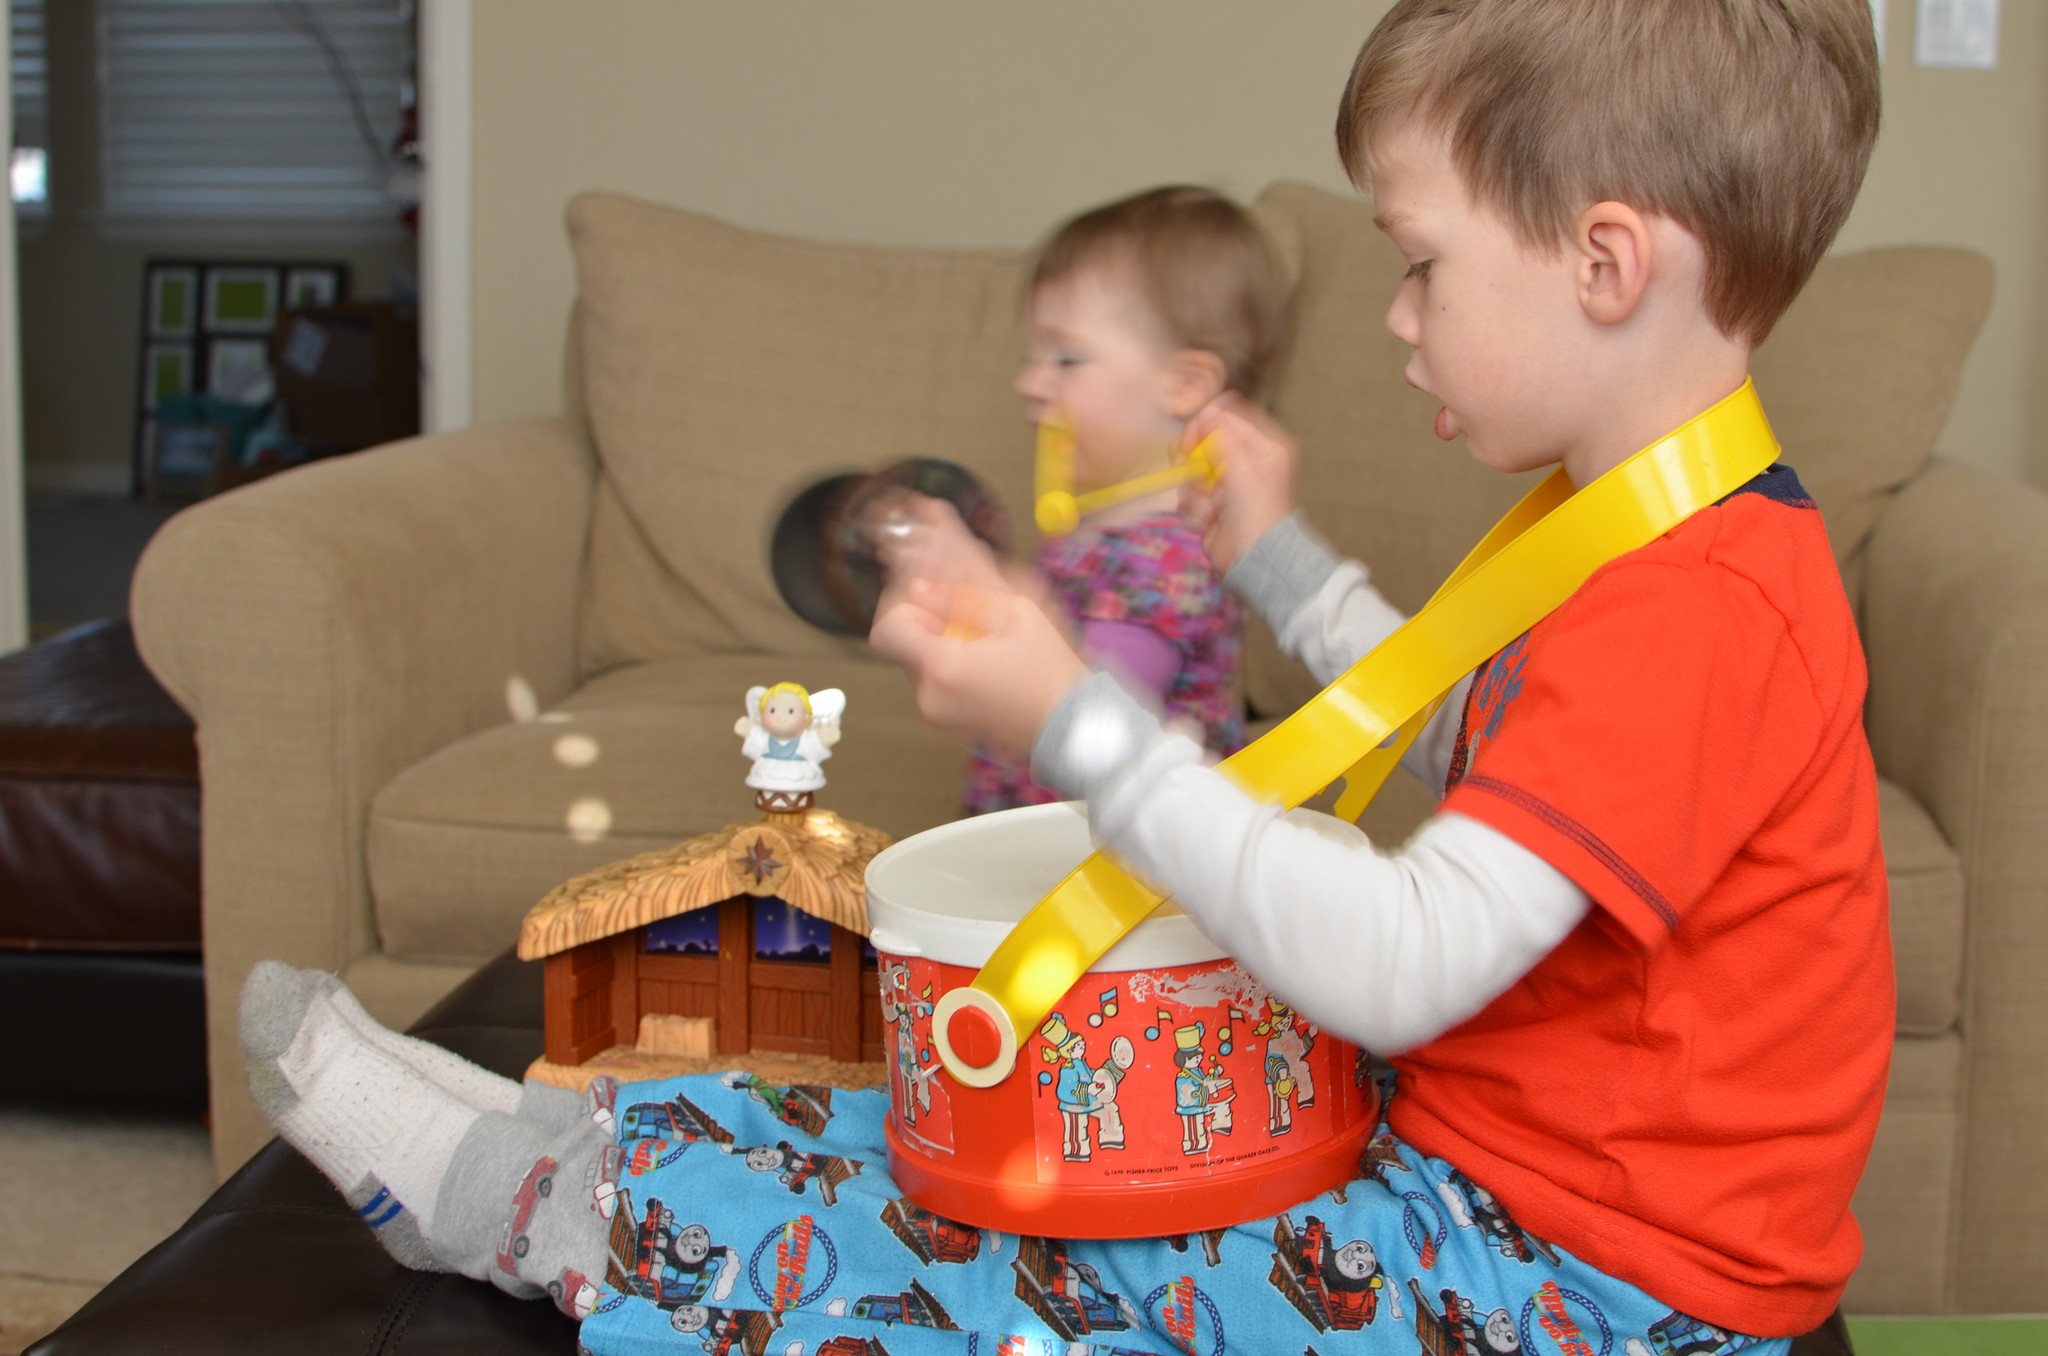
Christmas Worship:
Next year, I’m hoping to find a good kids Christmas album (anyone out there have a favorite?! Please comment below!!). This year, I just pulled up random songs on grooveshark, the kids would grab their instruments, and we would worship the newborn King!!
My little drummer boy!
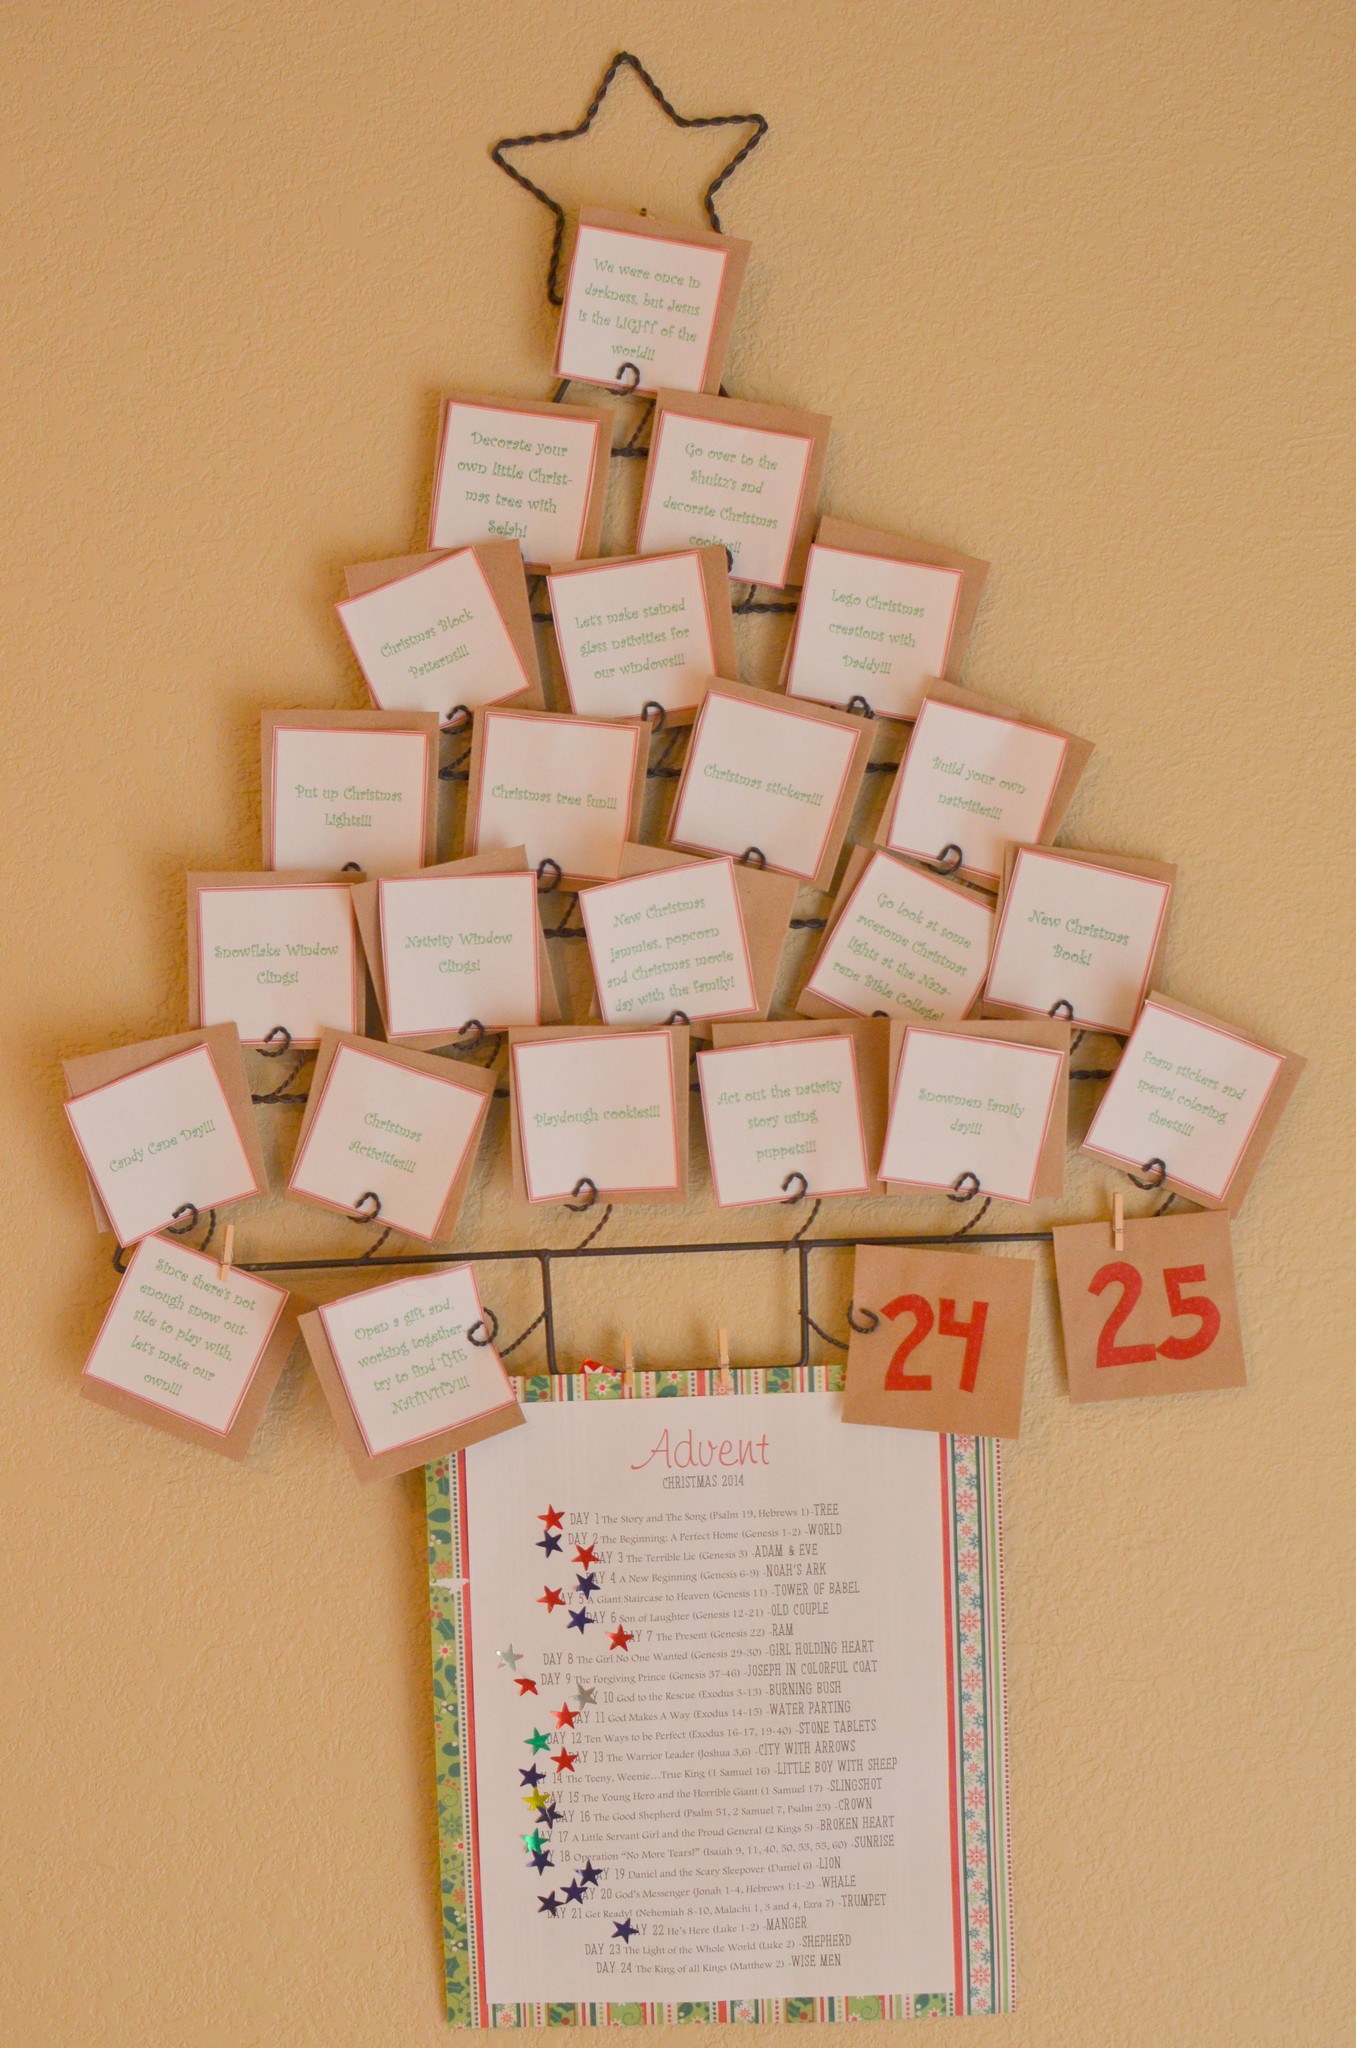
The Christmas Count Up Tree!
Envelopes and daily reading plan
I used the same card holder from last year because it’s so simple to put each day’s envelope up there, along with our reading guide hanging from the bottom. The kids traded off putting stickers up once we had read that day’s story as a family. I don’t have any pictures of us all reading together, but it’s funny how not too much has changed since we did this last year. Elliott would sit curiously and attentively in Brian’s lap, studying each page and asking question after question. Selah could not stop moving during the entire chapter, often switching from Brian’s lap, to my lap, to the couch, to the floor, and would periodically look over at the book at shout something like, “baby Jesus!” or “look! sheep!!” It was such a sweet and special time each night together as a family.
Well, below is a snapshot of all the fun surprises inside each envelope!
“Well, what does it say already?!!”
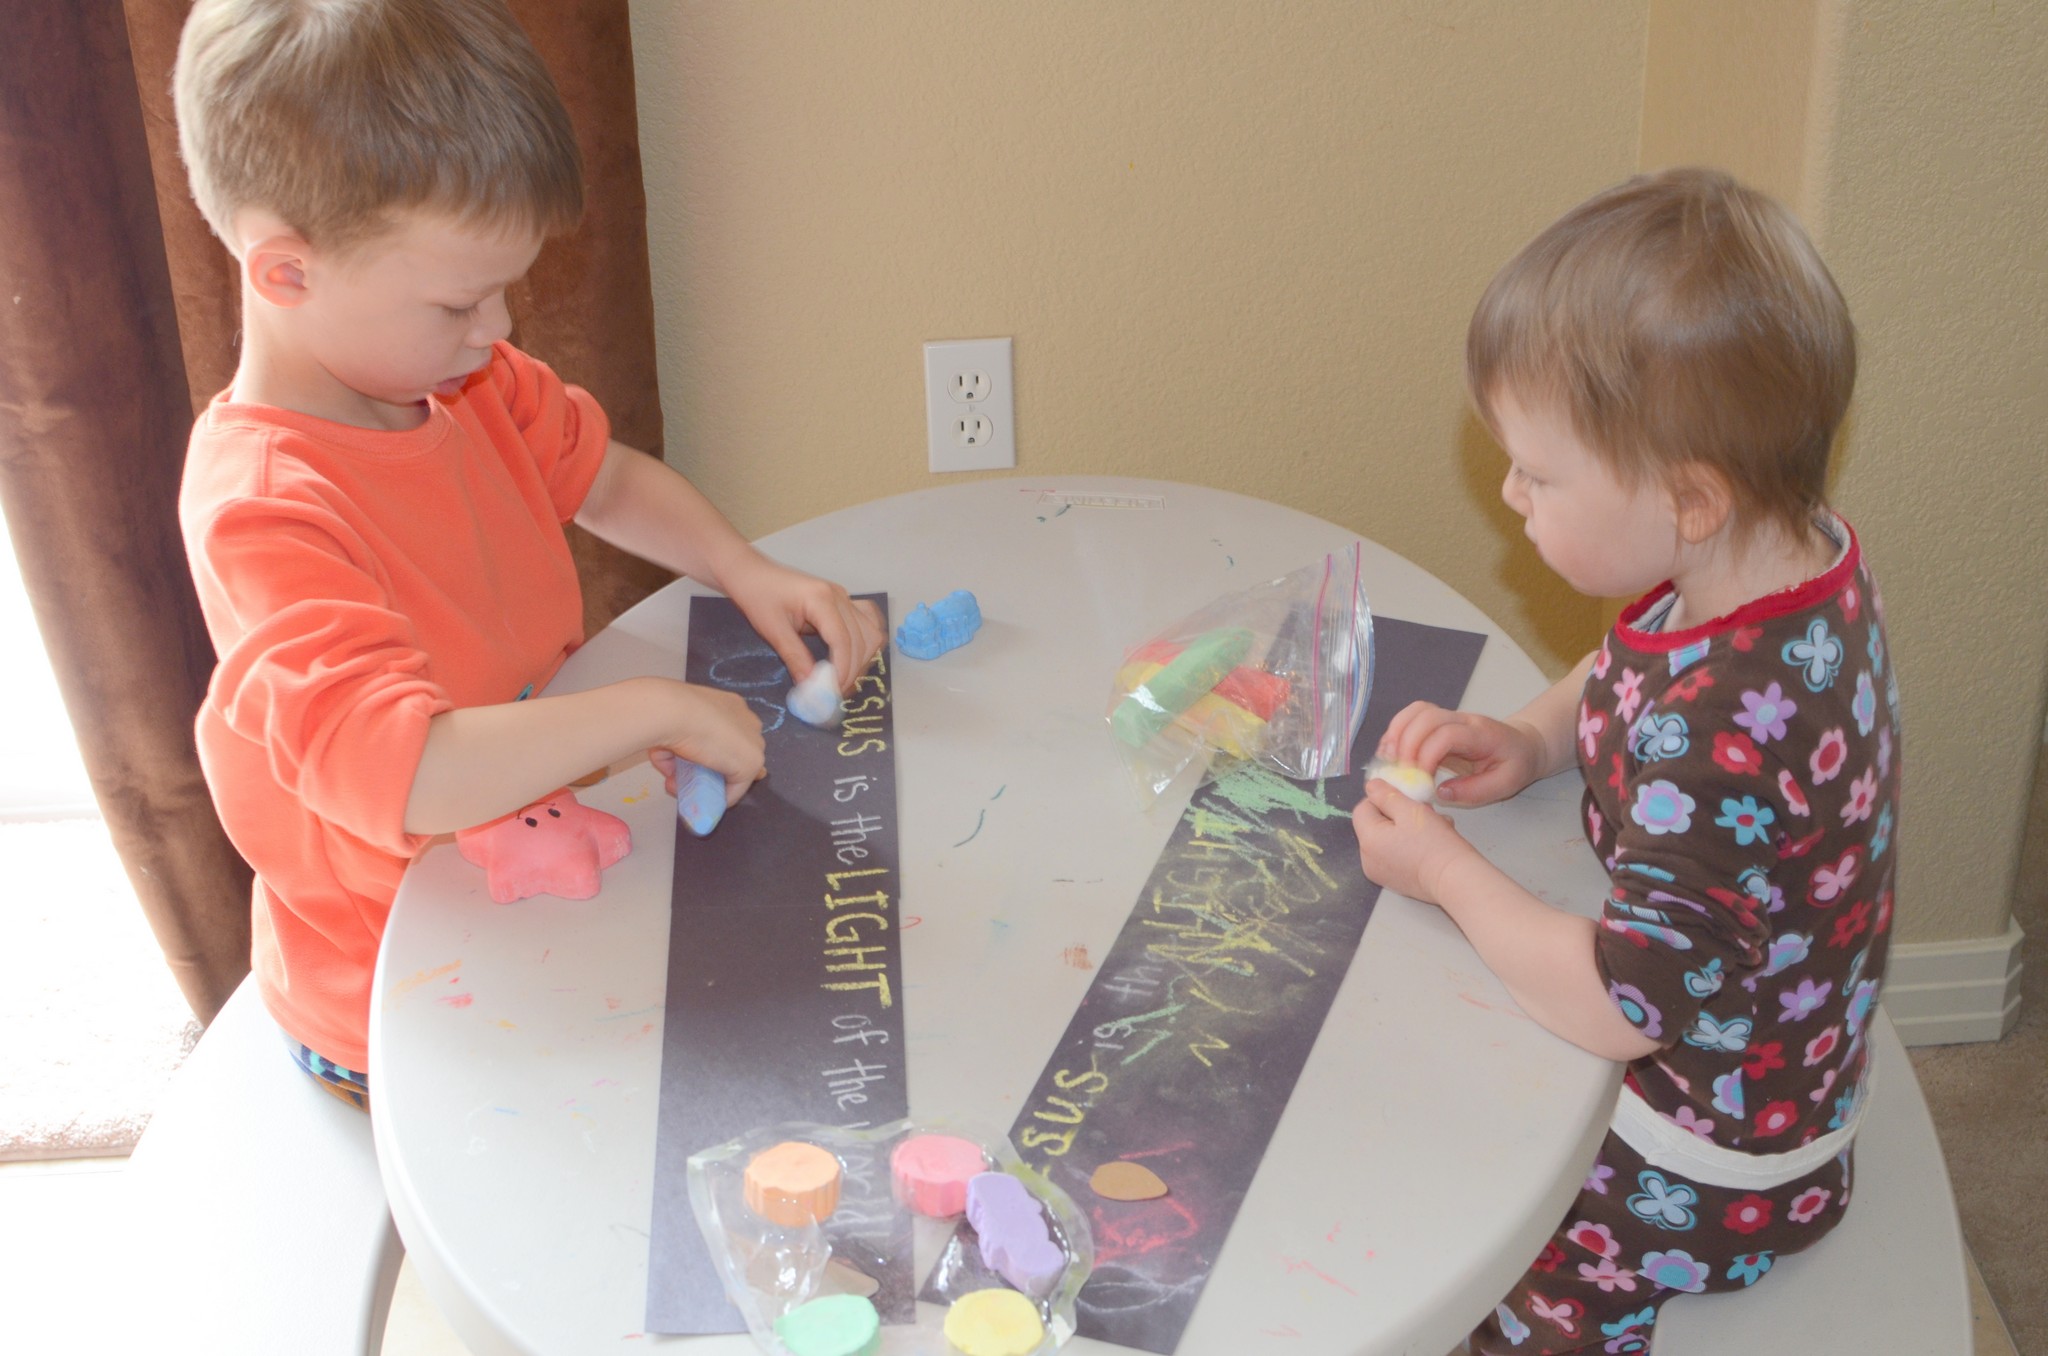
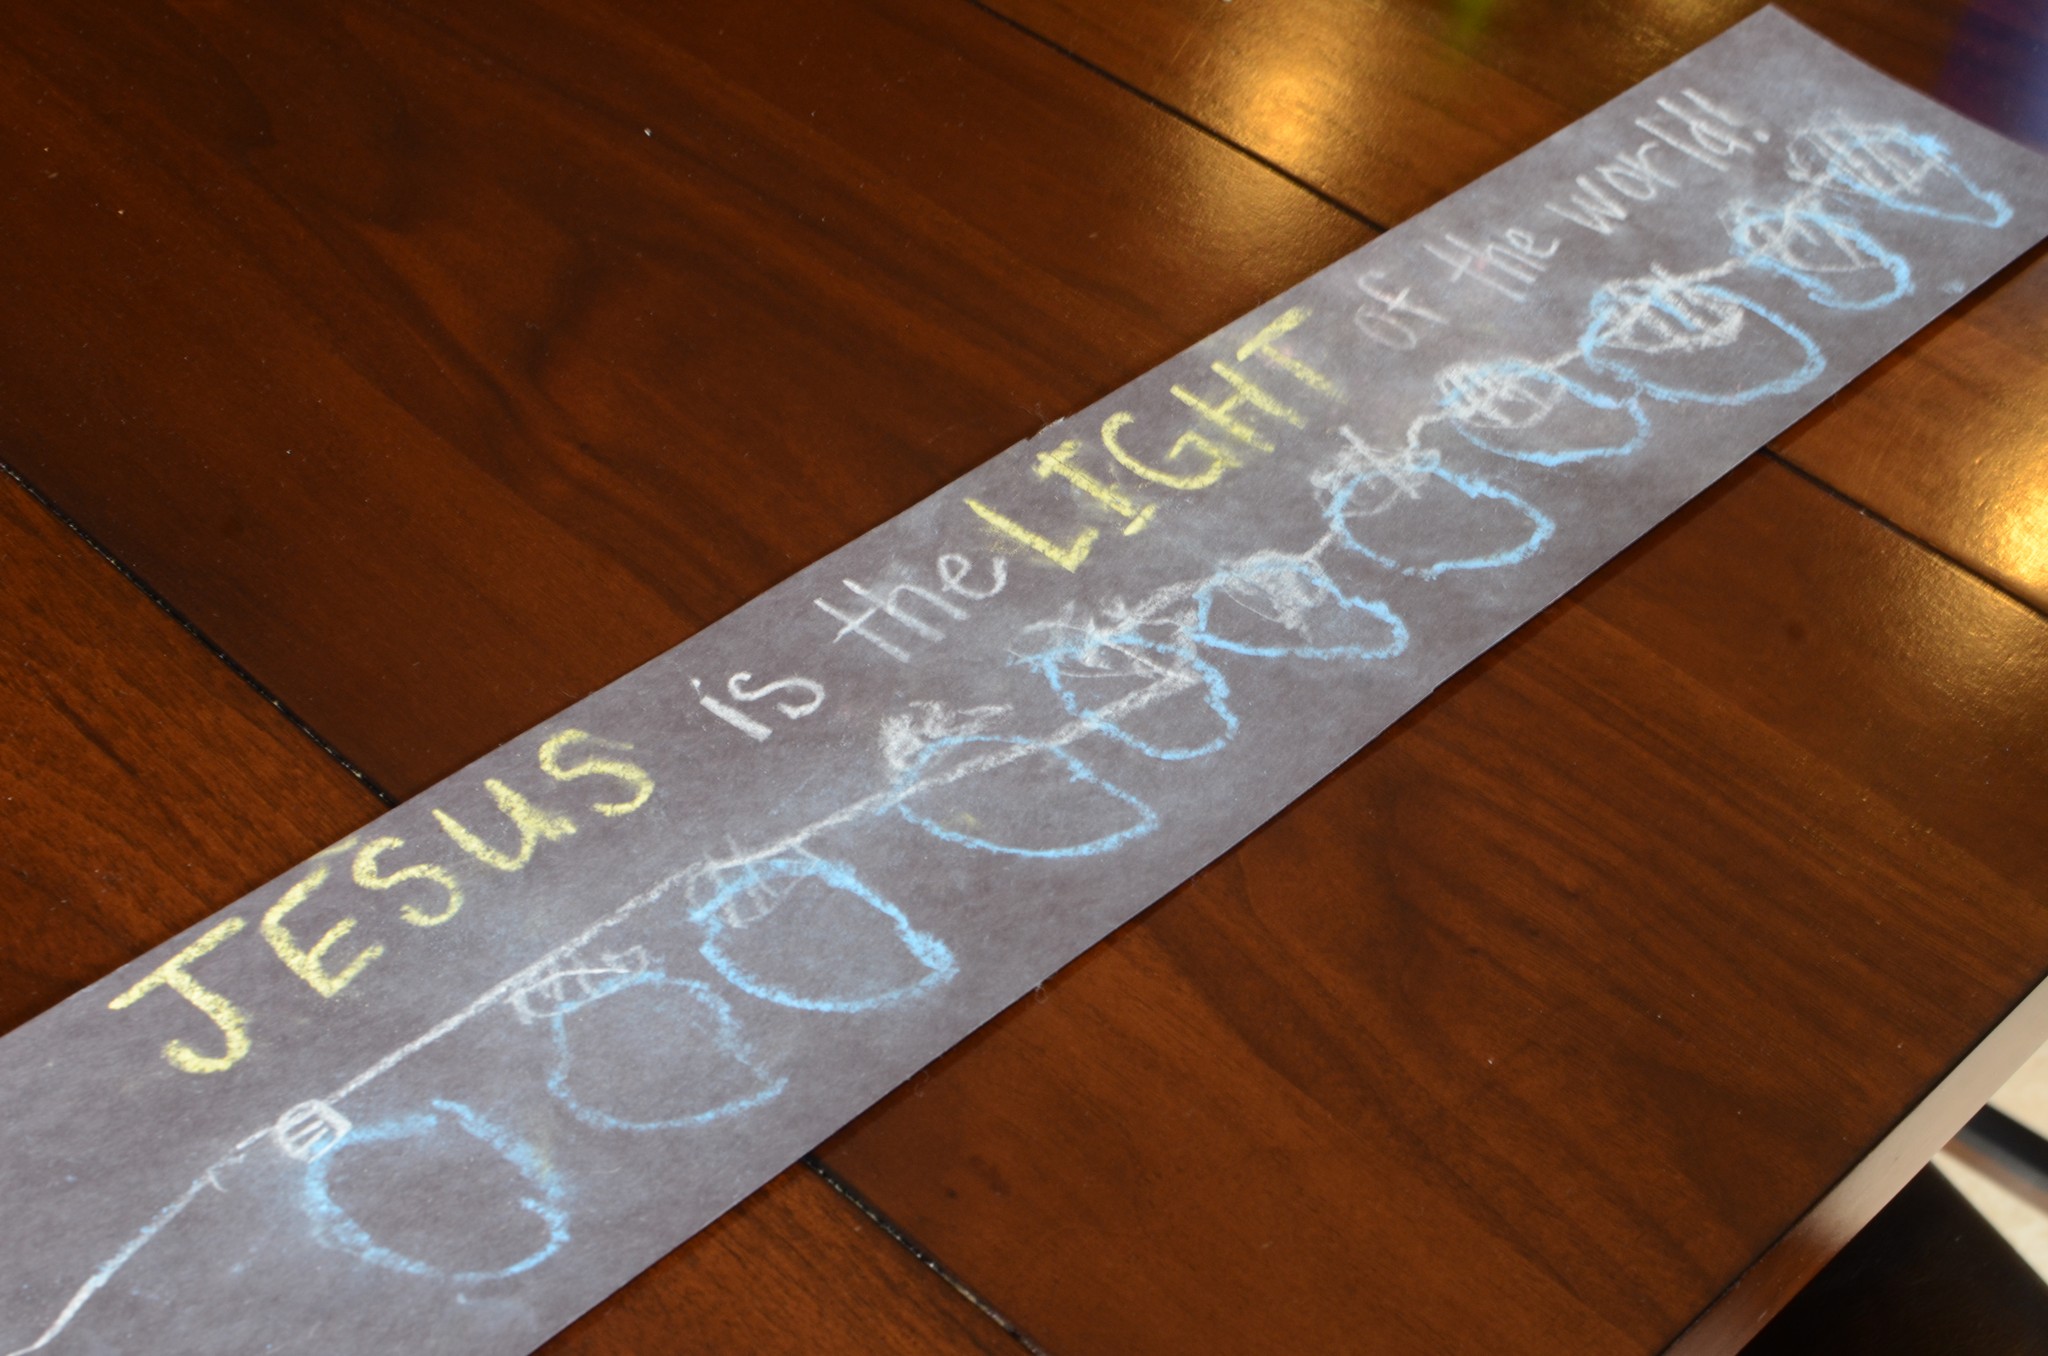
Day 1: Jesus is the Light of the world
I cut a light bulb shape out of cardboard, taped together two halves of black construction paper to make a long piece of paper, gave the kids chalk, and had them trace the outline of the light bulb. Selah preferred to draw her own lights without the stencil :). Elliott meticulously traced multiple lights, only in BLUE, his favorite color. Then they smeared the chalk with a cotton ball.JESUS is the LIGHT of the world!!
I checked out a curriculum that I may do next year with the kids, and they had a sample lesson about Jesus being the light of the world. I thought this was a great way to kick off Advent and our Christmas count up. We went into my closet and shut the door and talked about how dark it was. I told them this is what the world was like without Jesus. I turned on a flashlight and showed what a big difference just one light made, and how Jesus IS the light of the world. We did this craft that I had already pinned and put the picture up where we could see it all month, reminding us of the One who is the true Light of the world!
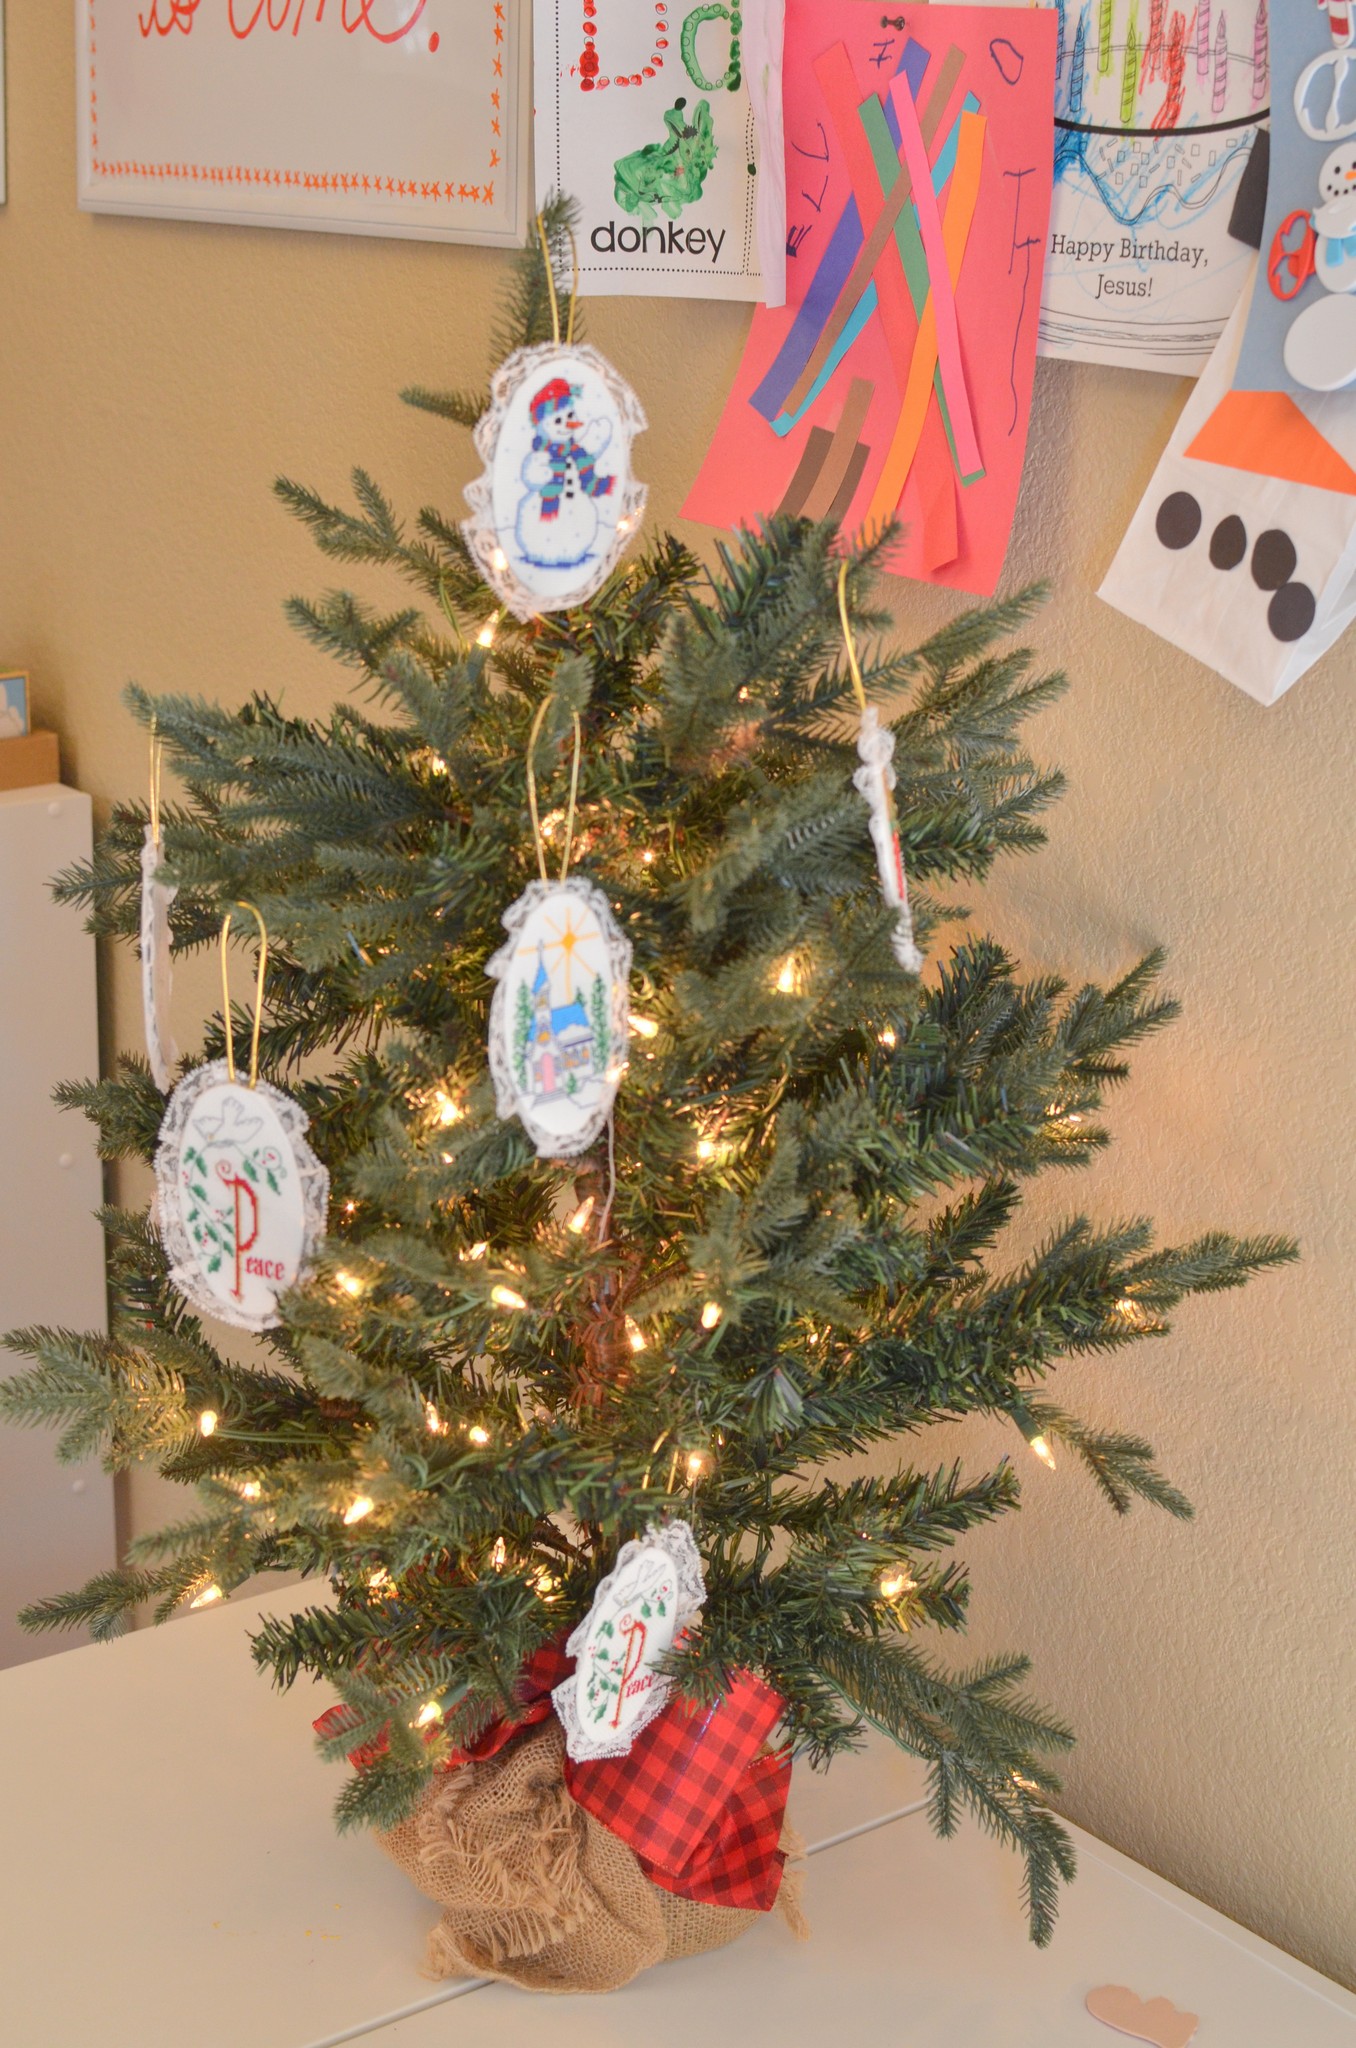
Day 2: Decorate your own Christmas trees!
I pulled out the felt tree from last year along with a new mini Christmas tree we bought for the kids’ playroom, and then let the kids put up their decorations (all from their Nonna).
A perfect playroom tree 🙂
Day 3: Decorate Christmas cookies with the Schultzes
I had “decorate cookies” on my list of things that I wanted to do, but then our dear friends invited us over for that very purpose! Hooray!! I wish I had taken a picture, but Elliott and Selah LOVE their new buddies and it was such a treat to have all the cookies and frosting providing! Thanks, Kellie!!!
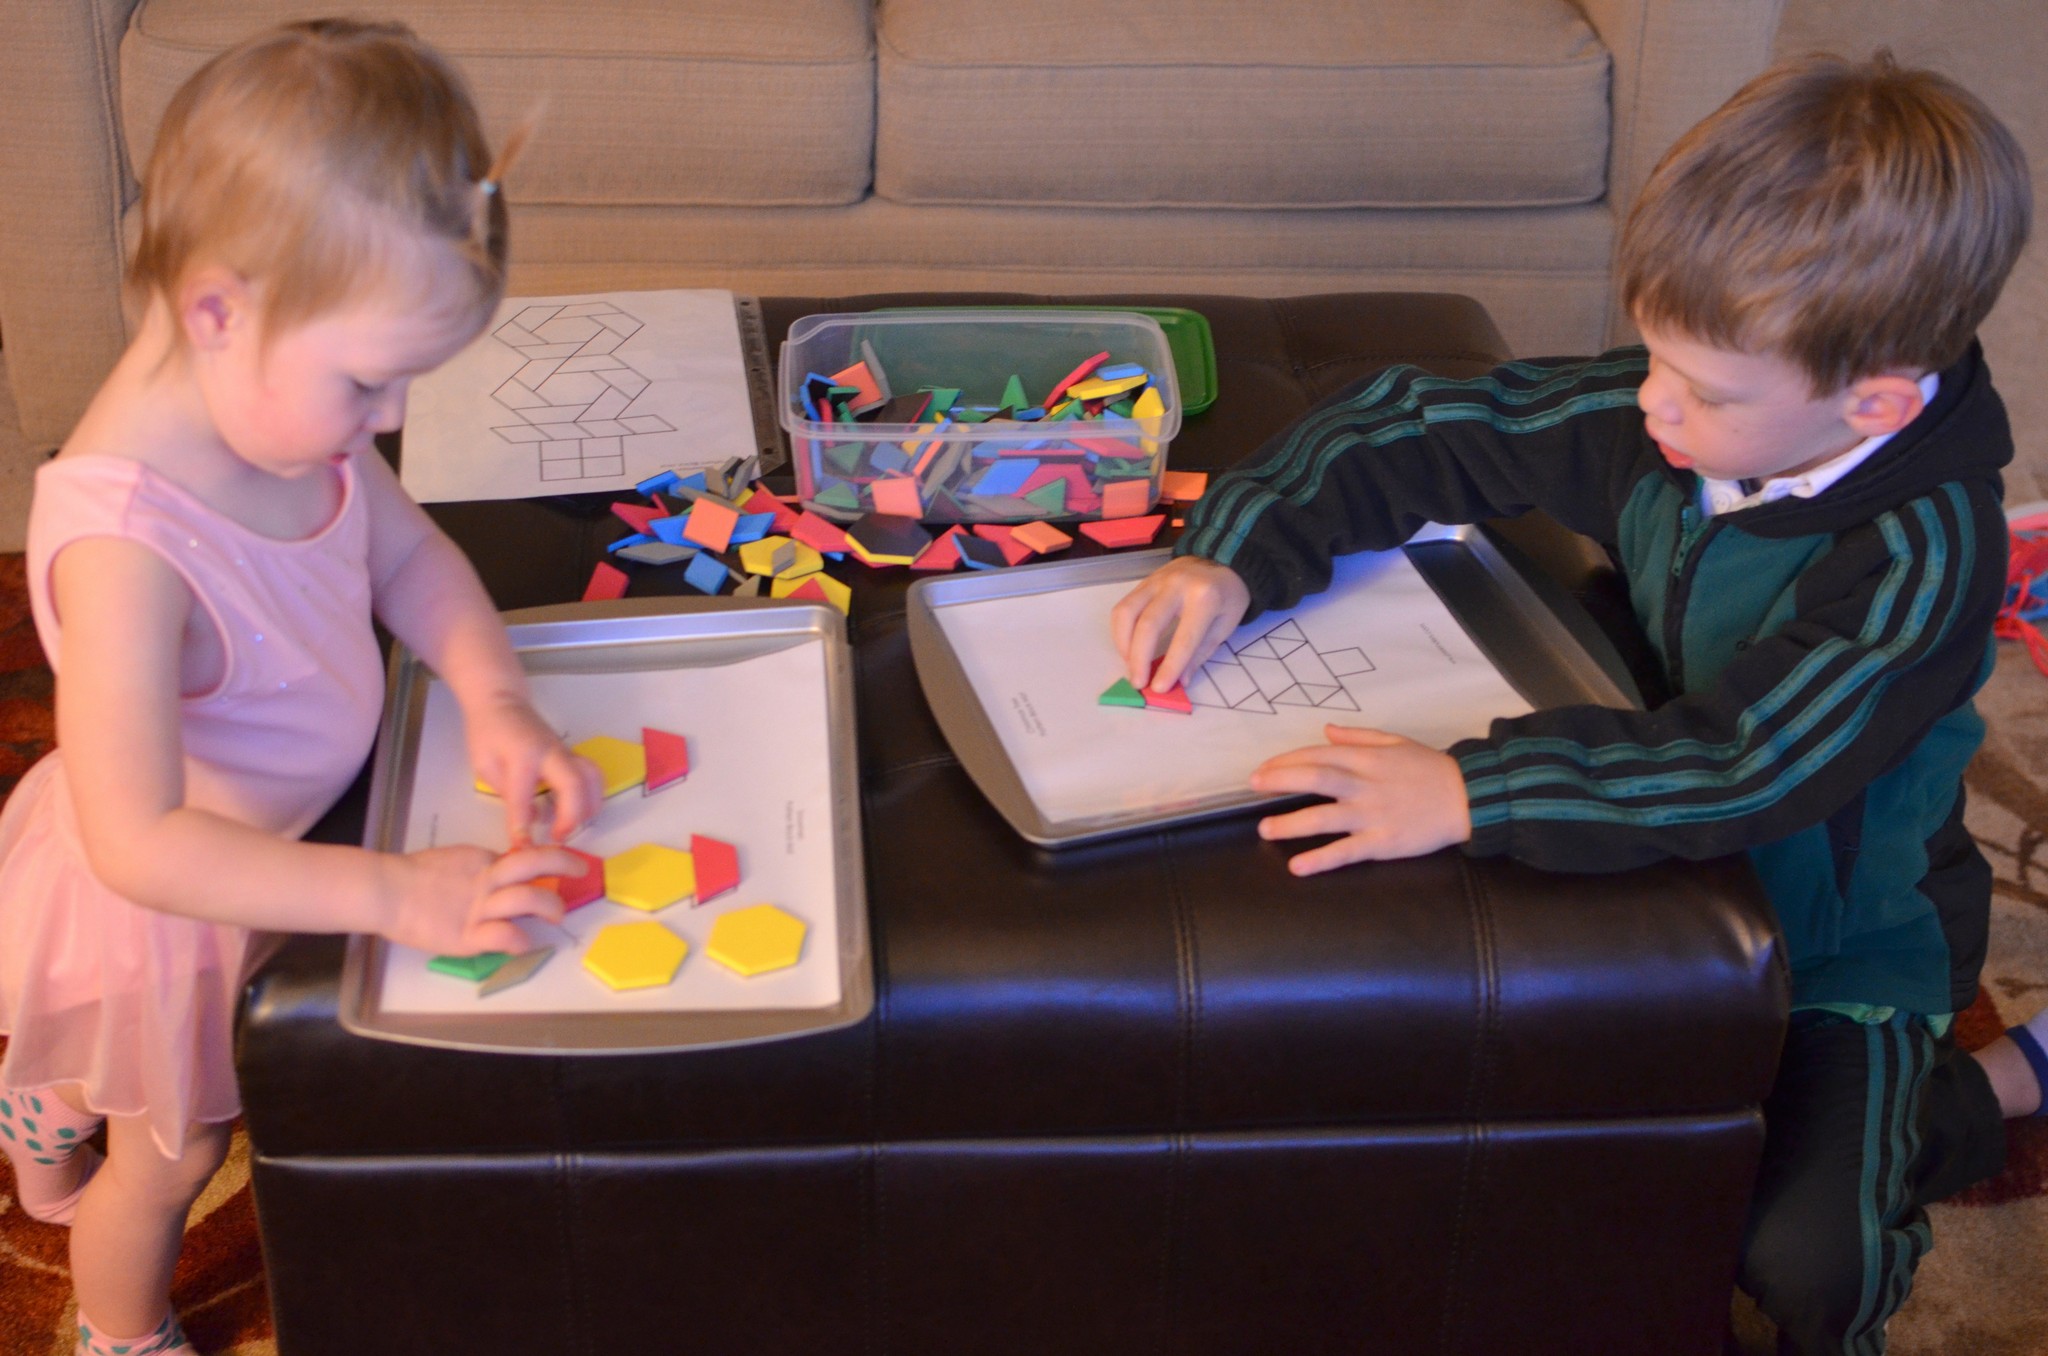
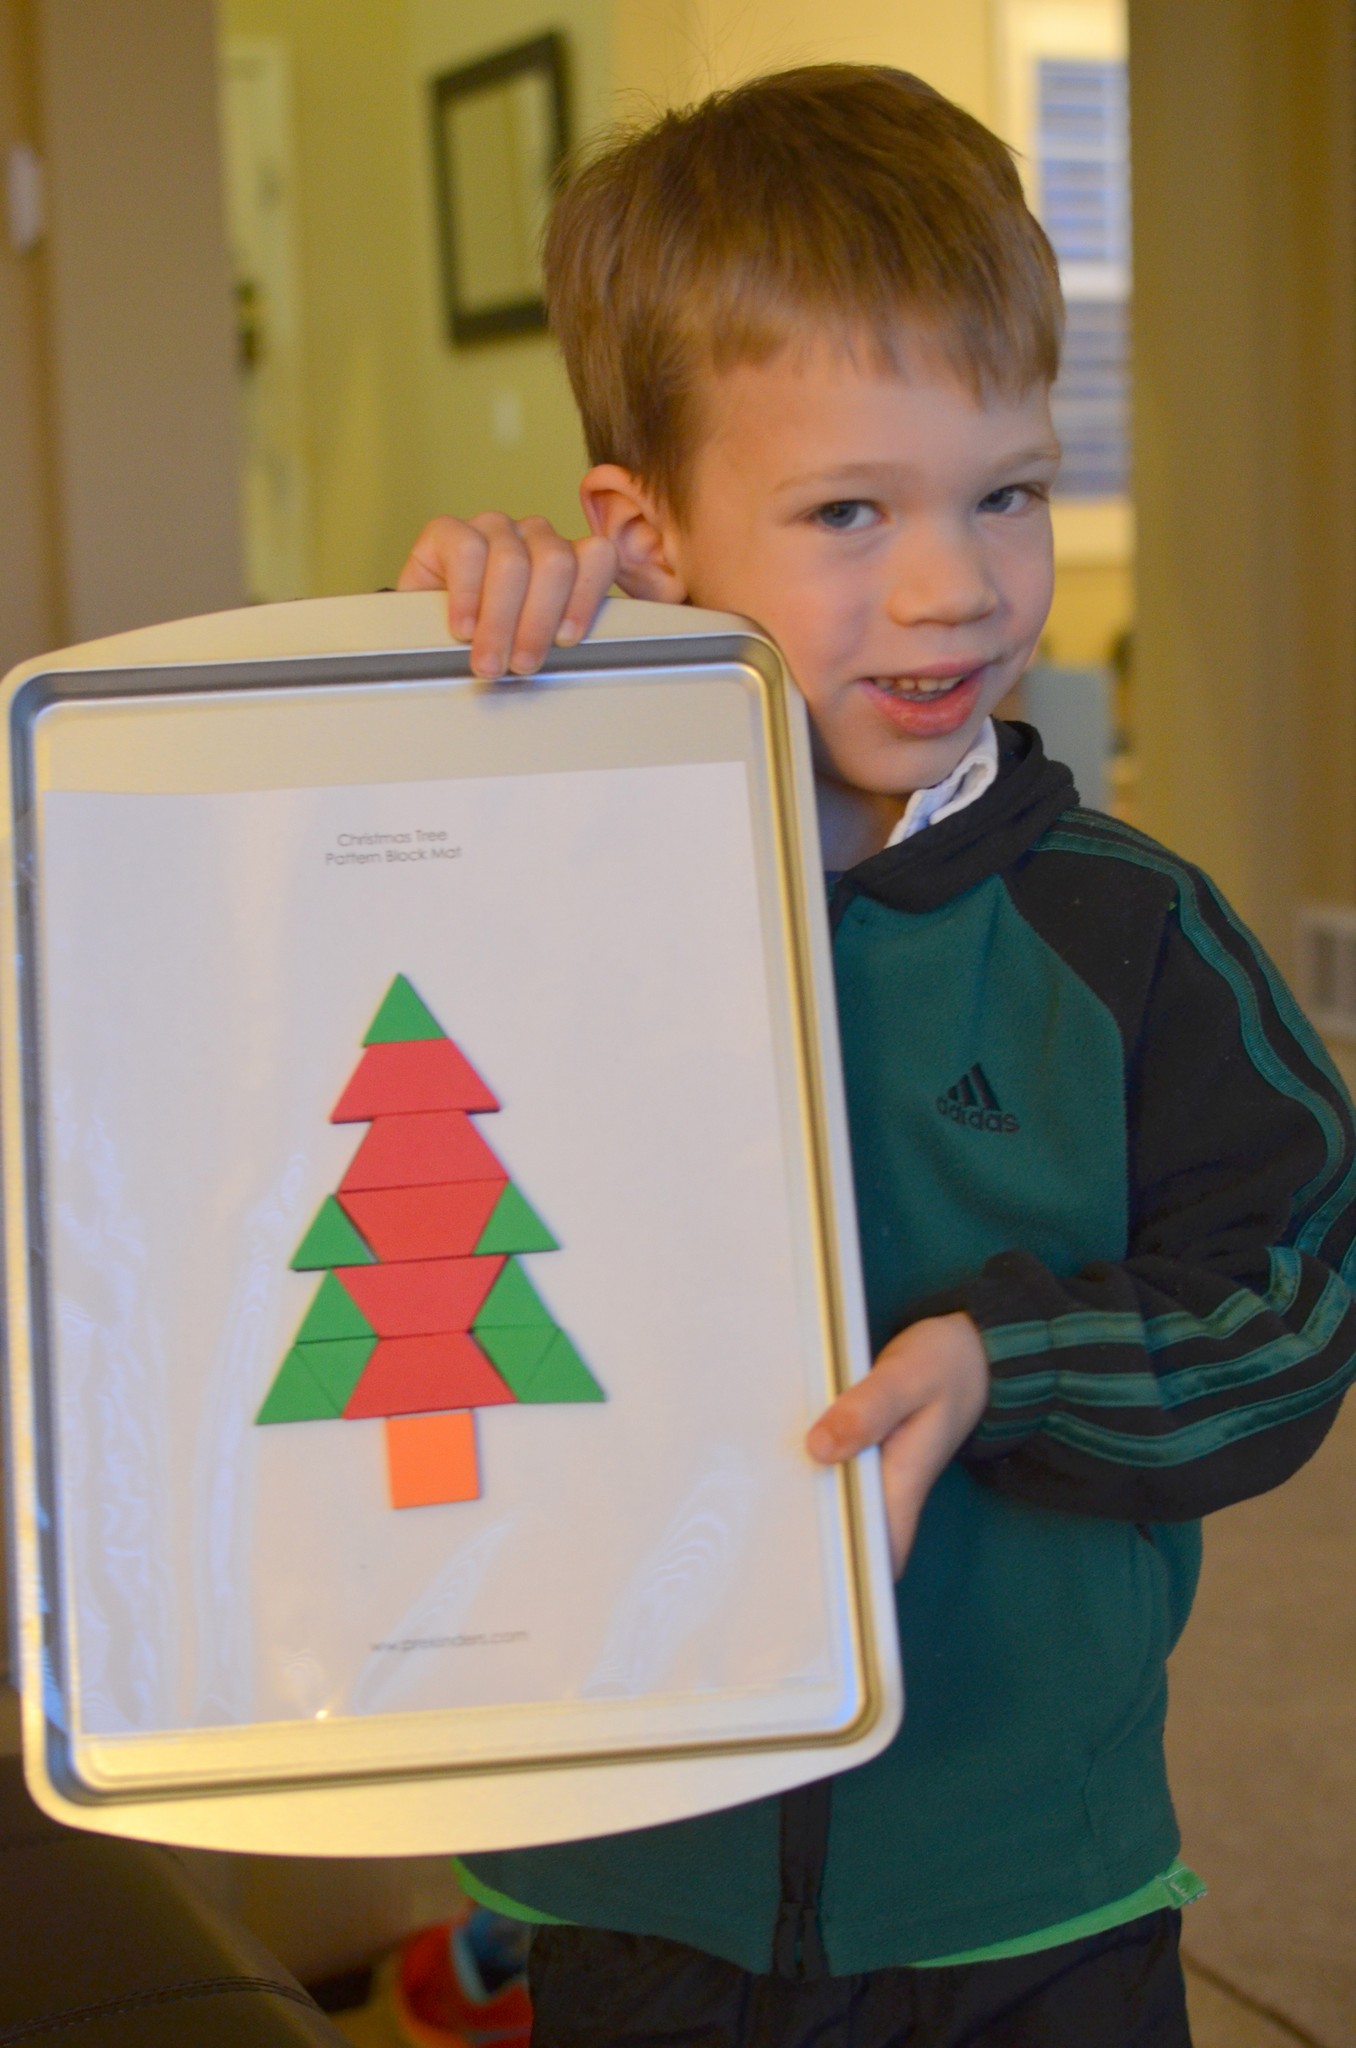
Day 4: Christmas Block Patterns
I had ordered these blocks and found block patterns for our Fall road trip, so it was easy to put together a binder with some Christmas patterns, thanks to the awesome blogger at this site who has worked so hard to put these patterns together!!
Foam magnetic shapes + cookie sheets from The Dollar Store + some sheet protectors=loads of Christmas fun!Oh, Christmas Tree!
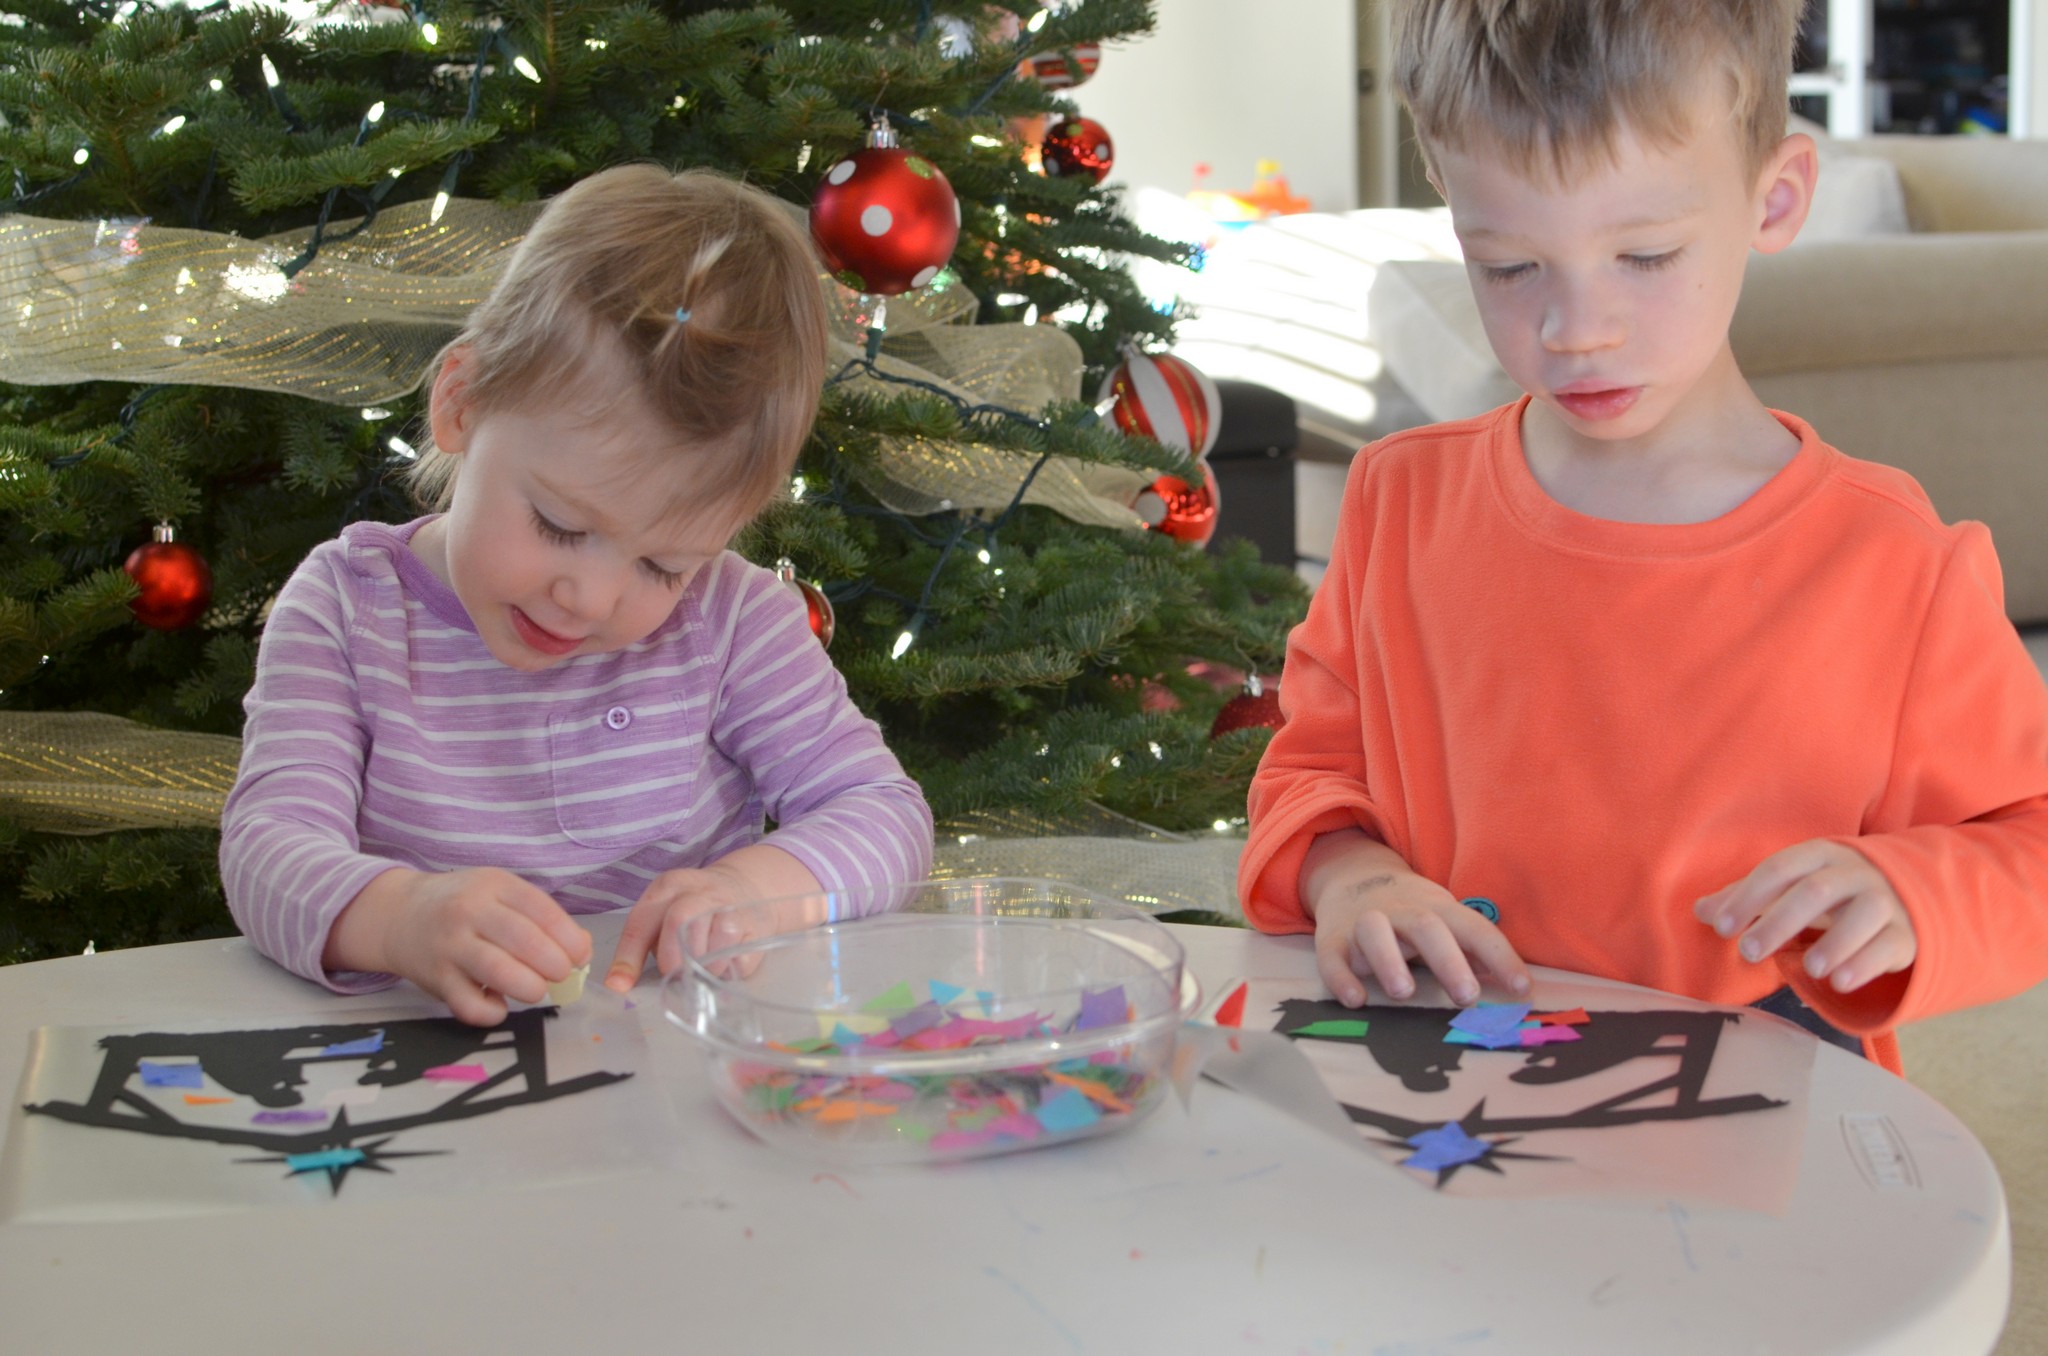
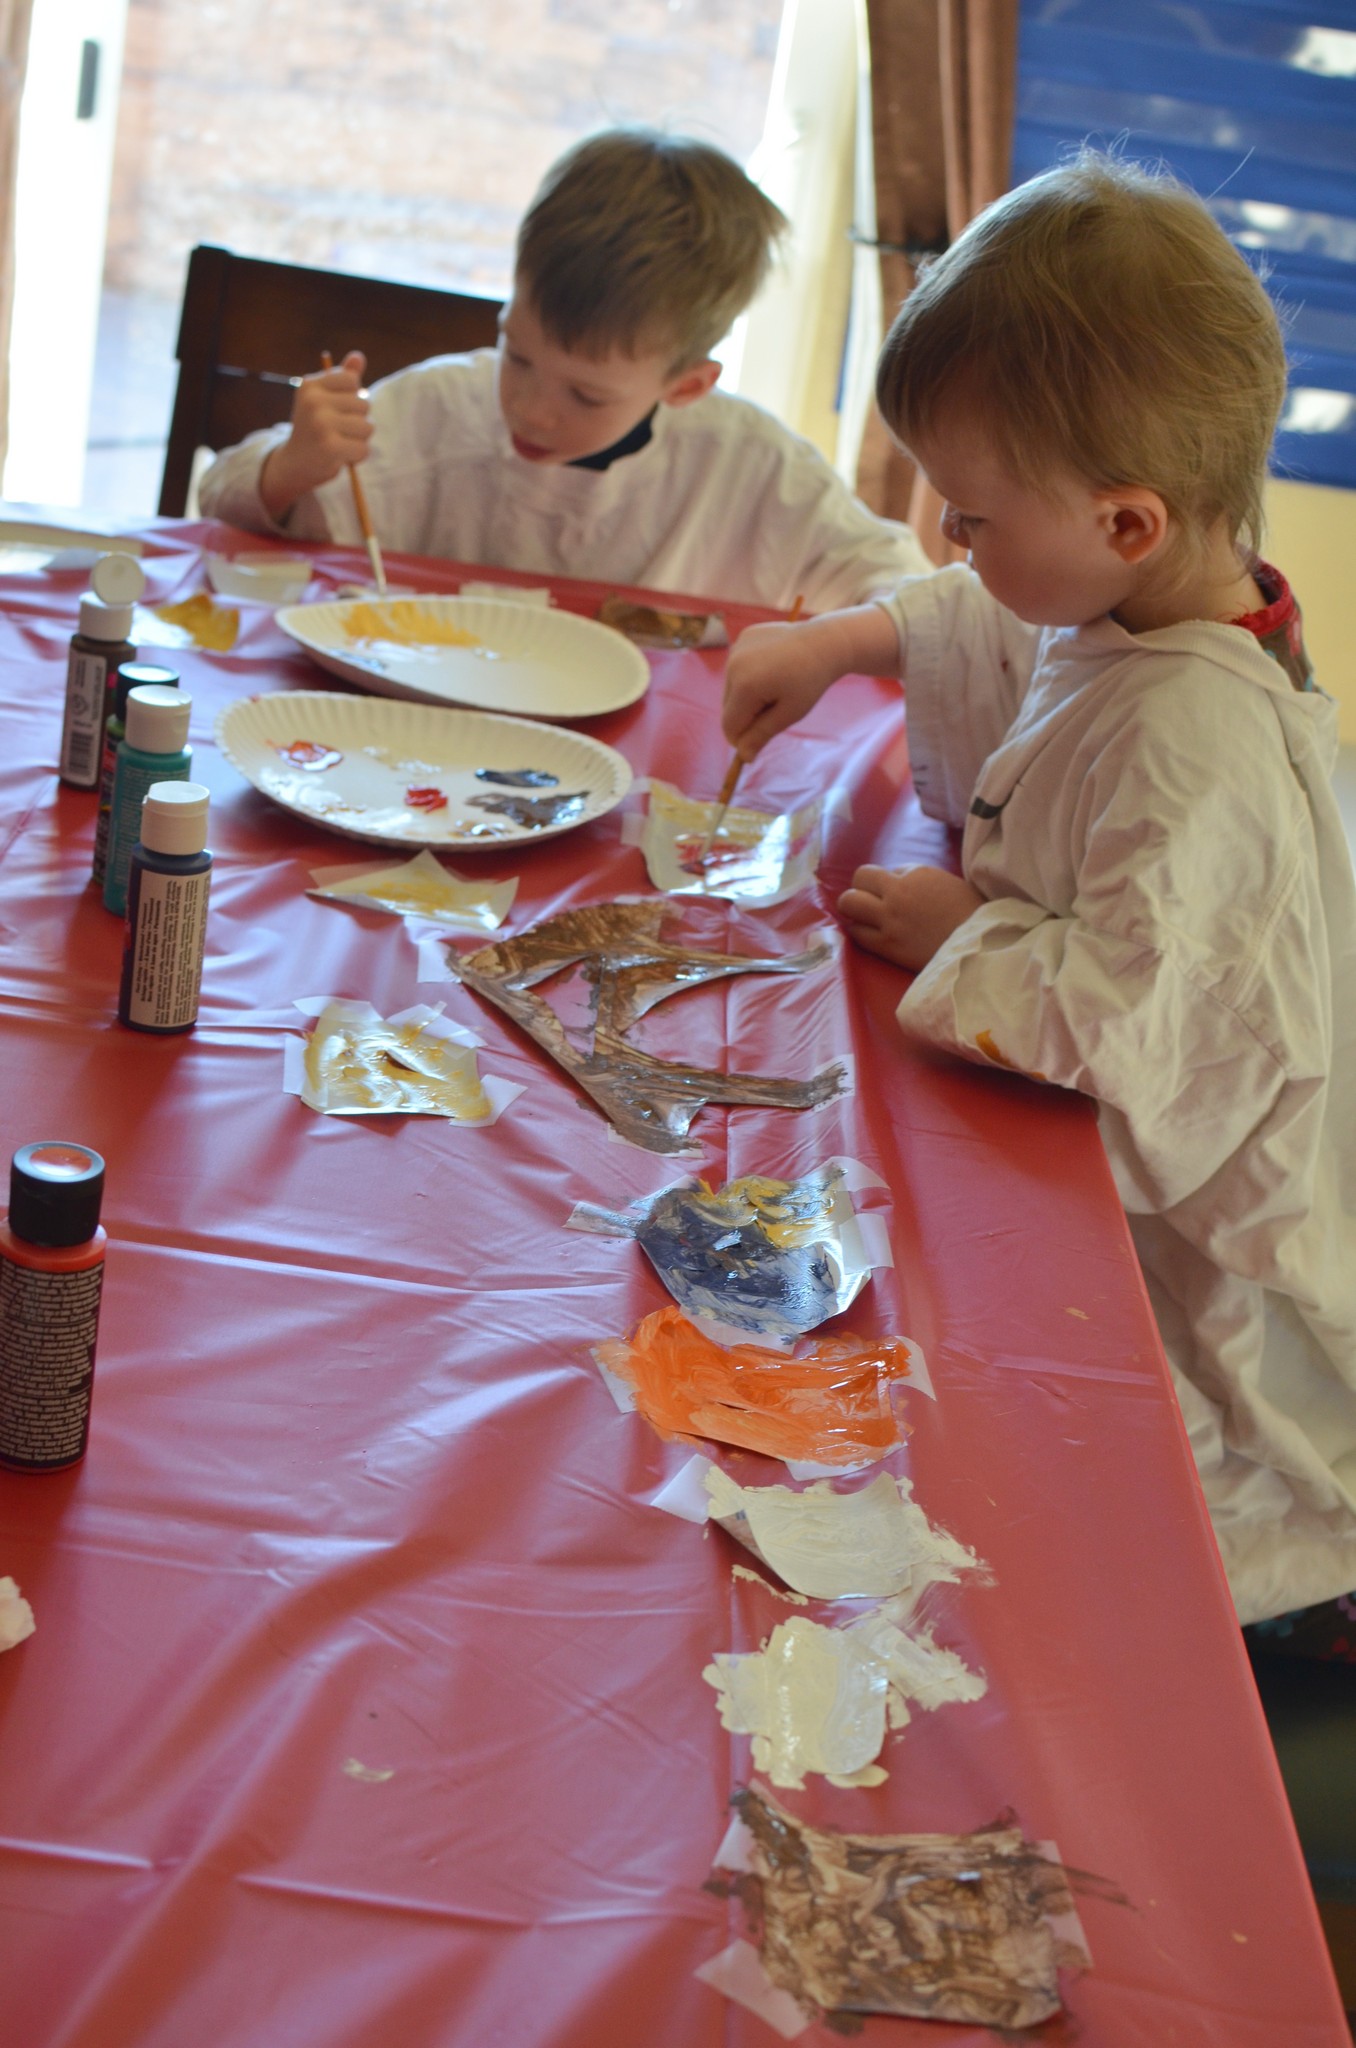
Day 5: Stained glass window nativity
Elliott had been asking me if we could do a nativity window cling for one of our crafts. I searched Pinterest and found this one and had all the supplies. So I pulled out my Silhouette, cut out the black part for each of the kids and had it ready for the kids the next day. The kids both loved the craft, although Selah liked her stained glass a little on the “uncluttered” side so she was done in a matter of minutes. Elliott worked meticulously to fill in every space and gap. I think they turned out beautifully!!
Working diligently on their “stained glass” projects…Aren’t they beautiful? I love them!
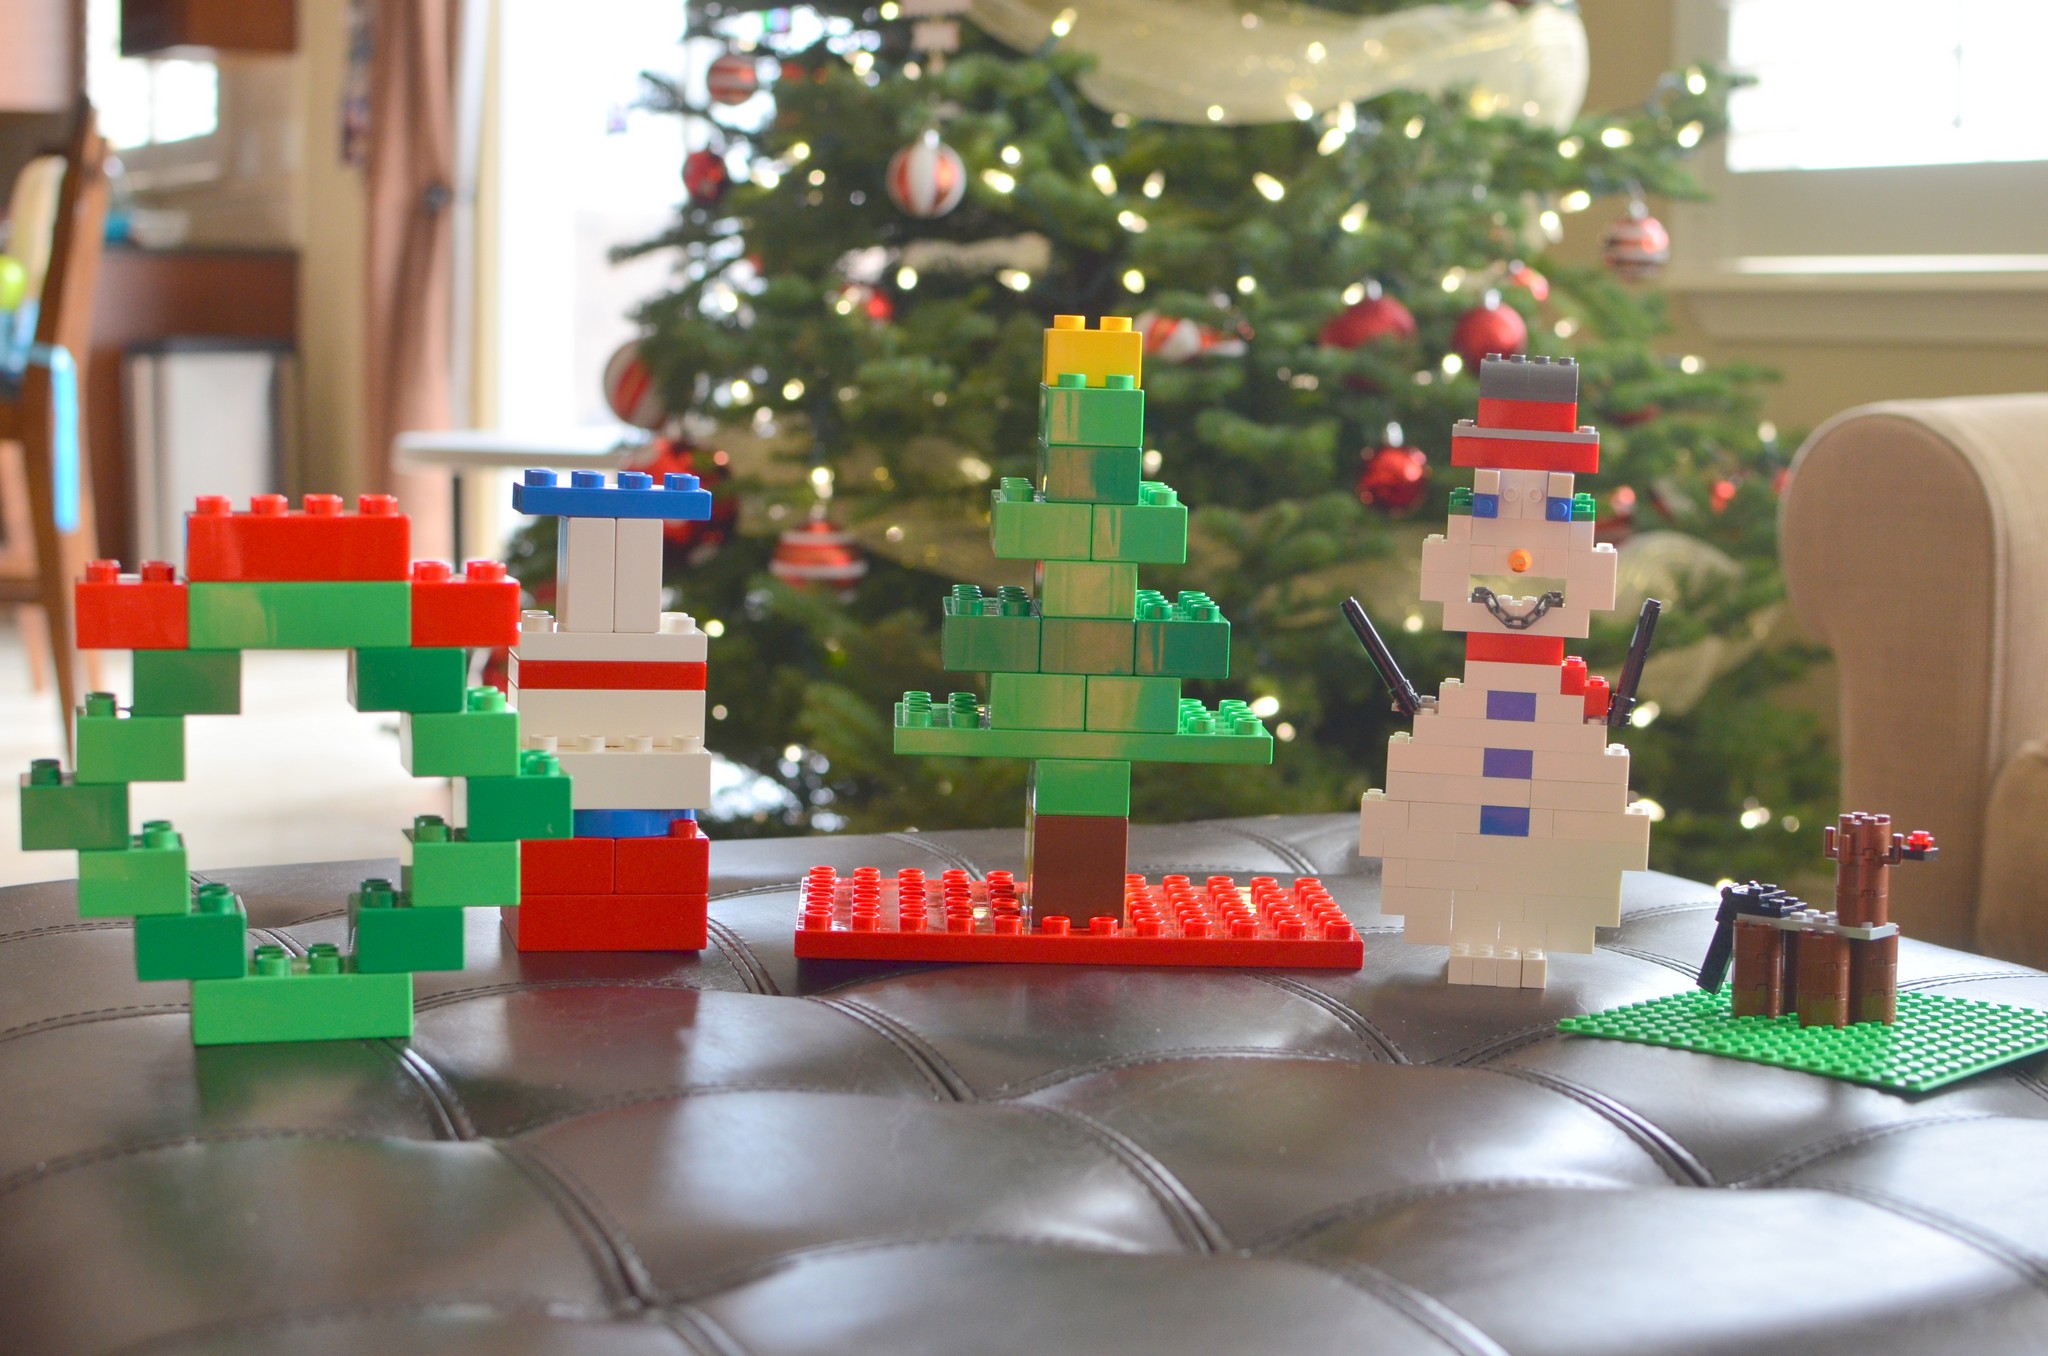
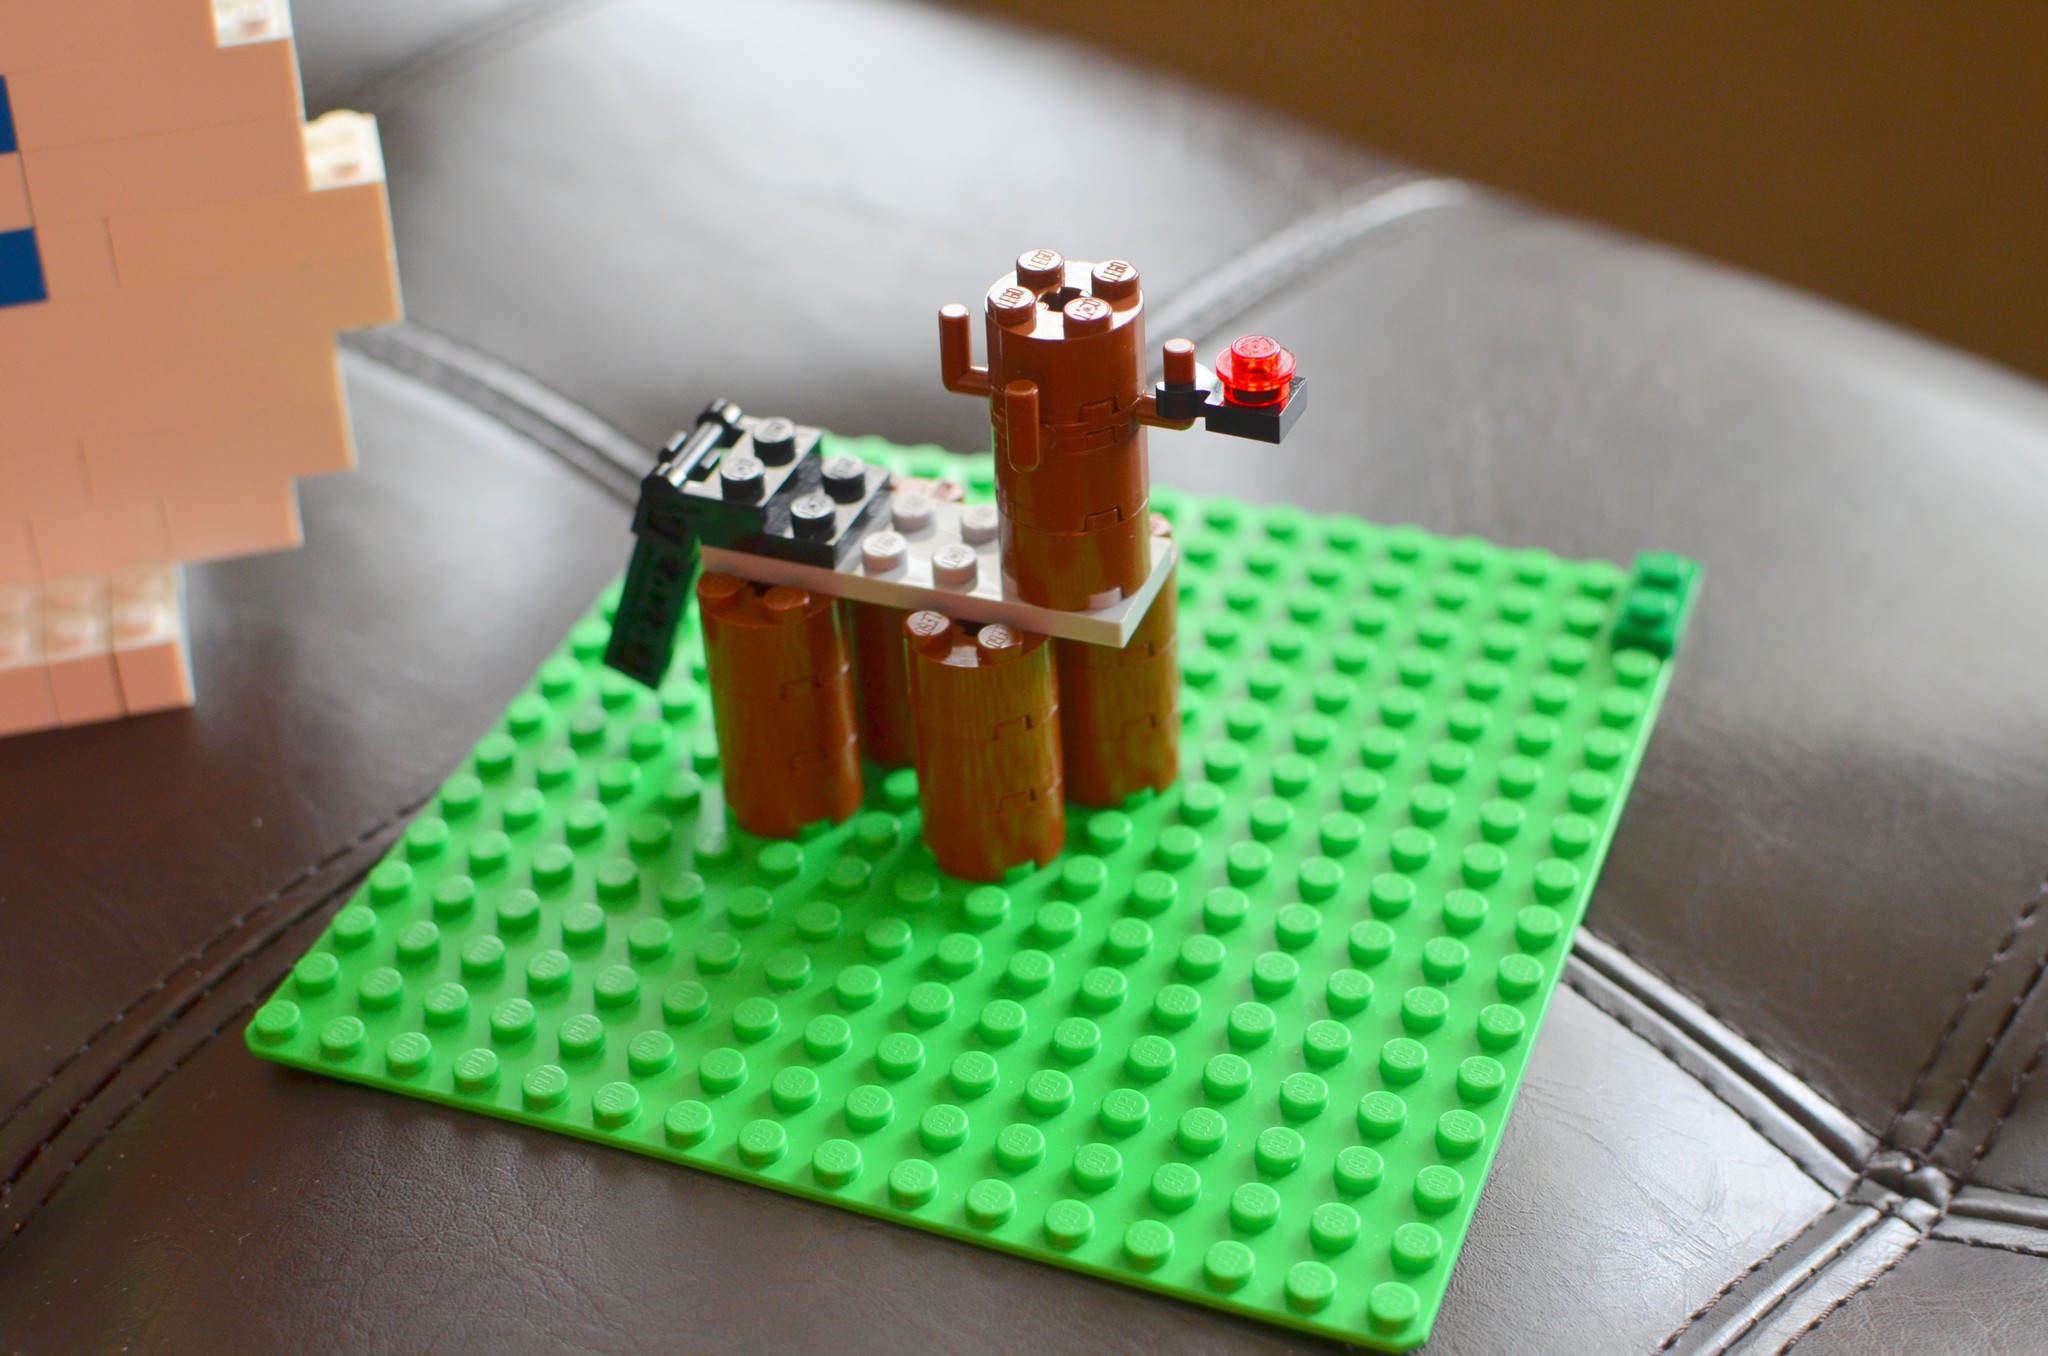
Day 6: Lego Christmas creations with Daddy!!
I had been wanting to do Lego creations with the kids but, I’ll be honest, I don’t do well when I don’t have instructions :). Brian’s been helping me learn how to let my inner Lego woman loose (ha!) and just BUILD, but I still need to spend a few minutes breathing into a paper bag when Elliott asks me to make a police car, for instance, without any instructions. I know, gasp!!!! So I only felt comfortable doing this activity when Brian was taking the lead…and with him by my side, I even built this Snowman (mostly) by myself without any instructions!! Ha!! 🙂 We all had a lot of fun constructing :).
Look how cute these all are!!Come on, now…is he SNOW CUTE, or what?!!And I think Brian’s Rudolph deserves some extra props!!
Day 7: Put up Christmas lights outside
I’ll be honest, I had nothing planned or ready to do this day and Elliott had been ASKING and ASKING why we didn’t have lights up outside, so we finally did it :).
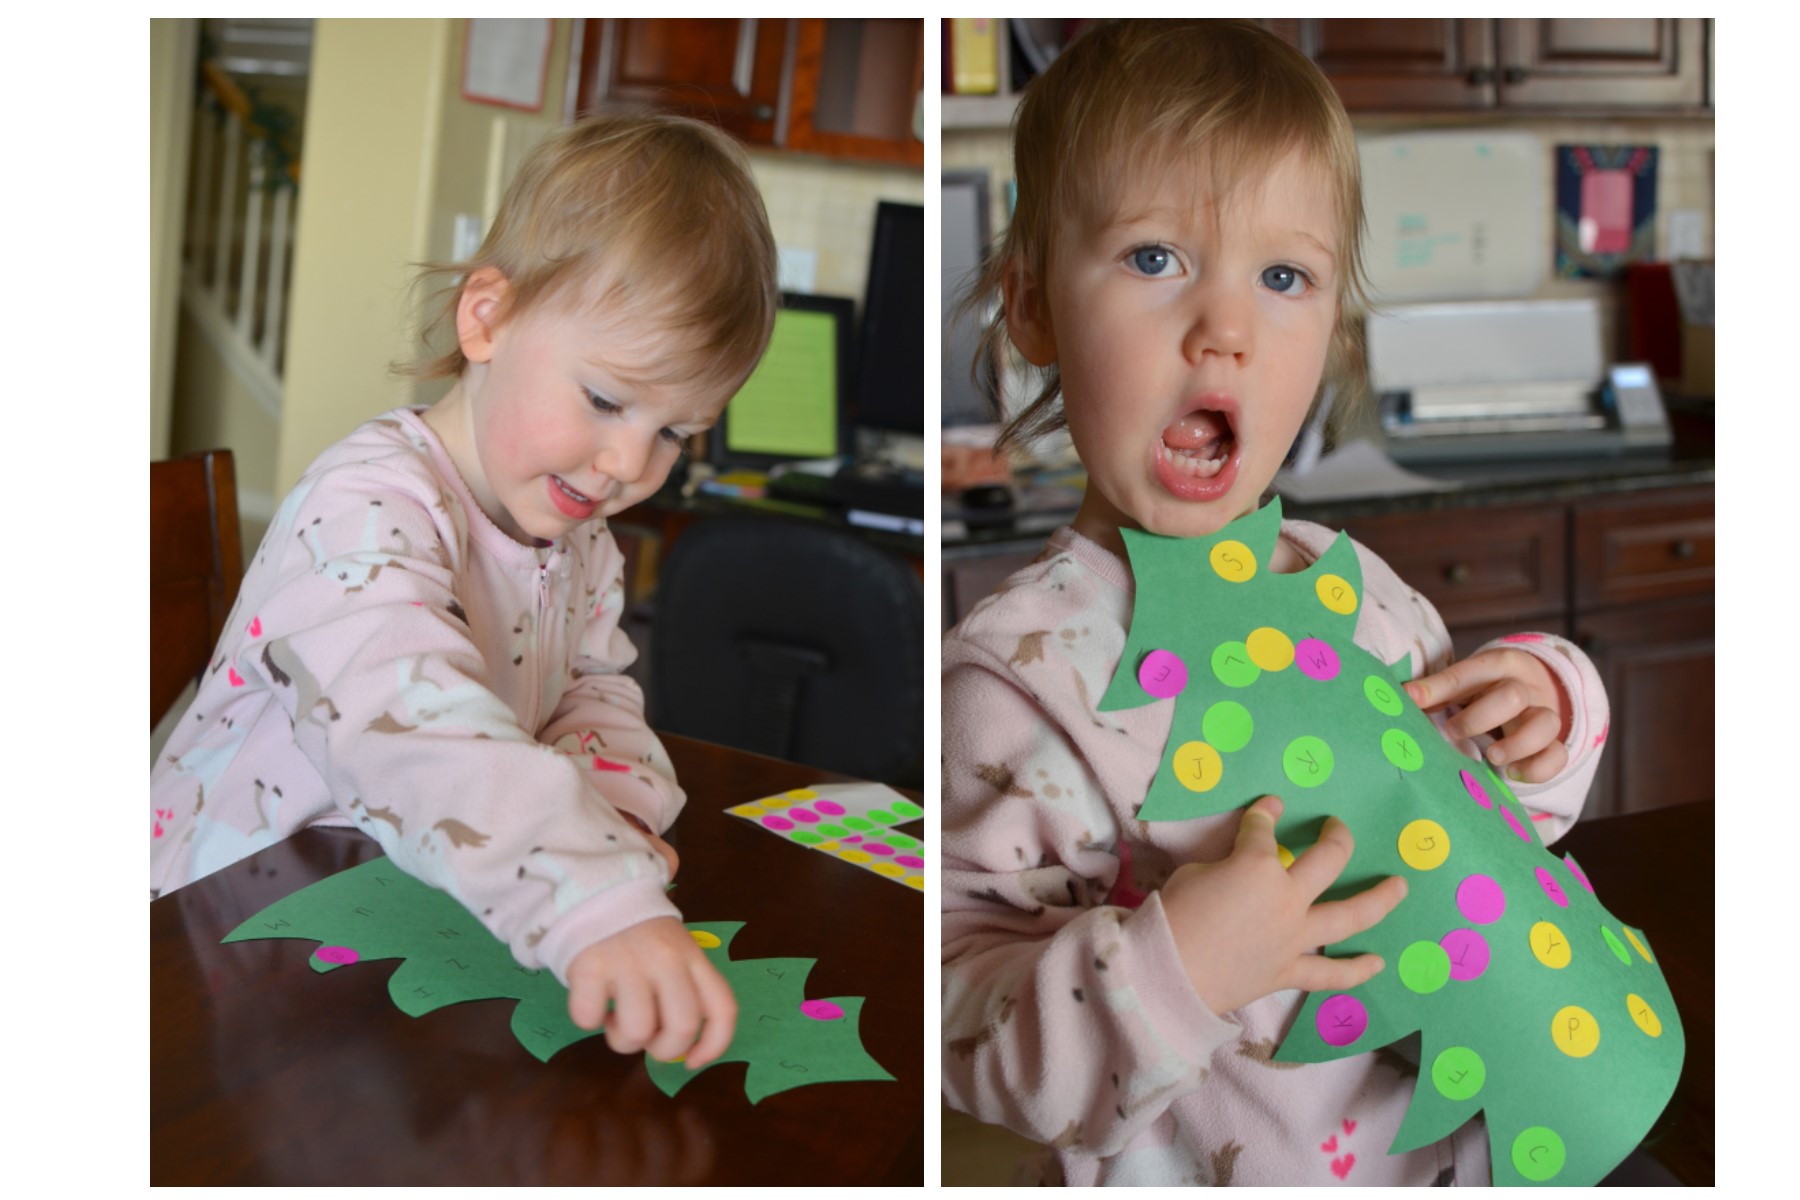
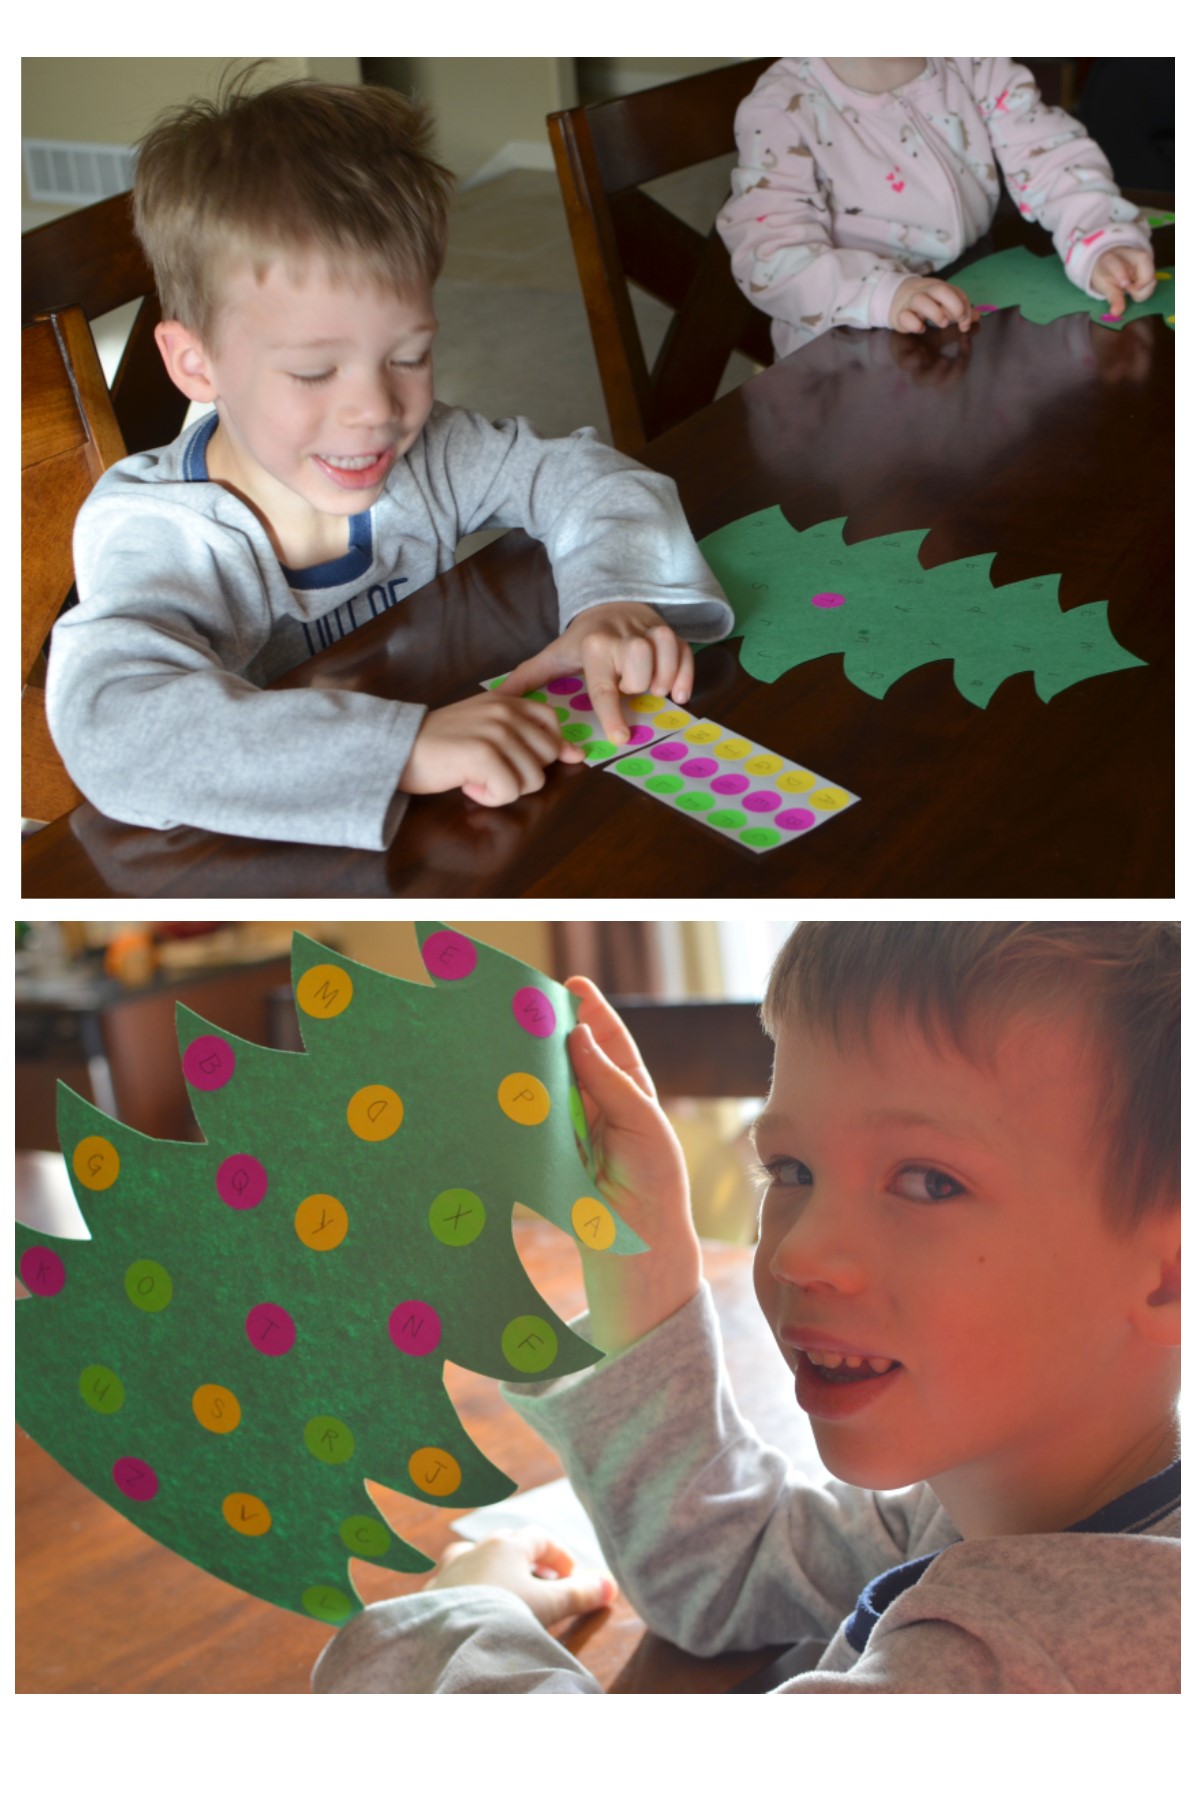
Day 8: Christmas tree fun!
I did two new crafts and used an old one from last year! The first–I cut out two green Christmas trees (one for each kid) and then randomely wrote A-Z throughout the tree. I also wrote the letters on some circle dots. The kids had to match the letters. This was PERFECT for Selah (26 months), and for Elliott (3 1/2), I did capital letters on the tree and lower case letters on the stickers and it made the activity a tiny bit more challenging for him.
This was the PERFECT activity for a young 2 year old!And the upper to lower case matching made it a little more challenging for my 3 year old.
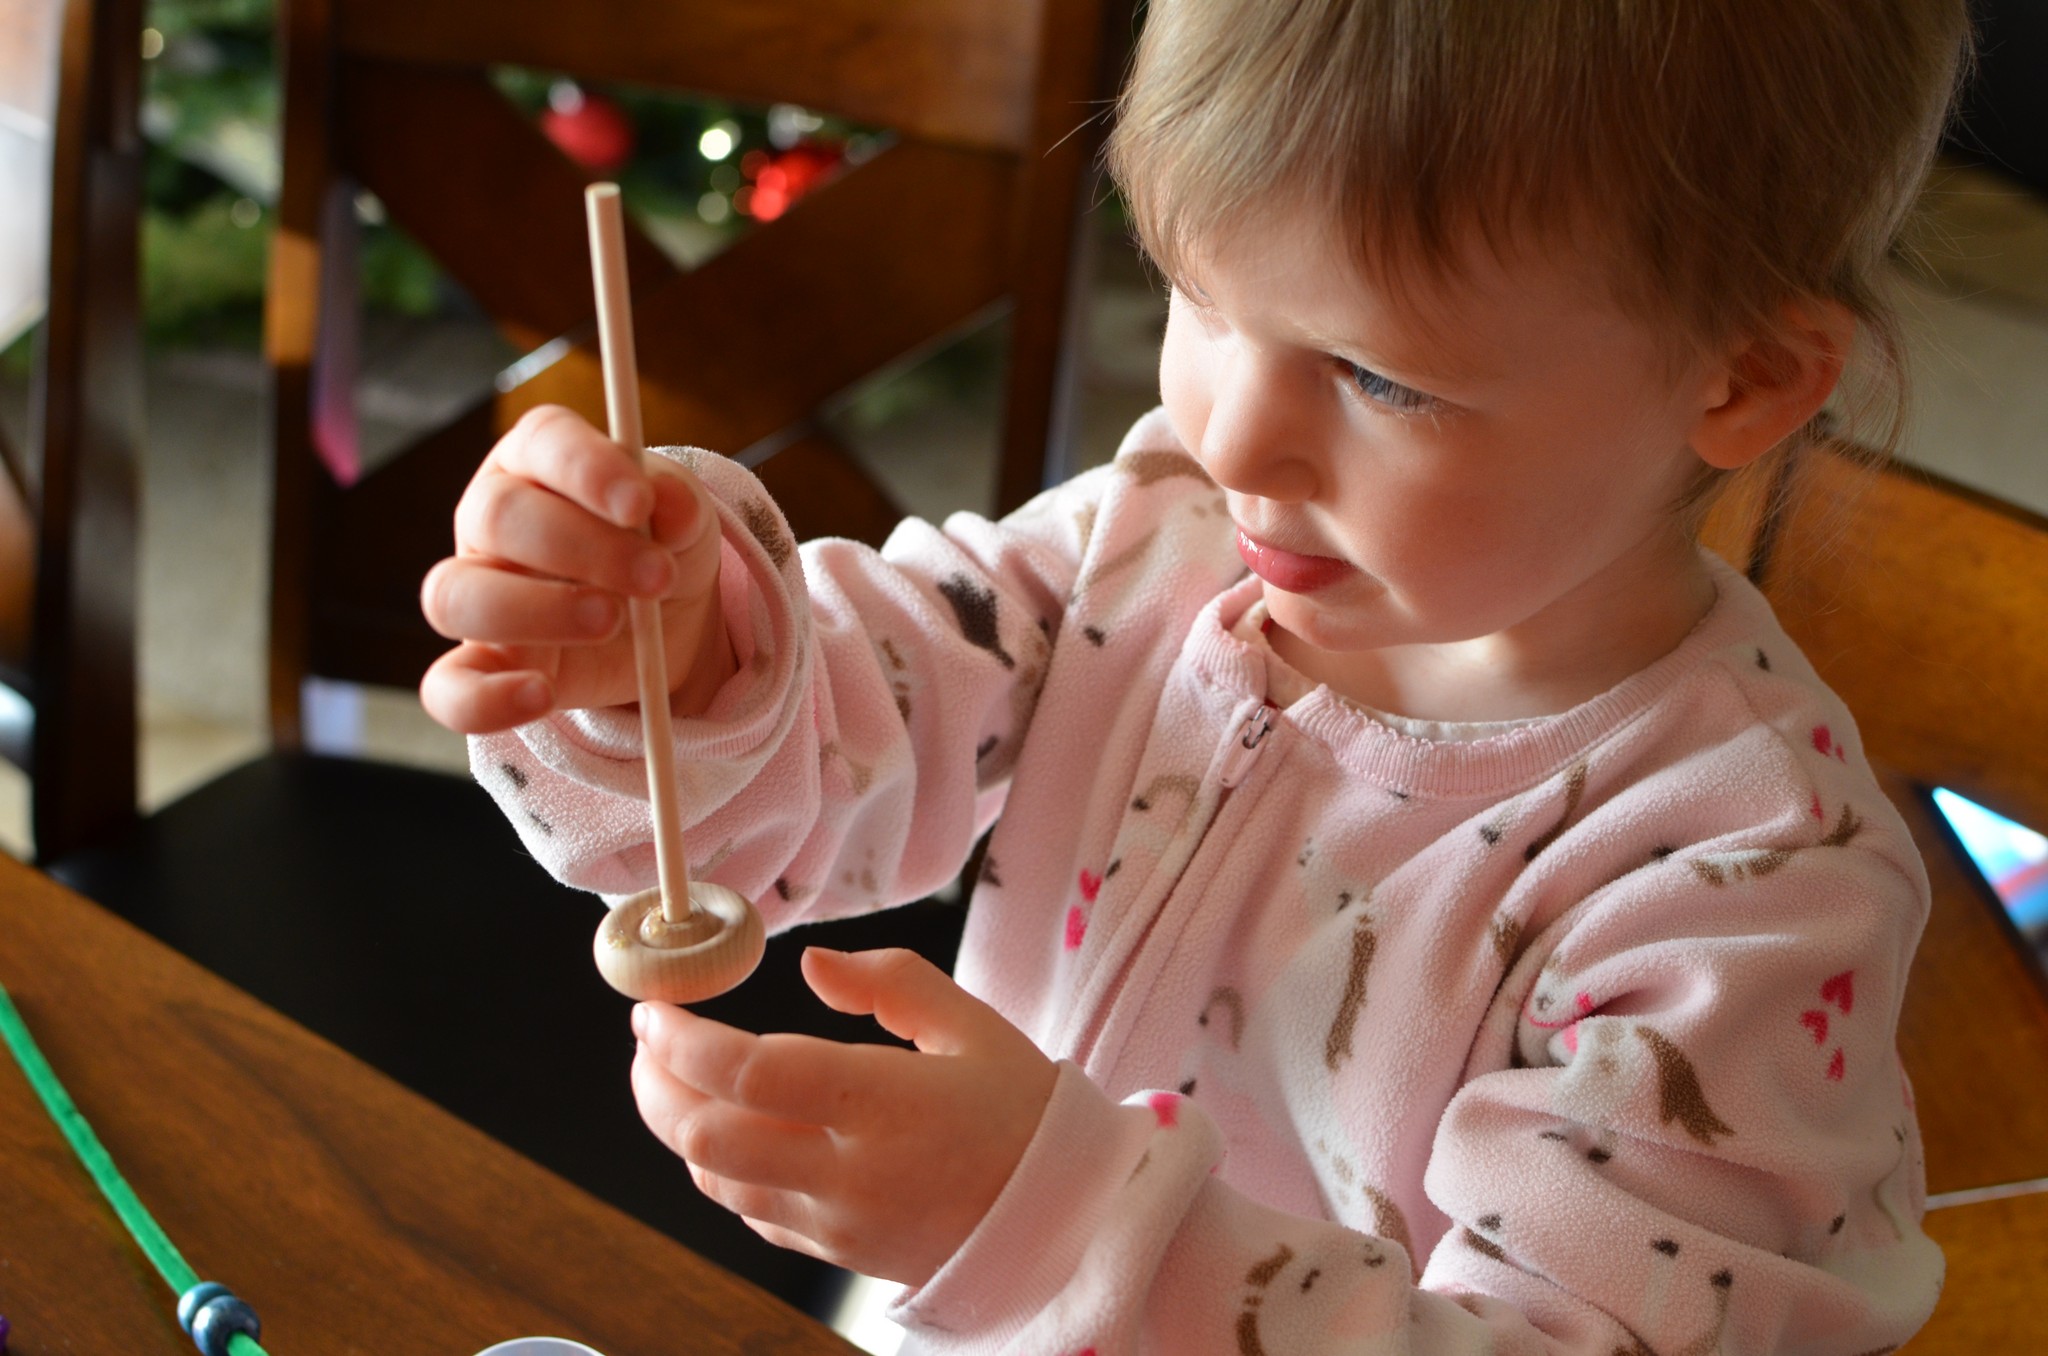
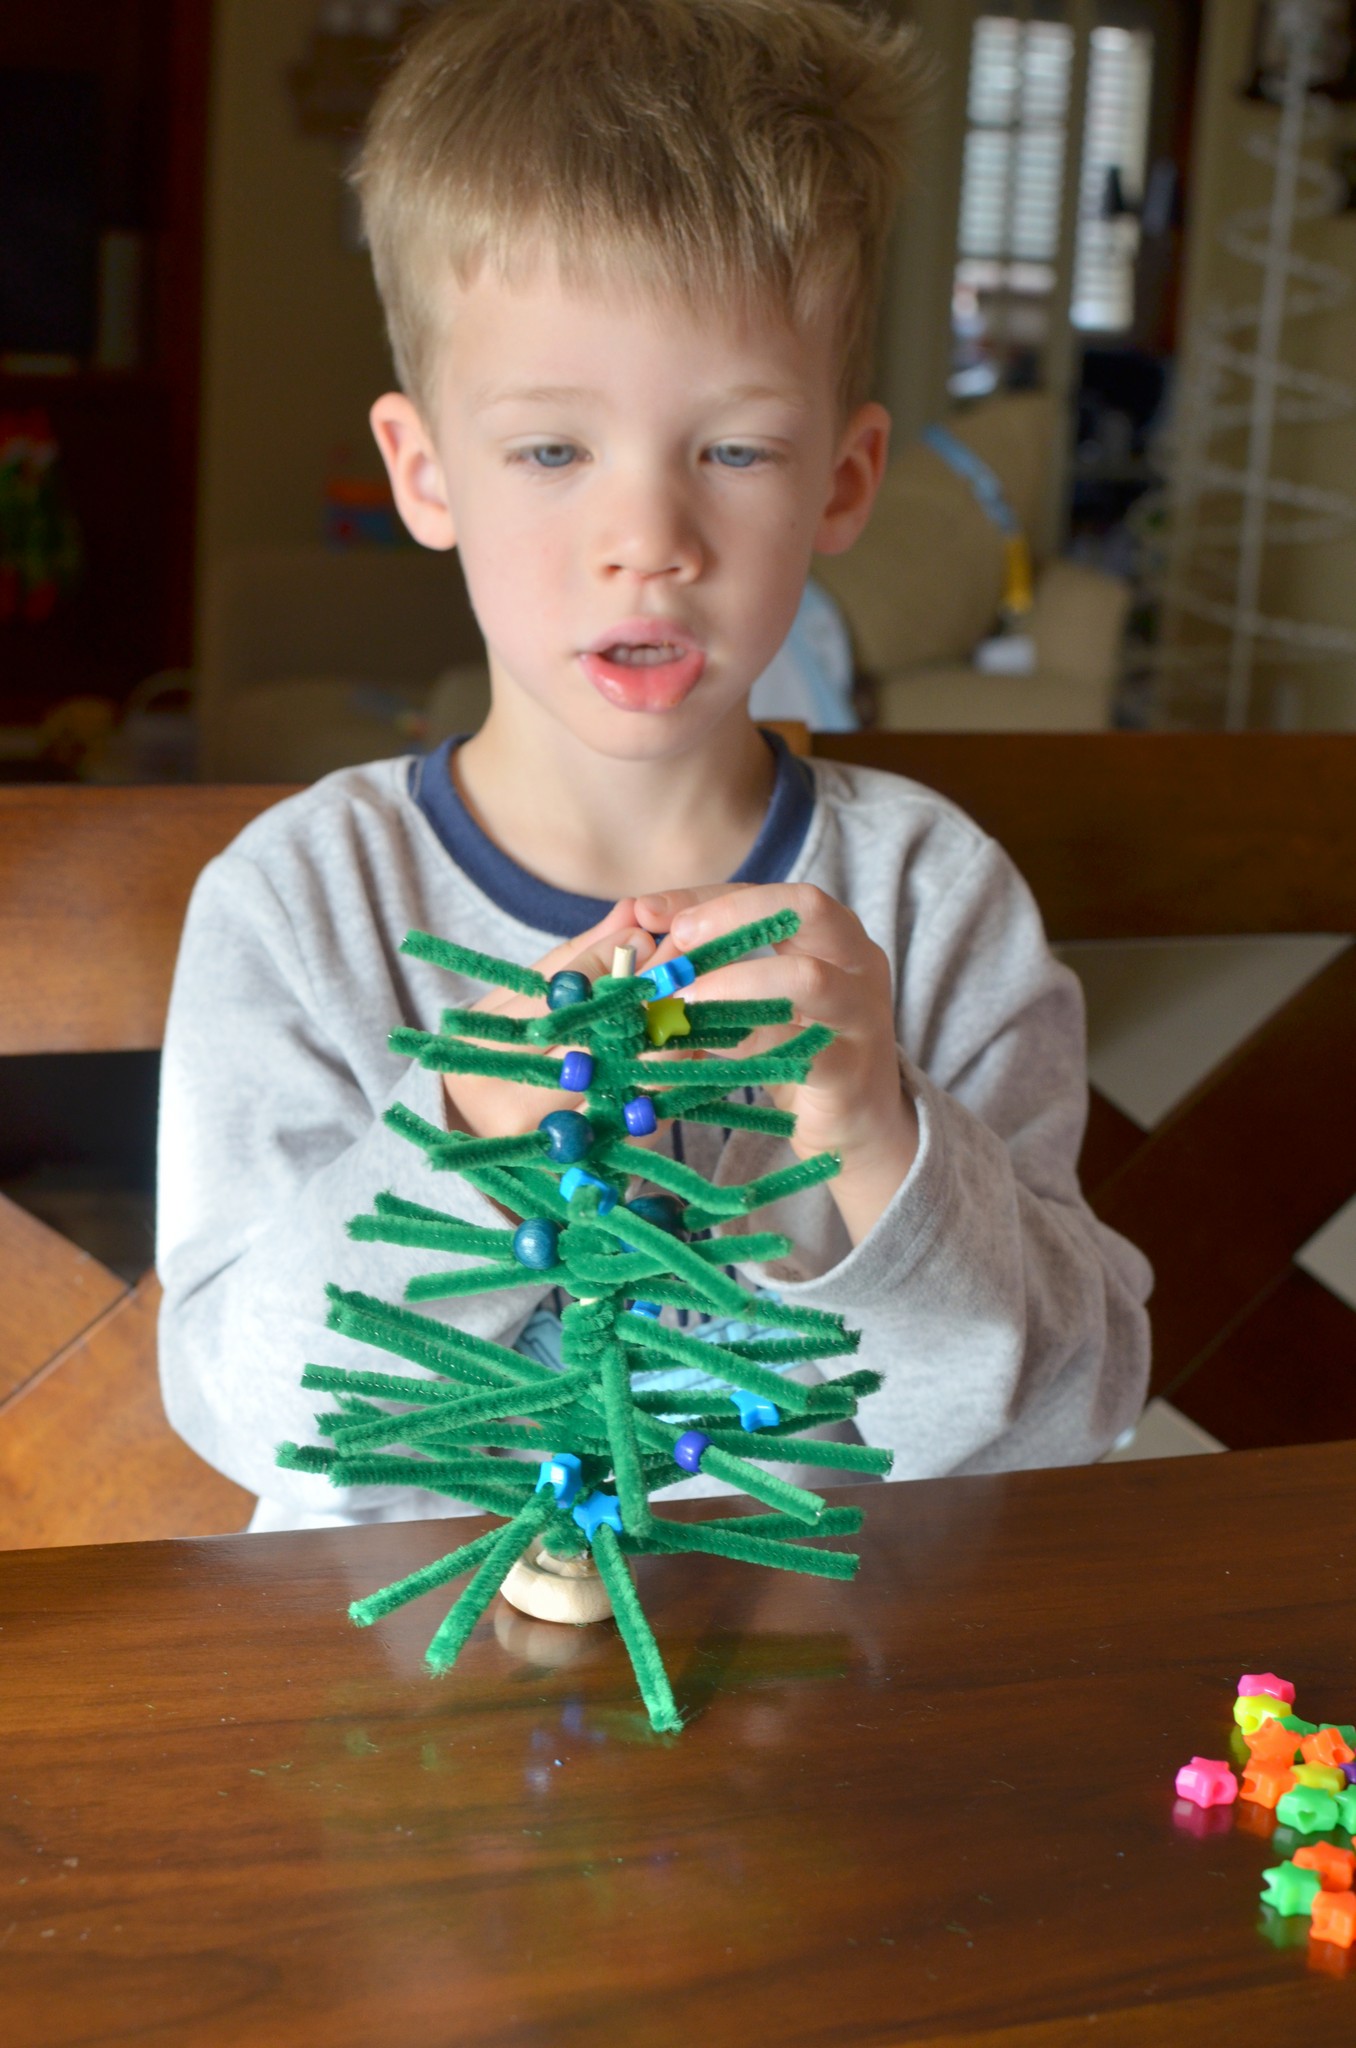
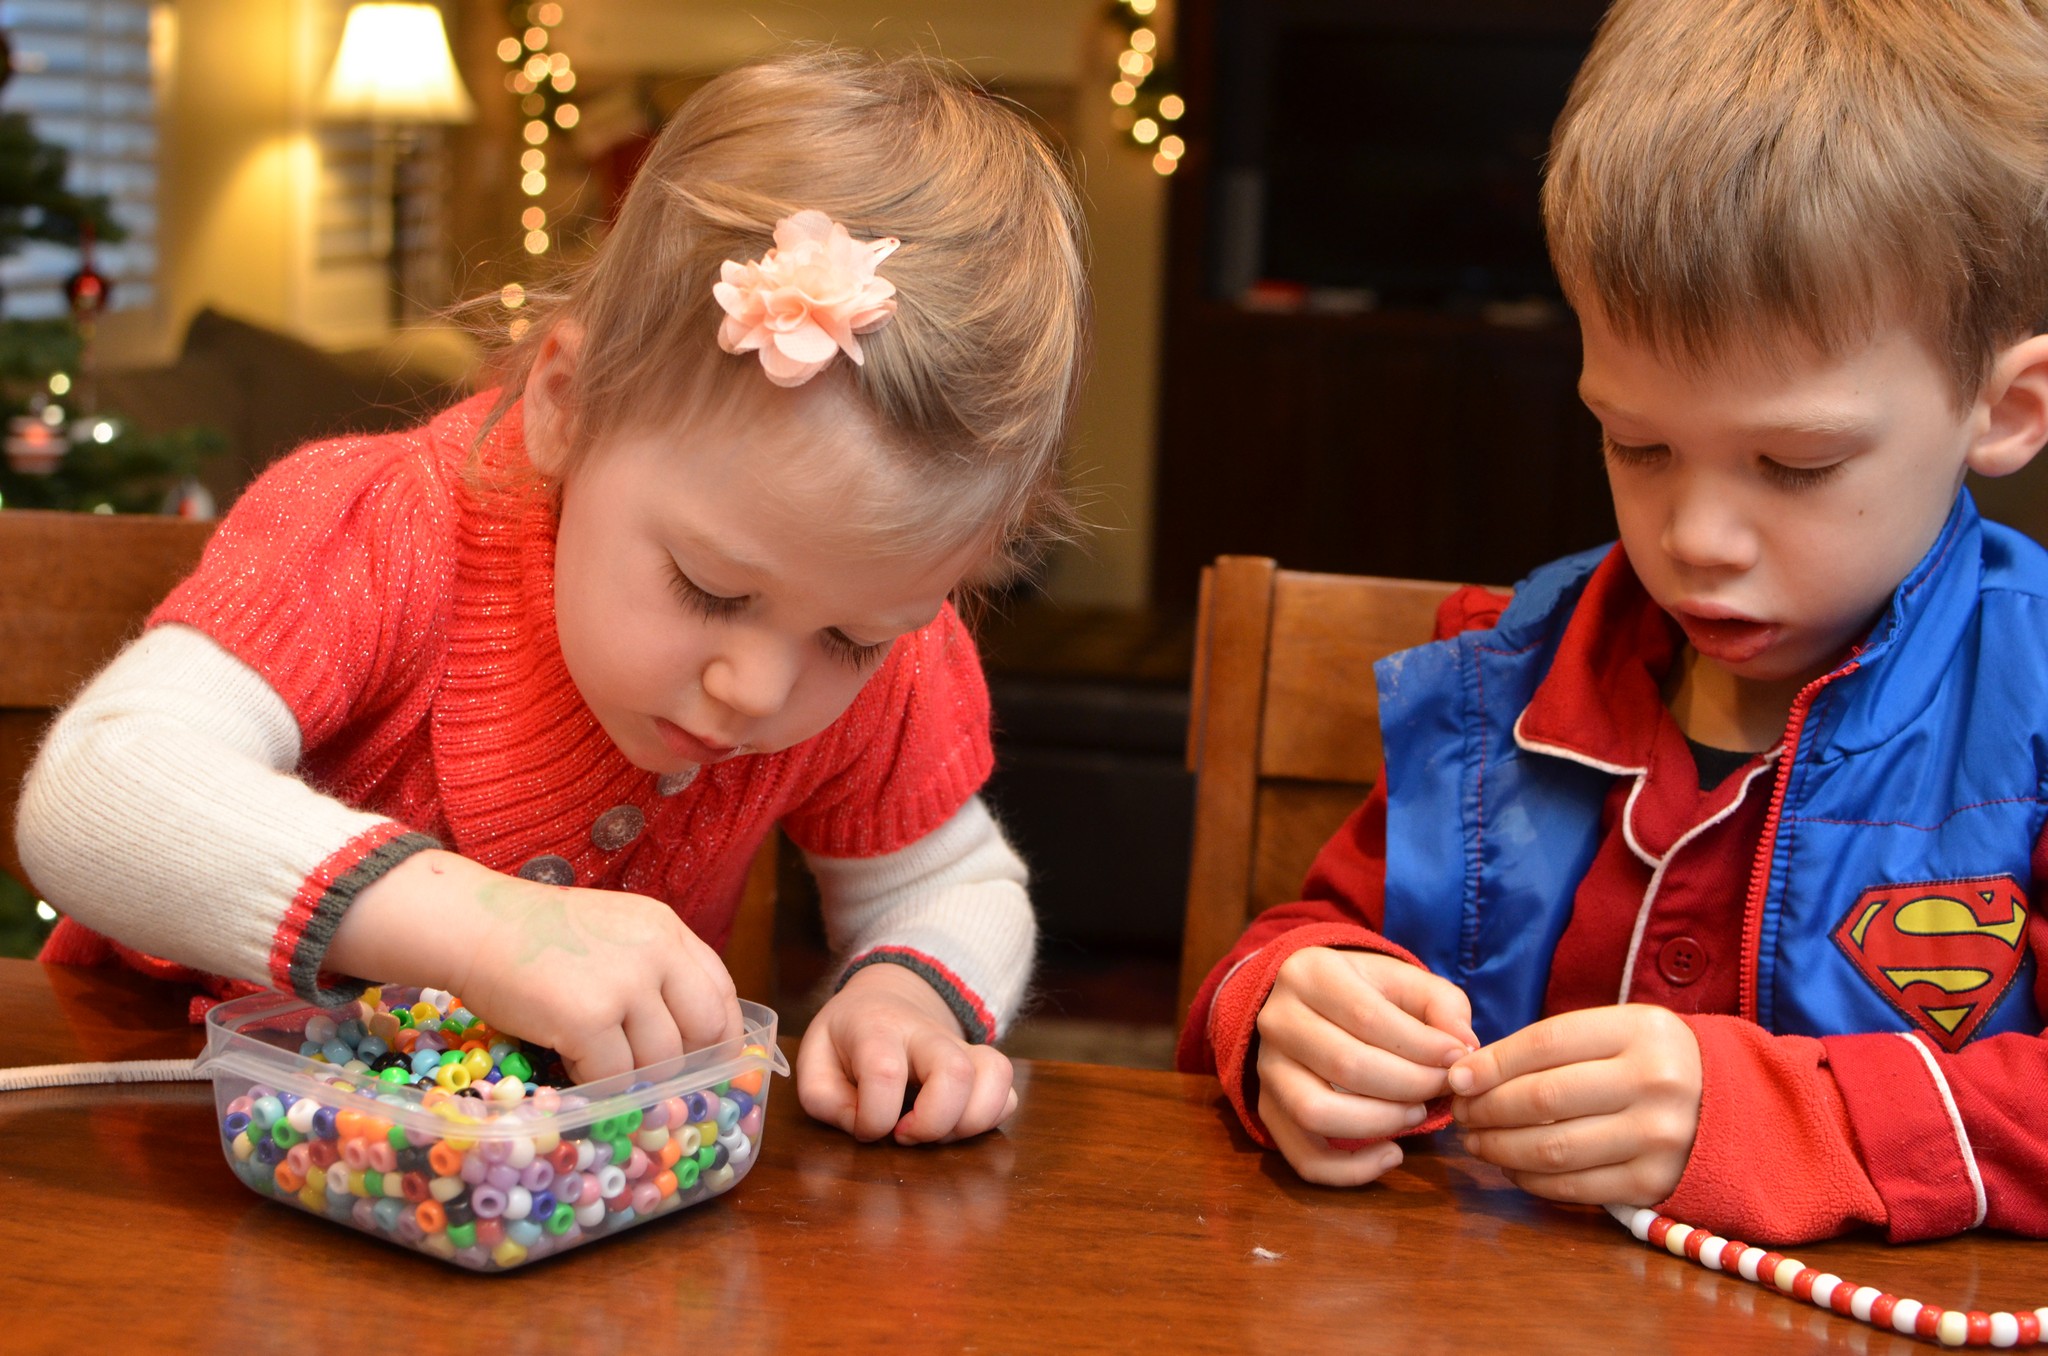
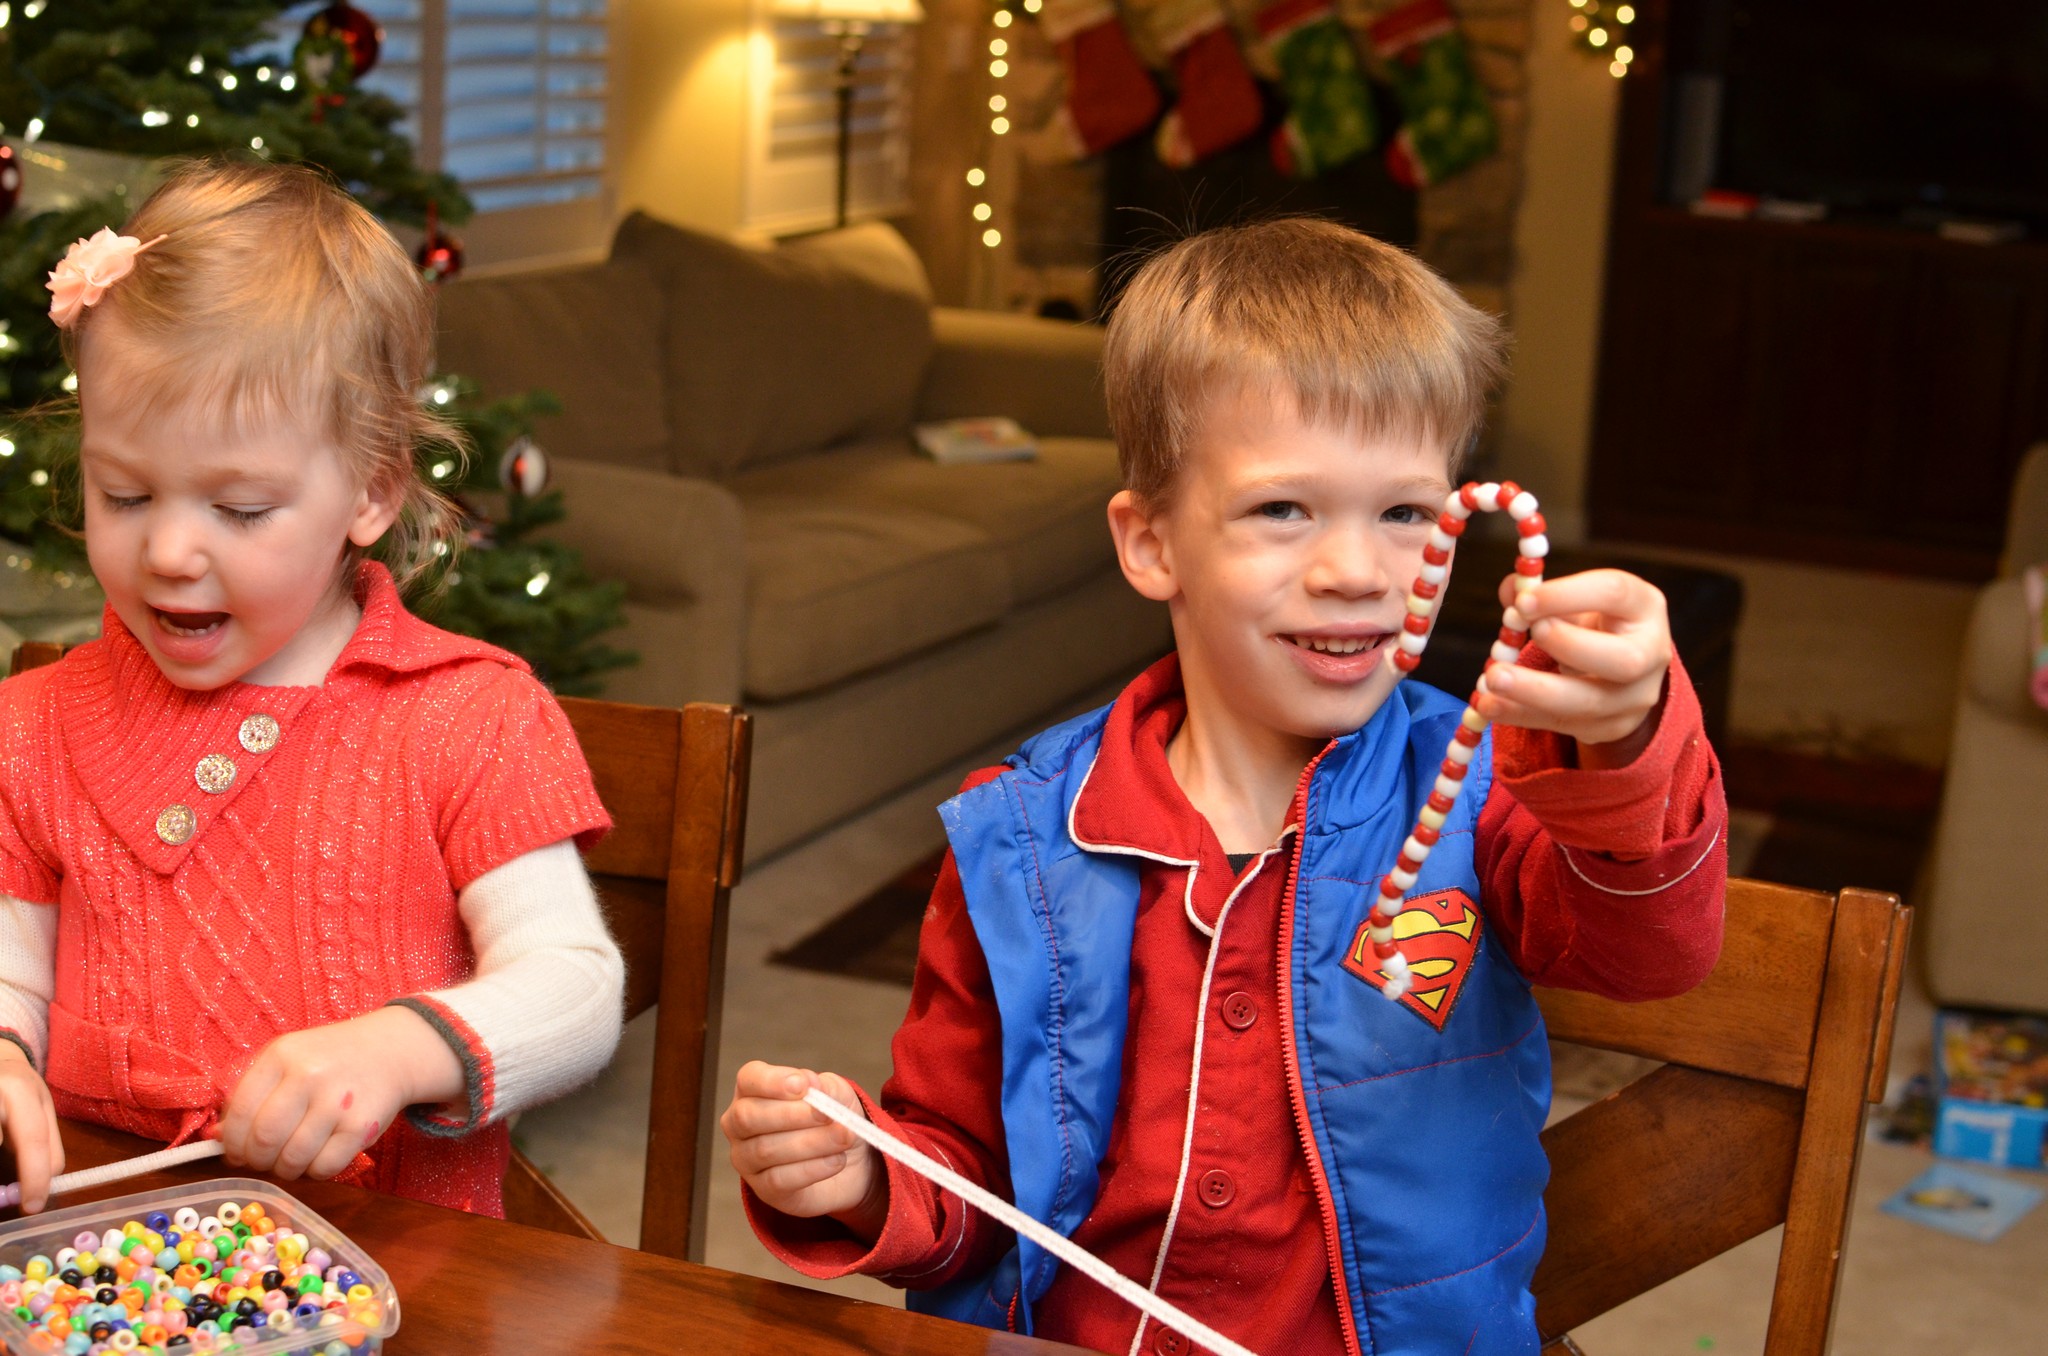
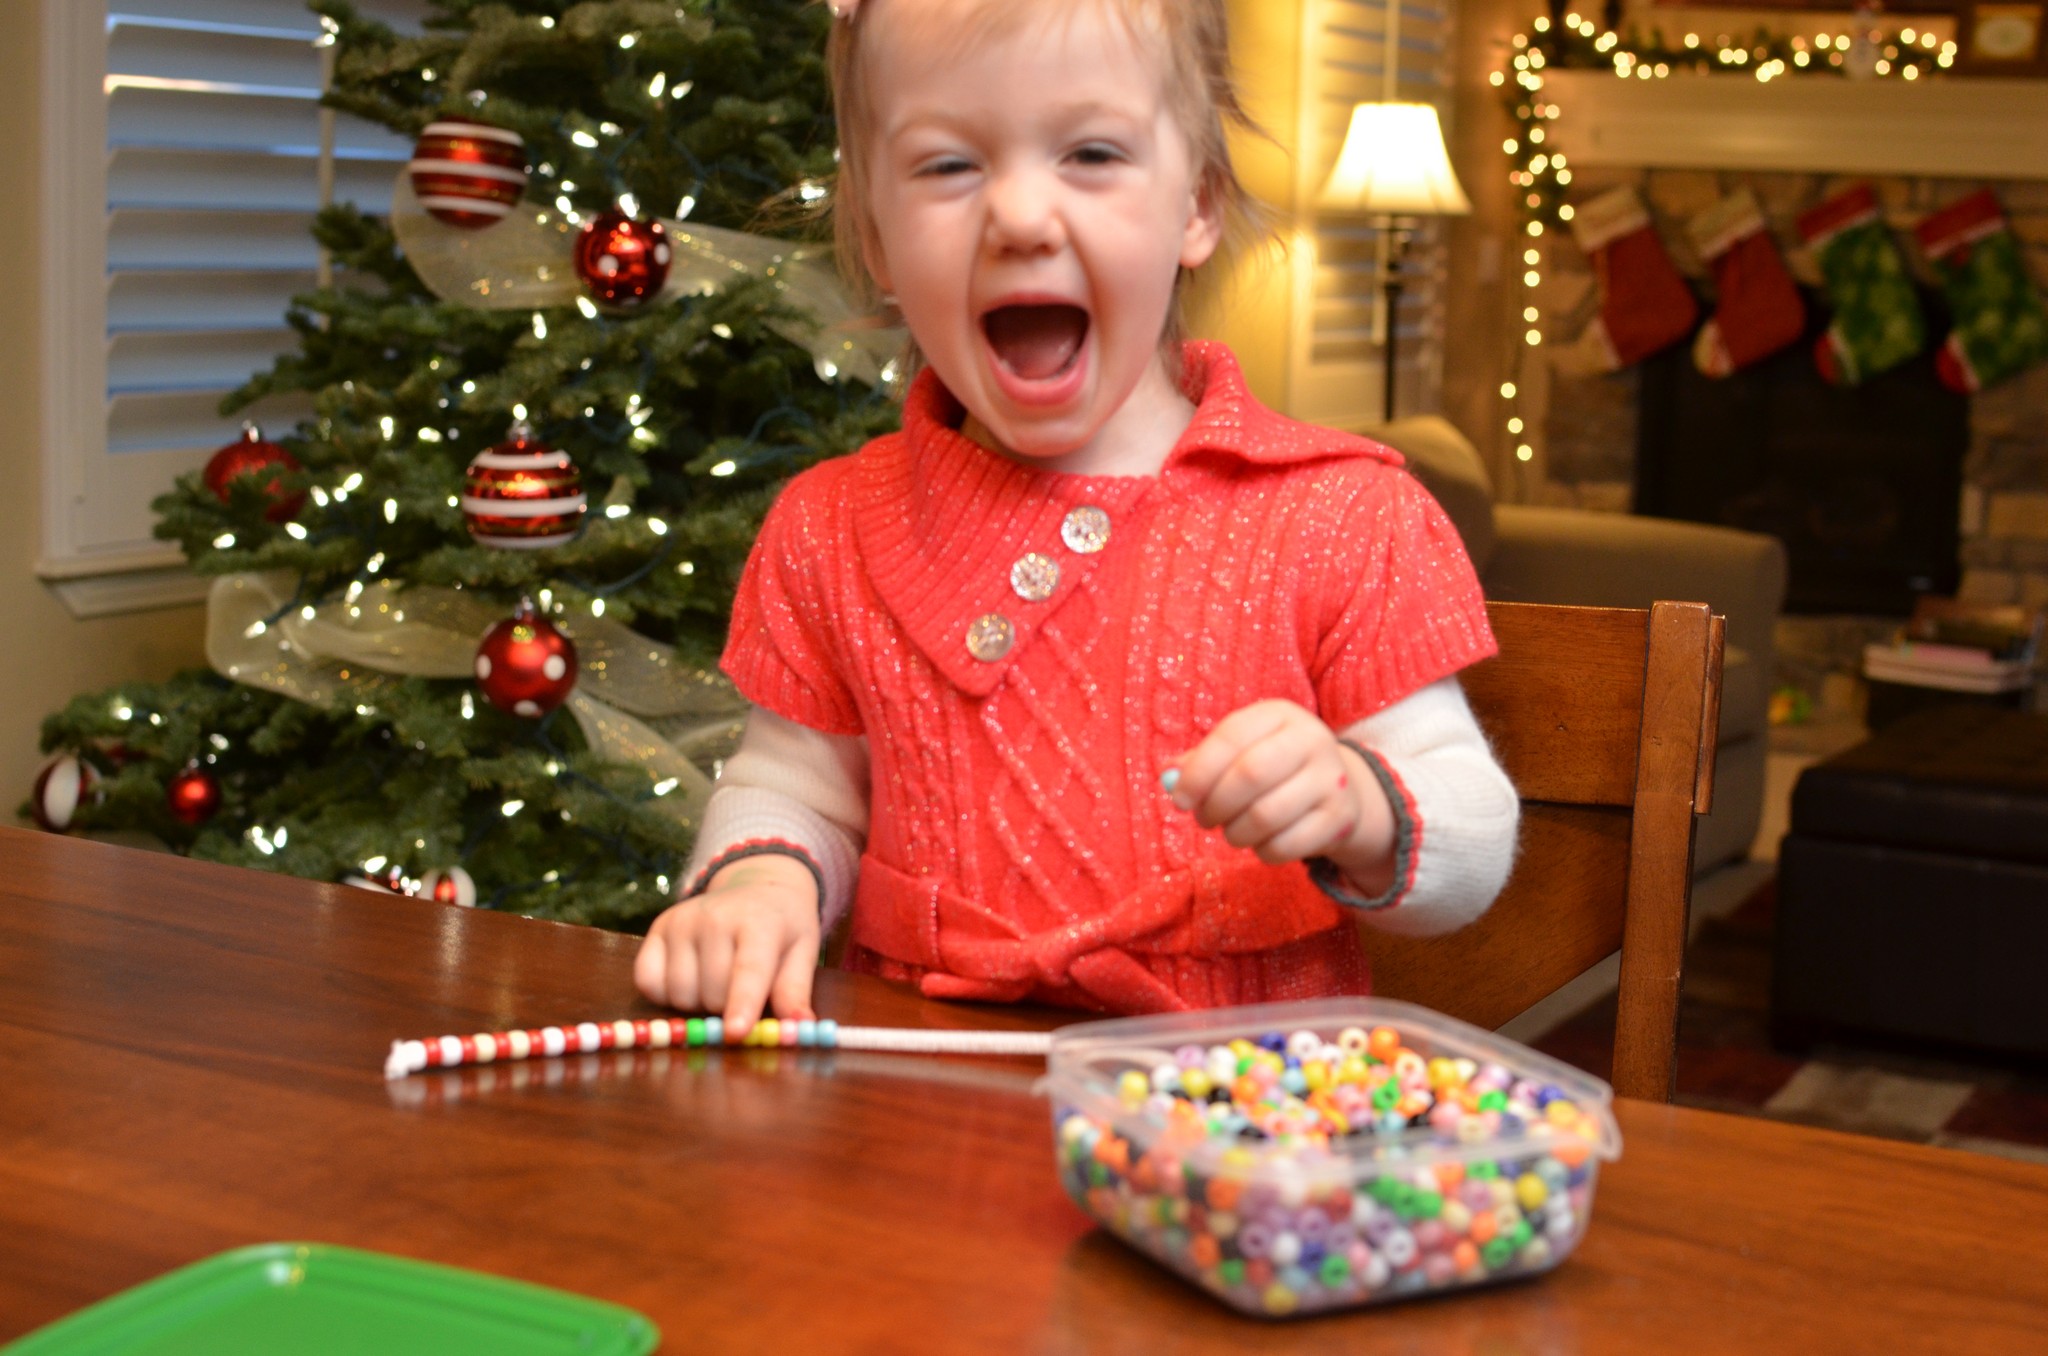
The next activity wasn’t nearly as big of a hit as I thought it’d be. My kids could sit and string pony beads onto pipe cleaners for HOURS upon HOURS, so I thought I had stumbled upon the perfect craft for them–pipe cleaner Christmas trees with pony bead ornaments! But, they really only spent about 10 minutes “decorating” it and then they were both done. Oh well! 🙂 (And if you’re thinking about doing this with your kids…be sure to build the entire tree ahead of time. I did it while they were watching and it took longer than I thought and they were a little bored…)
Hot glue a wooden dowel into a wooden “wheel” and then twist green pipe cleaners around it to make a tree.Elliott’s decorated tree!
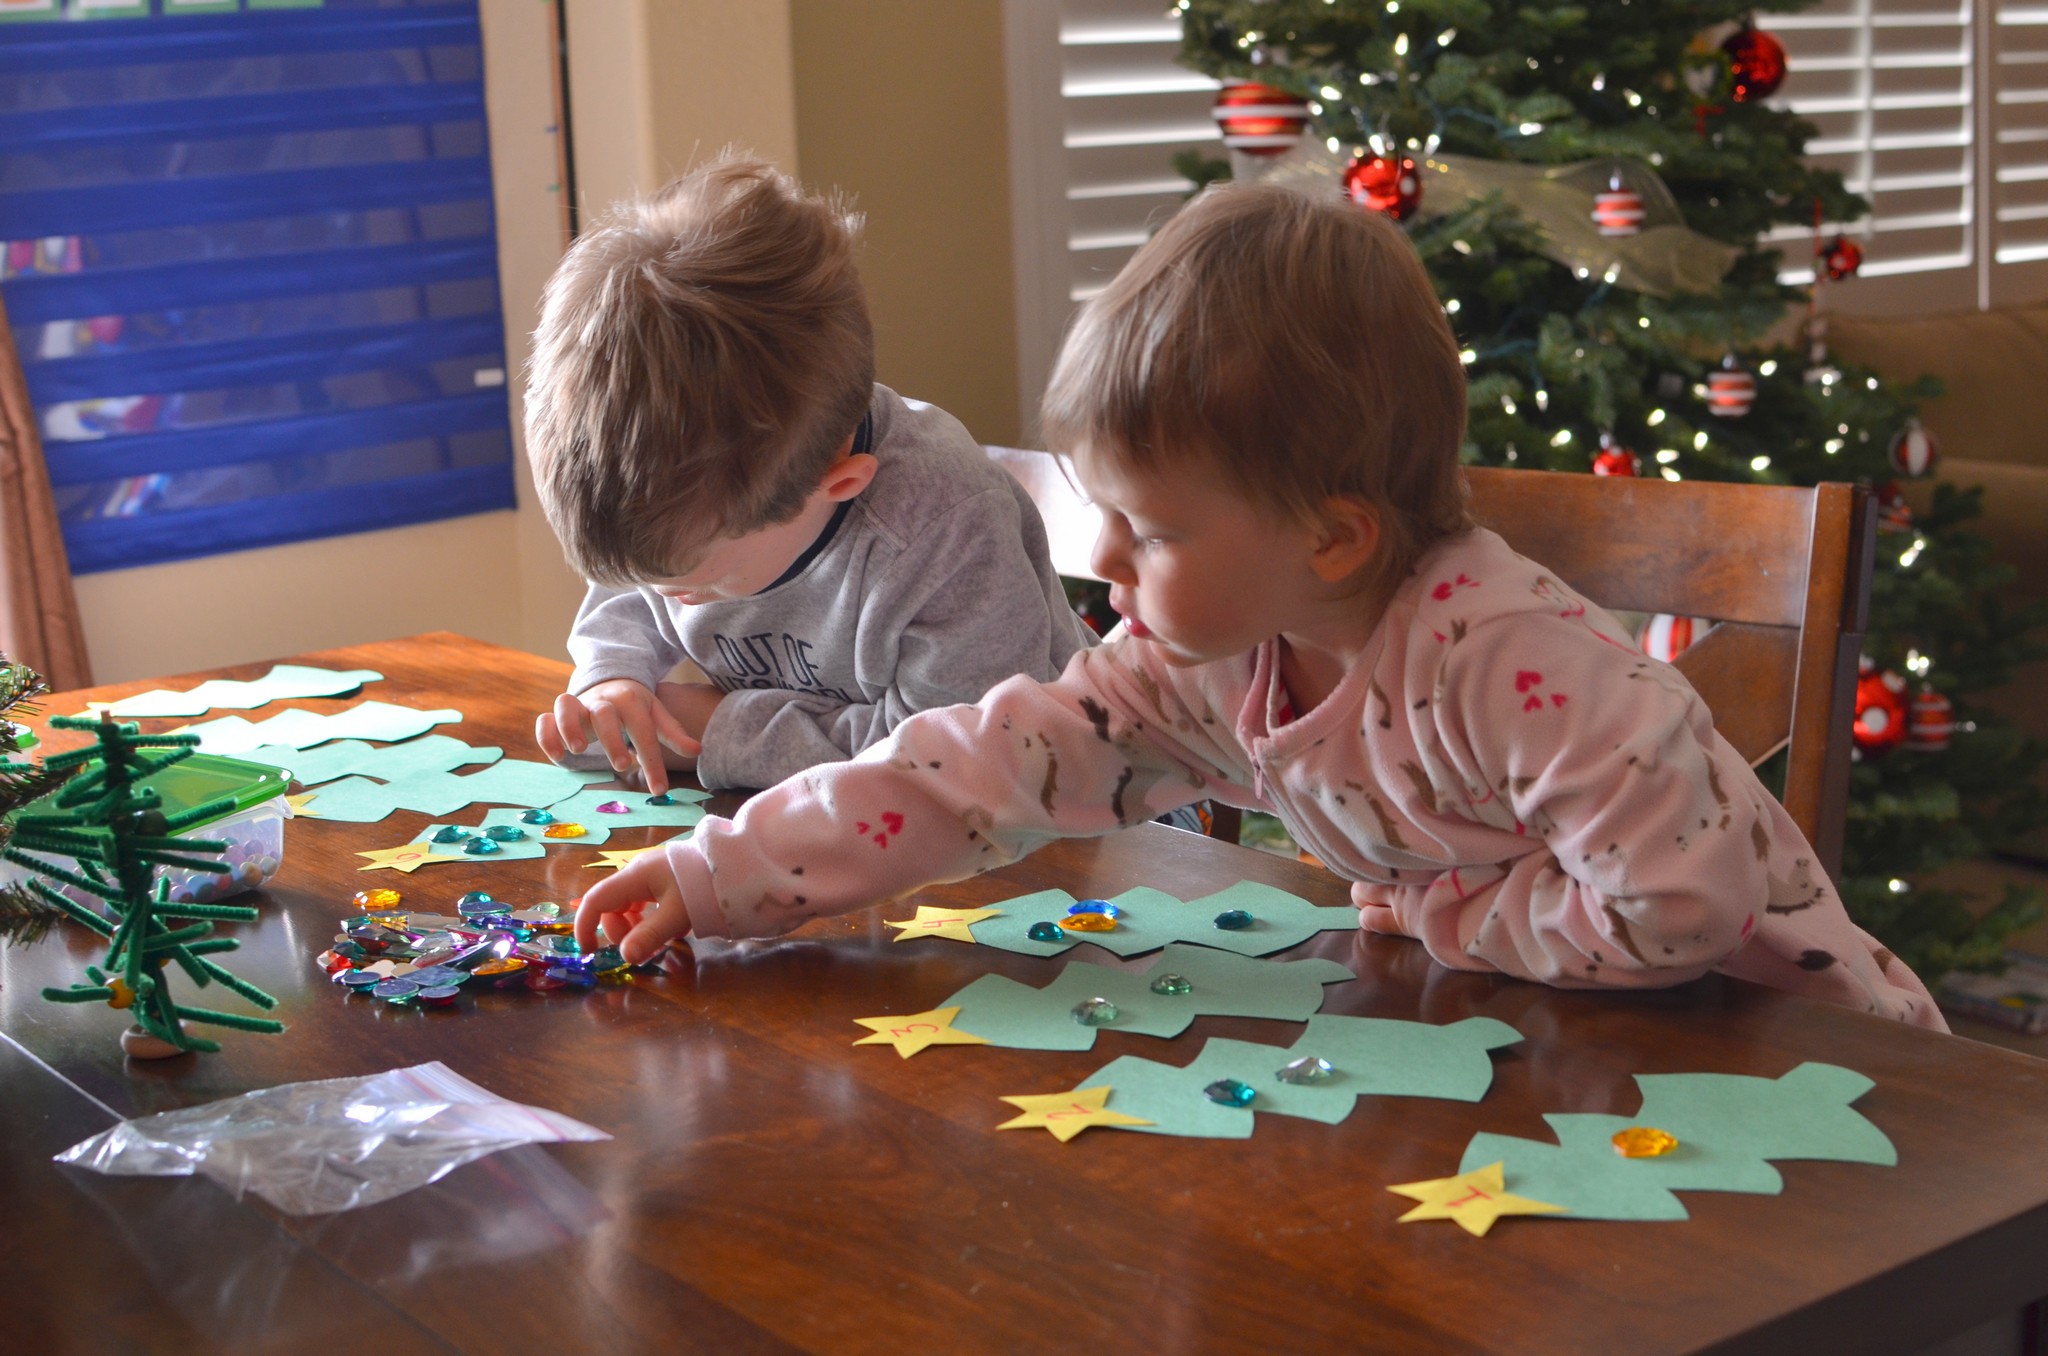
I pulled out our Counting With Christmas Trees activity from last year. The goal is to put the cooresponding number of decorations onto the tree based on the number on the star. It was perfect for Selah with a little assistance from me, although she was over it once she did numbers 1-5. Since the general activity is way too simple for Elliott, I introduced odds and evens and taught him how that worked using the trees and their ornaments. He picked it up immediately! So cool!!
Counting with Christmas Trees
Day 9: Build a nativity set!
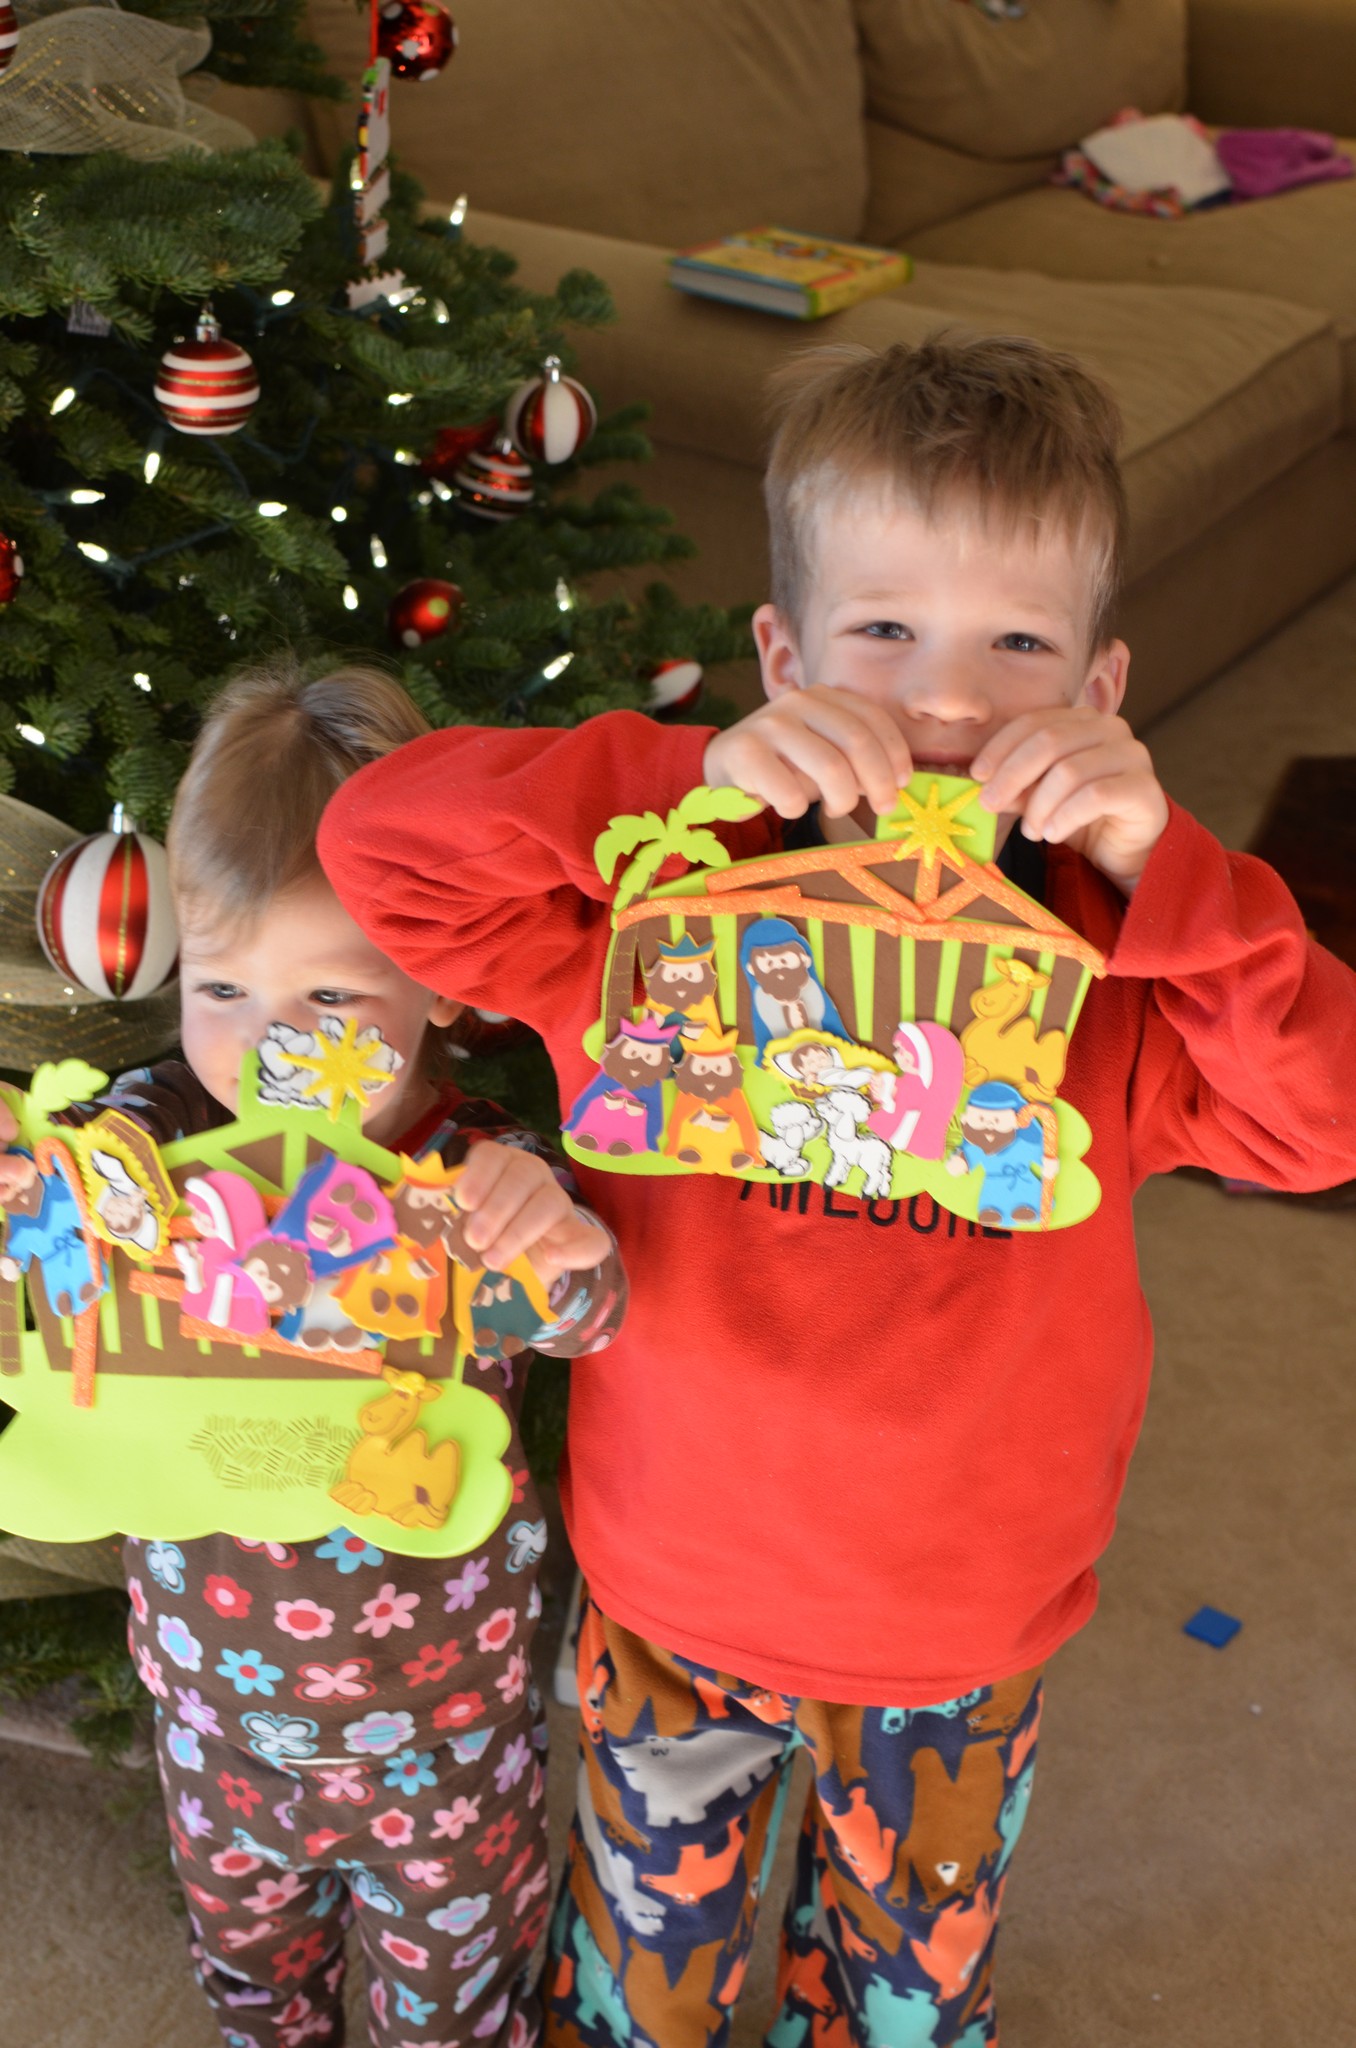
I did have my ideas planned out a lot better this year so I actually only made ONE trip to Michael’s/Hobby Lobby at the beginning of the month! I was proud of myself :). I always check out their Christmas craft aisle for simple (and always CHEAP!) already-prepped-for-you activities. They had nativity sets again this year that were MUCH simpler than last year’s (win!) so they were really perfect for my kids’ ages, obviously with a little assistance from me. Elliott usually goes for the more “traditional” art work, whereas Selah uses her artistic license ;).
We worked on building each character together, and then the kids picked where they wanted each person/animal to go and stuck them onto the stable all by themselves.
Day 10: Christmas stickers!!
The night before this day, both Elliott and I were up a good portion of the night throwing up (boo!) so I was WIPED the next day. Thankfully, I had some of these awesome, simple backup ideas stored in my Christmas activity box… Michael’s had awesome books of Christmas stickers for $1!! My kids LOVE stickers. So, I deemed it “Christmas Sticker Day!!” And I laid on the couch while they cleared out their sticker books. Perfect.
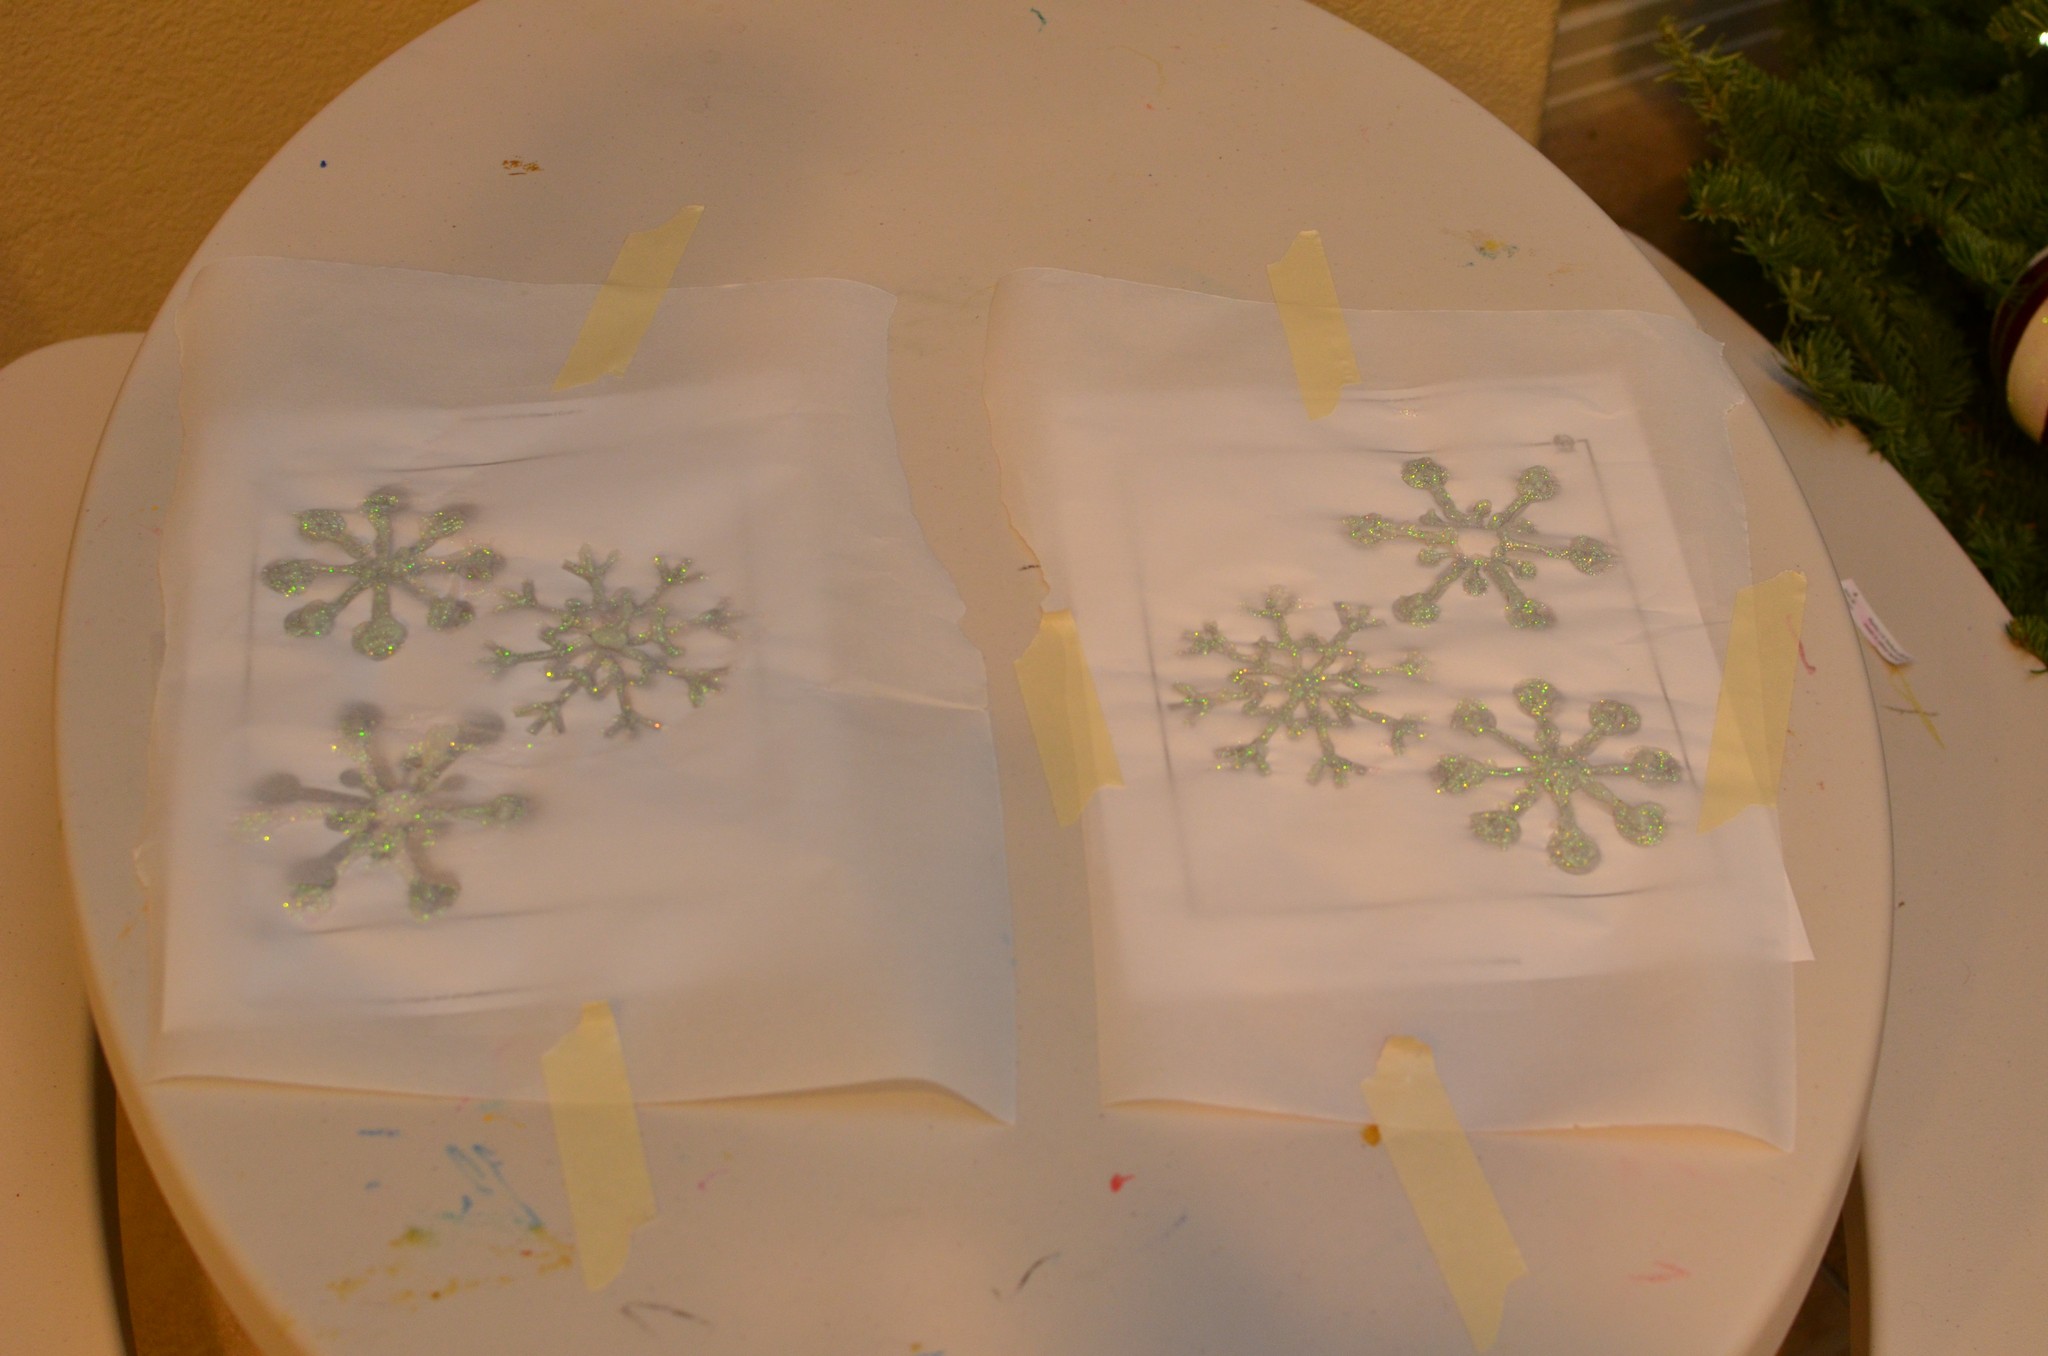
Day 11: Snowflake window clings
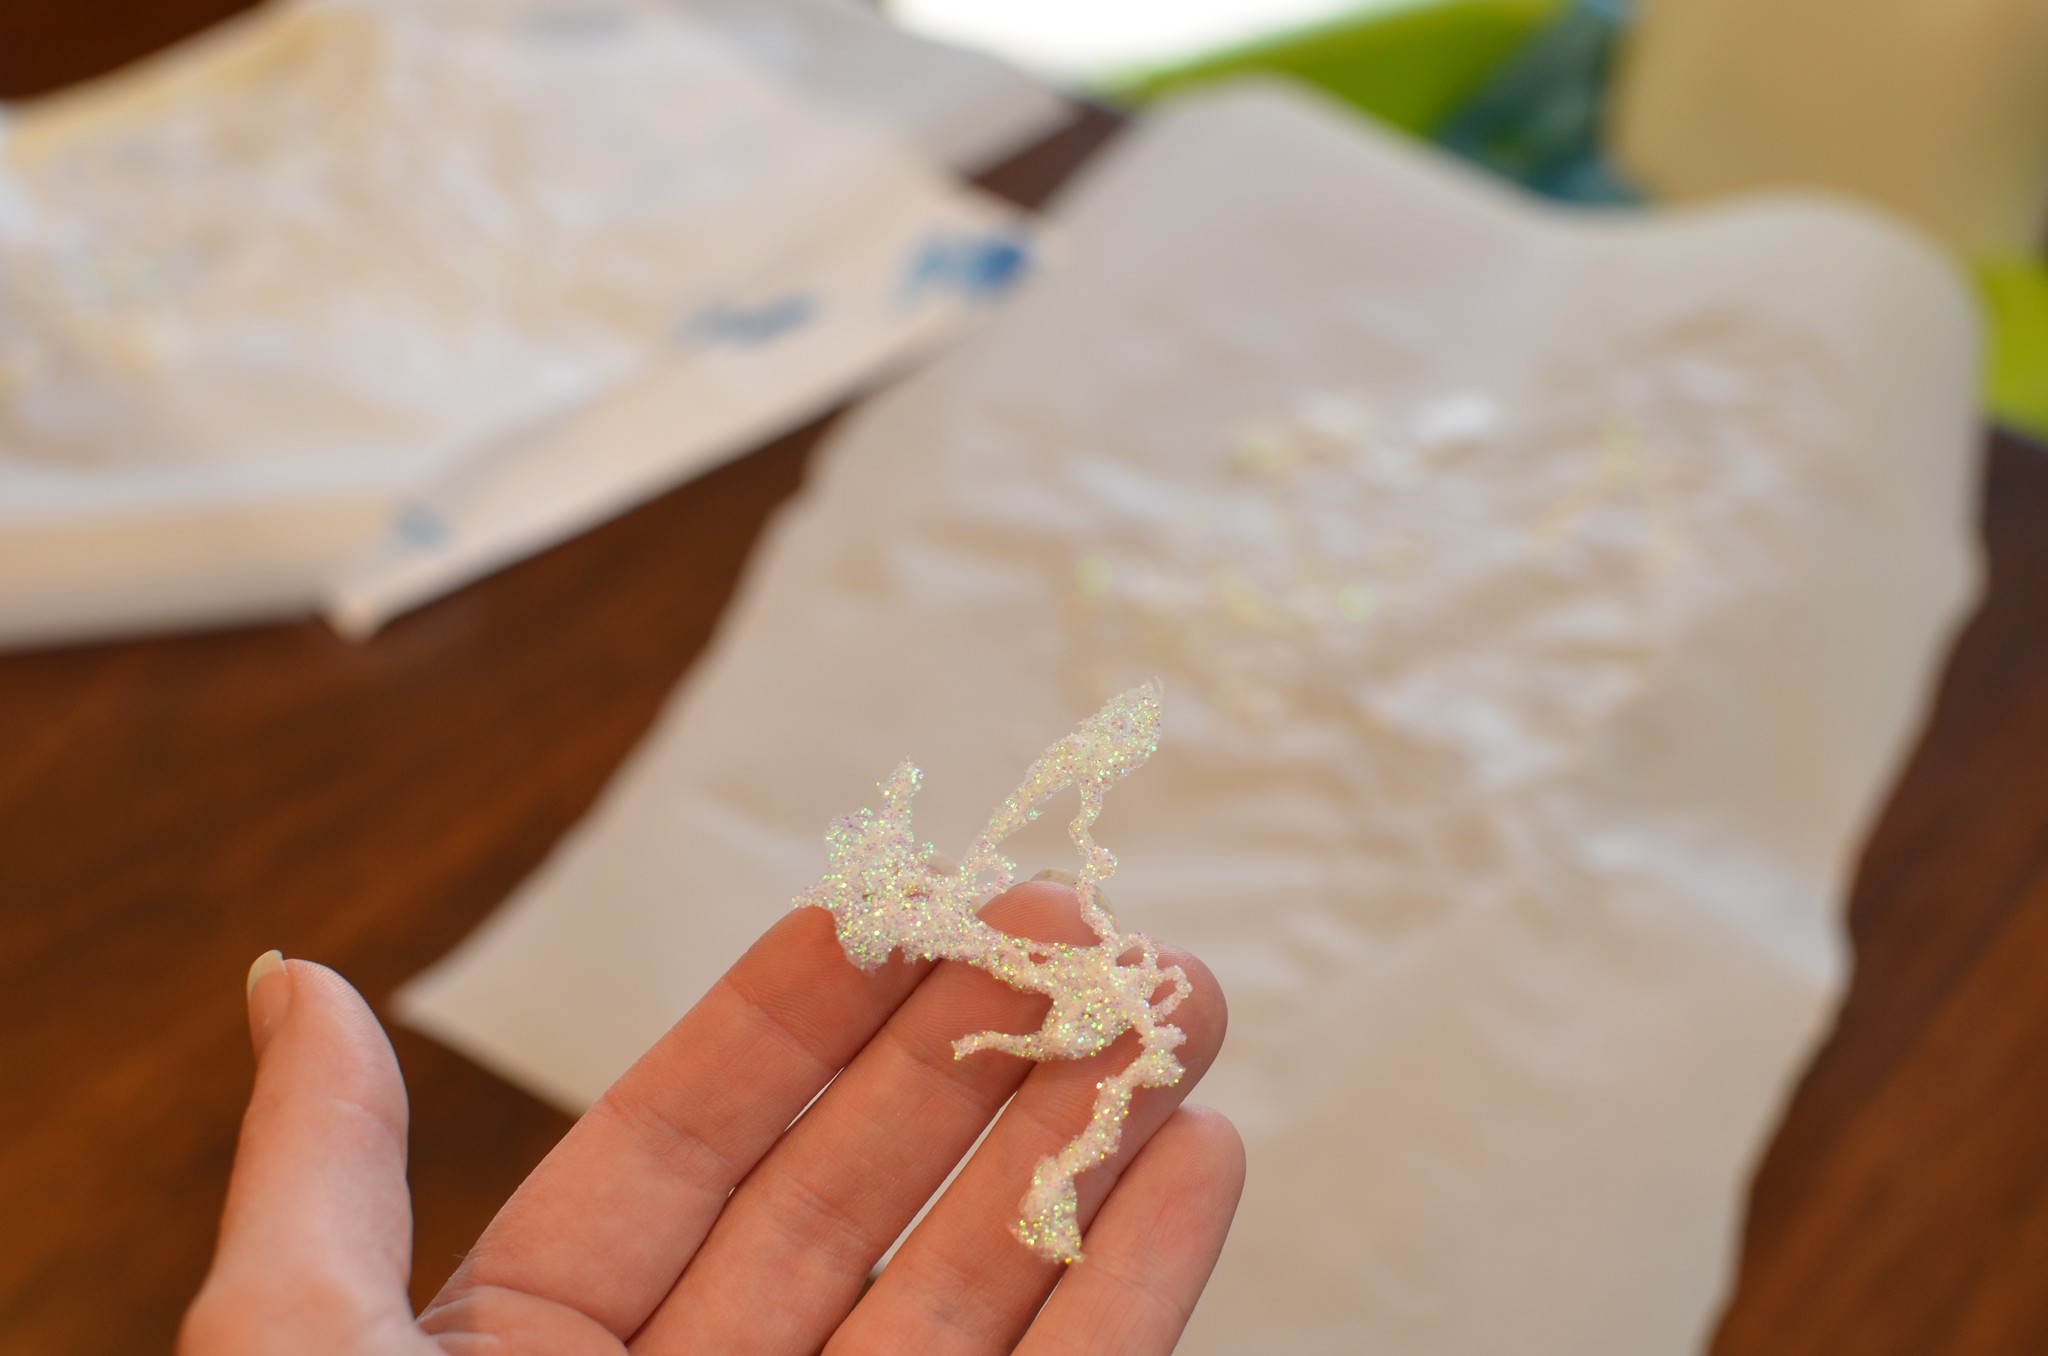
This was a GREAT idea that went VERY BADLY, ha!! I found the idea here, but, I’ll be honest, the idea of a huge jar of glitter sends me into hiding. It called for white puffy paint and silver glitter. As I was strolling through Hobby Lobby, I stumbled upon GLITTER GLUE, and I thought to myself, “Yes!! This is it!! Glitter glue is pretty much EXACTLY the same thing as white puffy paint with glitter.” Oooorrr……NOT.
First of all, this is NOT an activity for 2 and 3 year olds!! Simply because their little hands weren’t strong enough to squeeze the tube and trace the outline of the snowflake. So I ended up doing the whole thing for both of them (which is NOT my idea of a good time!)
Like my artwork? :/
And then, once it dried, it just flaked off in pieces.
So disappointing.
So, if you have at least a 5 year old, give it a try, and don’t skimp on the puffy paint and glitter ;).
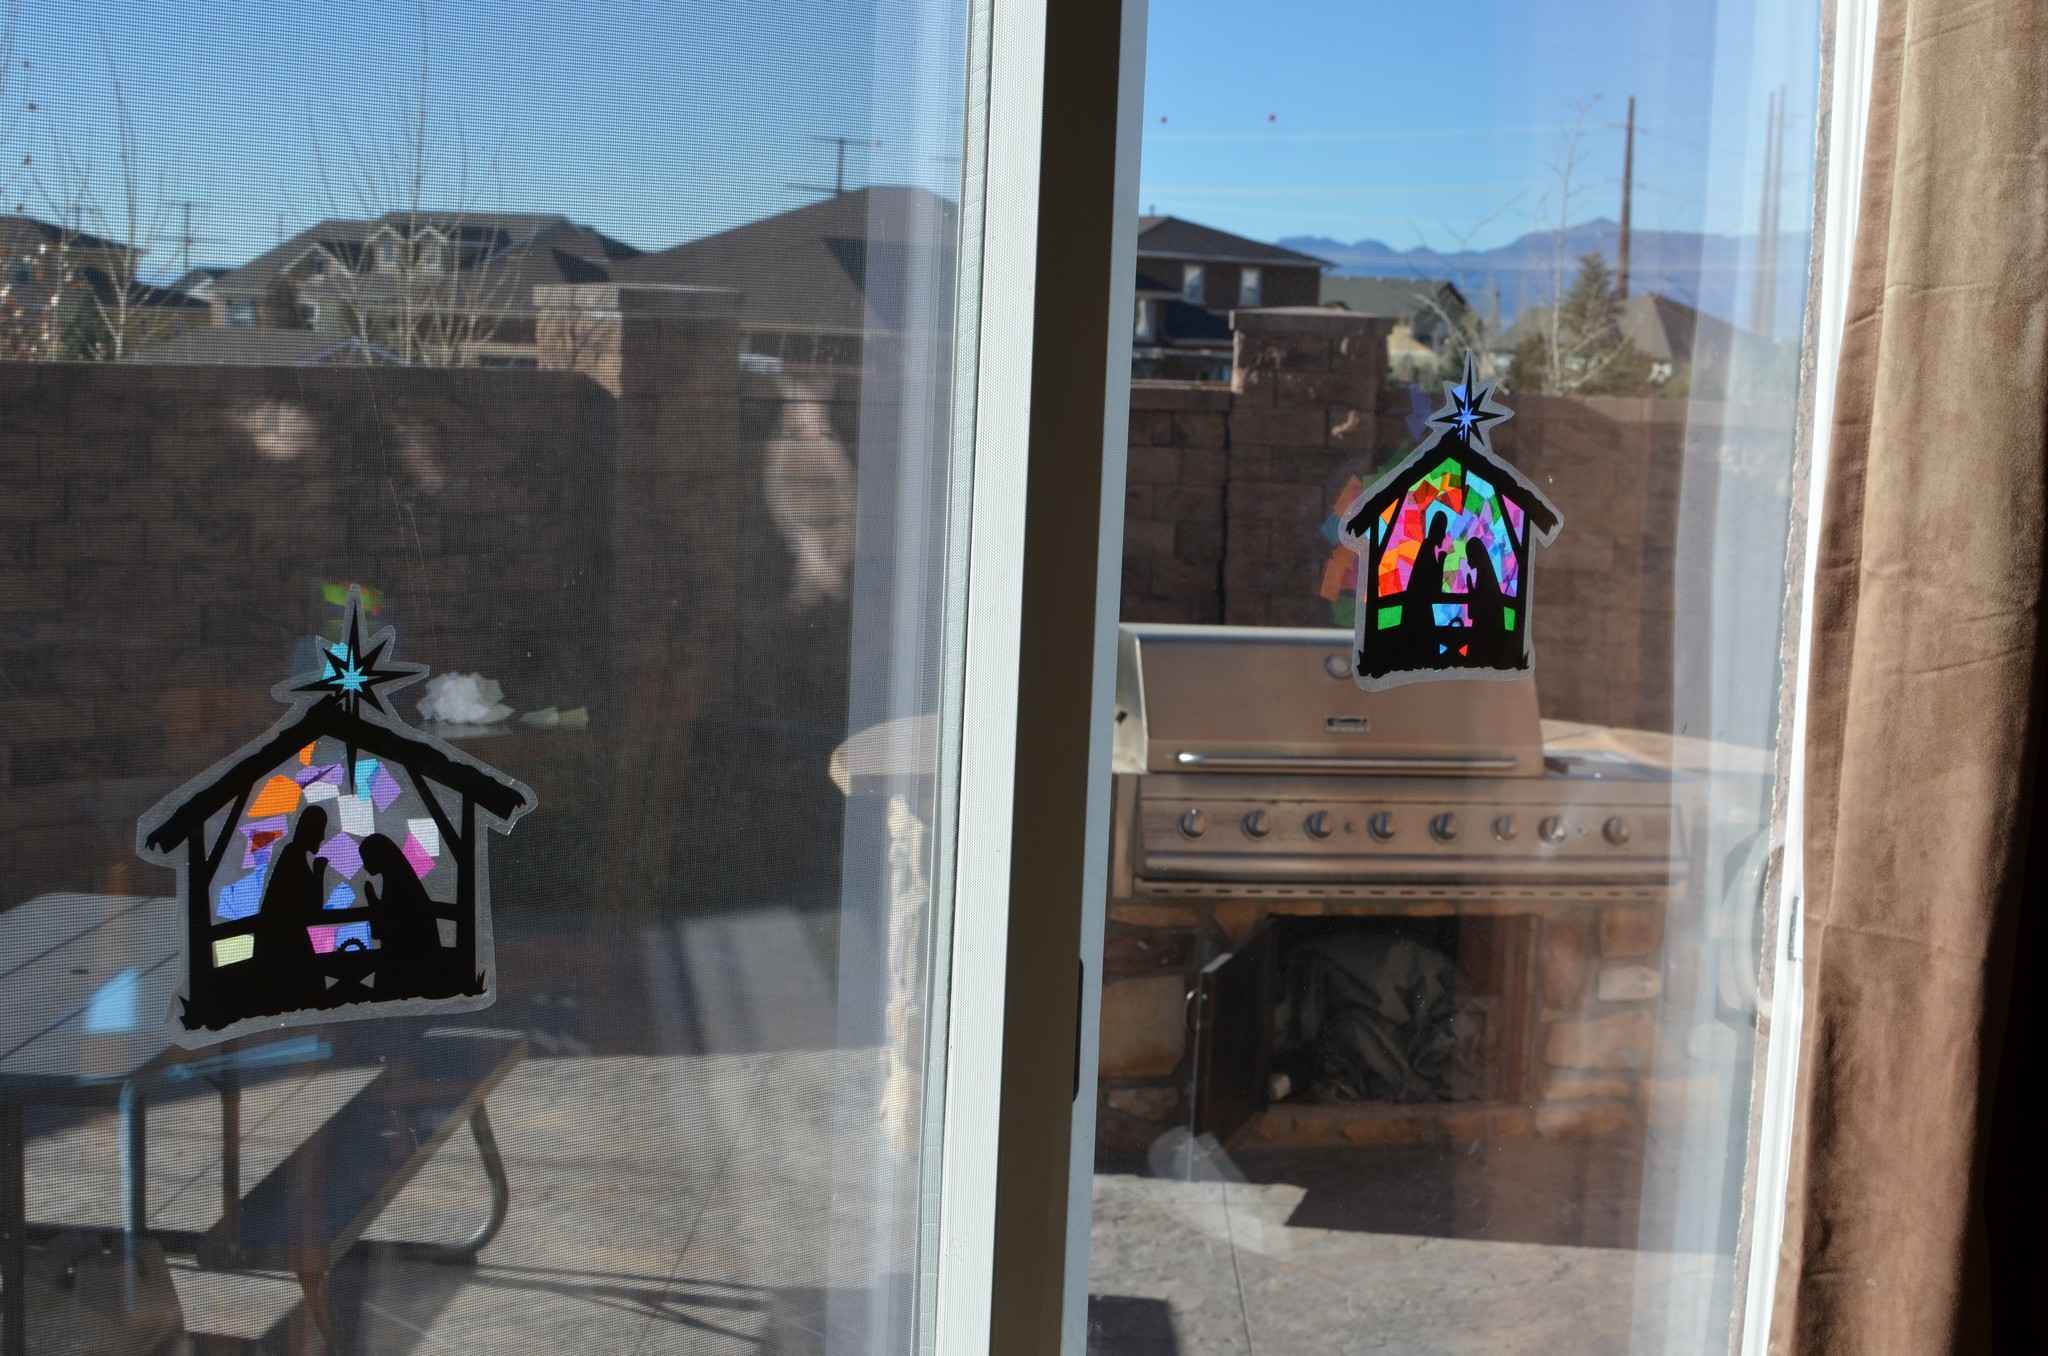
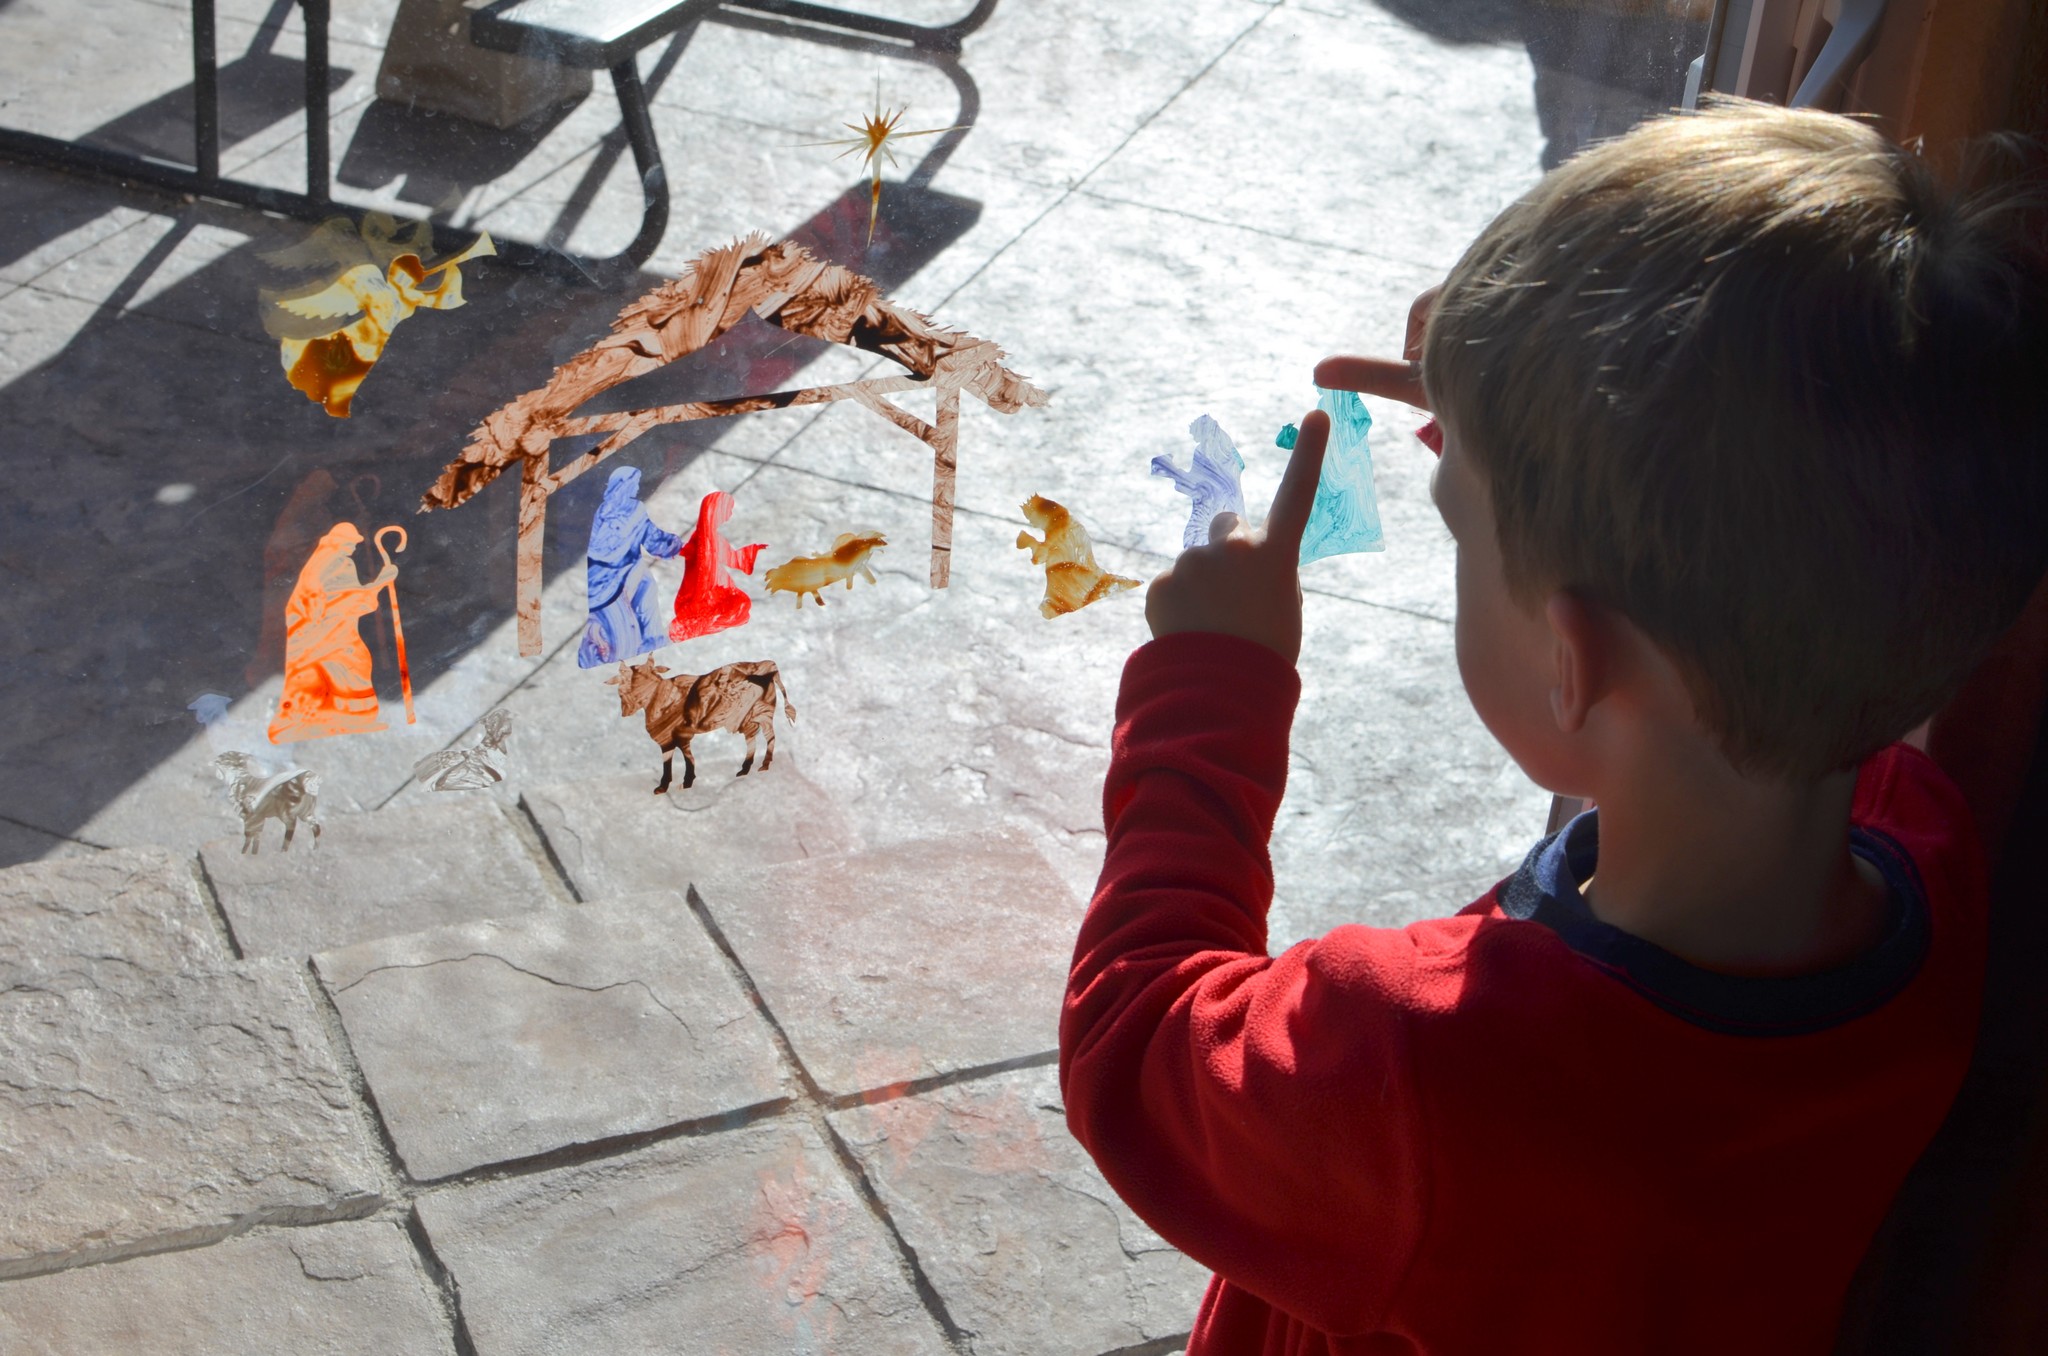
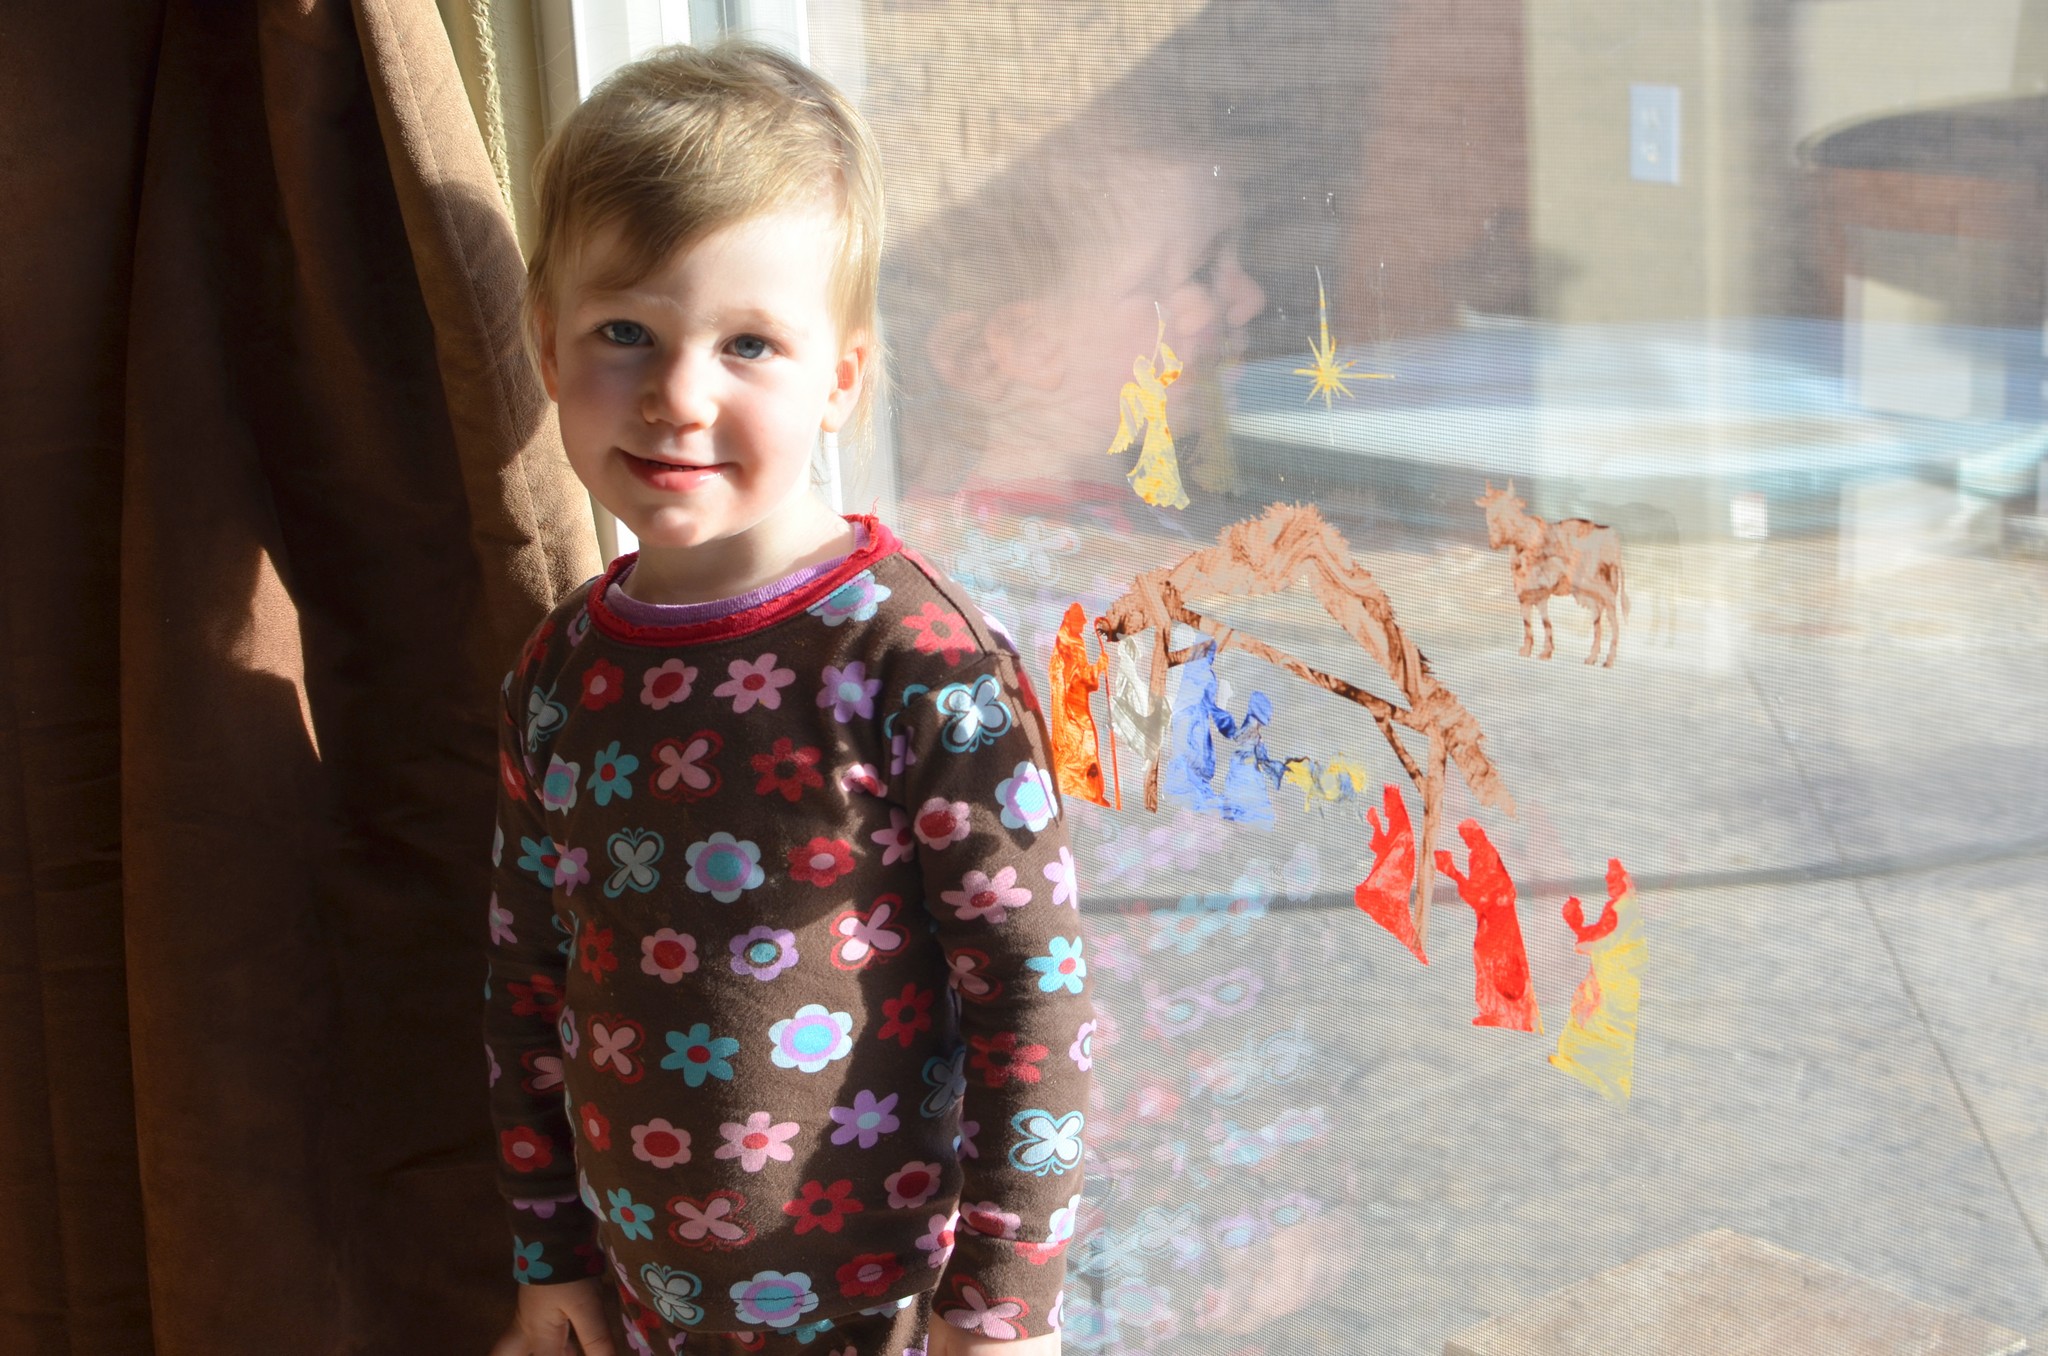
Day 12: Nativity window clings
These were so much fun!! So remember how Elliott had been asking me to do Nativity window clings? Well, the next time we were at our friends’ house (the sugar cookie friends!) I noticed that they had silhouette nativity characters up on their window. I asked Elliott if THAT was what he had been asking for and he said yes! SO, I came up with this idea on my own, using my Silhouette, of course!
Painting each individual piece, cut out of contact paper.Sticking them onto the window…Proud artist 🙂
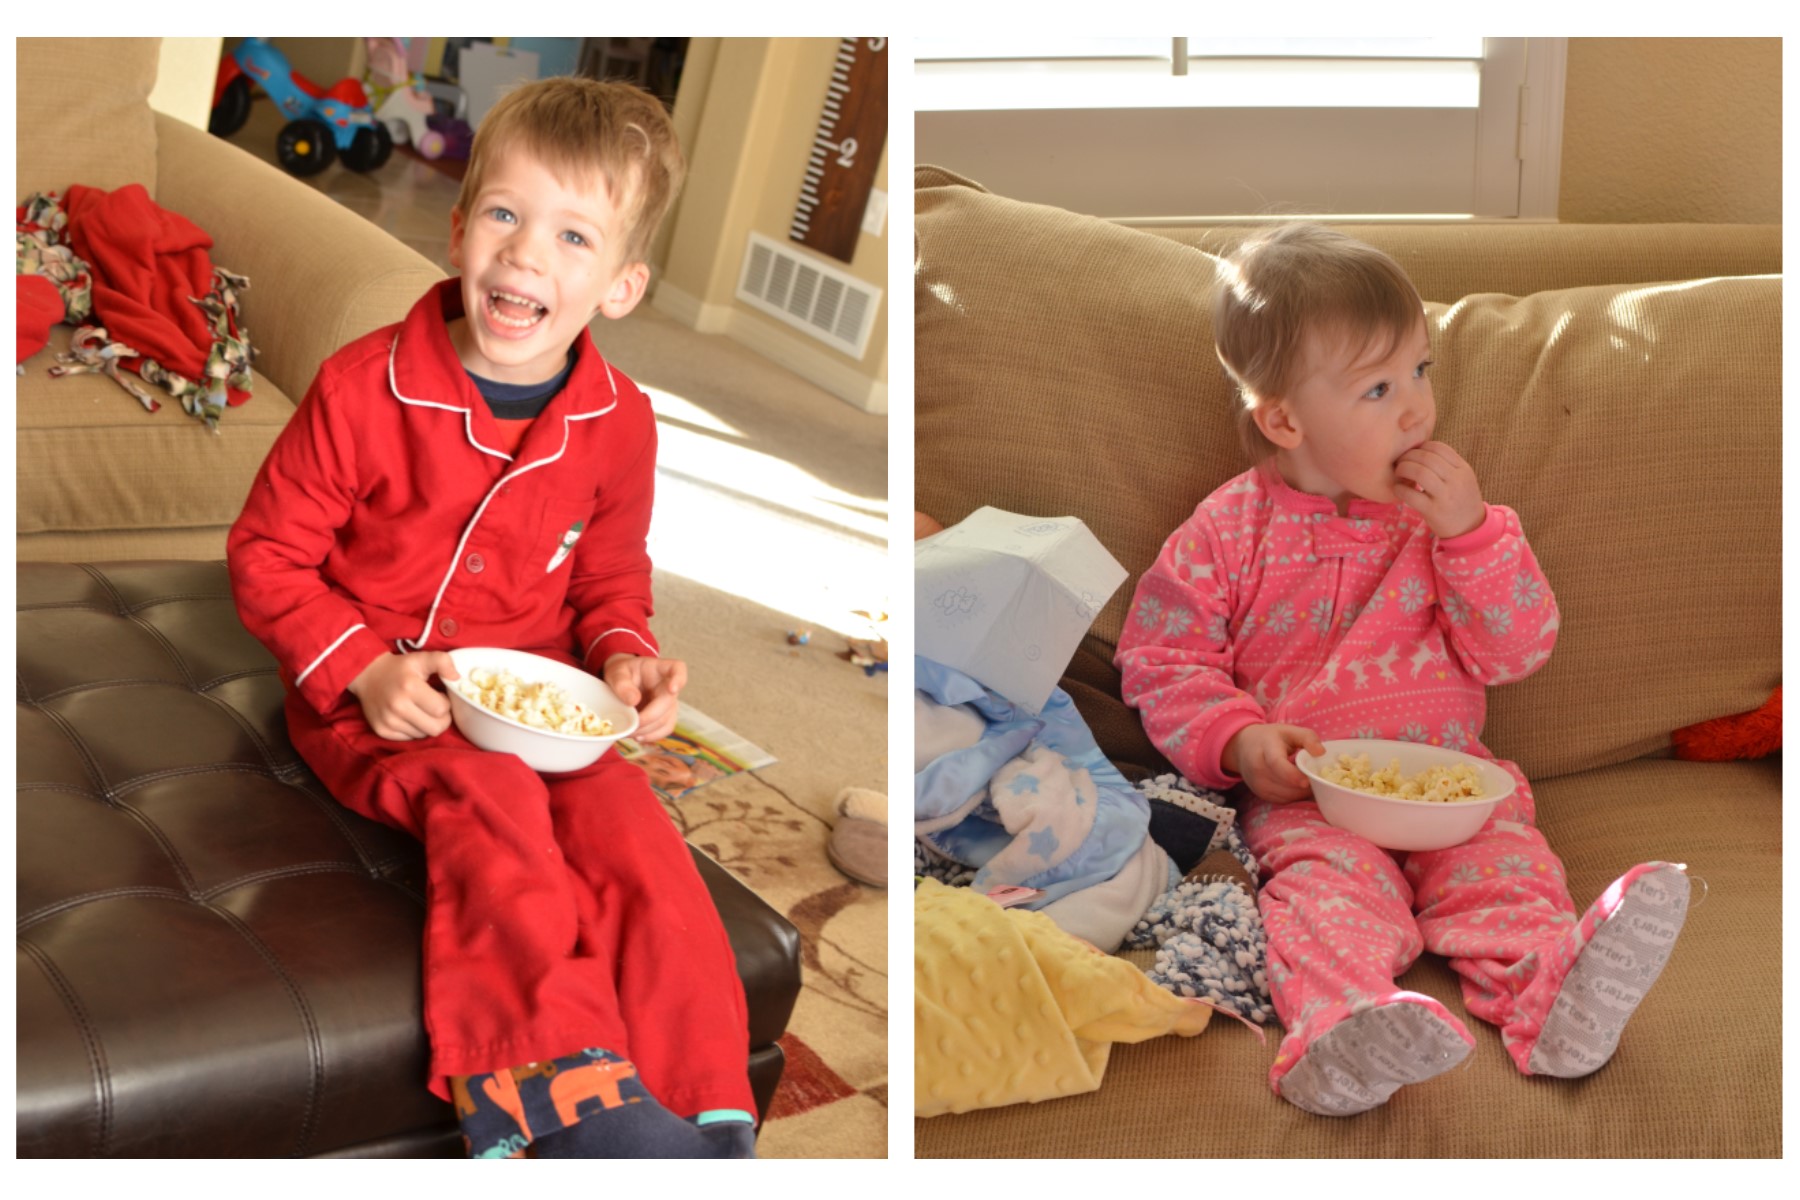
Day 13: New Christmas jammies and family movie day with popcorn
Enough said, right? We watched the Veggie Tales movie, “The Toy That Saved Christmas,” and I think it might be the first time in history that BOTH my kids sat through an entire “movie”!! I think it had something to do with the popcorn in their hands ;).
Elliott’s wearing some VERY special jammies from Noah & Caleb, and Selah’s are from, of course, Costco :).I’m not sure I’ve ever made popcorn for our kids (?), but I will say–this is the first time they’ve ever sat through a movie! So…now I know!! 🙂
Day 14: Go see Christmas lights!!
A local bible college set up a pretty amazing display of lights that we drove through, which was great because it was FREEZING. Then we drove around and saw some of the most spectacular house lights we’ve ever seen…you know, the ones that have their own radio station and the lights are all synced to the music? Yeah, those. Some people have a LOT of times on their hands…and I’m grateful they do!! 🙂
Day 15: New Christmas book: Who Is Coming To Our House?
This happened to be another SUPER crazy day, filled with emergency trips to the doctor (only to discover everyone was okay), so we didn’t even get home until 4pm. Crazy. Of course, the kids were begging to “open an envelope” so I quickly shoved a piece of paper in for that day, pulled out the new book I had ordered, and we all read it together. Some days, that’s all we can handle :).
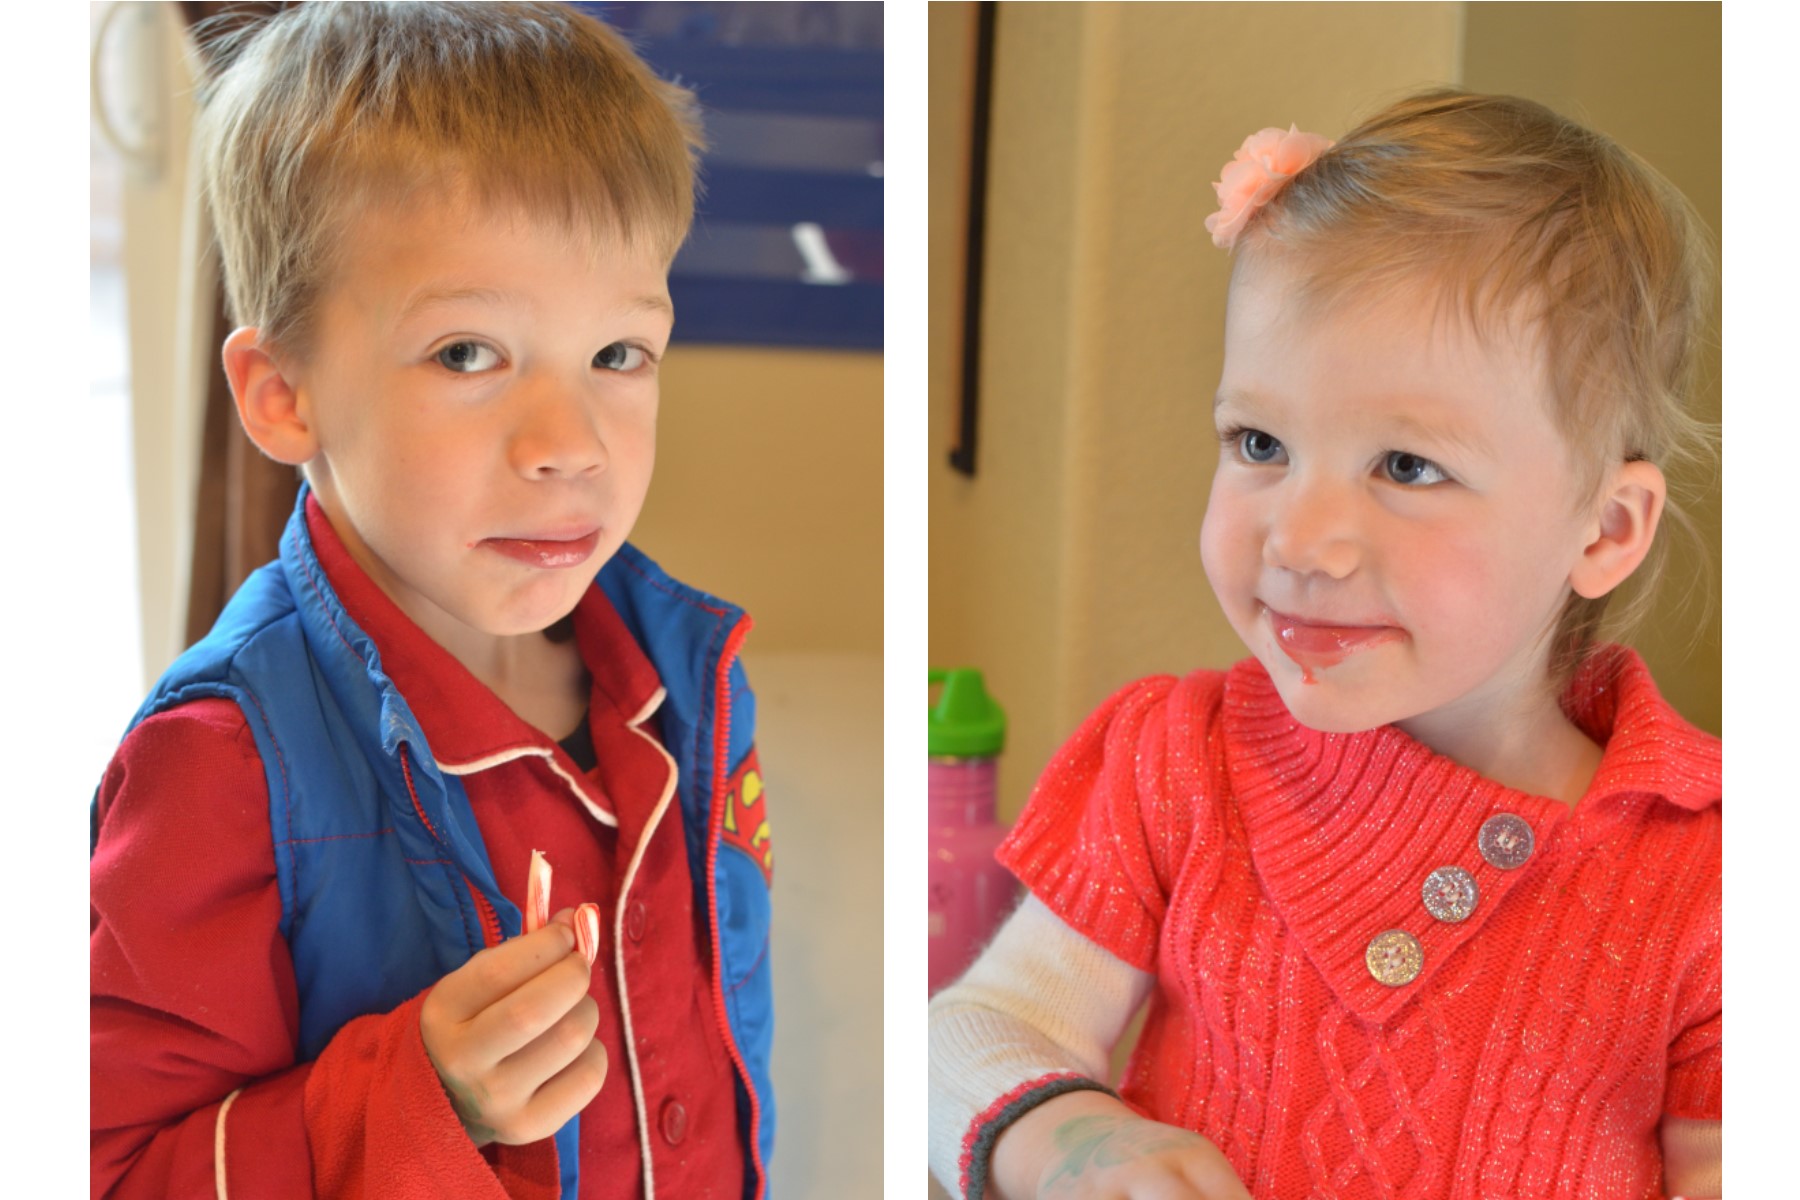
Day 16: Peppermint Day!
Oh my goodness, this day was so much fun! I printed out this printable, pulled out a candy cane for each kid, and then explained the legend of the candy cane. This was Selah’s first candy cane and Elliott has been BEGGING me to eat one, literally, since last Christmas when I gave him his first! So they were pretty thrilled.
I love Elliott’s face in this picture! And although it is SO CHALLENGING to catch a “real” Selah smile on camera, I think you can tell by the red drooling pouring out of her mouth that she really loved her first candy cane :).
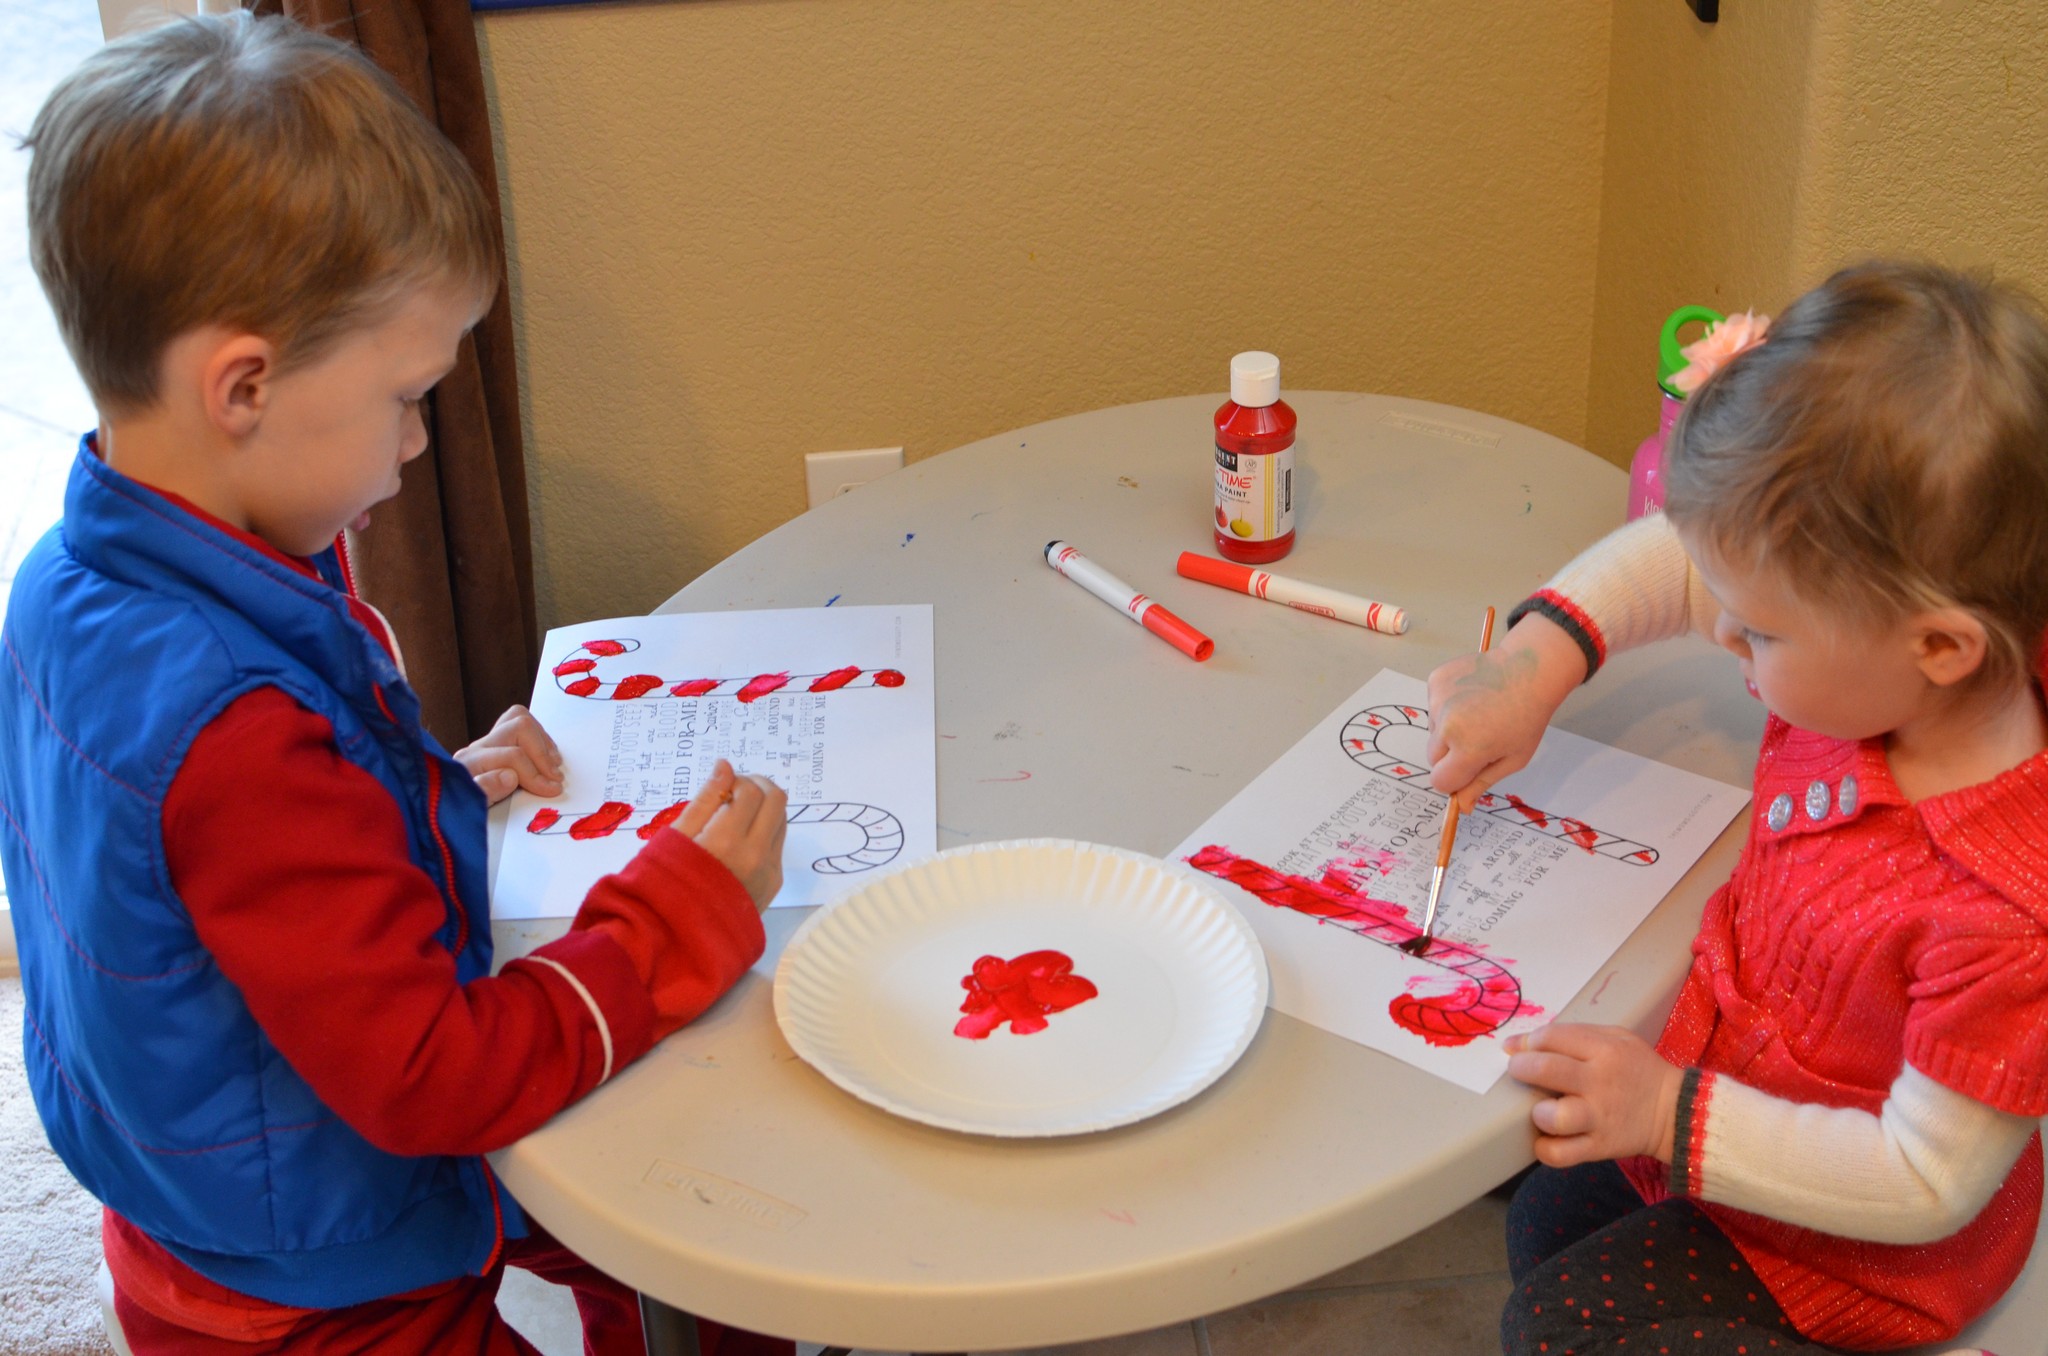
I showed them the candy canes on their papers and we then talked about how to paint every other stripe on the two candy canes. Elliott was really into this idea, until, on the second cane, after he had painted every other stripe red, he informed me that, “the elevator went up, and now it’s going down…” and then he went back through and painted the rest of the white stripes red ;). Selah, again, took up her artistic license and, after painting each candy cane, decided to paint the ENTIRE paper red…ha! I love it. She didn’t miss a spot.
Striping away!
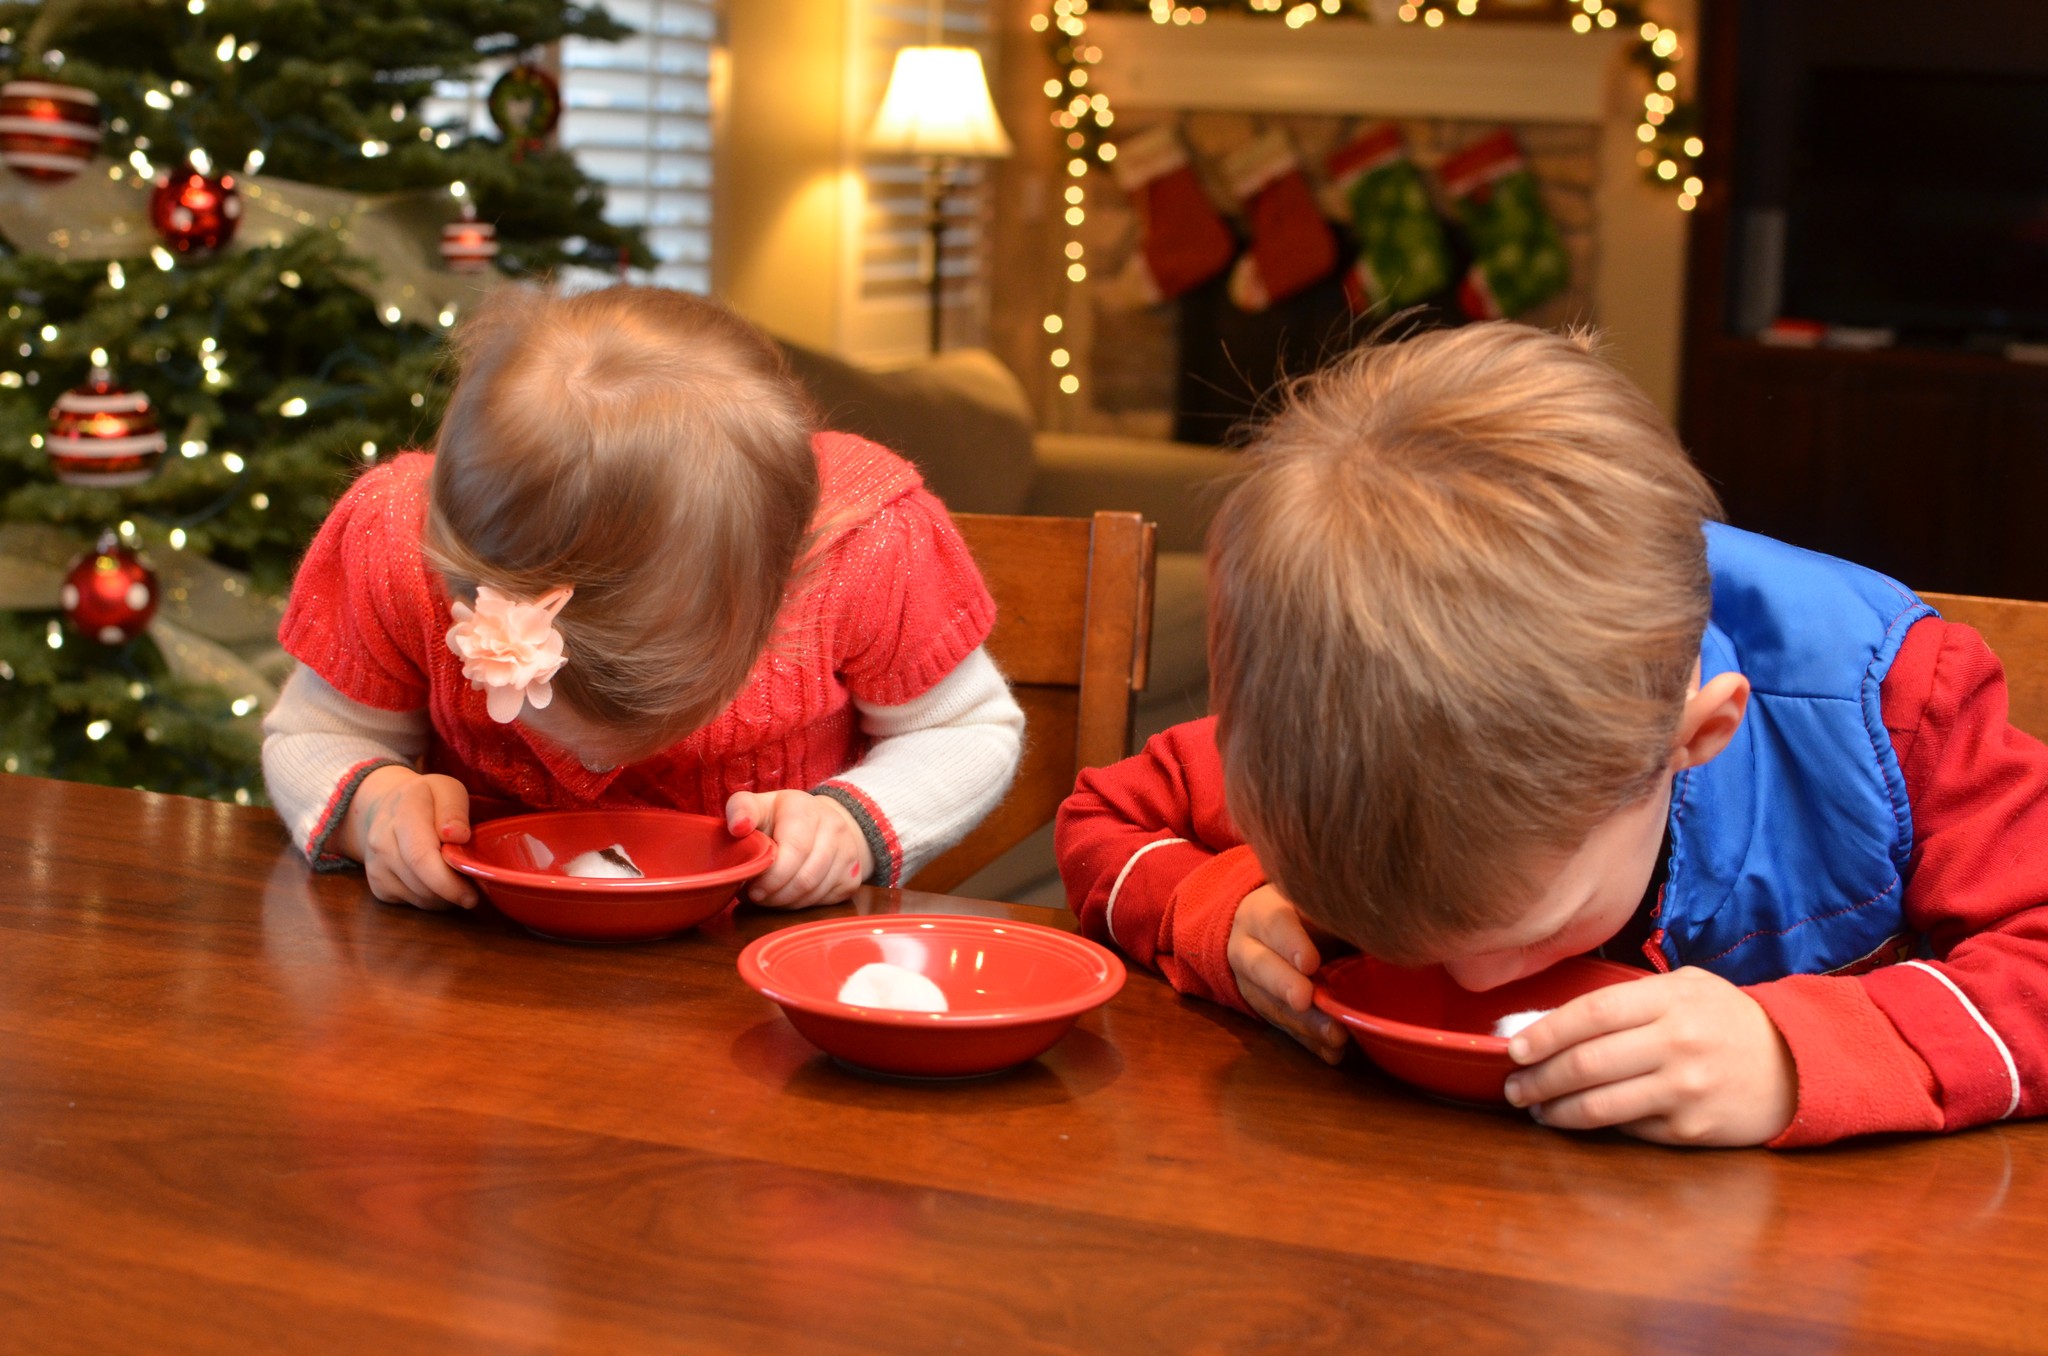
Next, I asked them if they rememebered what the candy cane tasted and smelled like. I dropped a little bit of peppermint extract, vanilla extract, and almond extract onto three separate cotton balls in dishes. They smelled them and had to identify which was which! They did it! Super cute and fun.
Bahaha!! I love this picture! I explained the activity, and they both just instantly shoved their noses into the dishes! HA! I can’t believe I caught the moment!
Lastly, we made candy canes out of pipe cleaners. This wasn’t Selah’s favorite activity since, as you know, she would prefer to exercise her artistic license and not do things “inside the box.” Elliott grabbed his pipe cleaner and immediately began alternating red and whites, but Selah…well, she kept sneaking purples when I wasn’t looking! Hahaha!!! Oh my goodness, she just cracks me up!!!
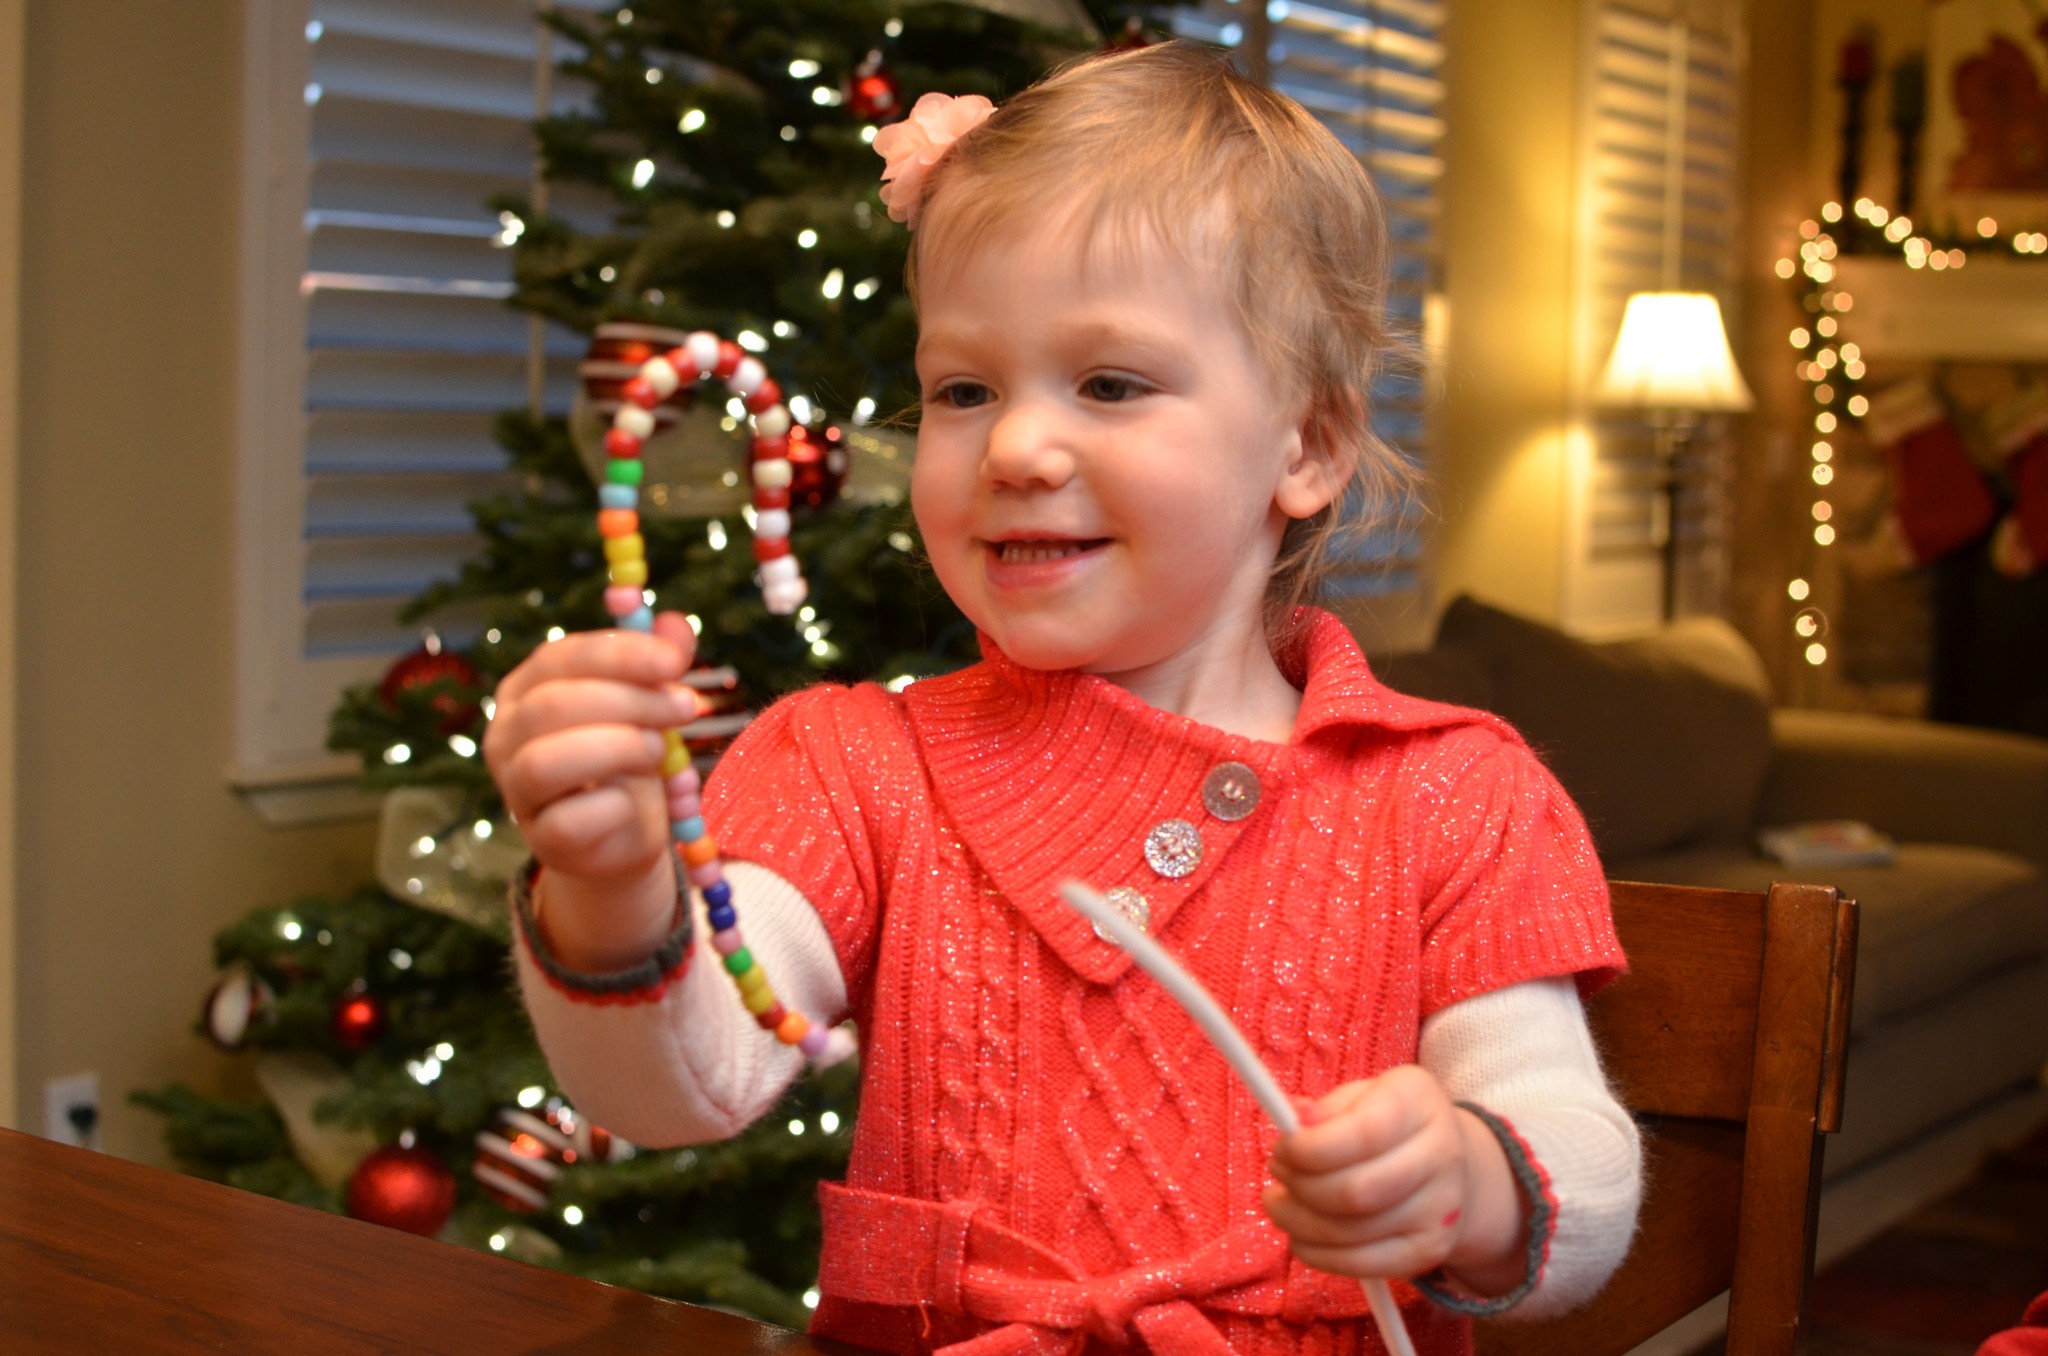
Like I’ve said before, my kids could string pony beads on pipe cleaners for HOURS every day of their lives…Proudly showing off his finished product.I turned around for a minute, and when I looked over again, this was the face I saw! HA!! So delighted, showing me that she had “cheated,” and had stopped doing the red and white pattern! 🙂Aaanddd….Selah’s finished product! Oh, how I love her creativity!!
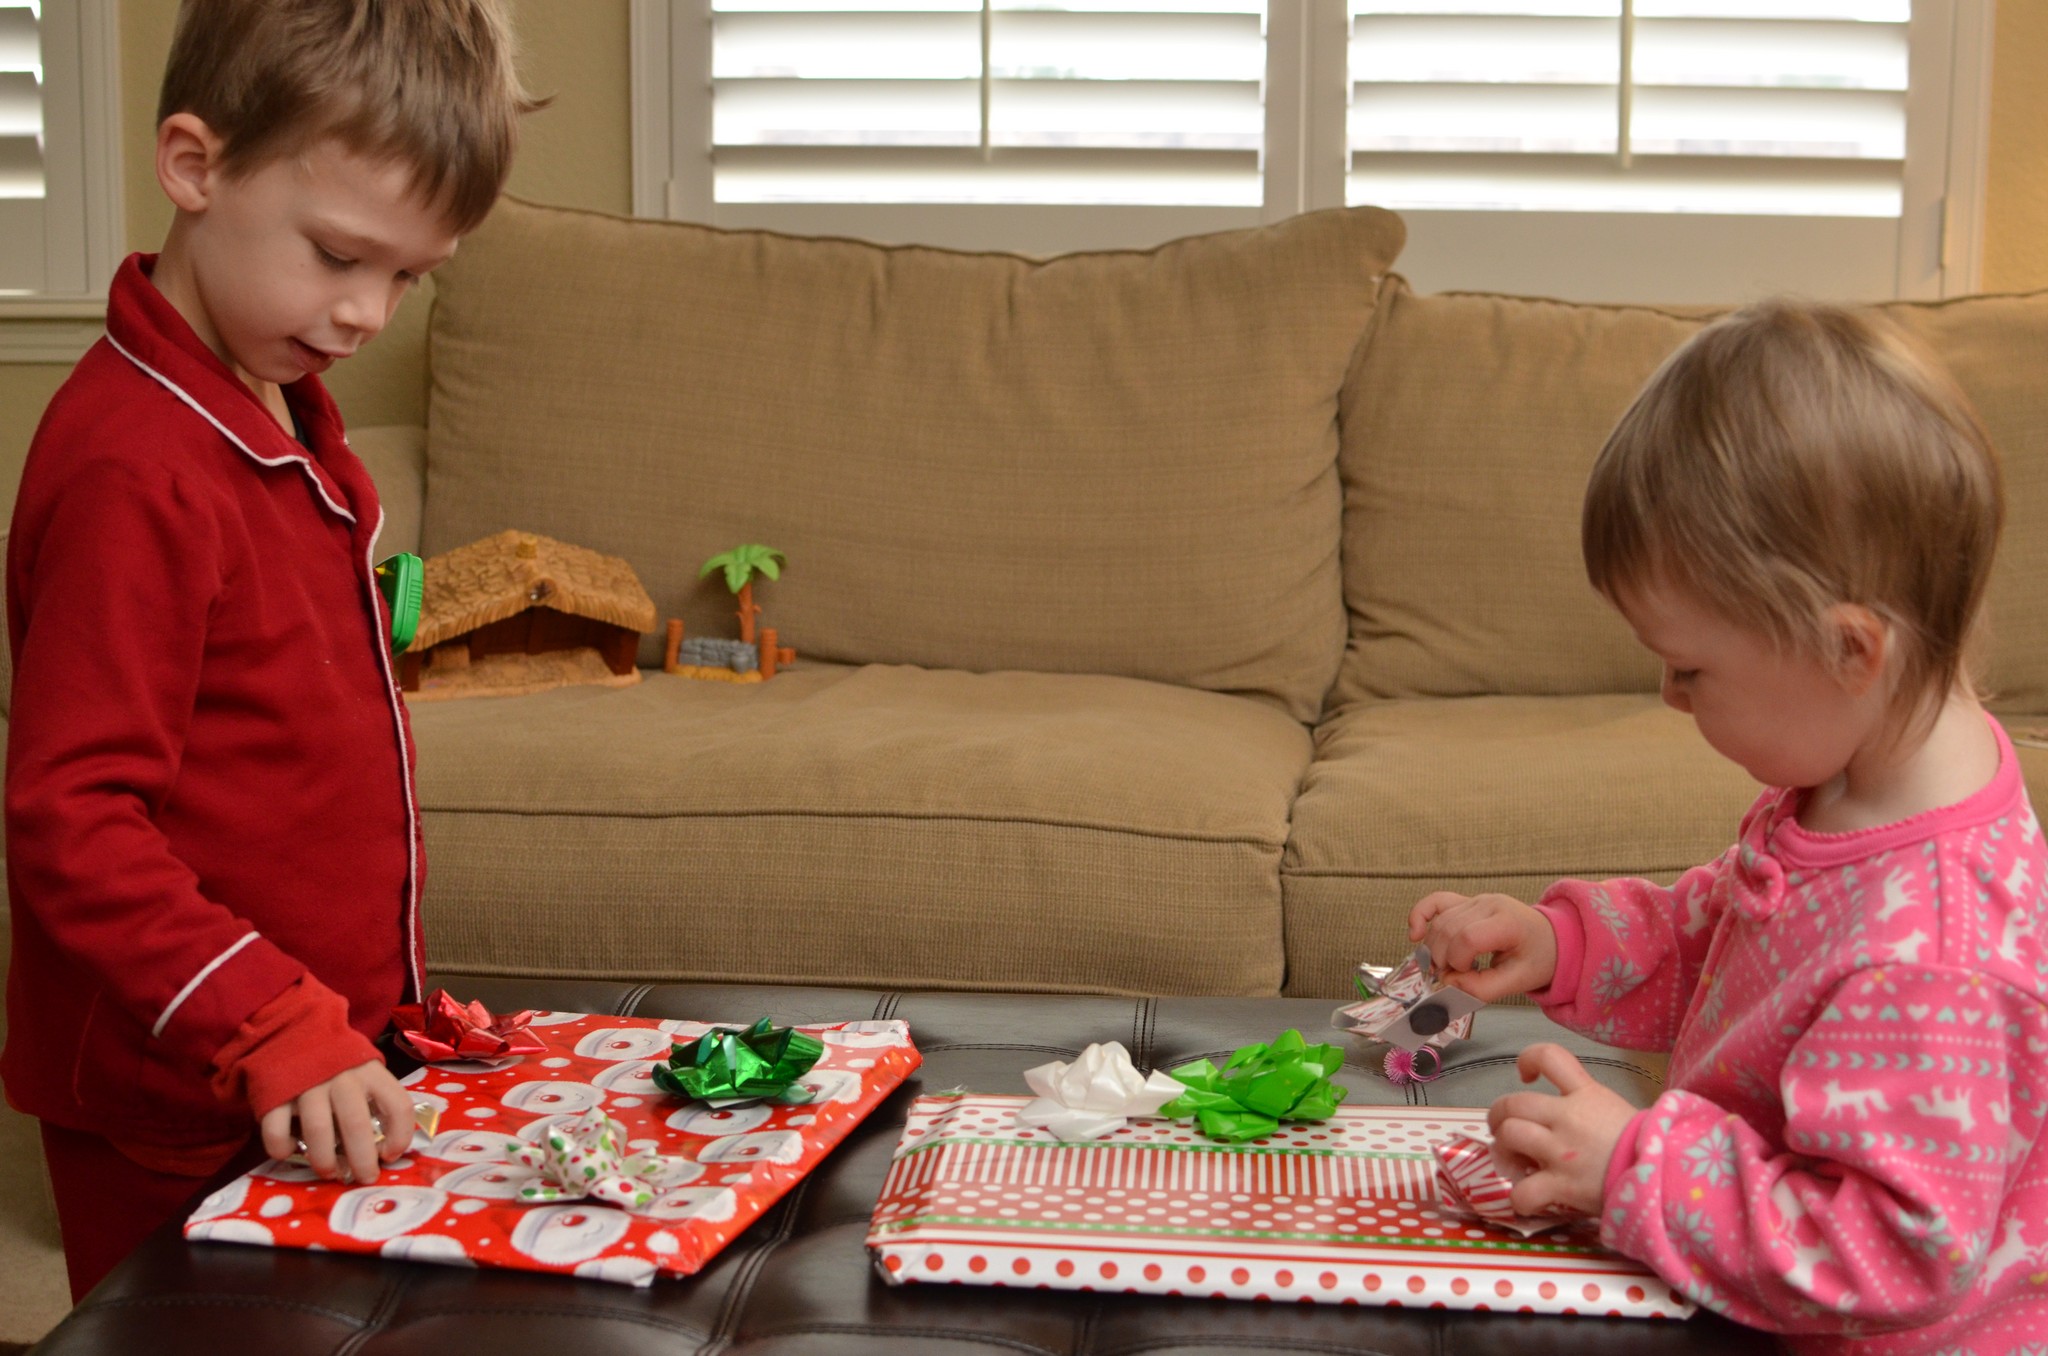
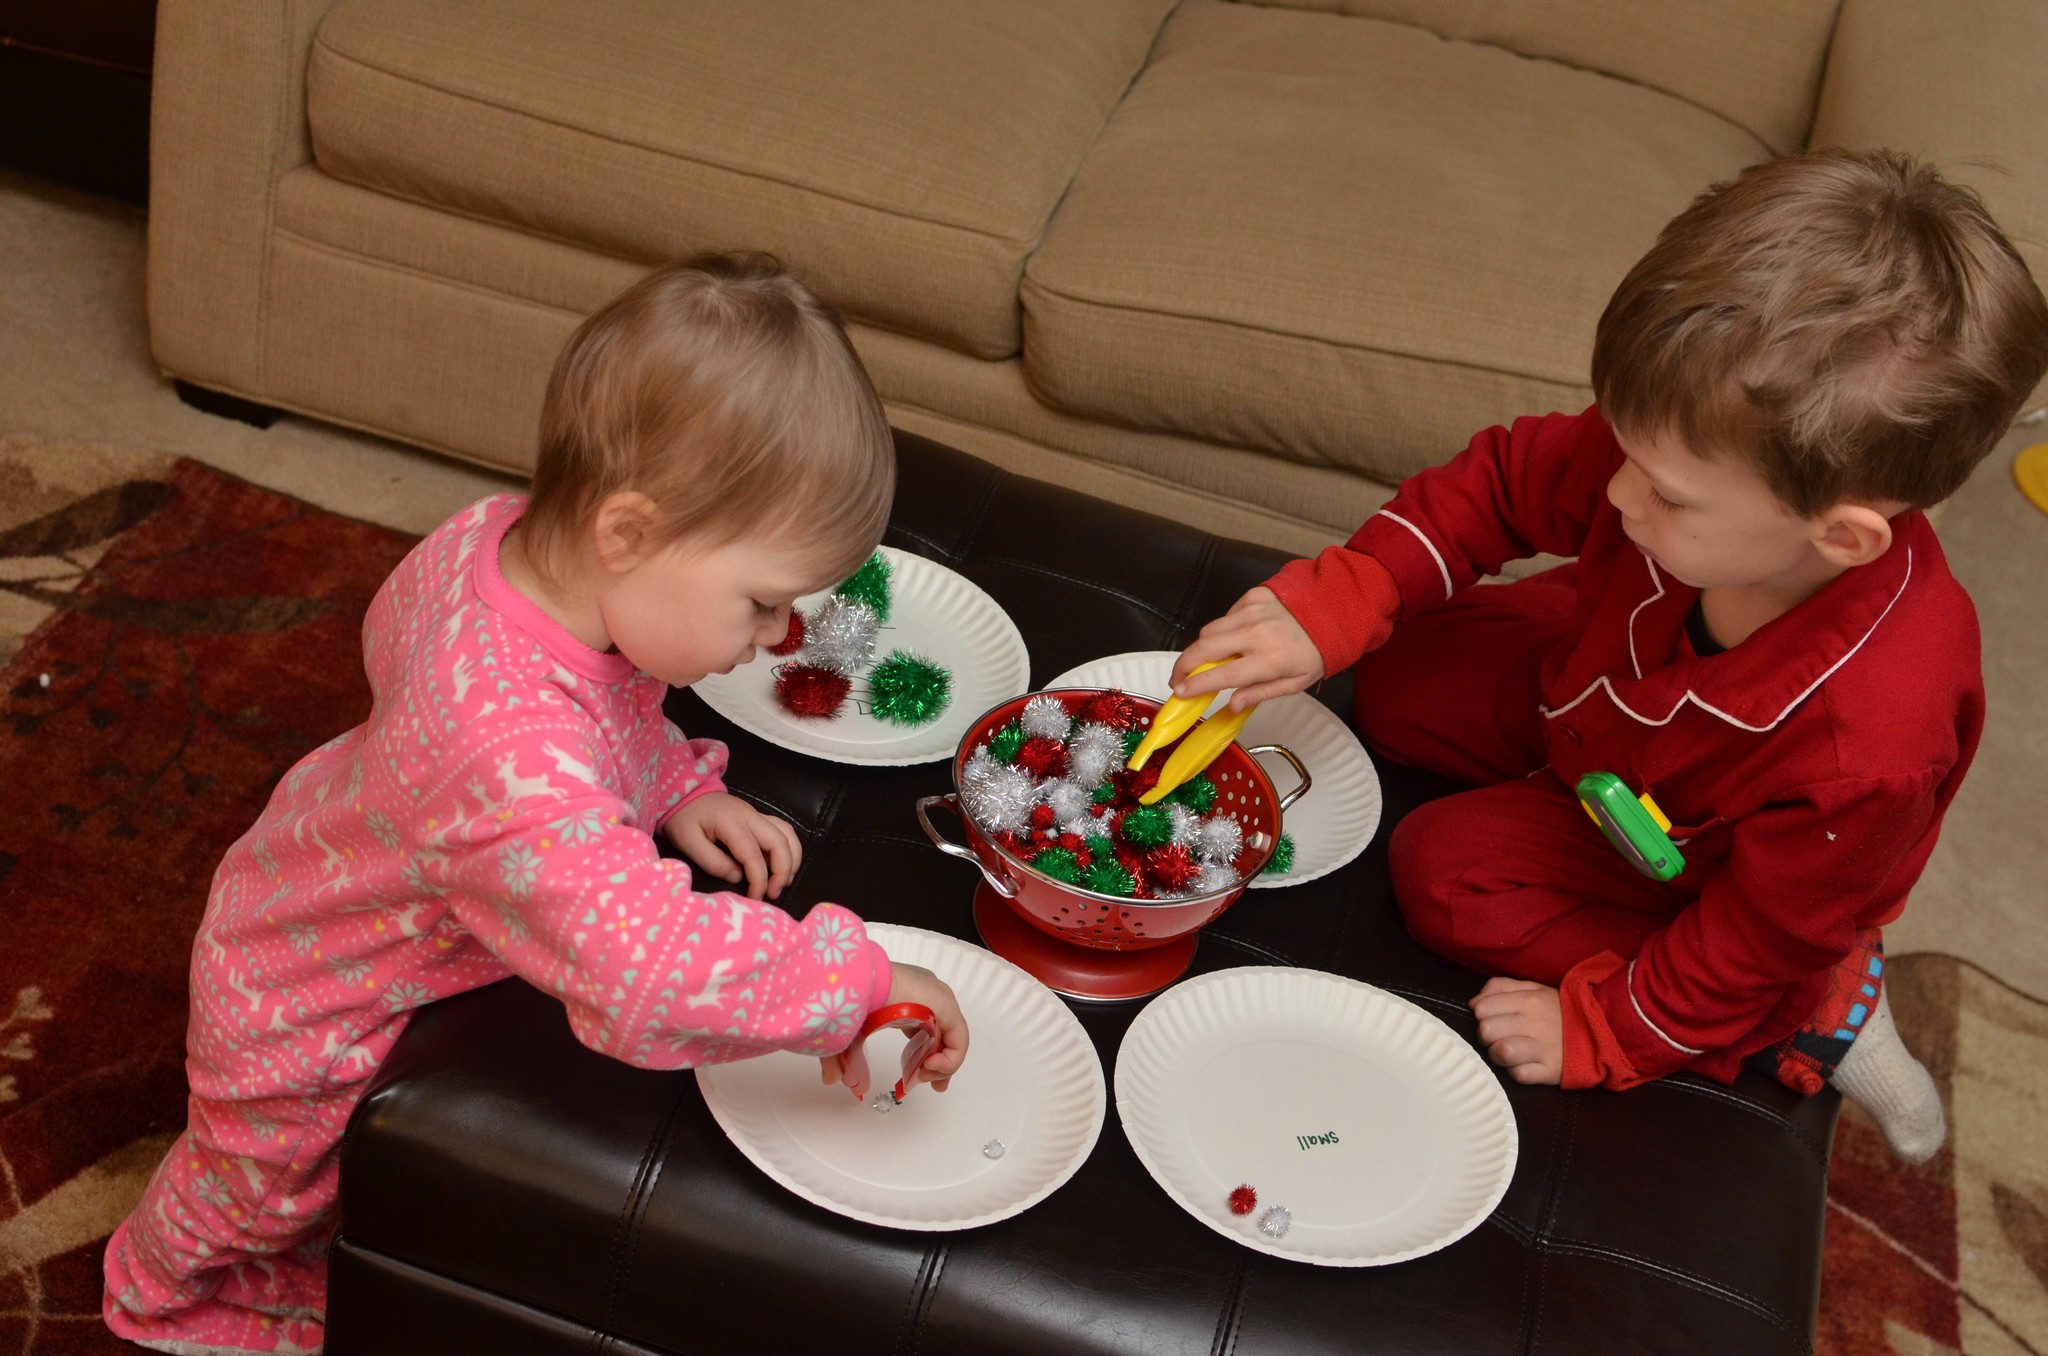
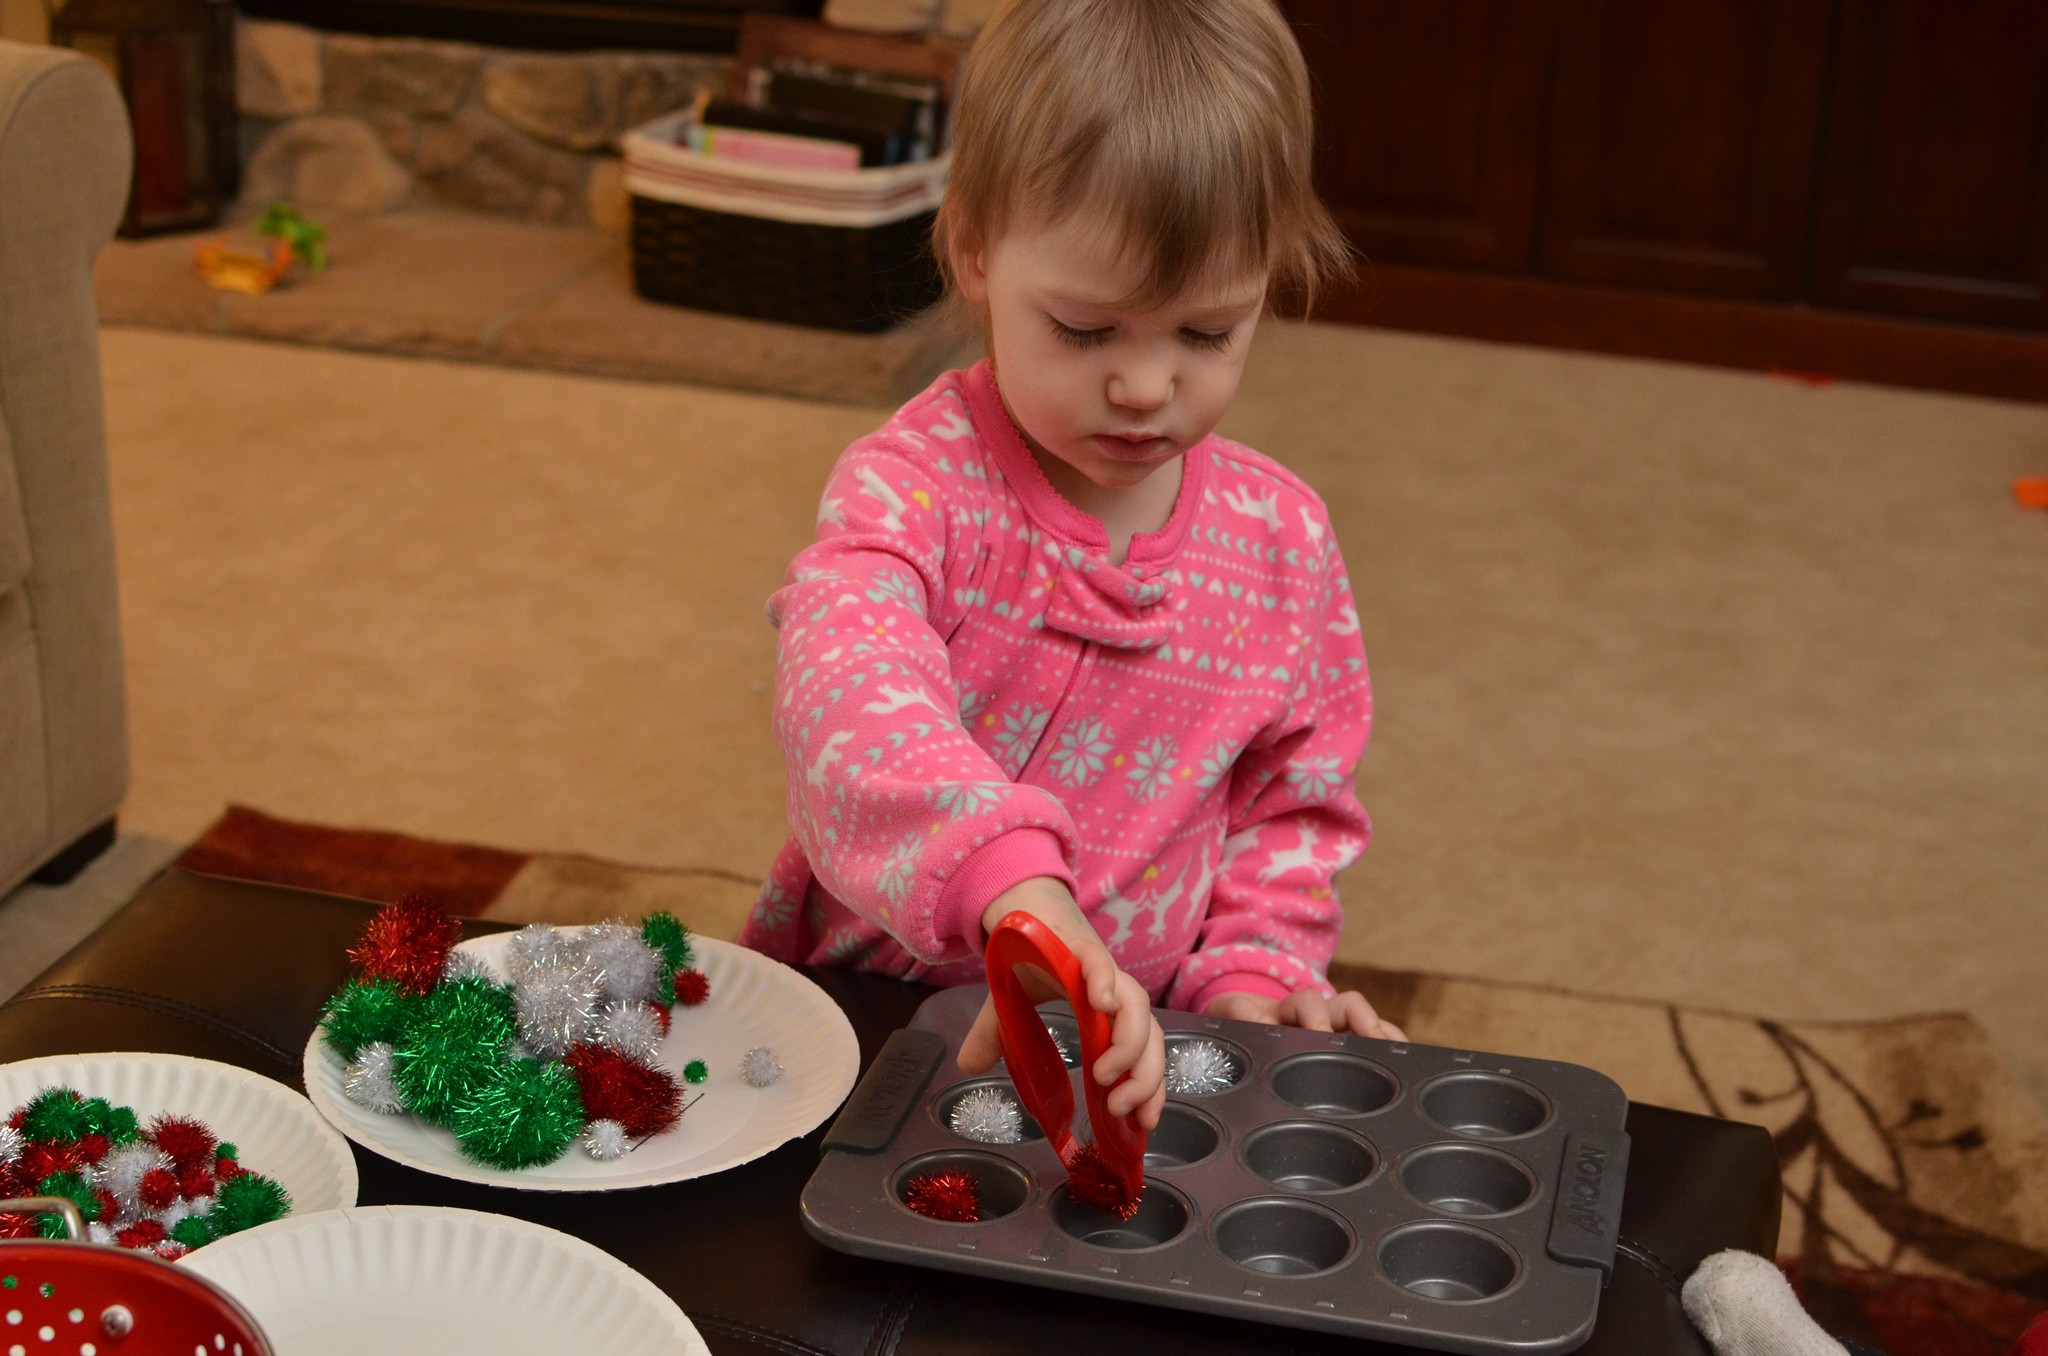
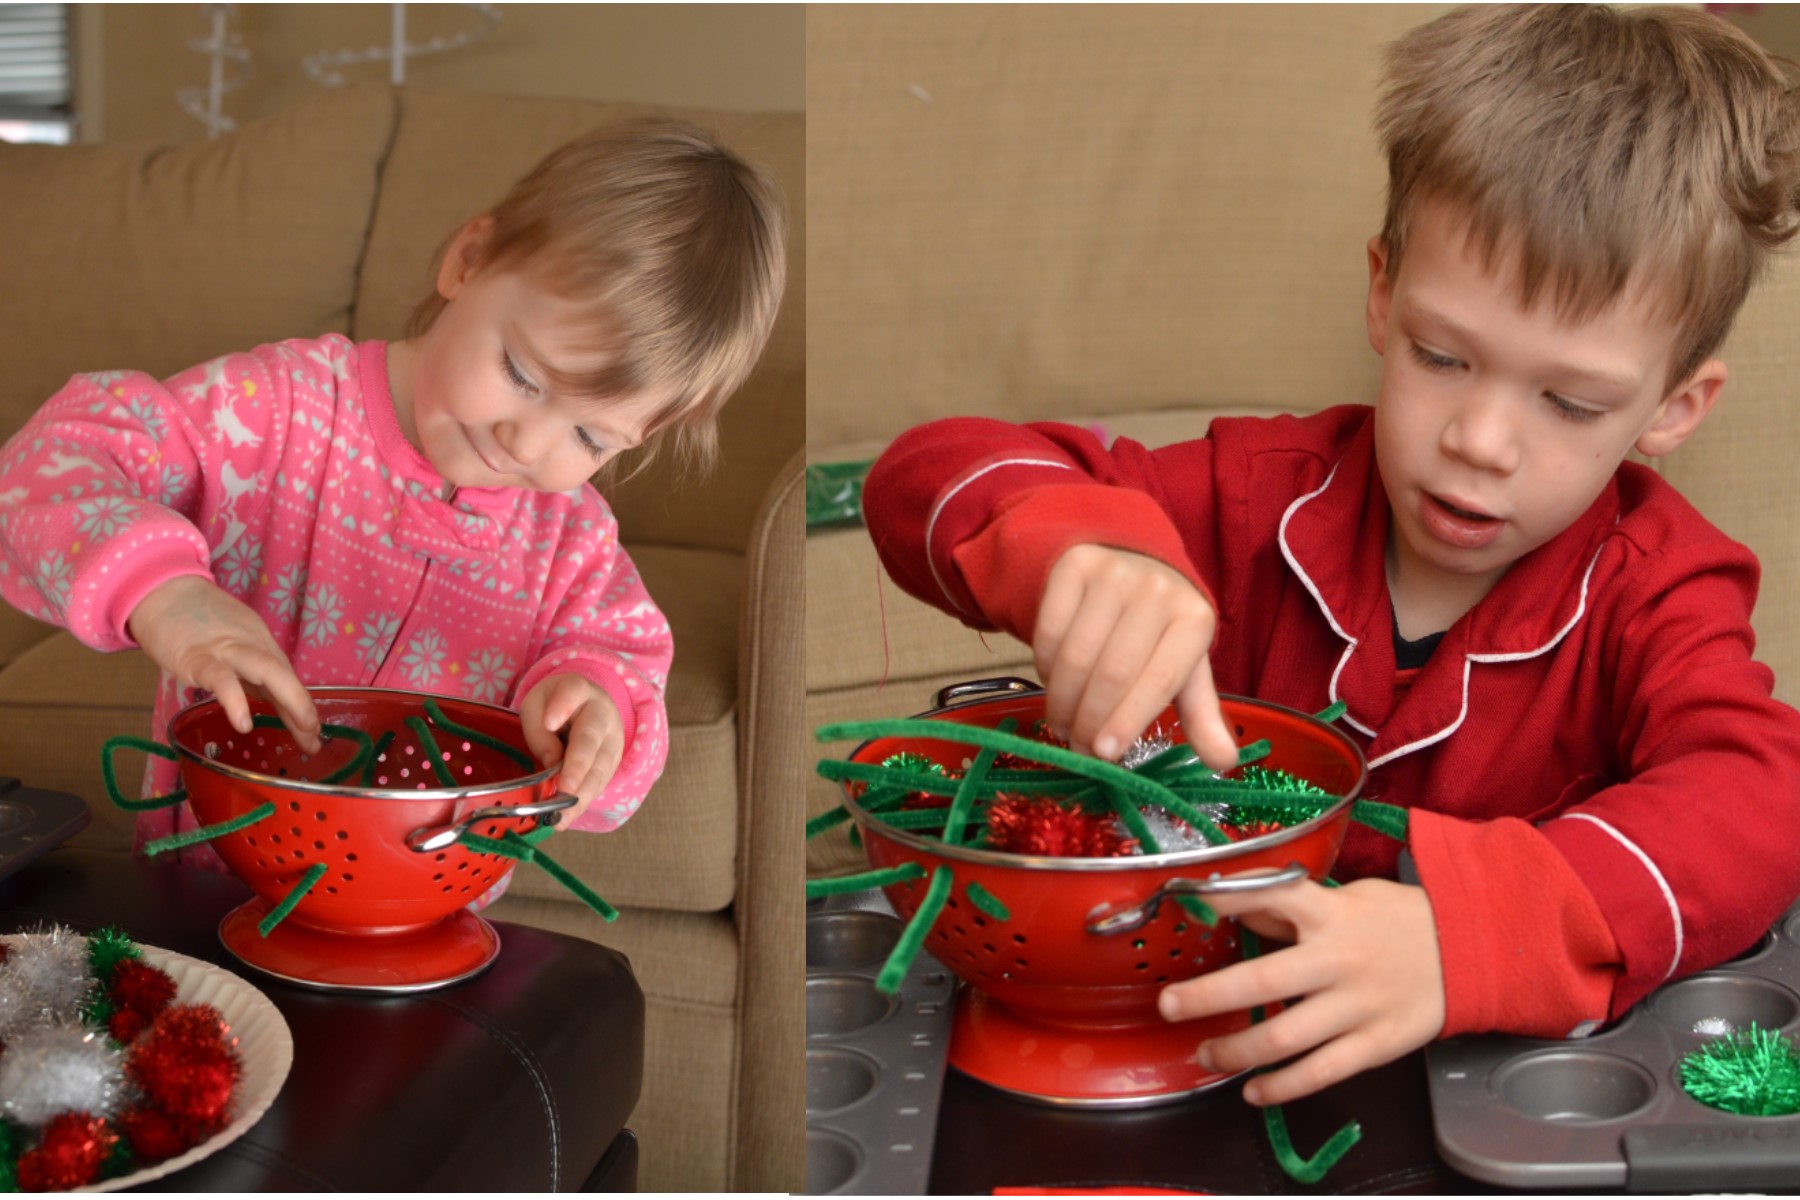
Day 17: Christmas activities!!
I pulled out these old “magnetic presents” from last year:
And they didn’t even fight over them this year :).
I got these ideas (and one of the previous peppermint activities) from here .
The kids sorted these Christmas pom poms onto four different plates that I had written on to say Large, Medium, Small, and Tiny.They also sorted them into a cupcake tin using the big play tweezers.I also pulled out one of my colanders (which happened to be RED–bonus!) and they strung green pipe cleaners through it.
Lots of activities that kept them busy.
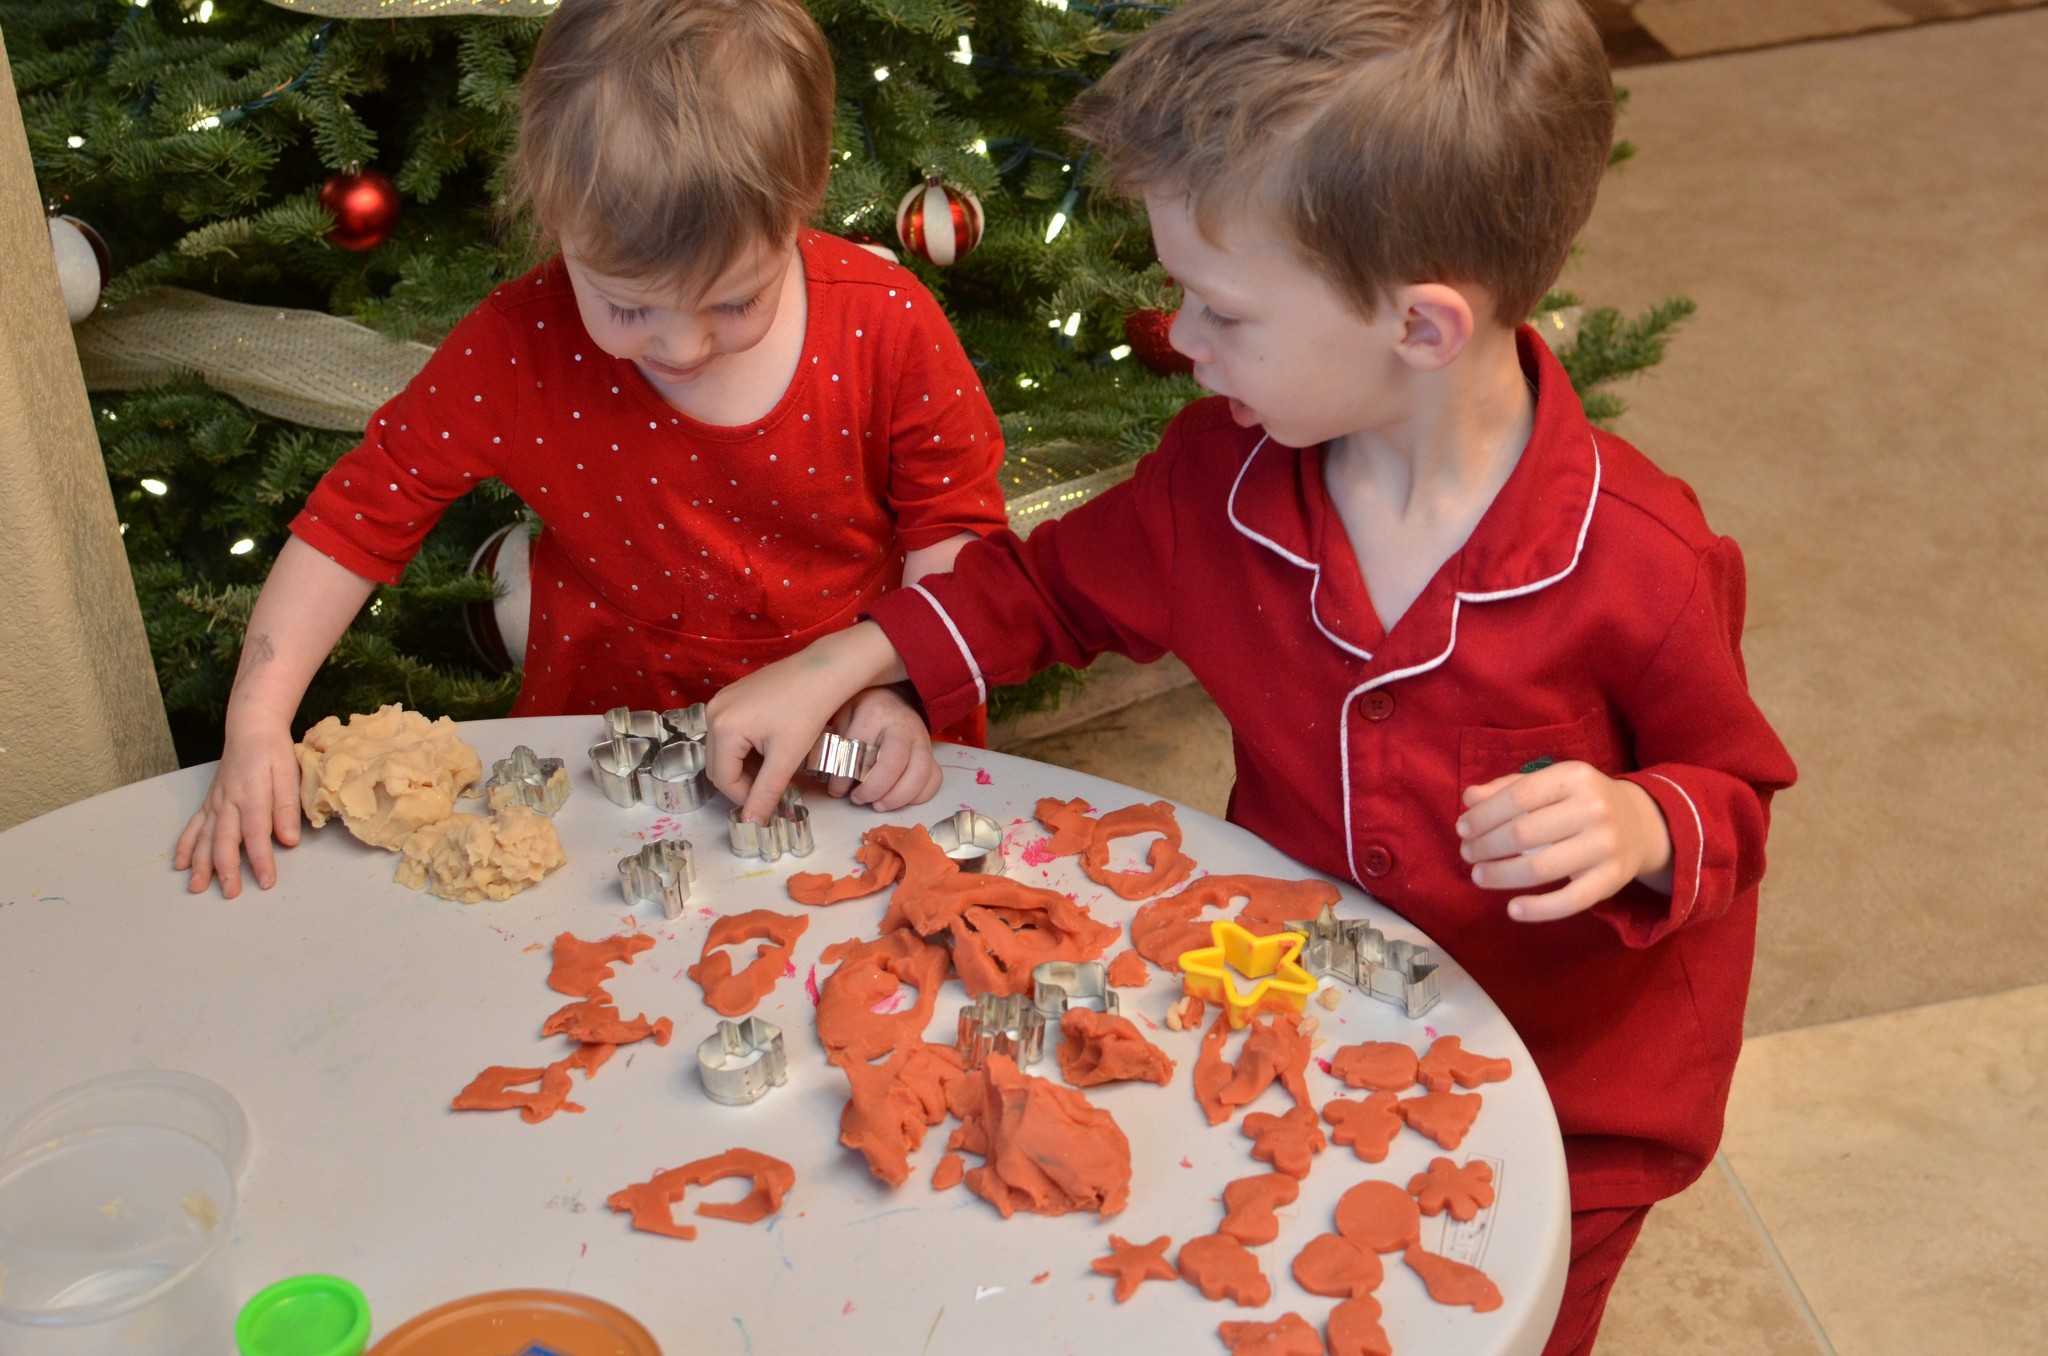
Day 18: Playdough & cookie cutters
My friend Elizabeth had given us some Christmas playdough last year, and it is the gift that keeps on giving!! My kids play with it all the time and it is still wonderful playdough. I found these tiny cookie cutters at Hobby Lobby and I knew they’d be perfect for the cookie cutter playdough activity I wanted to do with the kids. Sure enough, they were! Elliott made TONS and TONS of playdough cookies and Selah, well…I think you’re starting to catch on to her “style.” 🙂
Playdough cookies!
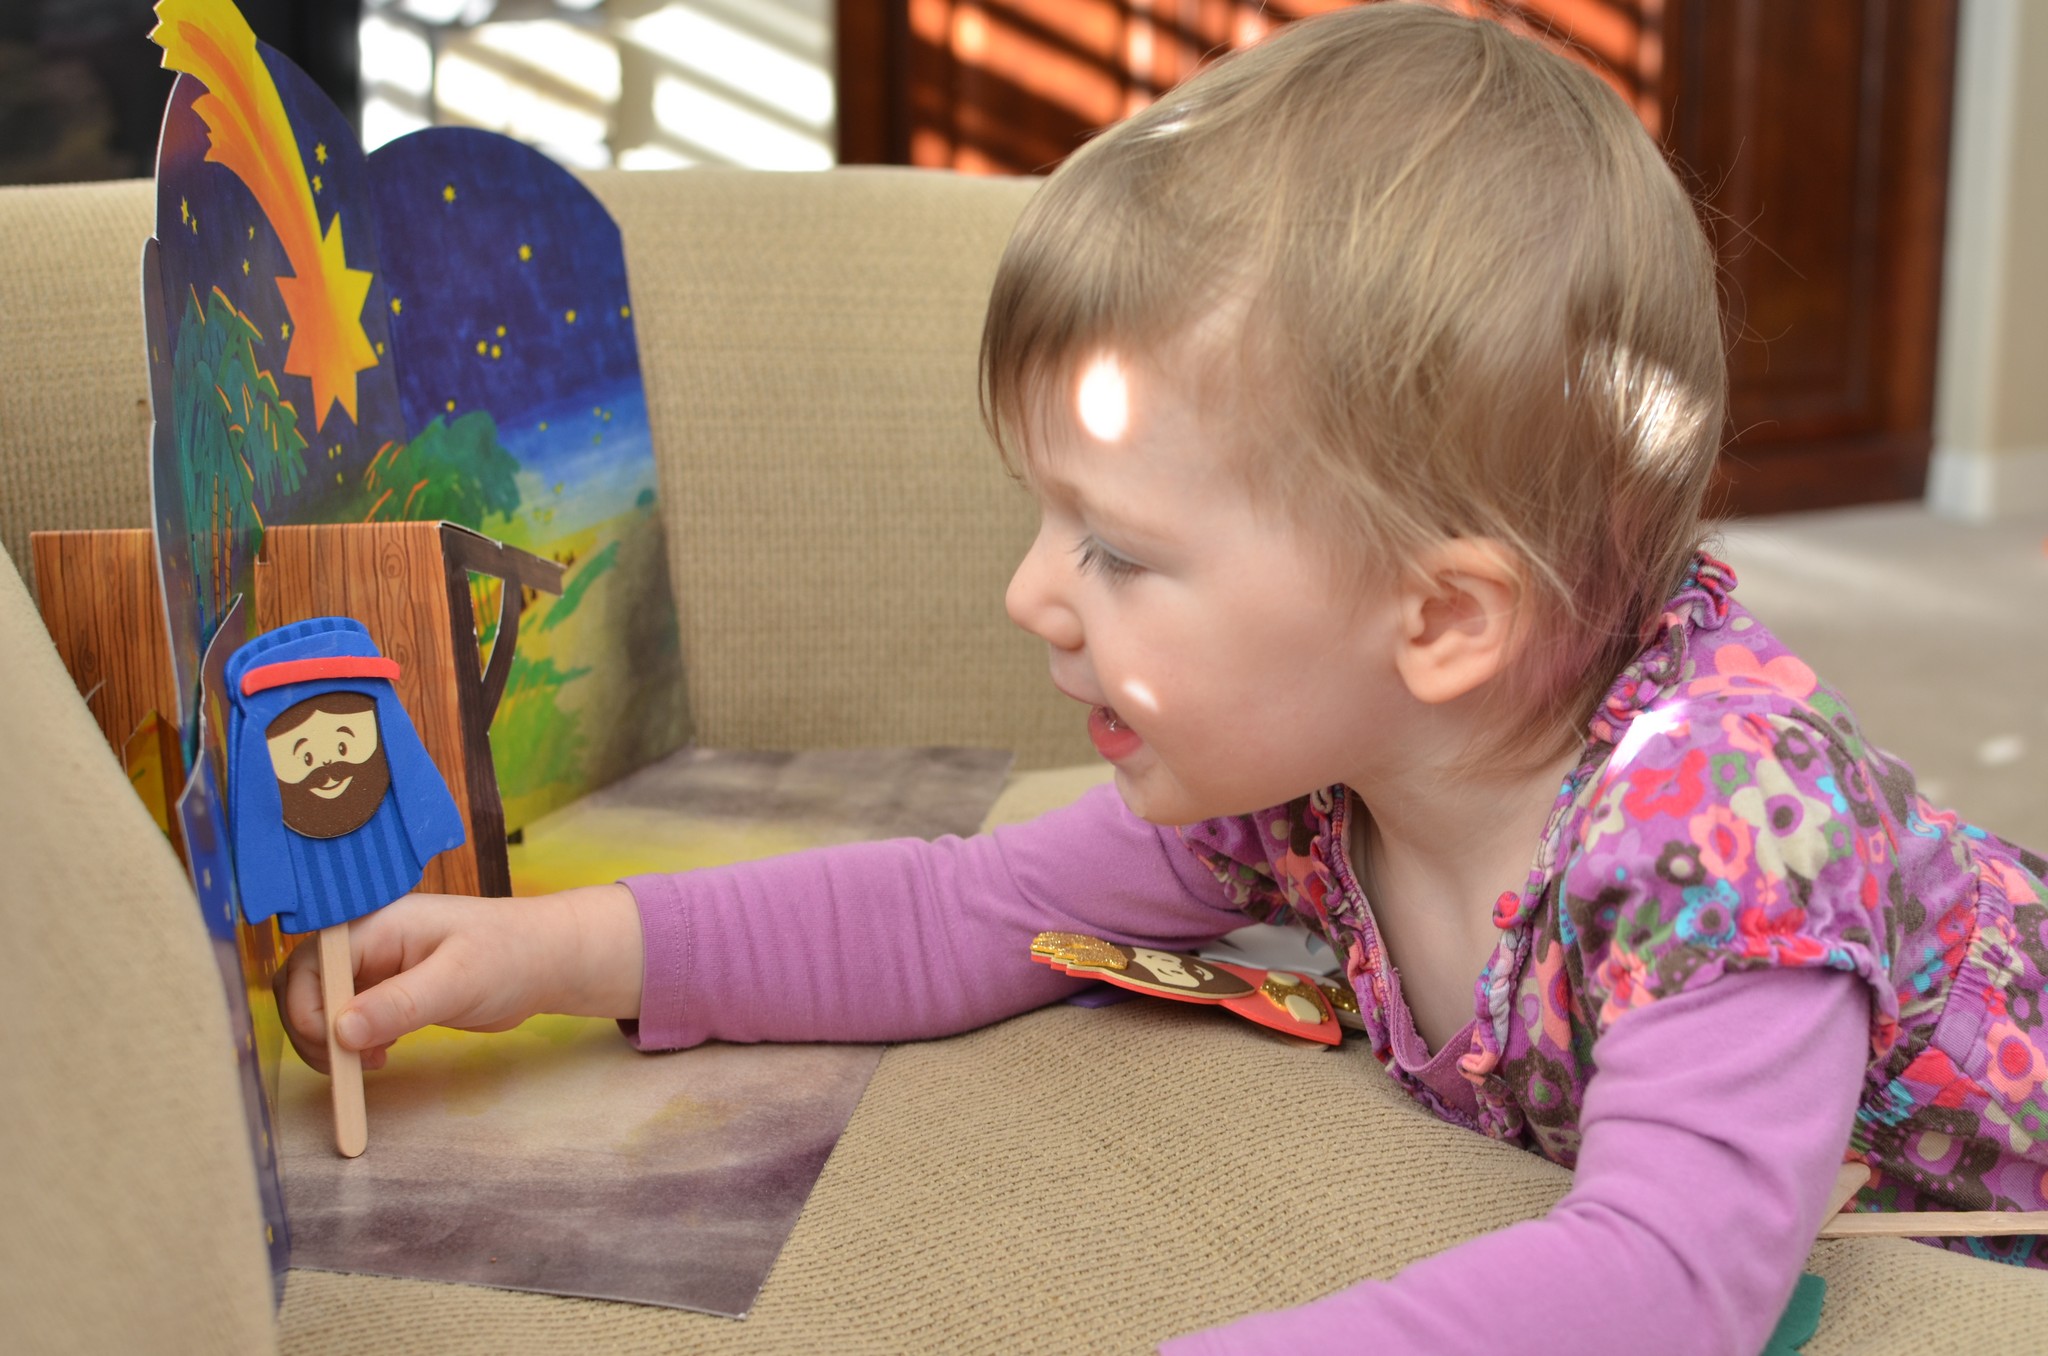
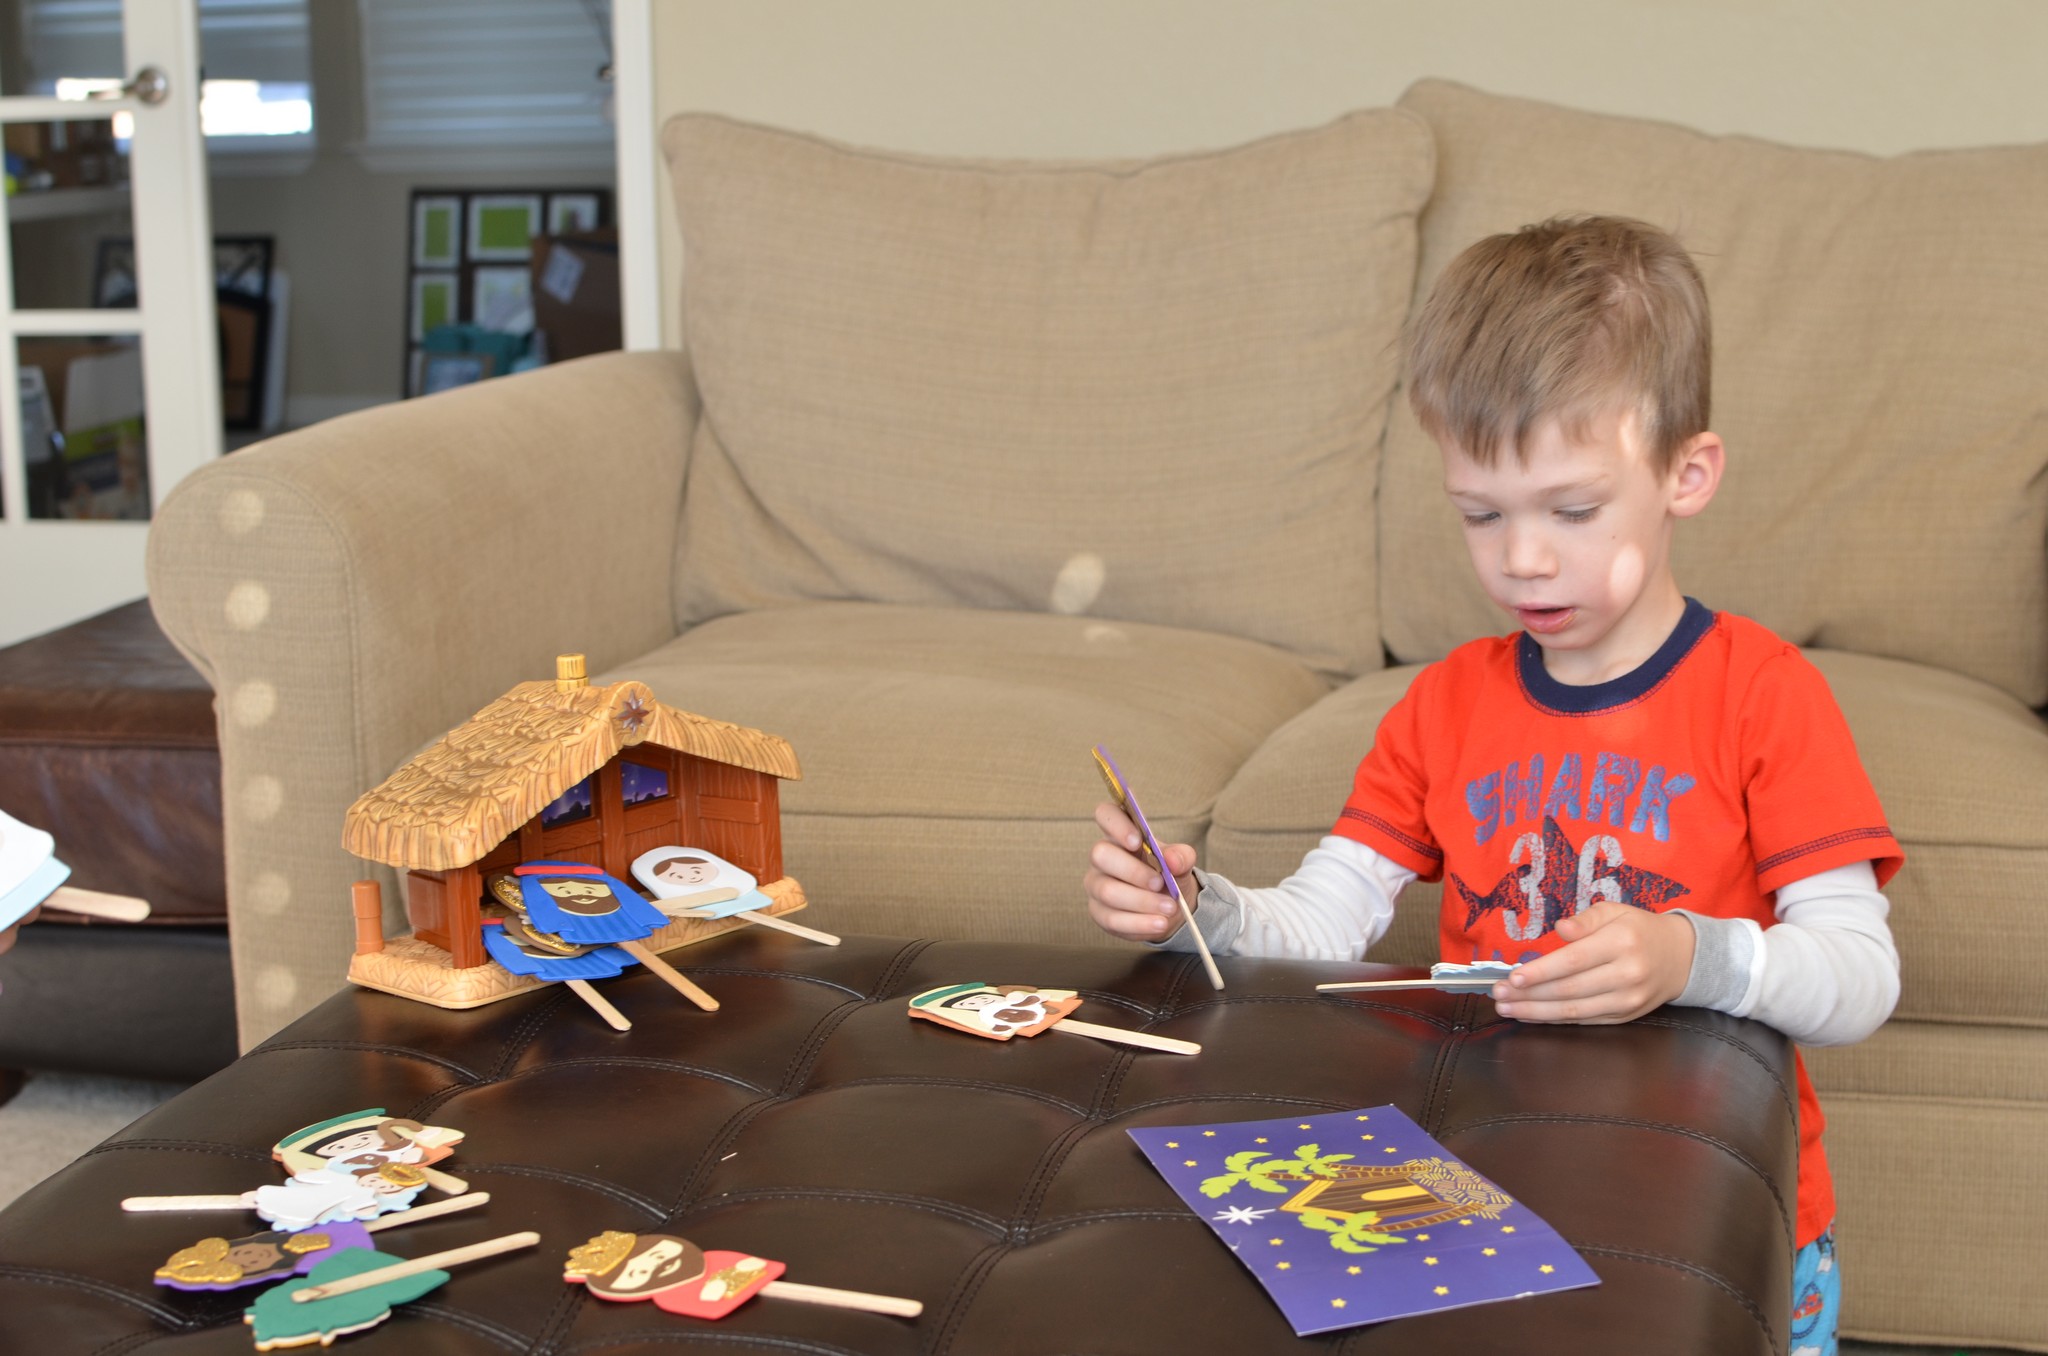
Day 19: Act out the nativity story using puppets!
I was tired this day :). I pulled out the nativity puppets we had made last year from a Michael’s set (thankfully, there were TWO!), and we acted out the story. The kids had a blast, using the two stables we had. Obviously, you could do this without puppets, and just use the figurines you have in any nativity set. As simple as this activity was, the kids really loved it as they are SO into role playing.
Selah, walking Joseph to the stable…even though he doesn’t have legs!Elliott is SERIOUSLY into role playing so he very enthusiastically acted out the entire story using his puppets…
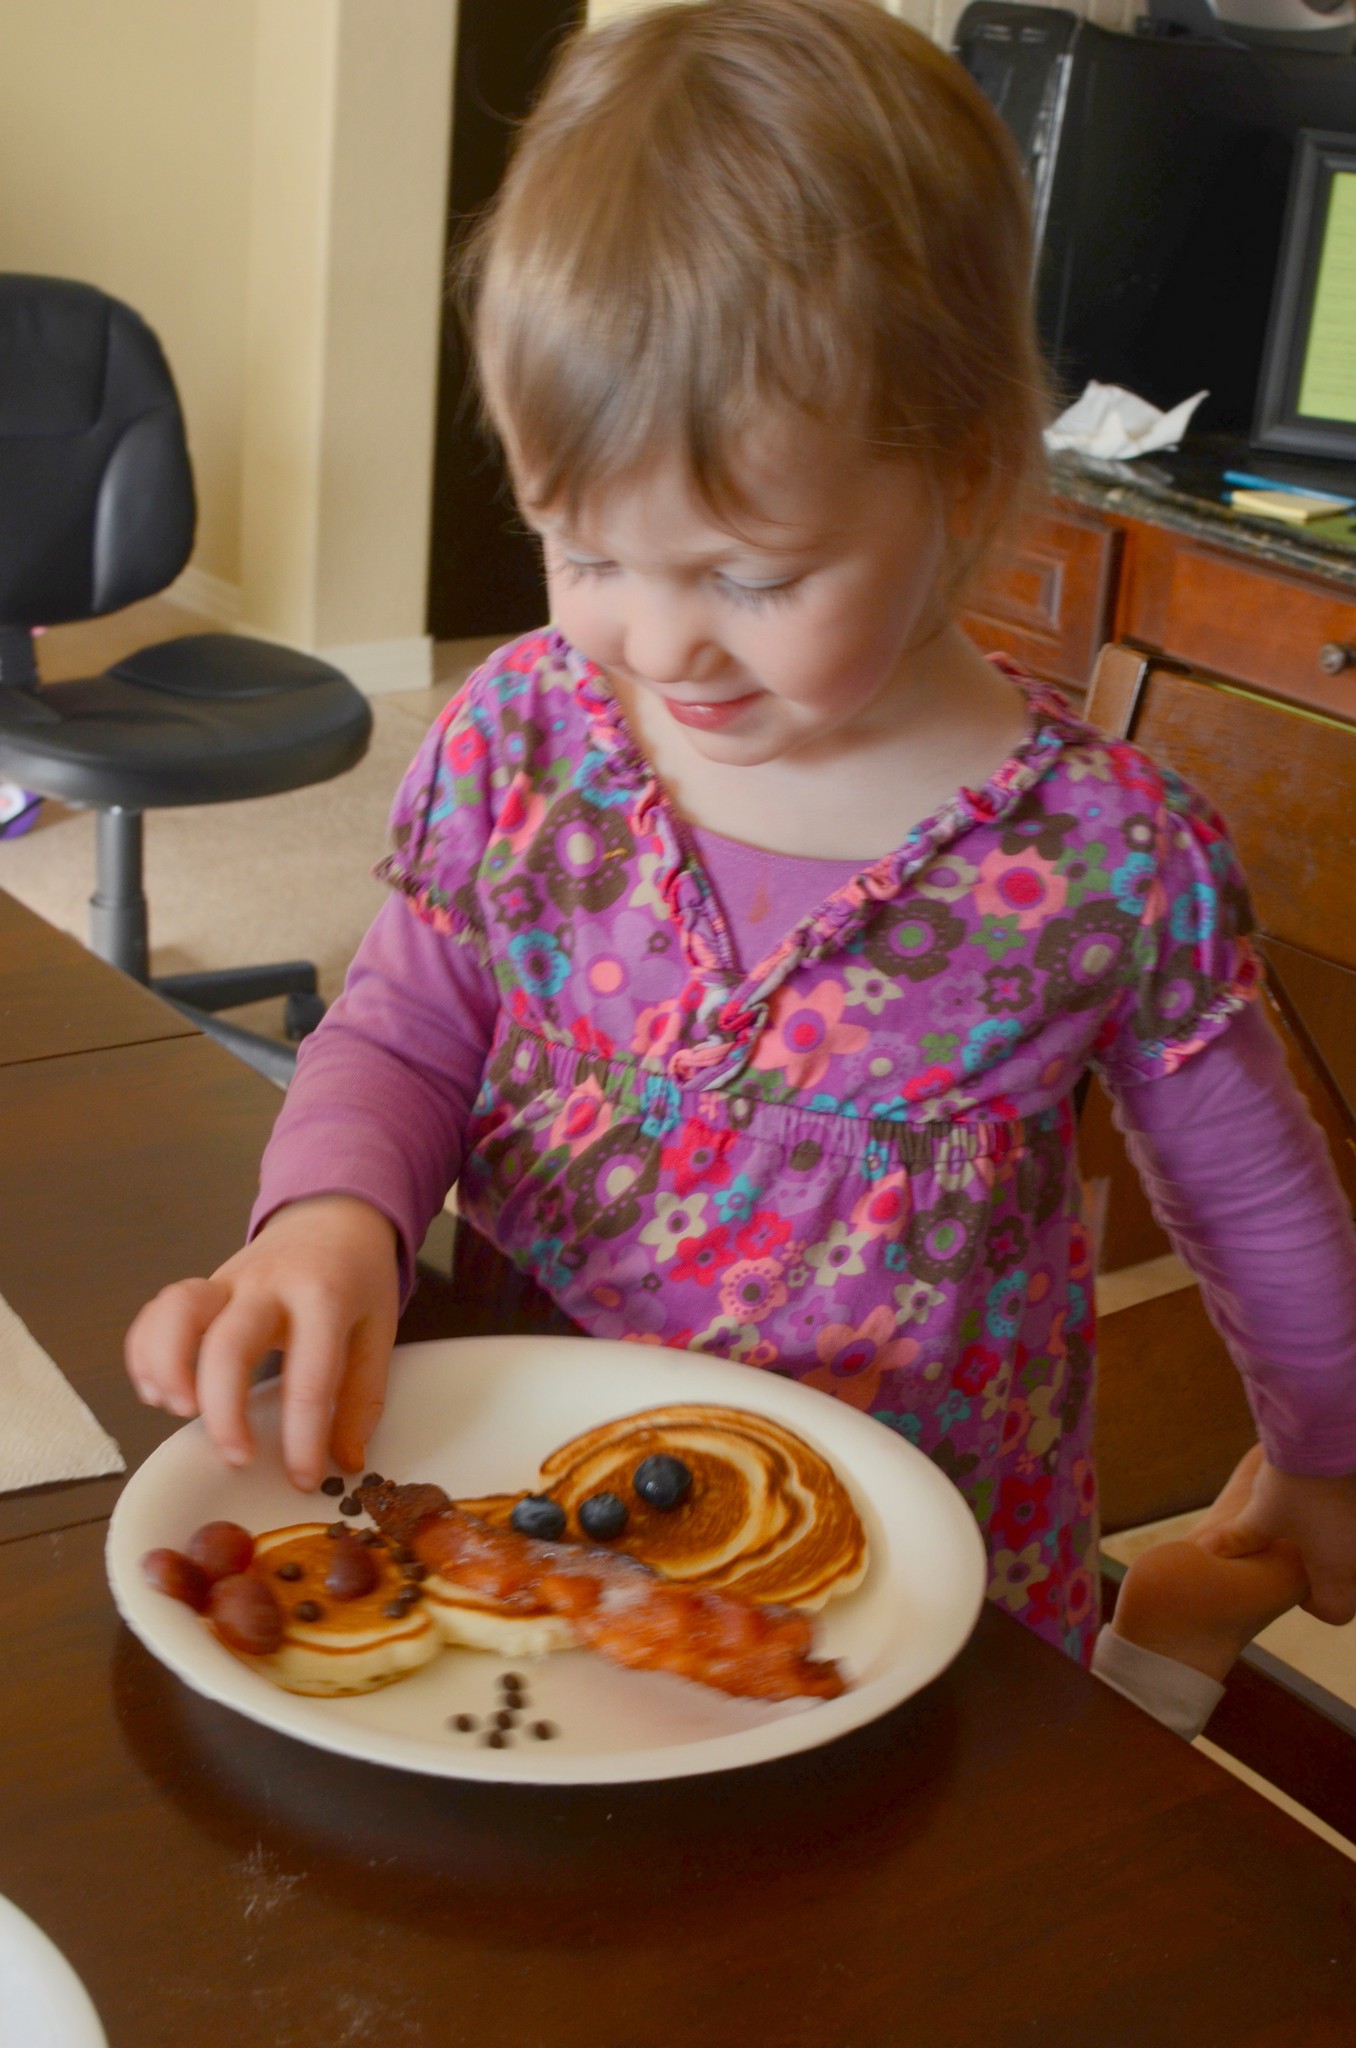
Day 20: Snowman family day!
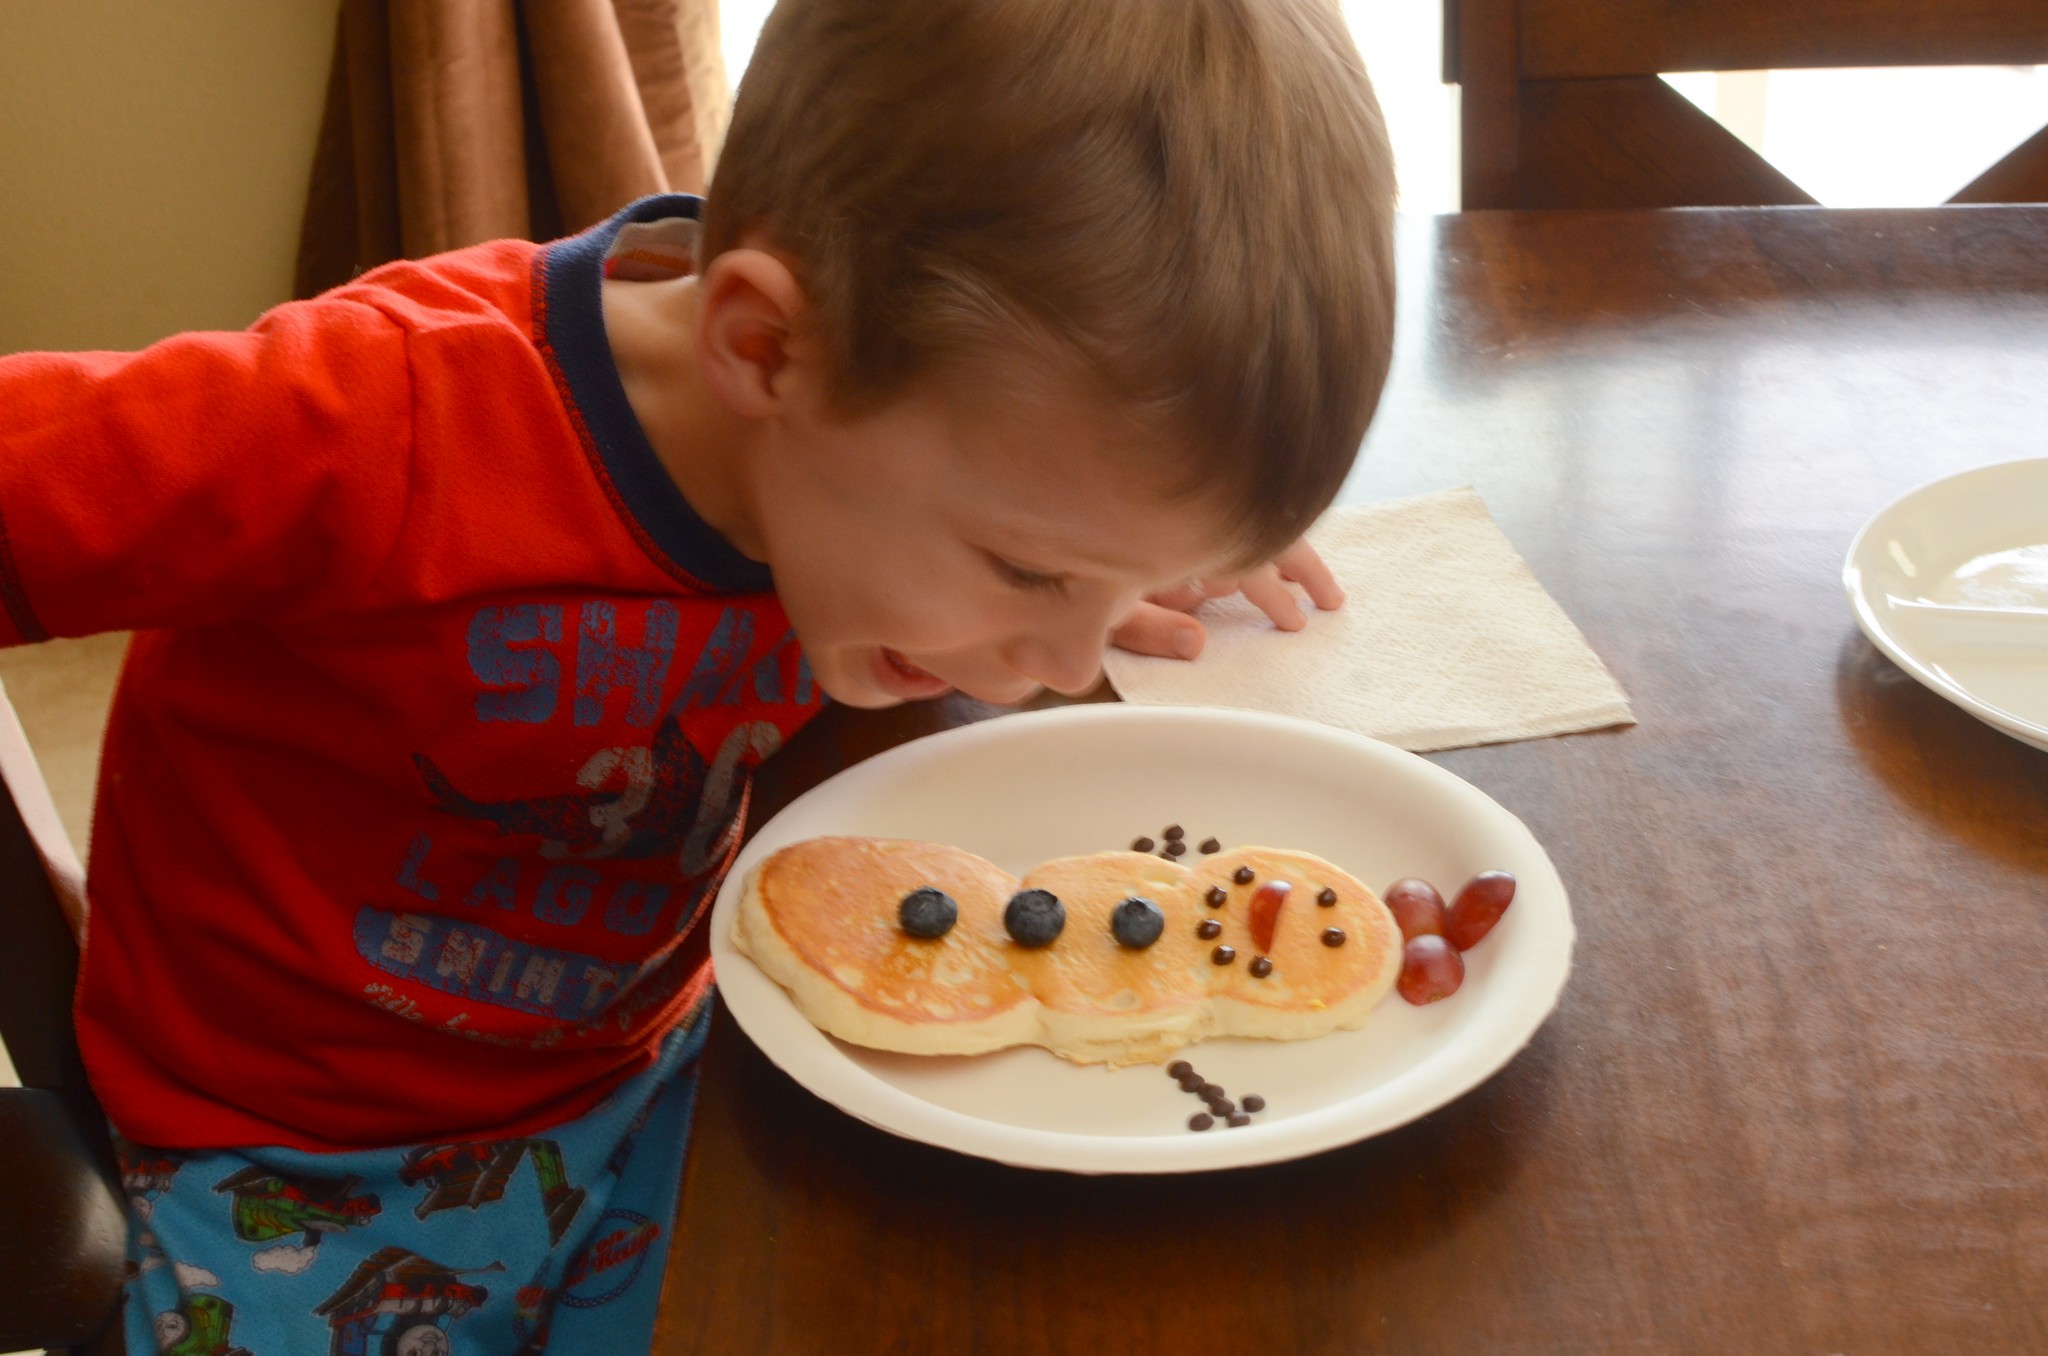
Snowman pancakes!!
As always, this was a HUGE hit :).Mmm, mmmm!!
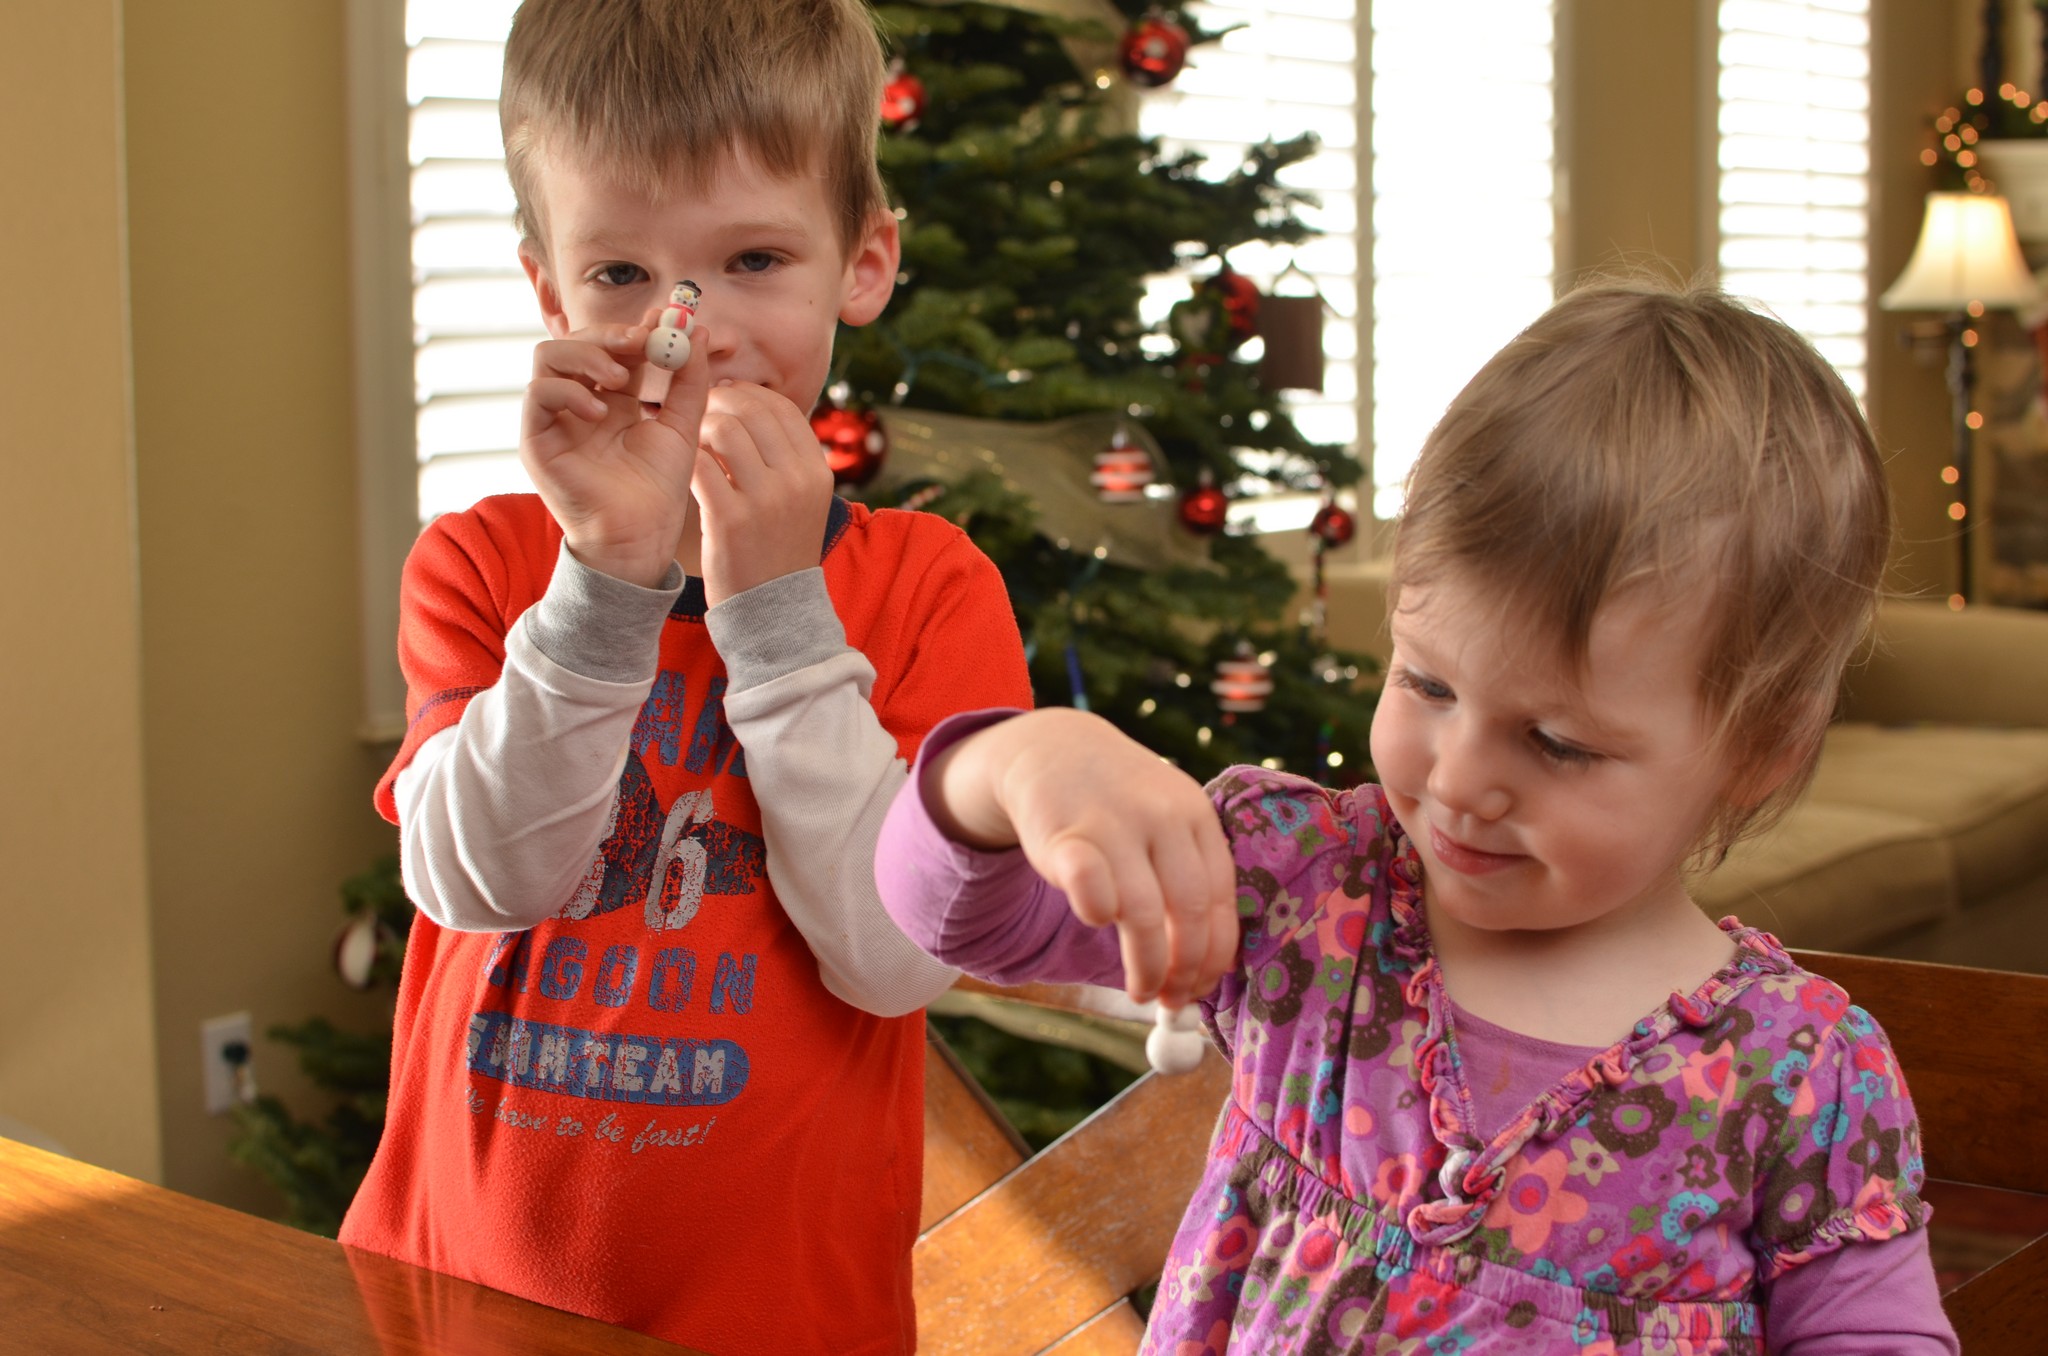
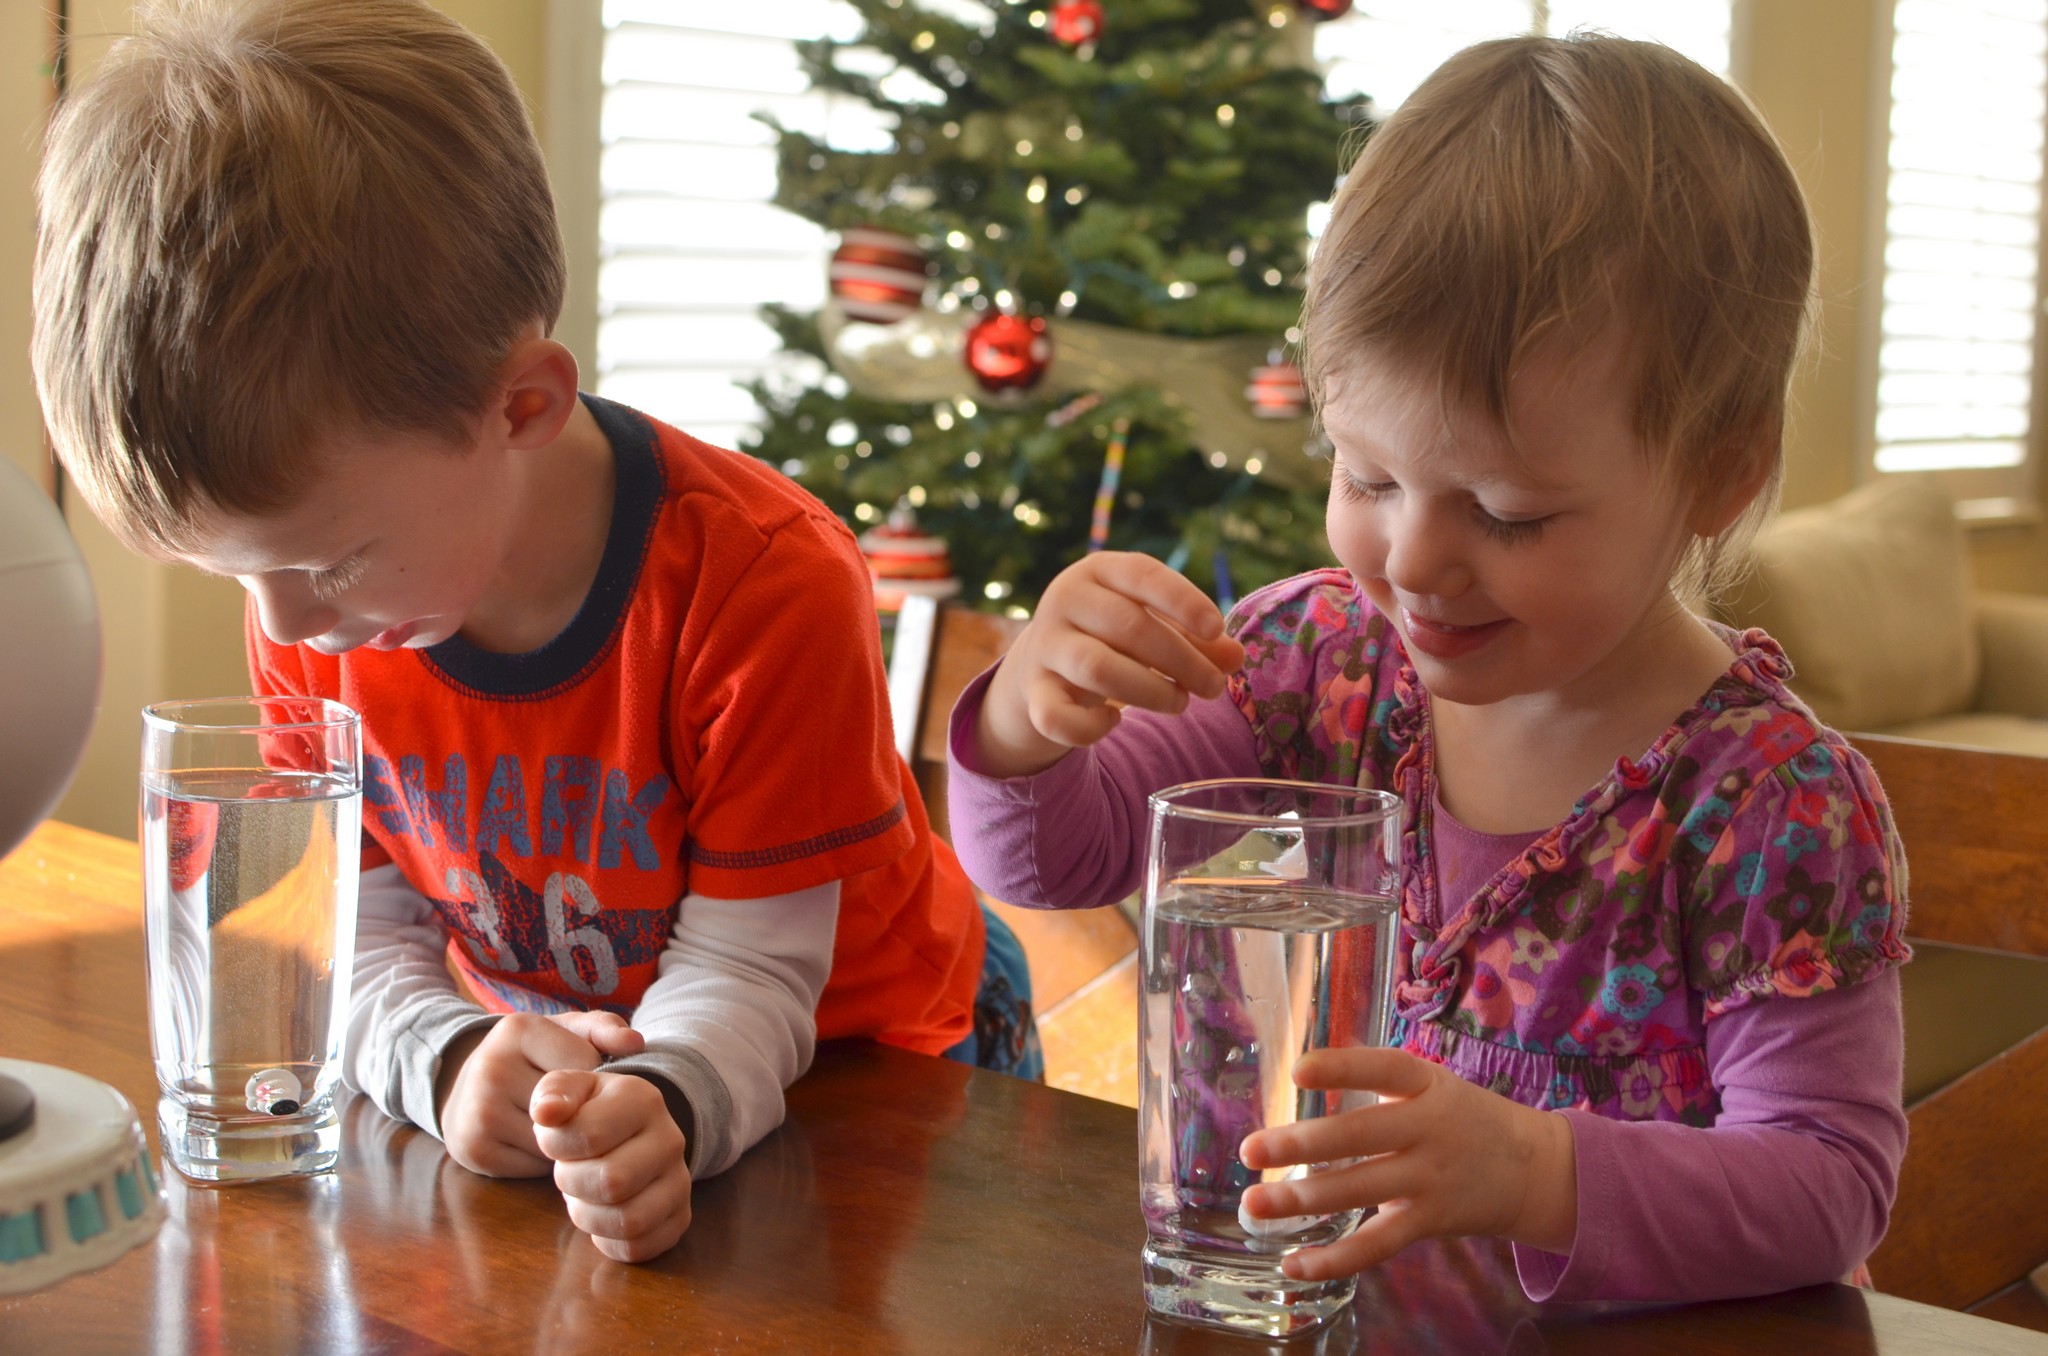
I got these mini snowmen that are supposed to grow in water at Michael’s for $1. Well, they are worth about $1 :). I didn’t realize the instructions said they would take up to 10 days to grow, so they were a bit anticlimactic. Regardless, the kids thought they were cool, and it was (sort of) fun to watch them (sloooooowly) grow over the 10 days.
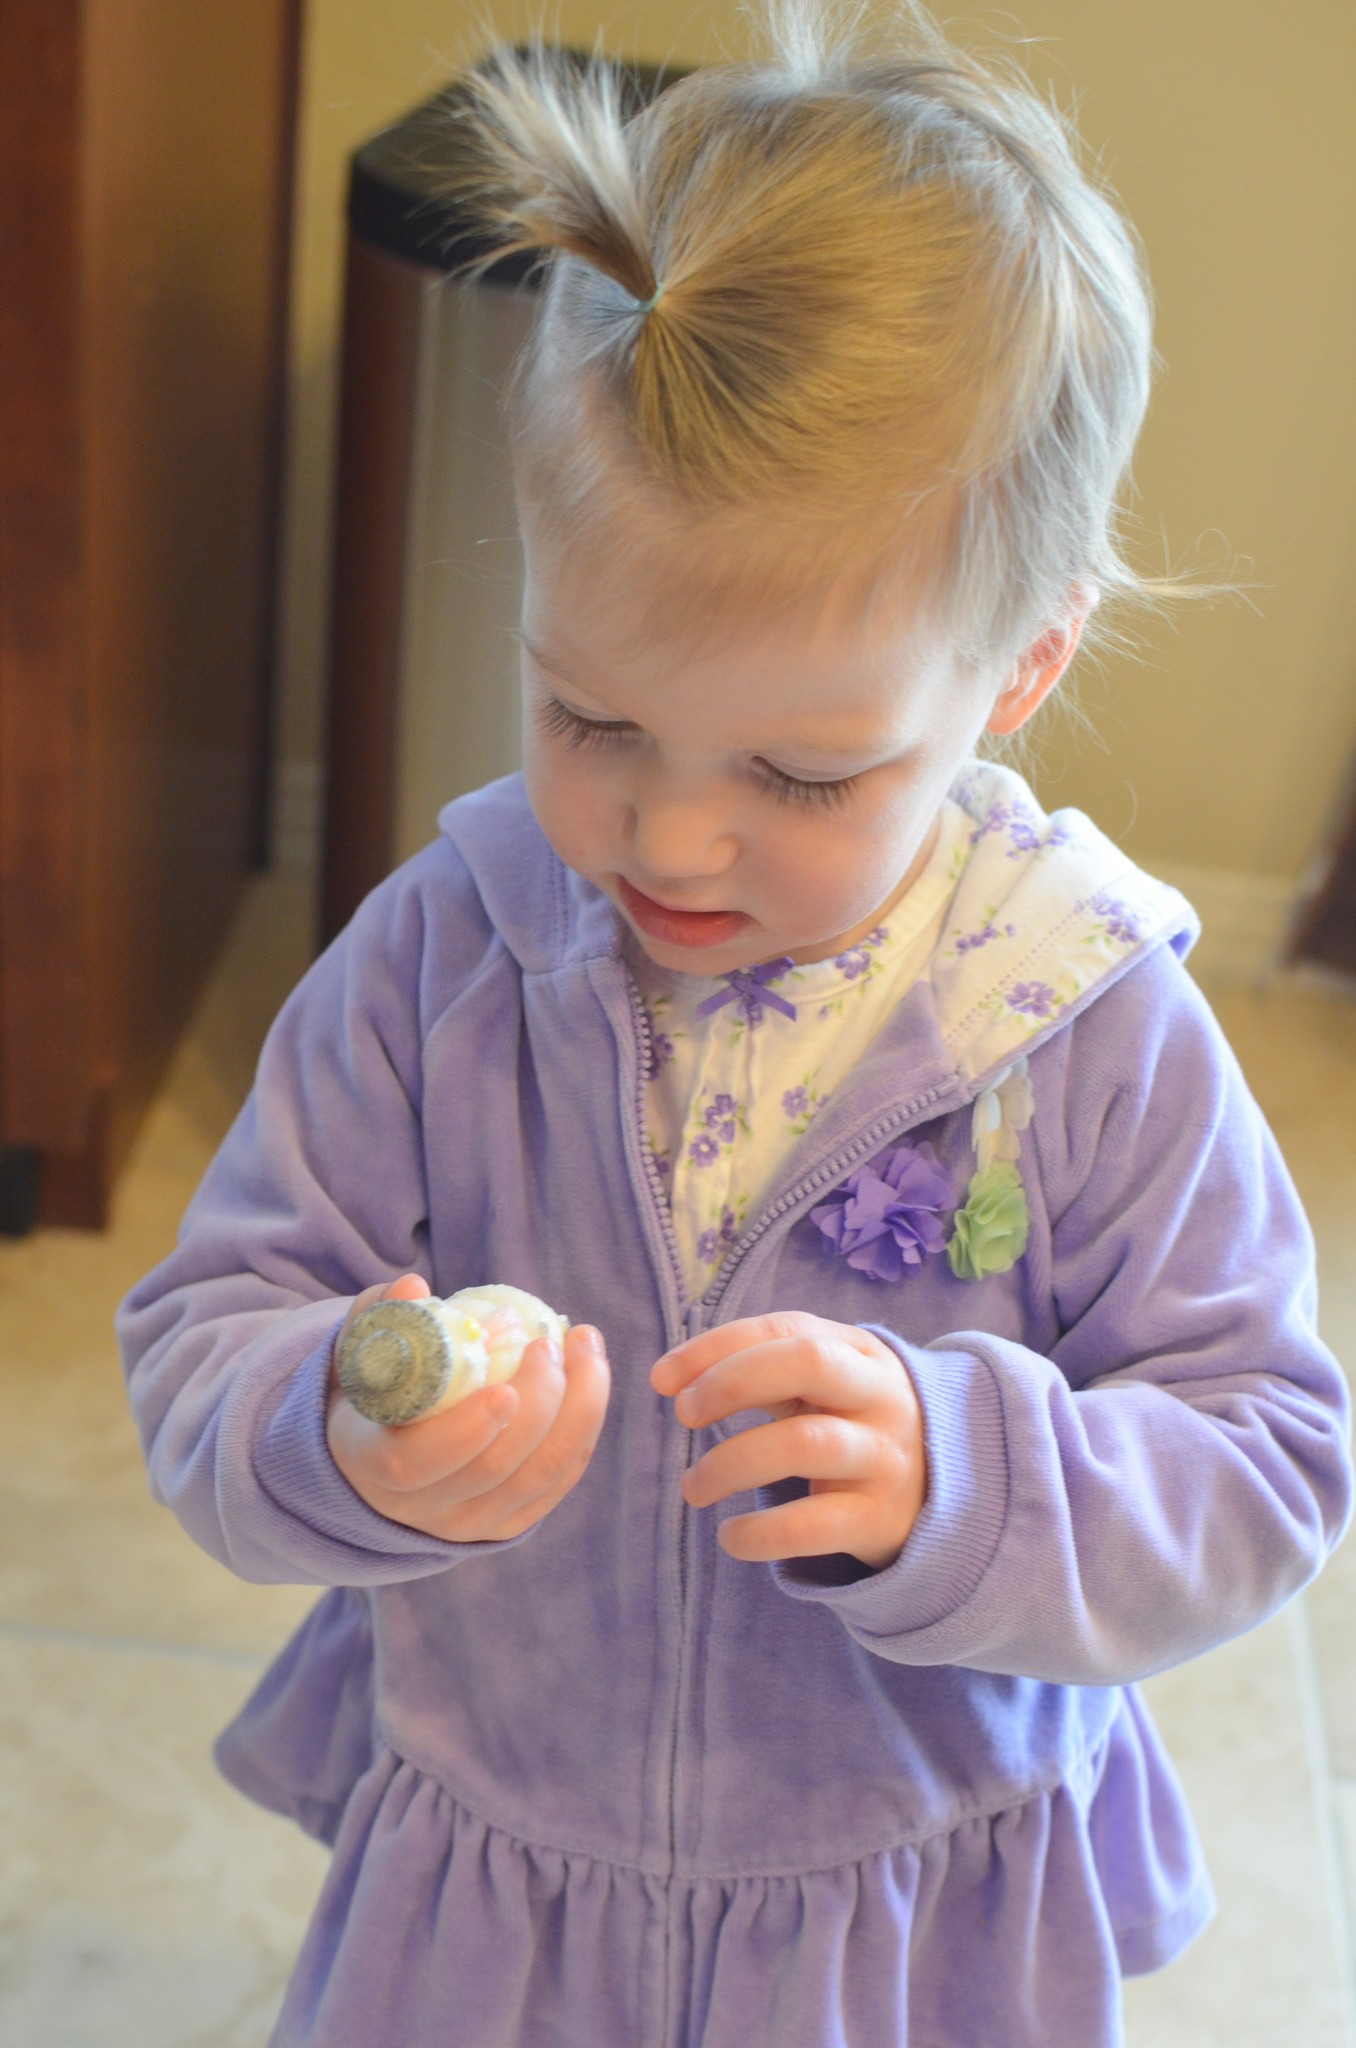
Tiny snowmen!Dropping the snowmen into water…Selah, admiring her “grown” snowman.Elliott and his “HUGE” snowman!
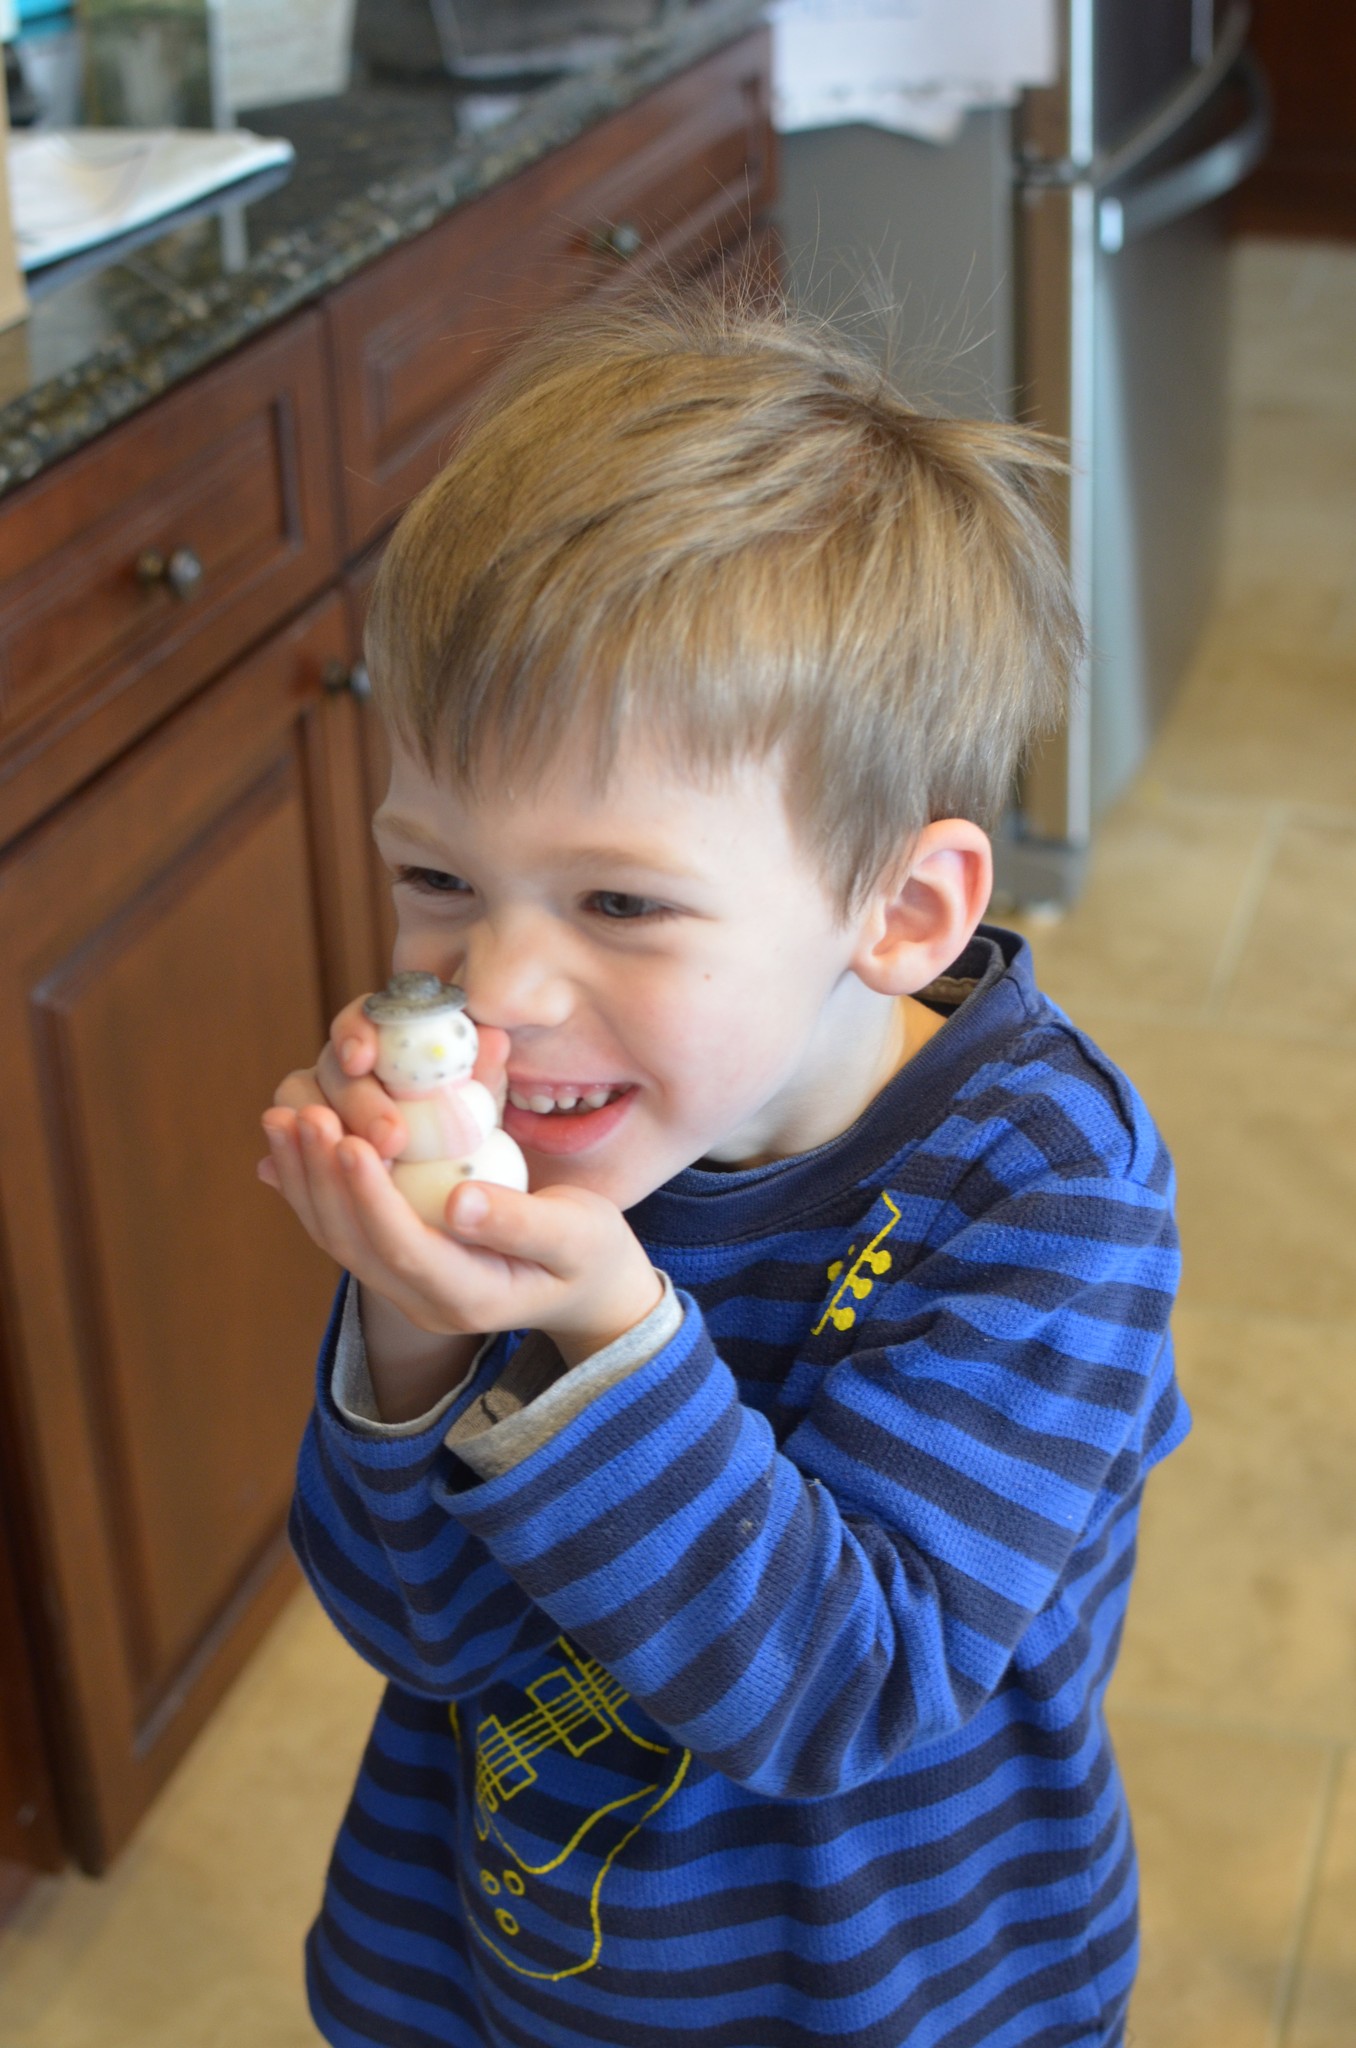
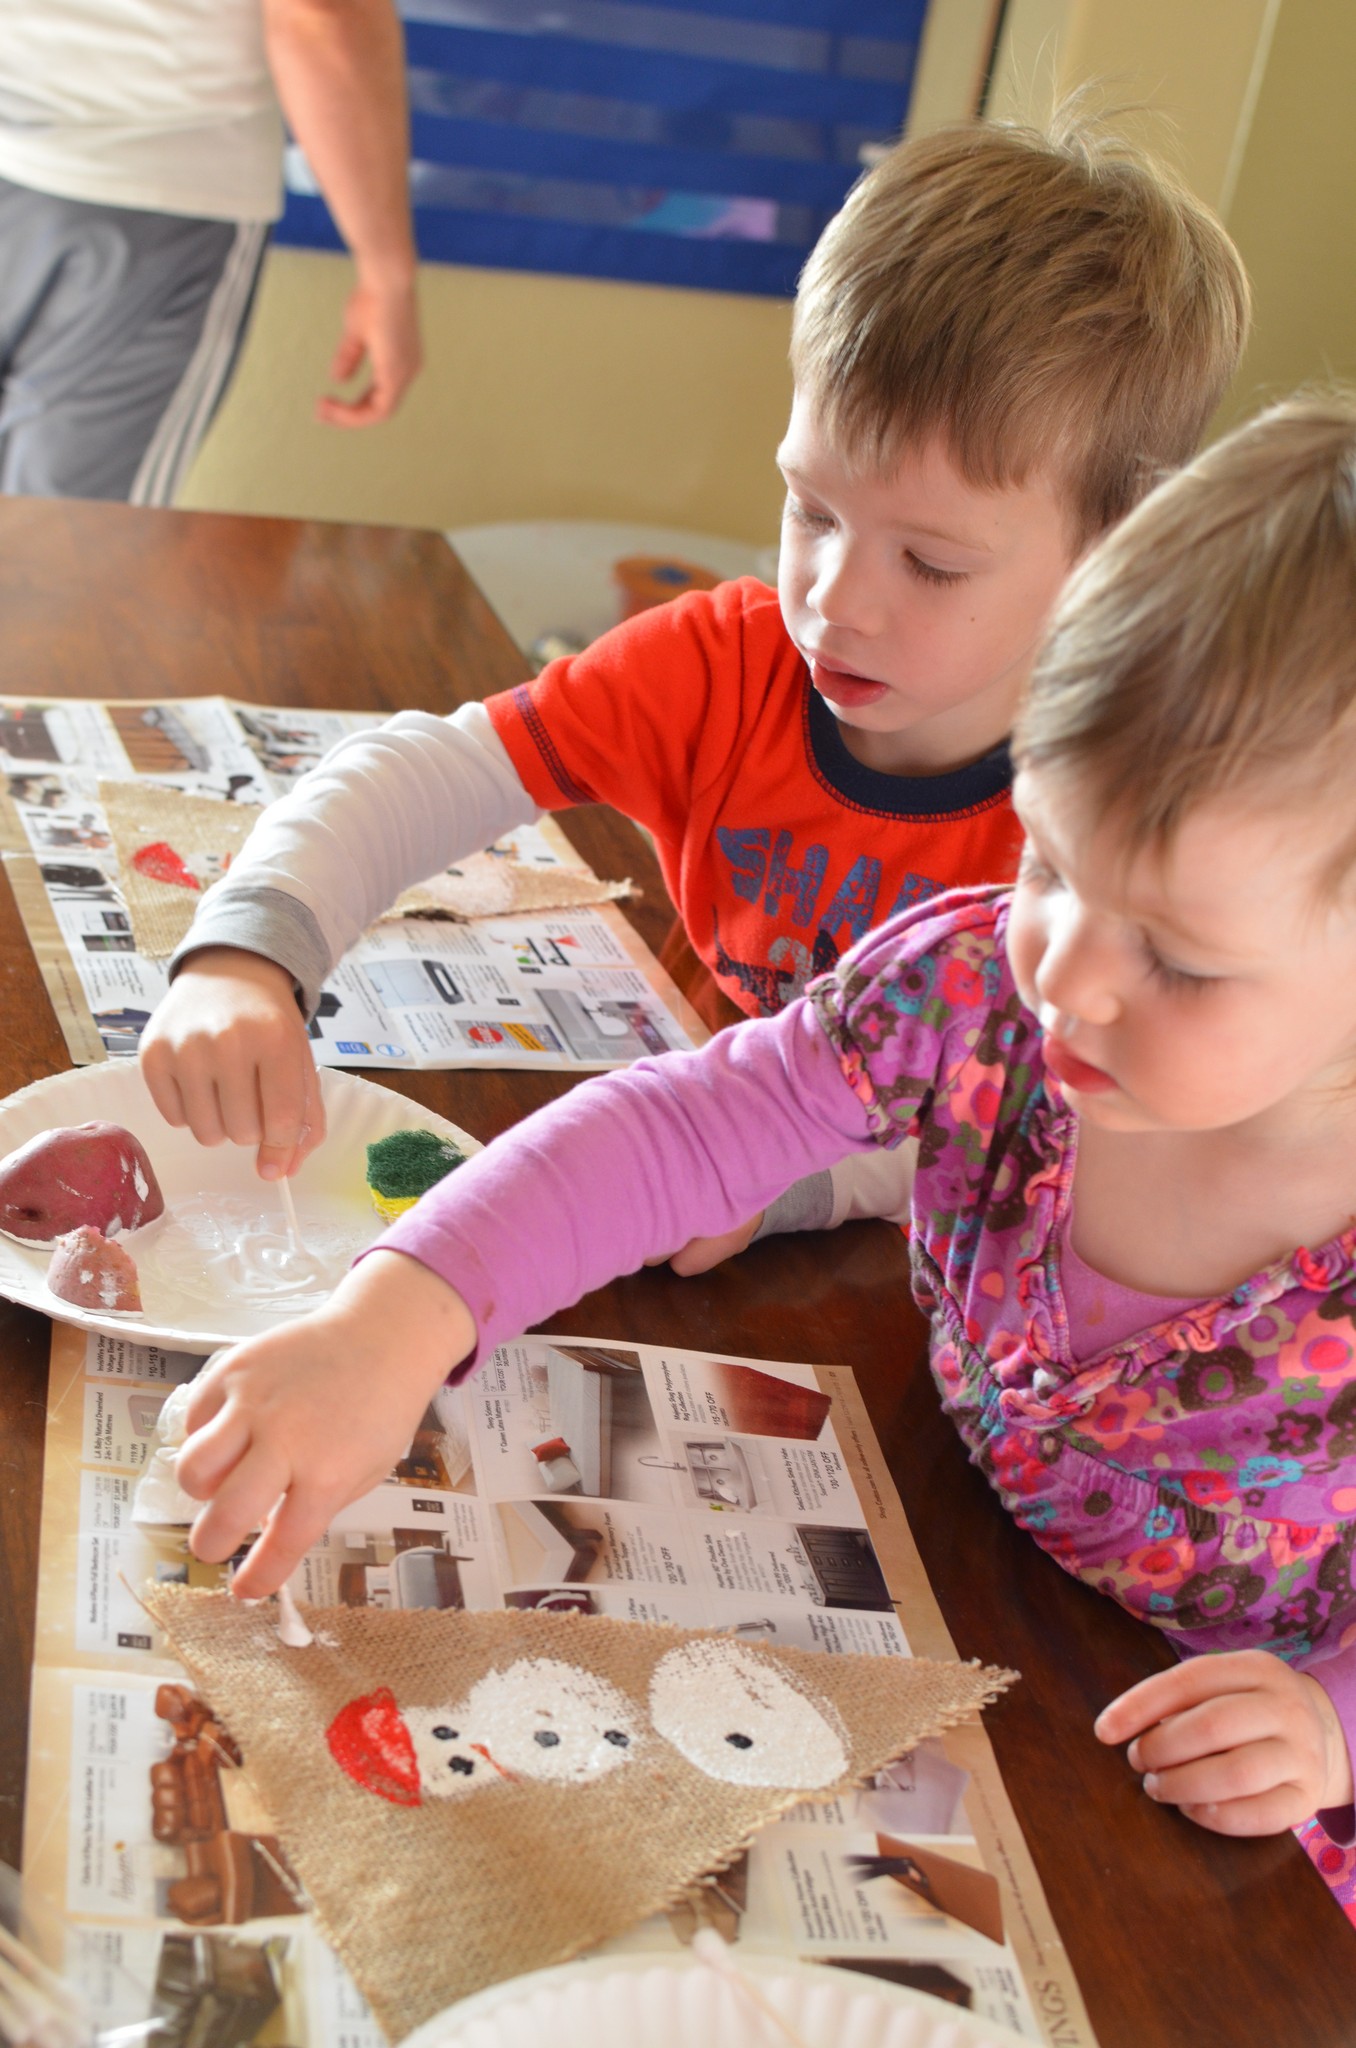
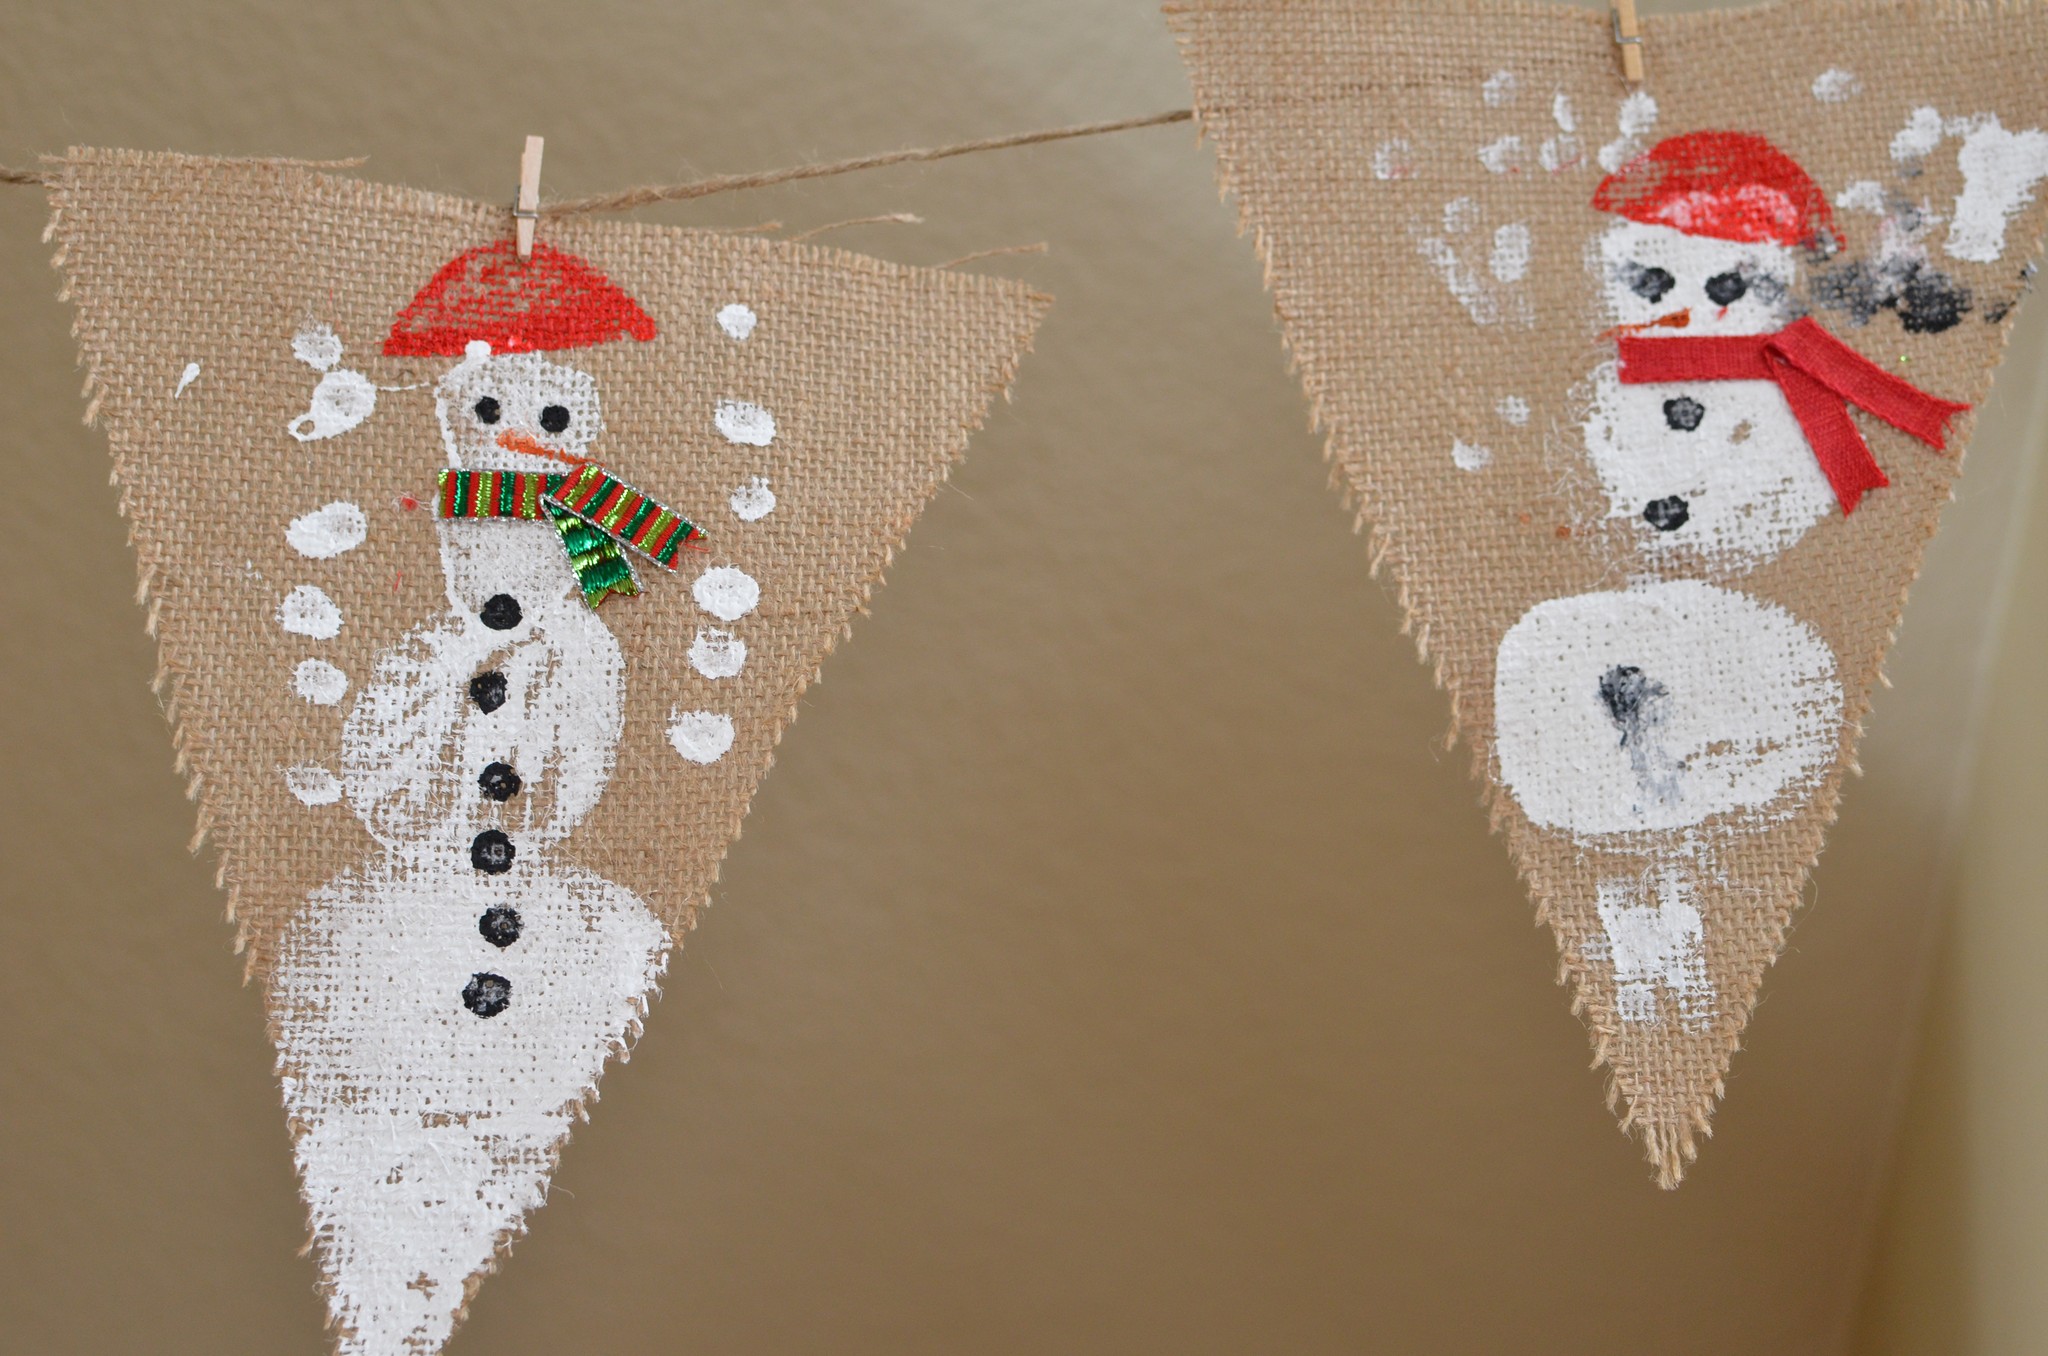
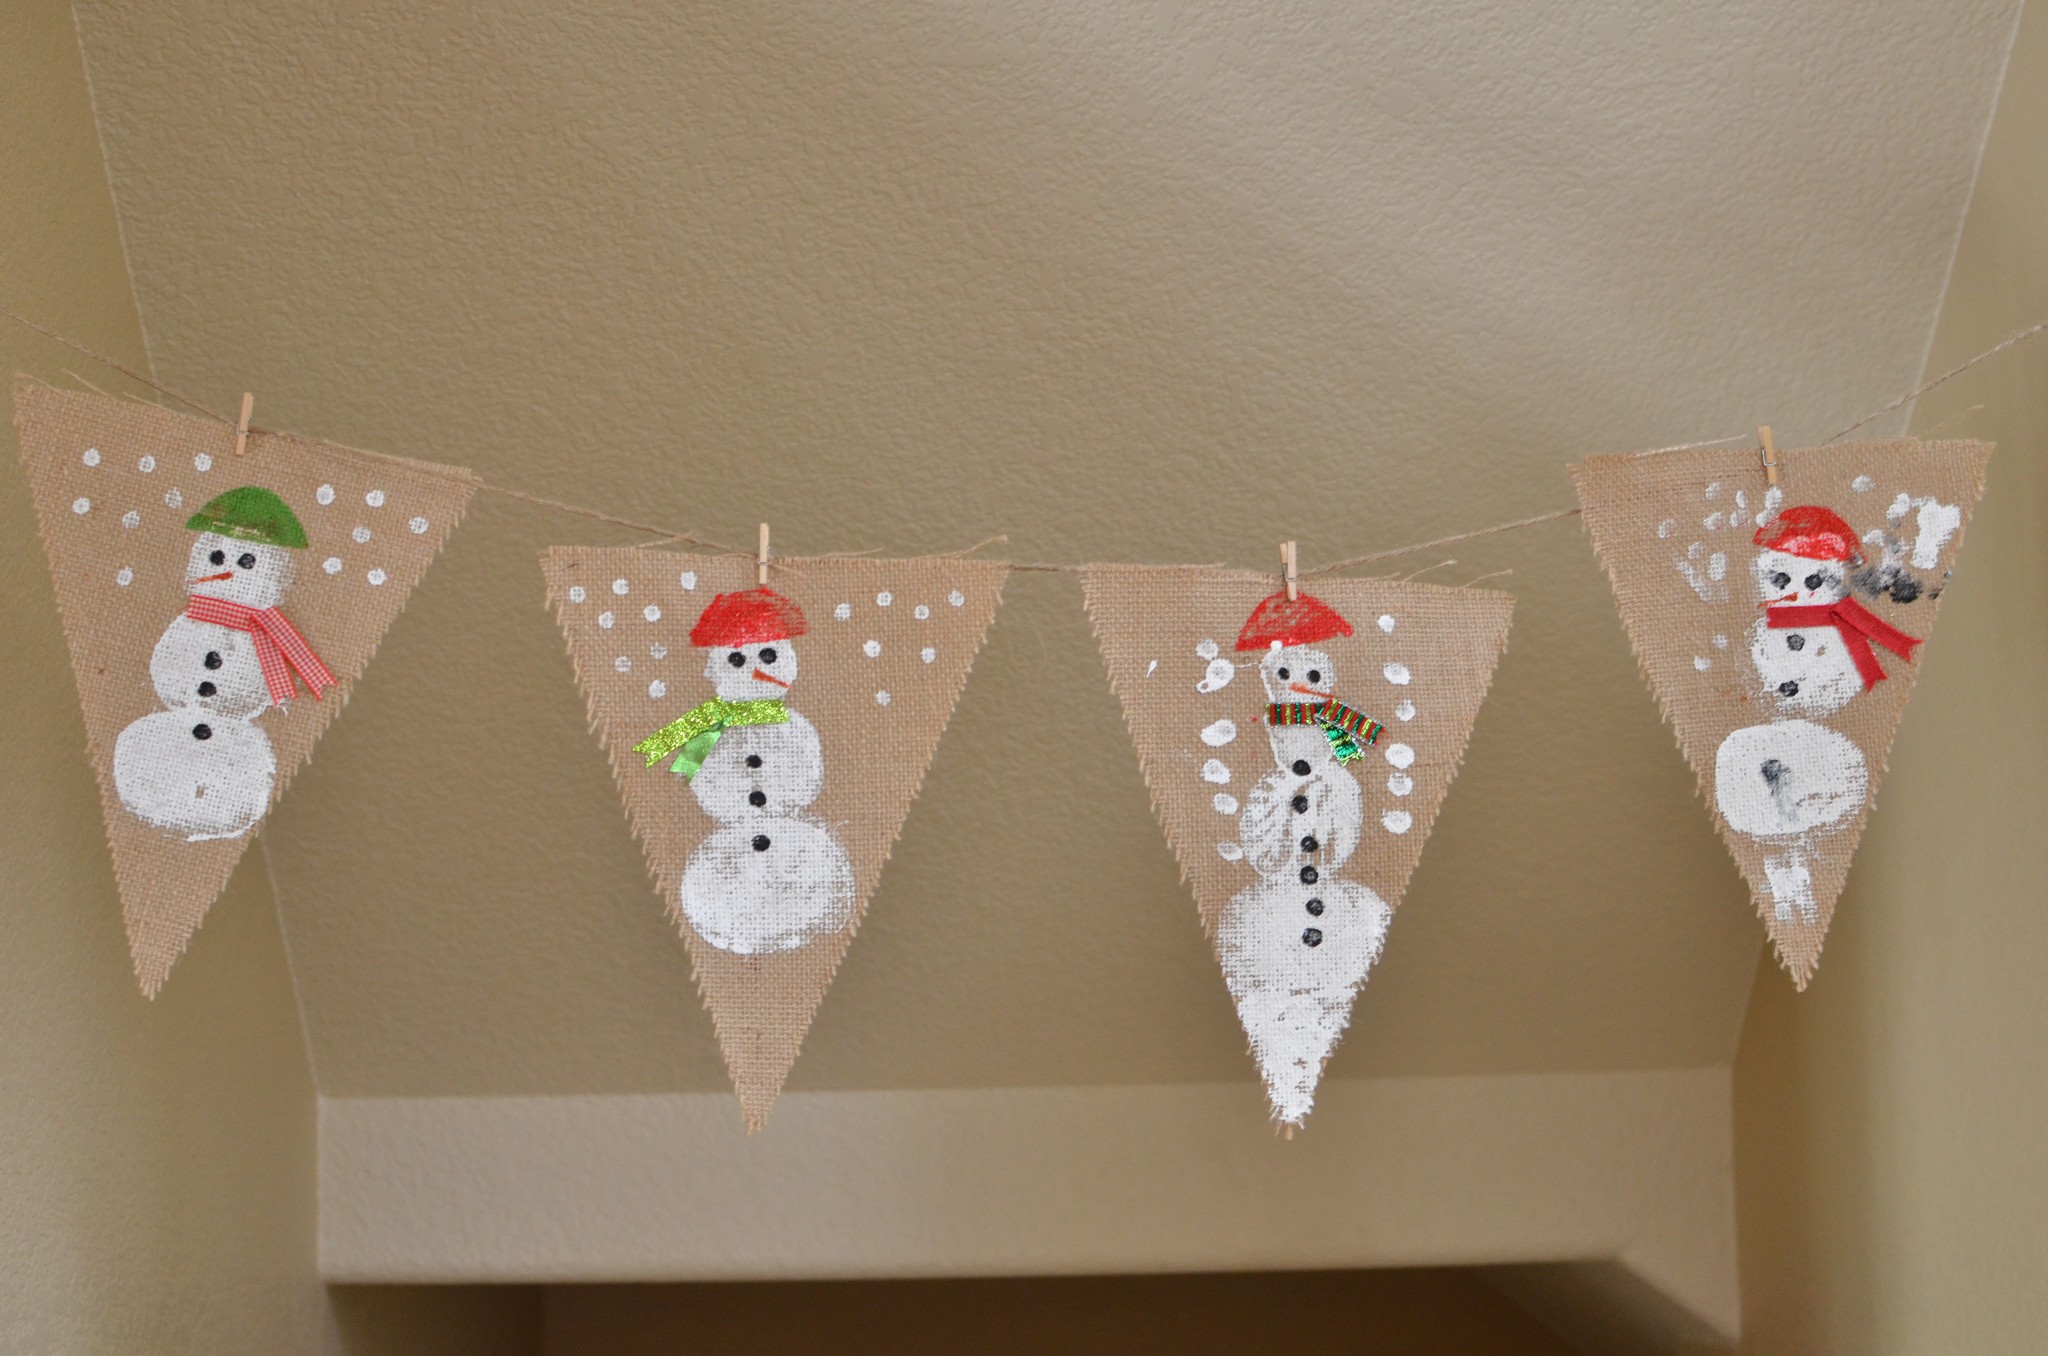
Elliott saw this craft in a magazine and asked if we could do it at some point during Advent. I think they are so adorable! I made a daddy and a mommy snowman, and each of the kids made one for themselves. Adorable!!
The kids dipped potato halves in white paint for the bodies, and then used q-tips to pain on the buttons, eyes, snowflakes falling, etc.Elliott’s is on the left, and Selah’s on the right.Our family, pictured in snowpeople. 🙂
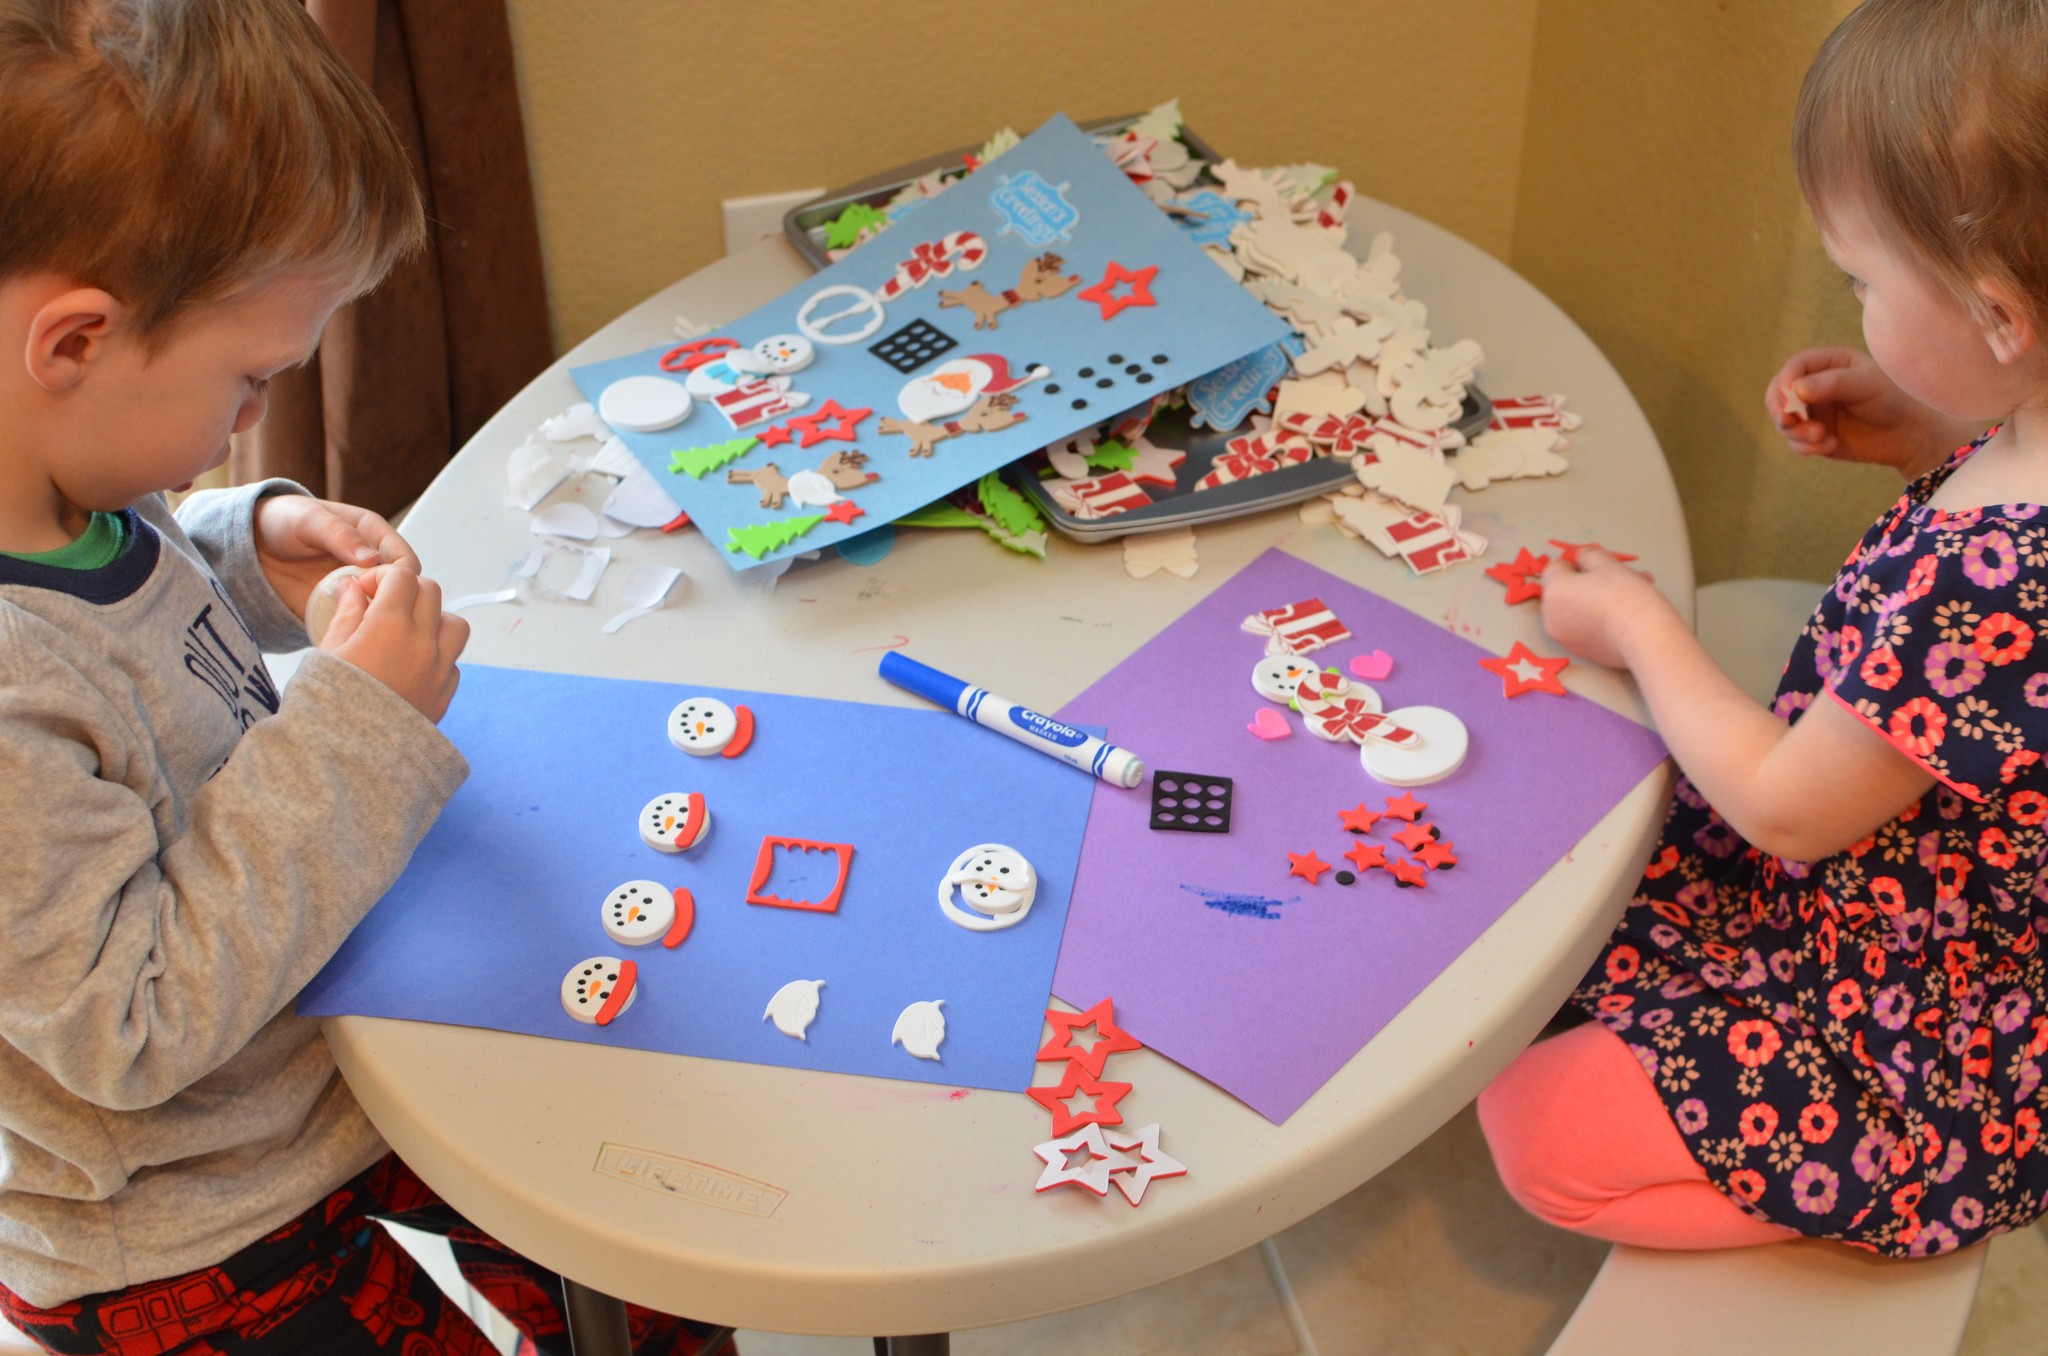
Day 21: Foam stickers & special coloring sheets
The special coloring sheets I got from Michael’s (you use water and q-tips) weren’t necessarily a huge hit but these foam stickers (that I got on clearance last year)?!! Oh. My. Word. The kids LOVED them and have spent HOURS playing with them.
The kids played with these stickers for WEEKS without losing interest…
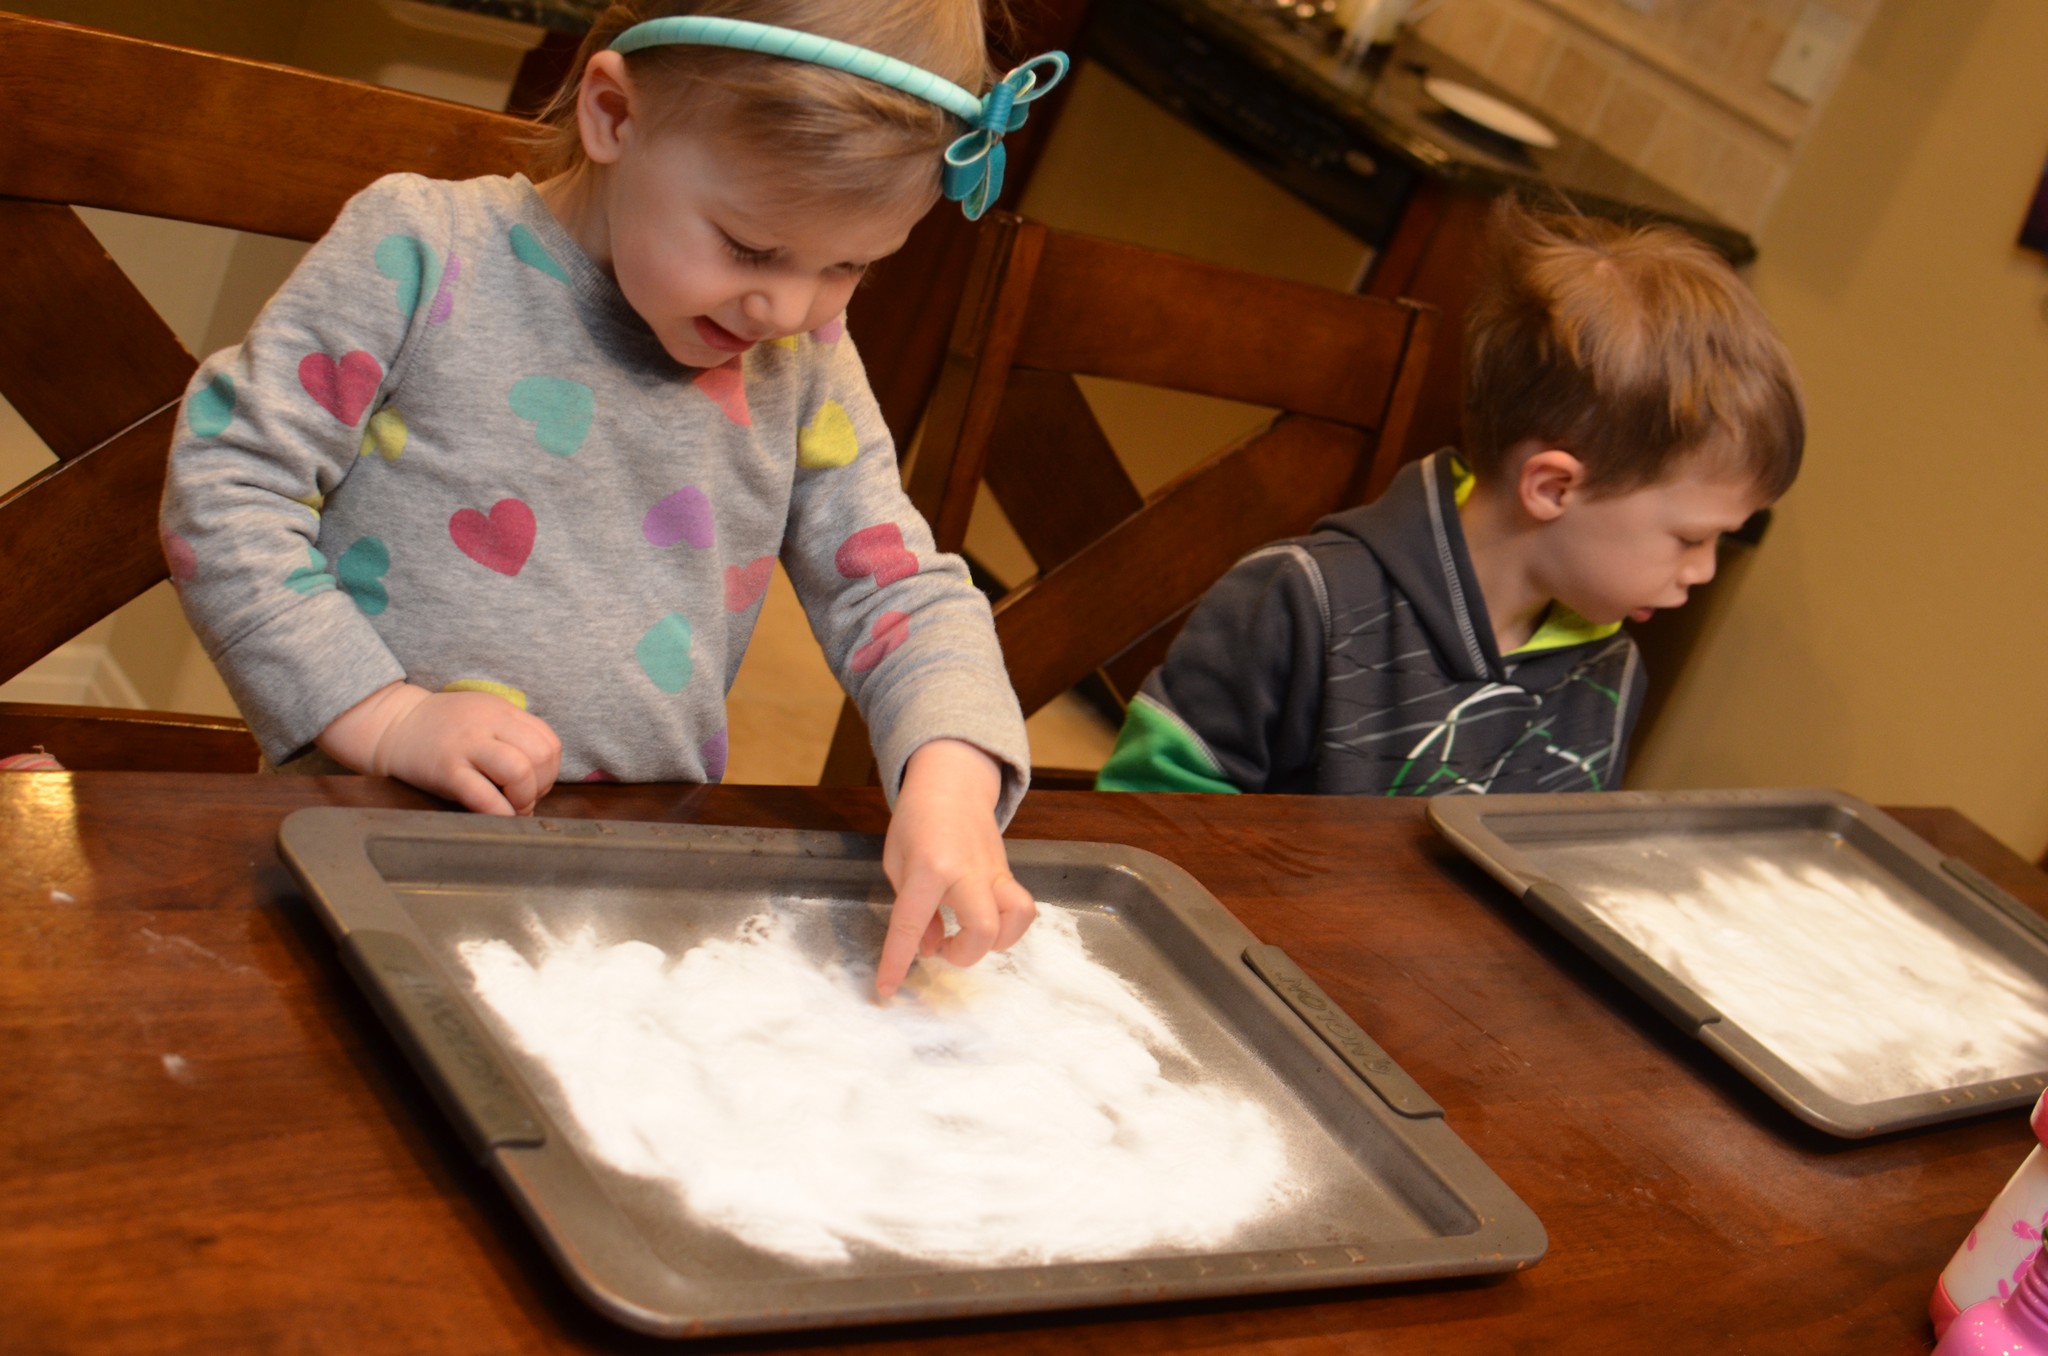
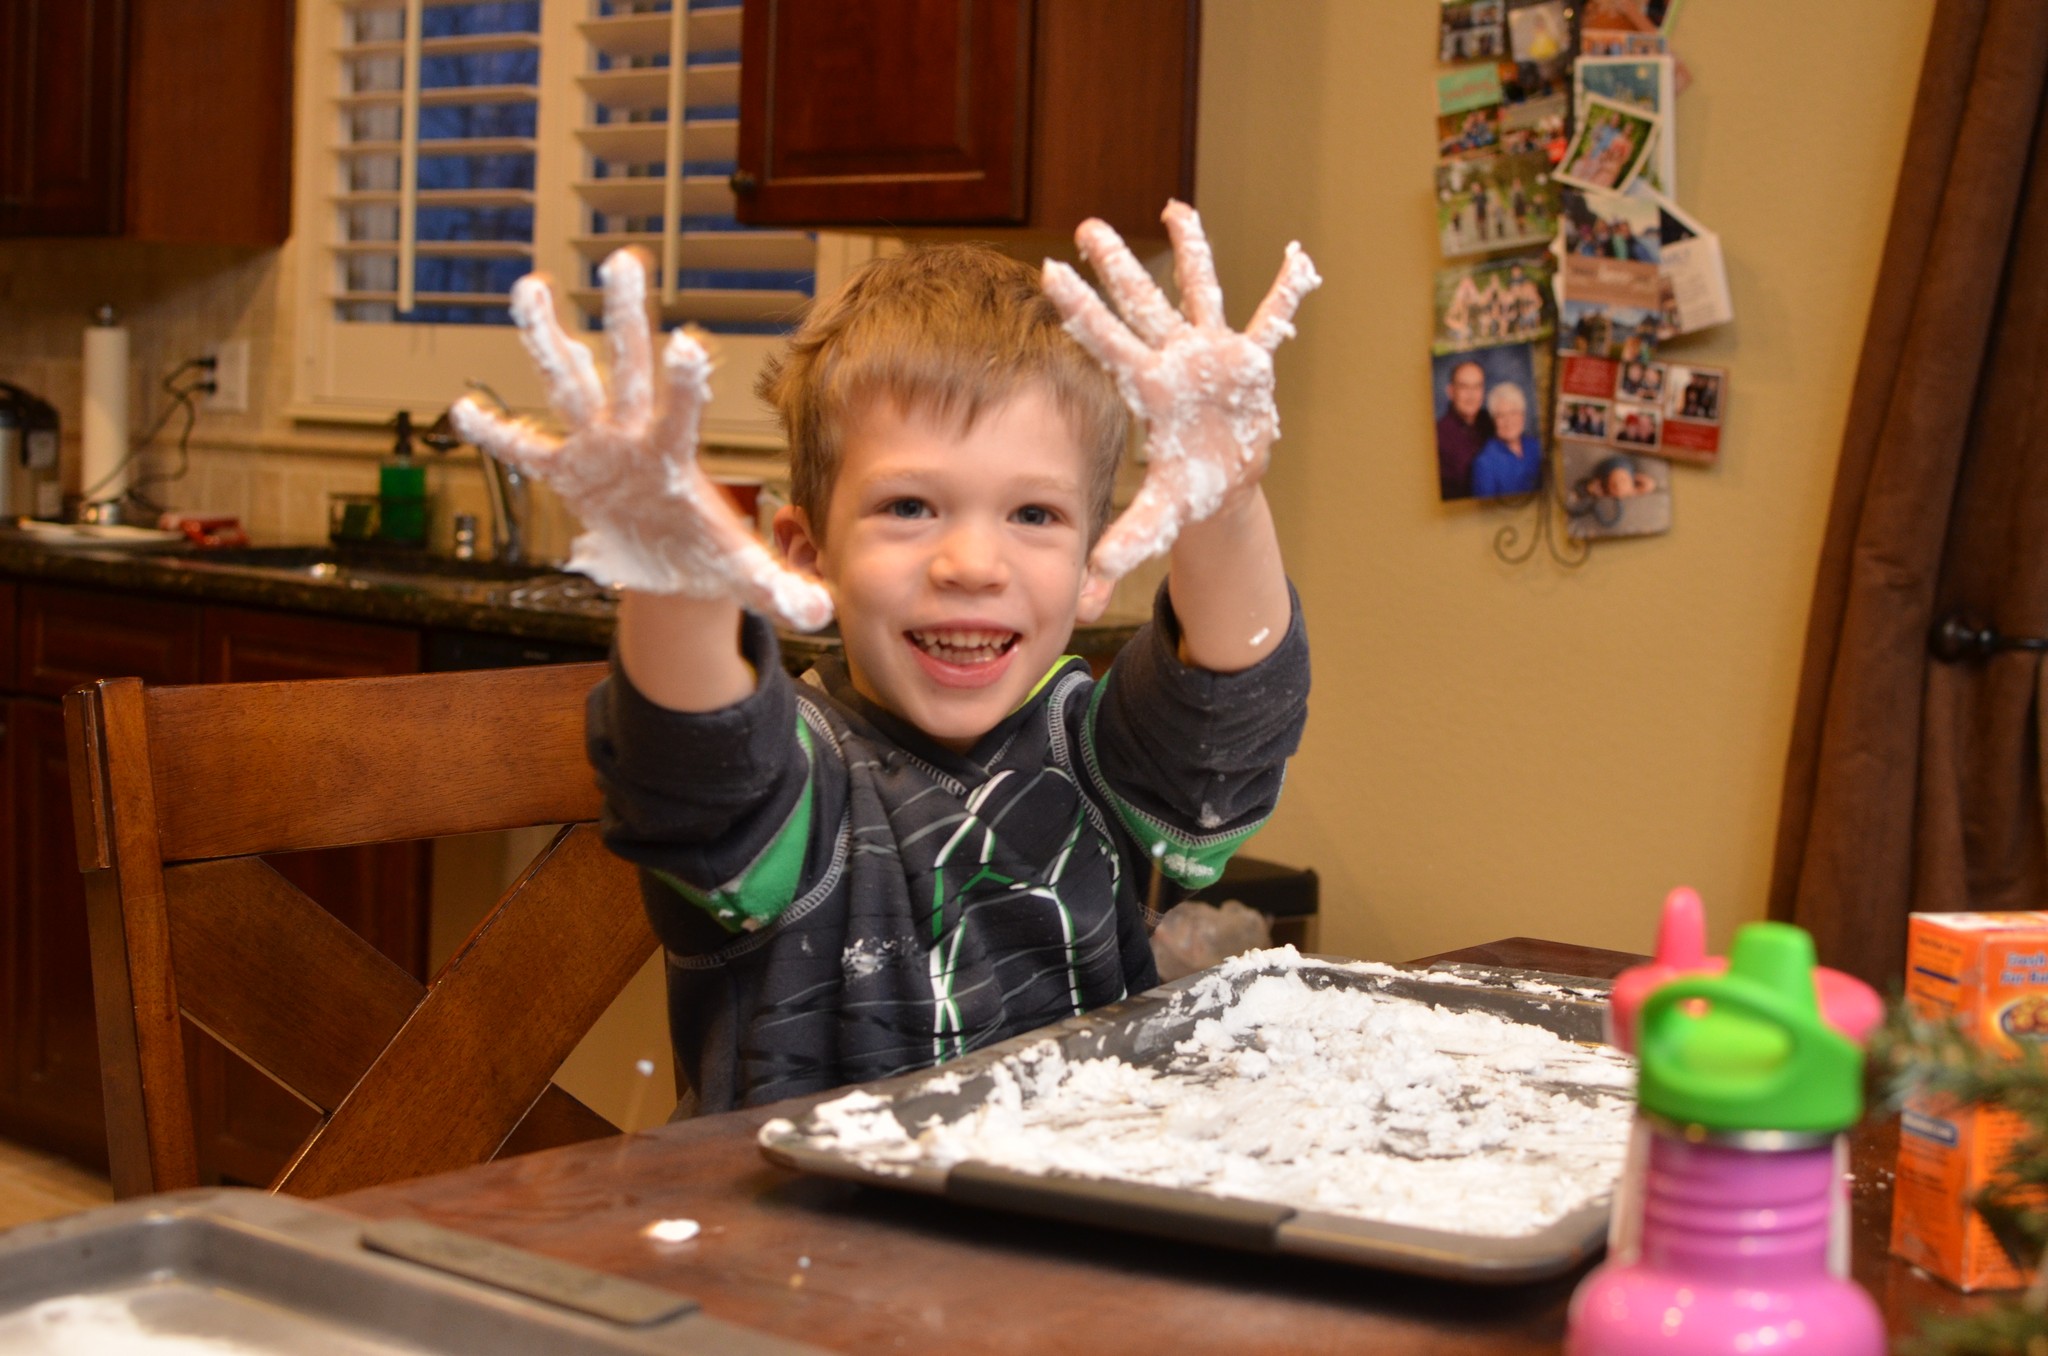
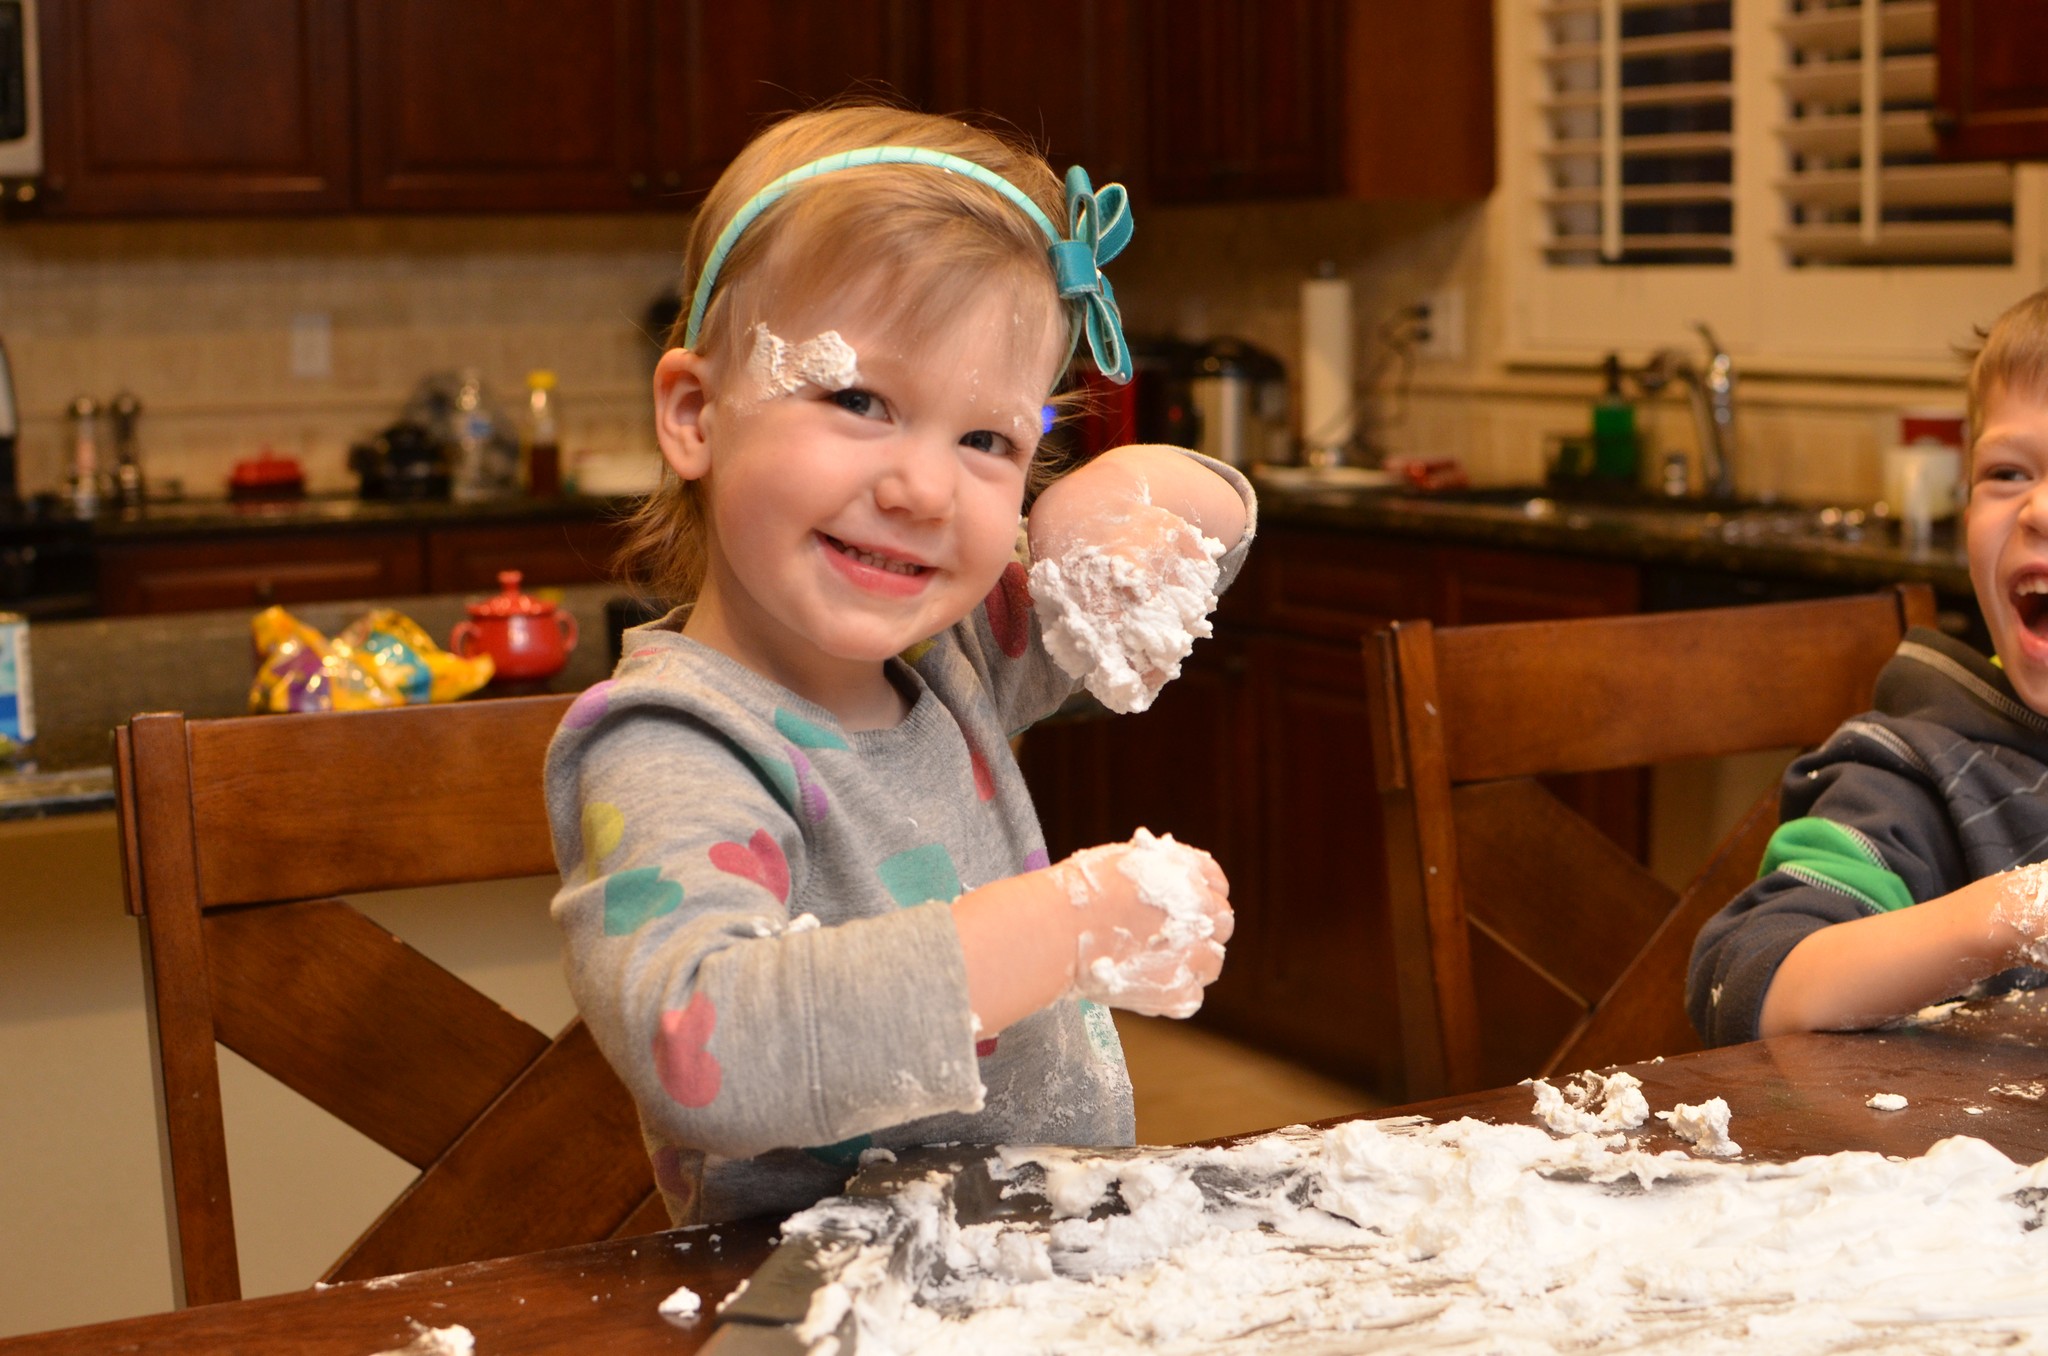
Day 22: Since there’s not enough snow to play with, let’s make our own!
An oldie but a goodie. We did this last year when Selah was still such an itty bitty, and she was much more adventurous this year :).
Checking out the baking soda before the shaving cream was added……and then diving right in and playing hard!Like, REALLY hard…haha! 🙂
Day 23: Open a gift and, working together, try to find THE NATIVITY!!
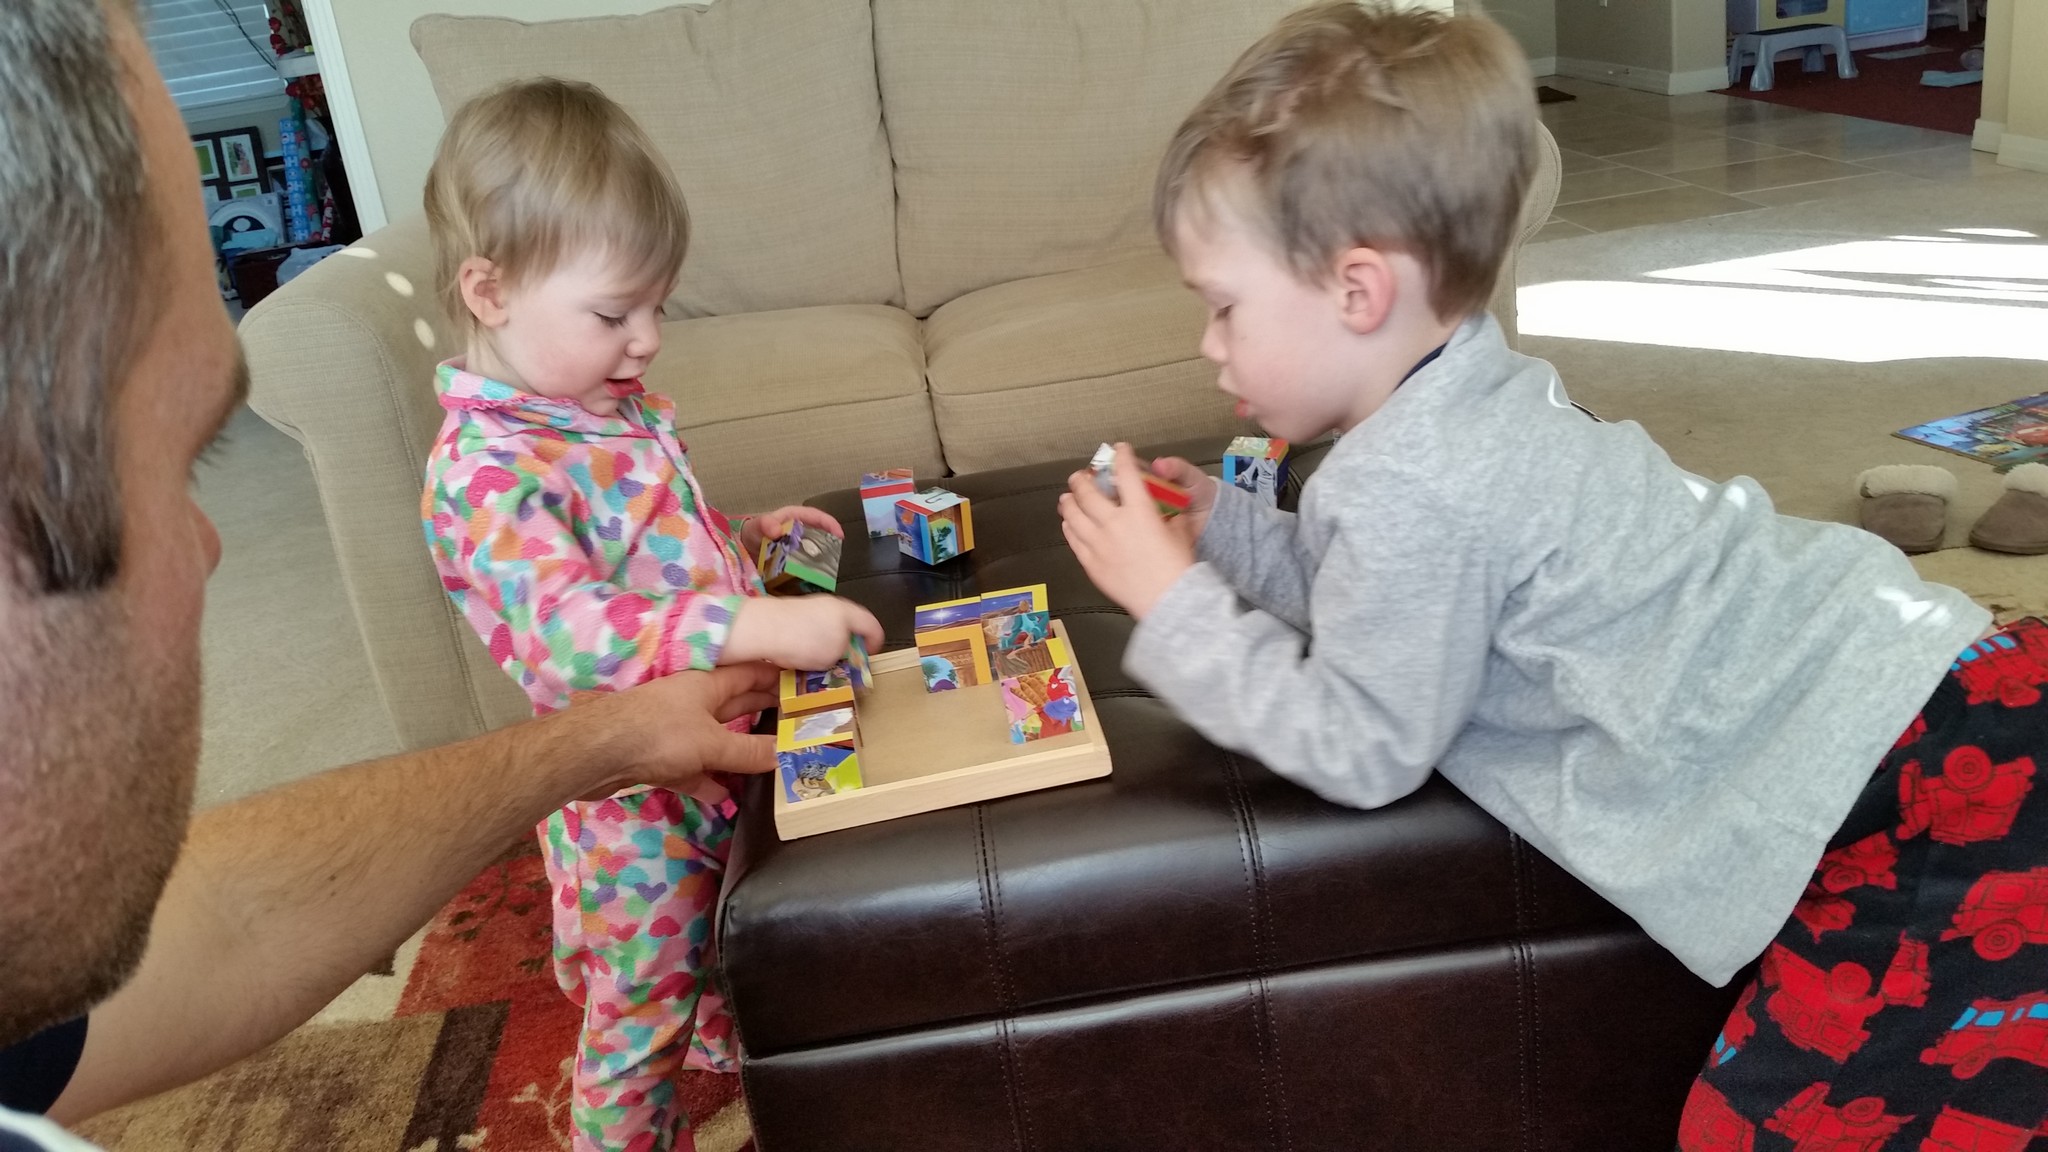
Our kids LOVE puzzles. It’s hard to find a challenging one for their ages, but this one did the trick!
It’s a “cube puzzle” with several scenes from the bible, including the Nativity scene.
Day 24: Bake a cake for Jesus
Yup. Second year in a row, and this didn’t happen AGAIN. Honestly, as much as I hate to admit this, Brian and I just can’t handle the sugar we used to, and we had had SOO MUCH already. The thought of baking an entire cake made us both want to puke. So, instead, we let the kids open one present in the morning, we played all day, and then we got dressed up and went to church! What greater joy is there, than worshiping the One who came to set us free!!!!!!!
On our way to church!
Day 25: It’s Christmas Day!! Celebrate the birth of Jesus and open presents!!
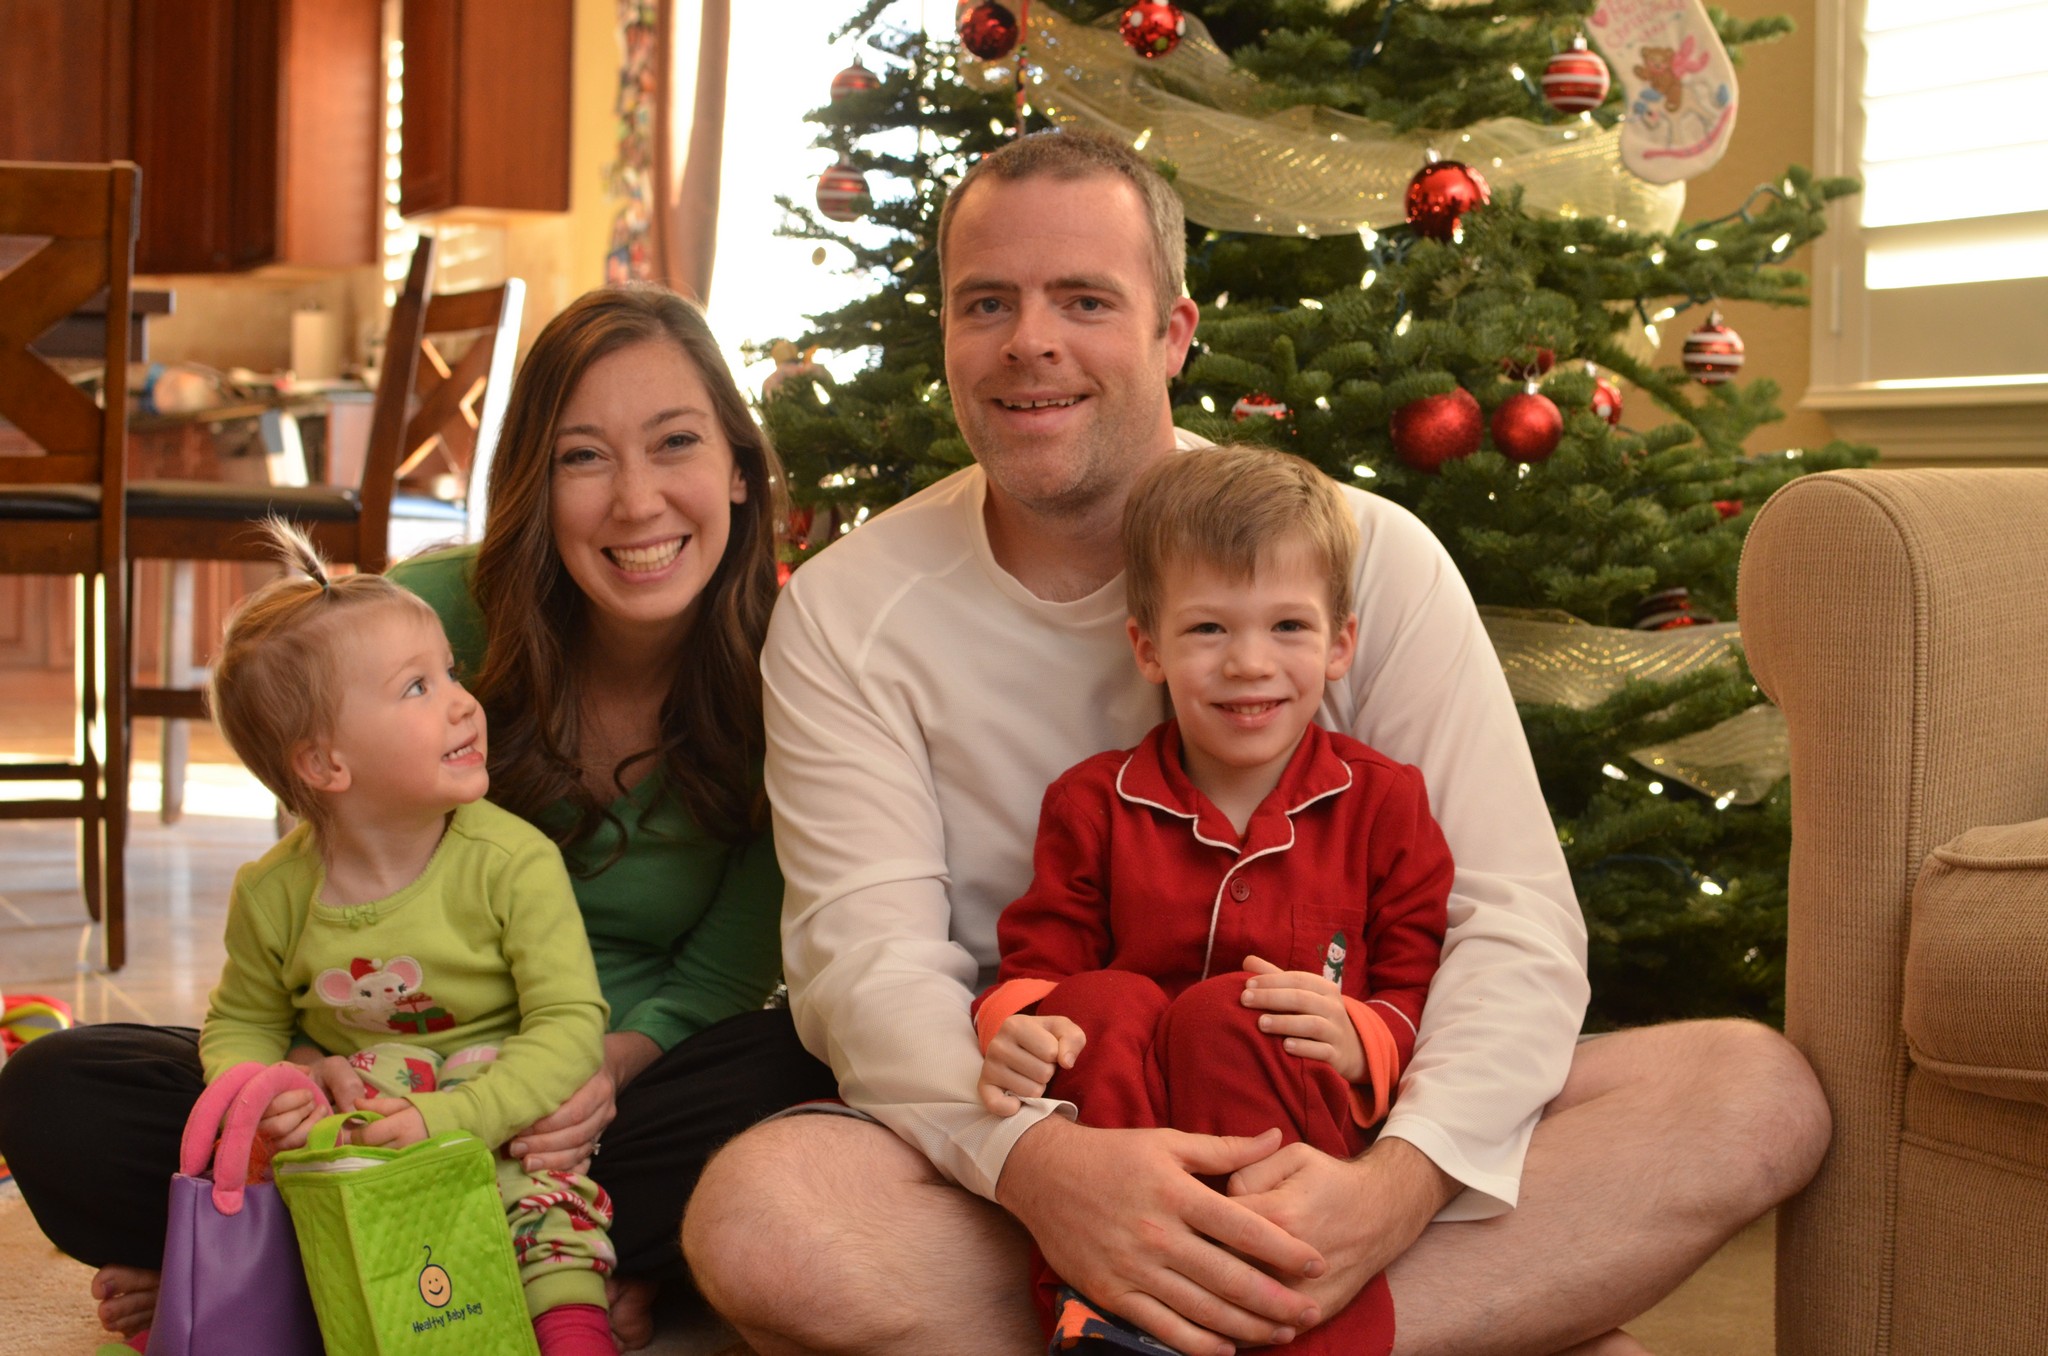
We had such a fun day! Here we are in our pajamas.
Merry Christmas 🙂
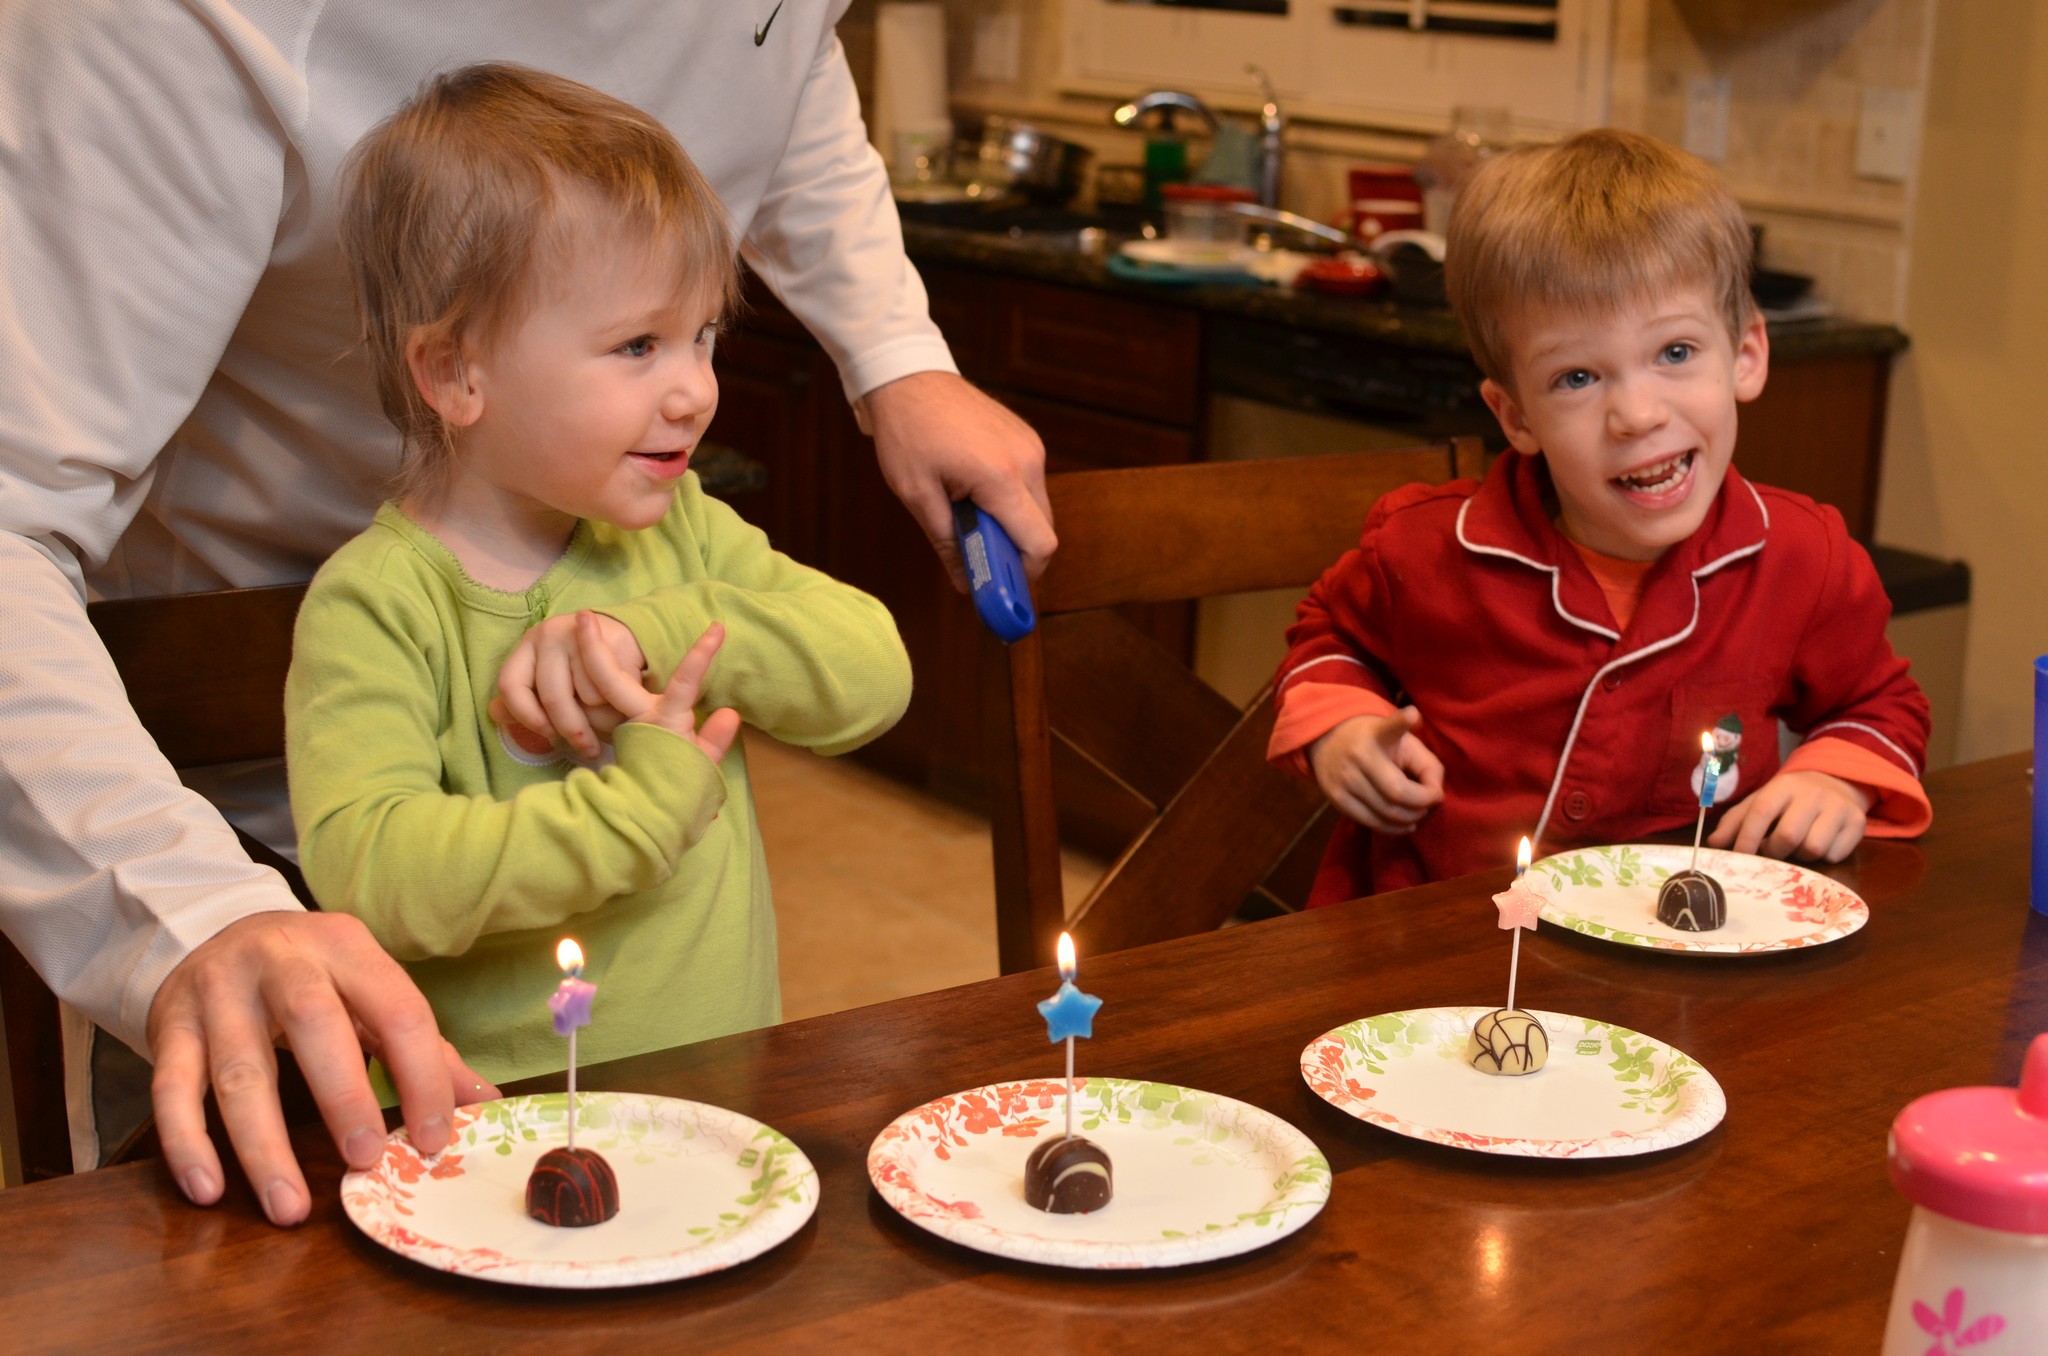
Thankfully, my dear friend Jill and her family sent us this AWESOME box of treats (pears, apples, popcorn, cookies, and…CHOCOLATES!!!) and I realized the chocolates were PERFECT for sticking a little candle in! (Thank you, Jilly-Bean!!!) So, we each stuck a candle in a chocolate, sang Happy Birthday to Jesus, and enjoyed a not-too-sugary treat in His name. Amen :).
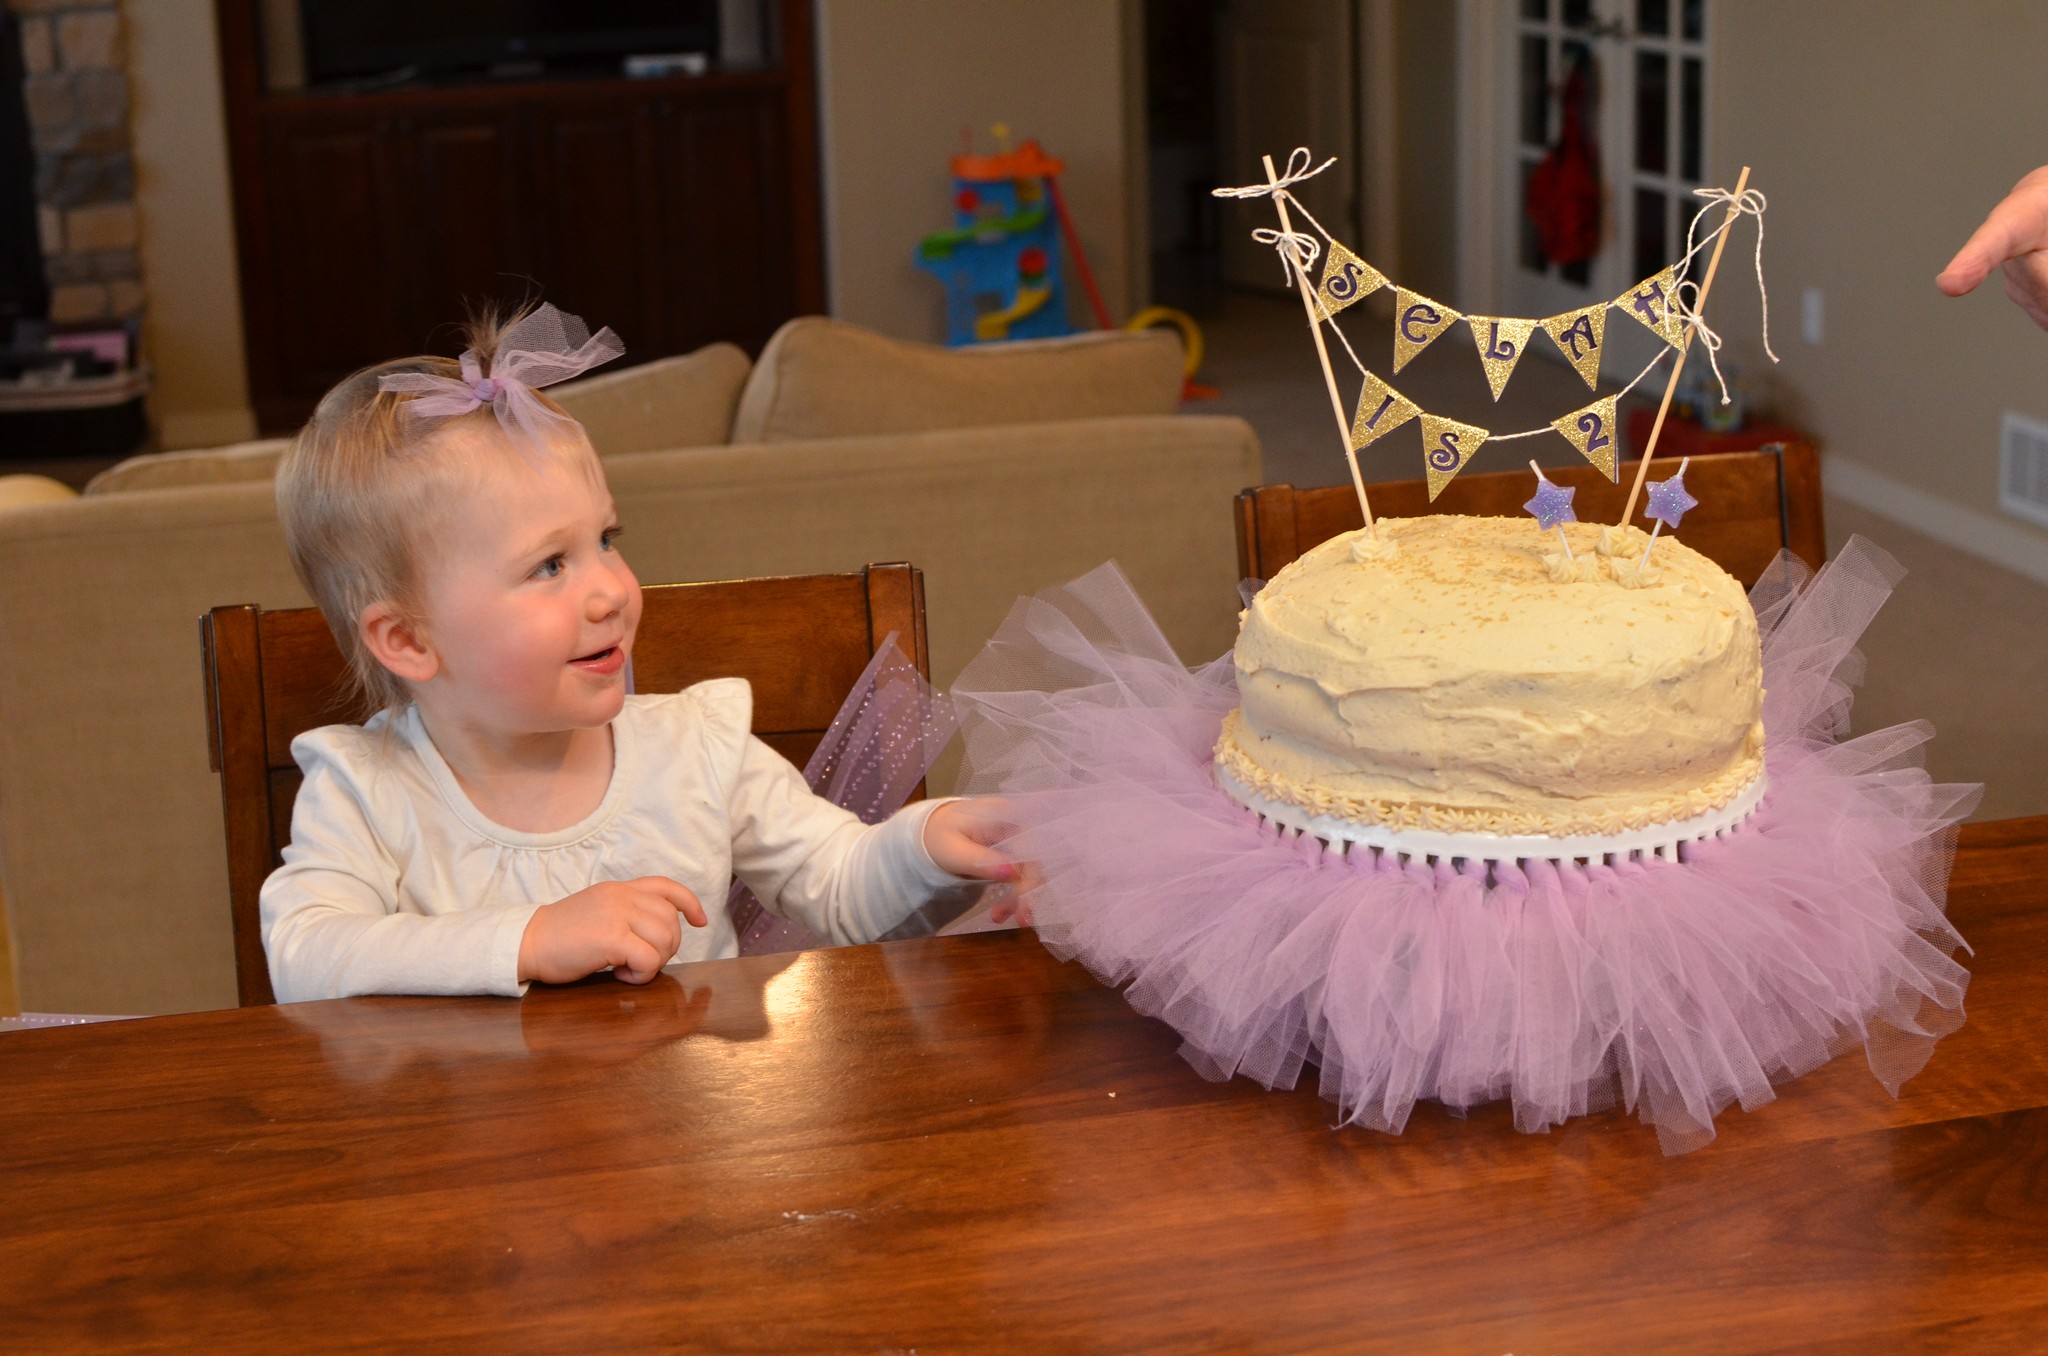
Get it? Like tutu…but TWOTWO…? Haha…okay, moving on :).
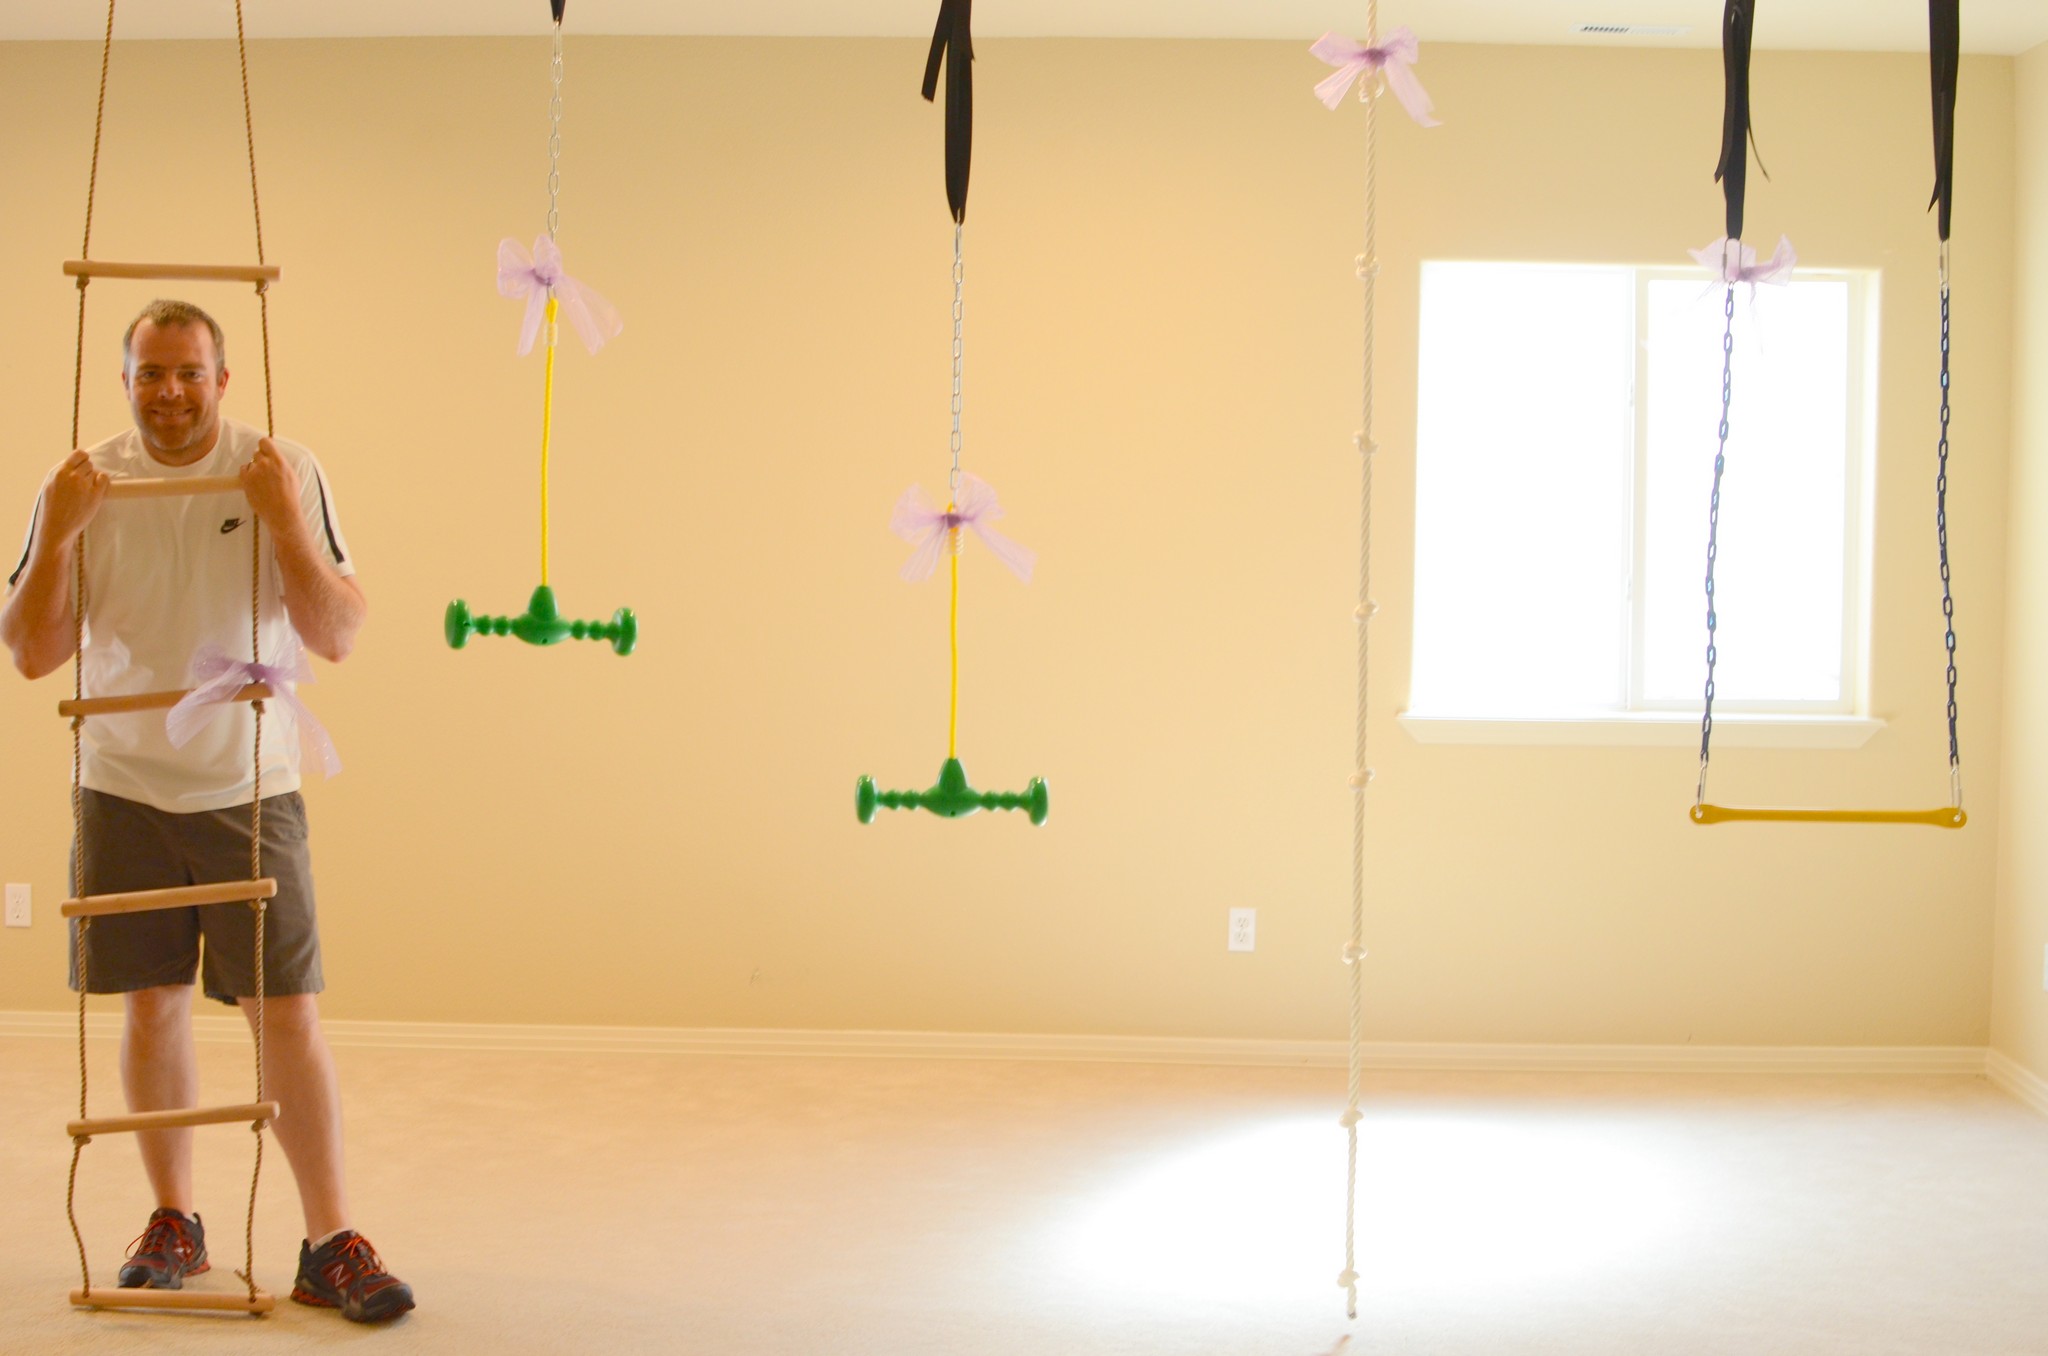
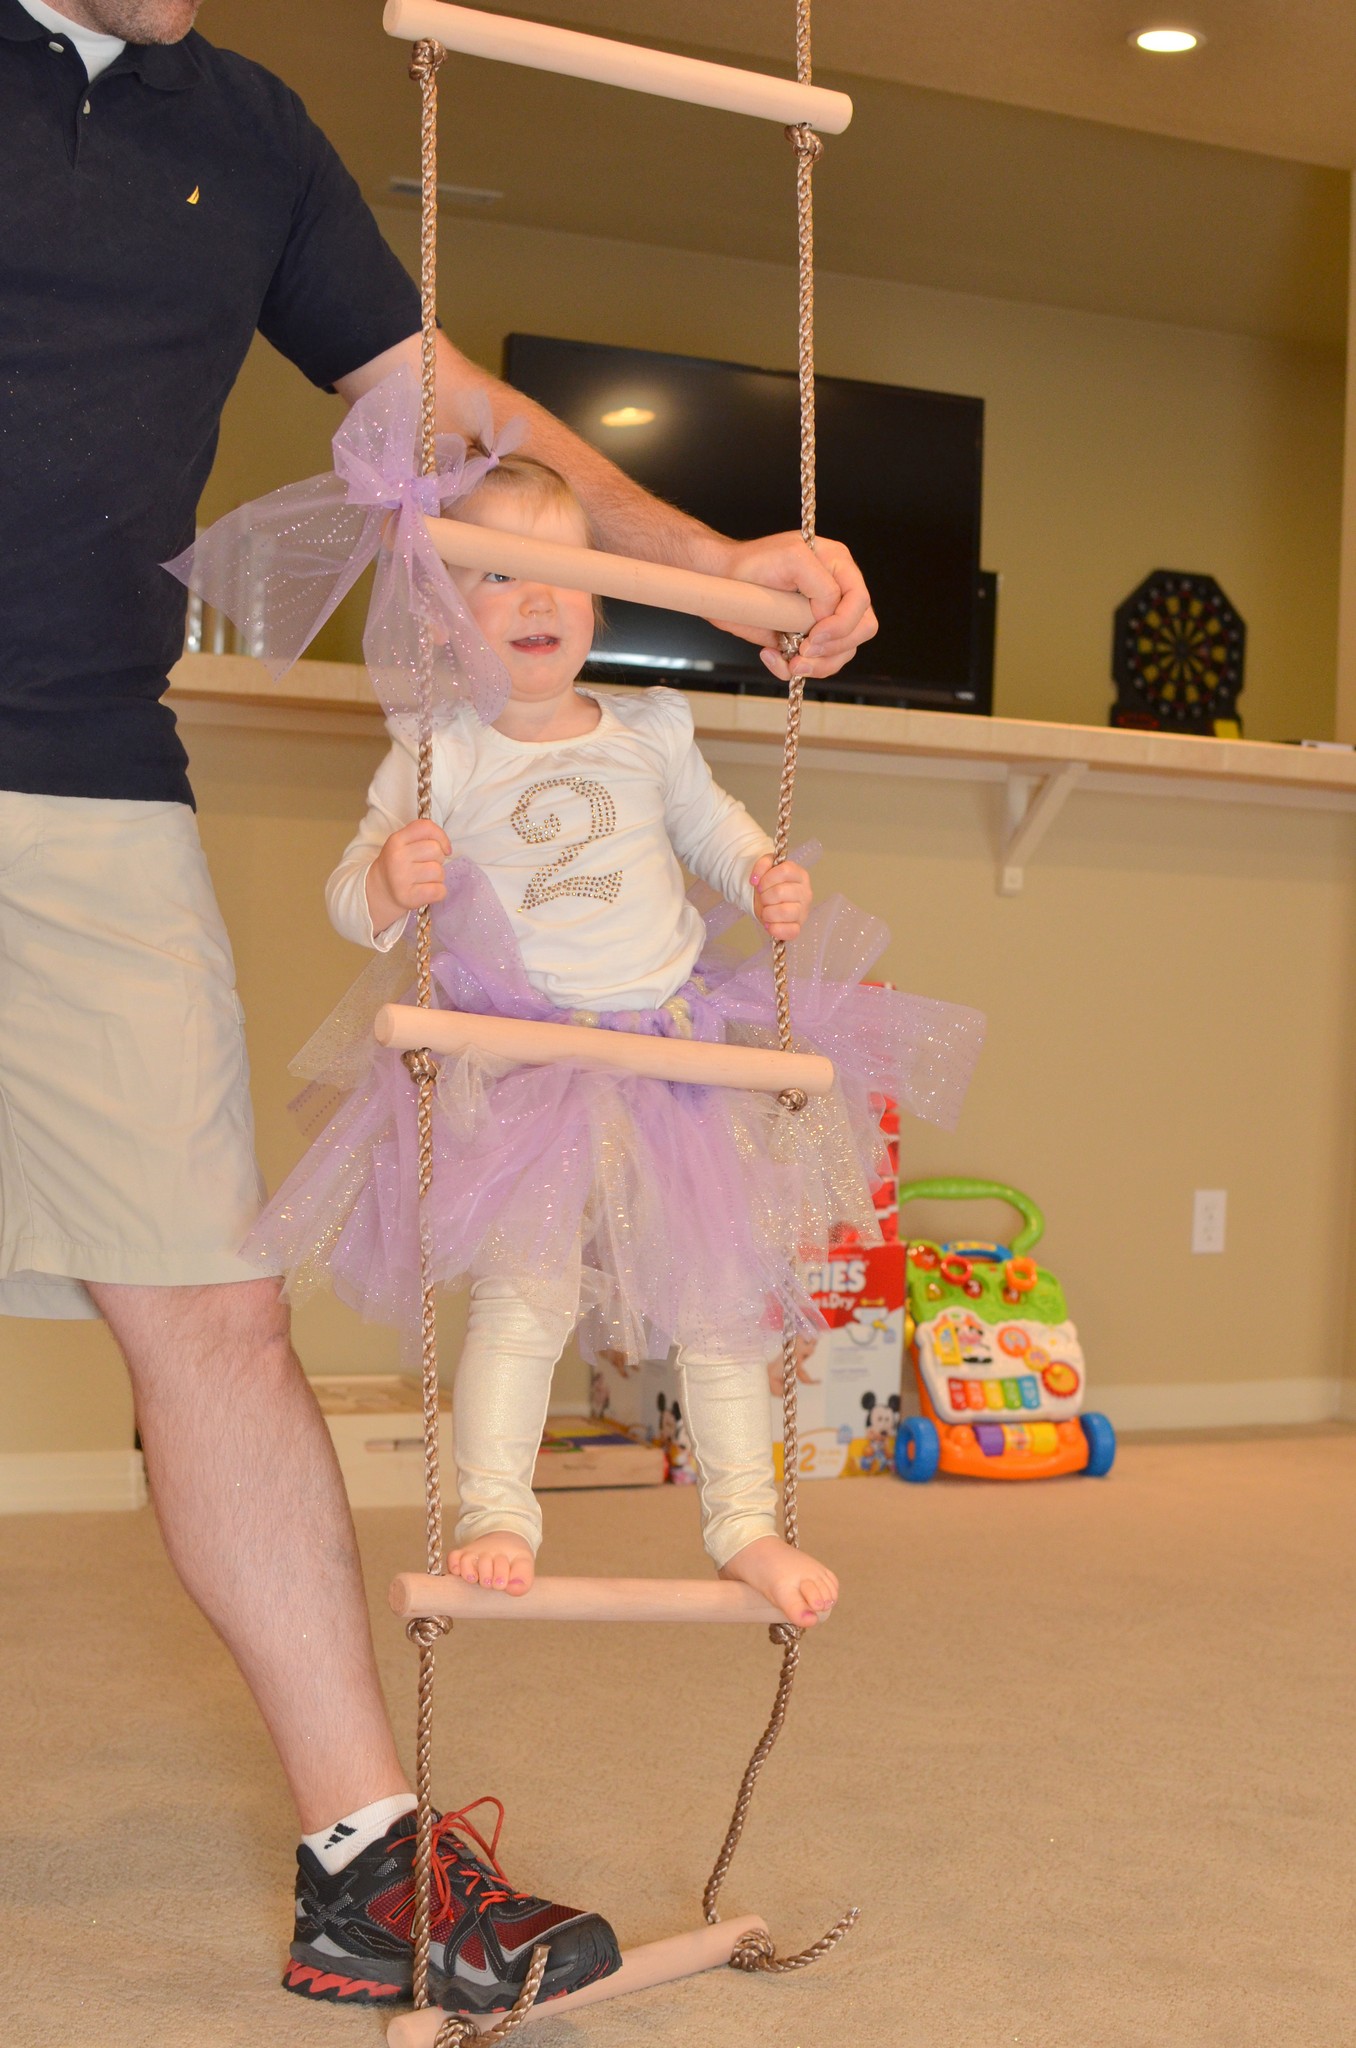
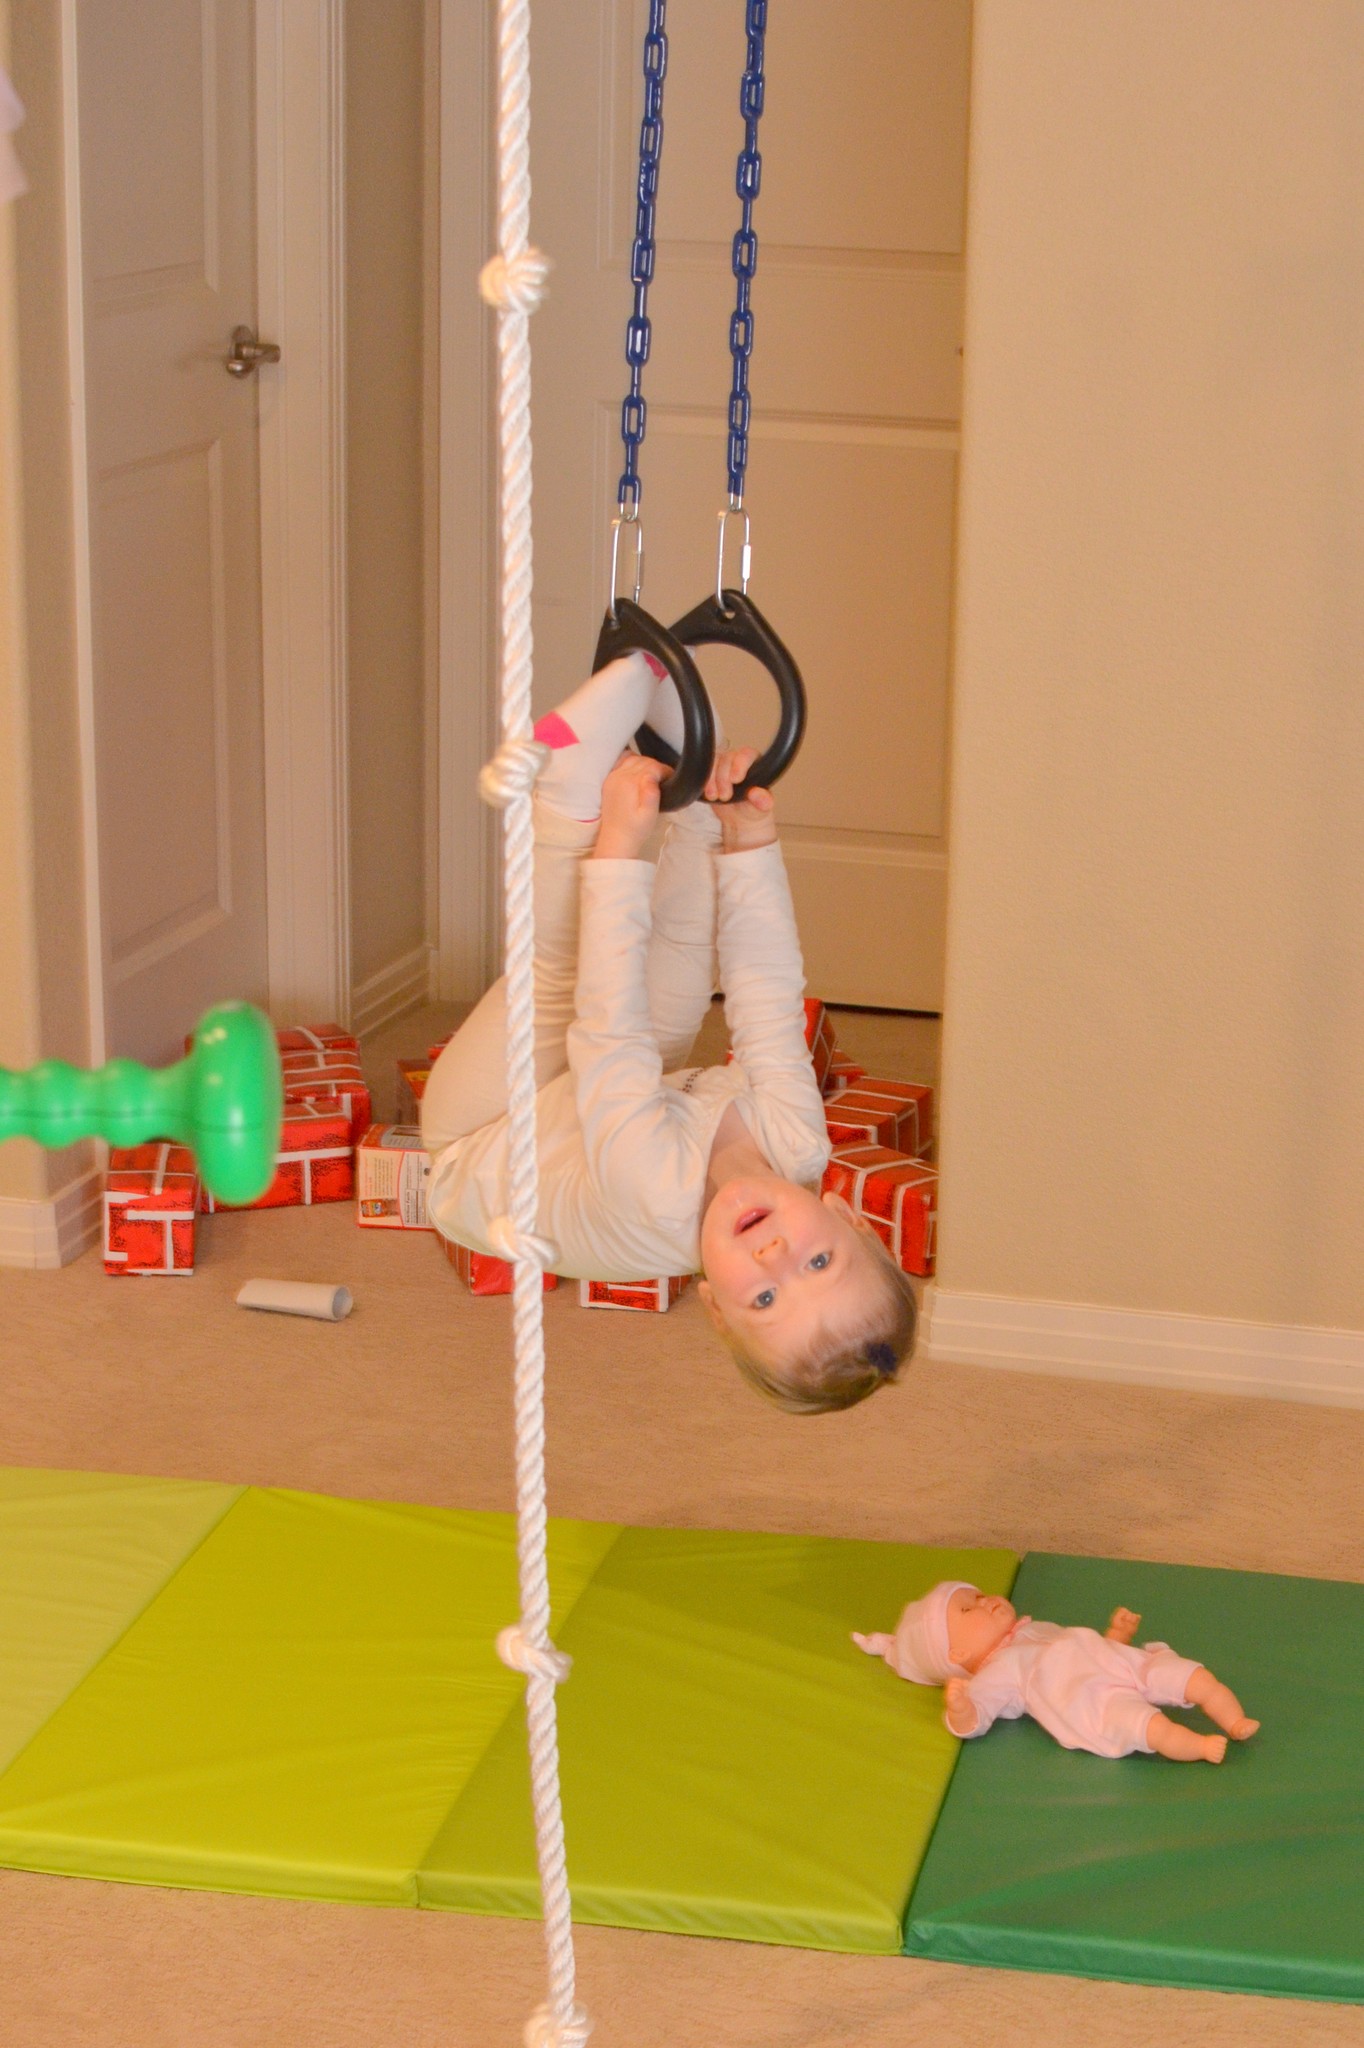
We spent A LOT of time thinking and talking about what would really bless our little girl on her birthday this year. She doesn’t really have any friends her age, because most of her friends are 3 and 4 year old boys! What she loves most is to jump, swing, climb, hang and tumble. We recently enrolled her in a gymnastics class to help grow her natural talent and love for gymnastics, but we ultimately decided the best thing to do for her birthday was build something in our basement where she could swing and climb and hang to her heart’s delight any time she wanted to. We looked into buying them and wowsers–they are NOT cheap!! So, Selah’s UNBELIEVABLY AWESOME Daddy designed his own set for just the cost of a 2×4 and a few simple rings, bars, ropes, etc. to hang from it. So impressed :). Pictures below…
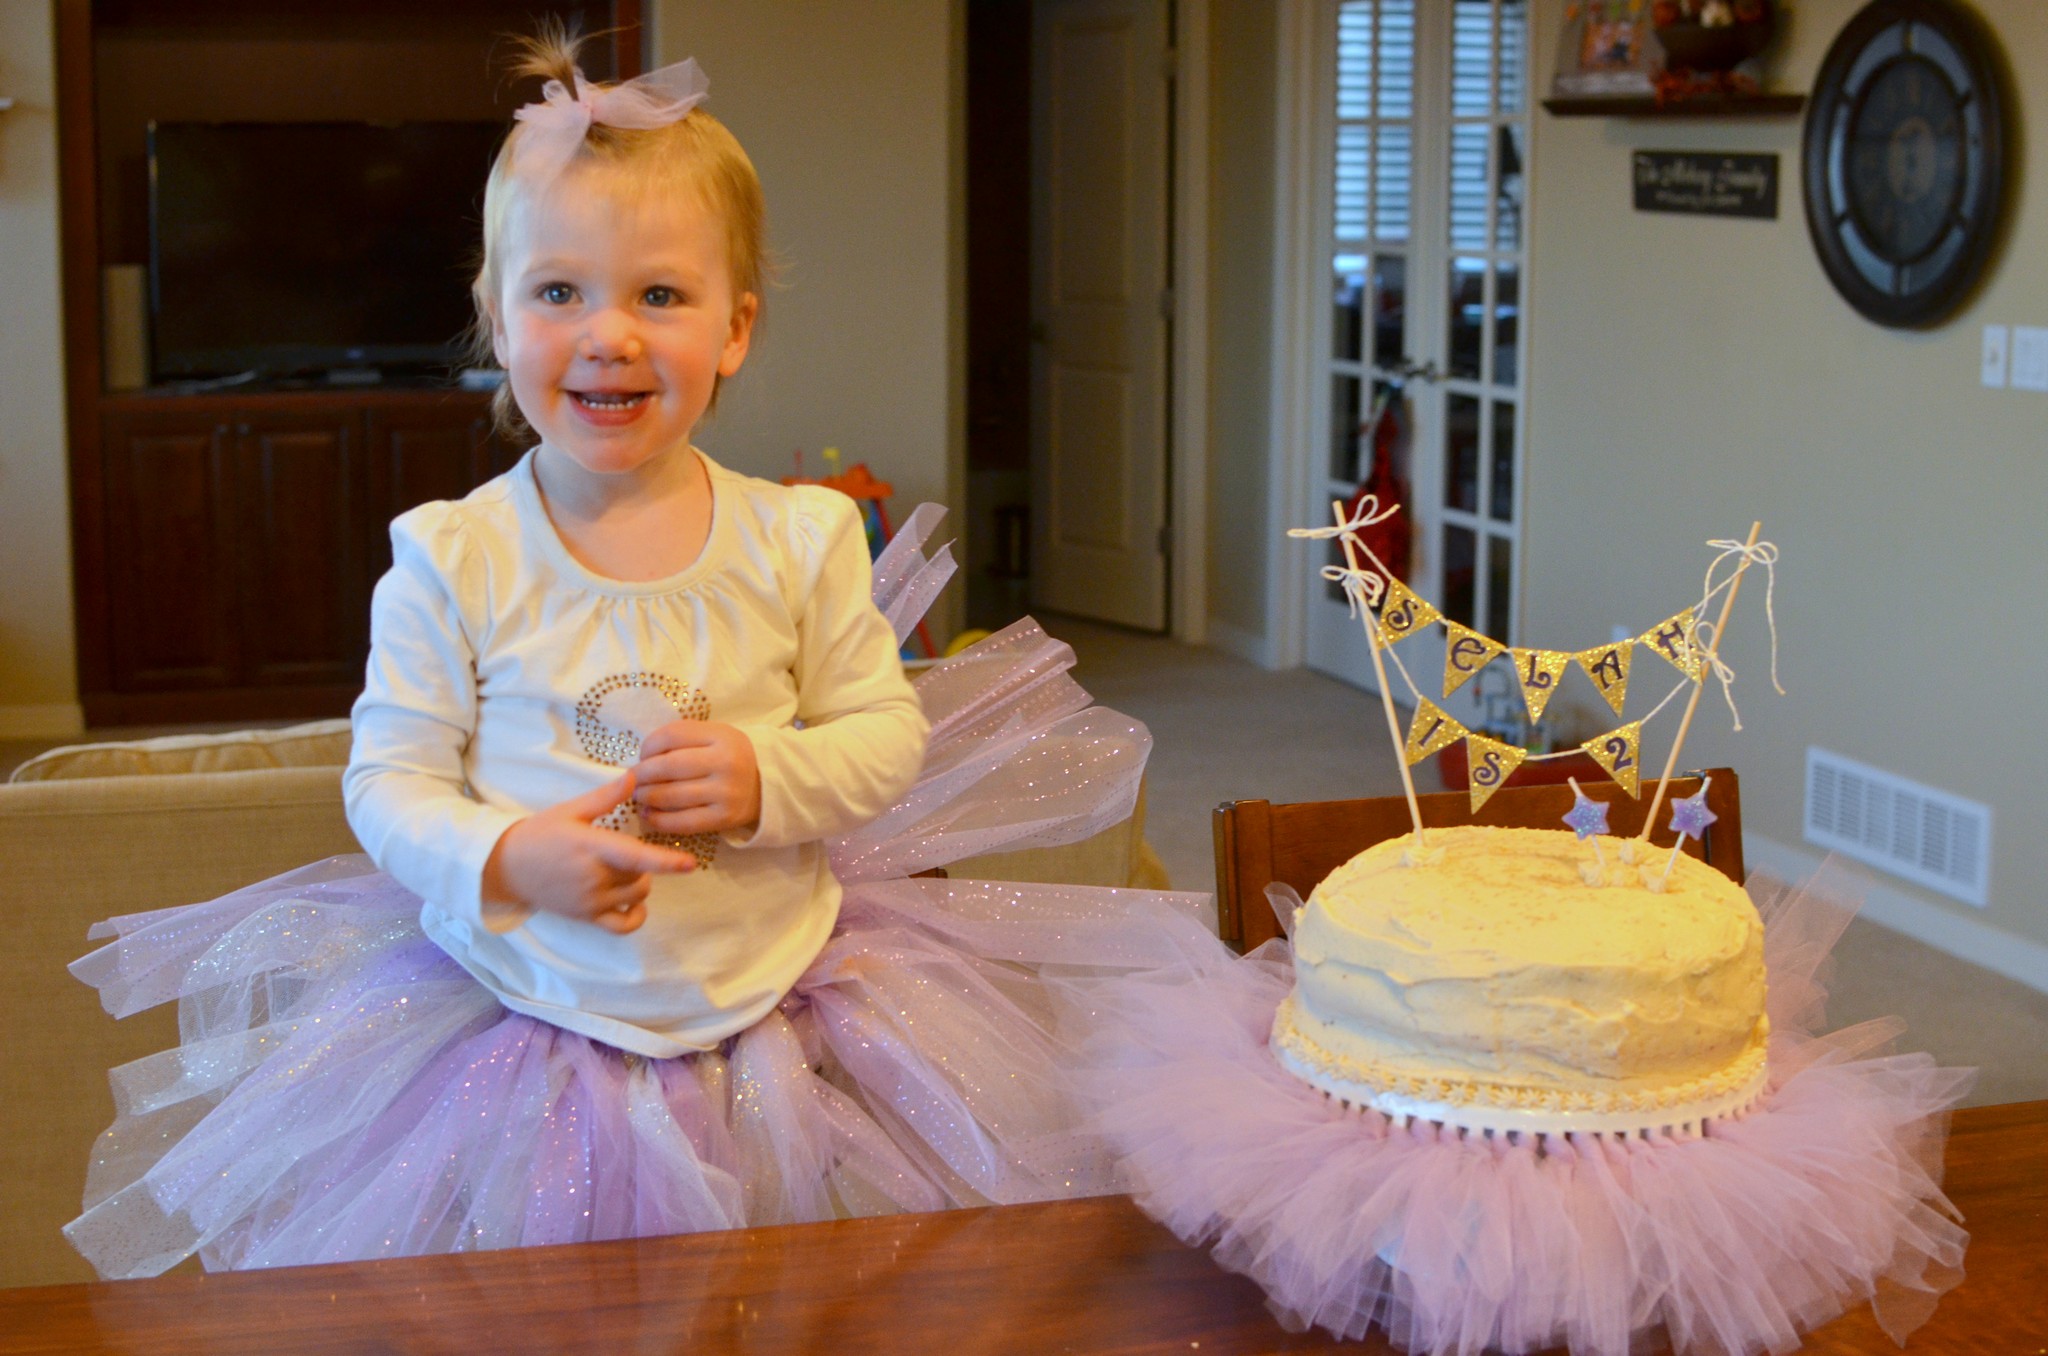
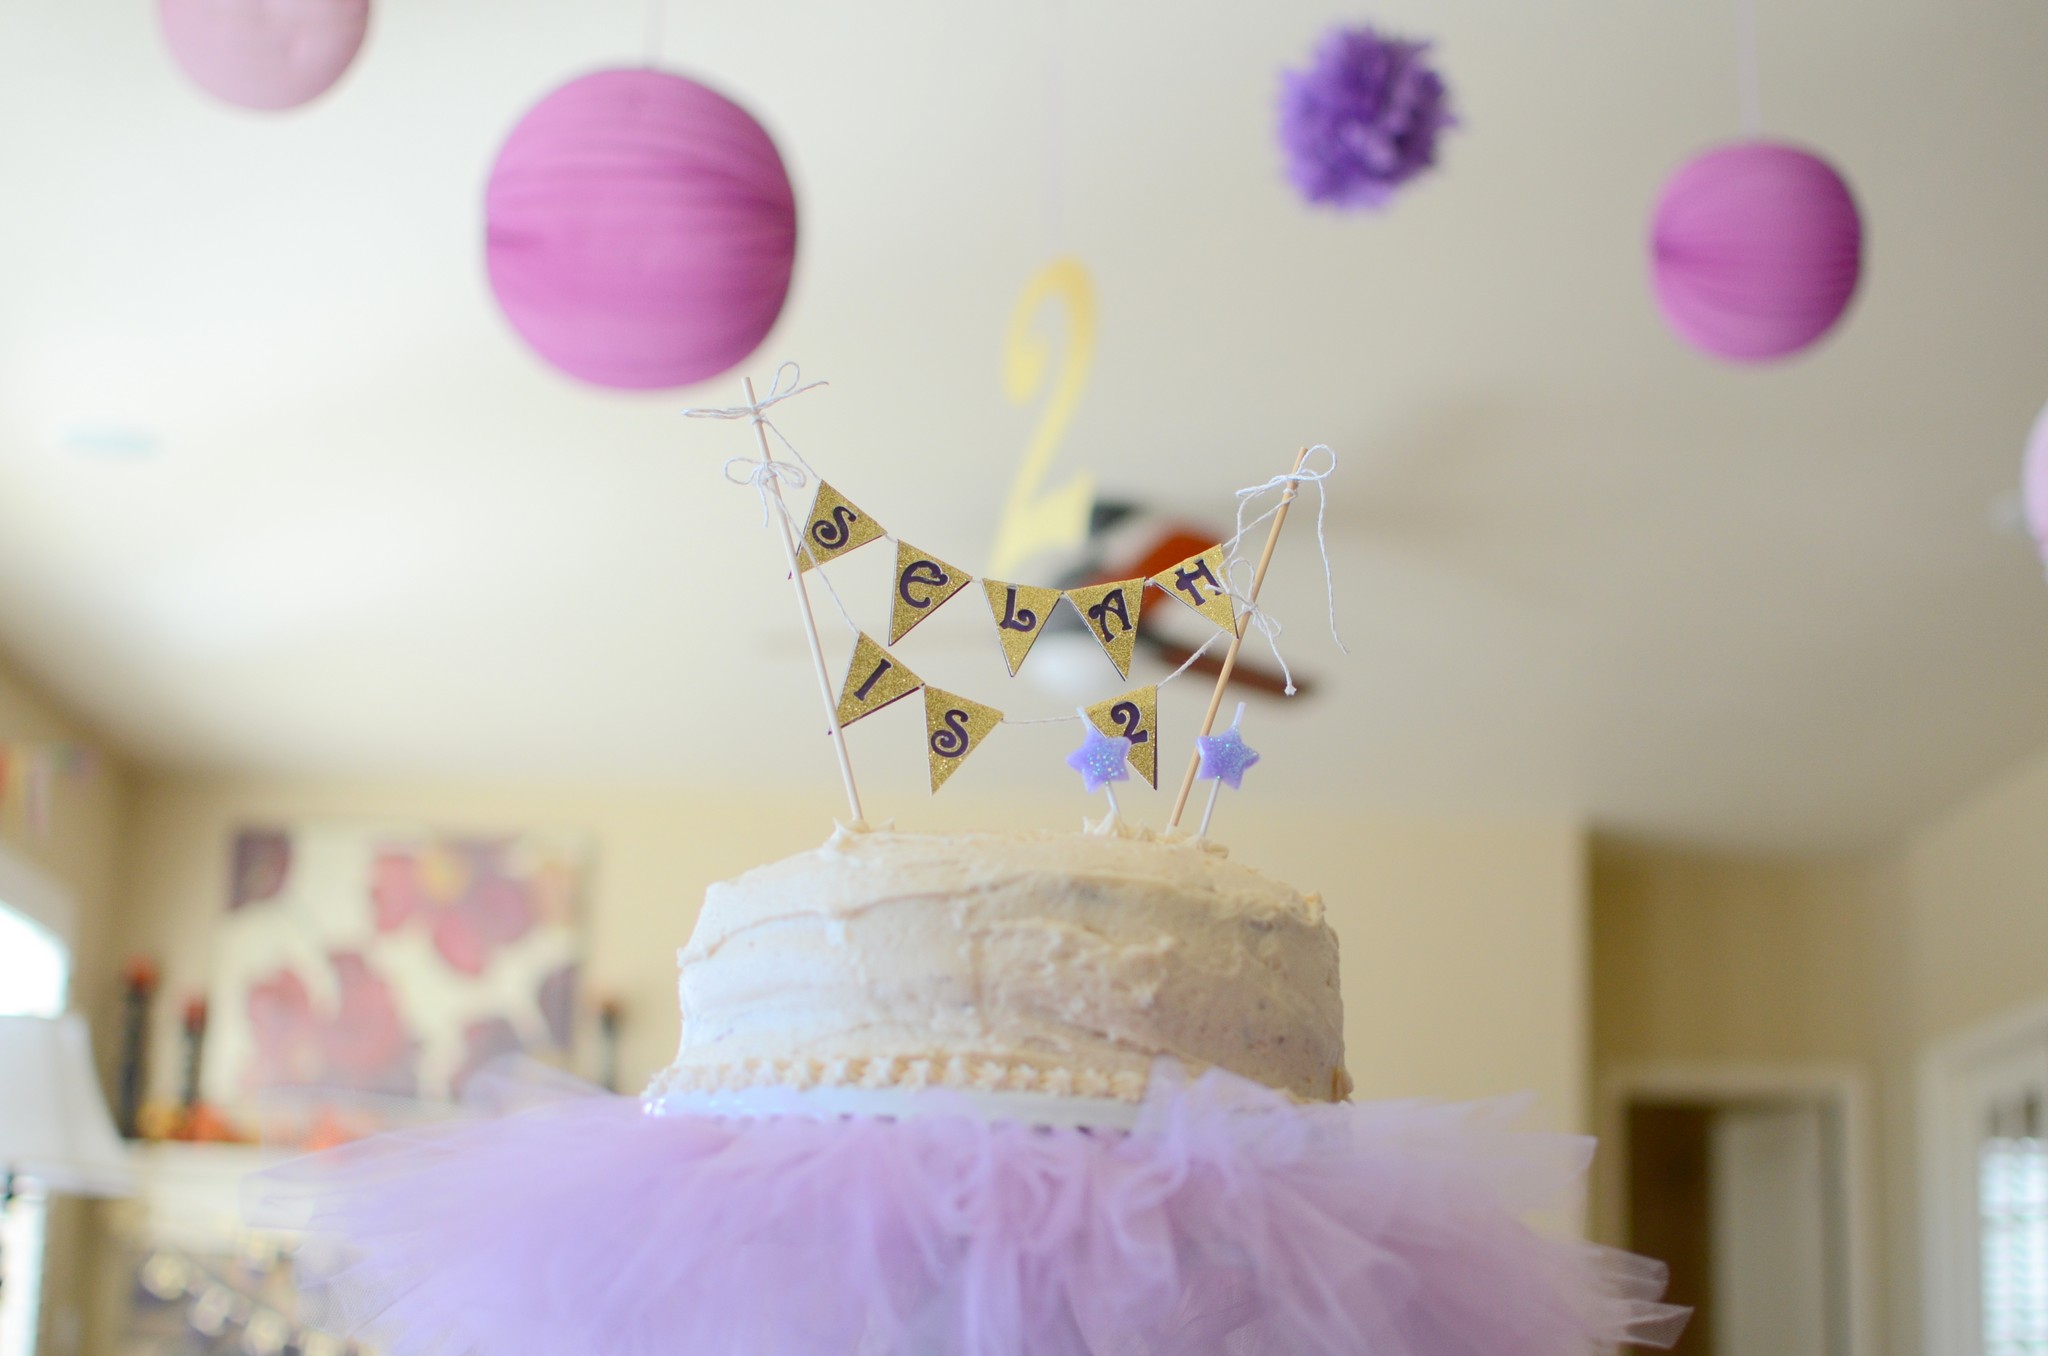
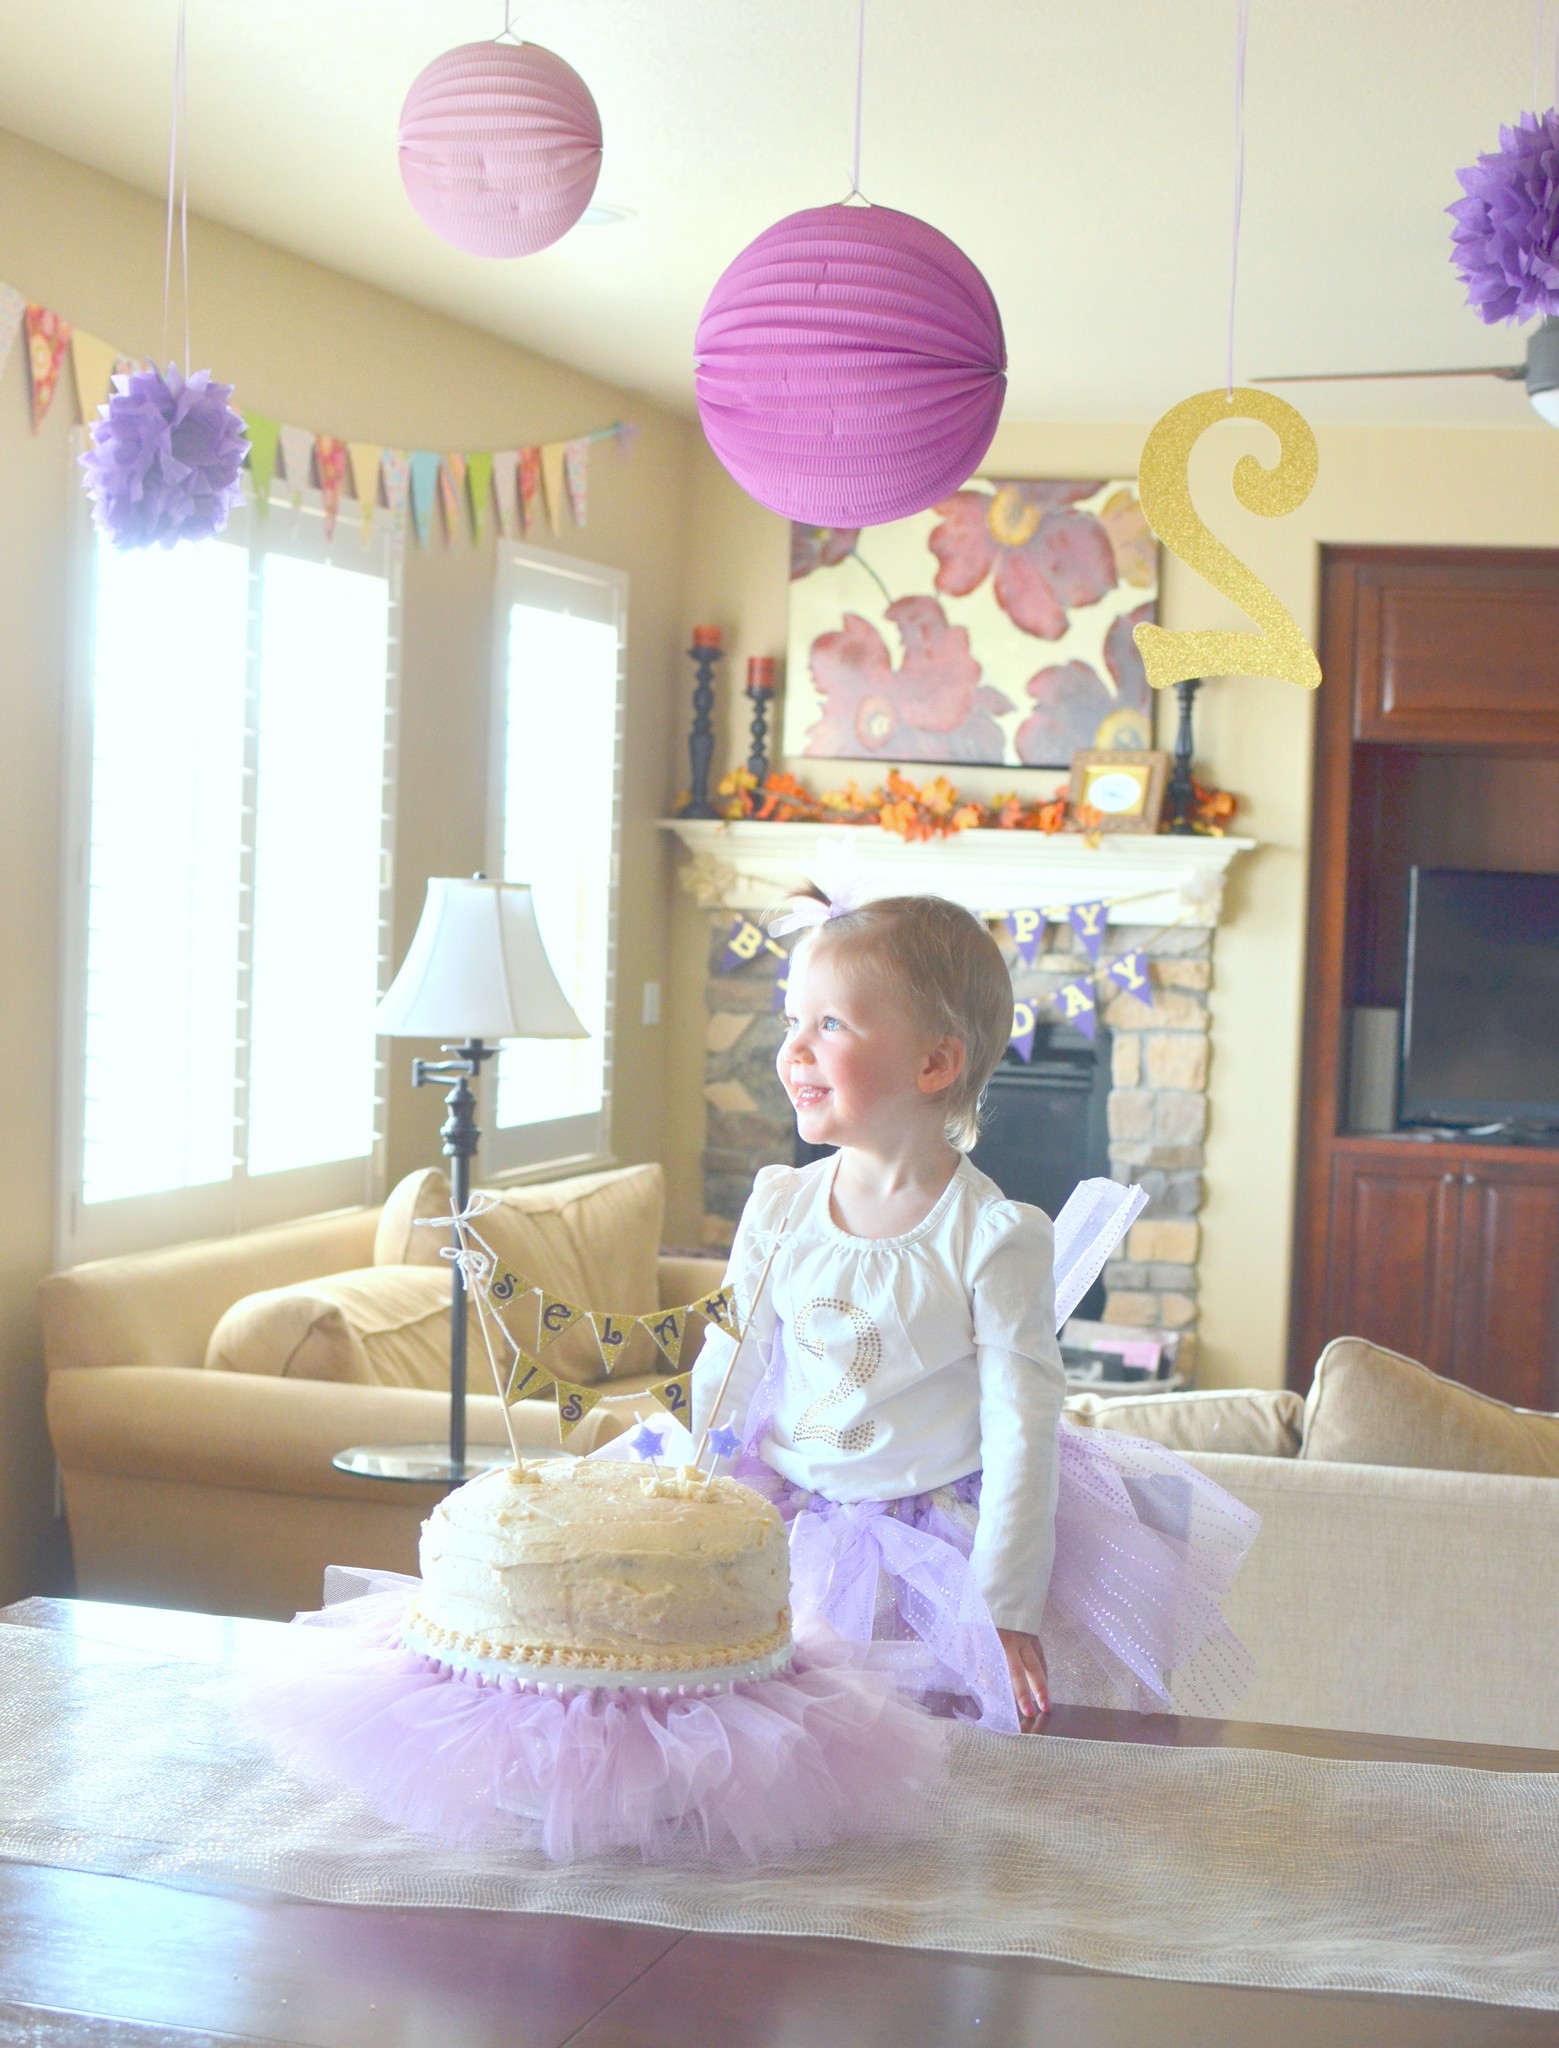
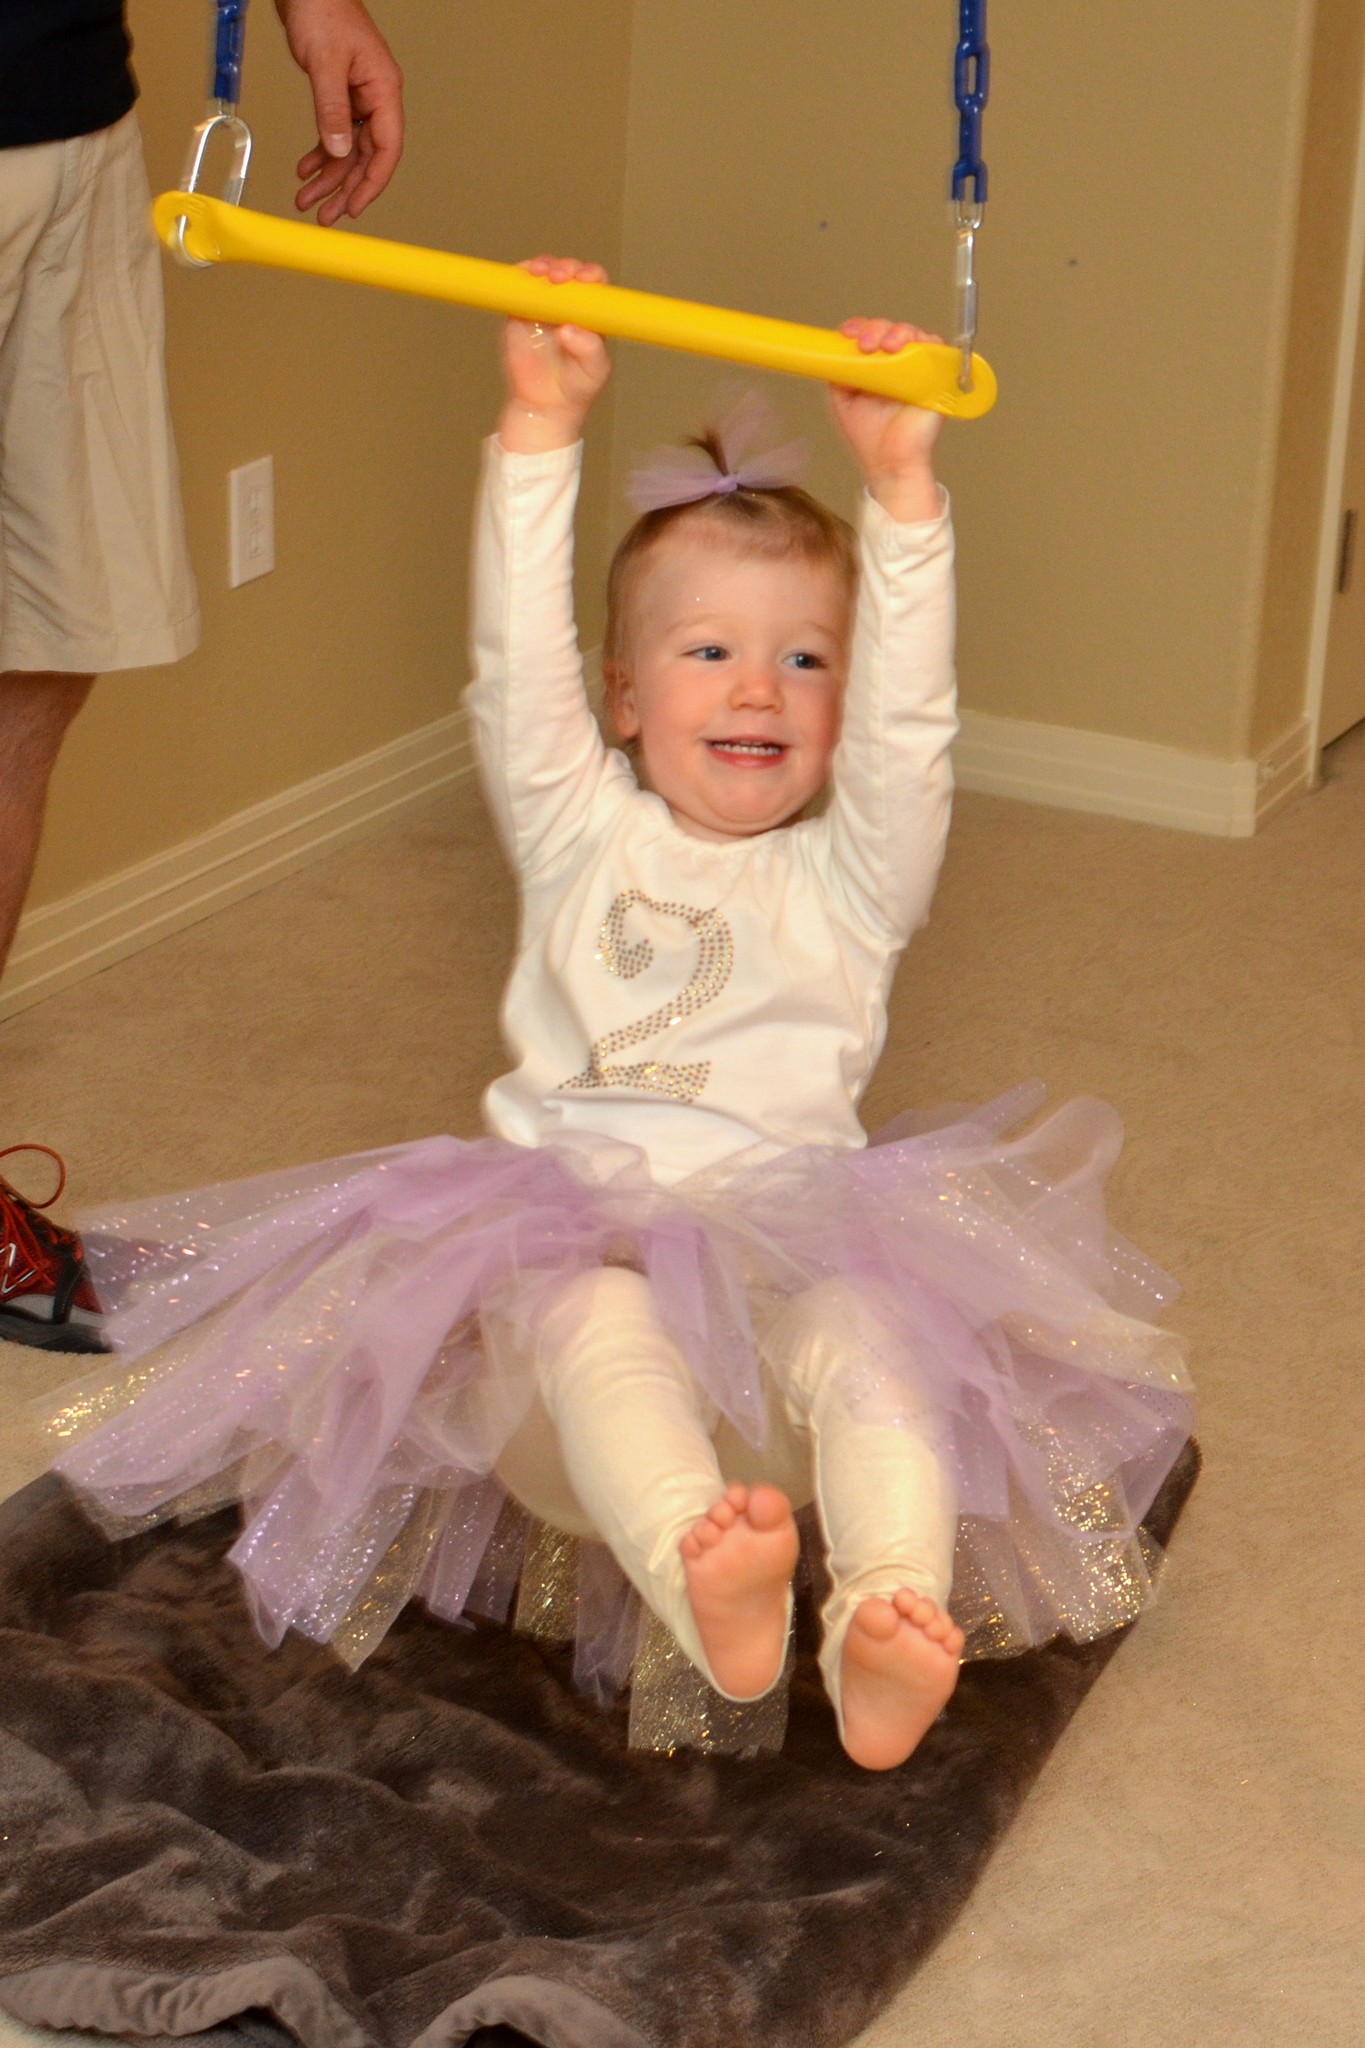
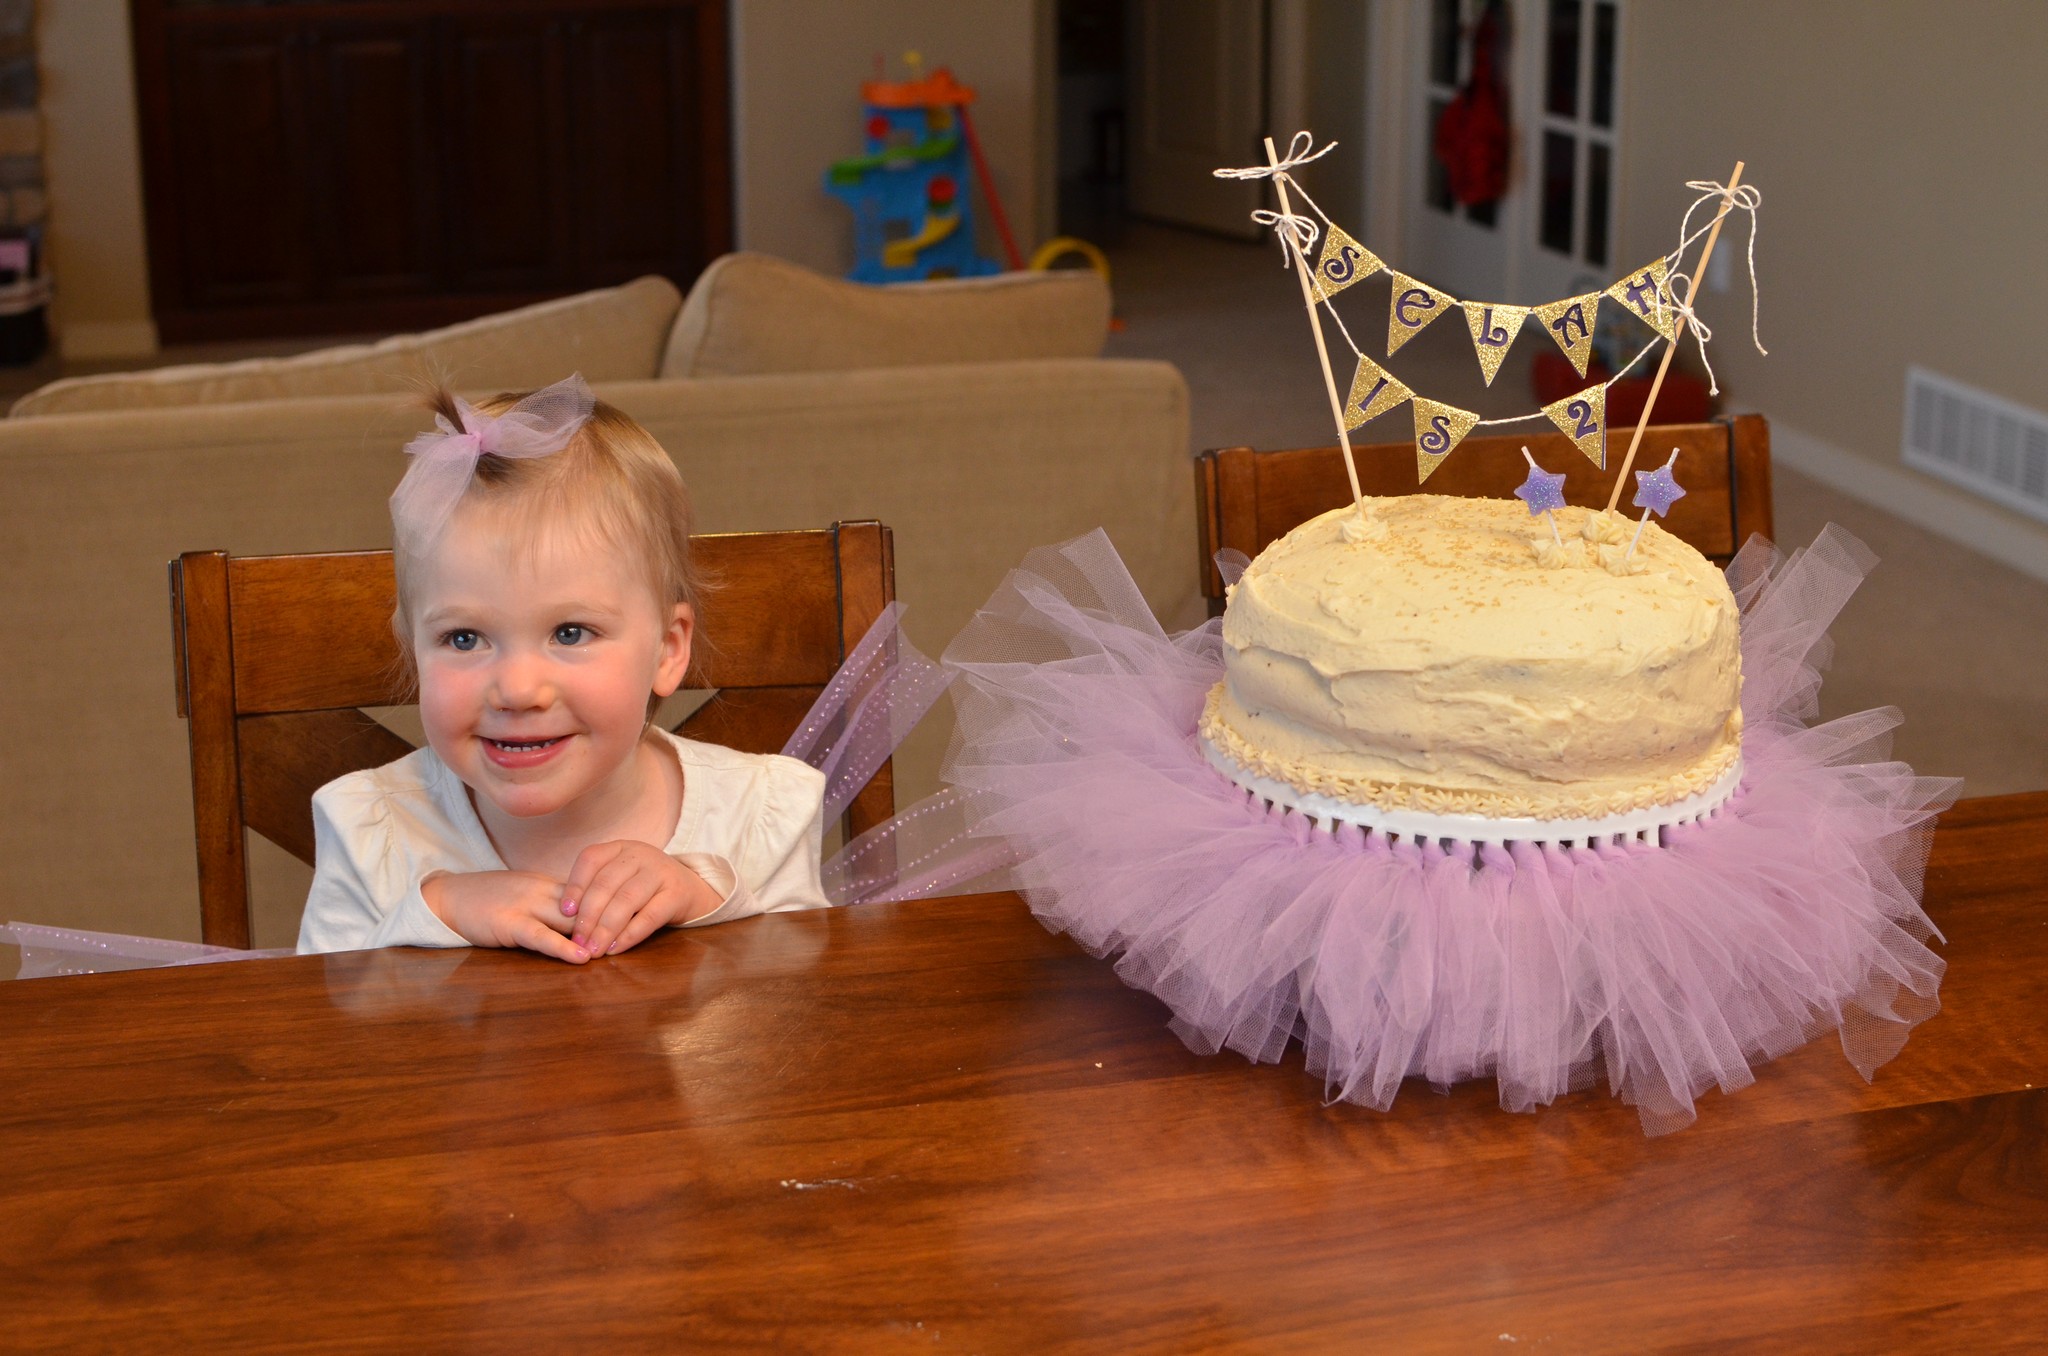
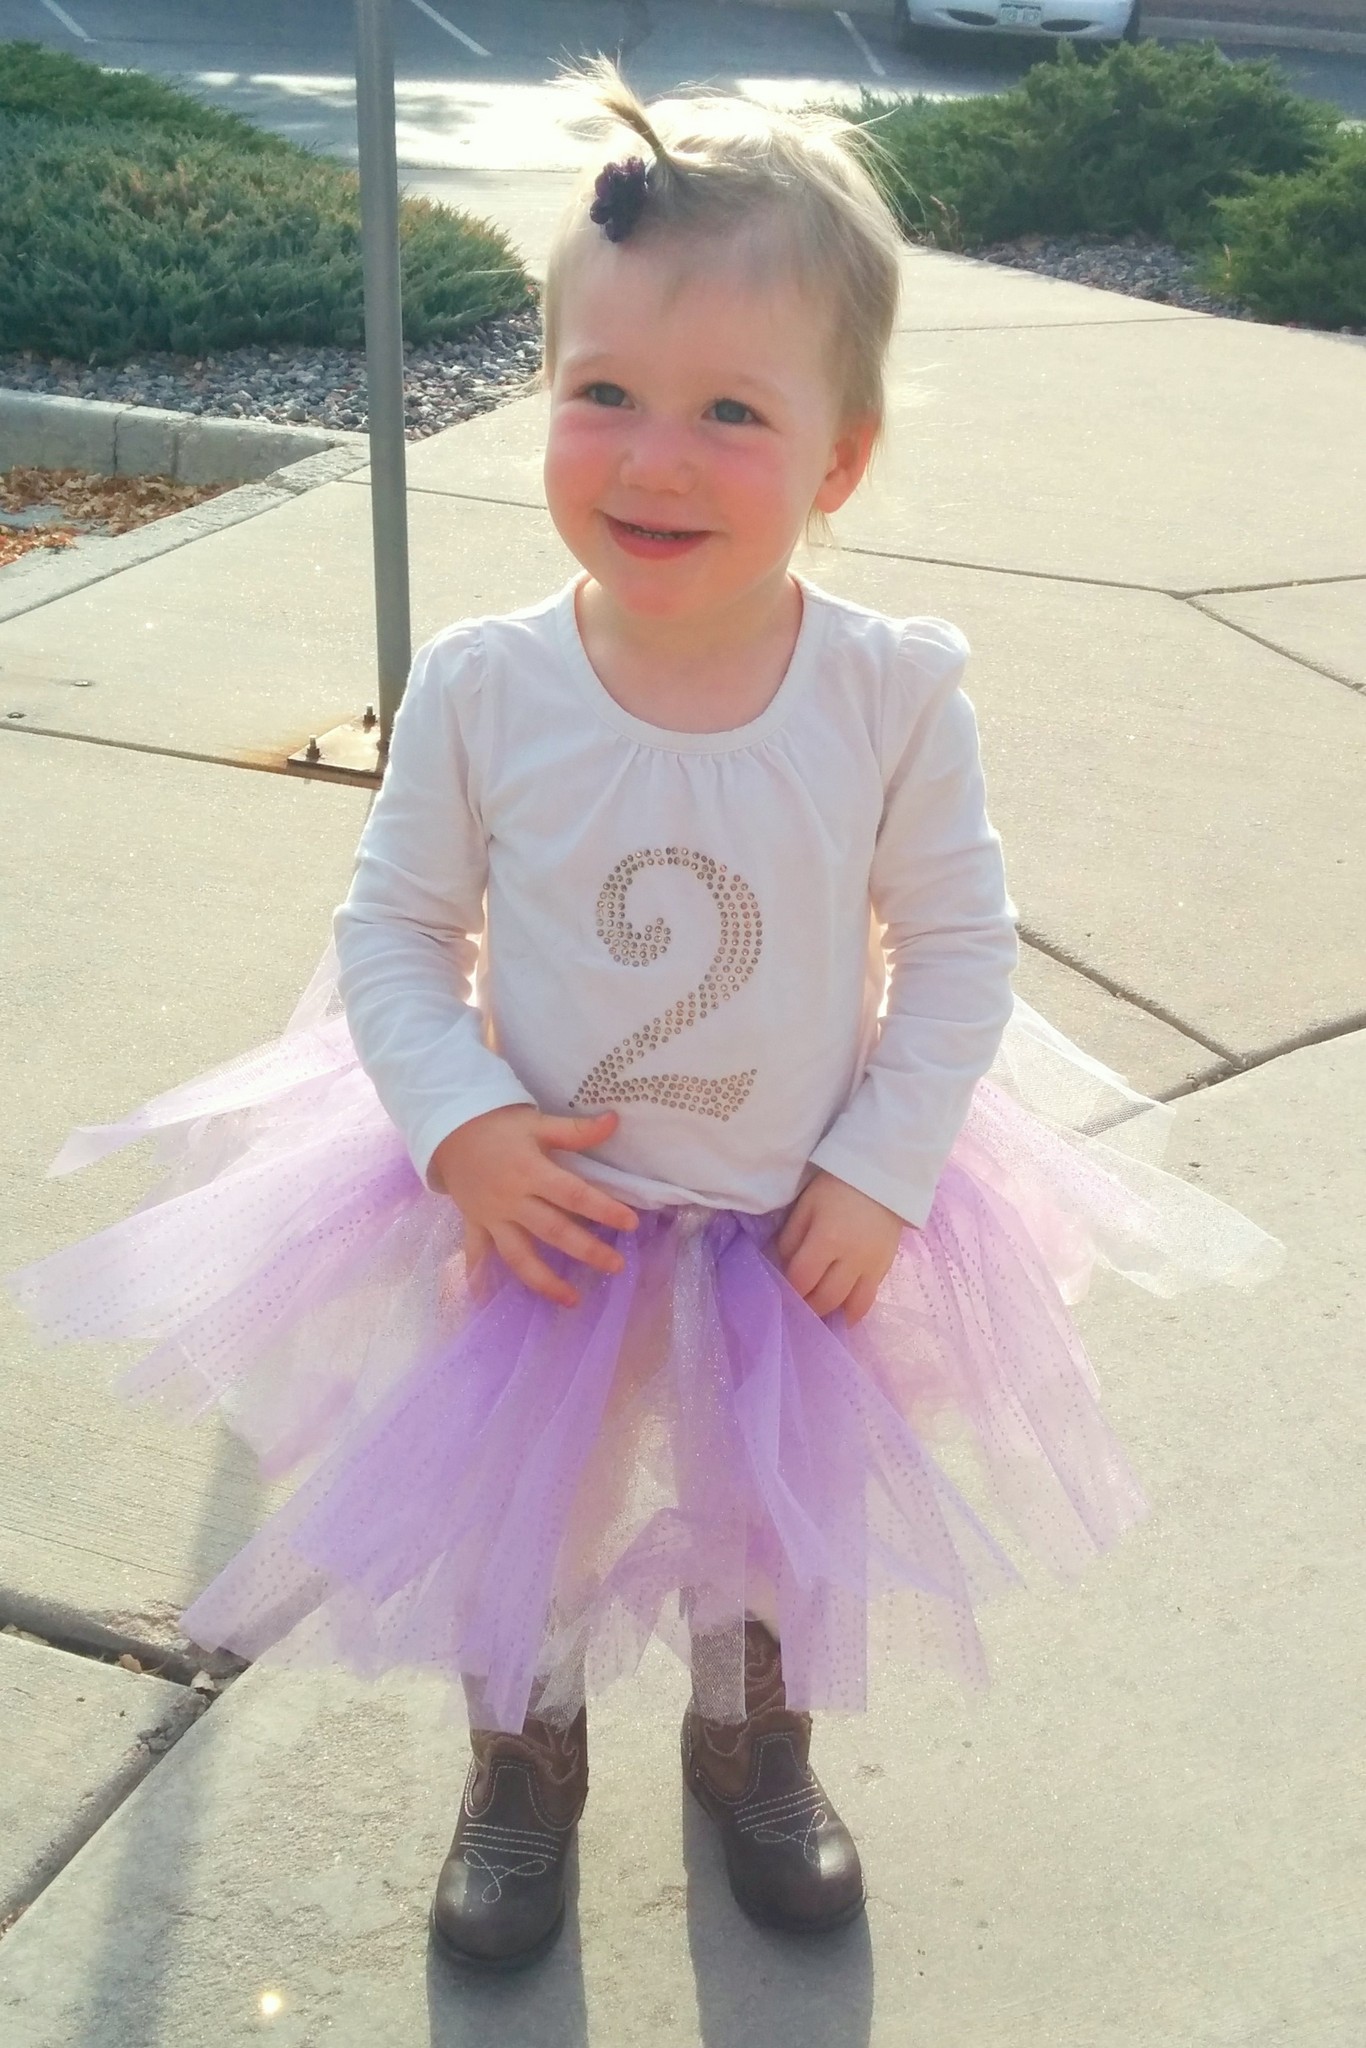
So, we had a super simple birthday party for our sweet Selah B this year. The colors were purple (her FAVORITE color) and gold (because isn’t everything better with a little gold glitter?!). I made her a special outfit, Brian made her the INCREDIBLE new gymnastics play set in our basement, and we had the grandparents over for dinner. It was a special afternoon/evening, followed by a birthday dinner at Red Robin on her actual birthday. Have I mentioned how much I LOVE celebrating?!! Such a joy to celebrate our little girl.
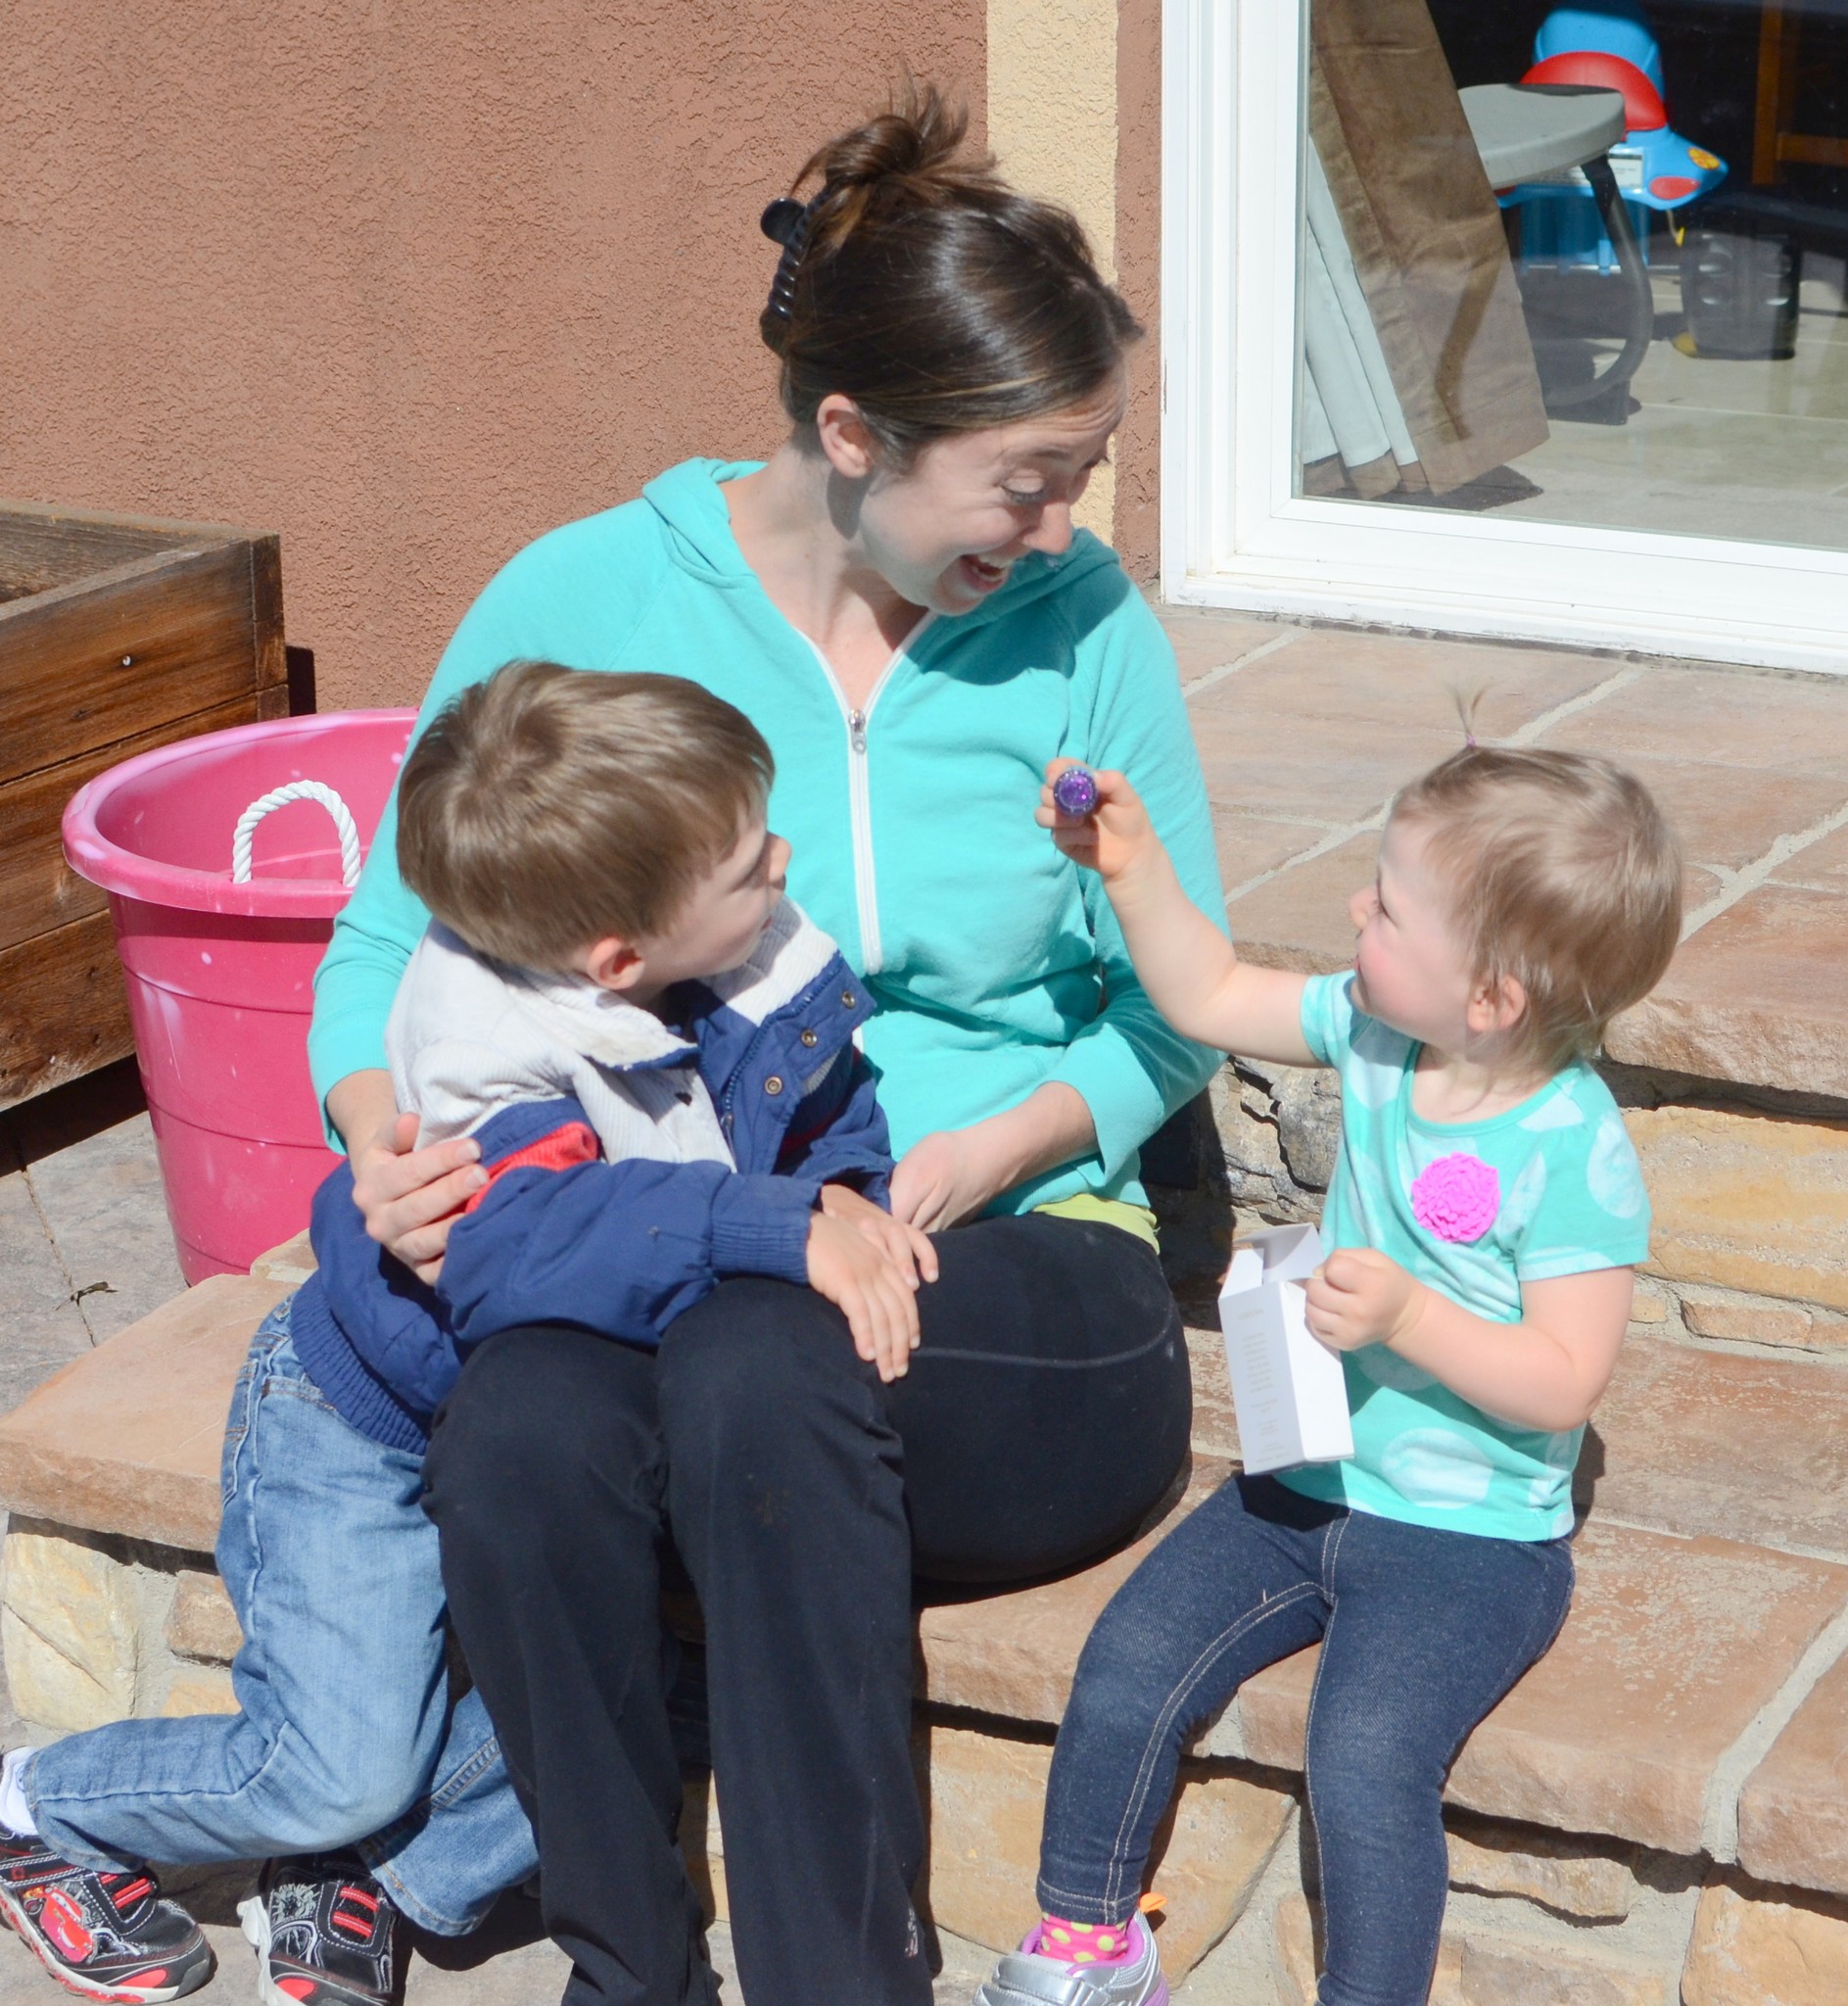
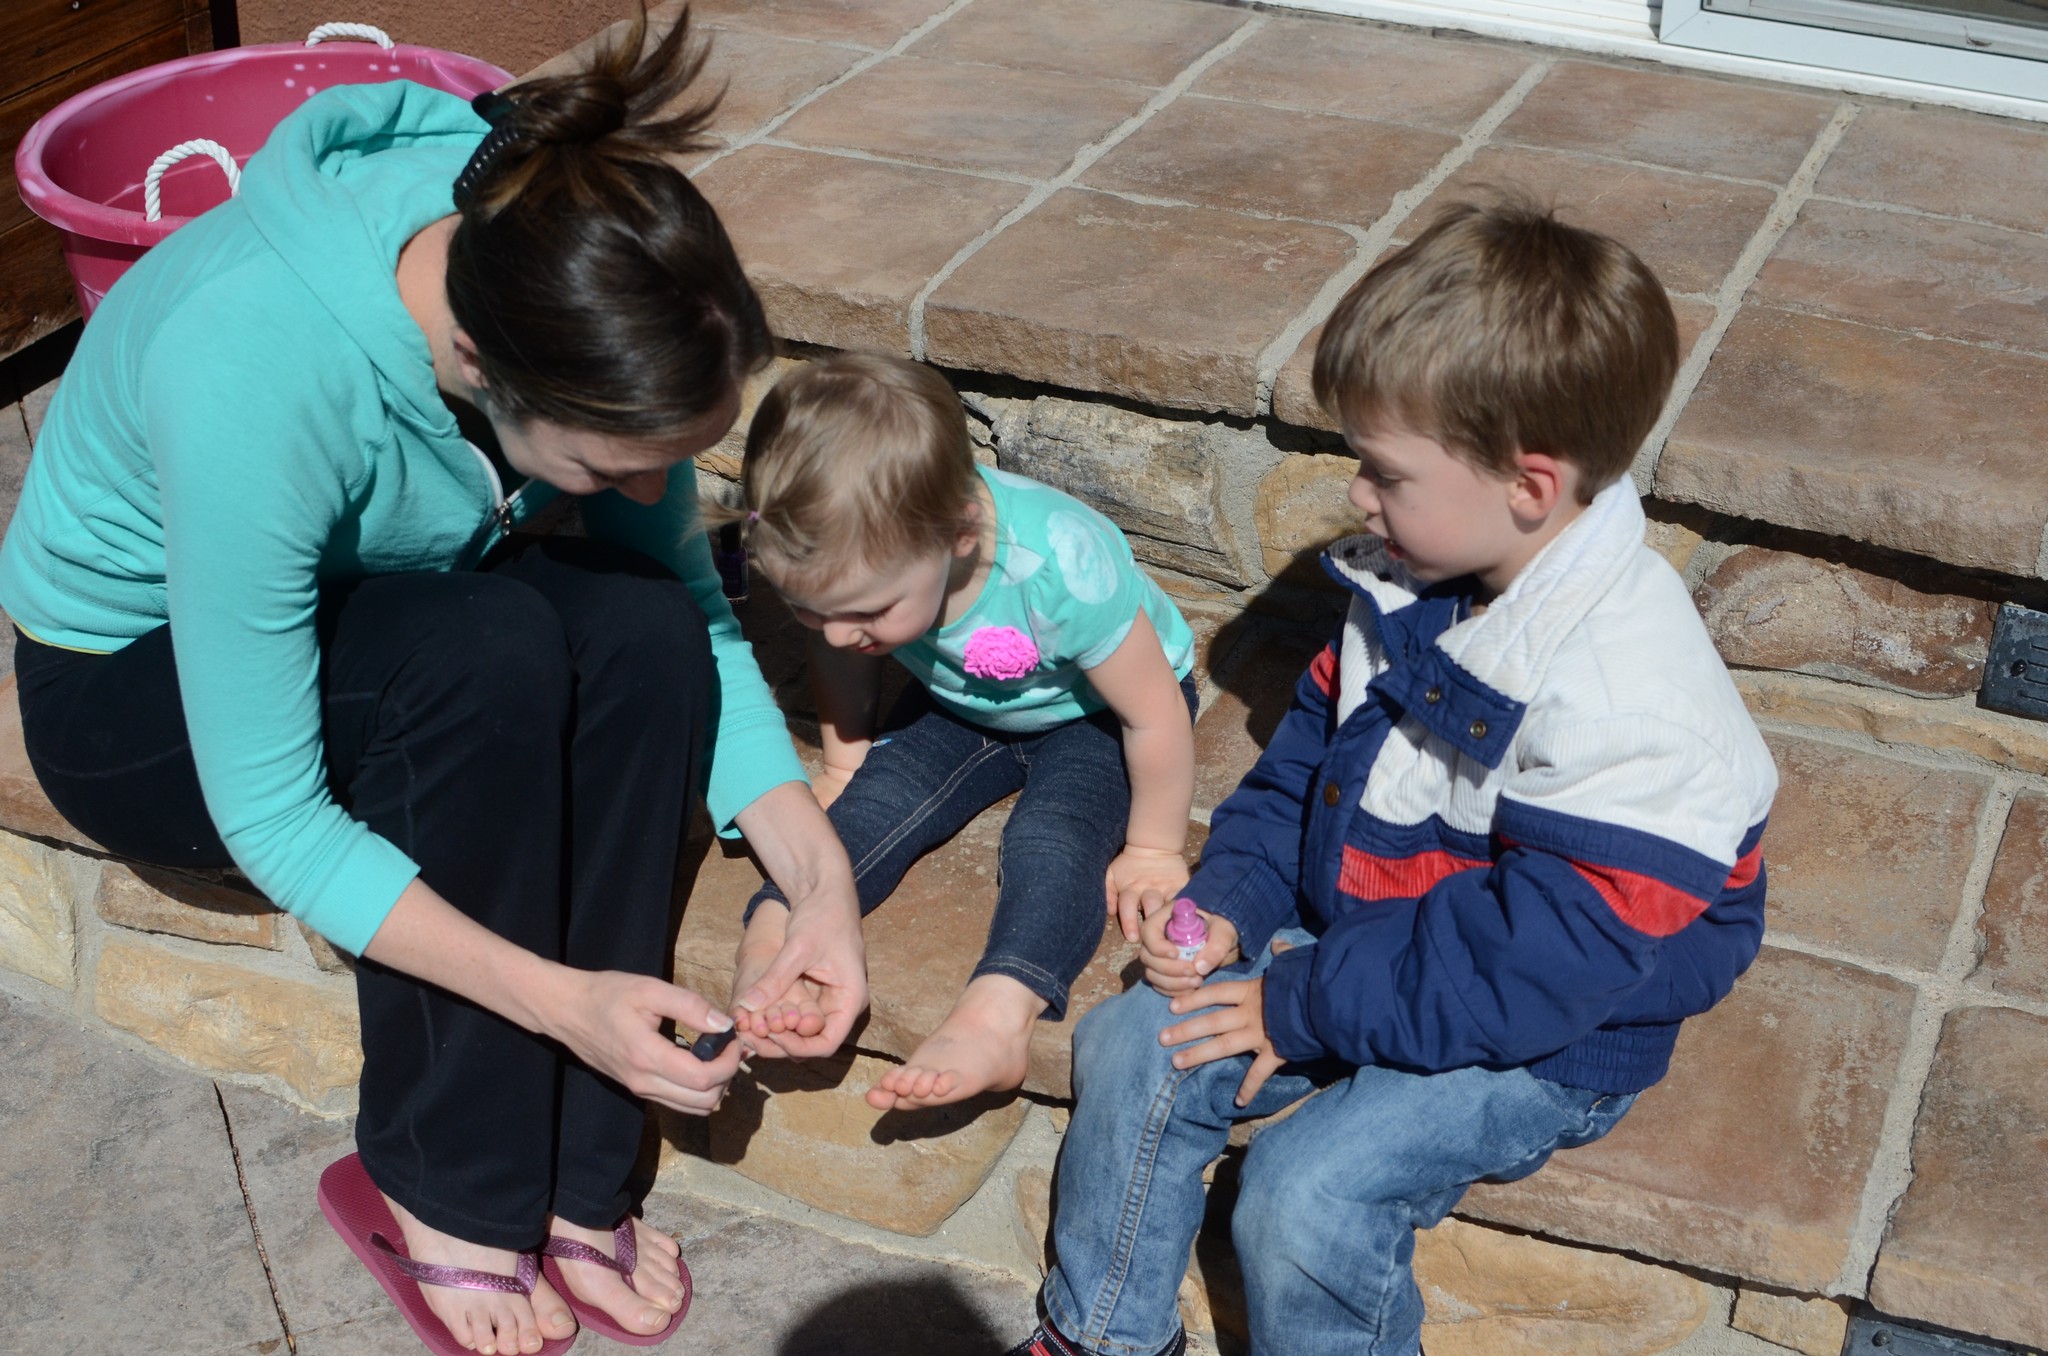
The morning of her birthday celebration, we let her open up her first little gift:
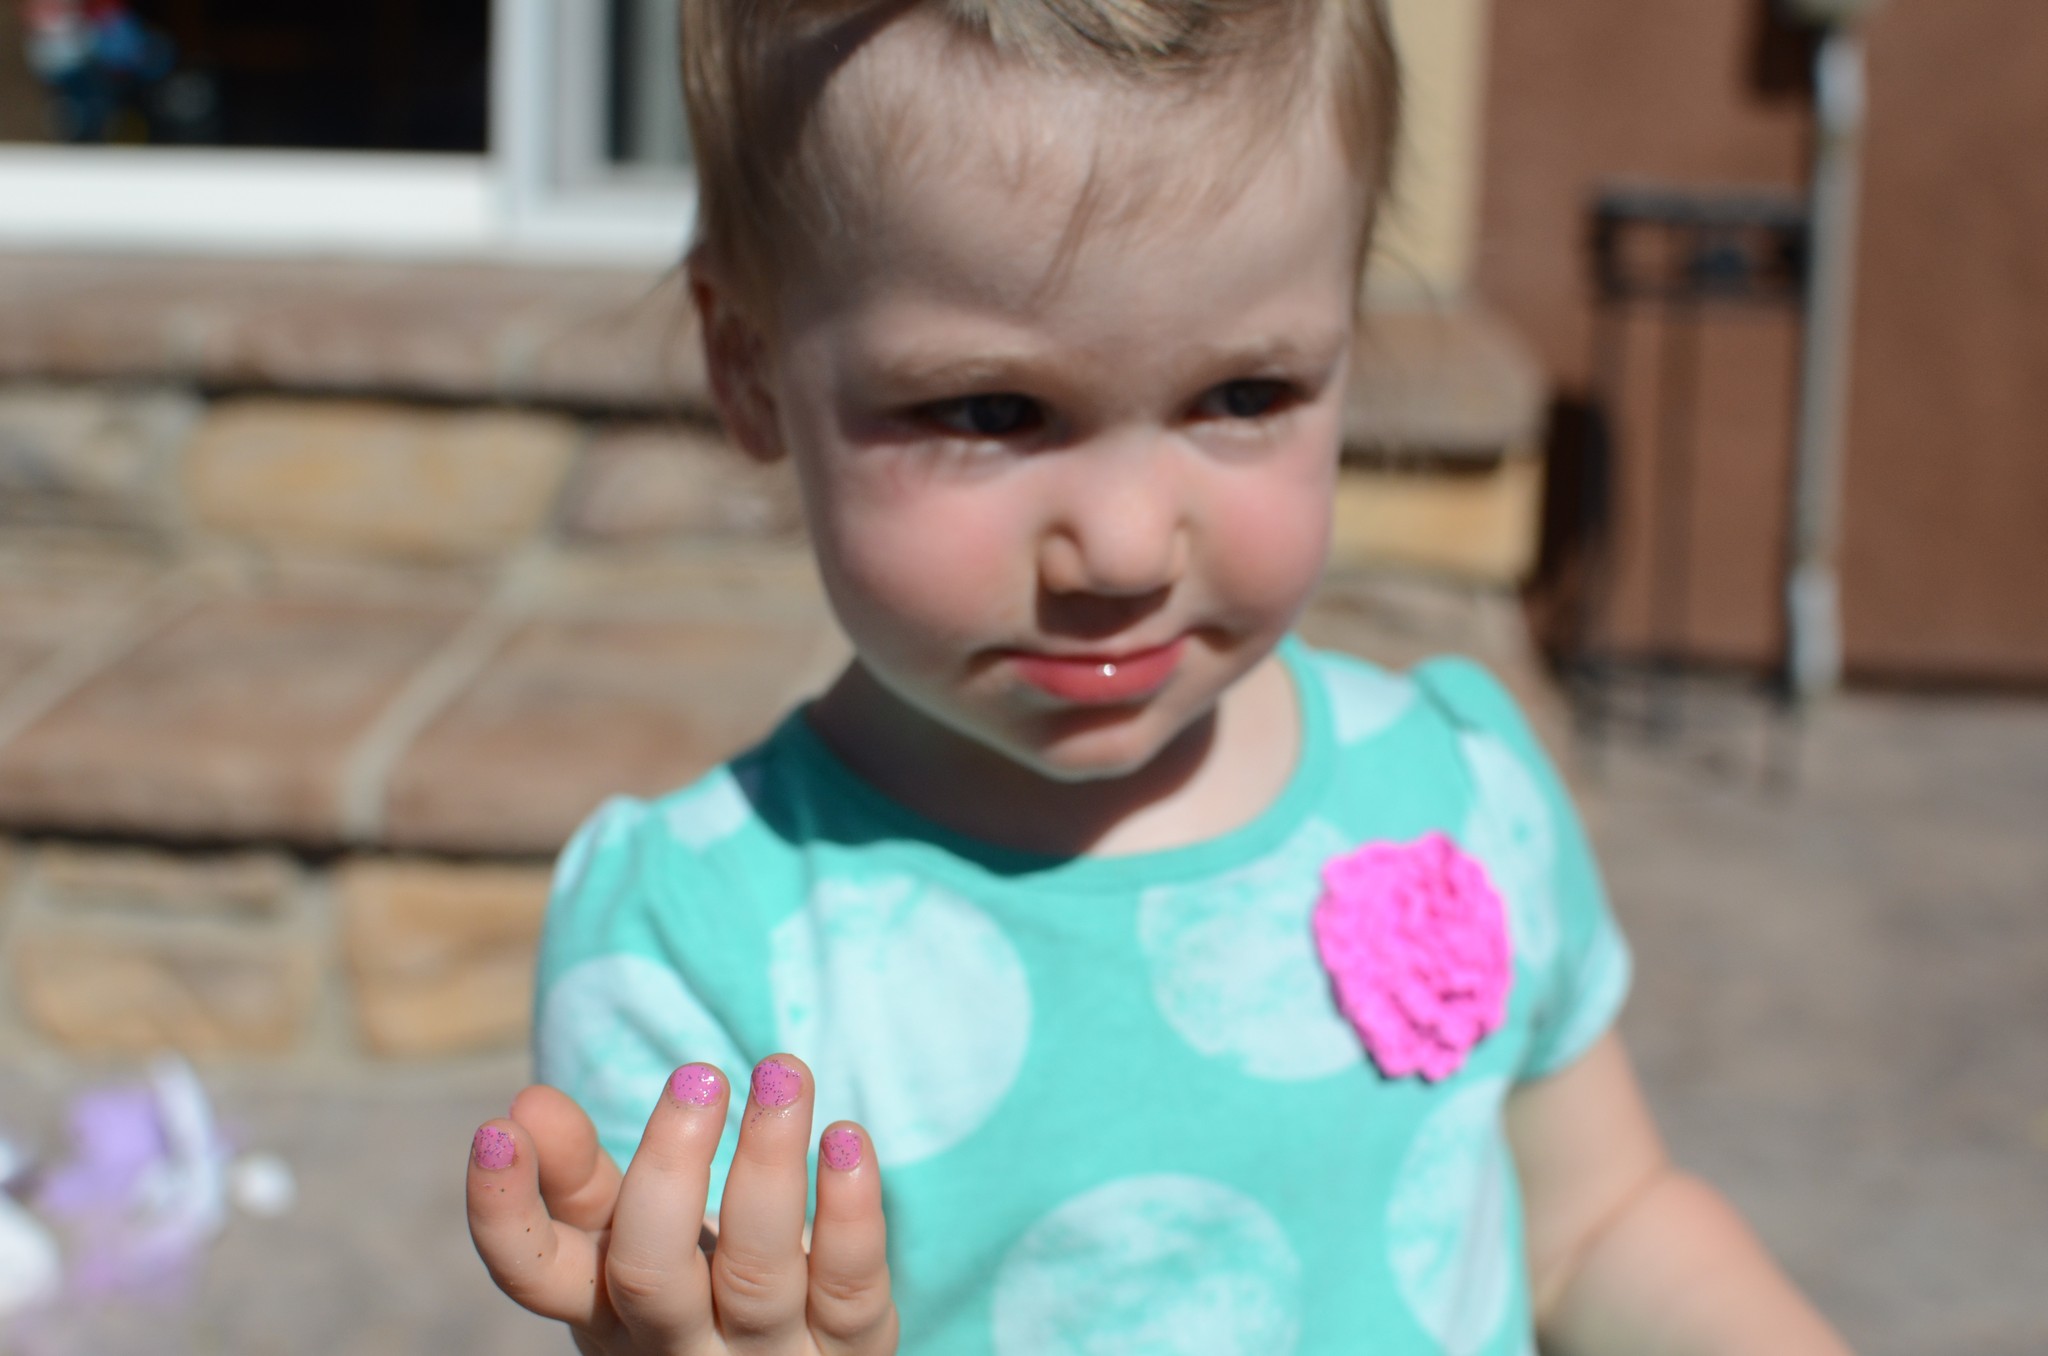
Nail polish!This is the very first time I’ve painted her nails!I love when her little bottom lip sticks out like this…the moments that she’s concentrating REALLY hard…Purple with sparkles, of course :).
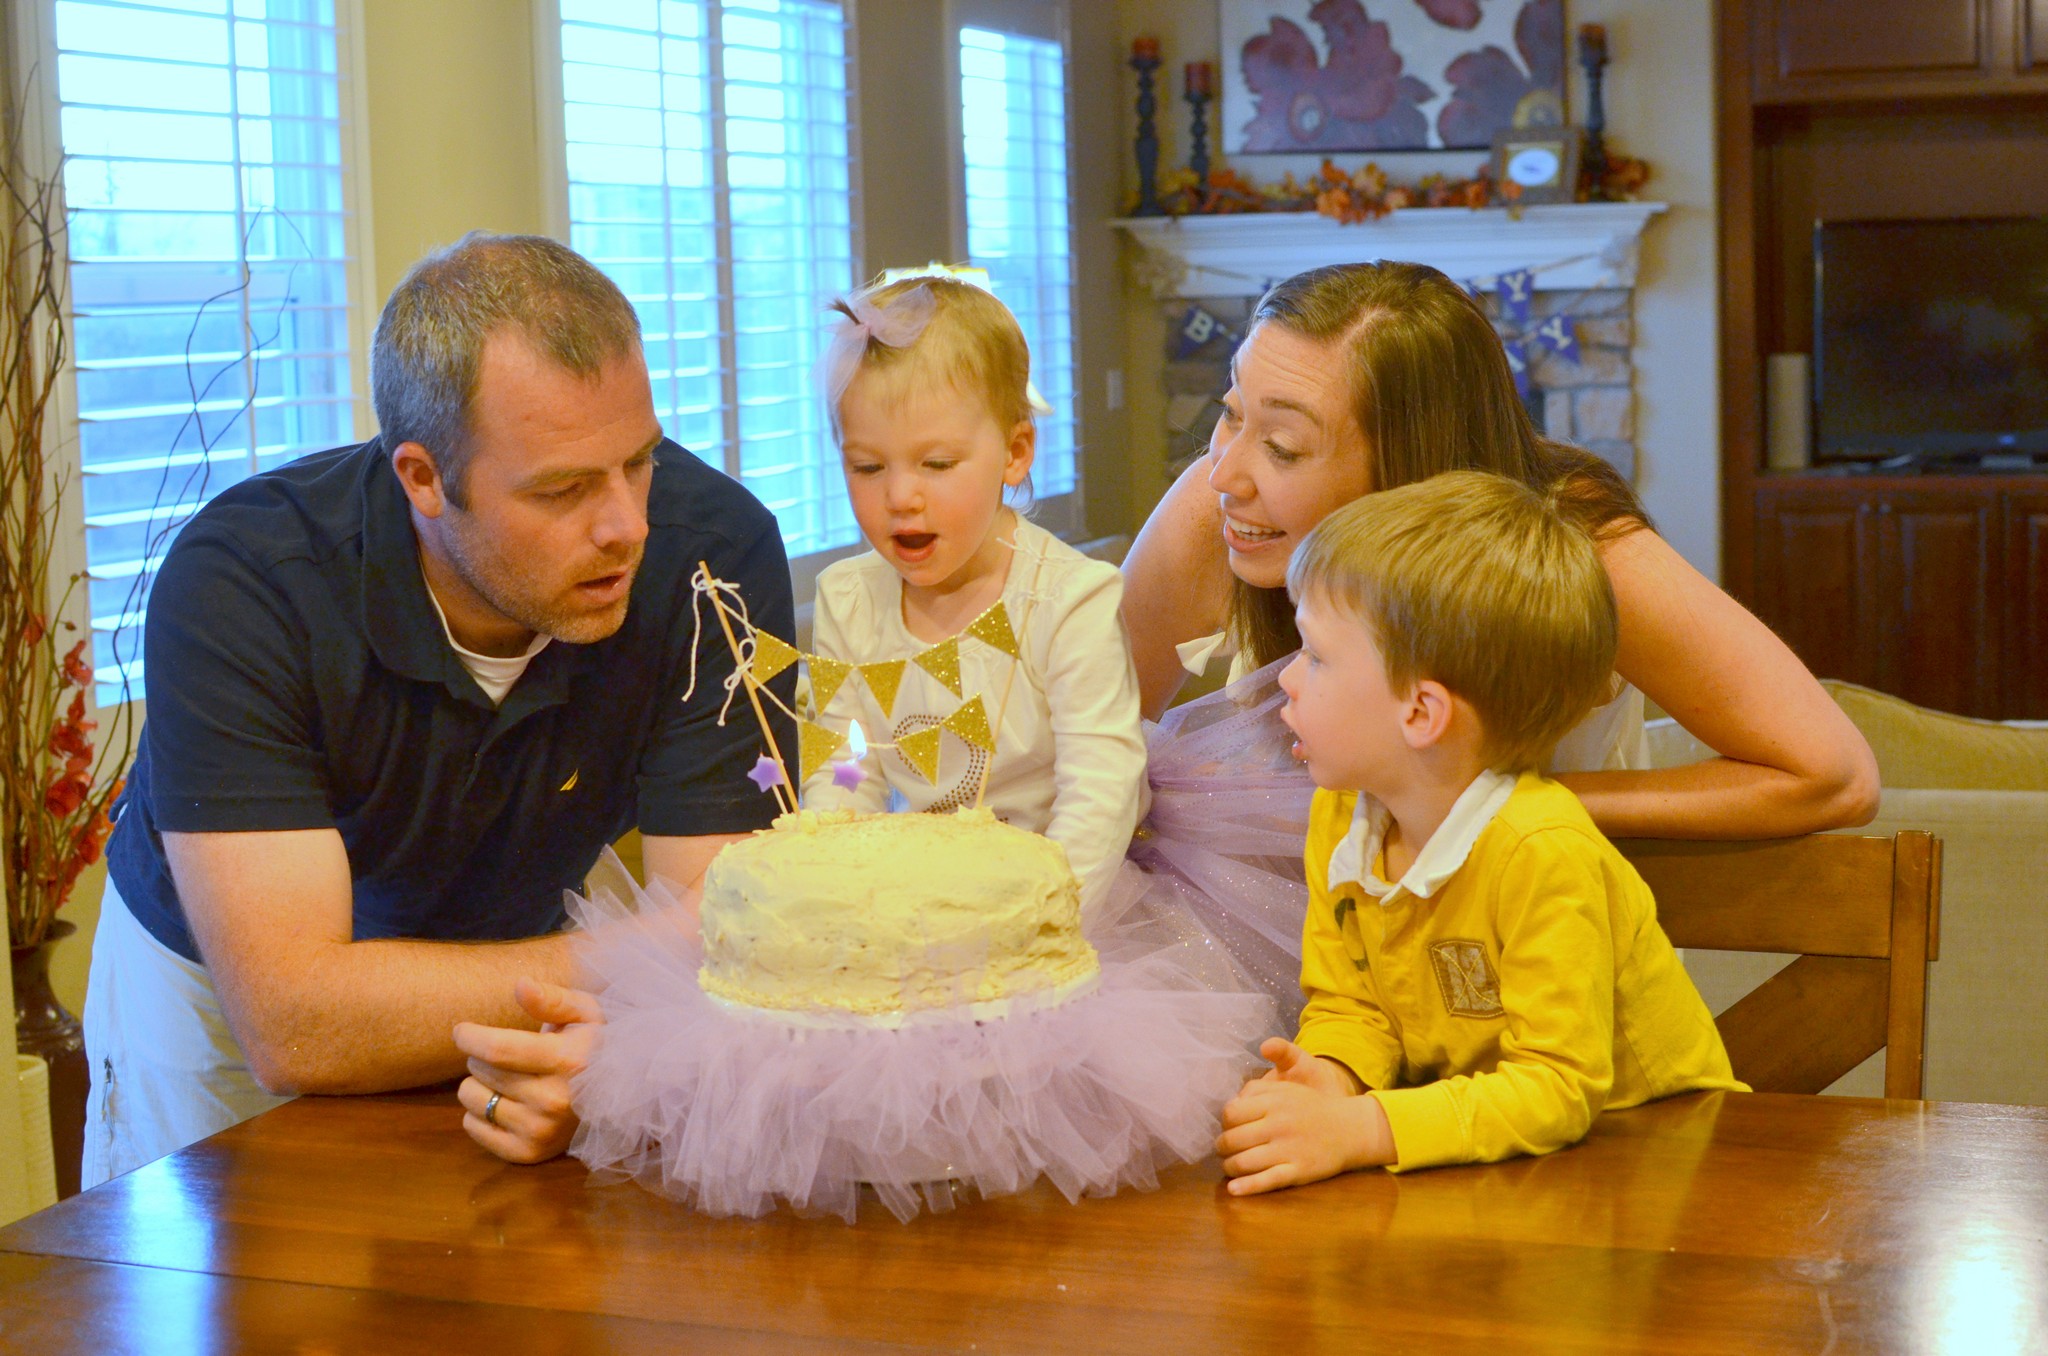
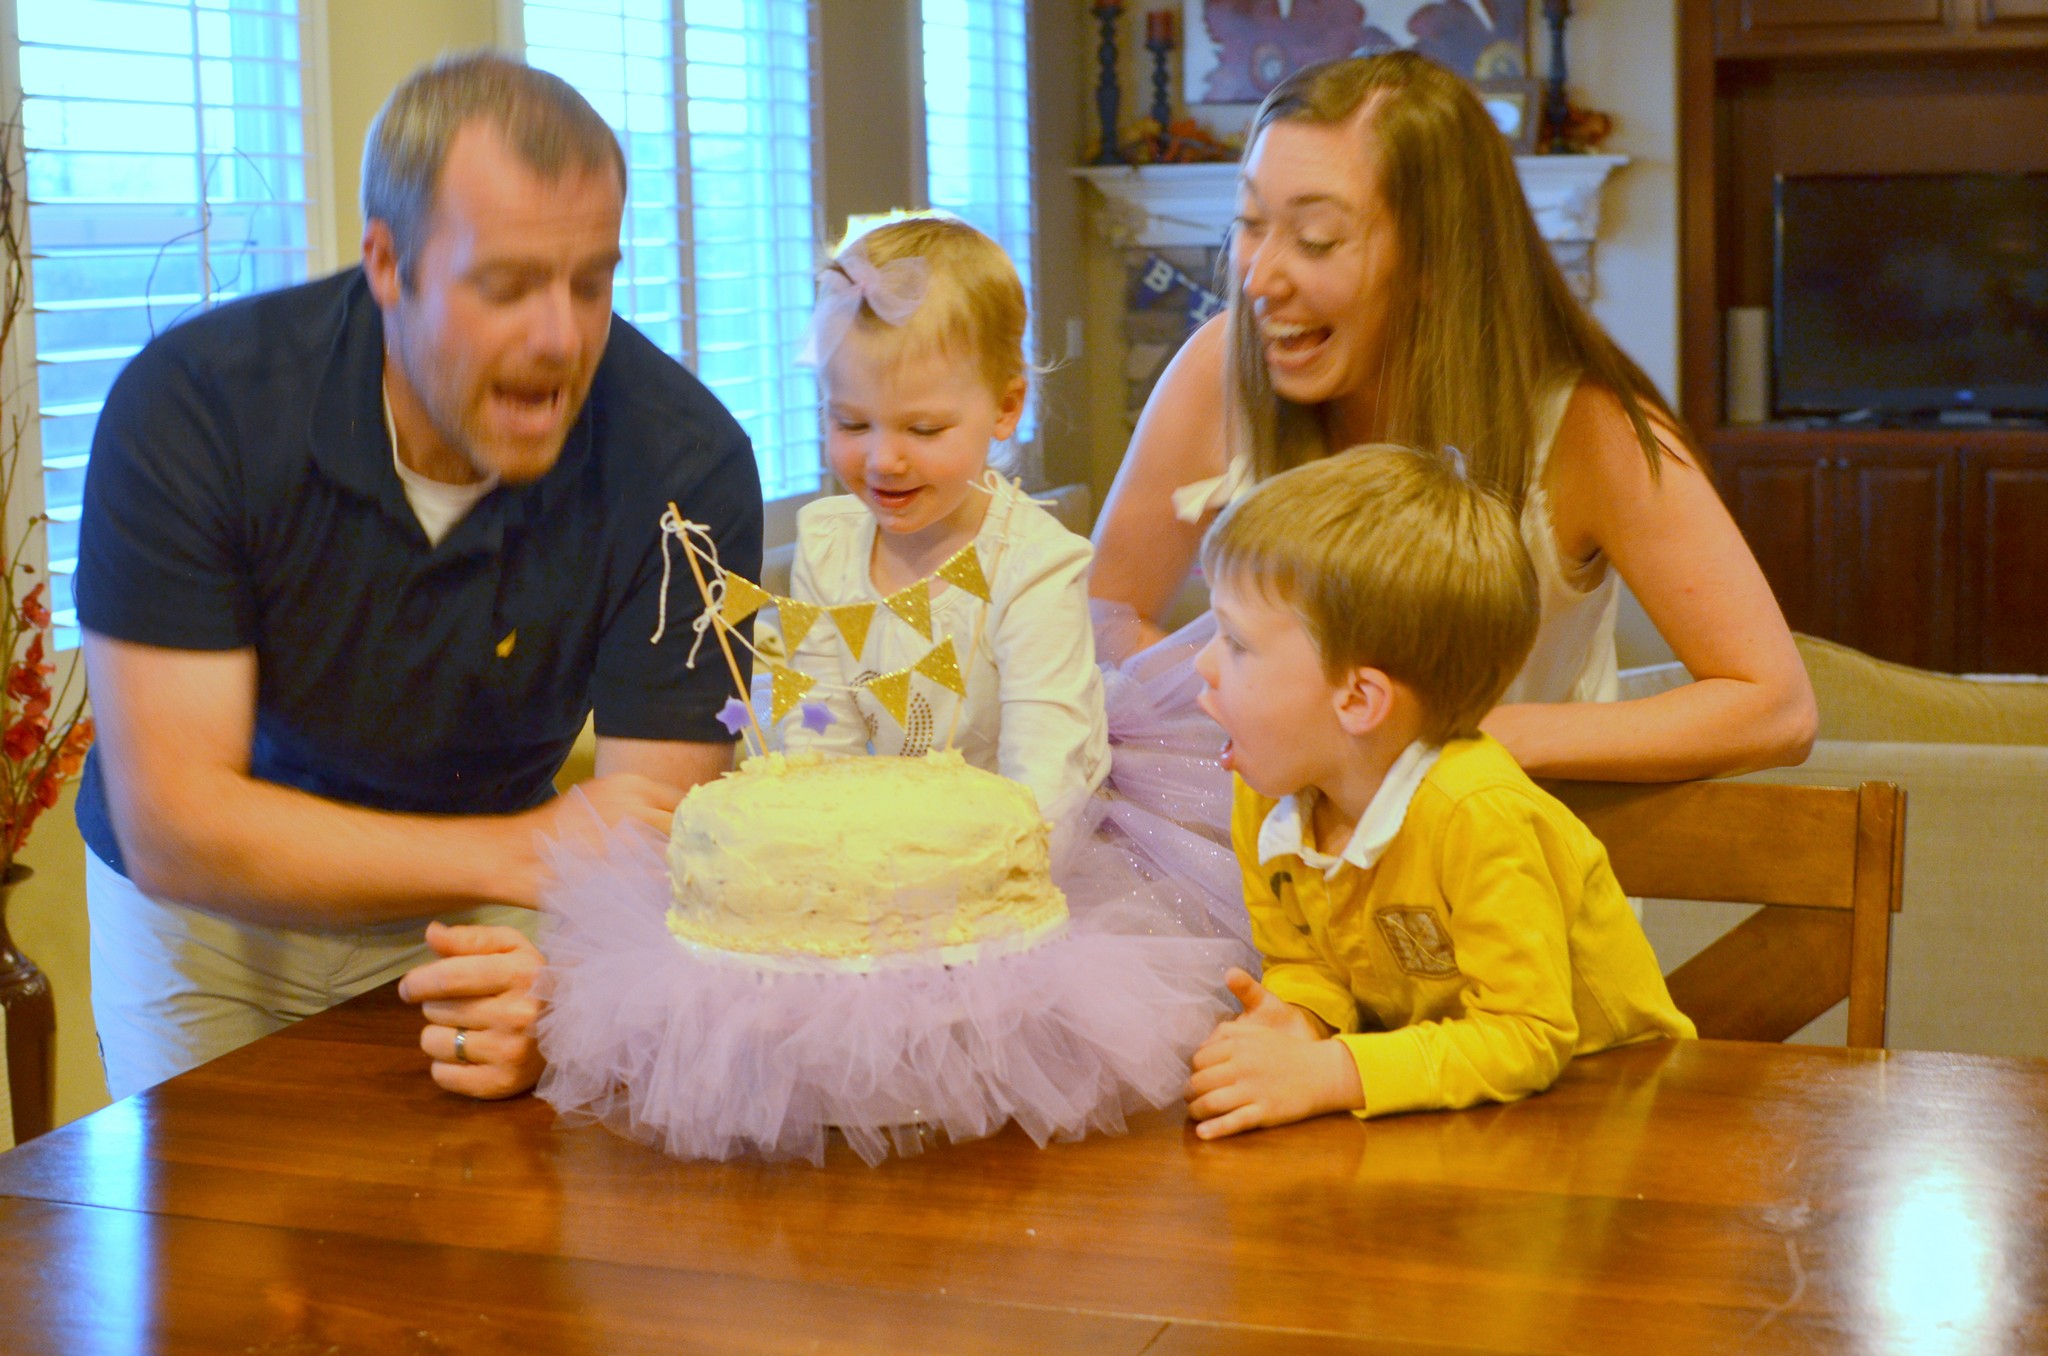
She took a nap, and Brian helped me decorate like crazy. She woke up to this:
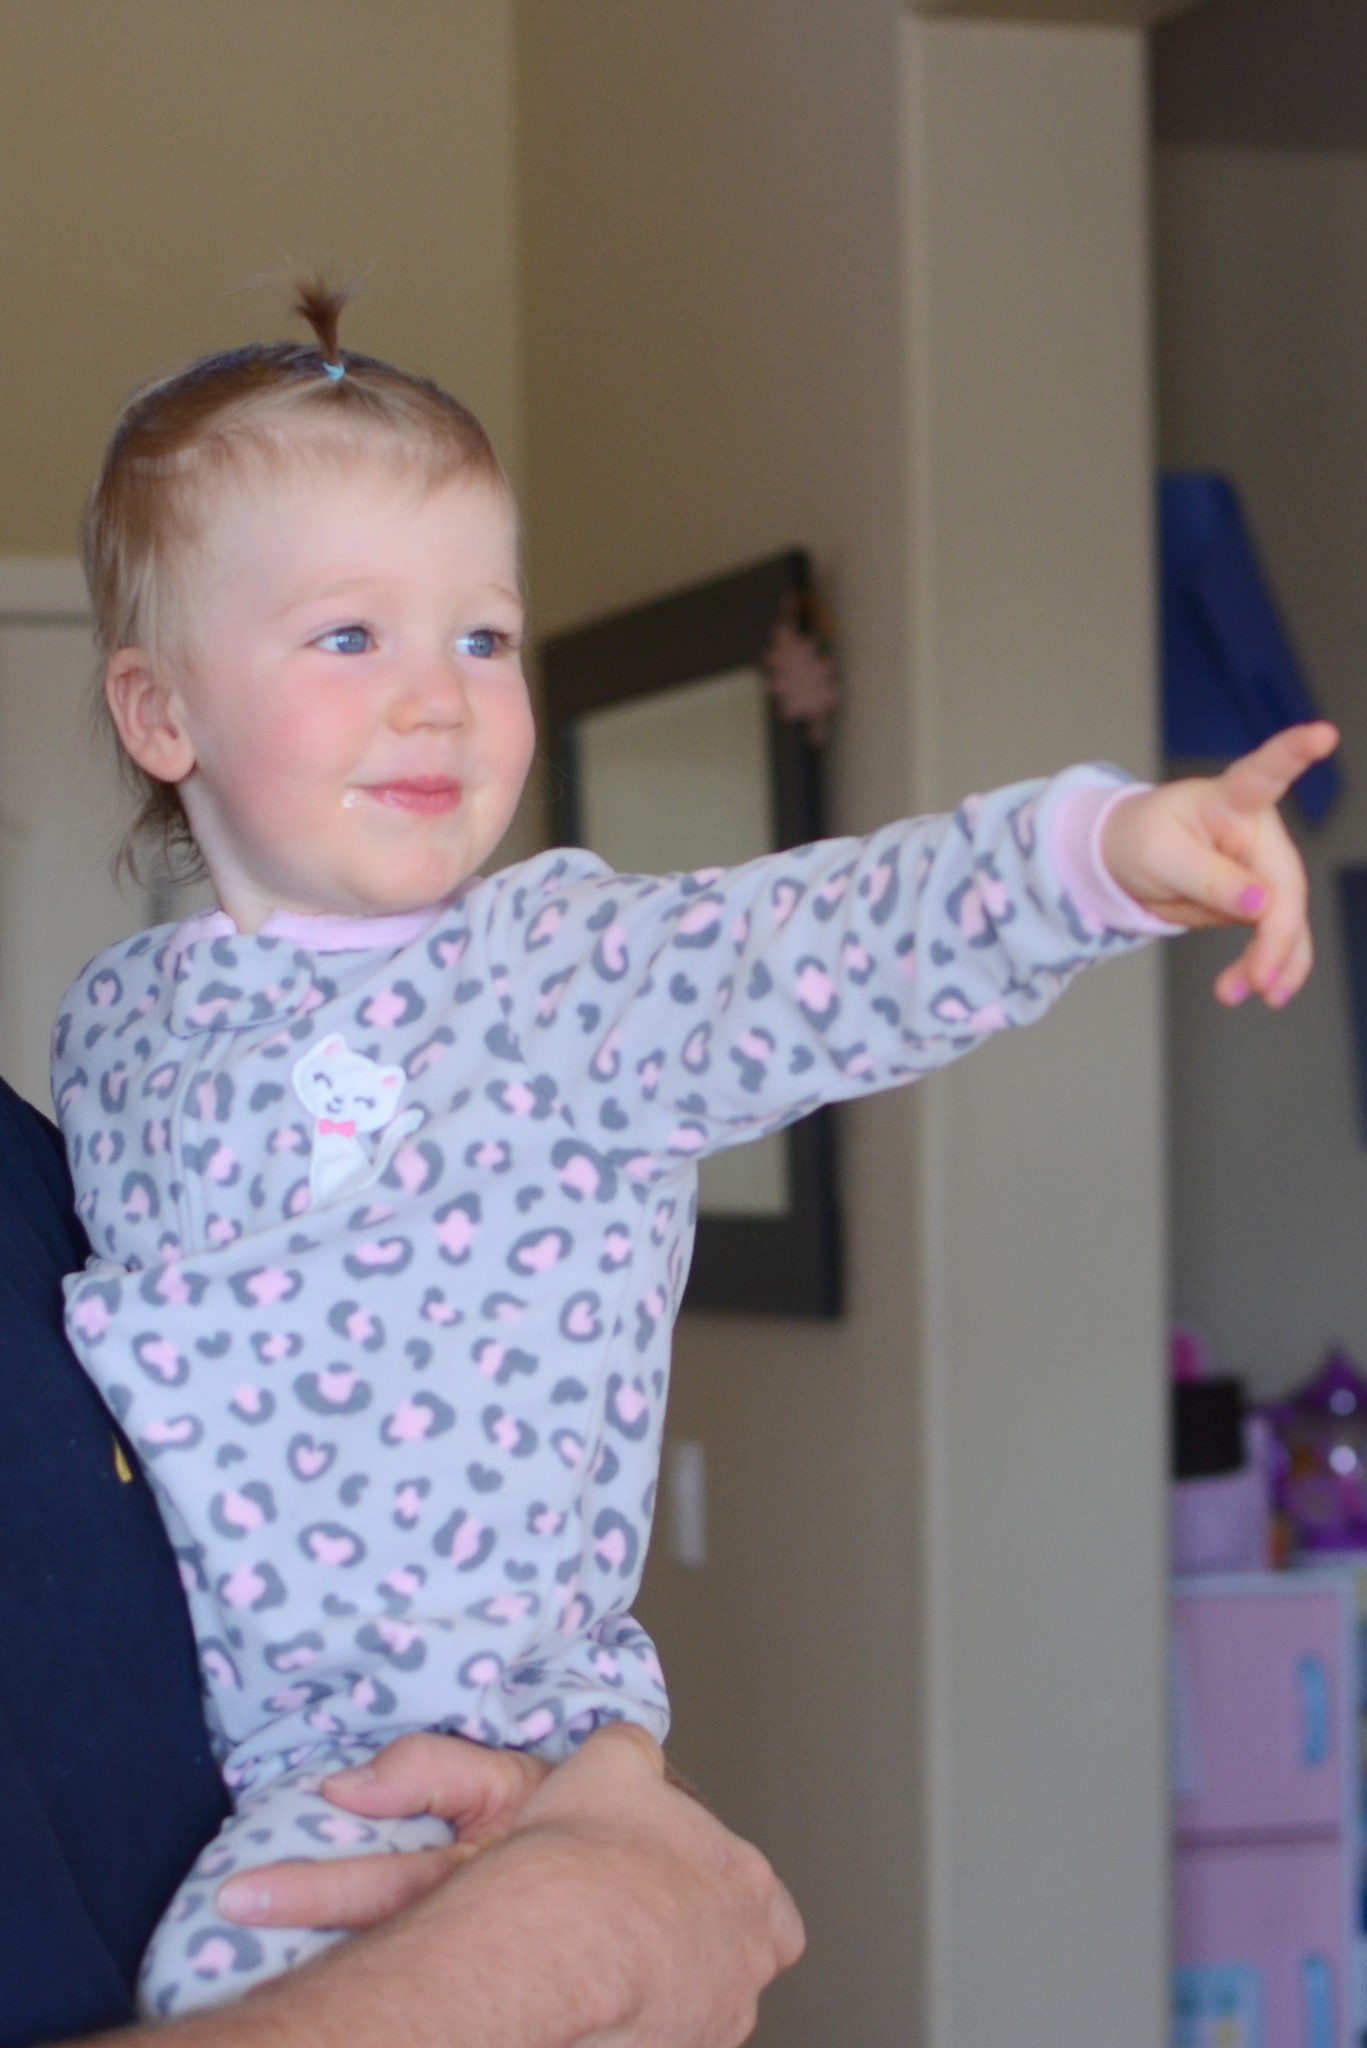
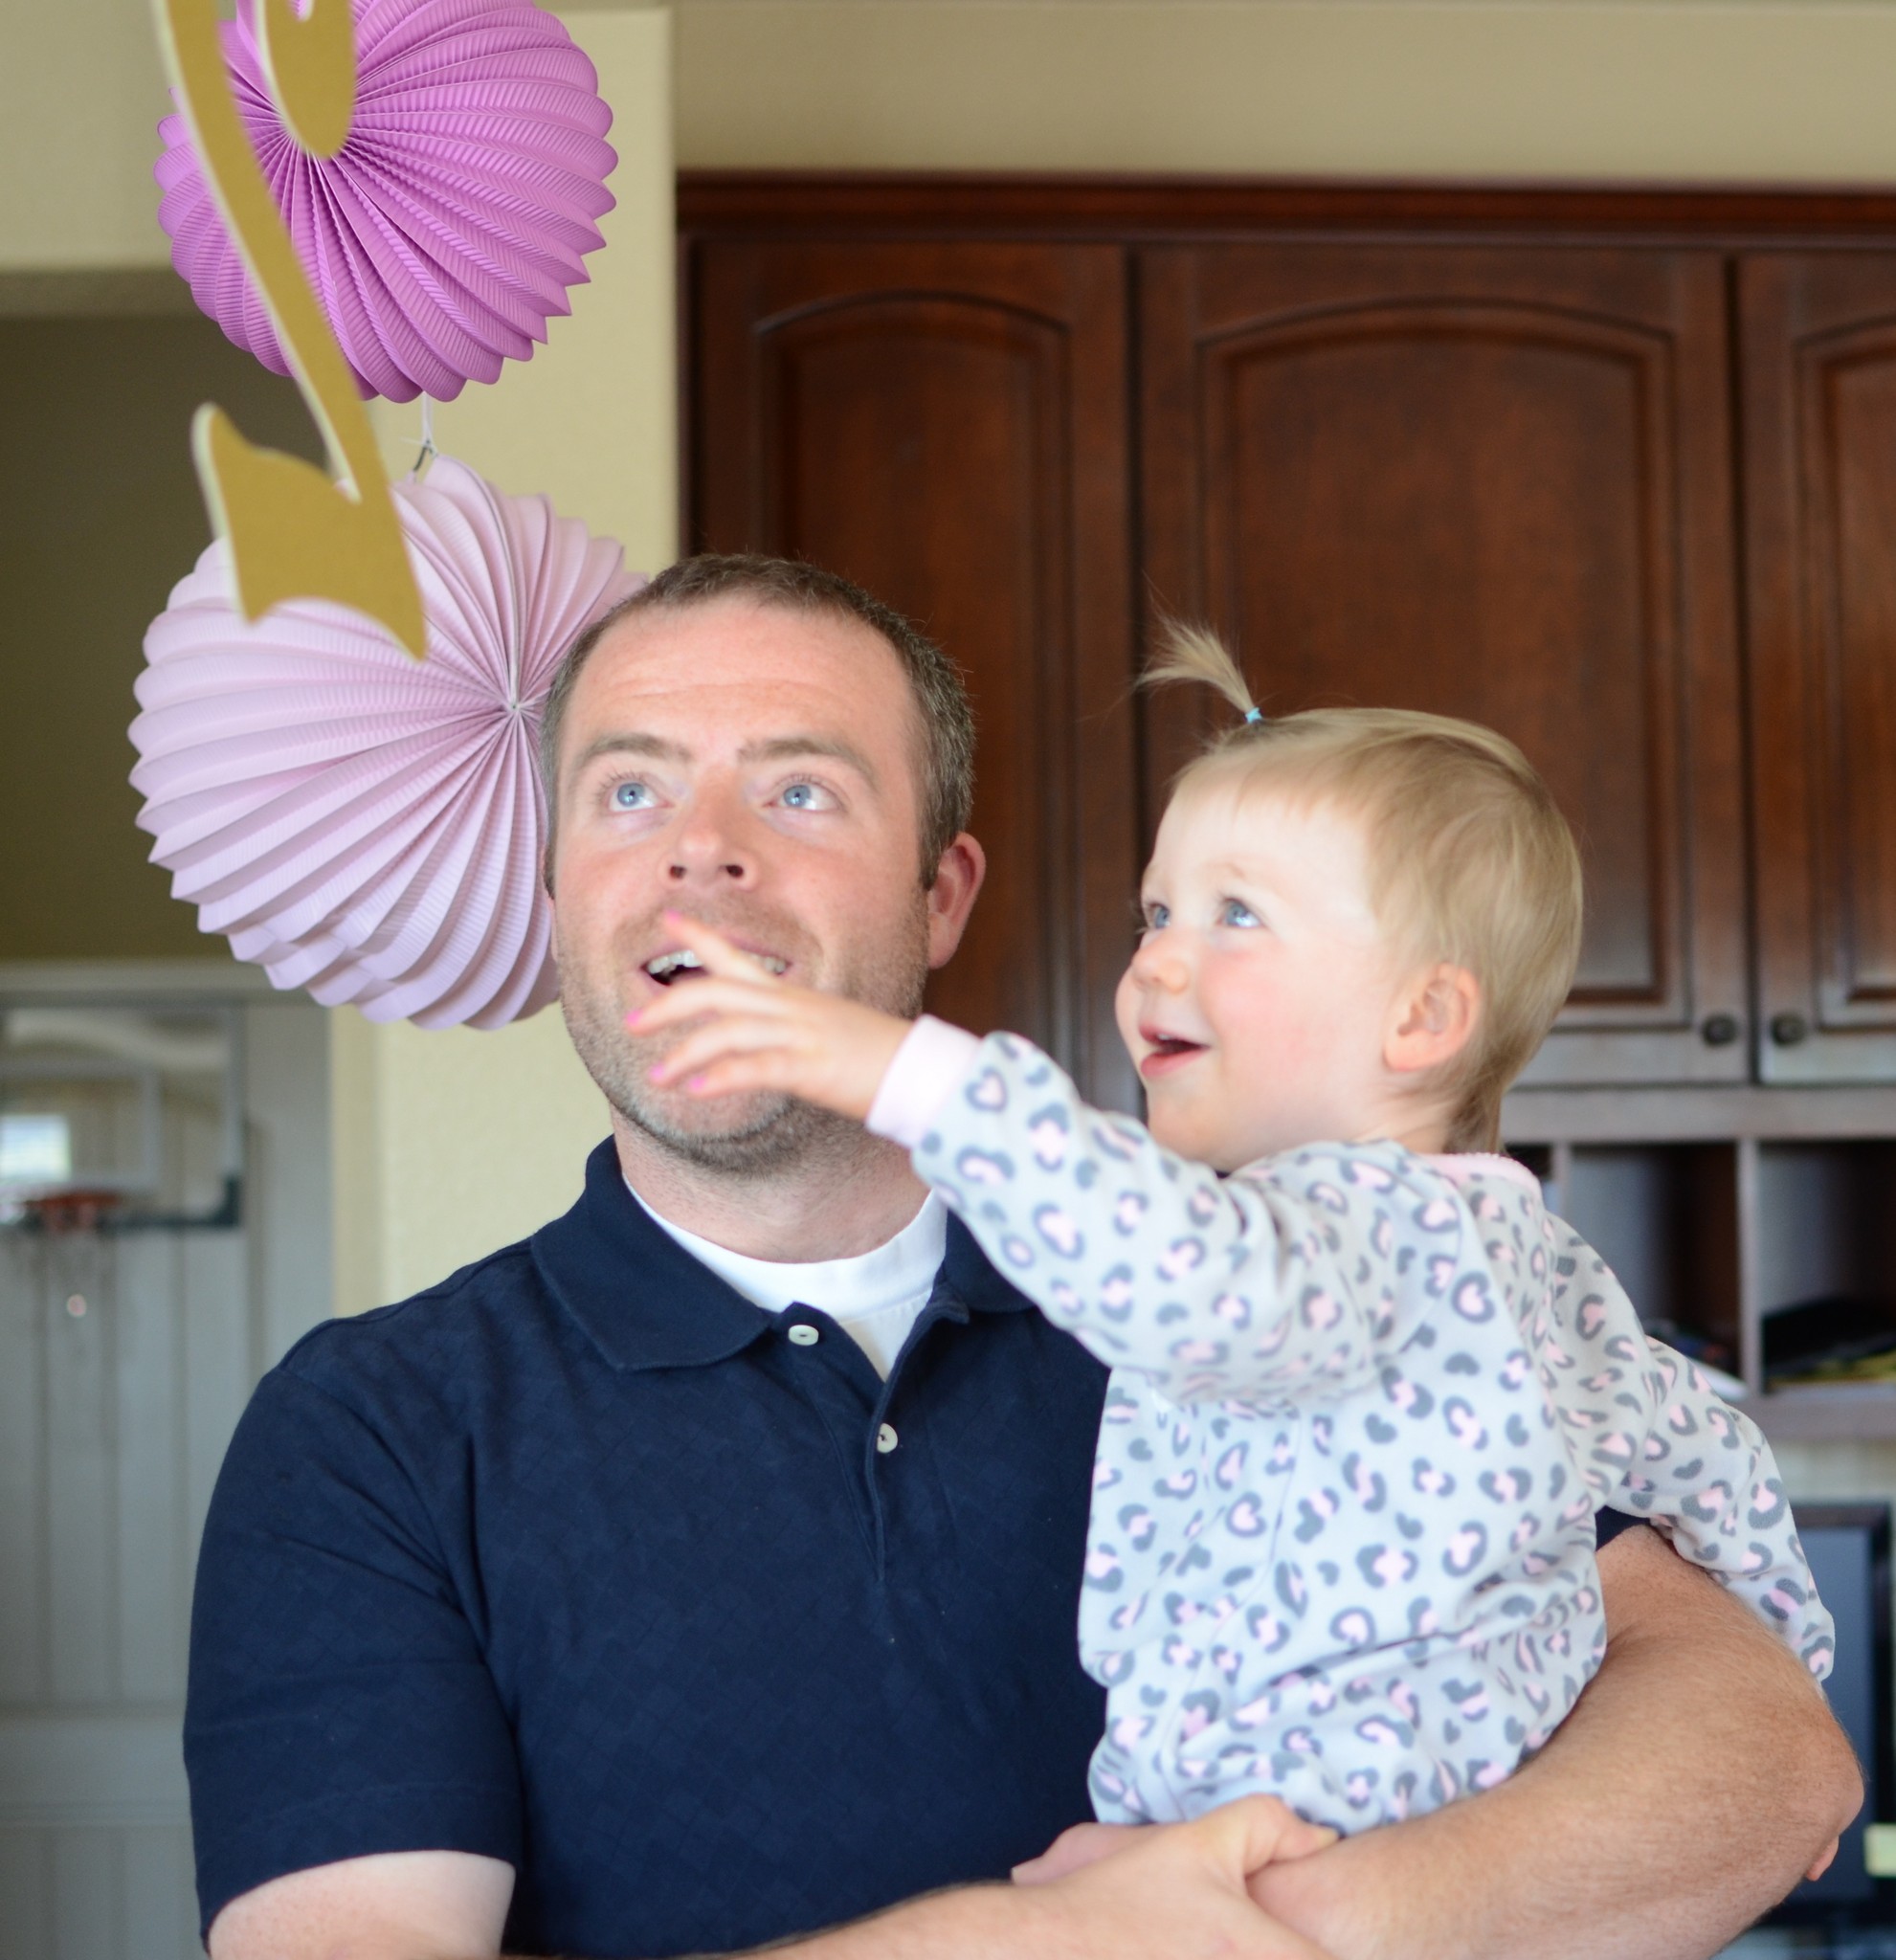
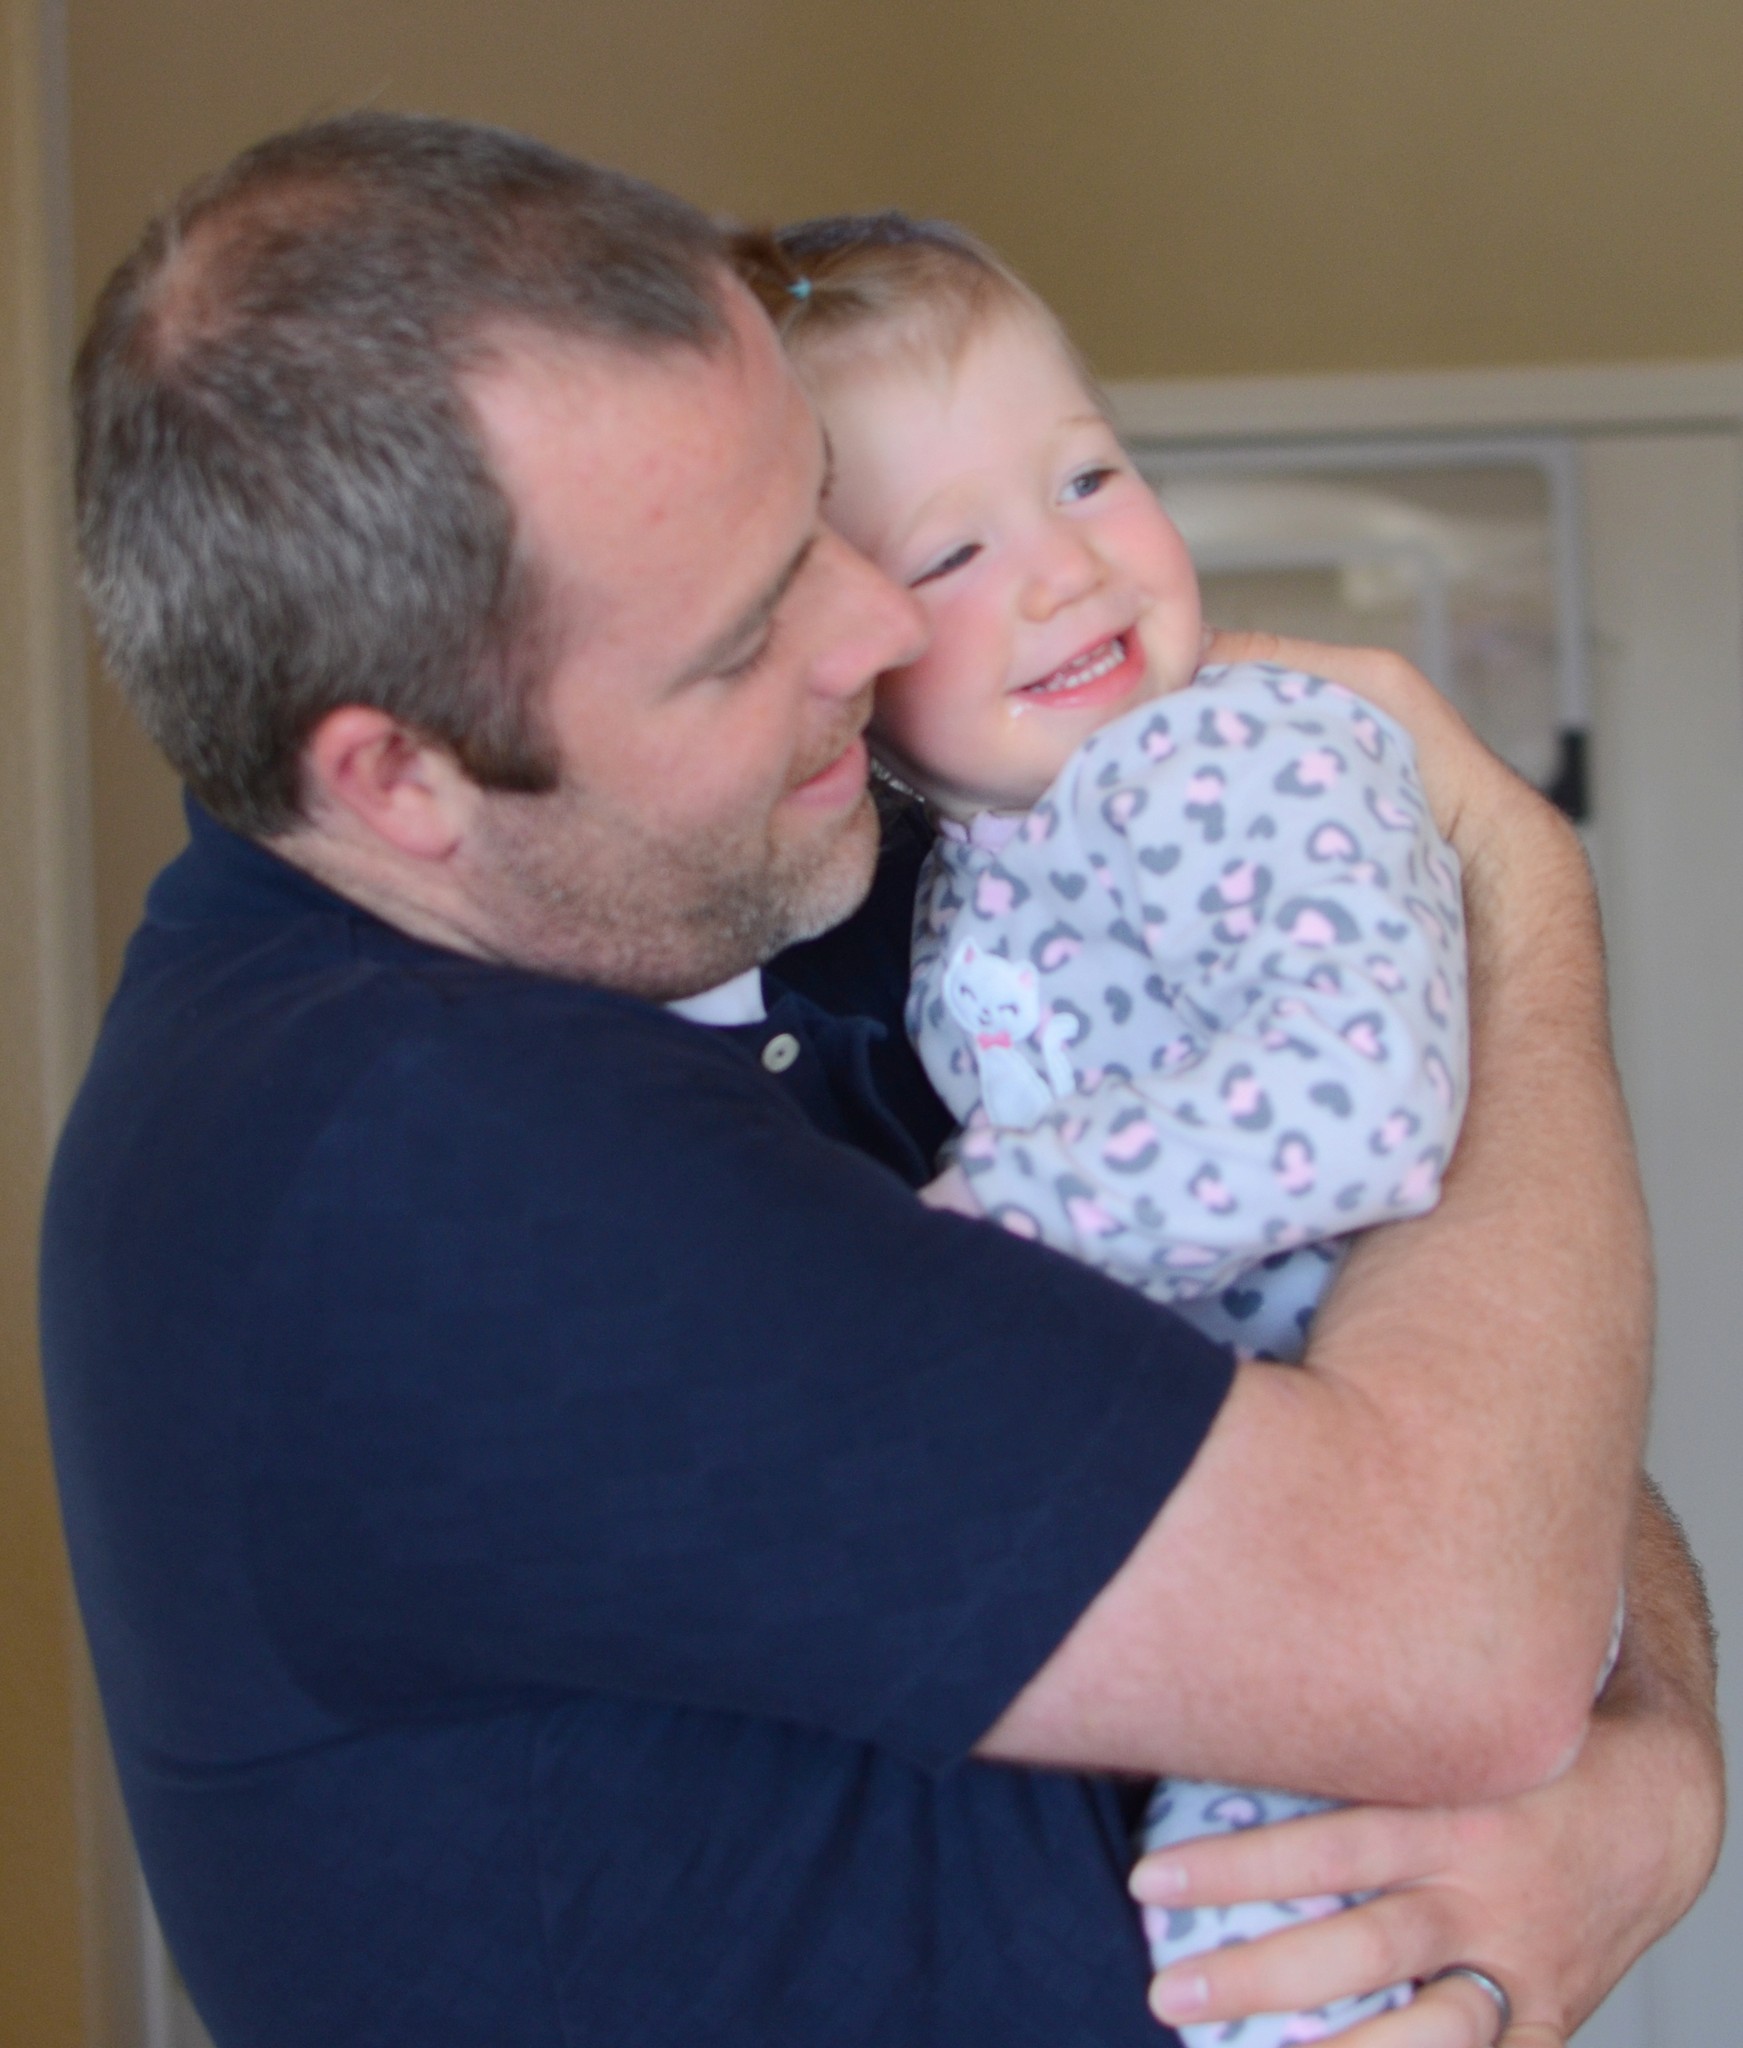
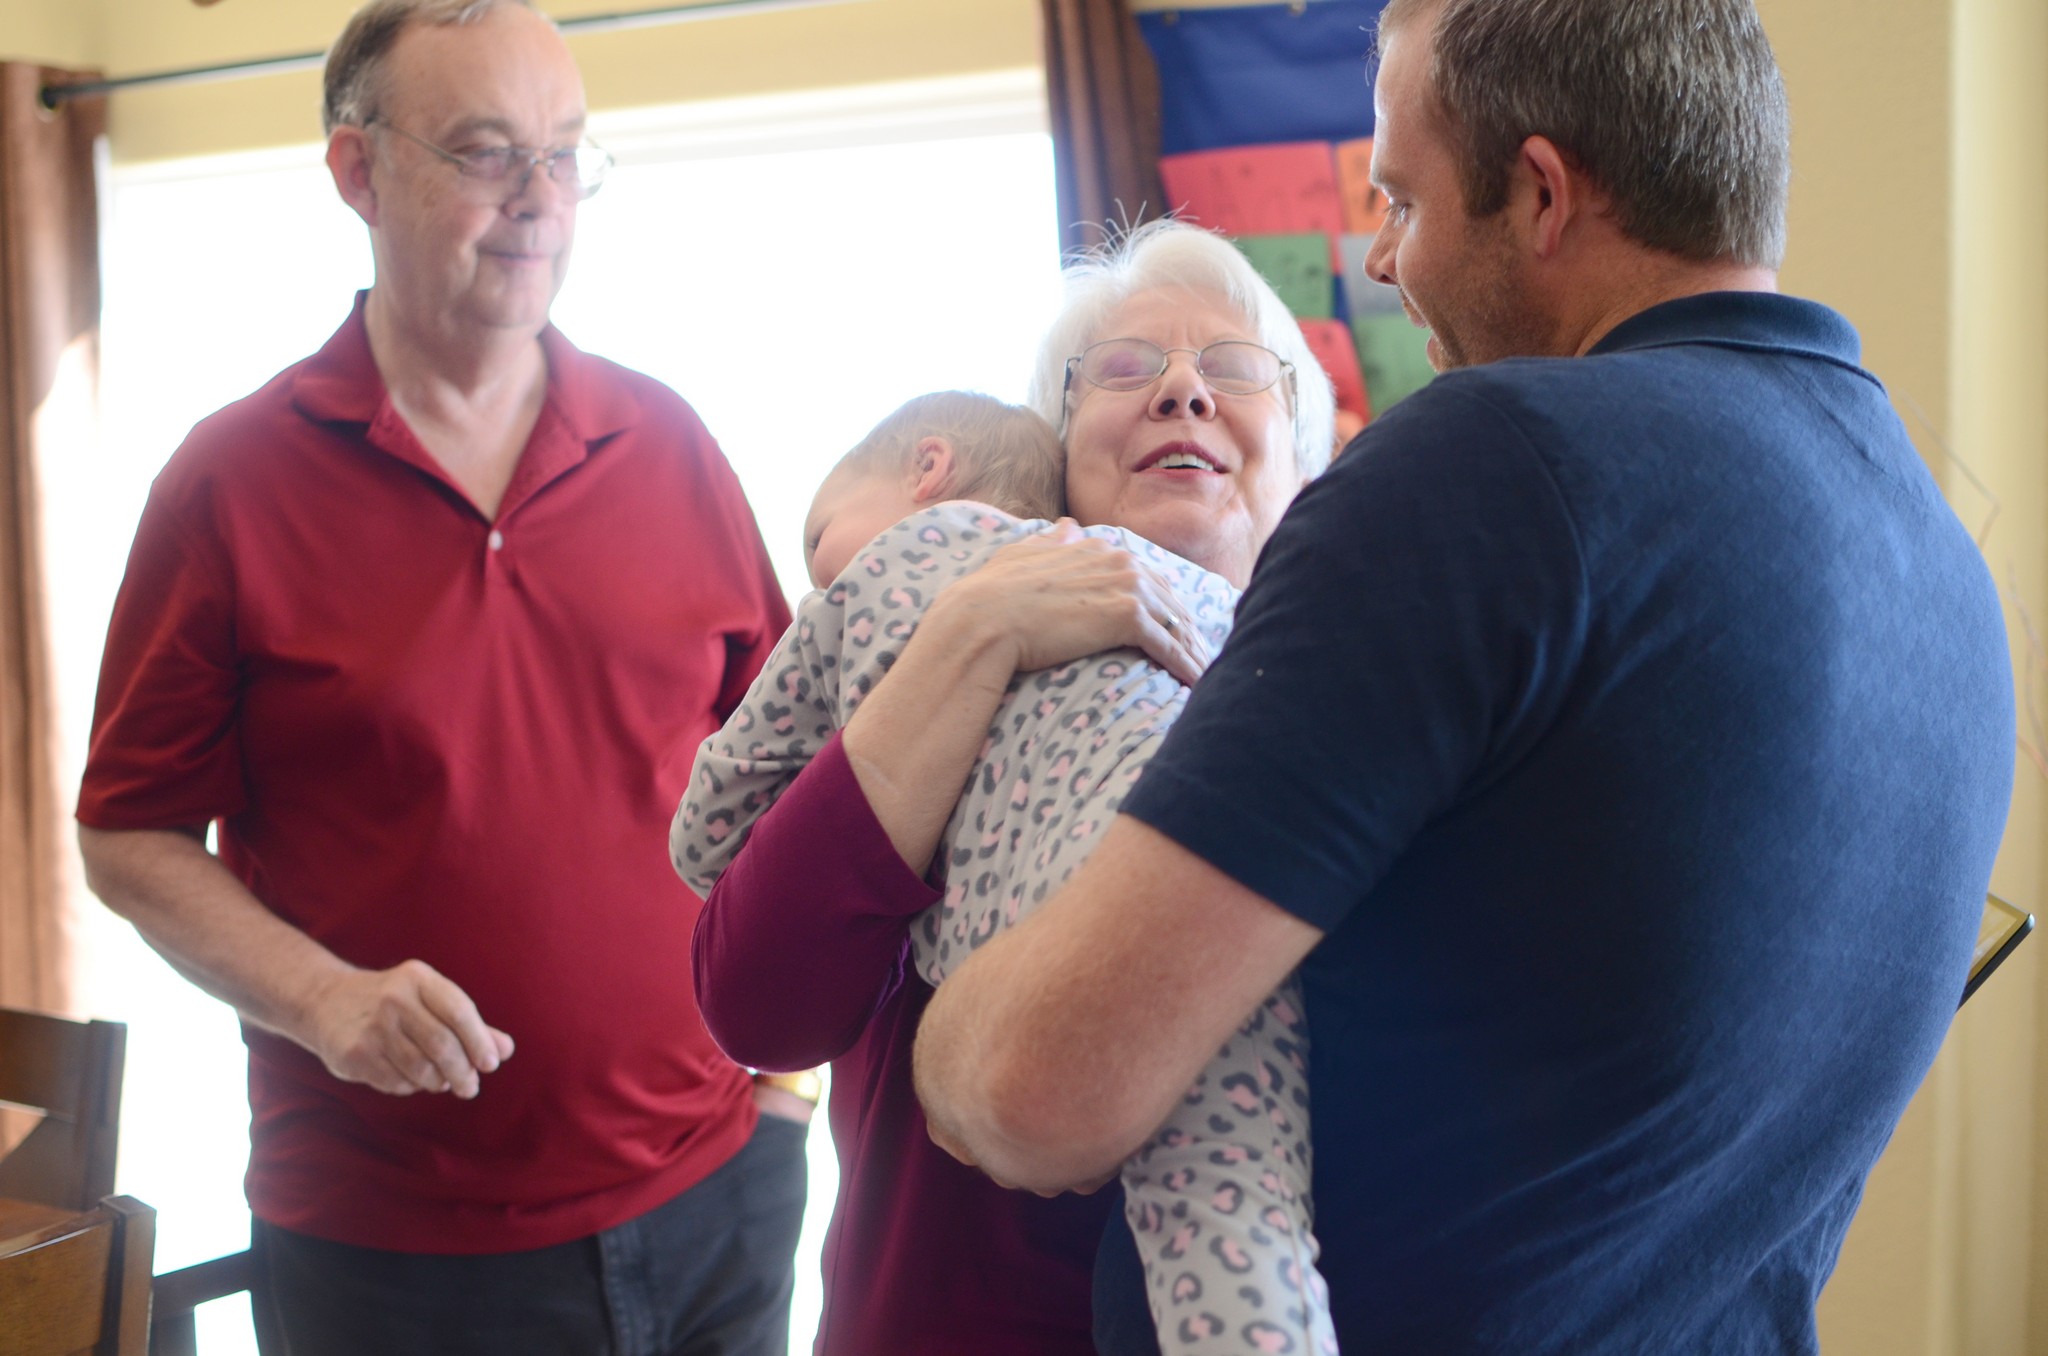
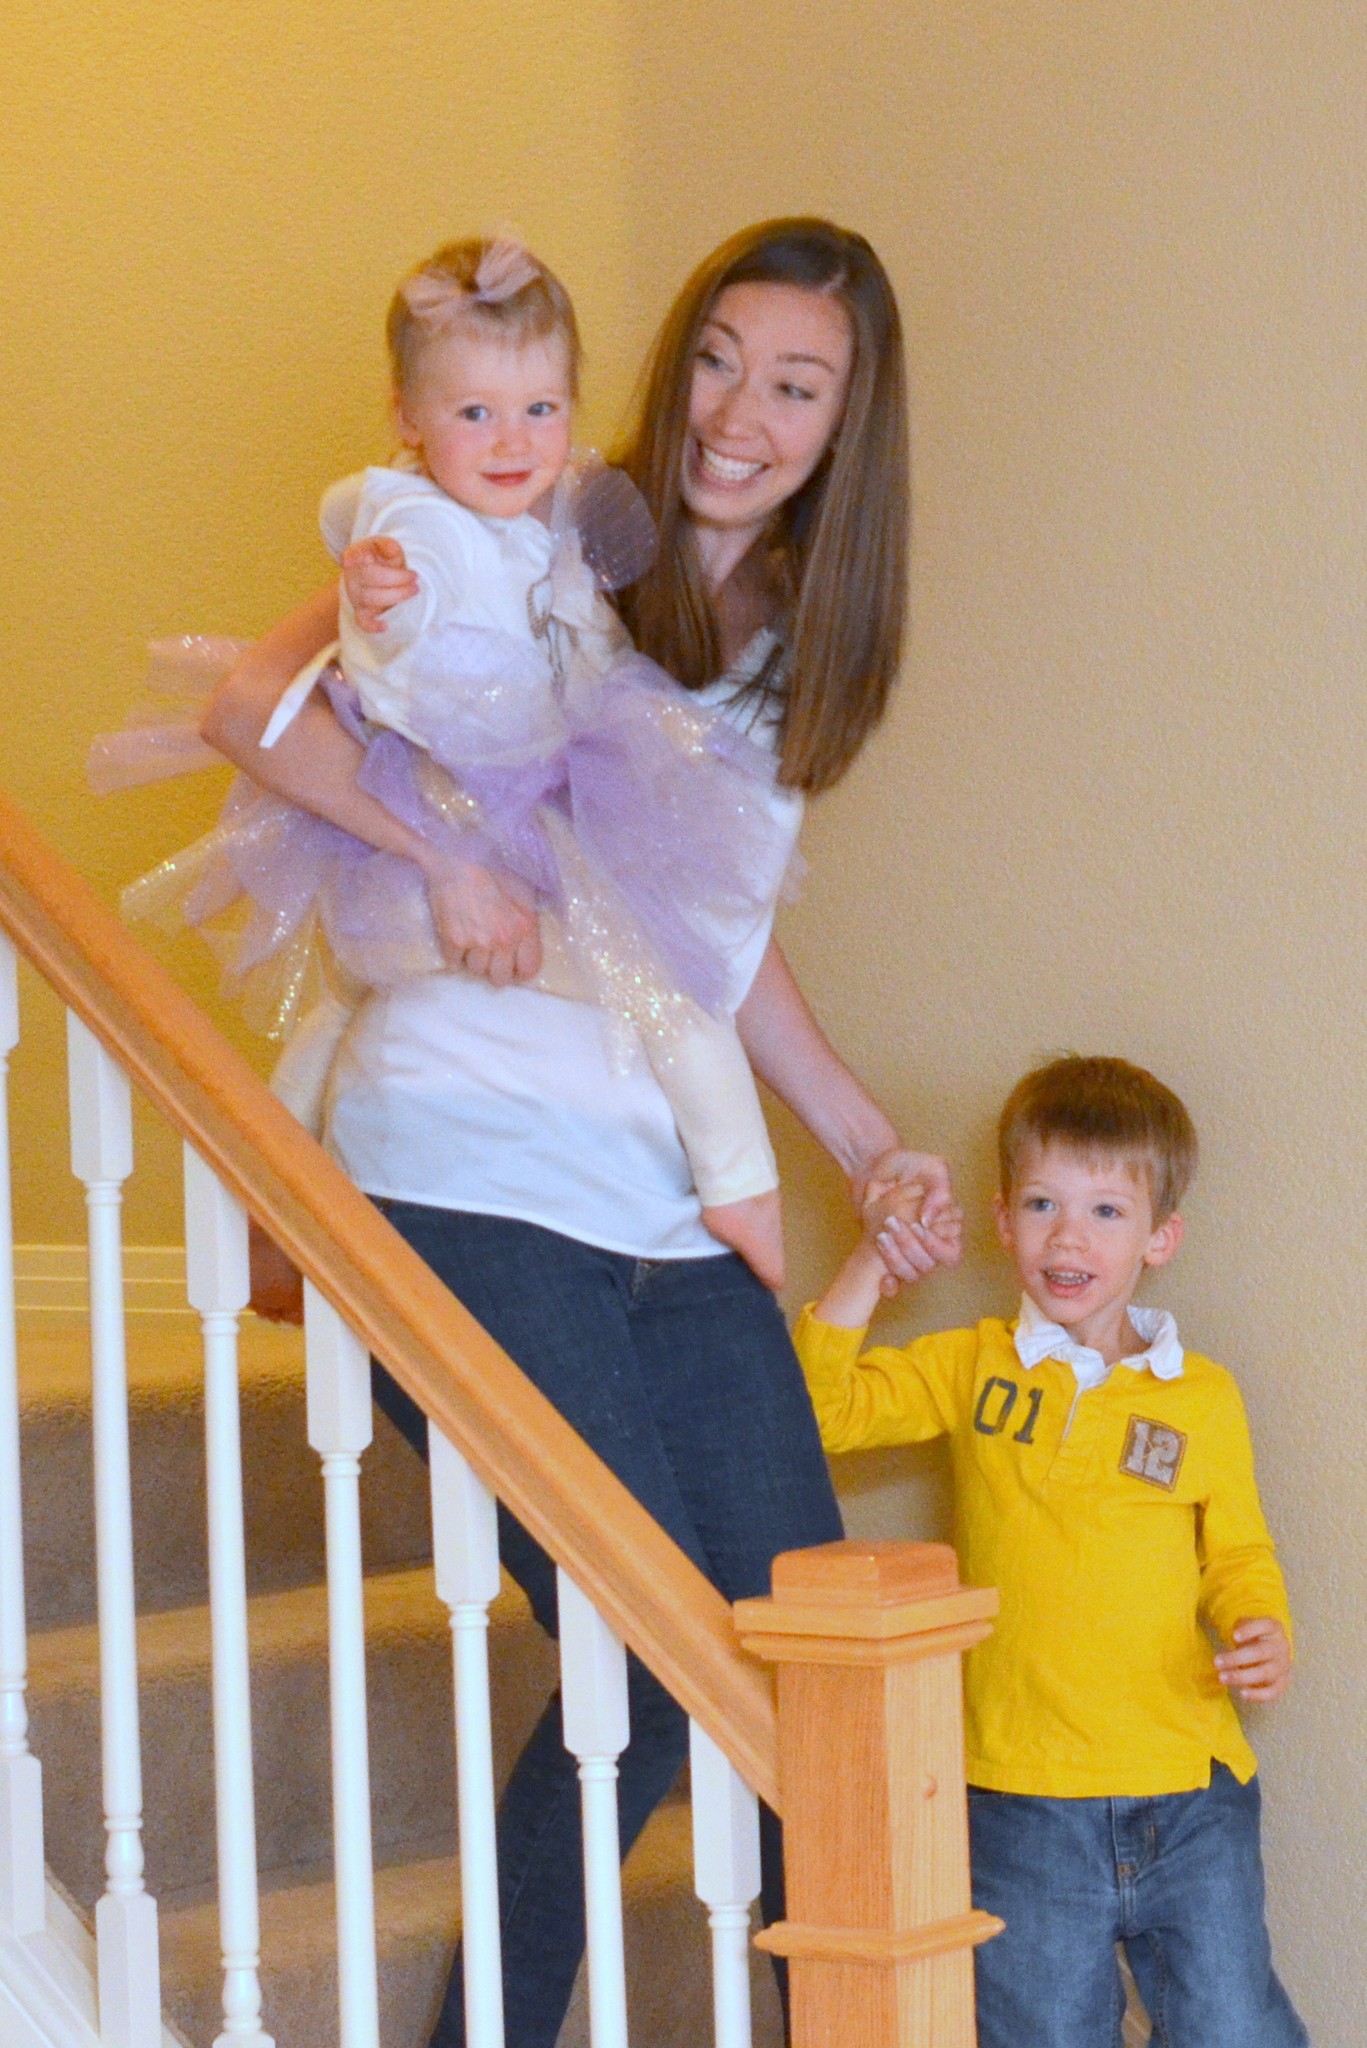
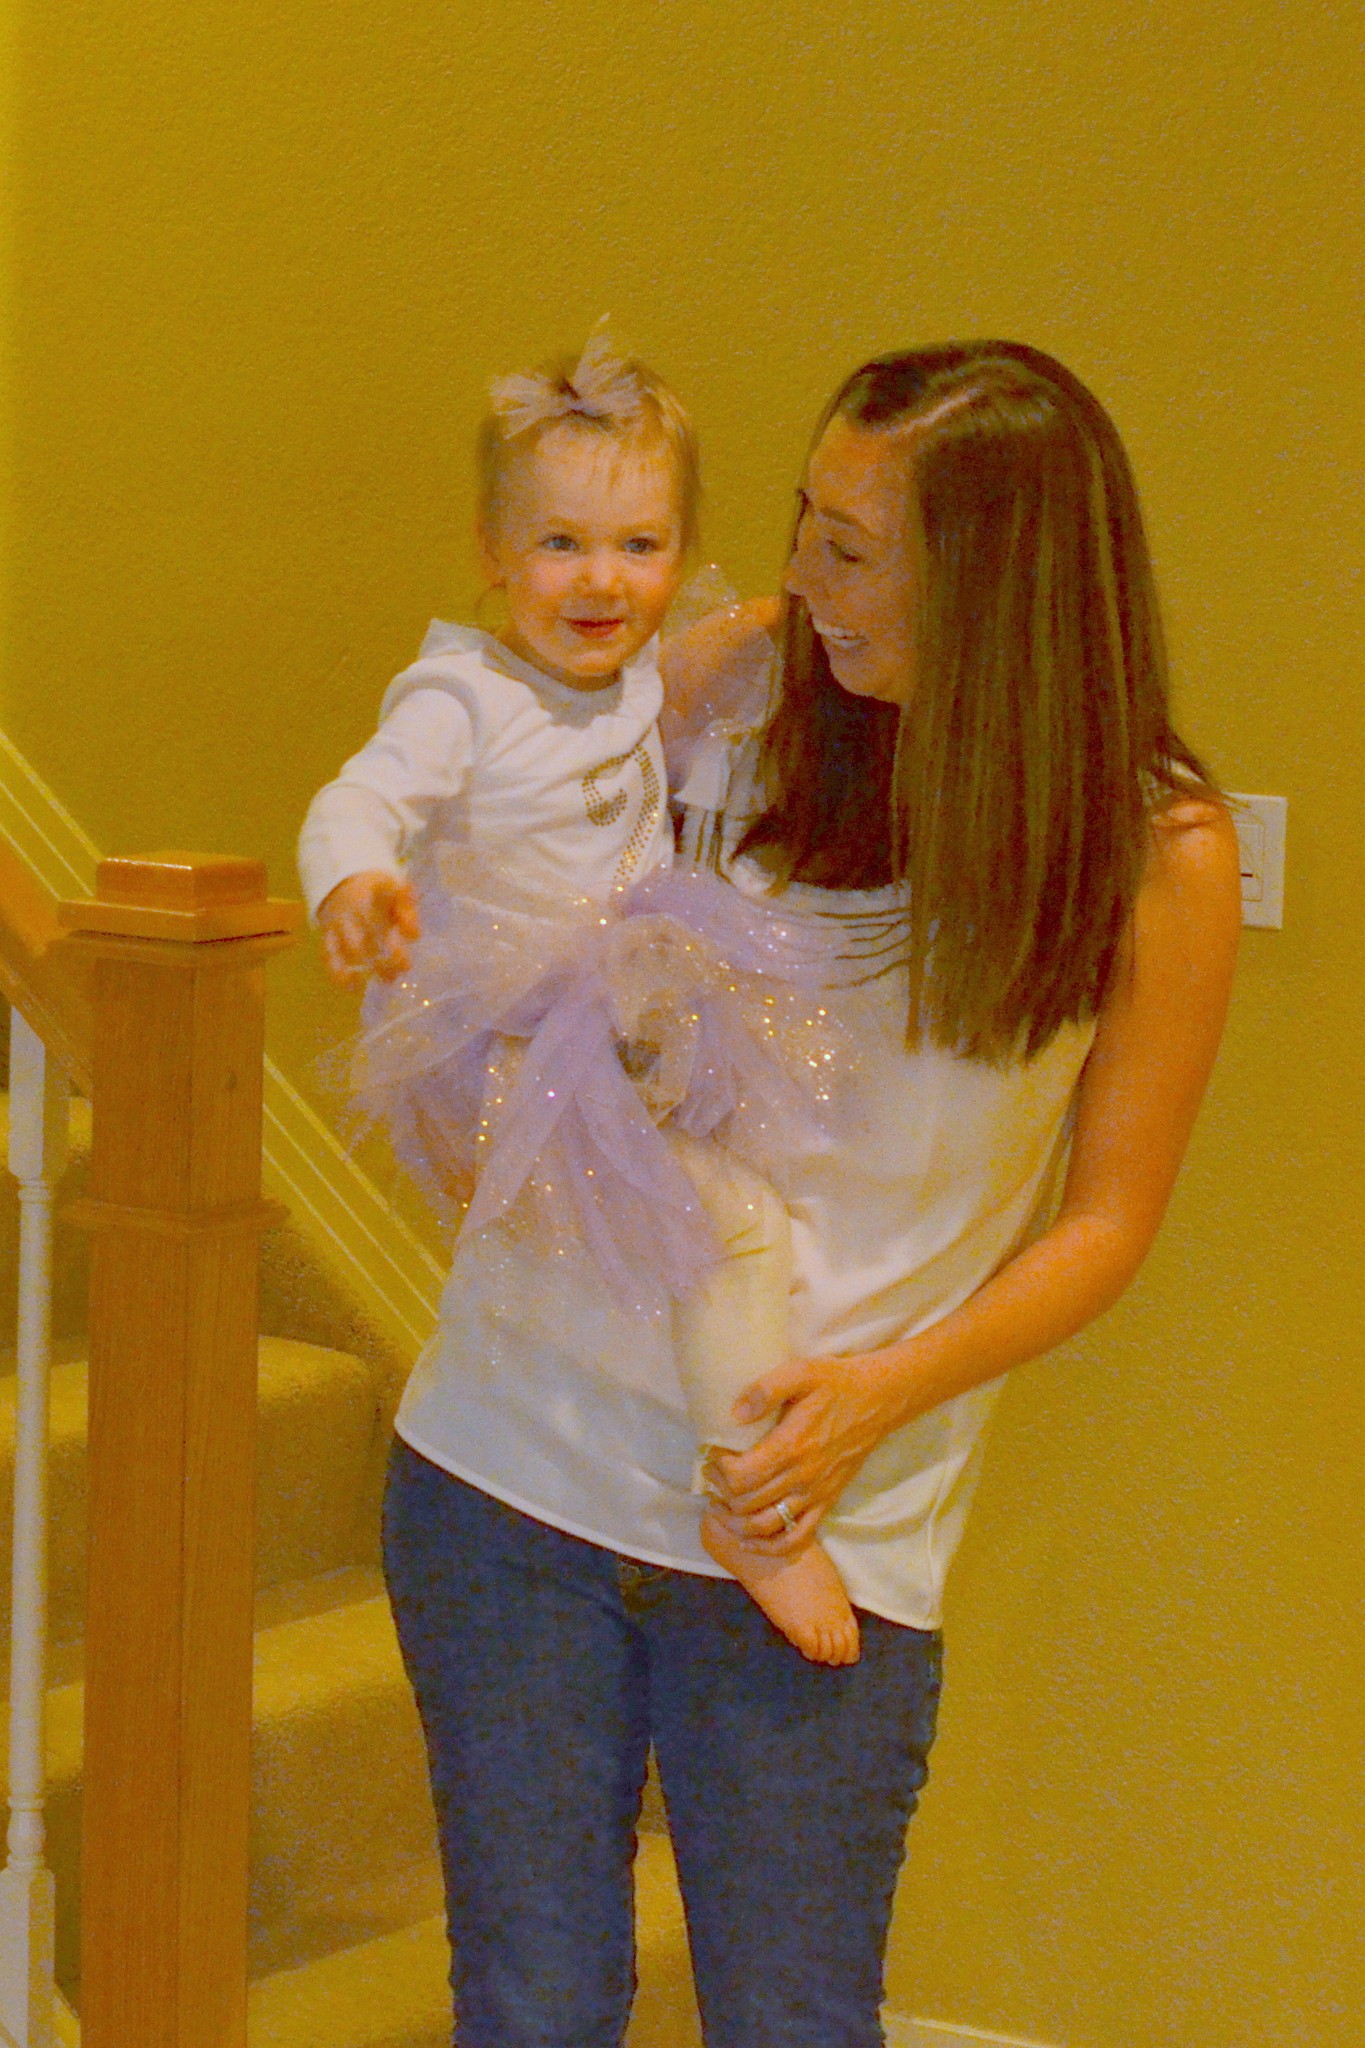
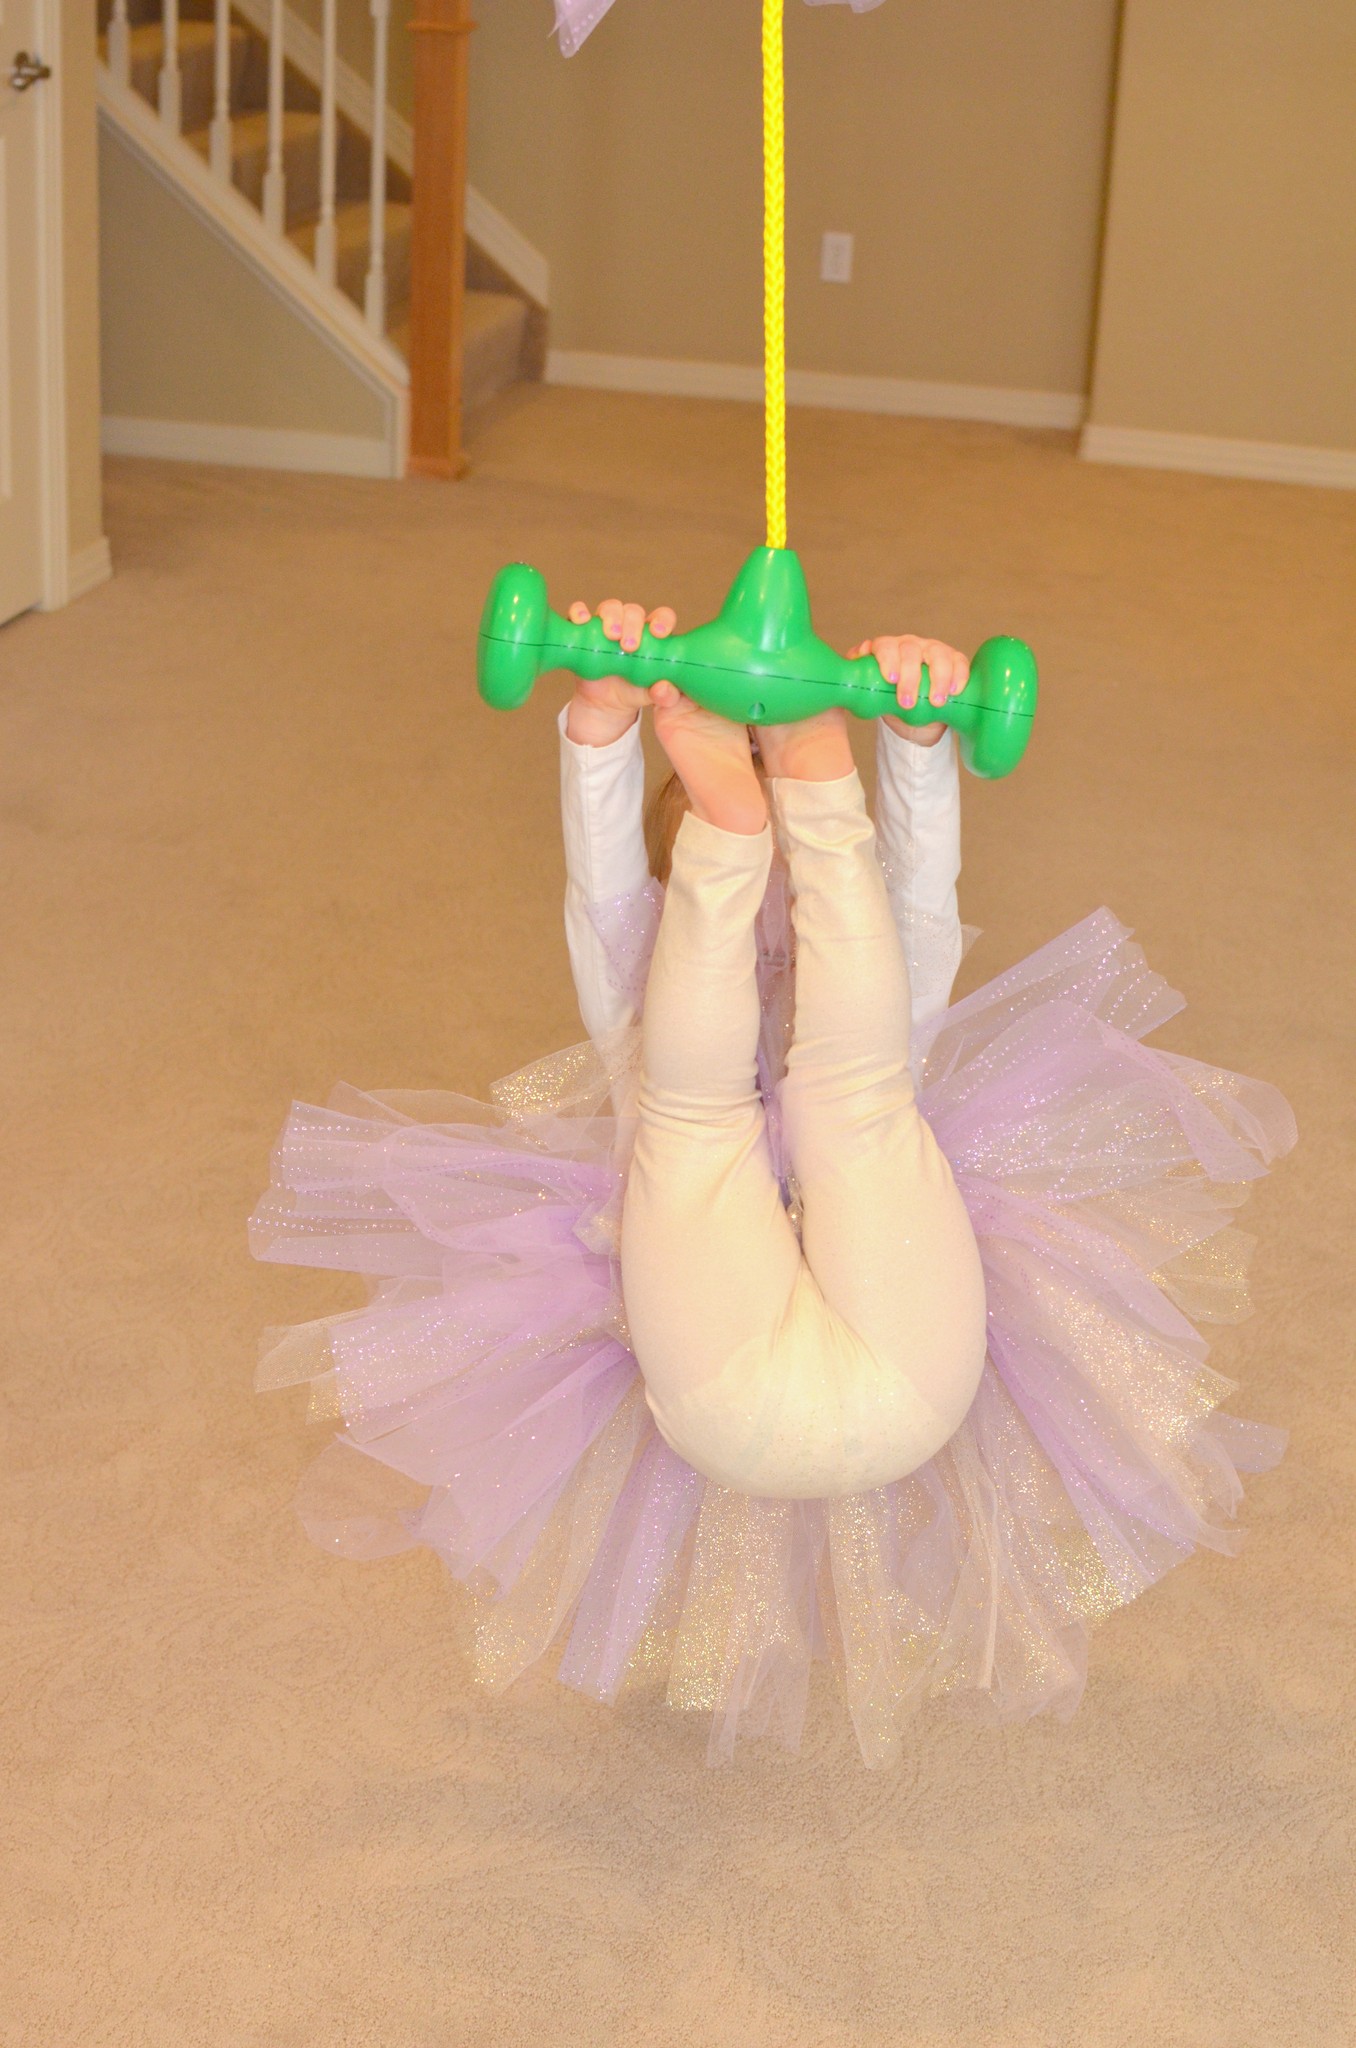
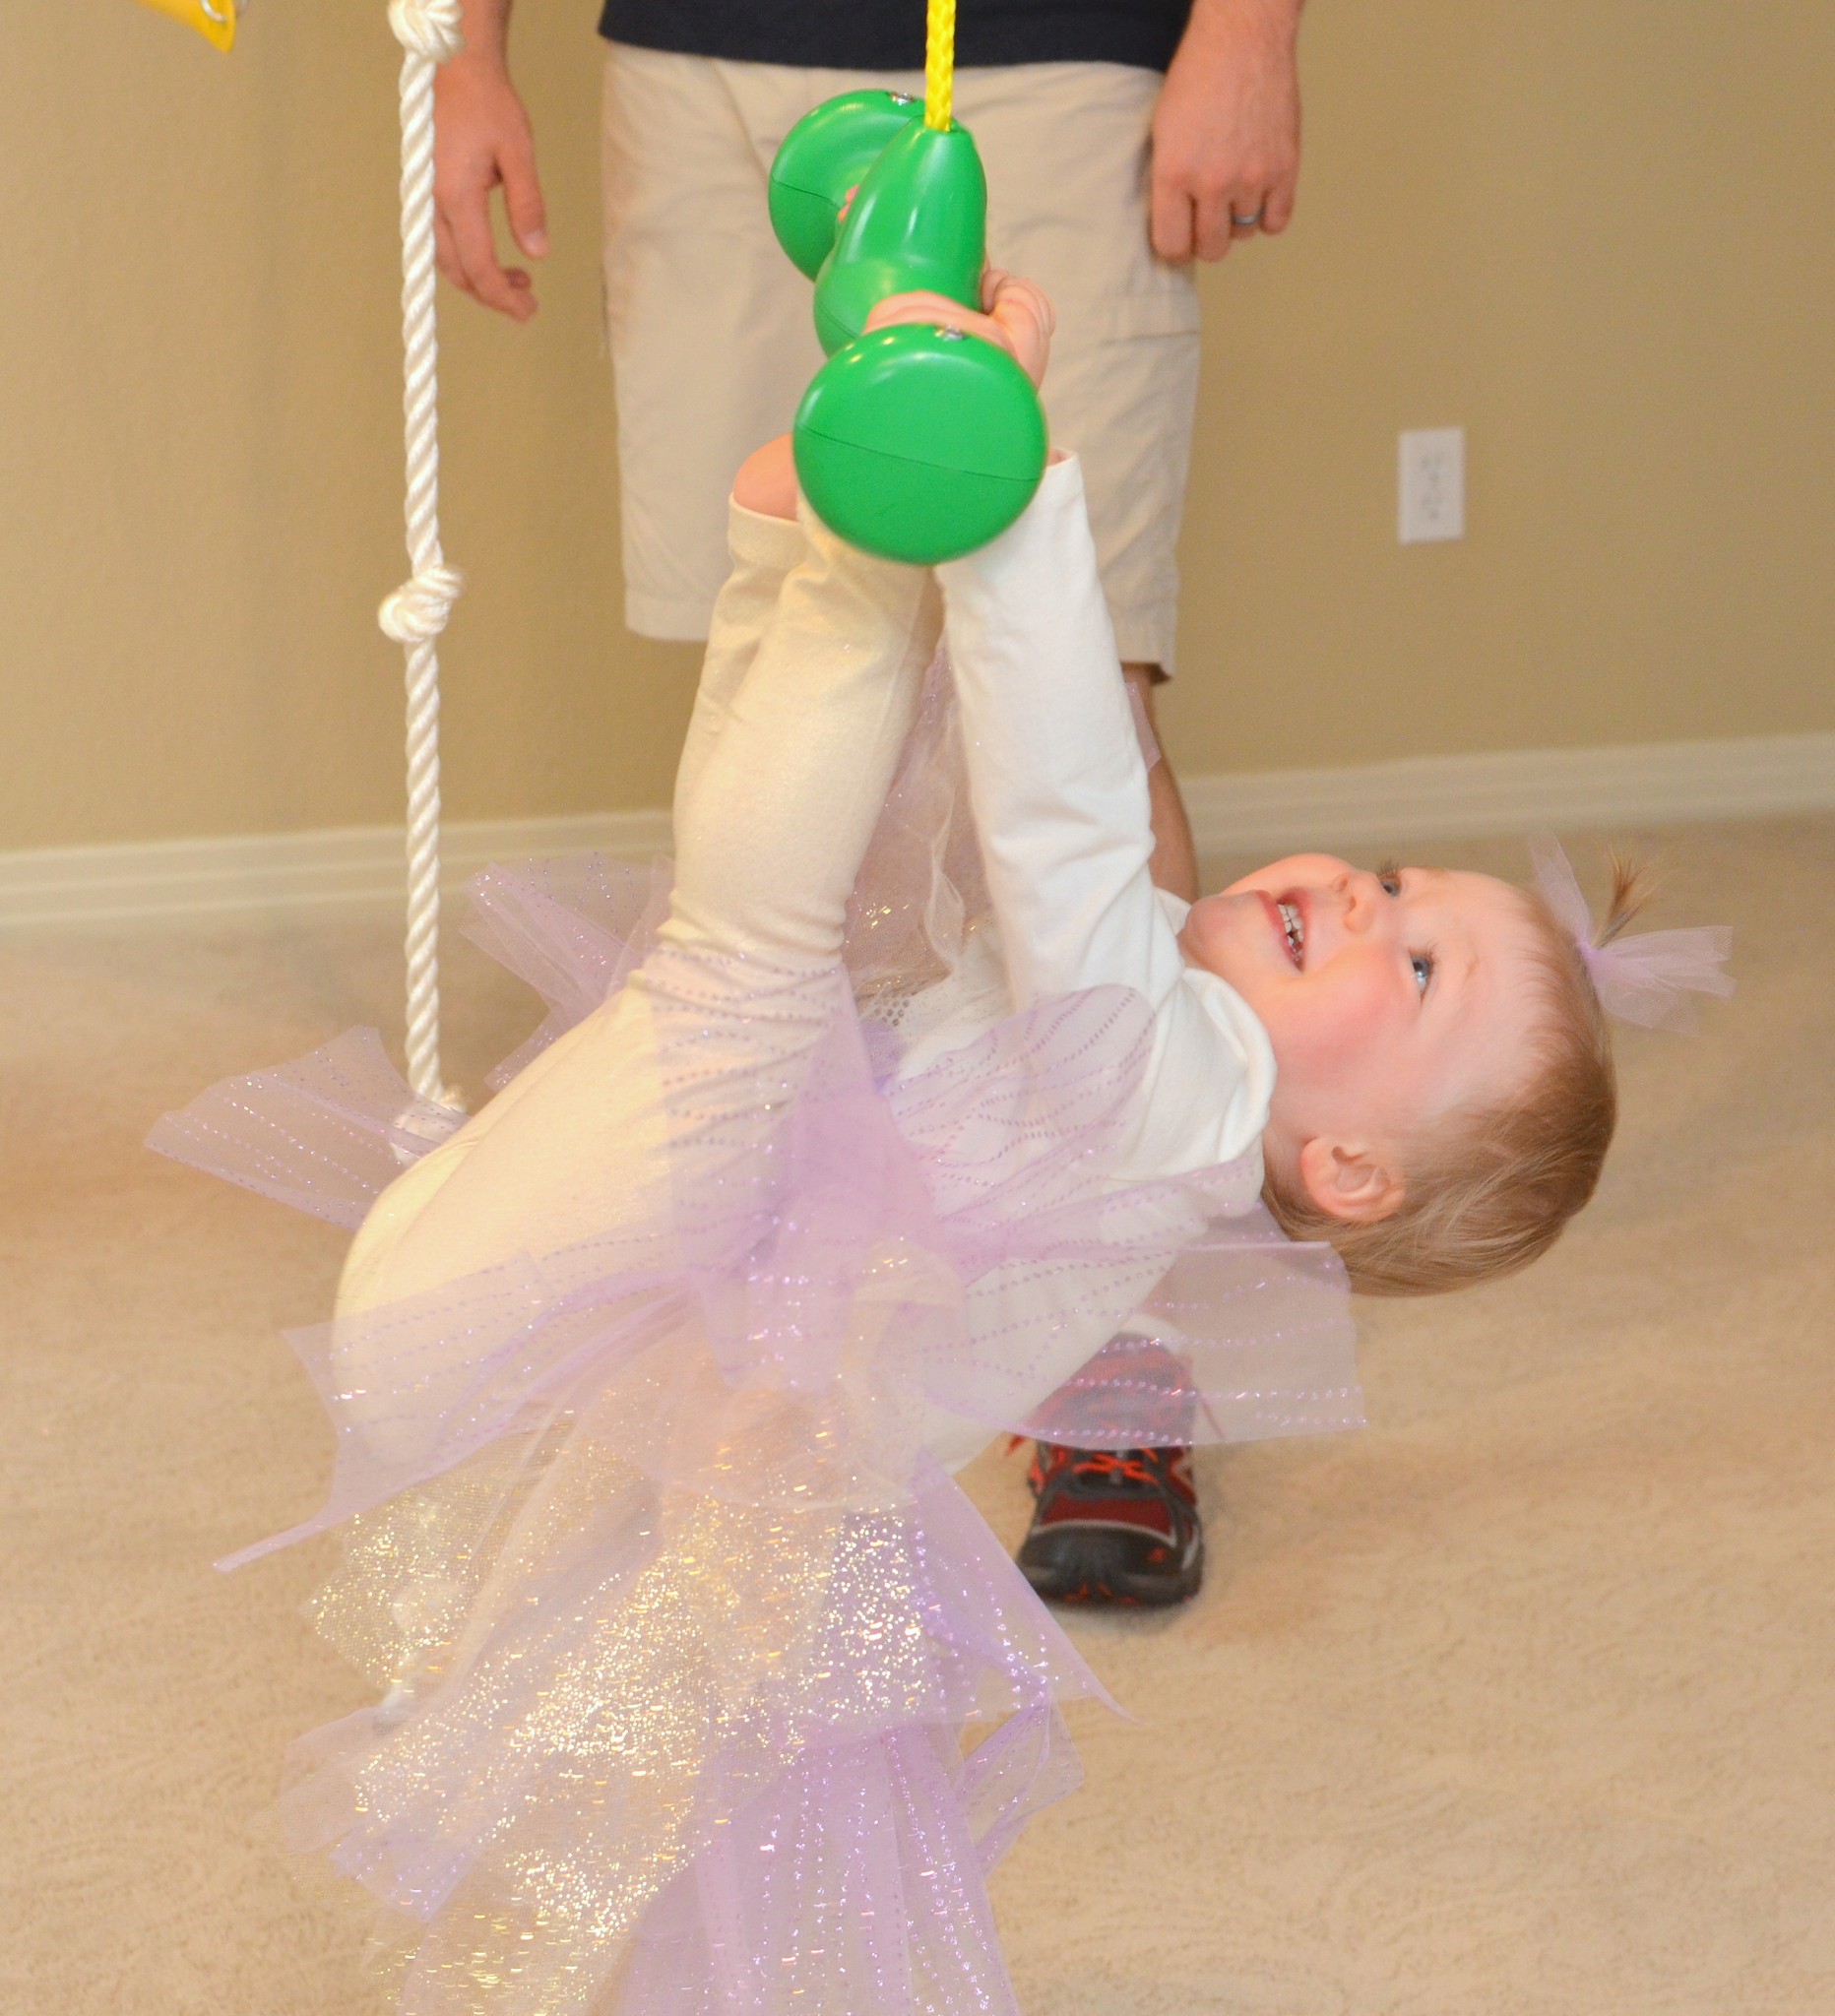
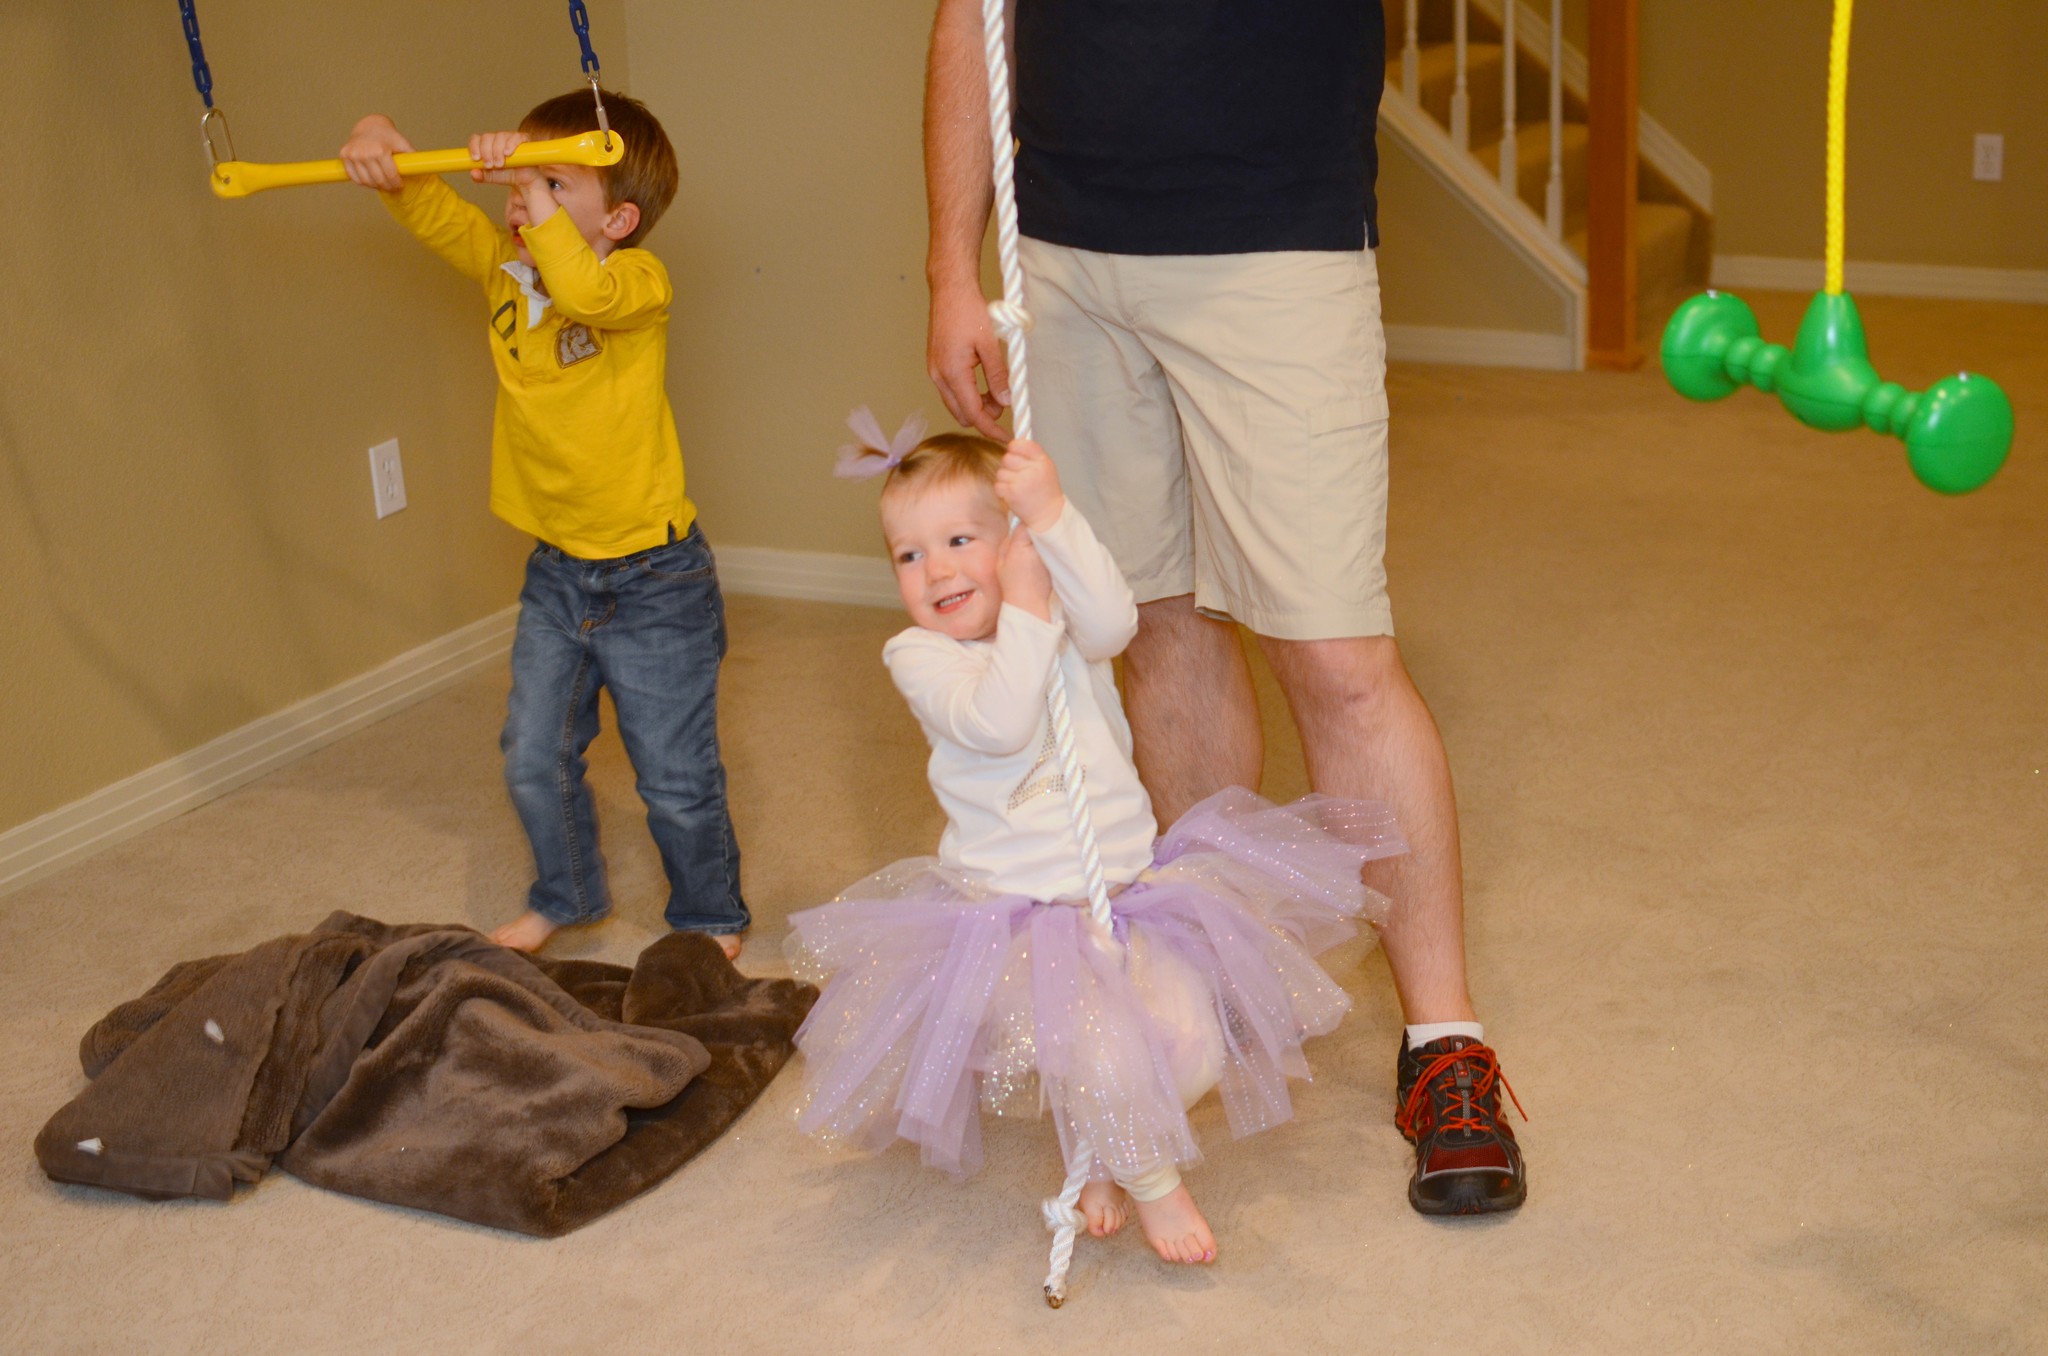
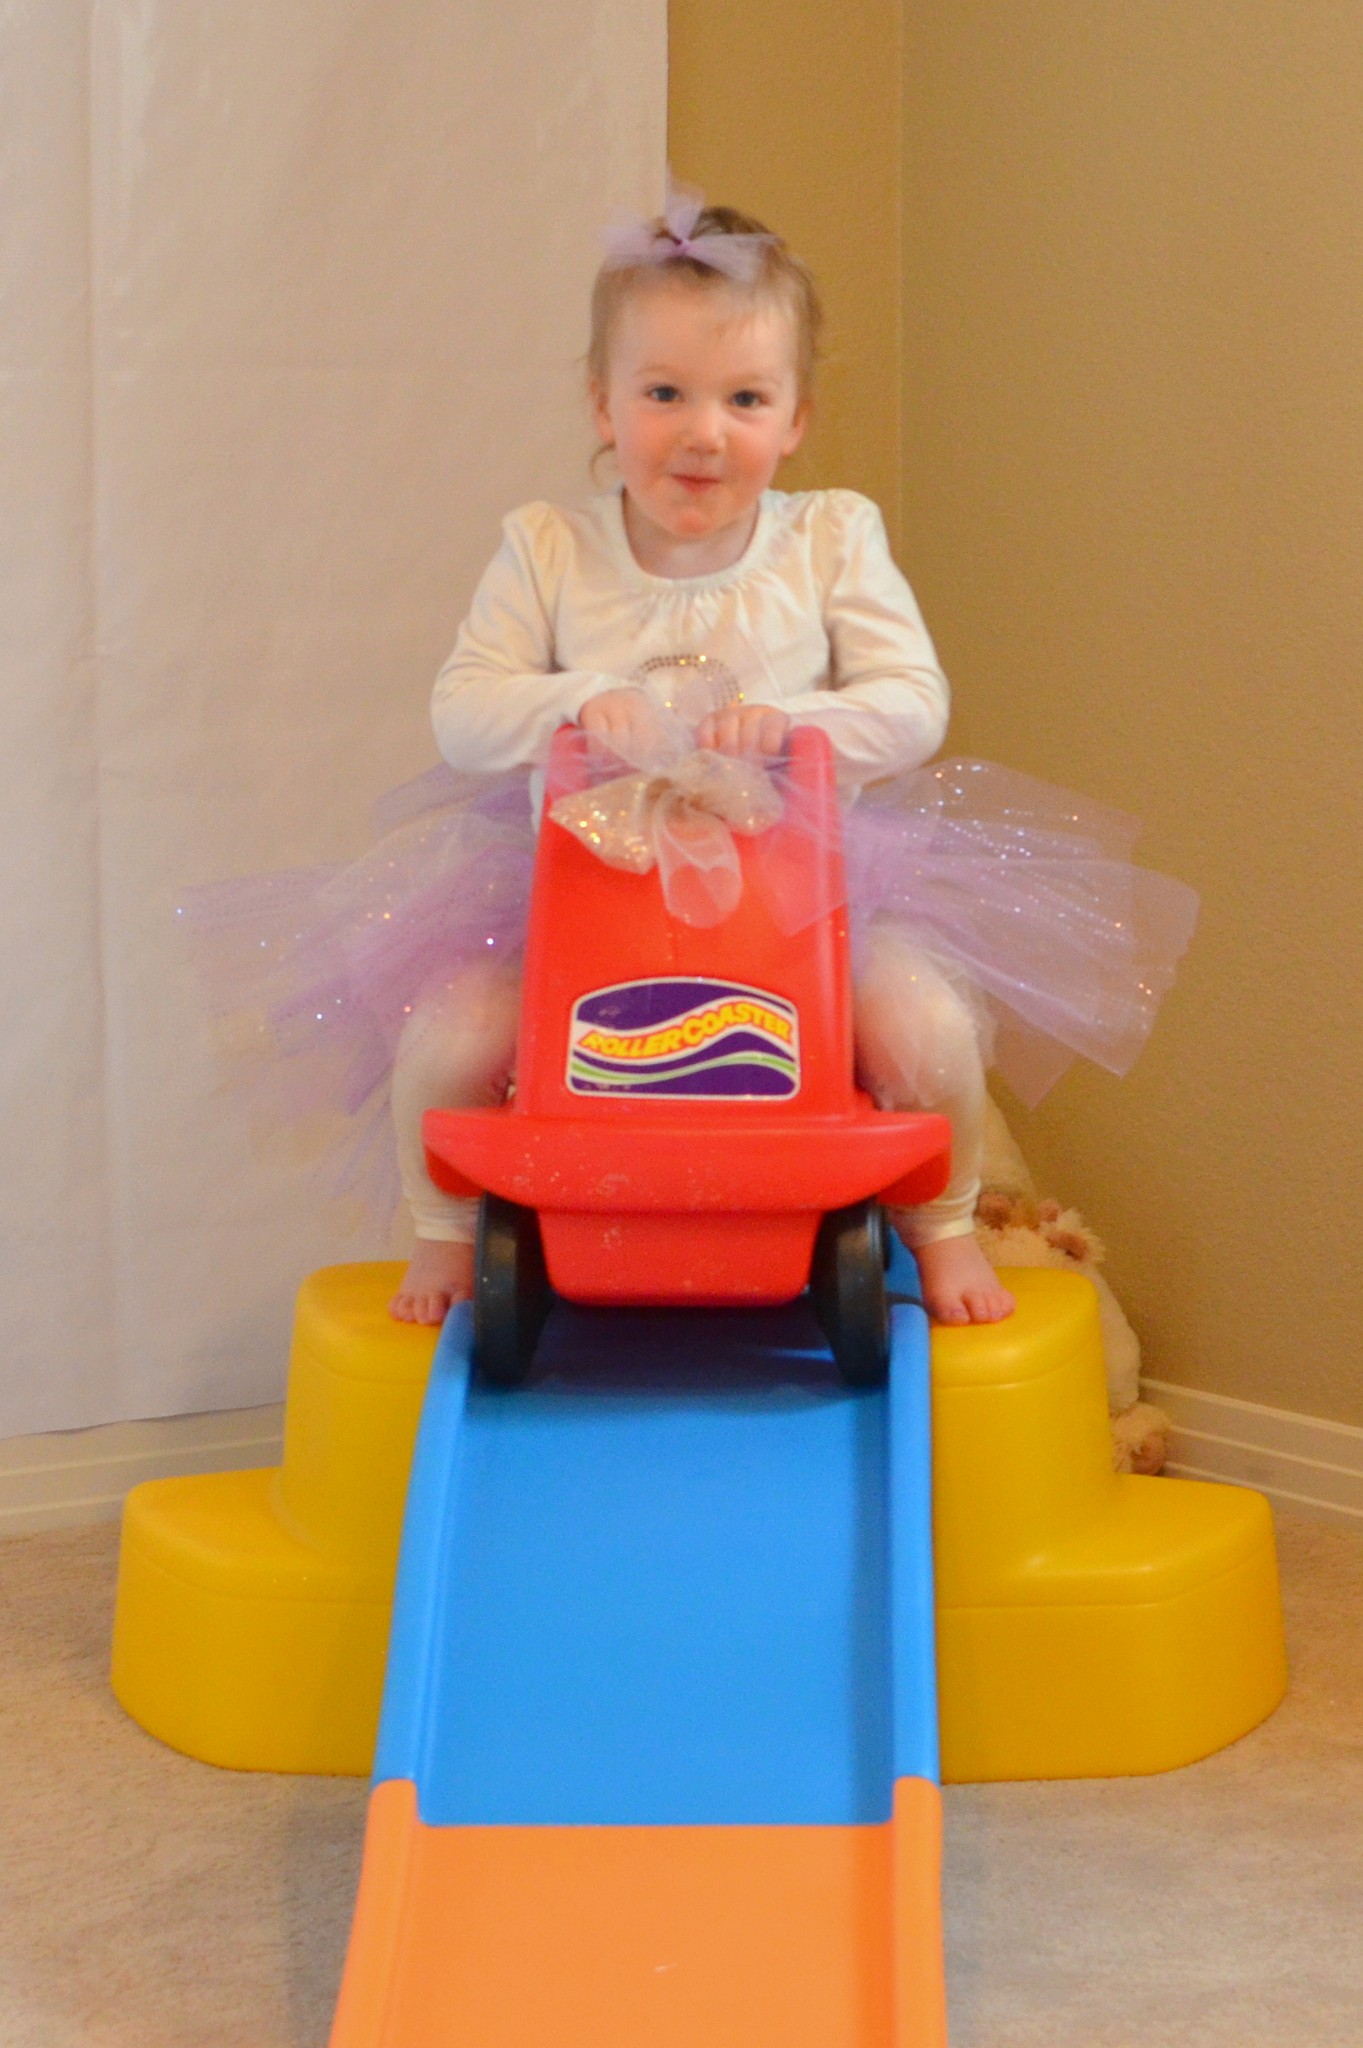
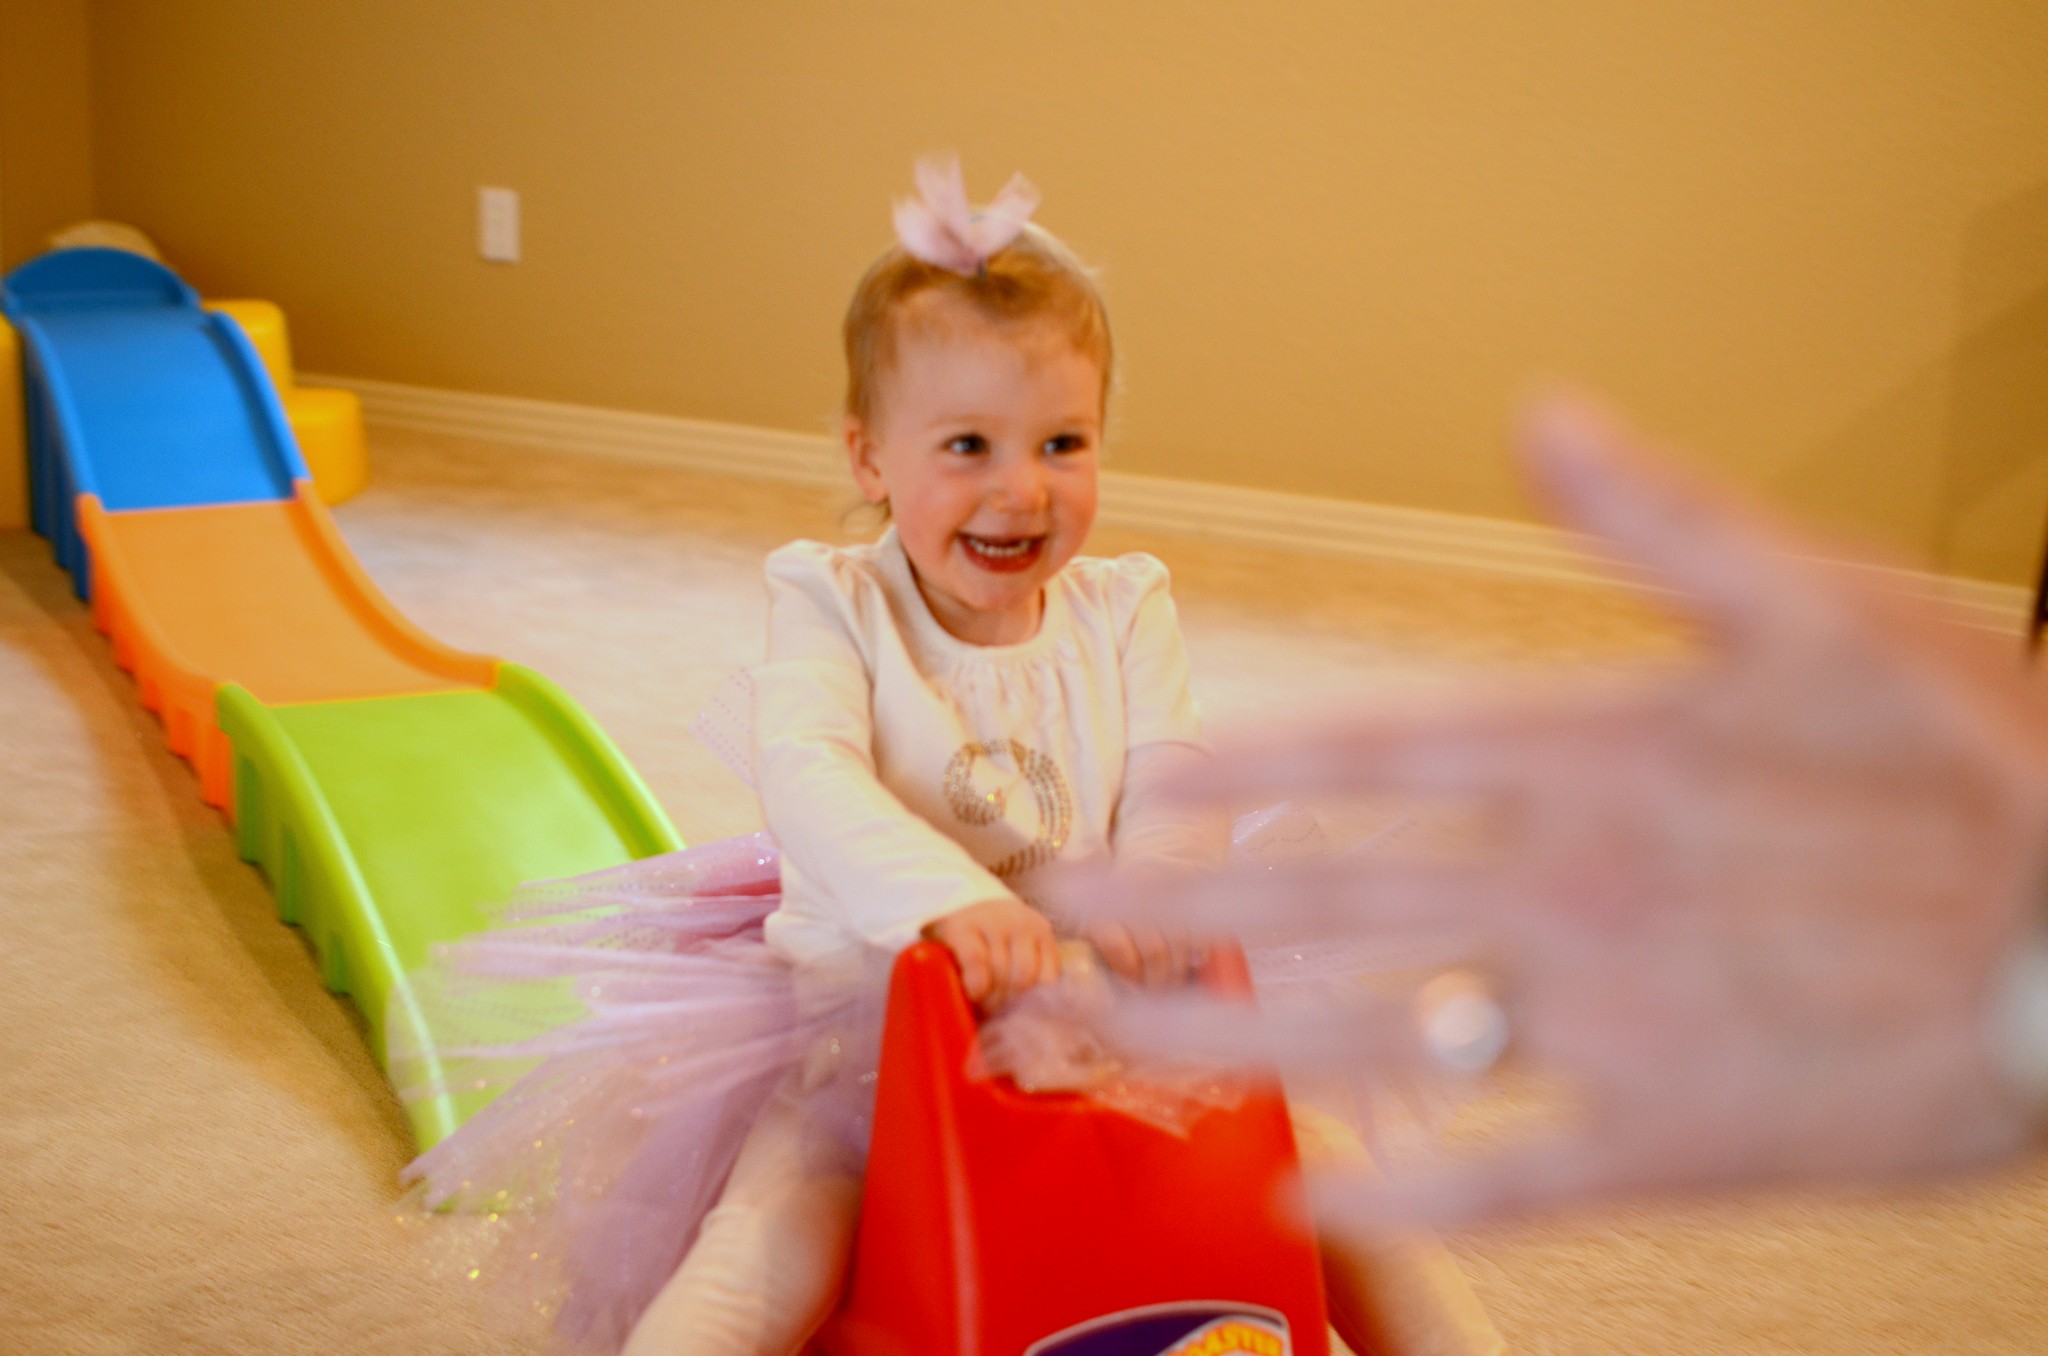
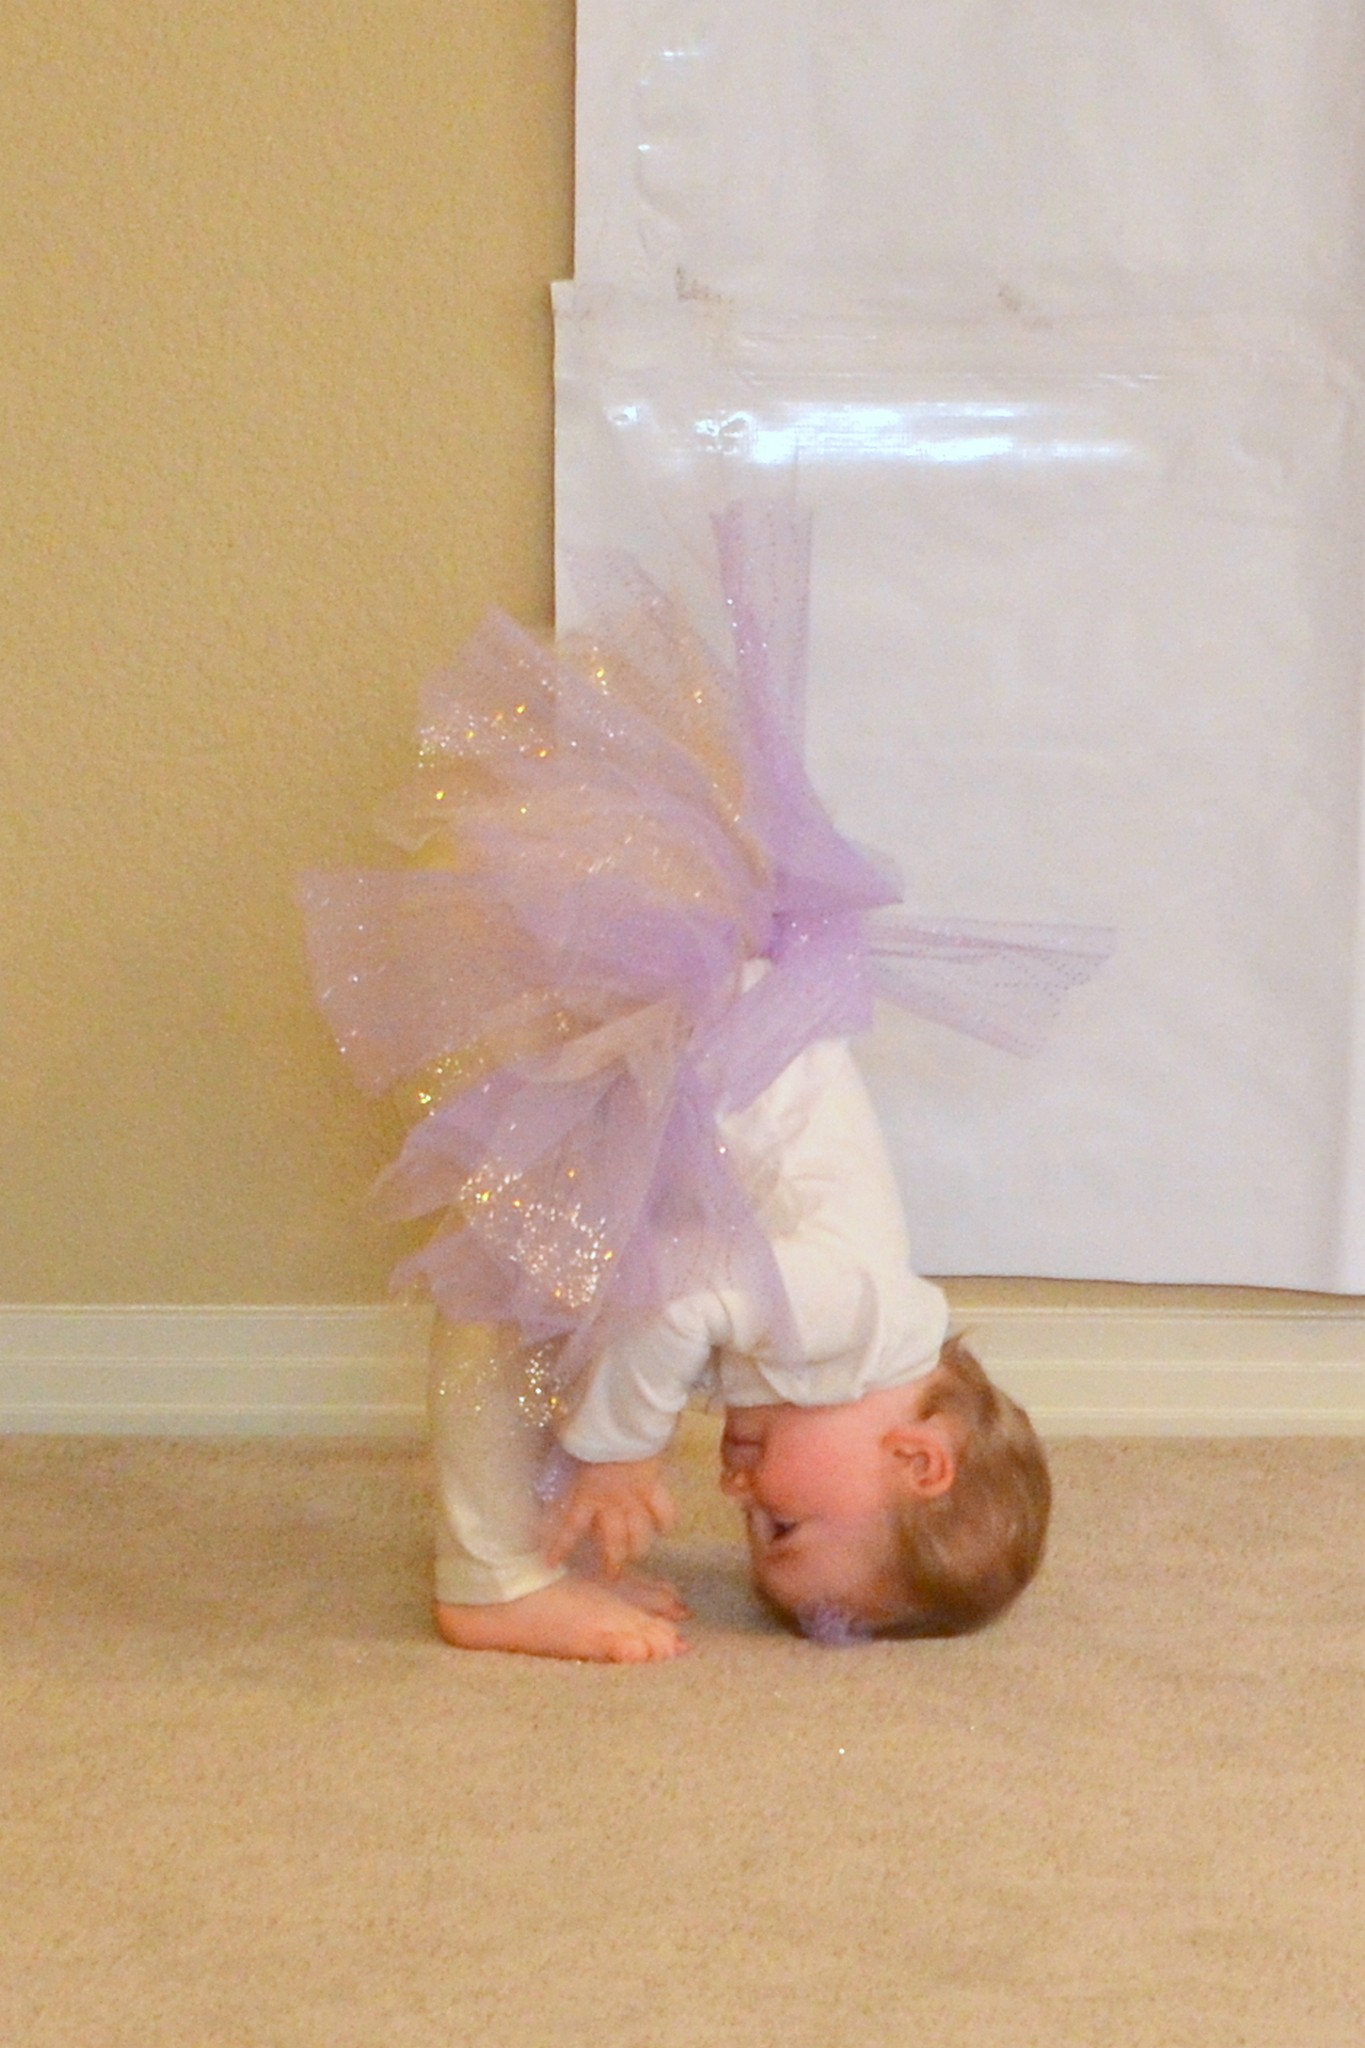
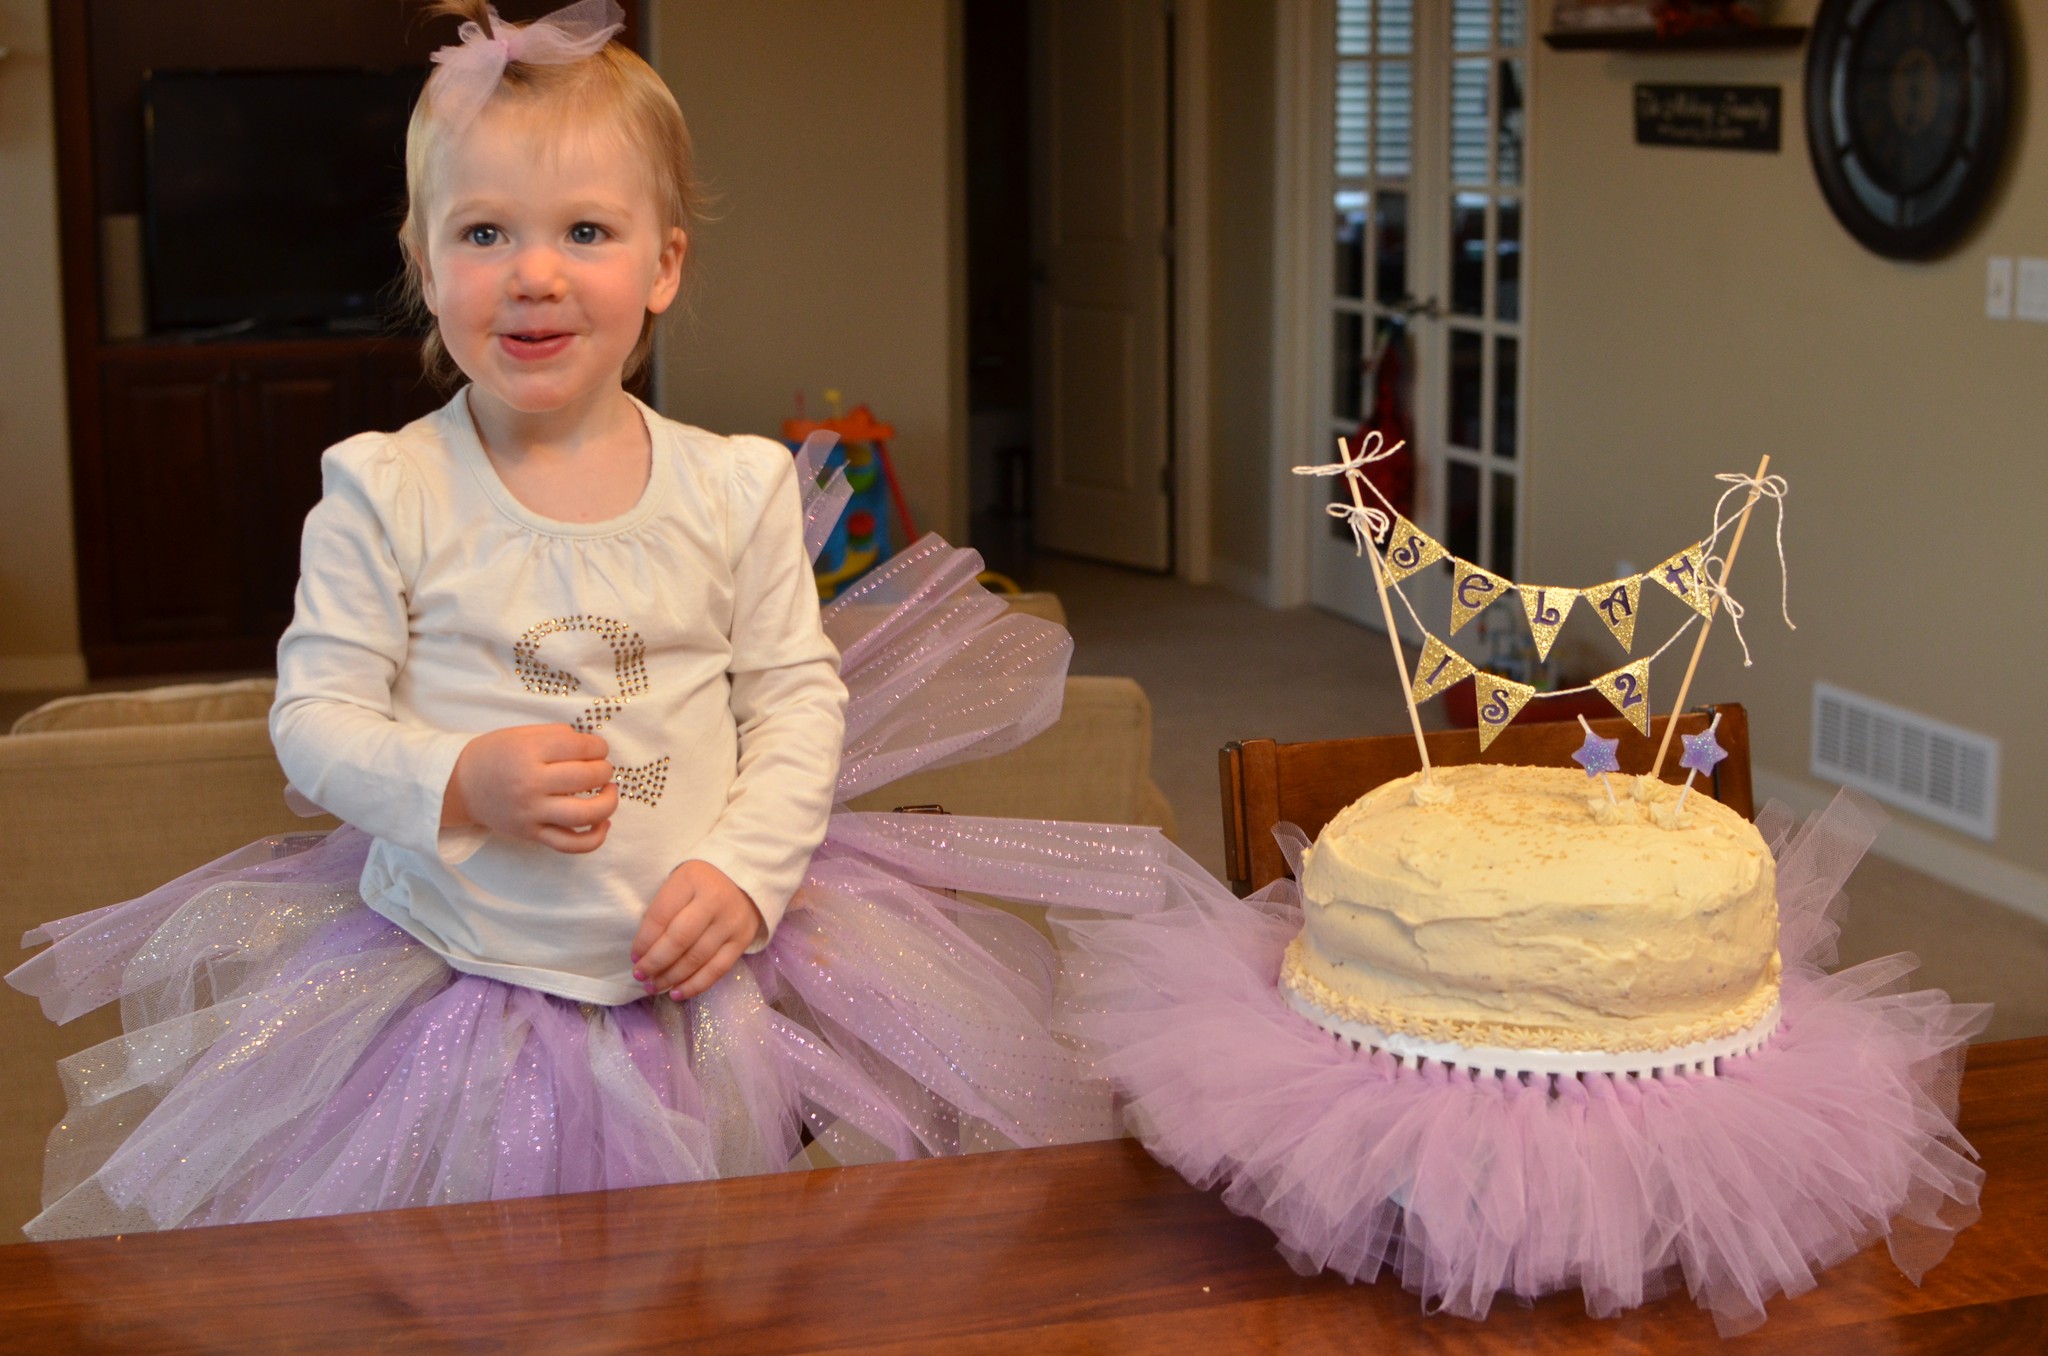
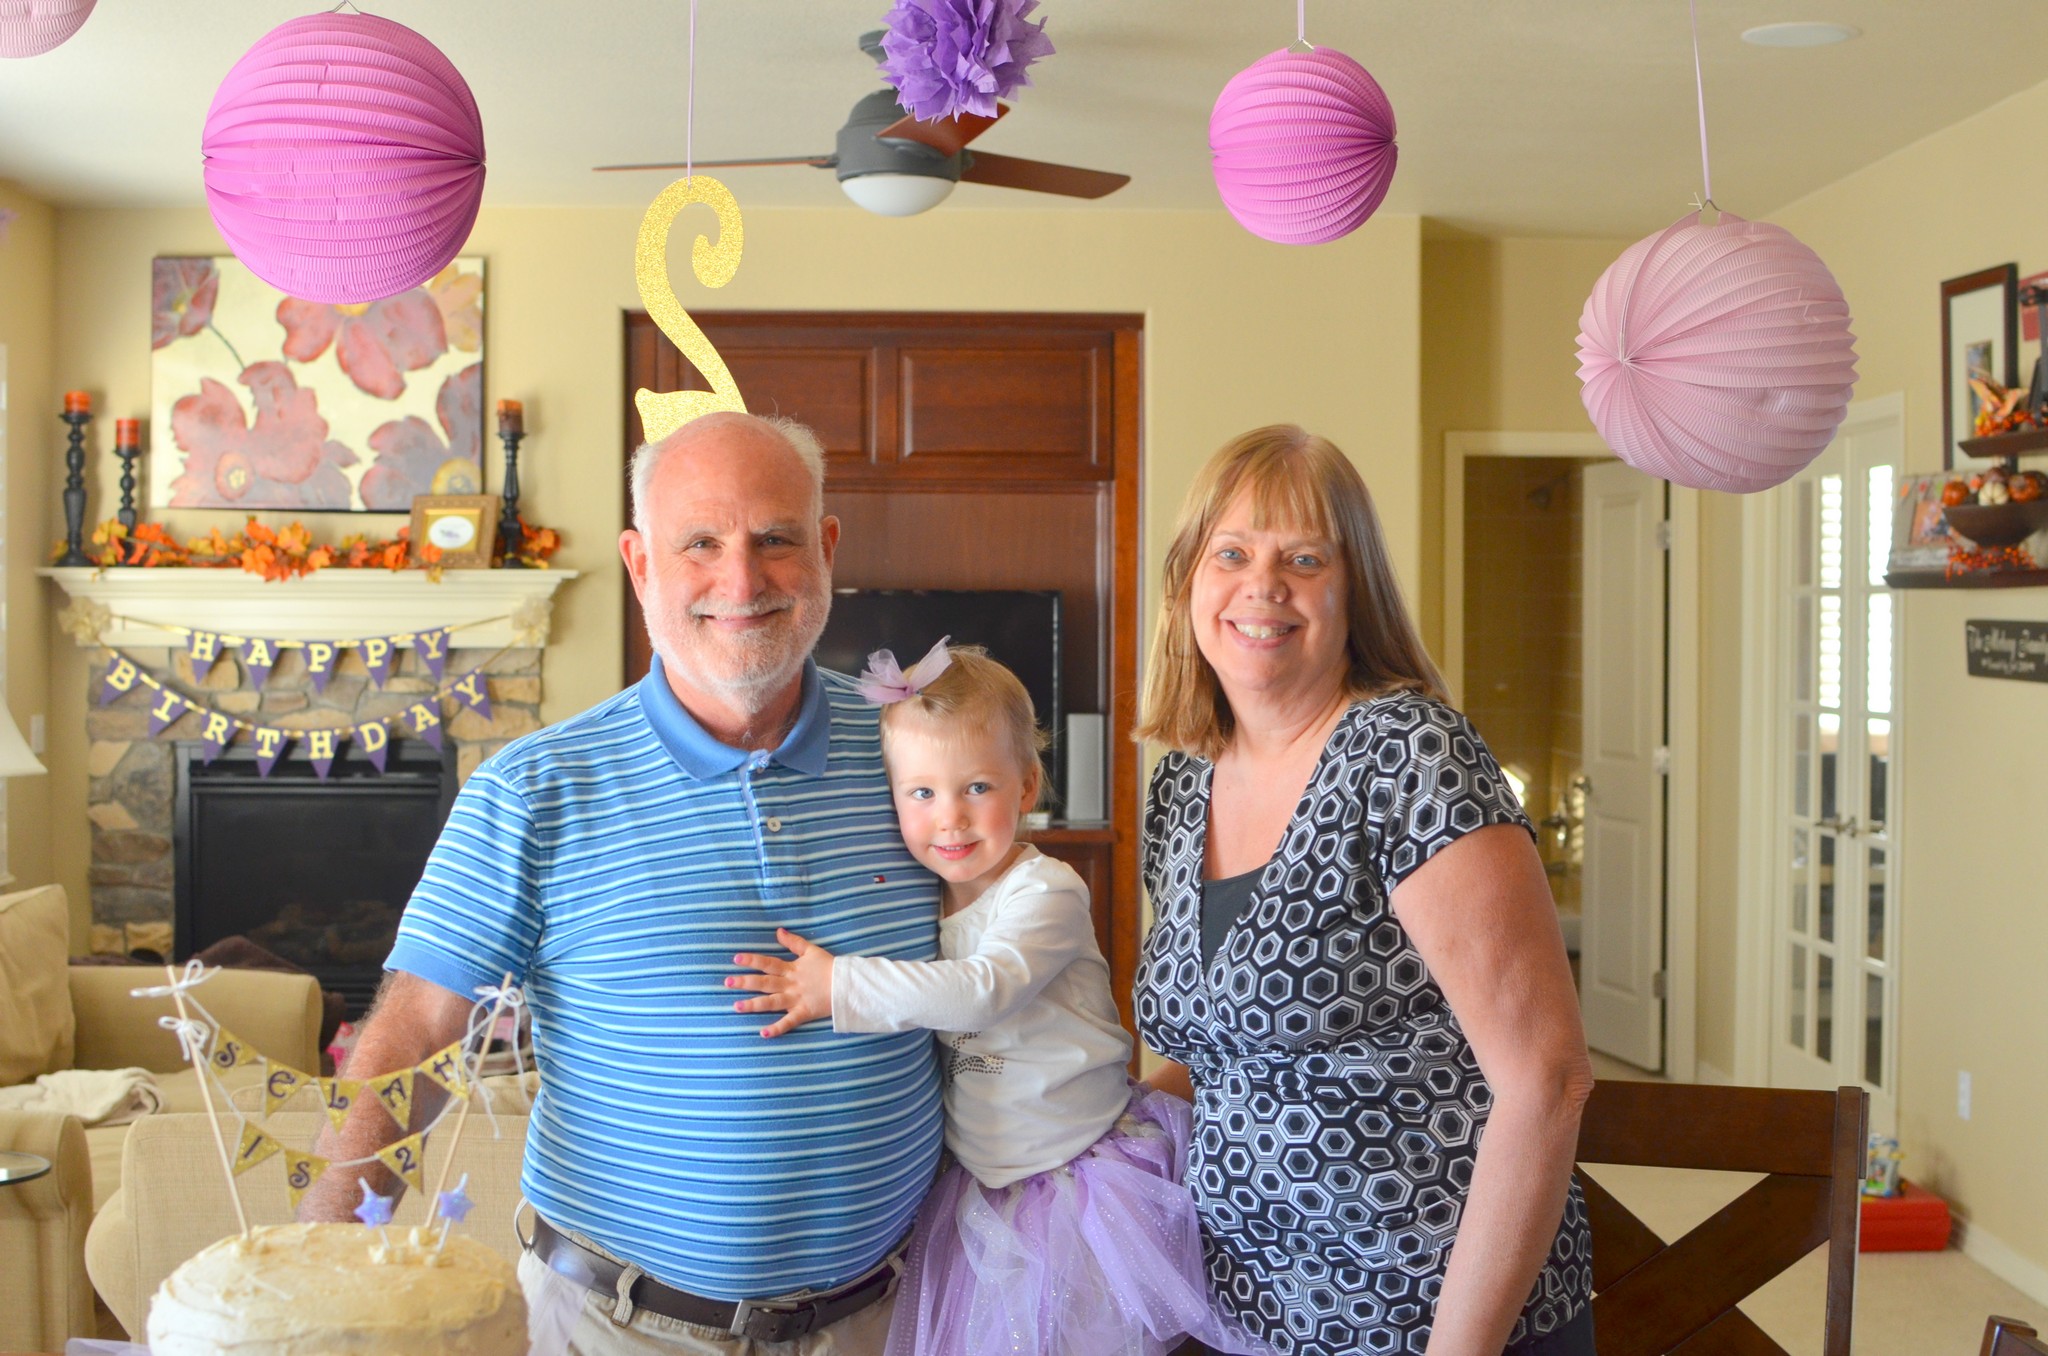
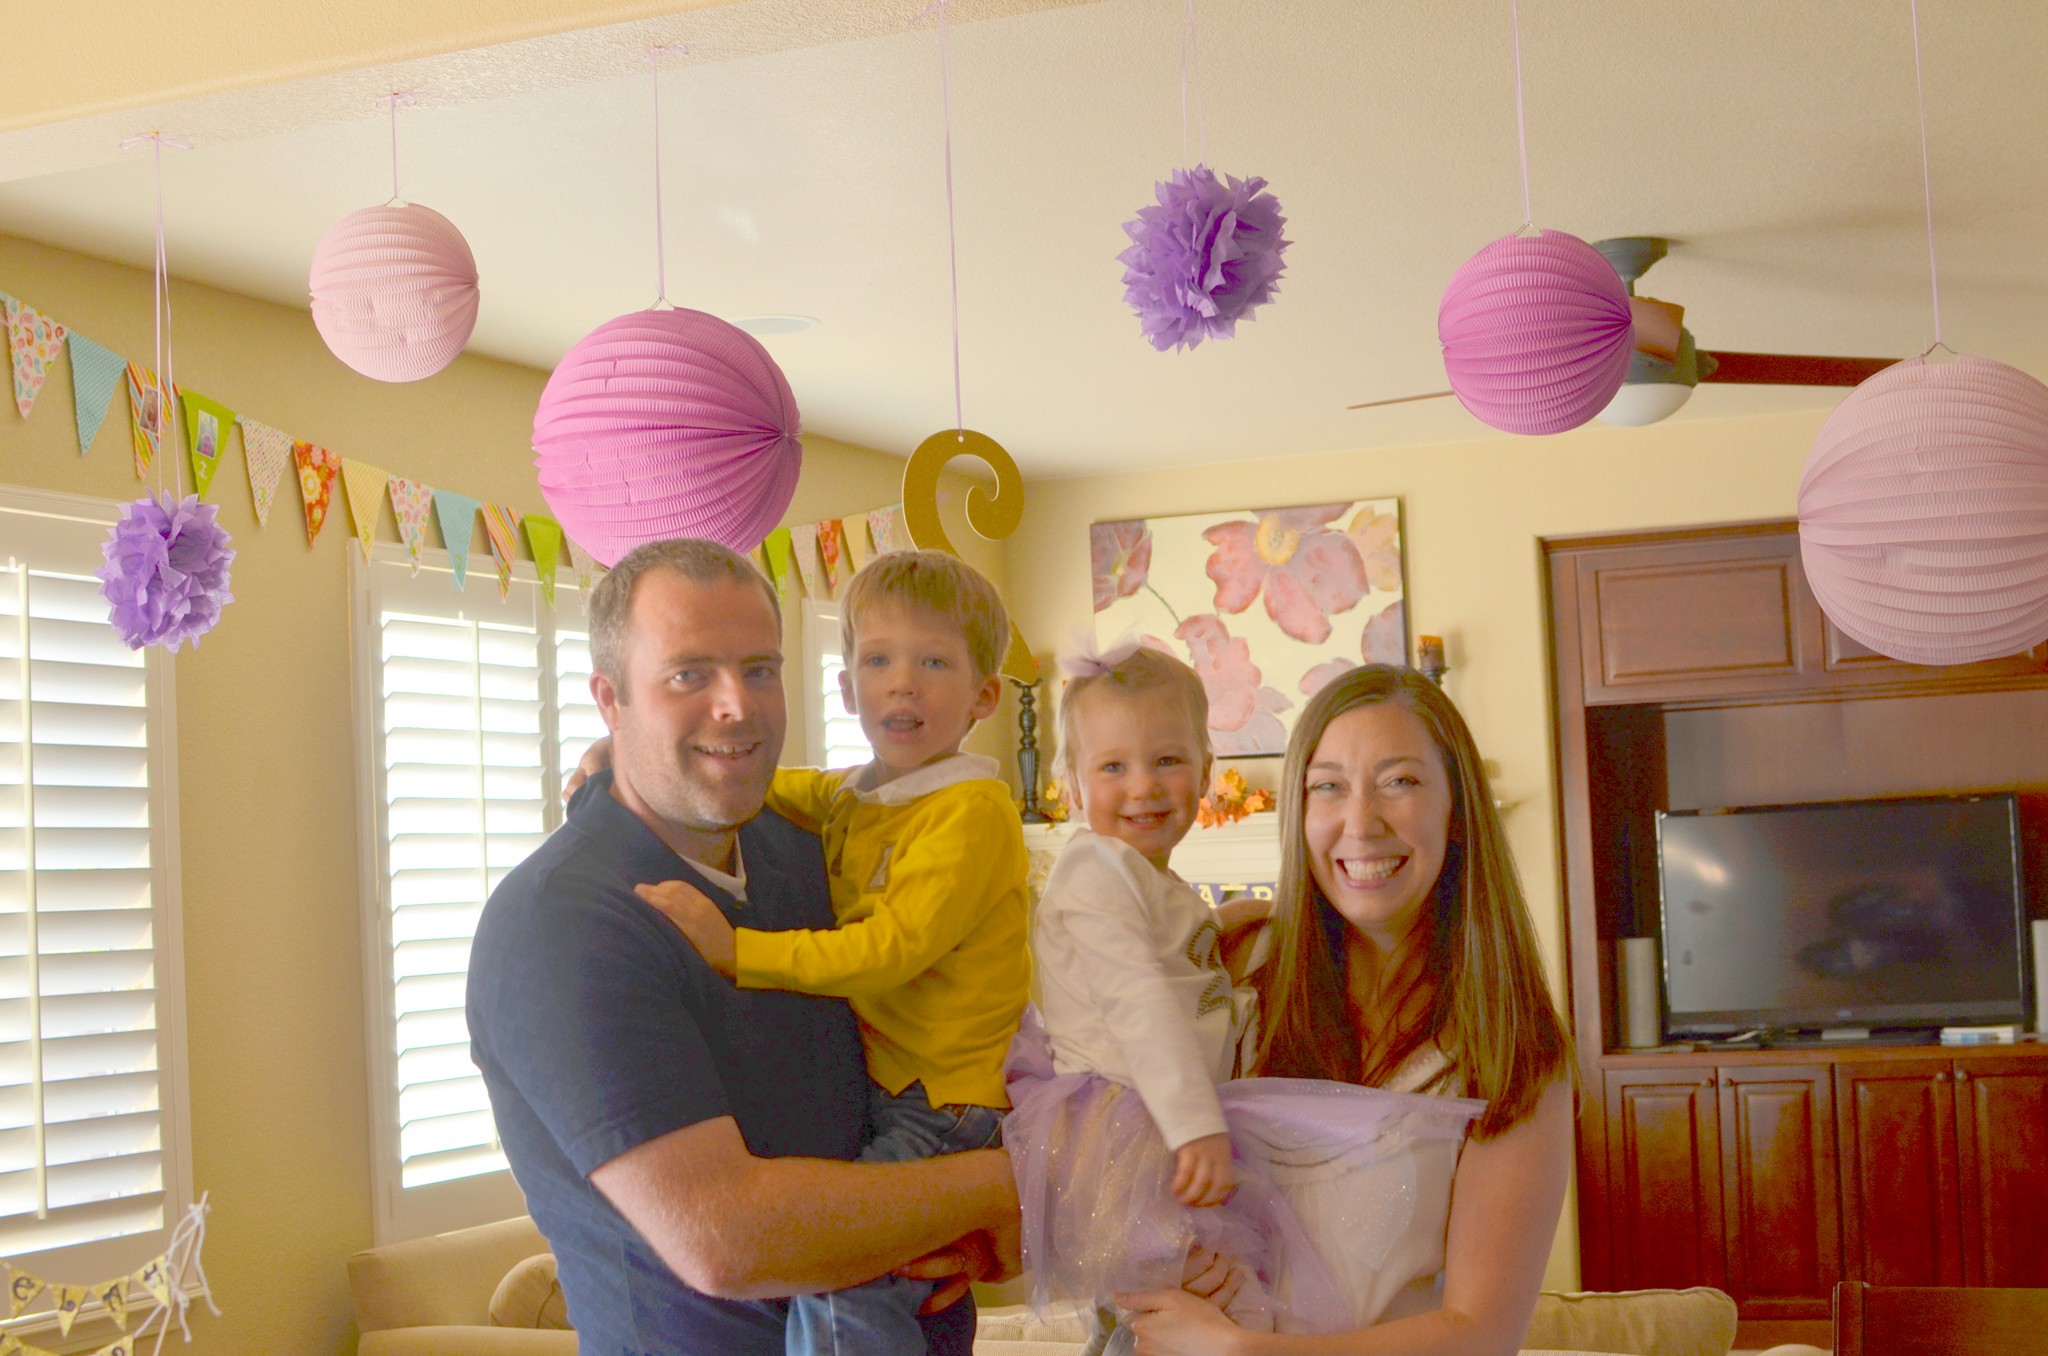
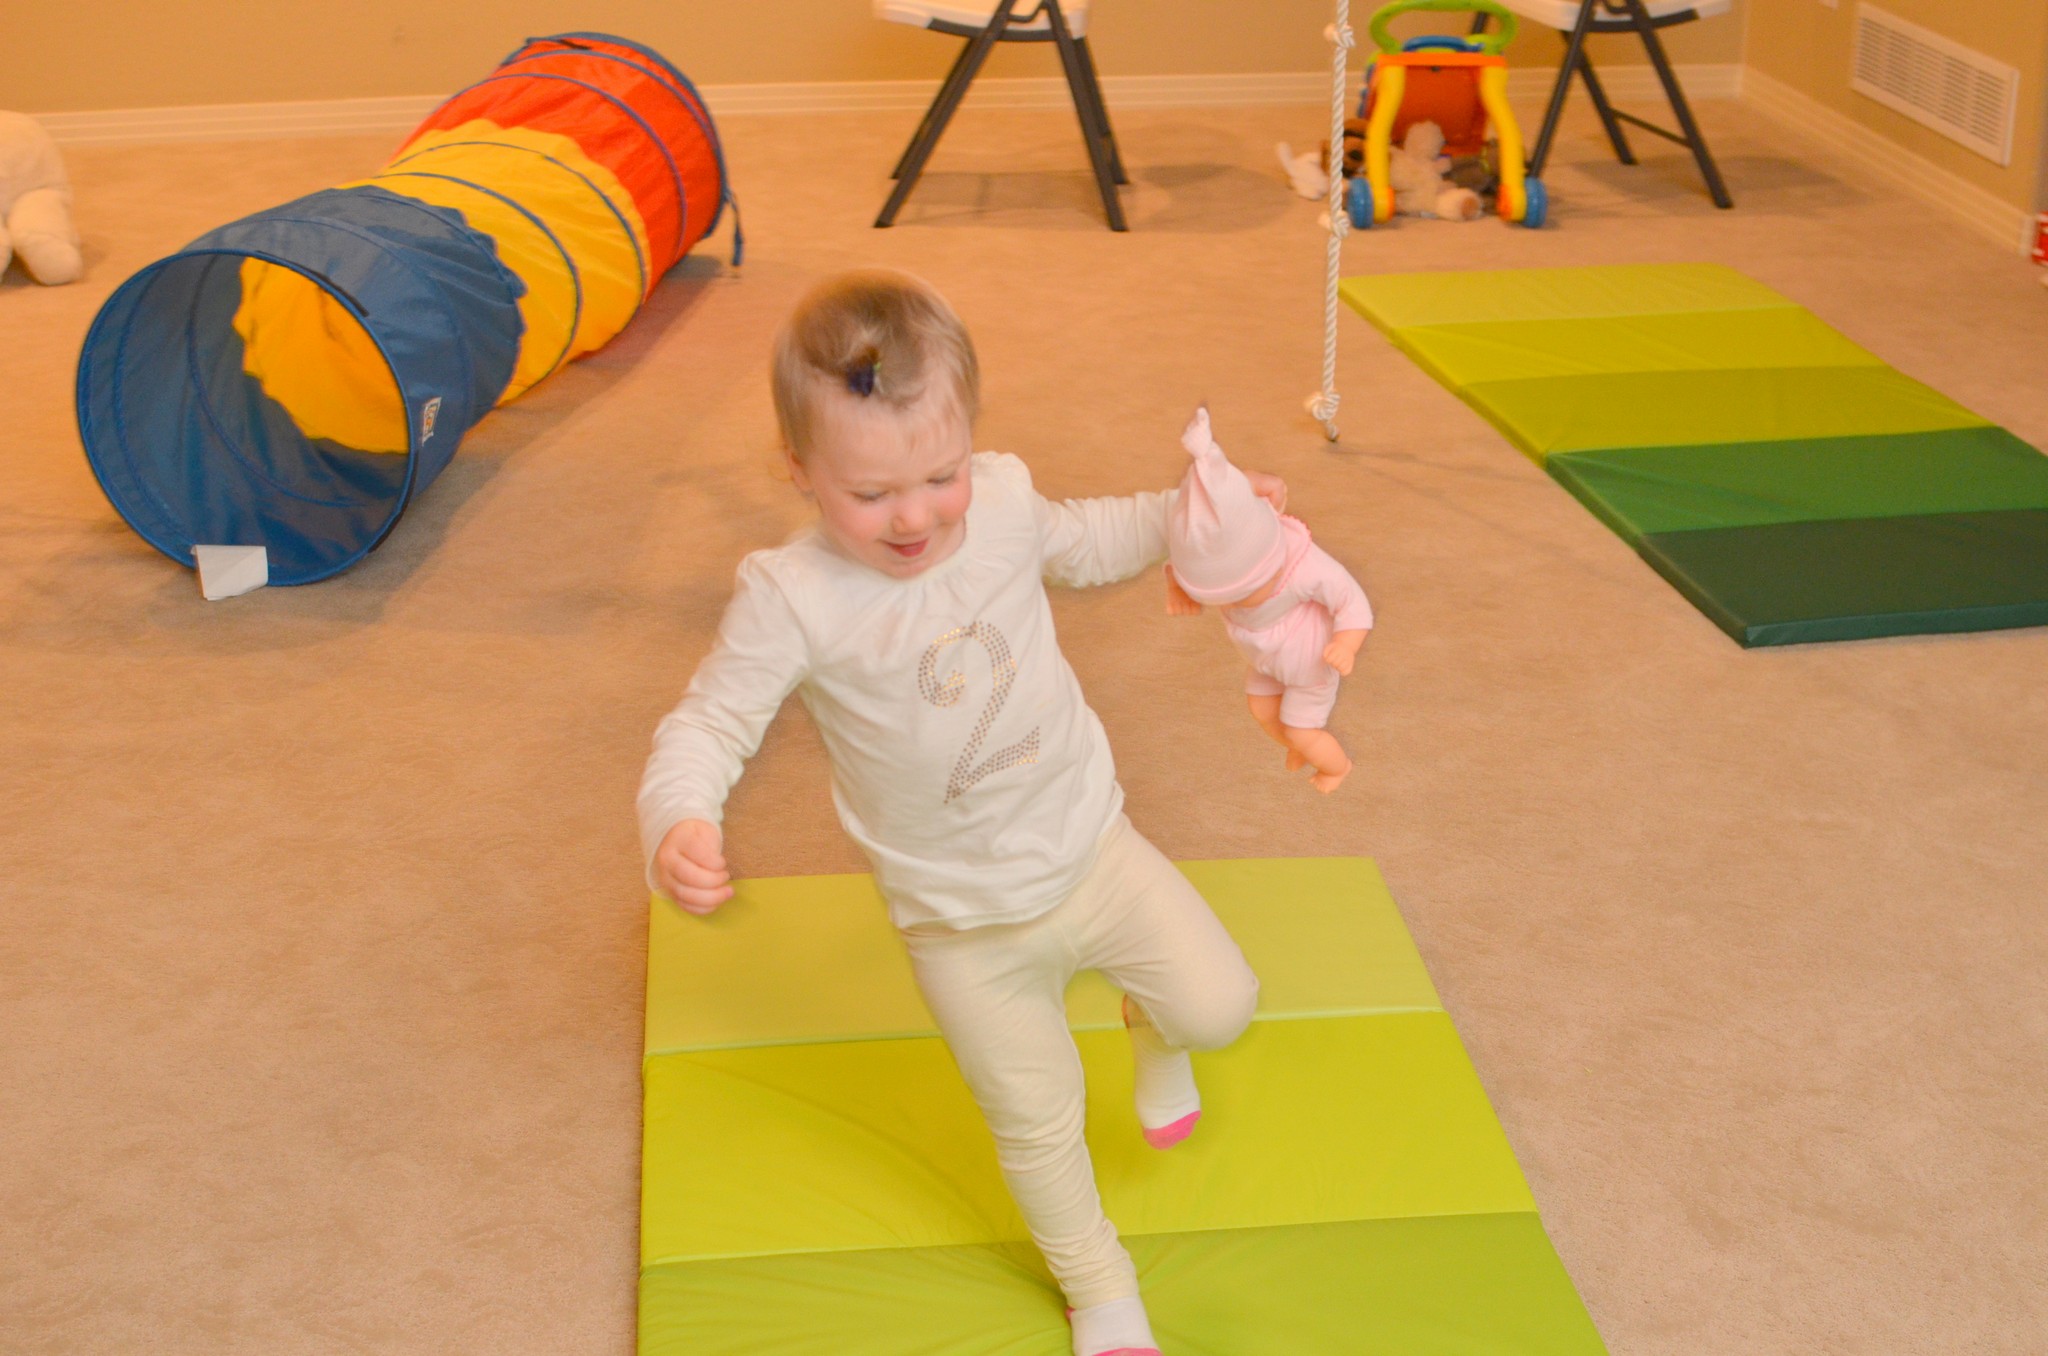
Purple & gold!Her TwoTwo cake!And her TwoTwo outfit. Shirt and skirt made by yours truly! (Well, I bought the plain cream shirt but added the bling myself ;)).Brian brought her down the stairs…She was so sweet pointing and naming everything she saw…“2!!”This is such a classic “Selah” snuggle…a shy little smile and she snuggles into you when she’s excited about what she sees!She LOVES her Nonna!!I took her upstairs to put on her special TwoTwo outfit, and she just LIT up…along with lighting up the room!!Then we brought her downstairs to her biggest birthday surprise…Needless to say, she was VERY excited to see multiple objects that she could hang from hanging from the ceiling!!This is what she saw!And this is what she did!This is our little gymnast!!She could eat, sleep, and live like this…seriously!She loves the rope ladder!…and the rope swing!We also got our thrill baby this little roller coaster :).Um, she loves it :).Periodically she would stop her tumbling and swinging and go hug someone :).Or stand on her head :).Time for cake!My darling two year old!Twins with her cake!Happy birthday to you!She conquered those two candles!!The out-of-town grandparents!The in-town grandparents!Y la familia 🙂
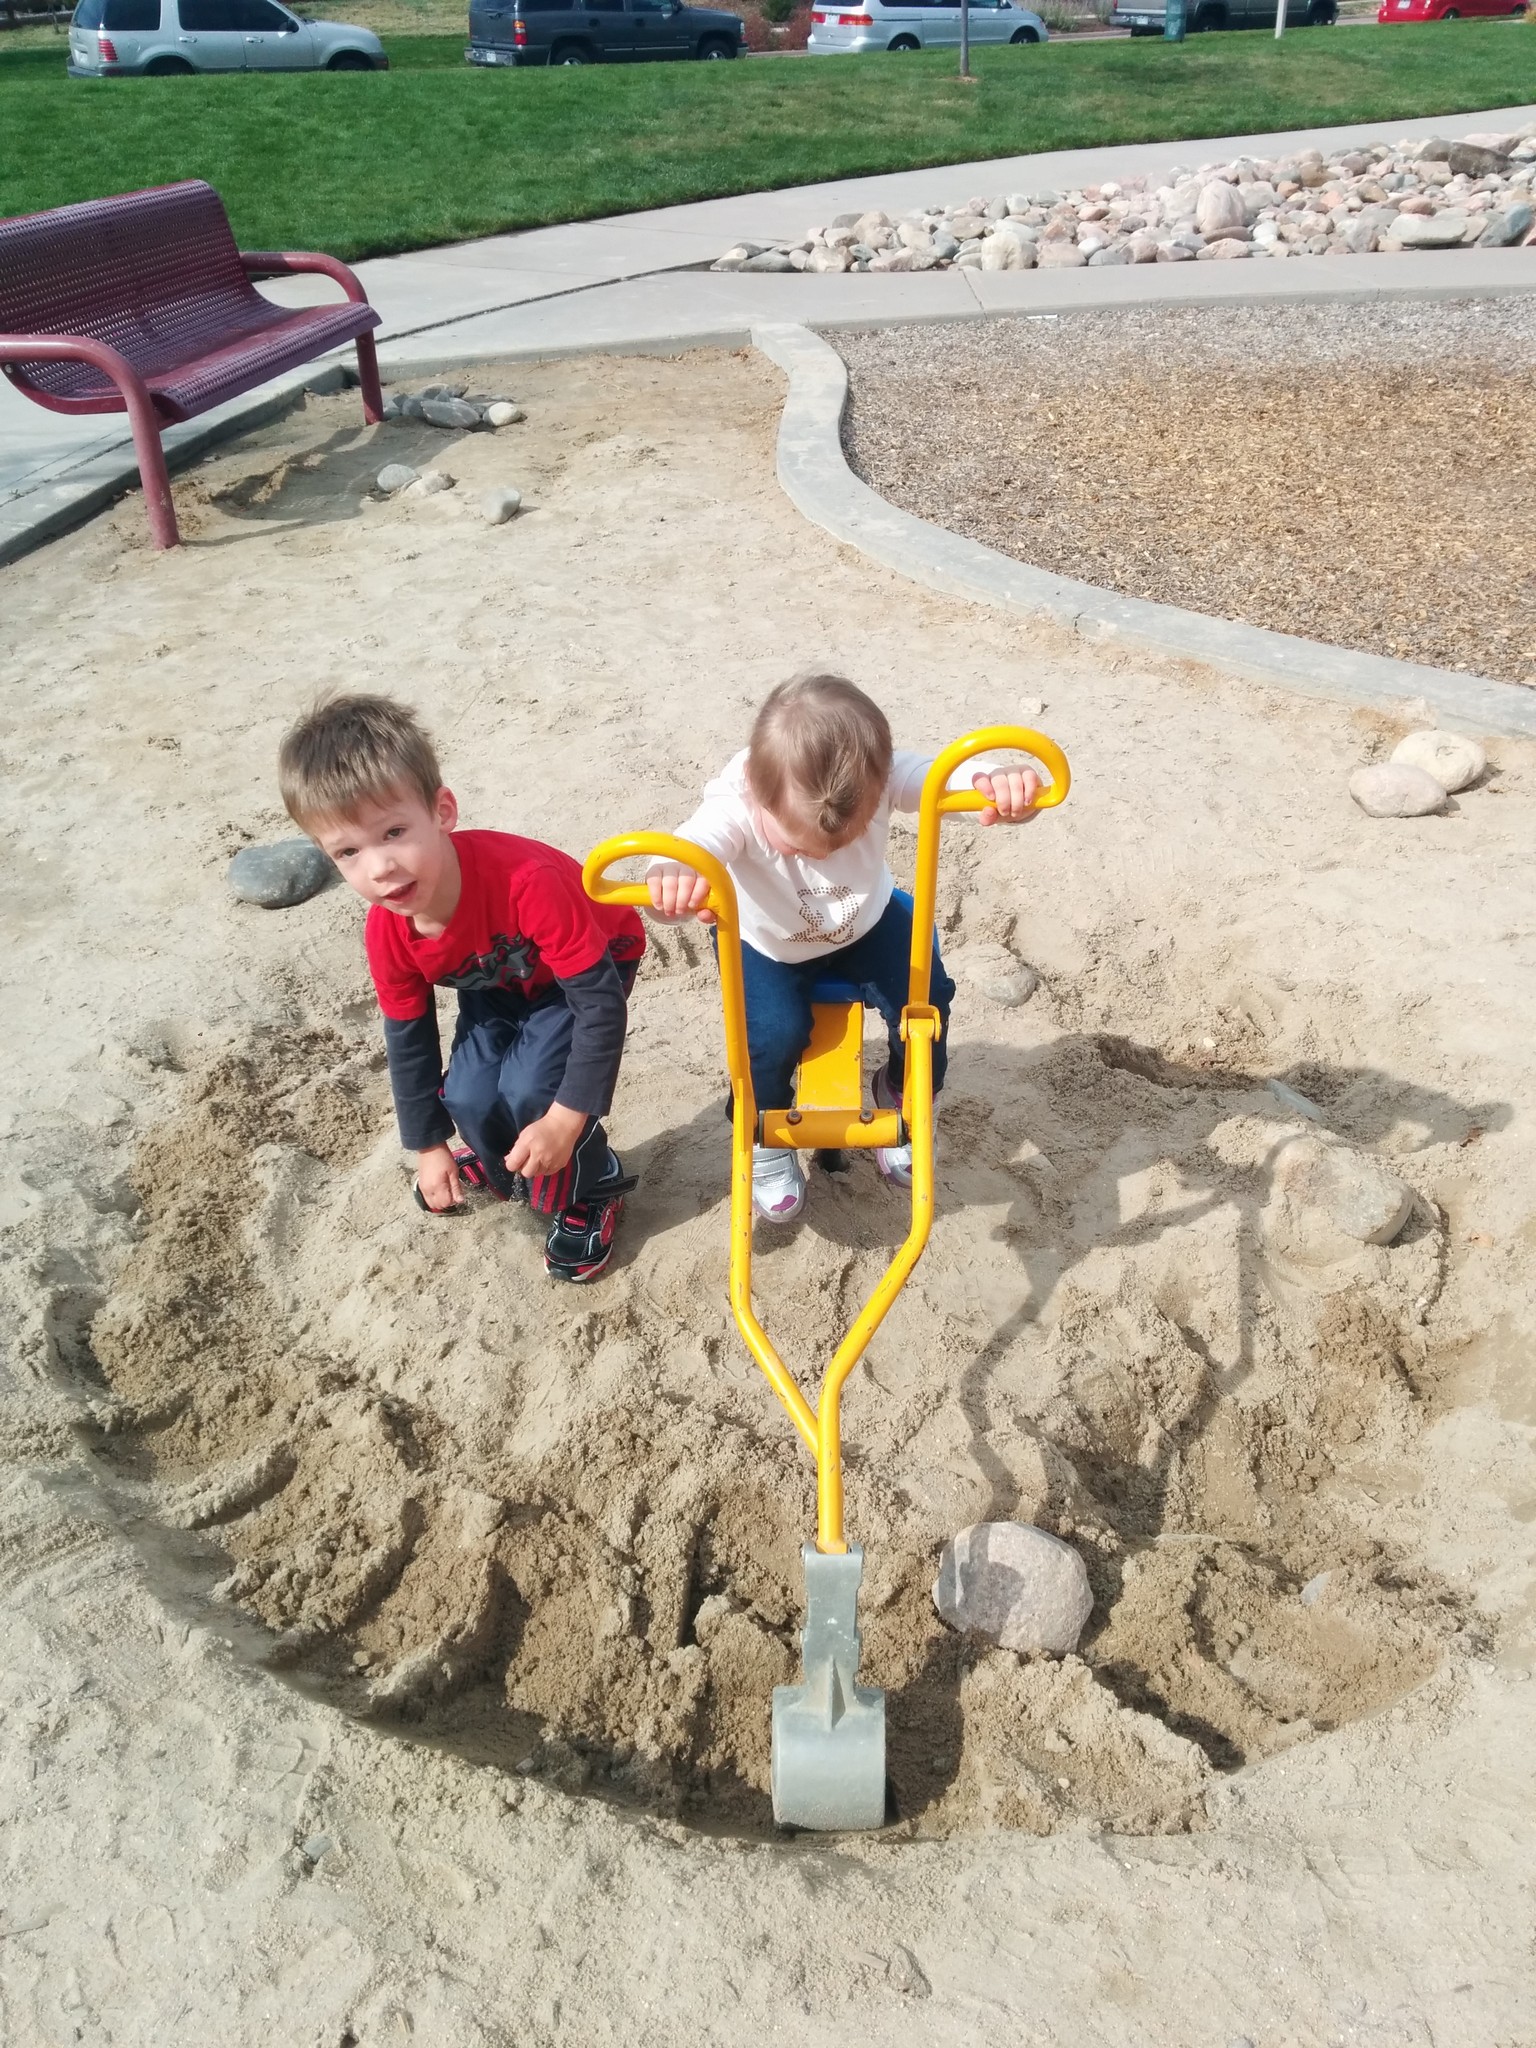
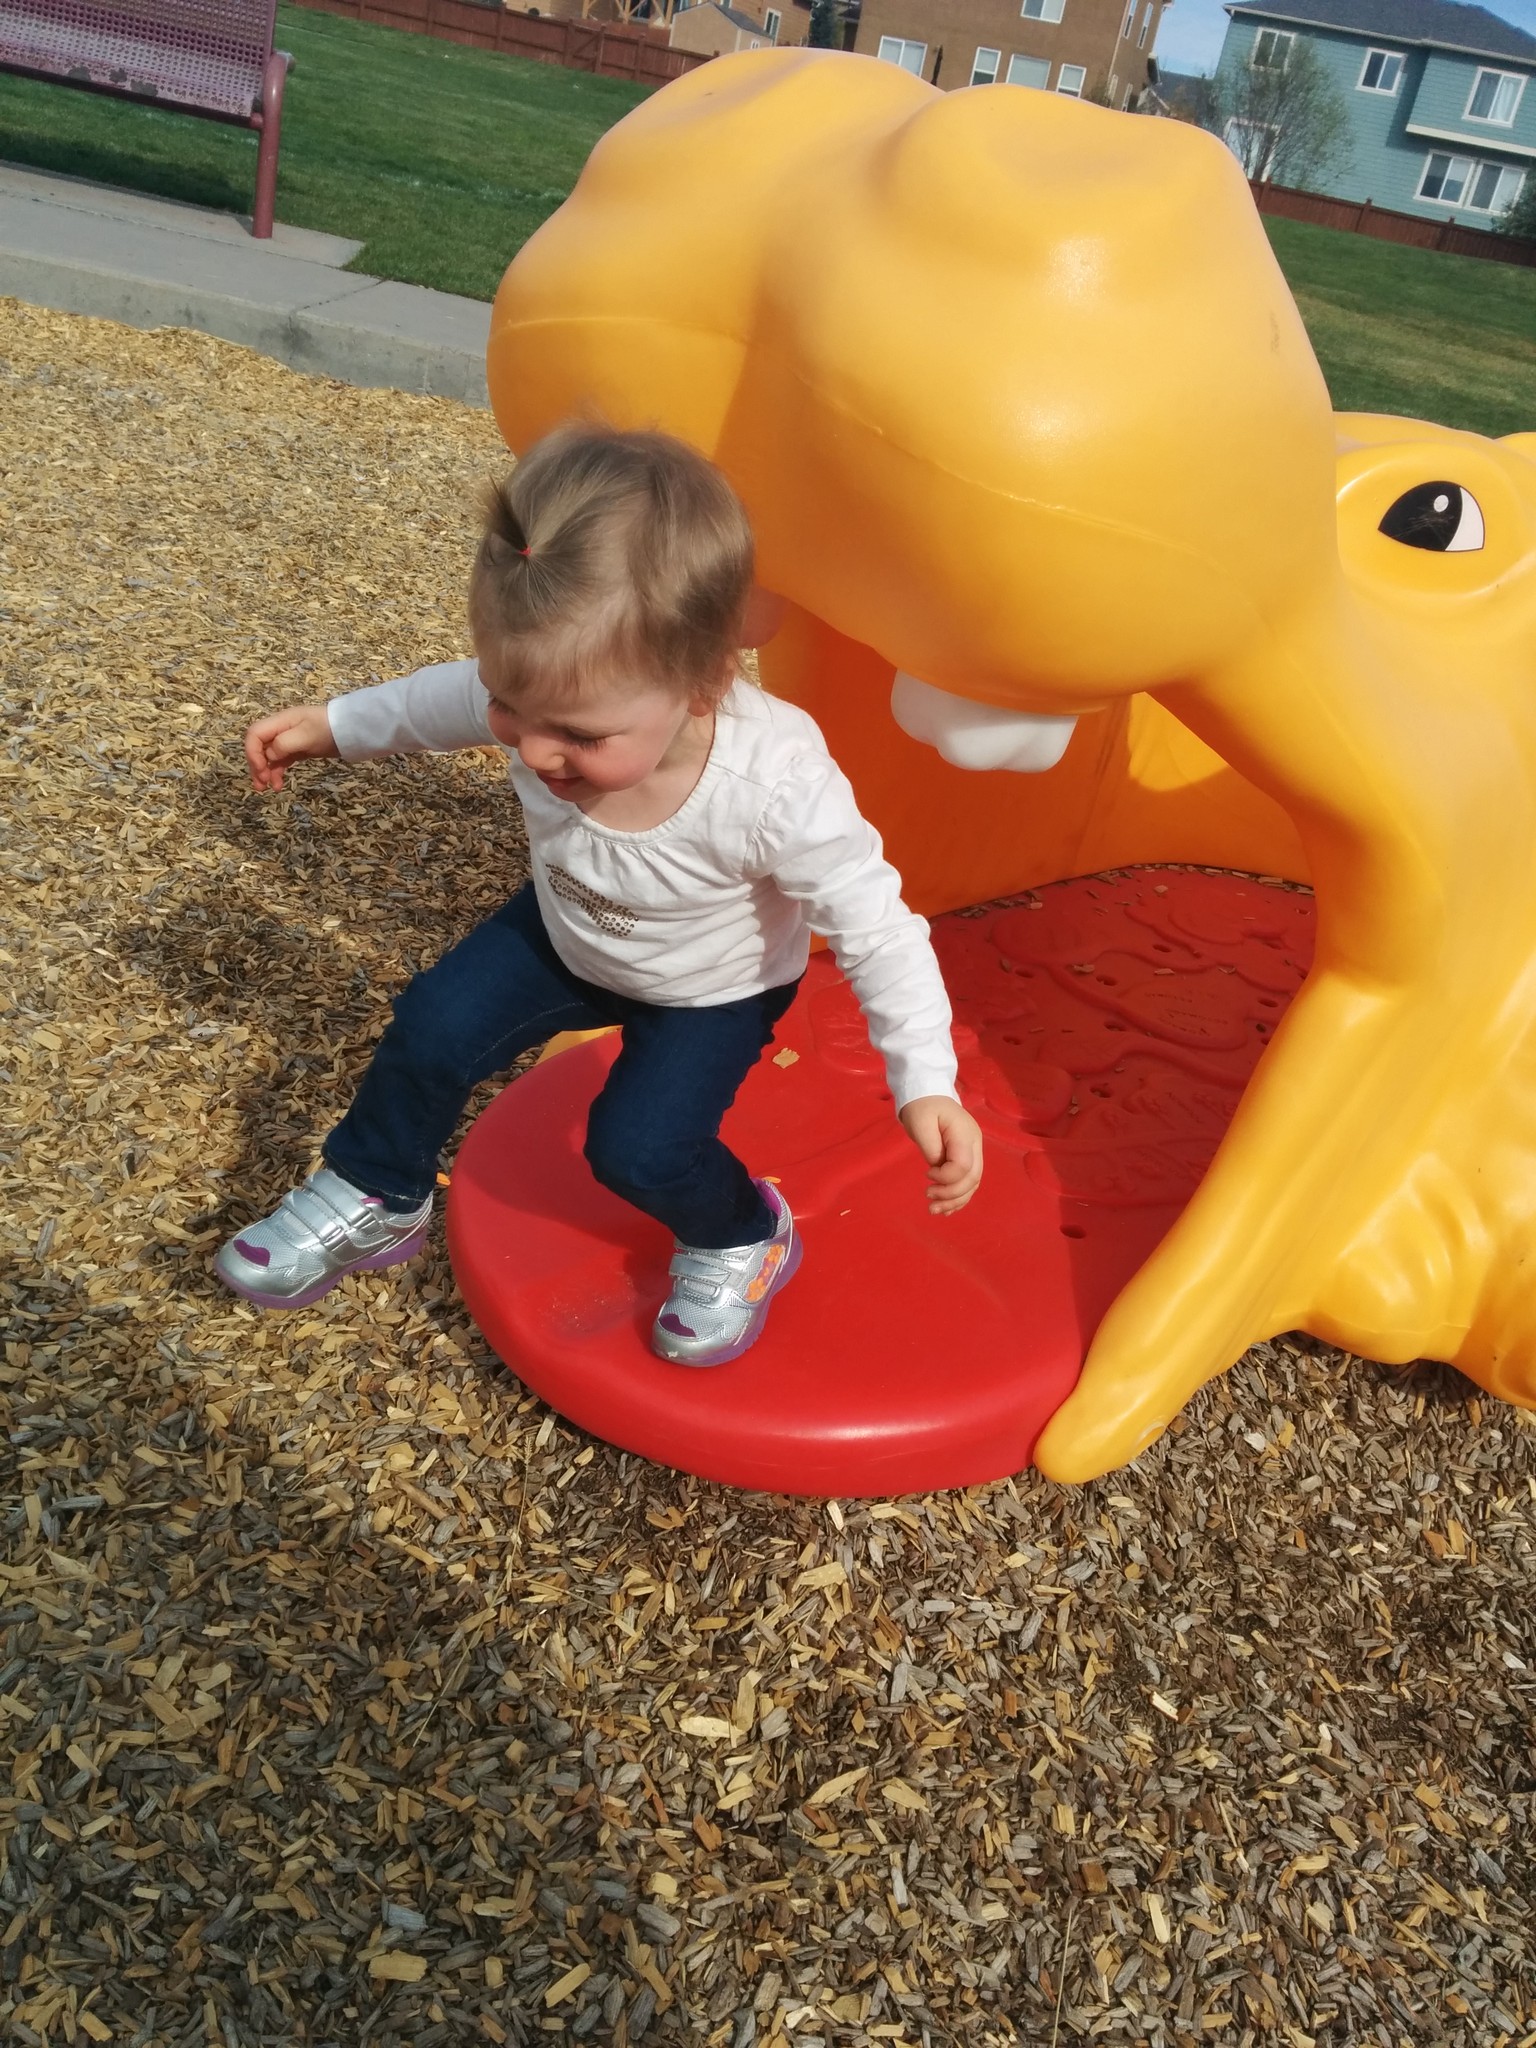
HER ACTUAL BIRTHDAY! The morning of her birthday we went to the park with some friends.
Because there’s nothing like a little excavating on your birthday!And who WOULDN’T want to crawl inside a giant hippo on your birthday?After her nap, she laid on my bed with me and just SNUGGLED me for soooo long, which is not something my active little girl usually likes to do :). I was so blessed.We blew up a purple balloon!
Daddy got home from work and Grandma, Grandpa, Elliott, Selah and I all loaded into the car…
…and brought this bright 2 year old to Red Robin!We ADORE her….
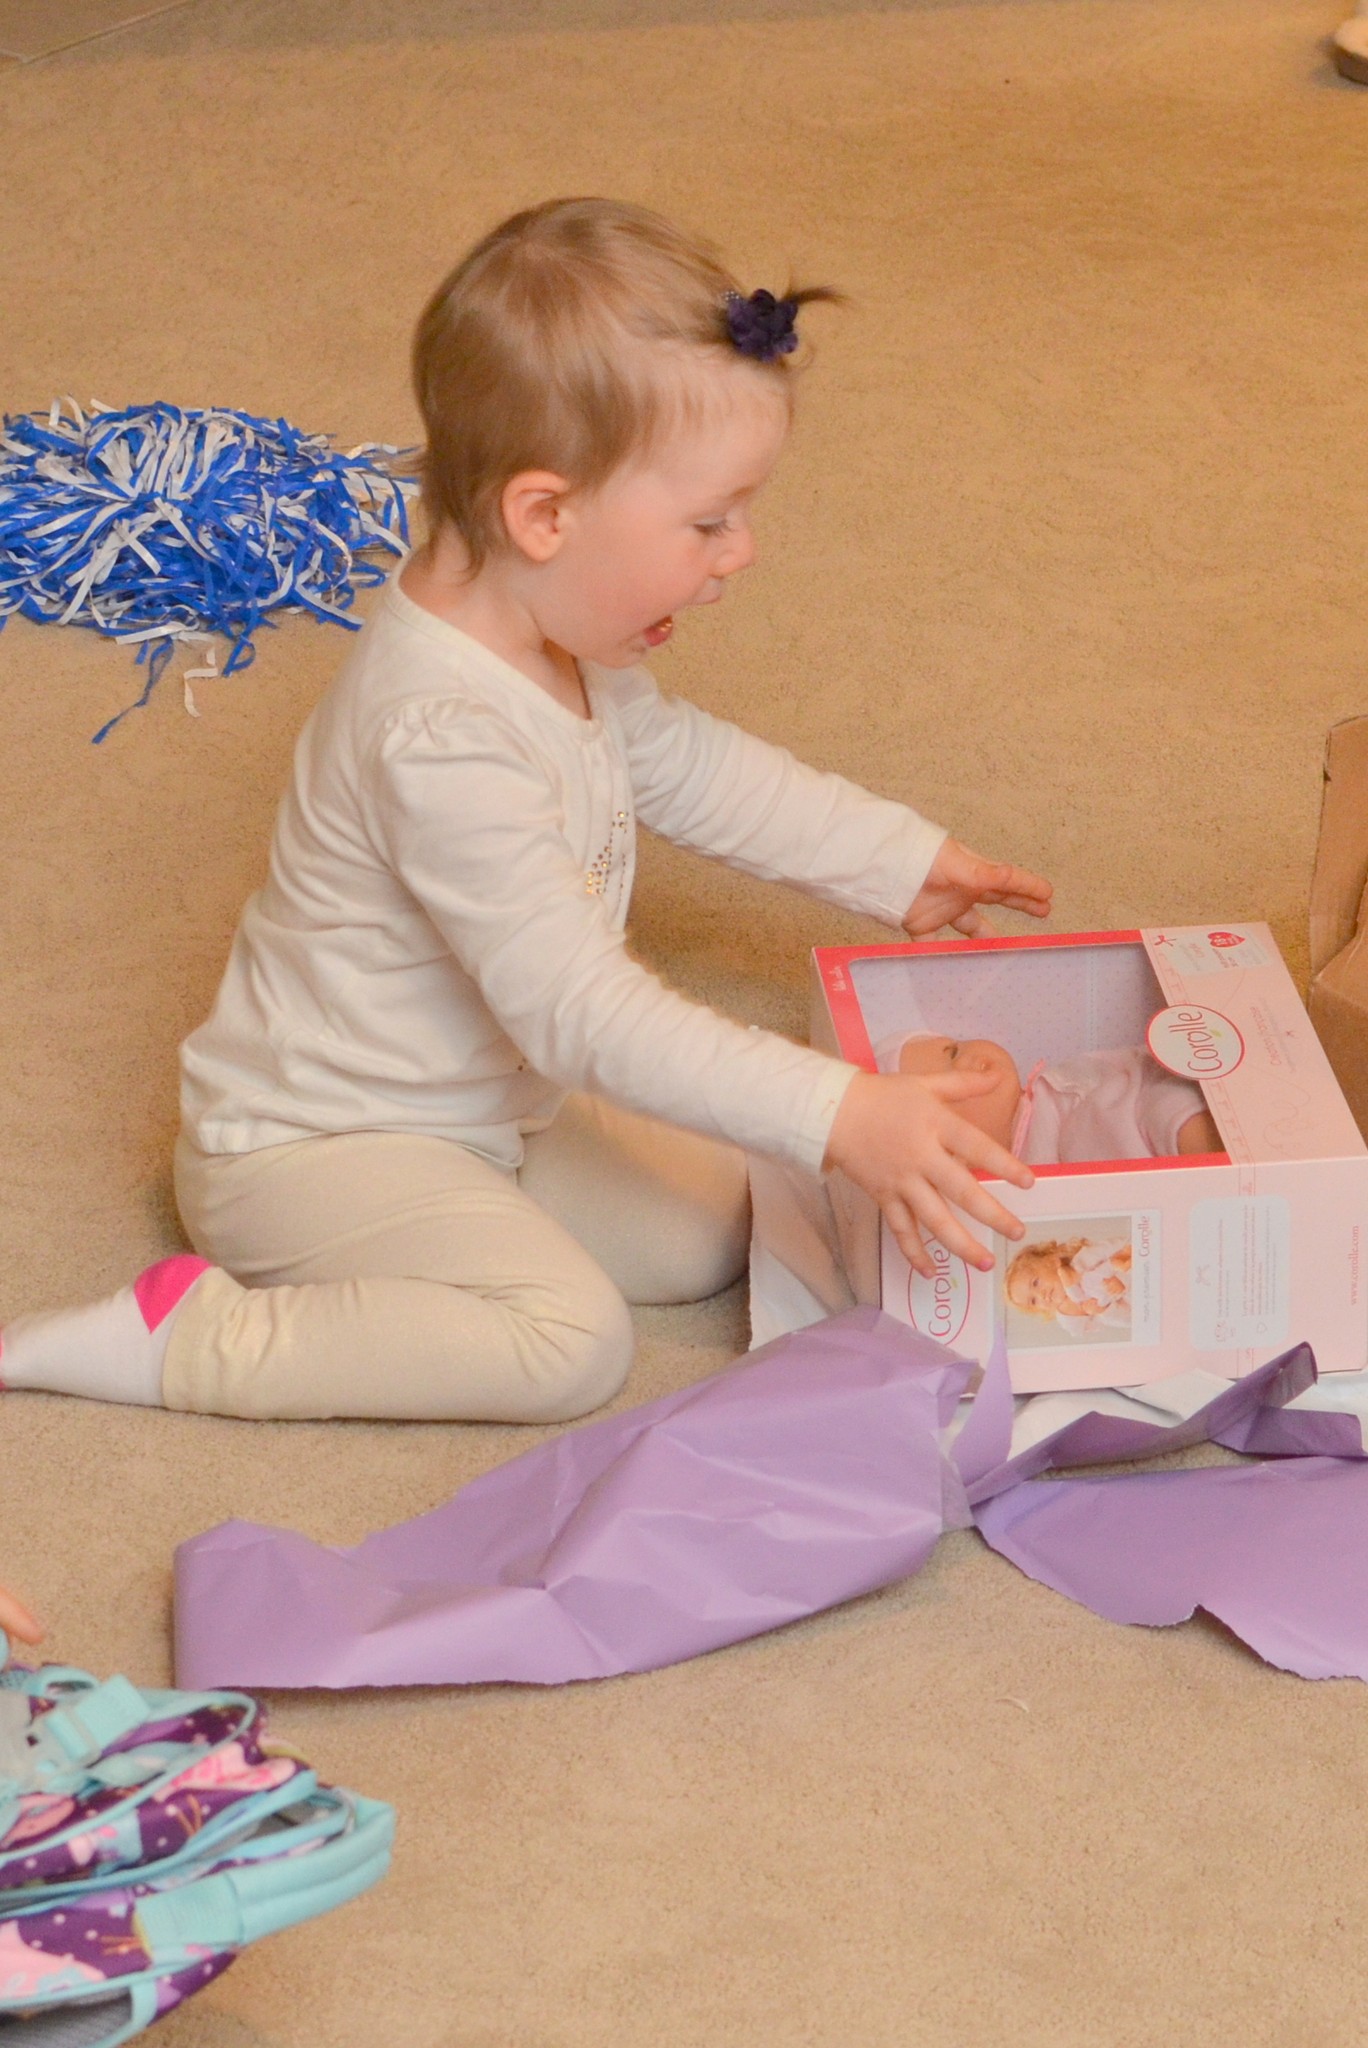
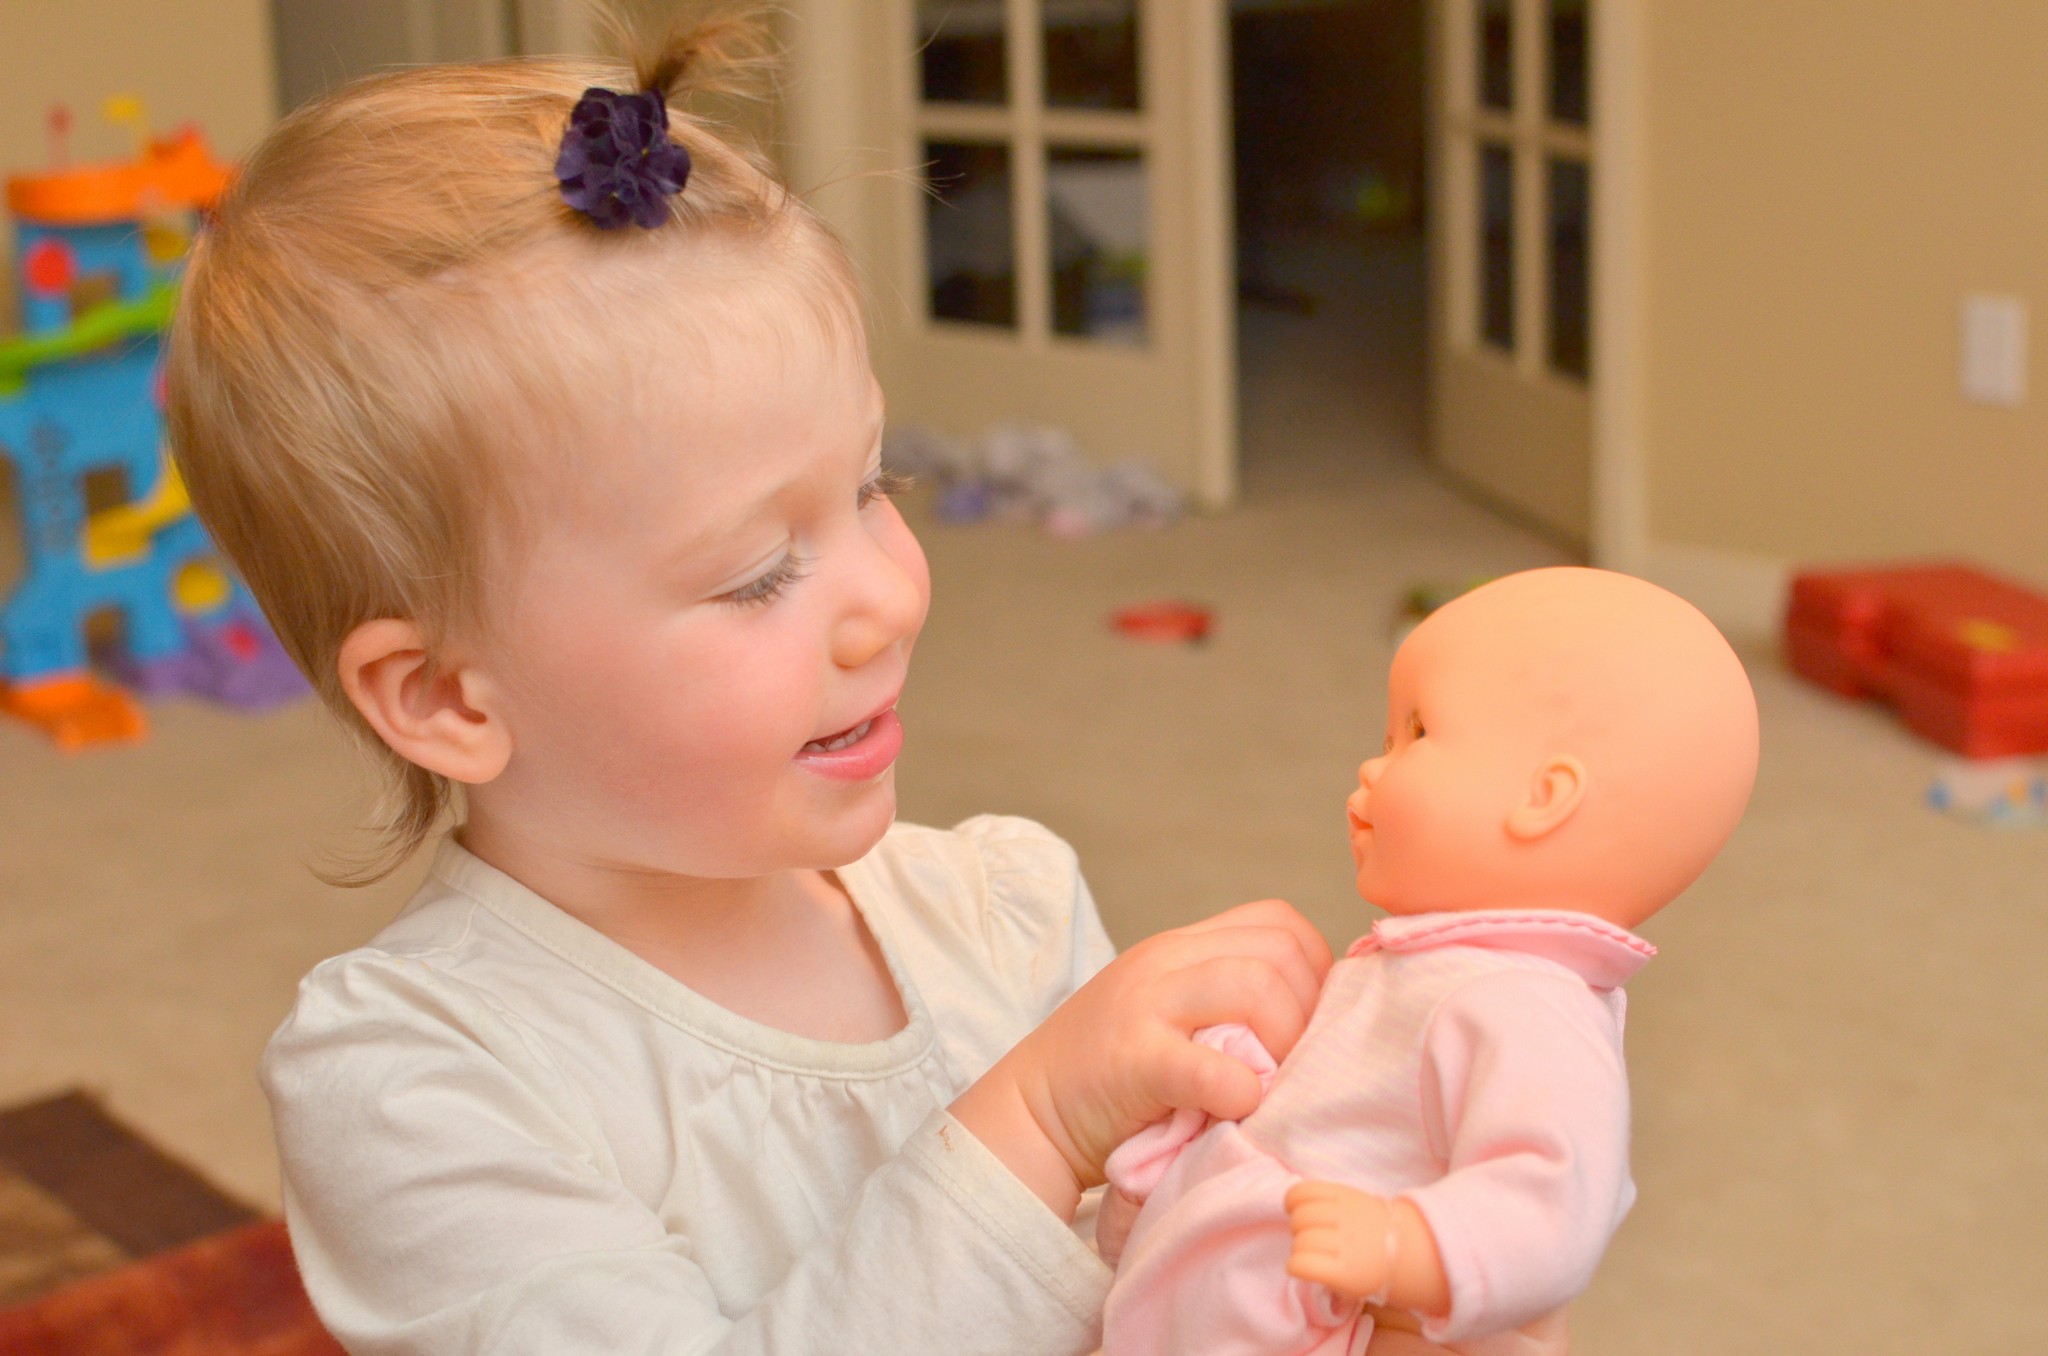
She got several super sweet gifts, but I won’t include every picture I took from her birthday here :). One of her favorites was this baby doll we got her. She ADORES real babies, and so we wanted to get her a “real-looking” baby doll. She was IN LOVE immediately. (That is, until her Aunt Amber, Uncle Jeff, and cousins got her a DIFFERENT baby doll that has far trumped this one, haha!!)She studied every detail on her baby……including how her eyes opened and closed…
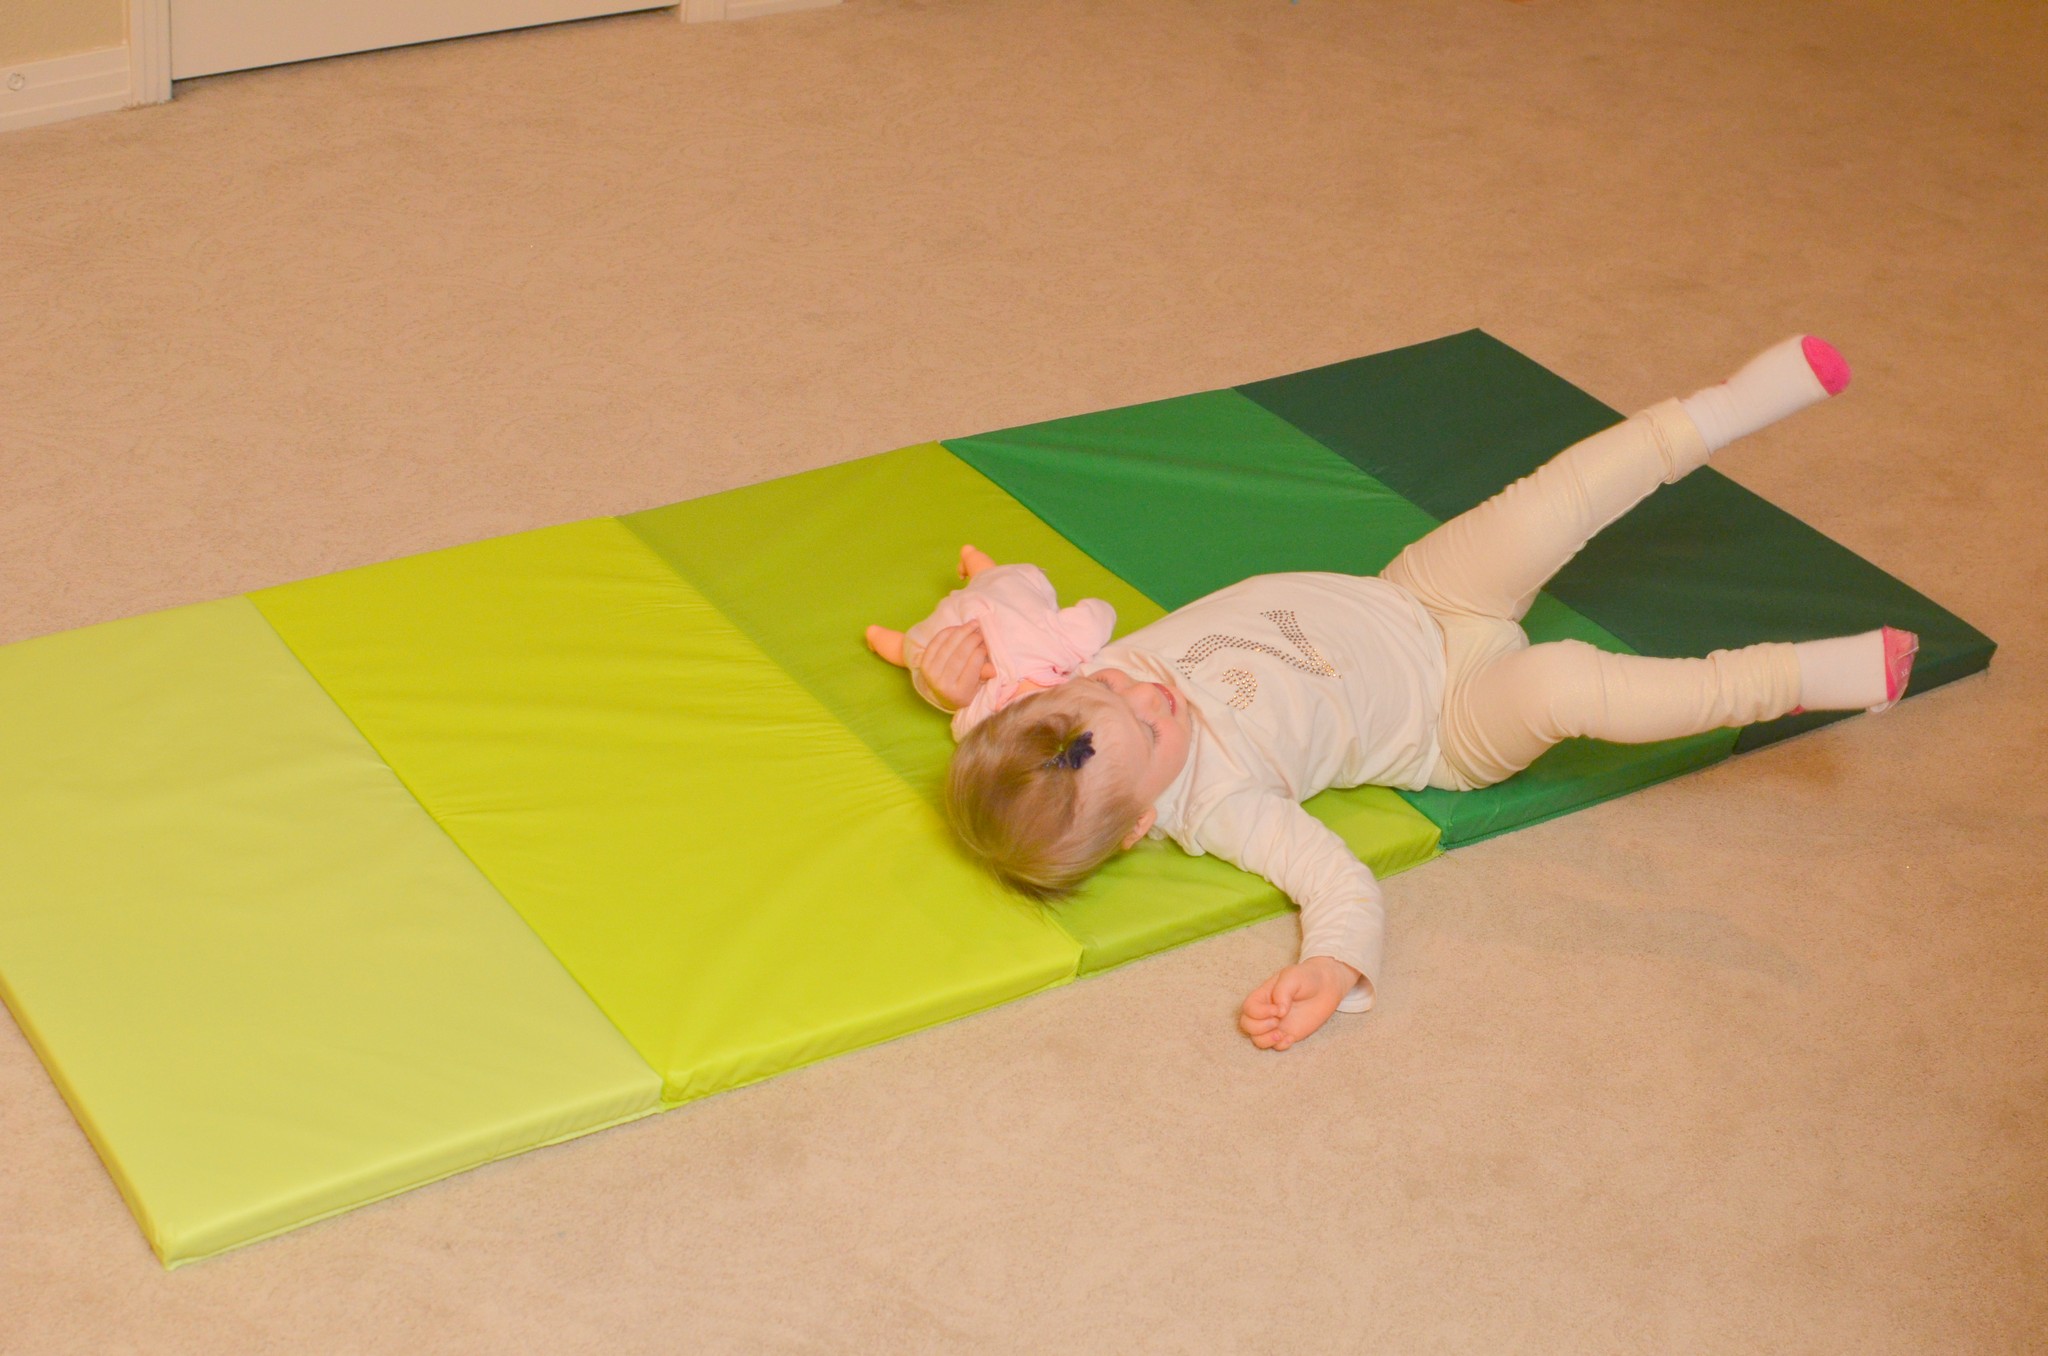
Then, she went downstairs to discover that Grandma and Grandpa had gotten her two play mats to put beneath the swinging things!
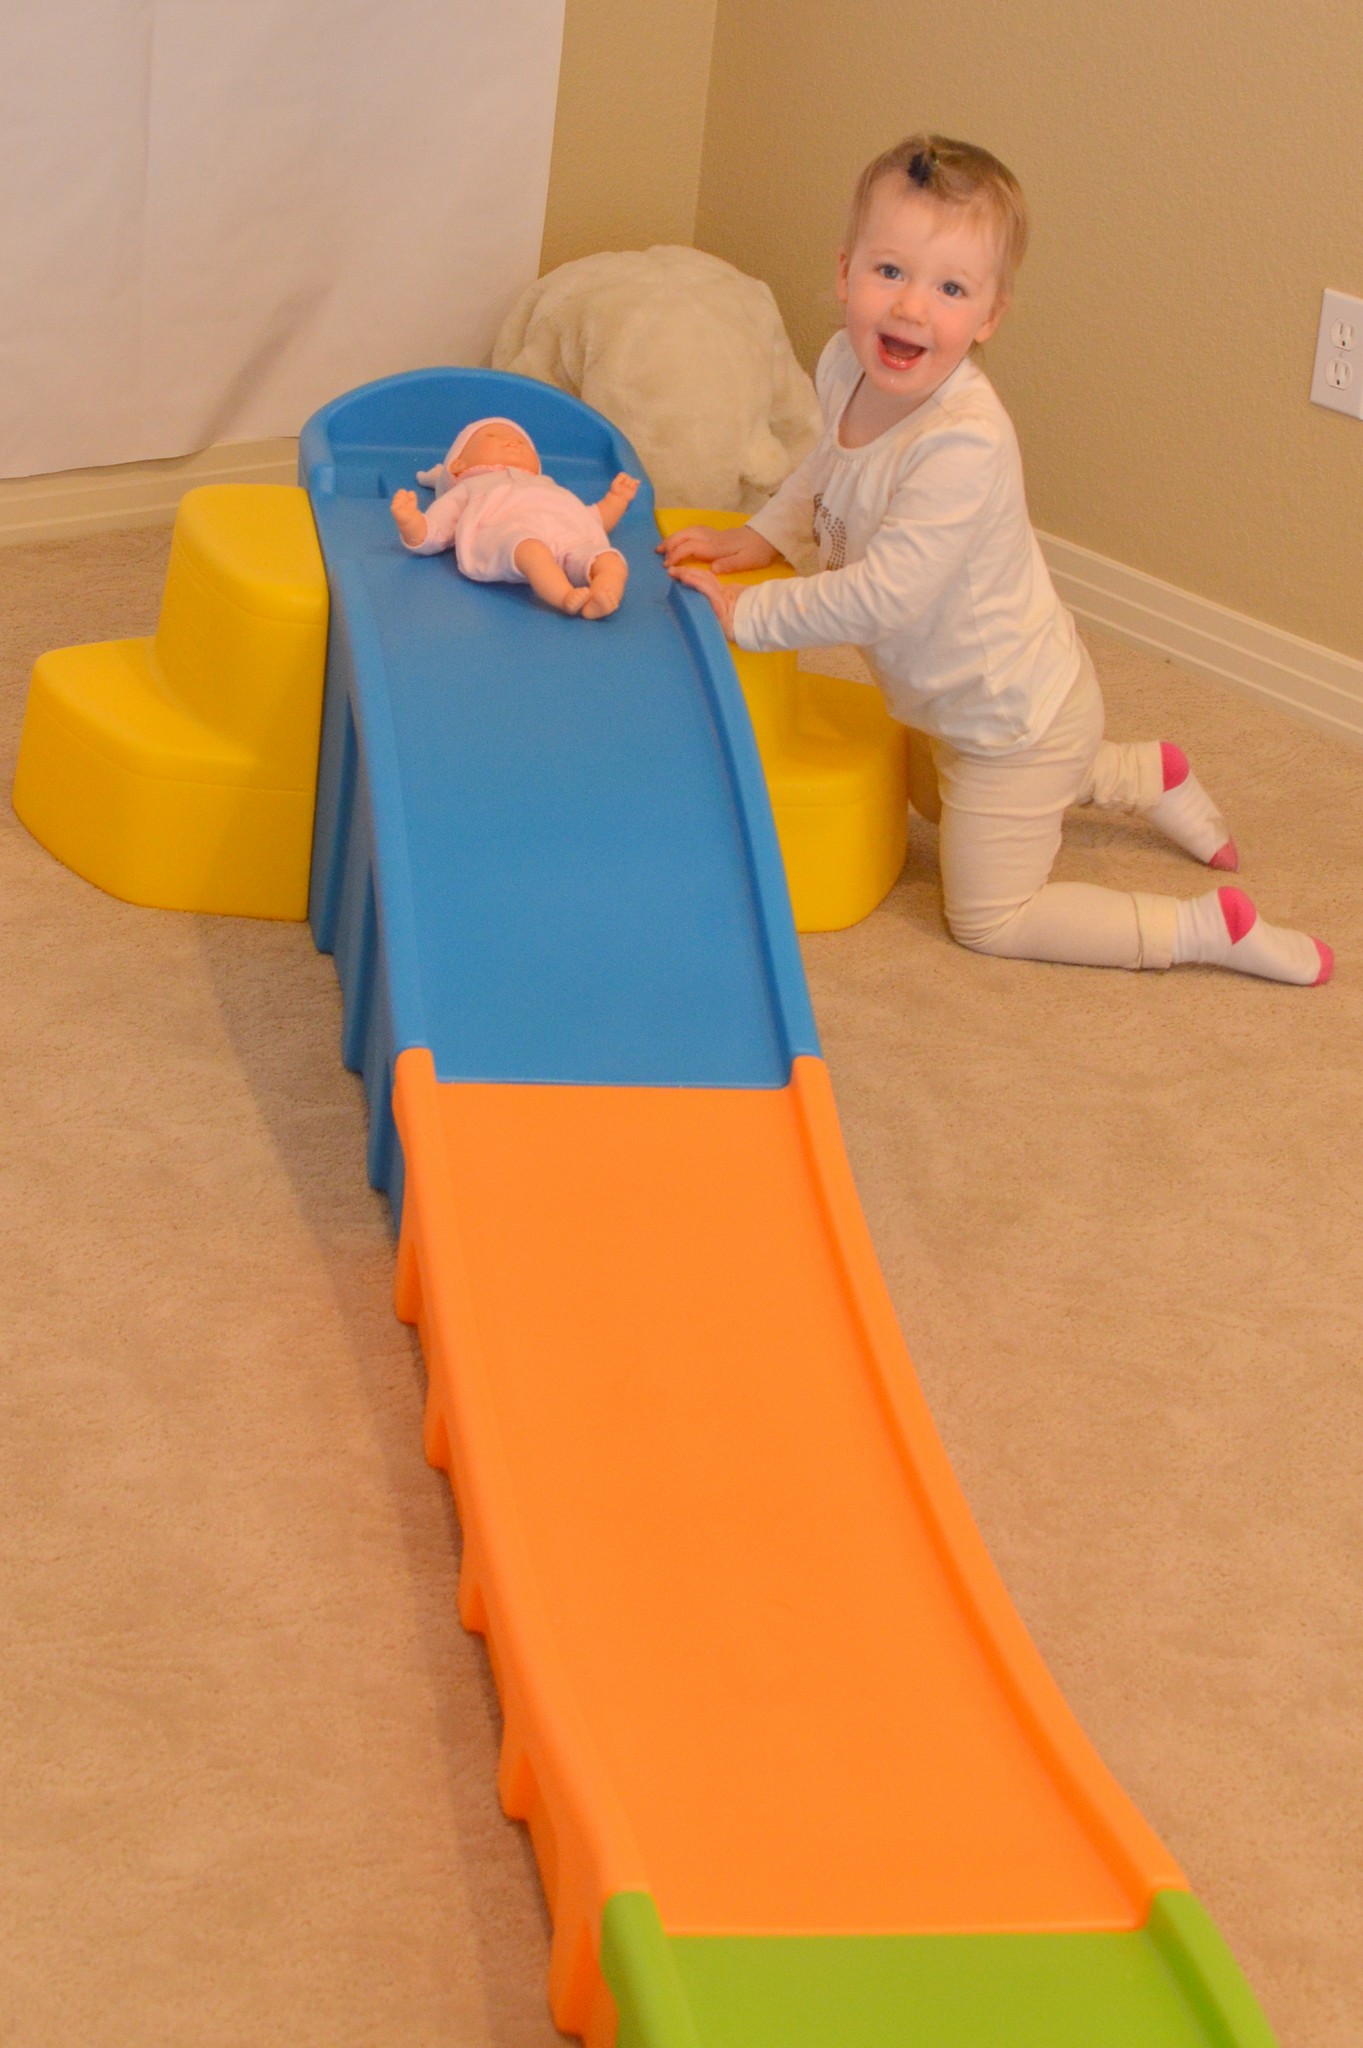
She was SO thrilled, and ran and jumped on them with her baby in hand.And did a somersault……with her baby in hand!She showed her baby her new roller coaster.But did set her down to do this :).
What JOY to celebrate our wonderful two year old!!! I think she was blessed. She certainly slept well that night…
Those of you who know me, know that I love to throw a good party. I used to be an avid crafter until, well, life got WAYYYYYY too busy for that. I still have managed to make time to throw my kids’ birthday parties and a shower here and there, but otherwise, my crafty side has remained dormant.
That is, until, everything changed on October 5, 2013.
We threw a little birthday party for our tweet one year old, and though I started out by saying, “I’m going to keep it SIMPLE!” I just got swept up in the adorable theme and couldn’t help myself. My mind was flooded with birds and puns and ideas to bless our daughter, and they all came into existence. We invited just a few close friends and family, and my dear friend Kari was one of the guests. I’ll never forget the moment her eyes had just scanned ALLLLL of the birds around our house, each intricate tail, beak, wing, and body cut by hand and she said to me, “You didn’t cut these all out by hand, did you?”
“Yes, I did!” I said proudly.
“Ummm, haven’t you heard of a Cricut?” she asked me, stunned.
“The insect?”
A slight smile slowly spread across her face as she stared at me in disbelief…”No…..the machine that would have cut all of this out FOR YOU…”
I was TRULY baffled. For years, I have made every one of my decorations by hand…in that one moment, my memory flashed back to Elliott’s ball birthday party where I cut out EVERY SINGLE BALL by hand and his Construction themed birthday party where I cut out EVERY SINGLE CUPCAKE CONSTRUCTION SIGN by hand and then I stared at each bird, each cupcake topper, each number that marked the different years of Selah’s birthday banner and I thought about every minute that it took for me to cut each one out by hand…and I almost cried.
“It does WHAT…?!”
She tried to explain to me the concept of this “electronic cutting machine” but I was so overwhelmed at the idea of it–and all of the hours I had spent that didn’t need to spent if she was, indeed, telling me the truth. It was as if I had been making the trek every day to the river to wash my family’s clothes with rocks in hand and somebody told me there was a MACHINE that would do that all for me. Brian jumped off of the couch and began to research. (One of the many reasons I LOVE this husband of mine!) Within just a few minutes he had found a different version of the Cricut–an electronic cutting machine called a Silhouette. It got far better reviews than the Cricut and for several reasons it seemed like a much better option. We sat there while guests continued to mingle at our house and we watched the promo video for it. I’m sure there was a puddle of drool on the floor beneath me because I couldn’t BELIEVE the things this machine said it could do. Where had it been all my life??!! I was in love.
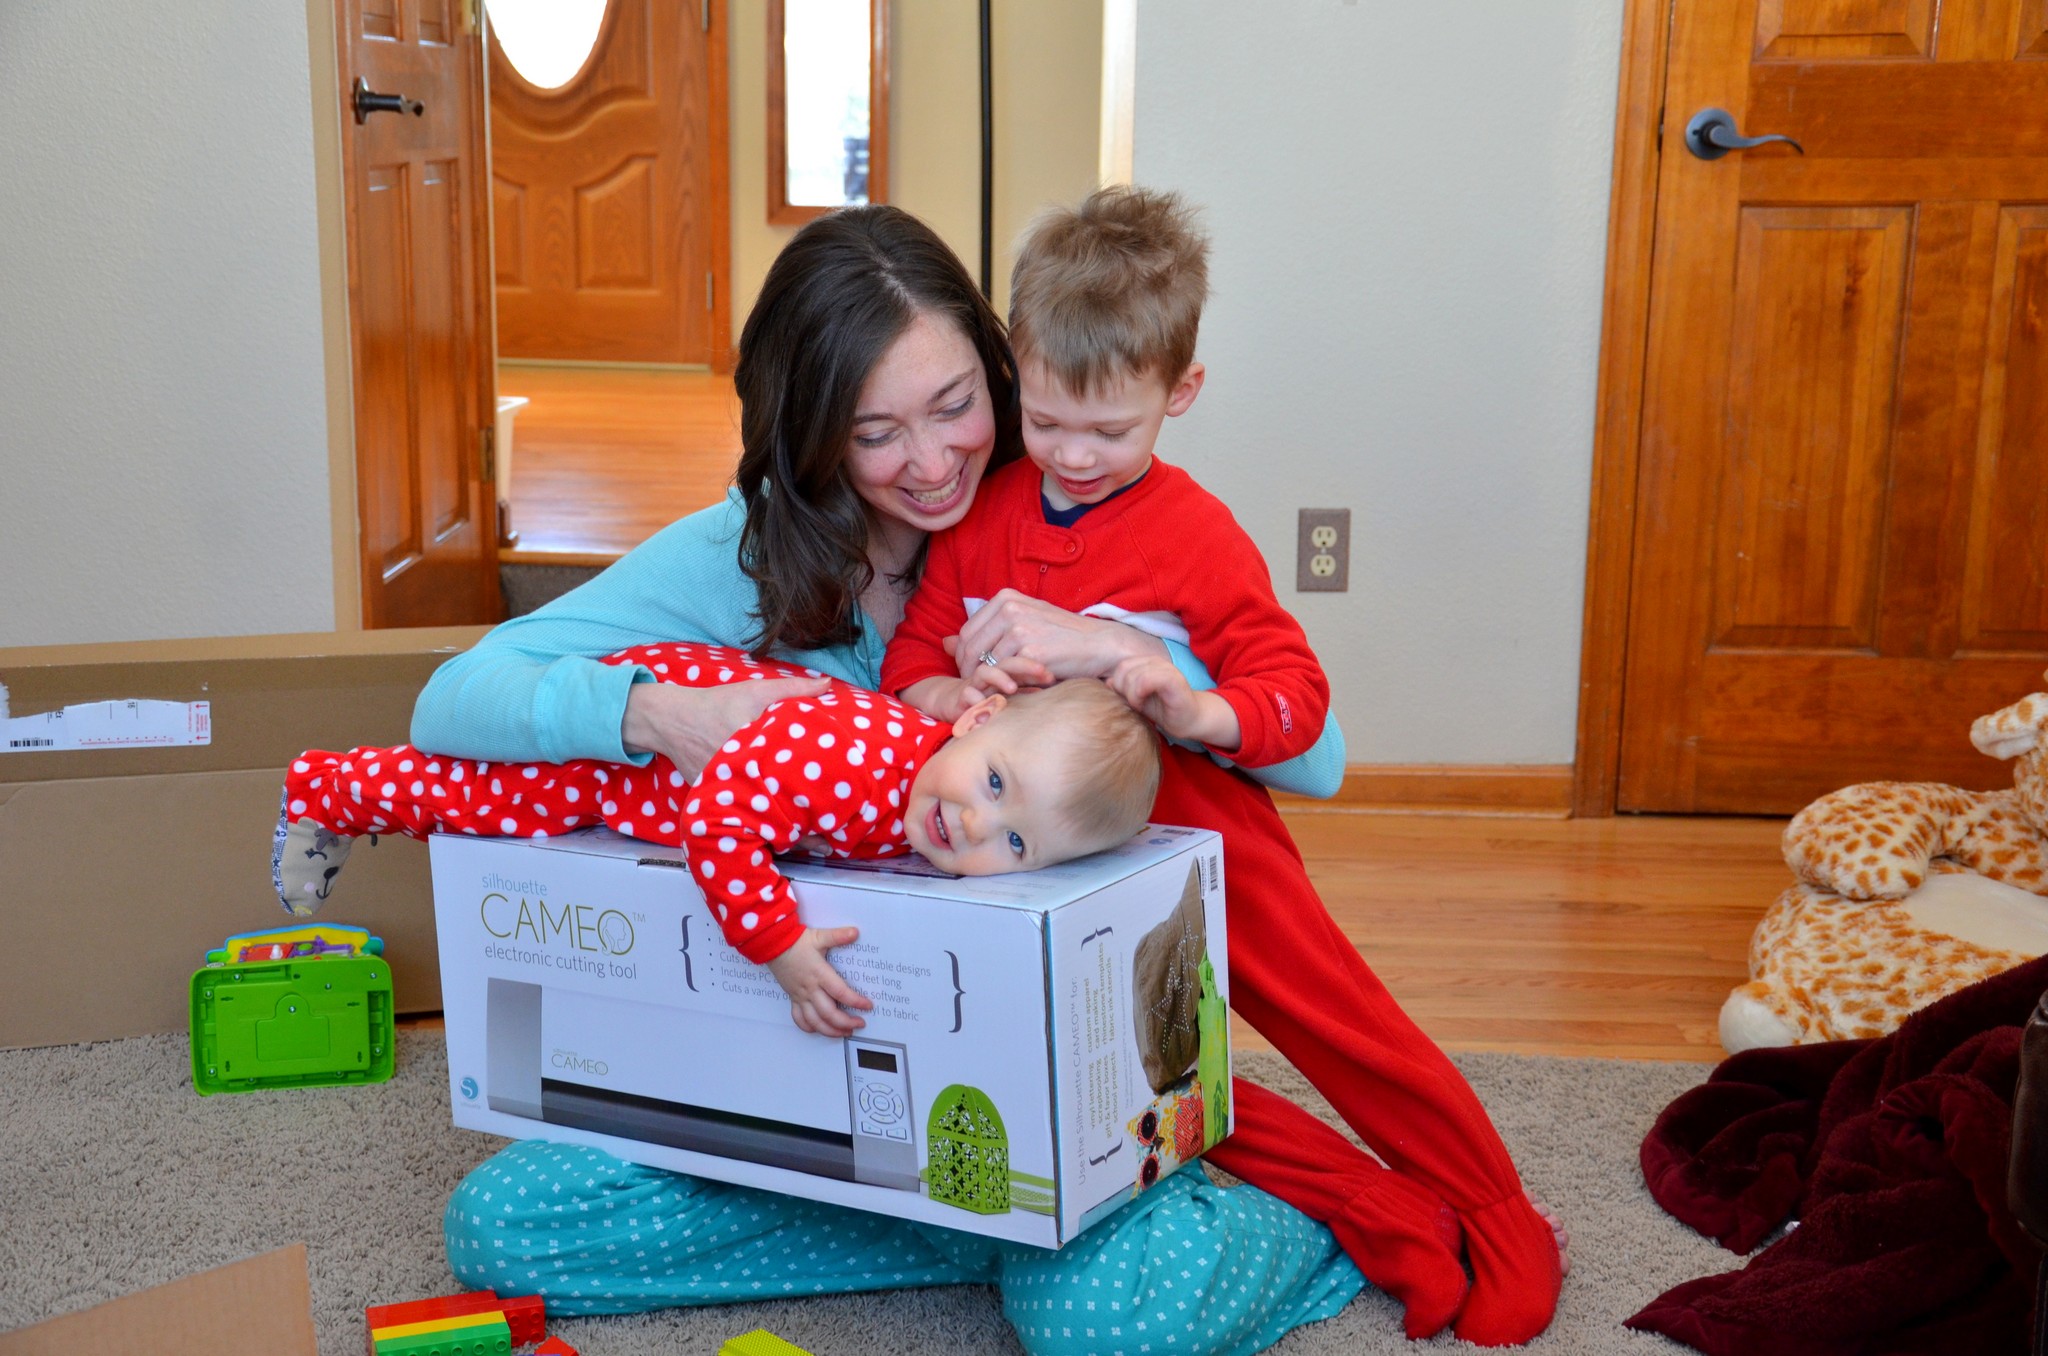
I spent the next few hours, days, weeks and months convincing Brian that this would be the BEST investment we could POSSIBLY make for our future and our household. 🙂 After a few good nudges come December, I opened up my very special gift on Christmas day.
My three favorite things about this photo: 1. Elliott’s bedhead. 2. The three of us in our Christmas jammies. 3. The CLEAR affection that my daughter already has for crafting!! 😉
There she was…in all of her beauty. She was gorgeous, and terrifying. I knew I had to jump in right away and figure out how to use her quickly before she sat dormant too long.
Brian and I opened the box together, read all the instructions, and watched the video. I designed a simple card and made my first cut.
And sliced right through the cutting mat. (Palm to forehead.)
Good thing it came with two :/. Needless to say, it has been a huge learning curve for me. I have moved from designing a few very simple cards to some fun signs for Elliott’s 3rd birthday to making banners and wedding presents to some meaningful gifts for friends to…my latest projects…home decor.
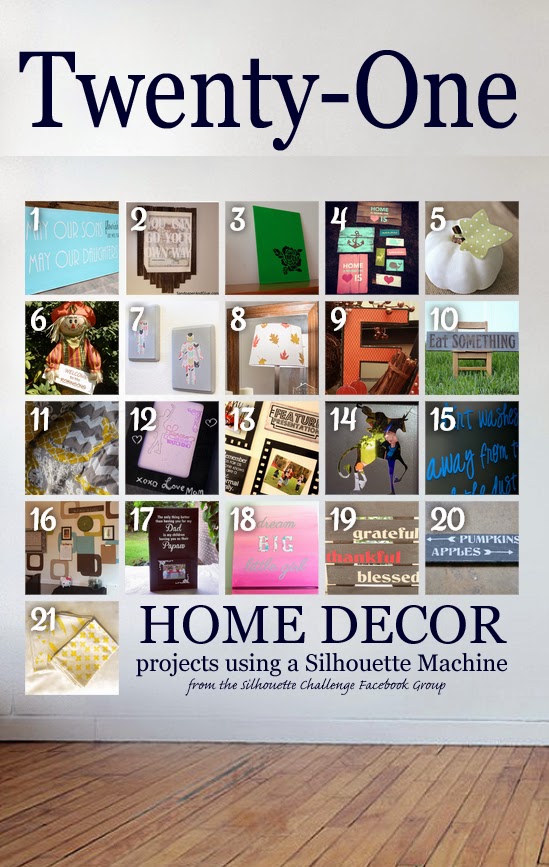
I stumbled upon a facebook group that is like a Silhouette support group. Everyone who is a part of it is AWESOME–everyone is so kind and helpful and it’s SO MUCH FUN to see people’s creativity and to share a bit of mine. Each month, the group hosts a “challenge” with a theme, and I finally decided to be brave and jump in this month. 🙂
This month’s theme is HOME DECOR. I had just finished this project, and so I figured this would be a fun way to share it!
Several months ago, I came across this scripture while reading the Word one morning. It resonated so deeply with me, because this is SO who Brian and I long for our children to be!
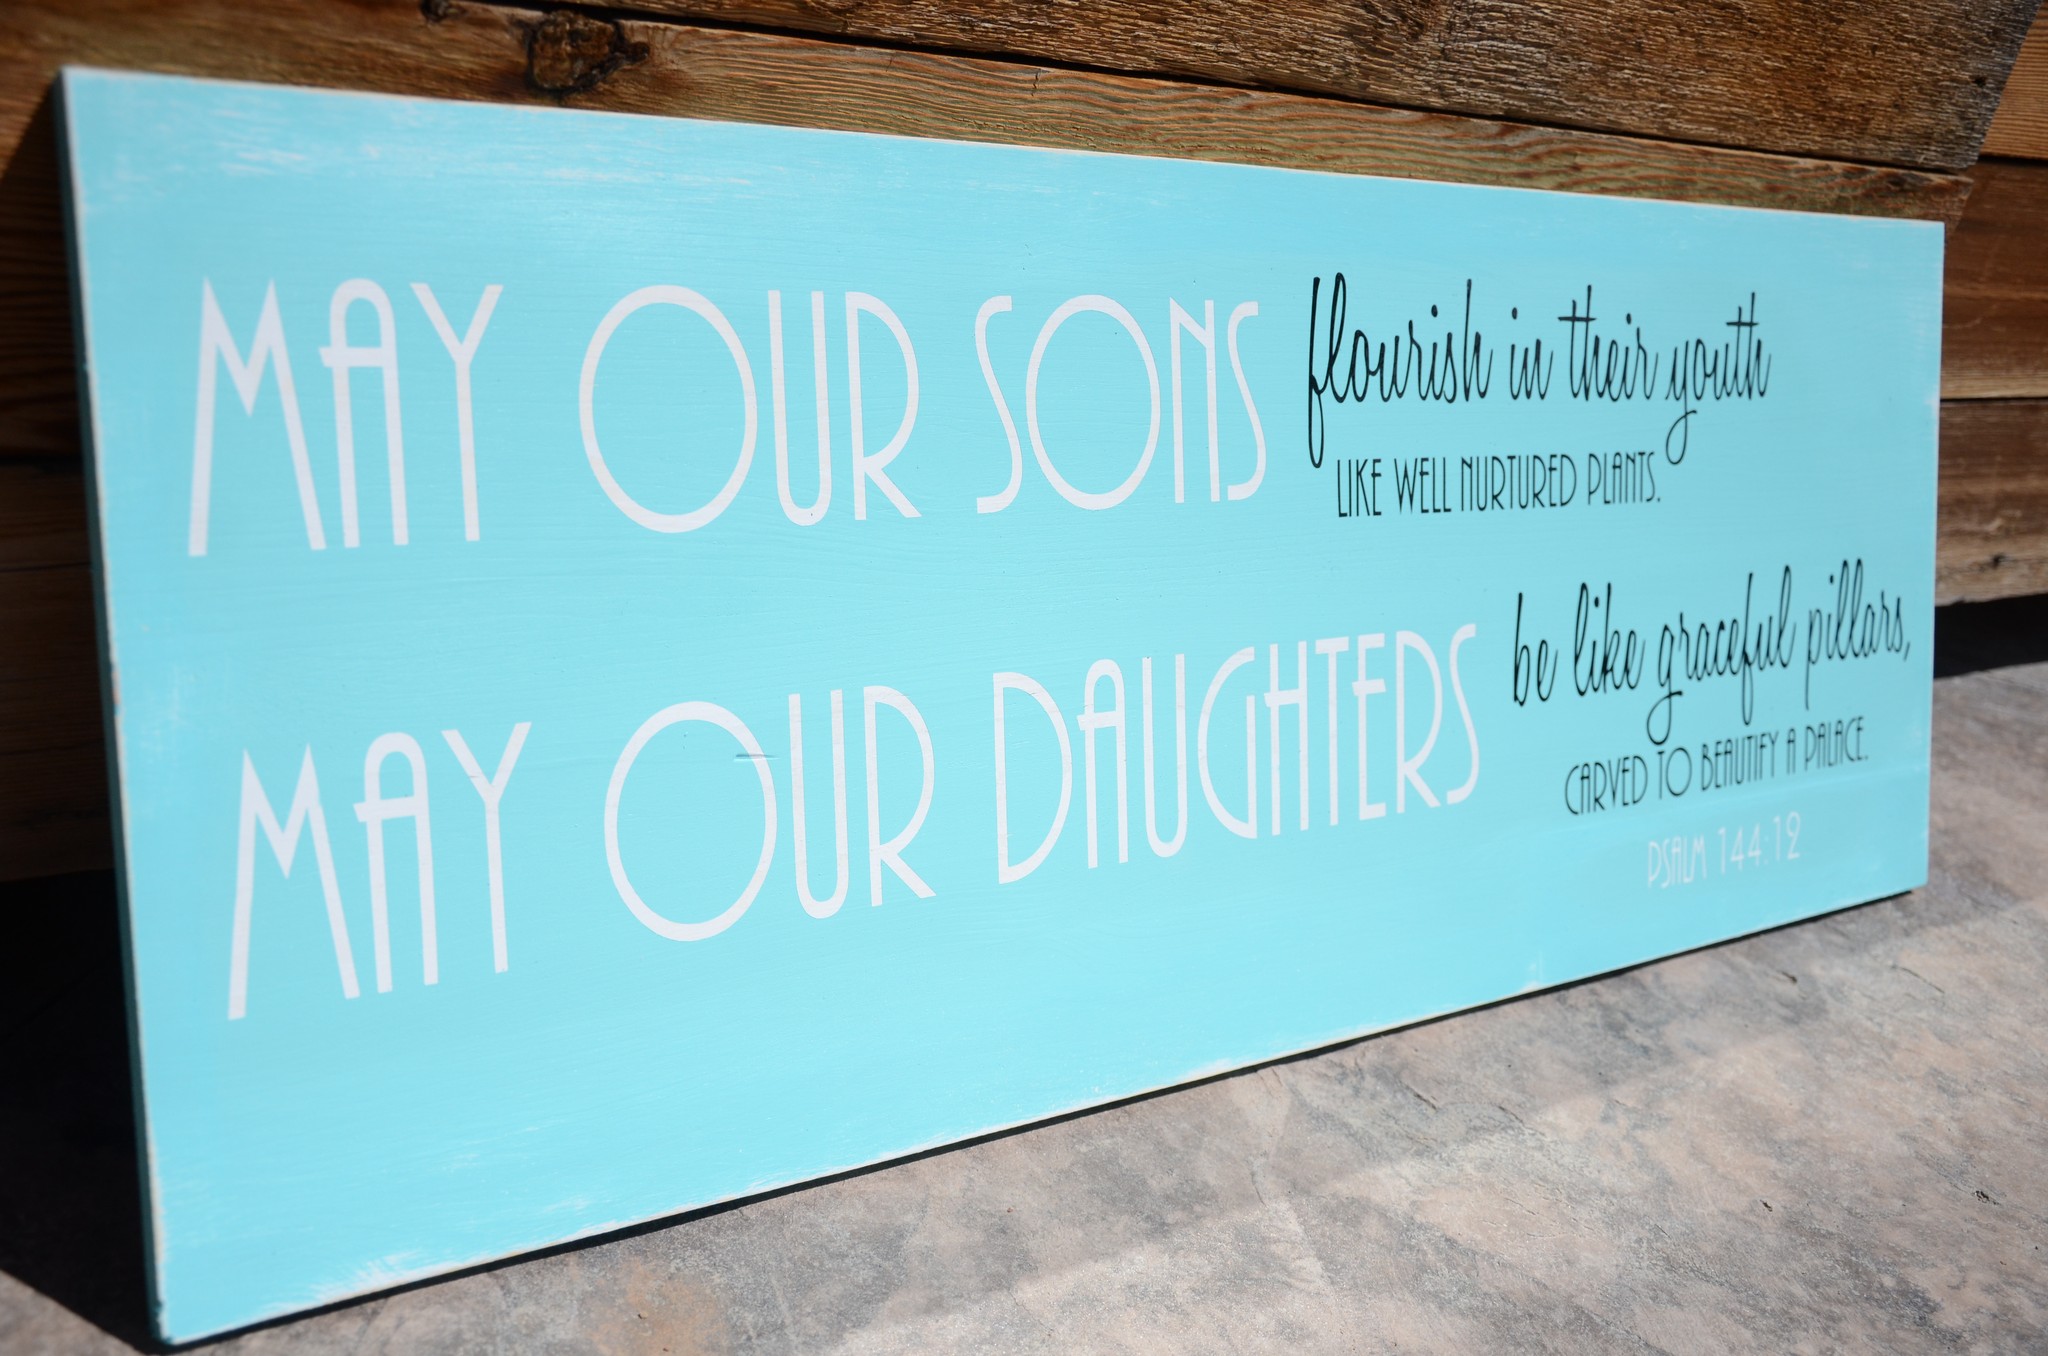
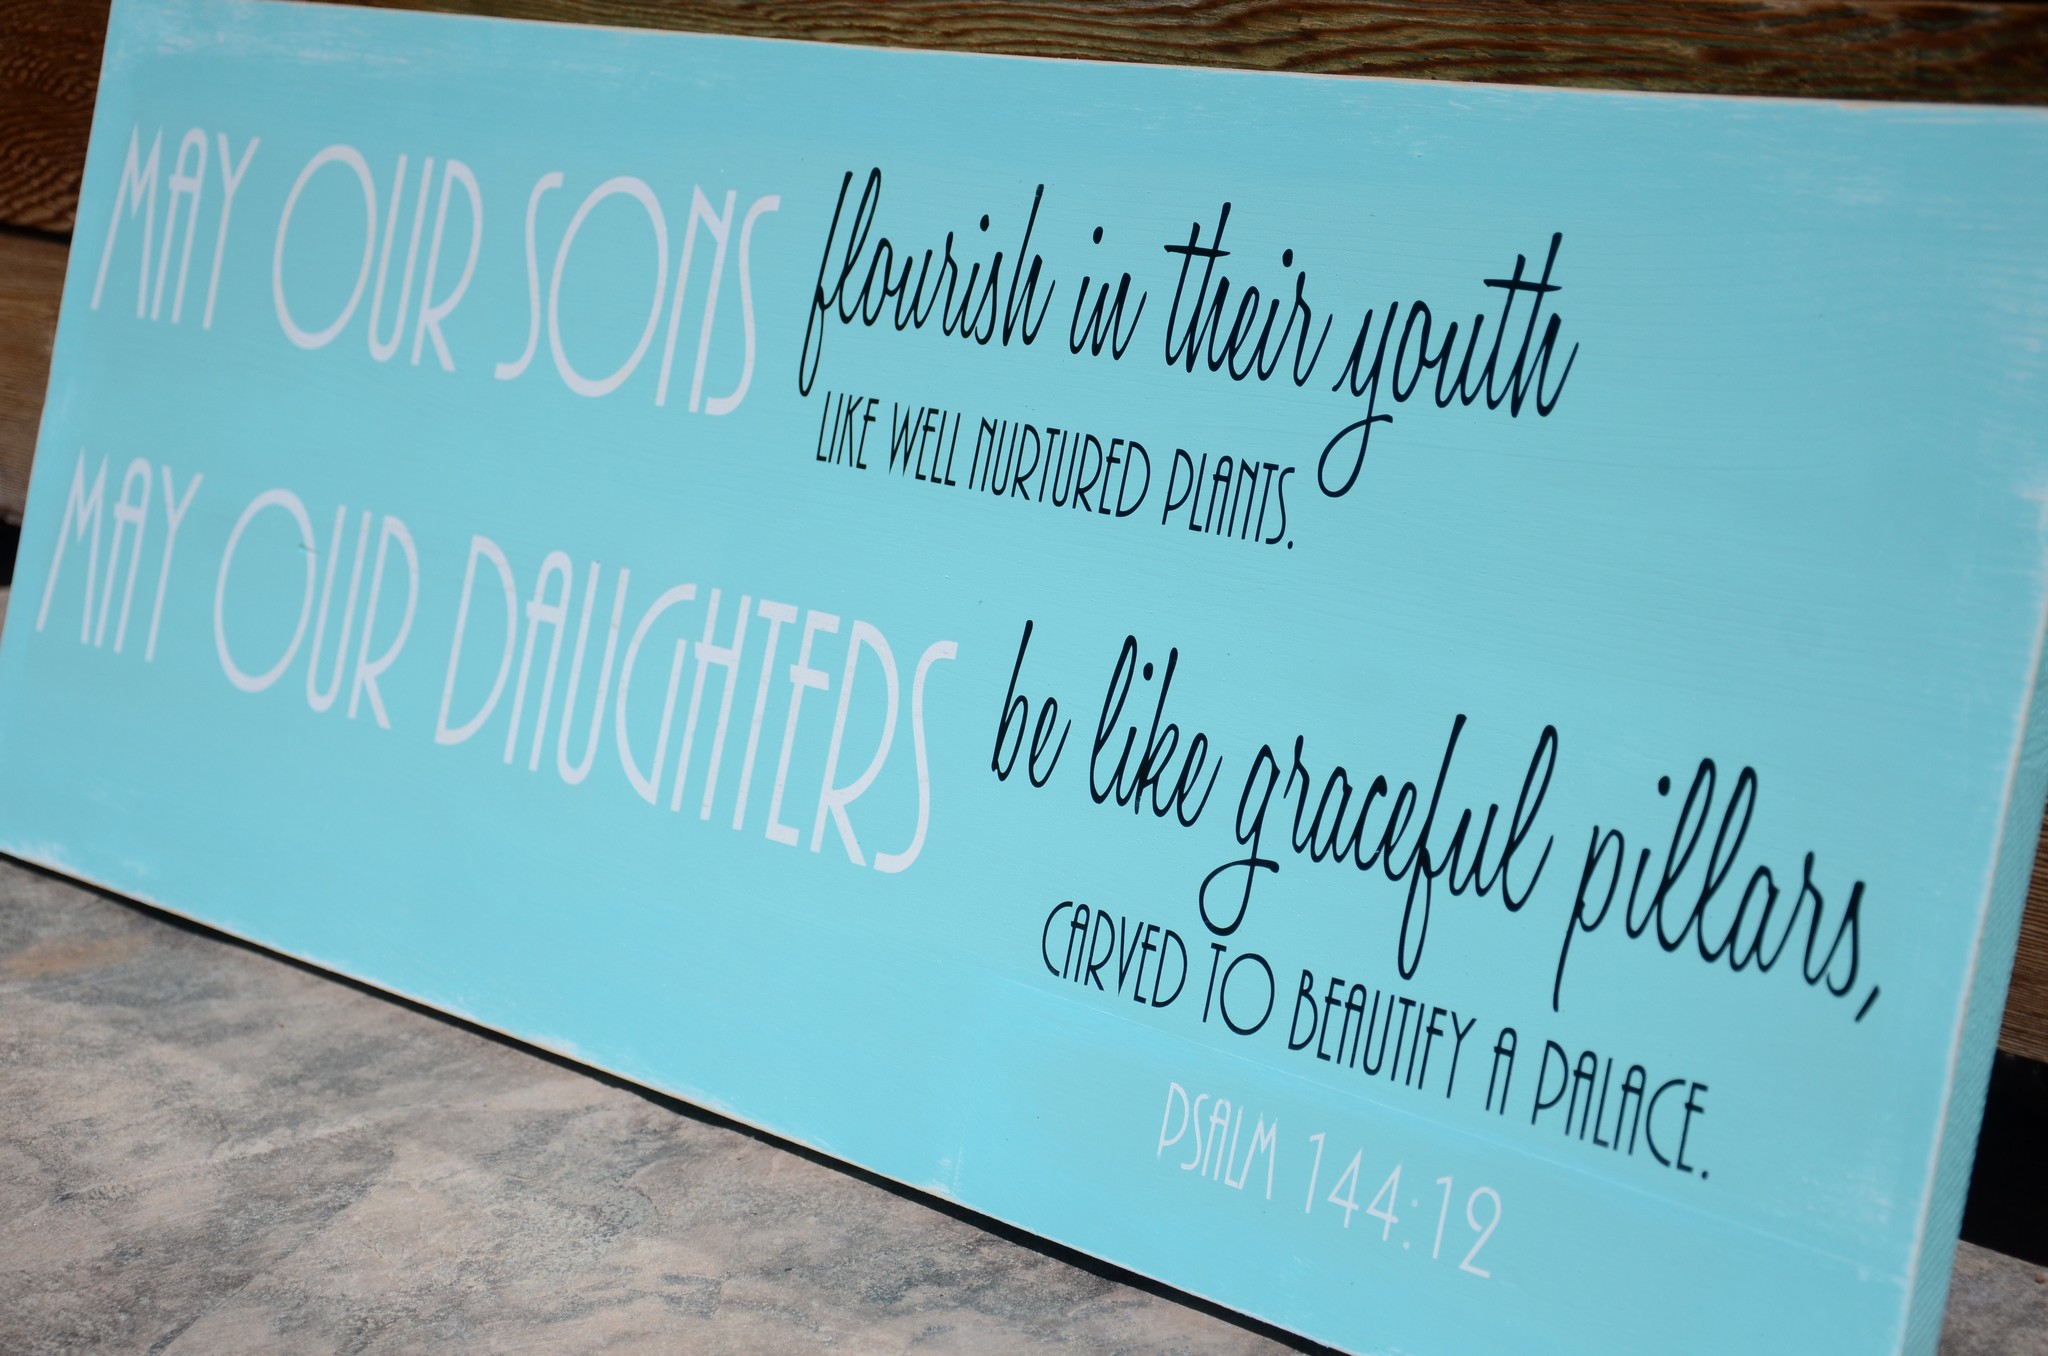
“May our sons flourish in their youth like well-nurtured plants. May our daughters be like graceful pillars, carved to beautify a palace.” Psalm 144:12
YES. I have mentioned it briefly before, but I LONG for my son to not be quenched in his “boyness” but to FLOURISH in his youth. Yes, I want to raise him to be respectful and kind and thoughtful, but all the while being brave and mighty and BOY. Our society has a tendency to want little boys to act and behave like little girls, and then years later when they become a man and husband, their wives are upset because they are passive. I won’t go off on a tangent now 🙂 but this is so our heart’s cry: that our son would FLOURISH in his youth. We have gone to great lengths to nurture our son; his heart is SO sensitive and soft that, like a tender shoot of a young plant, he takes a LOT of nurturing. We have tried so hard, resting on the grace of God, to know his heart and shepherd it, while at the same time encouraging him to be brave and bold. Oh, Lord, may he flourish in his youth!!
And, our sweet Selah. THIS GIRL. I tell you what, she is STRONG–strength like a pillar. I LOVE this description of a girl: a gracefulpillar. YES. We want our daughter to be filled with grace, both in her speech and her actions. And at the same time, we want to teach her to STAND FIRM. To be unwavering and unmoved by the ways of this world, but firm in the knowledge of our God. A graceful pillar. Like the son who flourishes like a well-nurtured plant, we are striving to teach her what it looks like to be such a graceful pillar; she must be shown how to stand firm and not tossed by the waves. Like a pillar carved to beautify a palace, so we are teaching our girl. We are praying for her heart that she would be like the fragrance of Christ and that just by looking at her, people would pause to stop and think about how great our God is! (Selah!)
All that to say, once I stumbled upon this scripture, I knew I wanted it up in the new rental home we were moving into the next month. And once we were here, Brian and I embarked on making this sign together!
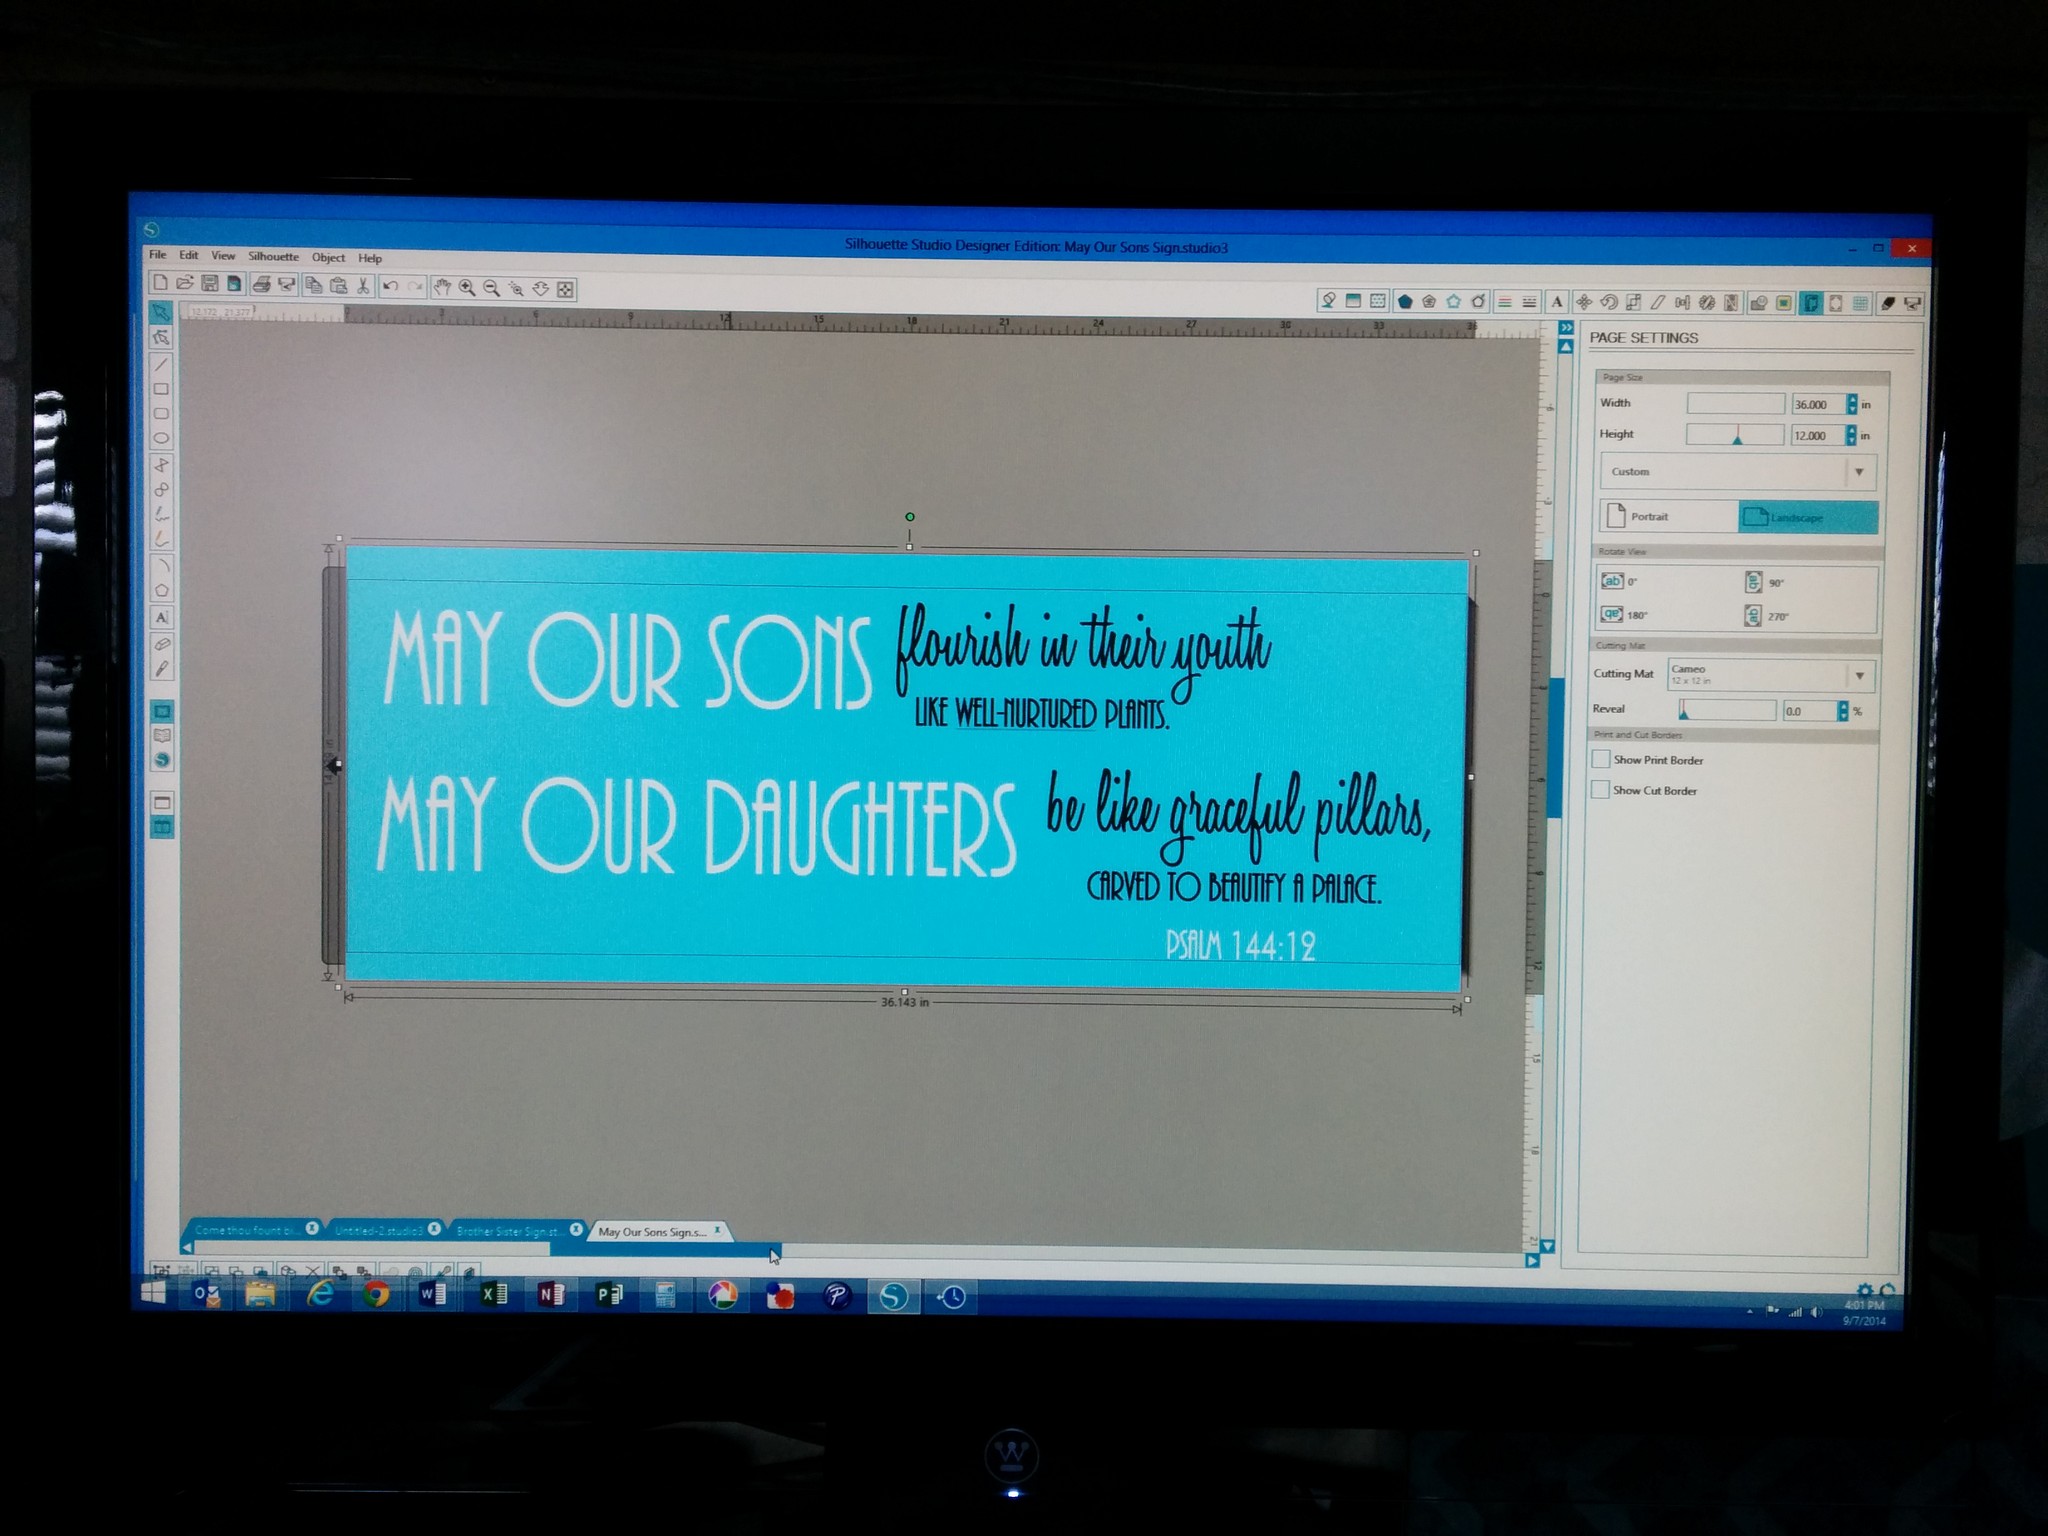
First, I spent a bit of time designing it through my Silhouette software. Though I’ve always wanted to be good at graphic design, this isn’t necessarily my strength (yet). So I spent a while, playing with the colors and the fonts and learning about the program. After a while, I settled upon this:
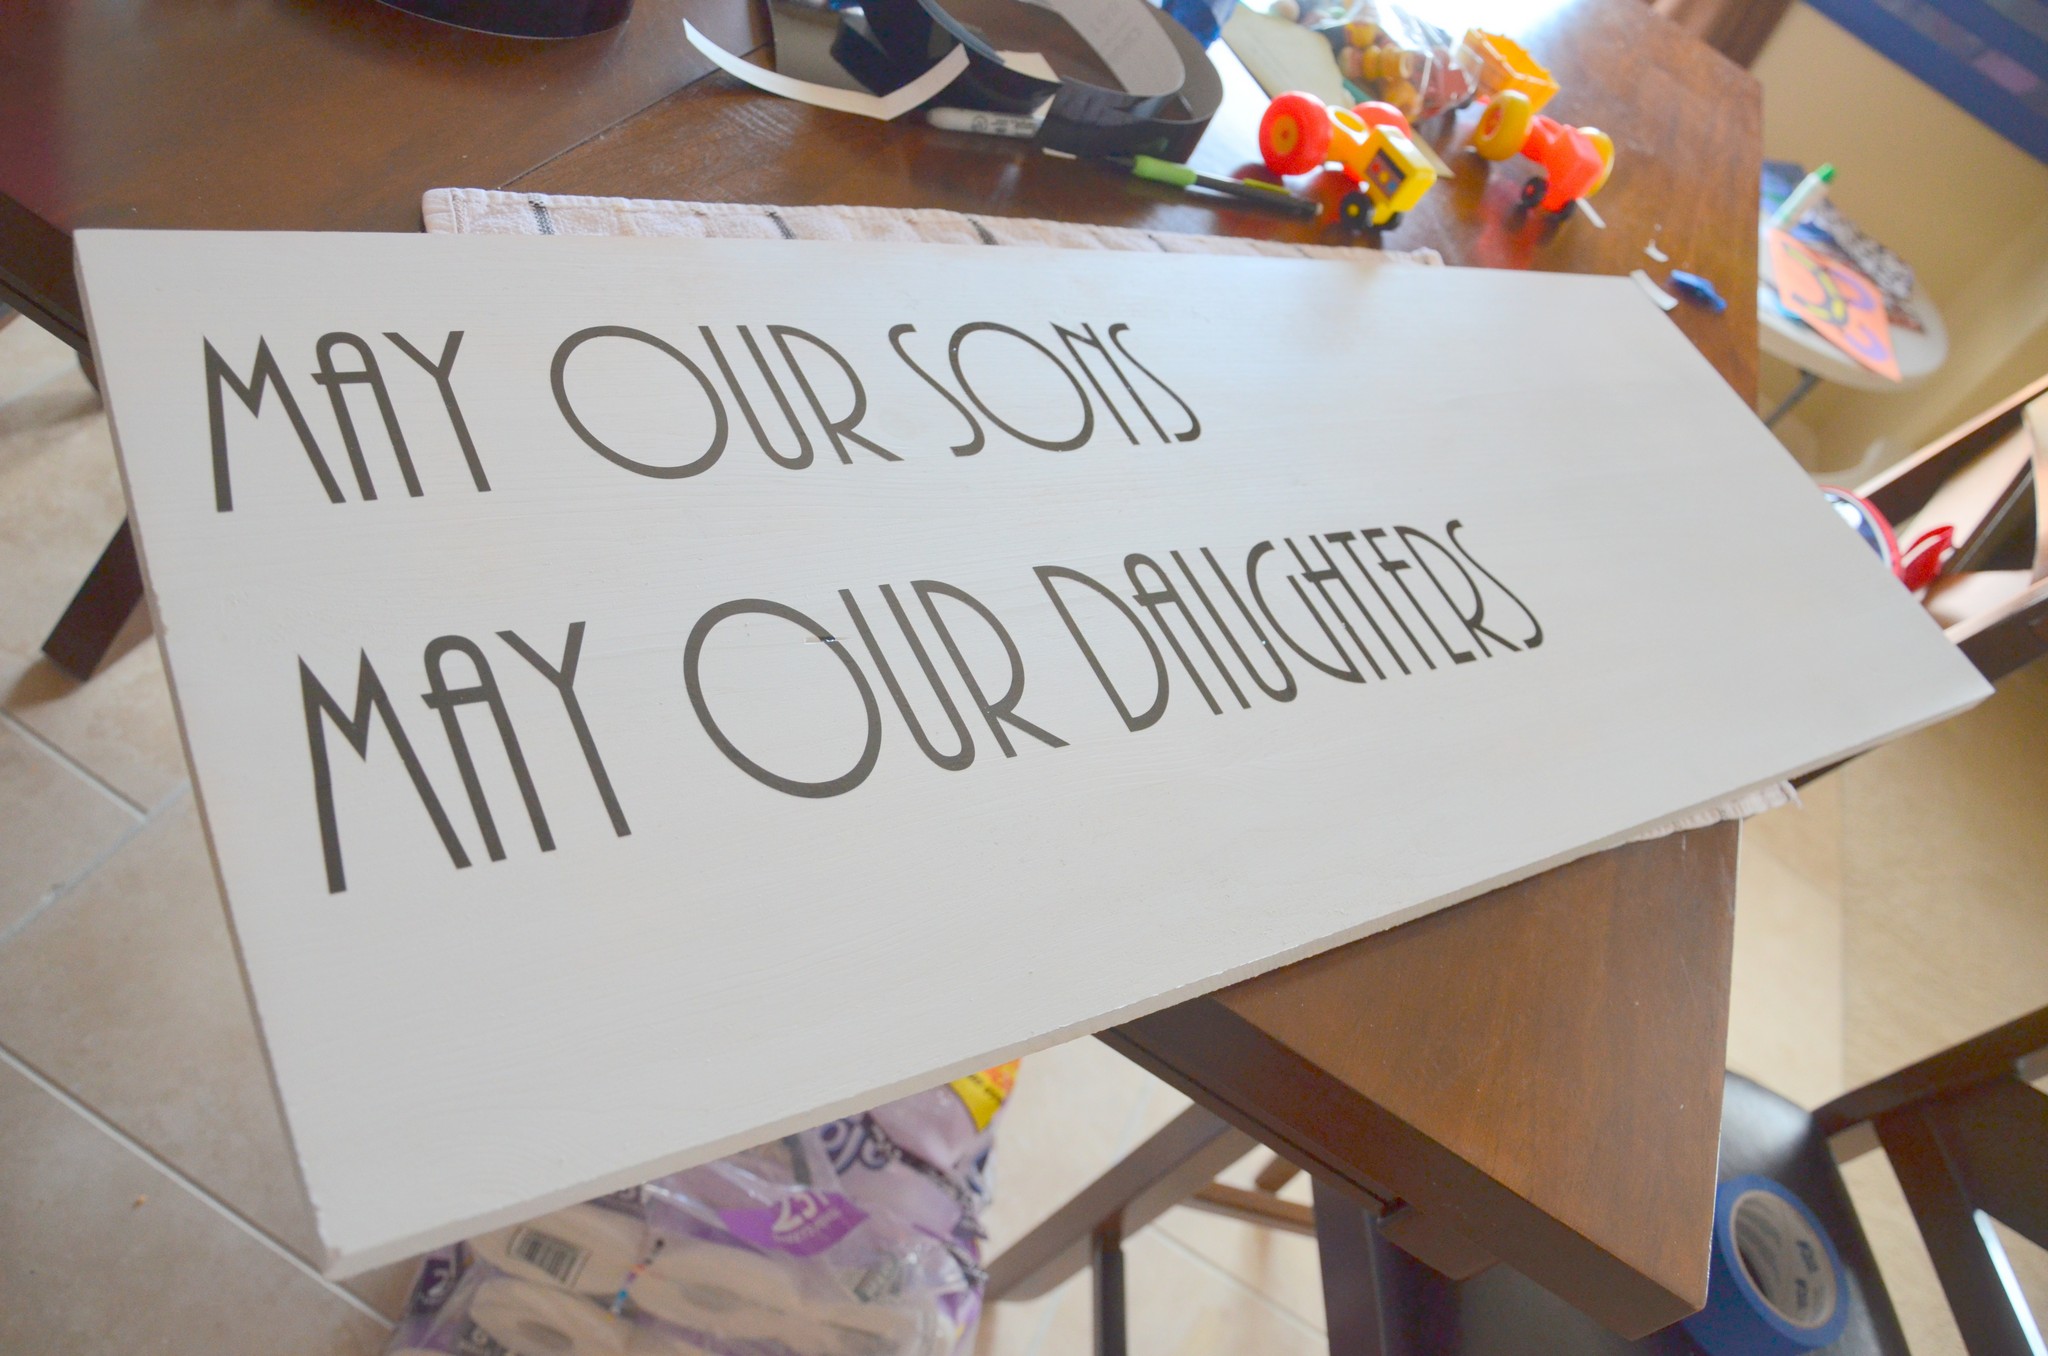
Brian went out and got a wood board from Home Depot and cut it down to the size we wanted: 14″x 36″
I spray painted it white, and decided to use a stronger vinyl for the letters than the regular vinyl I have used for other basic projects since I wanted to make sure it would stick to a painted surface. (During my last project, I couldn’t get the vinyl to stick to the medium I was using and my Silhouette support group came to the rescue and taught me about Oracal 651…an outdoor vinyl that’s much stronger.) I loaded the vinyl into my Silhouette, pushed the little button on my computer and my awesome machine cut out all these letters for me!!
Using painter’s tape, I transferred the letters that I wanted to remain in white to the sign.
See the rolls of TP under the table? This picture represents REAL life around these parts…this is how we roll! (Haha…)
**Mistake #1: I FORGOT to lay down the verse reference, which I wanted in white as well. I didn’t realize I had forgotten this until the END, so it was definitely frustrating to have to go back and fix that. Lesson learned!
Then, Brian spray painted the whole thing turquoise. We let it dry, I peeled off the letters, and then I applied the rest of the scripture that was to remain in black. (It was at this point that I realized I had forgotten to put the reference down two steps earlier, so we ended up having to tape off the corner, spray the bottom corner white again, put on the letters, spray paint it turquoise, and then remove the lettering. Thus, as you can probably see below, there are lines around the reference which totally bother me, but, honestly, it’s a good reminder that perfection is not required to be a good parent :)).
Using a sandpaper block, I distressed the edges of the sign a little bit.
The finished product!
**Mistake #2: It wasn’t until we got the sign all hung up that I realized the tiny hyphen that should be present between “well” and “nurtured” didn’t survive the transfer. Gah! So…I had to go back and re-cut that little piece and attach it to the sign. I learned so much through this project!
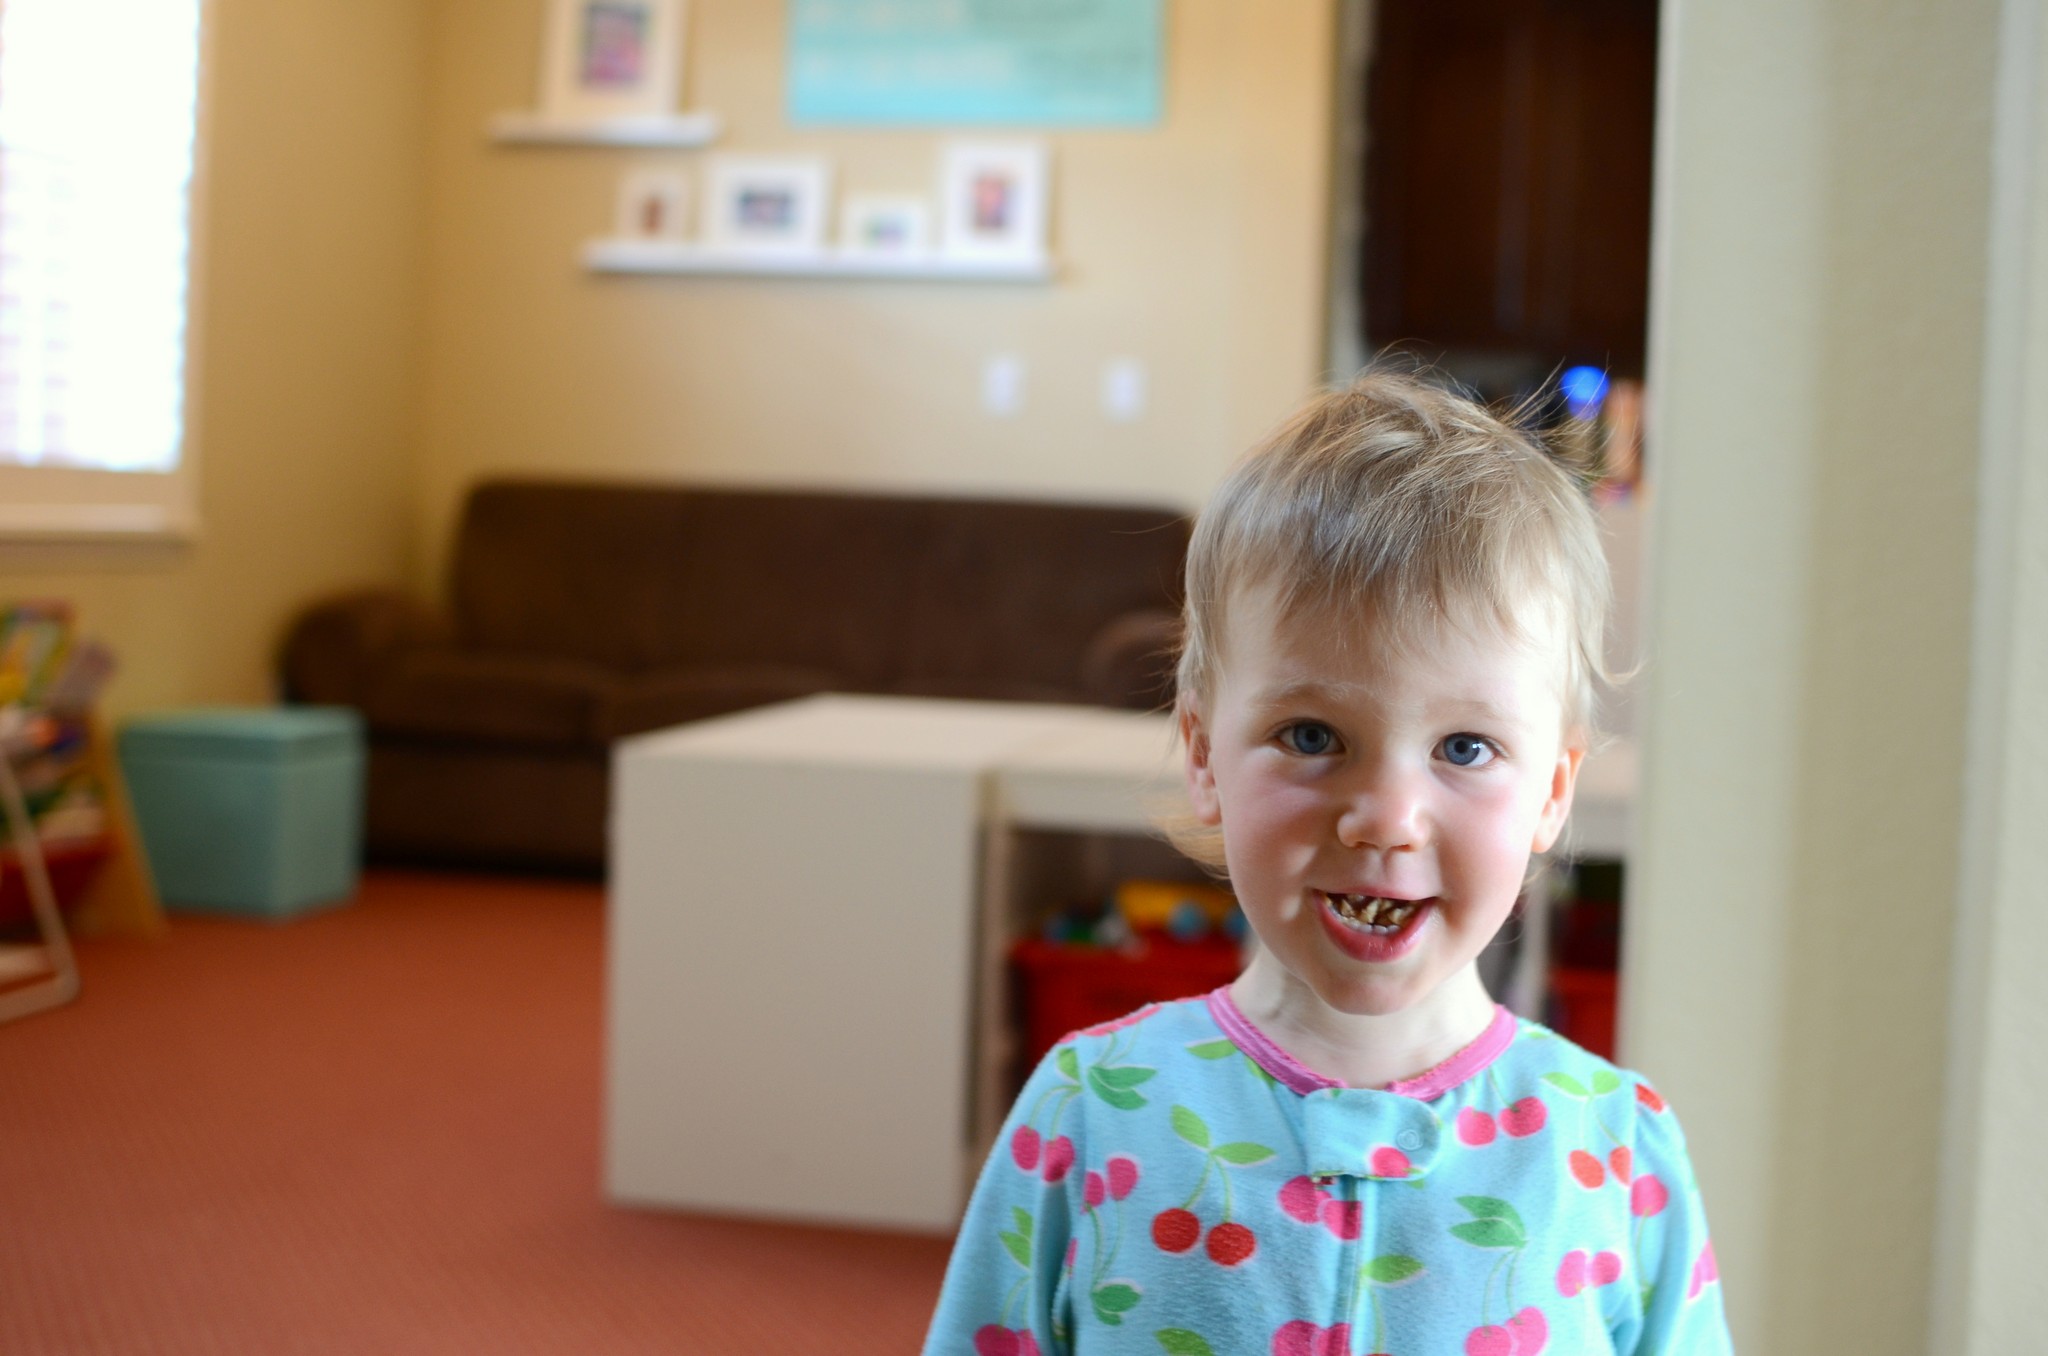
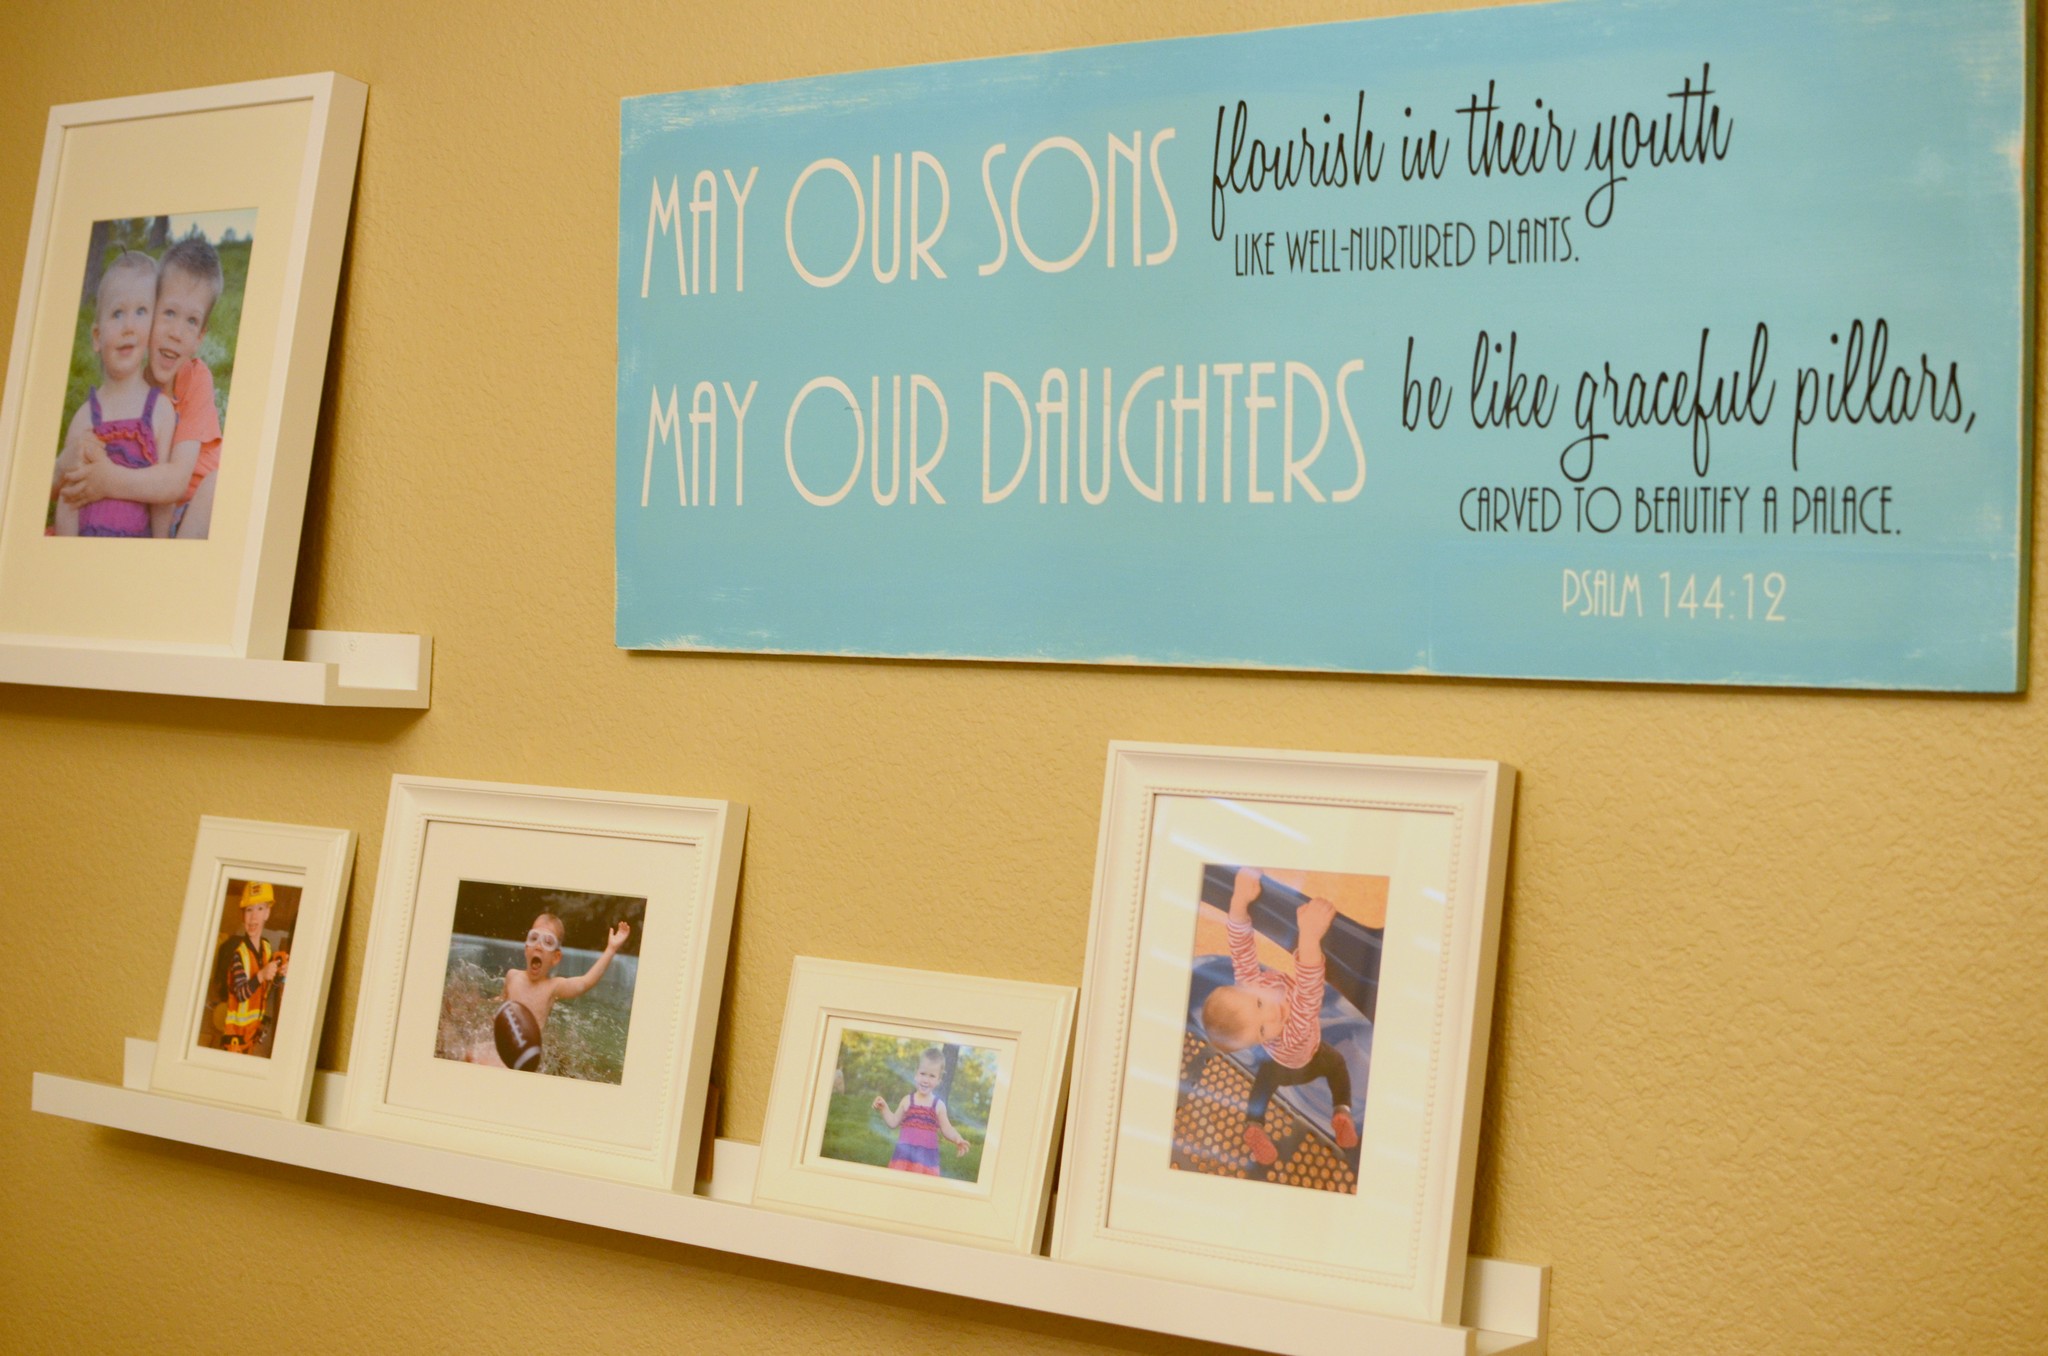
We put the sign up on the wall in our playroom with several of my favorite recent pictures of the kiddos…pictures that show them flourishing and filled with joy.
A glimpse of our playroom!This little cutie woke up from her nap while I was snapping photos. I set her up with a snack, but she decided the subject of my photo should be something far more interesting than a wall in our playroom. So! Here’s my pillar…snacks in mouth and all :).Our flourishing youth & graceful pillar!
I love how it turned out, mistakes and all, and I love the reminder that it serves on the wall of our playroom!!
I hope you enjoyed learning about one of my very first home decor Silhouette projects :).
Now…do you love crafts and home decor as much as I do?? And do you…
Want to Check Out More Silhouette Projects?
My Silhouette Challenge buddies and I are all sharing projects on our blogs today, so peruse the projects below for a wealth of Silhouette inspiration!


