If there’s one thing that’s helped keep order in our lives, it’s having a home that’s orderly enough that my kids can HELP me keep it orderly.
I’ve always had some type of bin to store kid toys in, but when we found the perfect shelving unit/bin combo at IKEA, we both knew it was the ticket to life and orderliness in our crazy “kid land” which we call, “The Playroom.” We were trying to figure out how to store toys and ALSO get some sort of a “surface” in our playroom for building train tracks and doing puzzles and all fun things that require a hard surface. We saw these shelving units set up at IKEA and realized we had found the perfect solution for both (pictures below)!
Upon getting the bins home and the shelving unit built, I immediately started labeling them.
Three things to consider when labeling toy bins for young (non-reader) kids:
1. You want clear, simple pictures so kids can put toys away on their own before they can read 2. You want words to go along with each picture so that they can begin to associate that picture with that word 2. You want a label that’s going to be durable enough to resist messy and curious fingers that are touching them EVERY day…
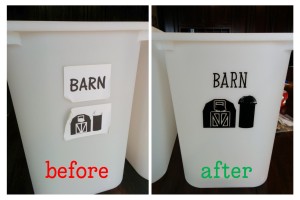
I used my label-maker to whip out labels for each of the bins. They were so darling and cute and I was so proud of myself…until…the next morning when kids actually came near them.
For some reason, the labels stayed better on the colored bins than on the white bins, but in general, they ALL did what most stickers do…they peeled up. With a little use and over just a very little time, the corners began to curl up, and especially with the assistance of tiny fingers that LOVE peeling stickers off :). They began to look grungy and gross and fall off.
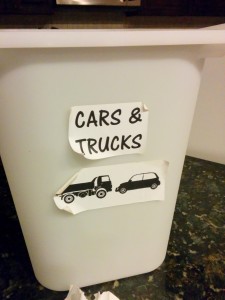
Enter…MY SILHOUETTE CAMEO TO SAVE THE DAY!!!
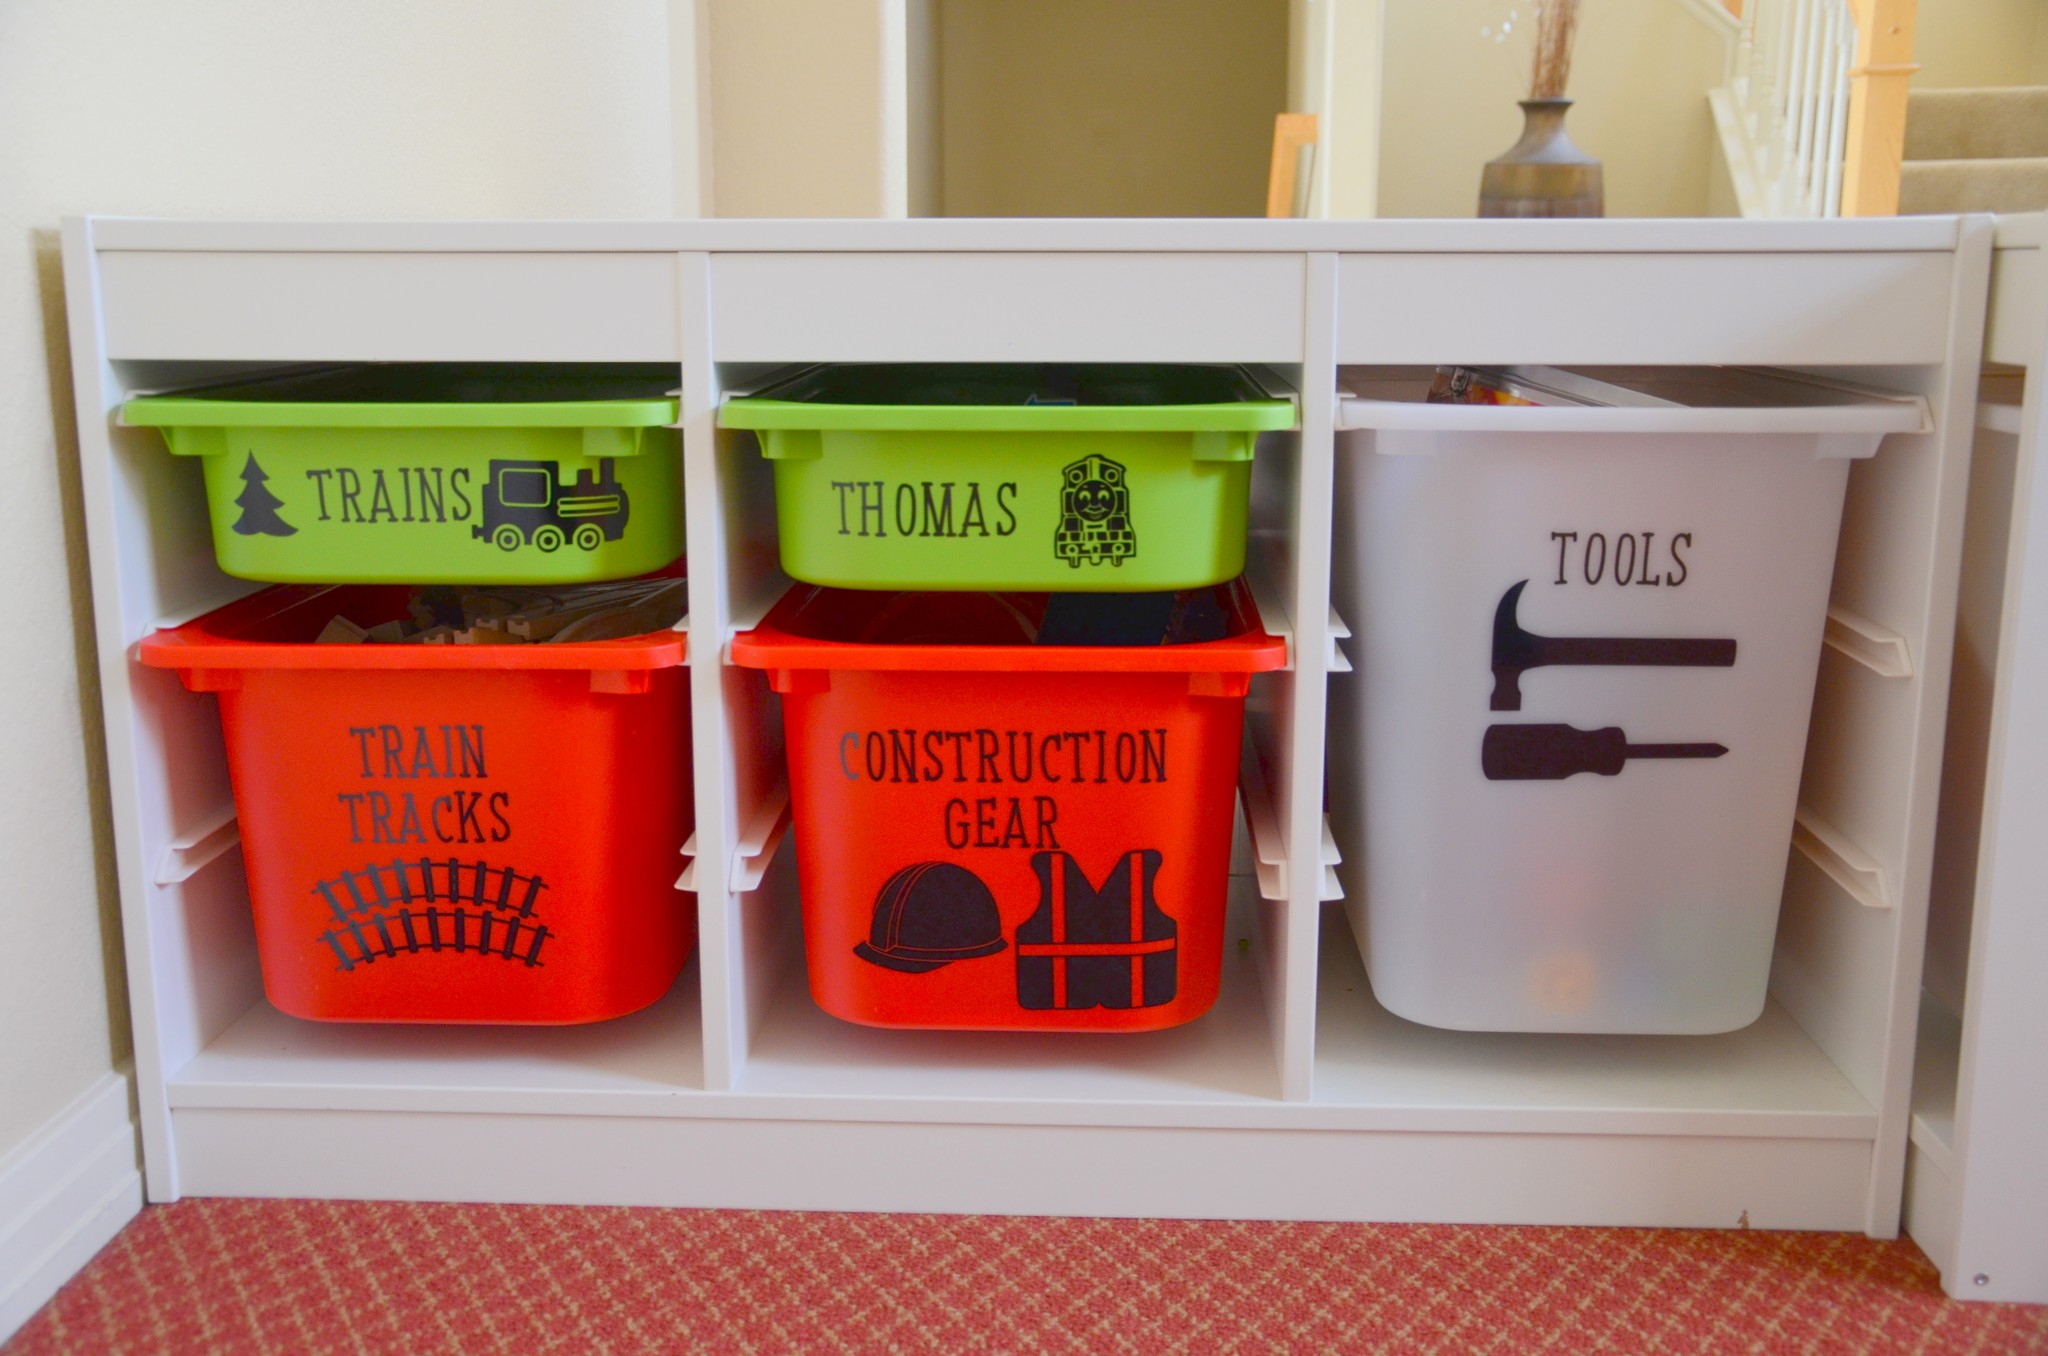
I generally used the same files that I had from my previous labels (free images that I found on the internet), but I did grab a few from the Silhouette store for simplicity’s sake. I had to use Oracal 651 Outdoor Vinyl (the Sihouette “Indoor/Outdoor” vinyl did NOT stick to the bins…). (P.S. I learned that the hard way! I cut out ALL of the words, went to stick one on, and I couldn’t get it to stick…I wasted tons of vinyl! Now I always test out vinyl before cutting everything out!) So, I ordered new vinyl, tested it (ha!), cut out the words and pictures and then used transfer tape to stick them on the bins.
So simple. So easy. And I will testify–these have been on our toy bins for months now, and we’ve only lost one tiny part of one of the images on the Duplo bin. No curling, no grudginess. I also think there is just LESS temptation to try and peel them off because, unlike the labels, they don’t LOOK like stickers. Even with having lots of friends over, they have stayed in place.
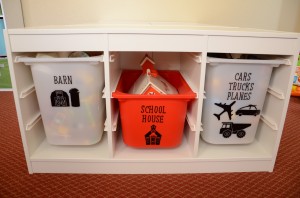
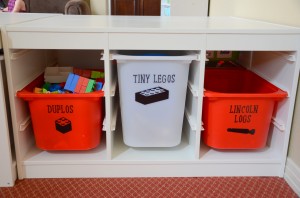
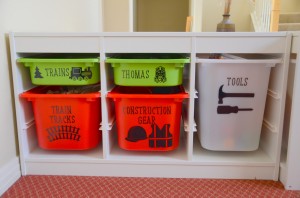
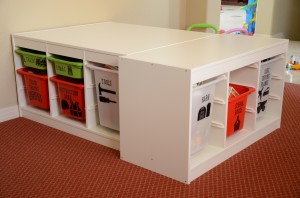
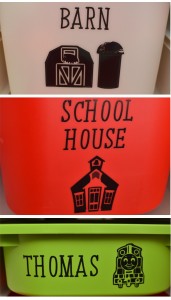
I will admit, I LOVE sitting in our playroom and staring at our cute bins :).
Now, let me cast a tiny bit MORE vision to help create order in YOUR kid land!
Kids can be trained to clean up!
I am a BIG fan of teaching my kids to clean up after themselves. Not only does it produce much-needed discipline in them, but it also takes a HUGE load off of me while trying to keep the house clean. We’ve had both the kids start helping with clean up time as soon as they could crawl. Yes! You read that correctly :). Granted, at that age, I OBVIOUSLY needed to be in the room to aid the clean up, but after a year or so of training them, they are FULLY capable of cleaning up ALL BY THEMSELVES. Like I already said, this is a super easy, simple-to-teach “chore” that kids can develop disciline in early on, AND it’s a HUGE blessing and help for ME.
Step 1: “The Fetch Game”
From 6-12 months (or, crawling to 12 months), I would sit on the floor next to the toy bins and say, “Can you bring me that ball?” or “Can you bring me that yellow tool?” At 6 months, they may not get most objects right, but that’s okay! If they pick up the stuffed animal instead of the ball, I just say, “Oh! Good! You brought me the teddy bear!” All of this is aiding in your kid learning how to respond to instruction, learn vocabulary, and learn to serve and help around the house.
Step 2: “Hide and Seek”
Once they’ve mastered The Fetch Game, (after 2-3 months or so), move on to a slightly more challenging, independent task: “Can you find all the balls and put them in THIS bin? Do you see the picture of the ball on this bin?? This is where the balls go!” If any of your playrooms looks like ours does at the end of a day, this is actually a pretty challenging task! Ha! But it’s developing perseverance and diligence, as they have to scan the room and pick out the intended objects.
Step 3: “I Spy”
Once they’ve mastered Hide and Seek (again, probably after 2-3 months), ask them if they can find the bin that has a certain picture. “Which bin has the tools on it? Good! Can you find all the tools and put them in that bin?”
These were generally the steps I took in training my kids to clean up their toys, and both my kids have been able to fully independently clean up the playroom by age 2. Though it may SEEM like a lot of work on the front end, I will tell you, I am SO GRATEFUL to have two children who know how to pick up and who (generally, ha!) LOVE to clean up because it is a task they can be very successful with. Since we have cultivated the idea that order is important to us, our children have jumped on that train. And though our house is *almost never* perfectly picked up and ordered, we can usually get it back to that place very quickly since my kiddos are such huge helps!
So…are YOU ready to jump on the ORGANIZATION TRAIN?!!
Want to Check Out More Silhouette Projects?
My Silhouette Challenge buddies and I are all sharing projects on our blogs today, so peruse the projects below for a wealth of Silhouette inspiration!
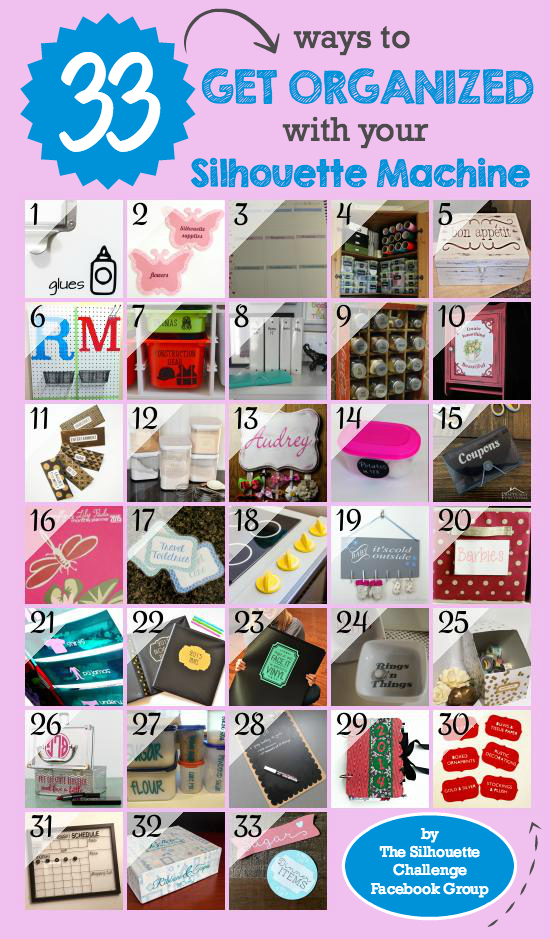
1. Please Excuse My Craftermath… // 2. Simply Kelly Designs // 3. Daily Dwelling // 4. Ginger Snap Crafts // 5. Our Southern Home // 6. Sowdering About // 7. The Moberg Family // 8. Decor Adventures // 9. Pineapples and Pinecones // 10. Patina Paradise // 11. The Thinking Closet // 12. It Happens in a Blink // 13. Adventures in All Things Food // 14. From Wine to Whine // 15. Practically Functional // 16. Dragonfly & Lily Pads // 17. unOriginal Mom // 18. One Dog Woof // 19. Creative Ramblings // 20. My Favorite Finds // 21. Create it. Go! // 22. A Prudent Life // 23. Where The Smiles Have Been // 24. Barb's Life // 25. Everyday Paper // 26. Pitter and Glink // 27. Peanut Life Adventures // 28. Feto Soap Blog // 29. Our Rosey Life // 30. Two Purple Couches // 31. My Paper Craze // 32. TitiCrafty // 33. Lil Mrs Tori
Leave a Reply